I am getting some banding in the end result.
I’ve attached an image that shows a successful run,
and two failed runs that I tried running the day after.
Did this just show up?
I’ve seen similar where they claim it’s the variance of paint layer thickness.
Probably help us more if we knew the procedure. Single layer of paint?
I try to keep the air assist down to the least amount of air, a couple of pounds, just to protect the lens and not force any particles back onto the engraving area.
Thank you for replying! Unfortunately this issue has been there since day one, but I’ve only started proper testing recently.
I’m using Krylon Fusion-All-In-One, doing a couple of passes, I’d say about two light coats, just enough to get a consistent cover.
I previously did some testing on Plywood and had some banding there as well. Originally thought it might have been the water chiller kicking in, so I moved the laser to its own circuit.
I will attempt another engraving with a lower PSI and come back with the results.
Are the banding always in the same place. There is some glare on the tiles, so I’m not sure of the exact area. If I see what I think I see, it’s about 1/3 off the bottom?
I’ve been doing some mirror time for a friend, but I’d like to try more time. I have some spray on bonding agent that seems to work ok but I haven’t gotten a good black yet.
I’ve found this useful it’s from Russ Sadler, two pager with good math for engraving with dots. You’ll have to tell me if it helps…
If you’re thinking of what people call the ‘curtain’ effect from the belts slight movement when the teeth hook up?
If so, you can usually put it up visually next to the belt and see a pattern related to the belts teeth. I don’t see that.
I see faint curtains sometimes when I’m doing a large area of glass. So I know it’s not related to any kind of spray on coating or whatever. The curtains usually appear to be multiples of the belt tooth pitch and is worse at some speeds than others so I’m guessing that the irregular motion of belt teeth as they go around the pulley sets up some resonance in the belt. Proper belt tension minimizes it but doesn’t make it go away entirely.
Hate to bring up Russ again but he has a video on ‘curtains.’ and how he fixed it. He’s very good with this stuff. I’ll probably do that fix on mine when I get me and it to a new home.
I have his lightweight head on my machine. It’s great.
bonjour
avez vous solutionné les bandes sur la gravure de carreaux
car il m’arrive que j’ ai des bandes comme vous
pouvez vous me dire la soluton merci
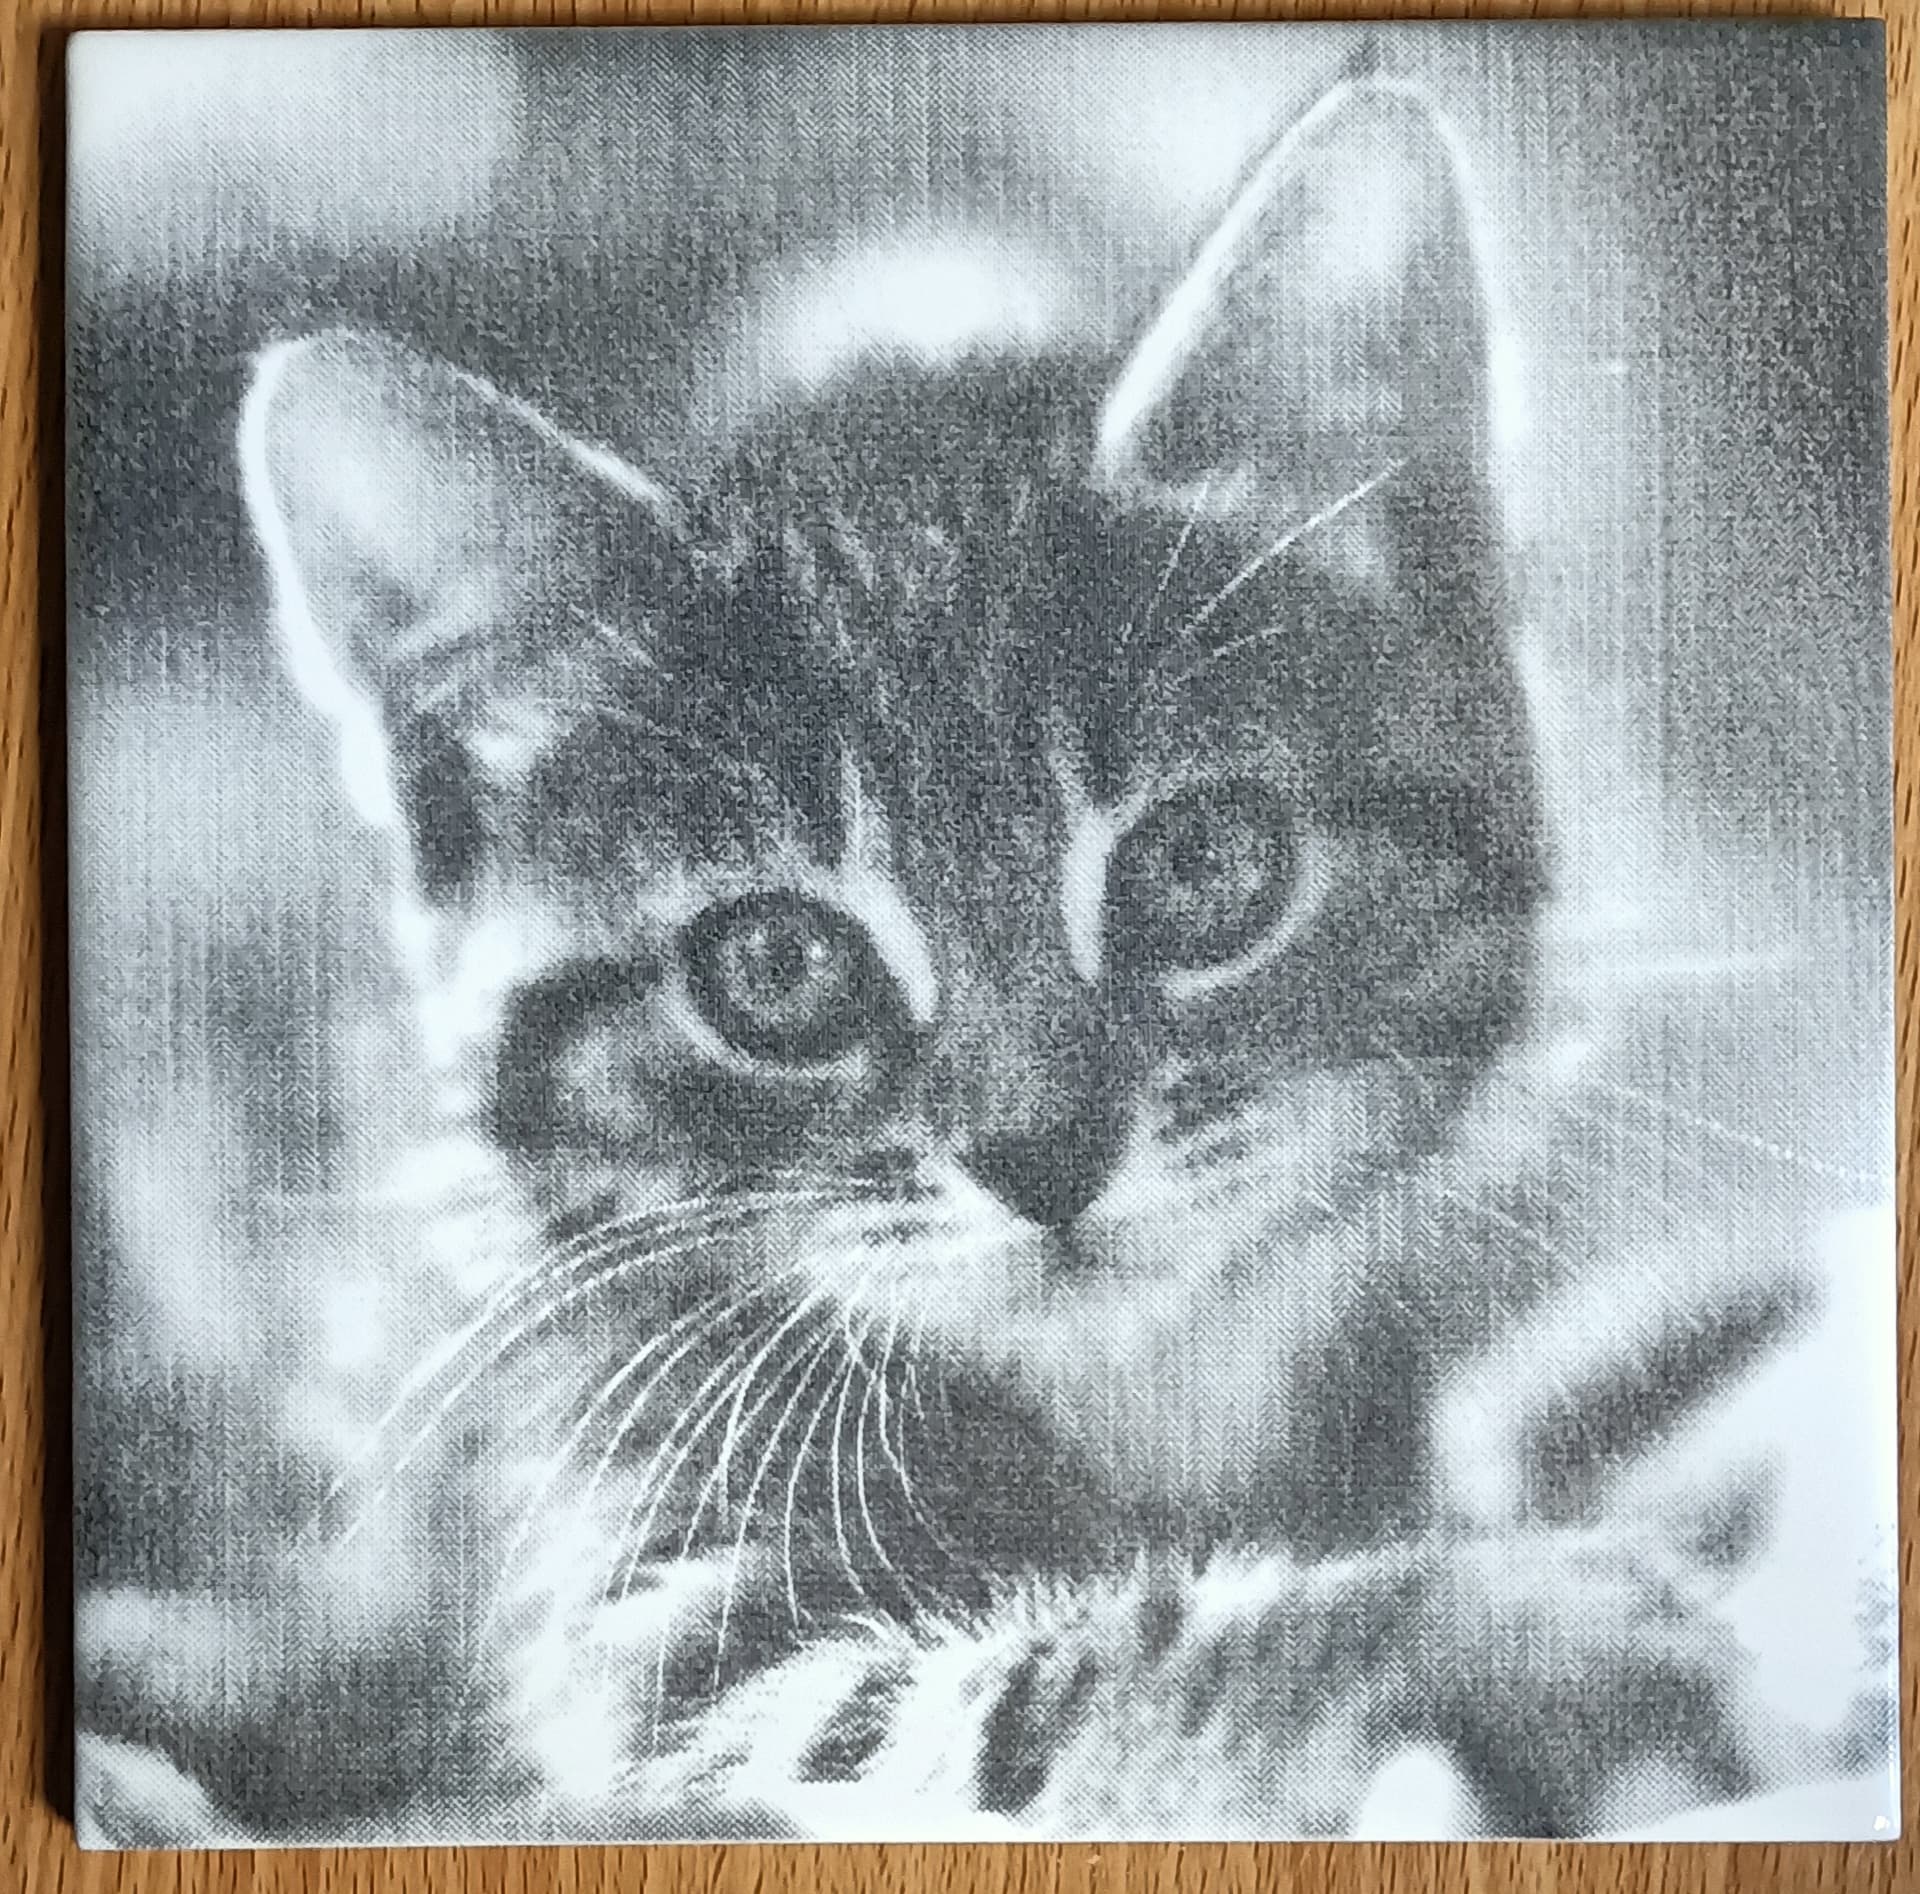
Sorry for the super late reply, life got in the way and I did not have a chance to test. Per Jack’s suggestion, I watched Russ’ youtube video on engraving and decided to try again.
This time, I took a black and white photo of a kitten. I made sure to modify it through Krita. I changed the size to 6 inches by 6 inches (the size of the tiles I’m working with). I also changed the DPI of the image to 300.
In Lightburn, I set the power to 15, the speed to 200, the DPI to 500, and the Cells per inch to 100.
These were the settings I had for the first successful engraving.
The end result was okay, not perfect, didn’t get all the way through to white on some parts, BUT there was no banding at all. There is still more testing to be done before I get an engraving I’m satisfied with, but it’s progress!
In summary, make sure the image is the right size and the right DPI. As for the Lightburn settings, I’m still playing around with those, but Speed 200, Power 15, DPI 500 (which maybe lower would be even better) seems to be close to perfect.
You’re running at 200mm/sec….did I see that correctly that’s way too fast no wonder it won’t burn completely.
I have a 50 watt OM tech and have done hundreds of white tiles that I sell. I can say after hundred of tests at any and all power and speed combos and piles of test tiles that the fastest speed power combo with a reliable dark image was speed 60mm/sec at 16% and dpi 300.
Dpi at 500 and you are overlapping your burns as well. There is an optimum overlap of each burn line…too little from a low dpi and you get light scan lines …but too much overlap and you burn off what you just burned on the previous scan line.
I found the most reliable images are from a speed between 40 and 50 with a power of 14 to 15. Power depends on your tube and optics but I have tested this until I have insured repeatability.
My settings are usually 55/15.5 and 300 dpi using a 50 watt OM tech and a 1.5 lens
With an 80 watt laser your lowest stable power will be higher than mine so you might have to fiddle but I would try and defocus the beam a bit…I think you are burning your image out.
One thing no one has mentioned on CO2 lasers is that with a sealed tube they are very unstable at low powers. Around 15% the power output fluctuates and with the white tile method power density is super critical. This goes with all sealed tubes…trust me I was a laser field engineer back when we used flowing gas verses sealed. When we swapped to a sealed tube that recycled the gas we ran into unstable power fluctuations of 20% below 15% rated power and that’s on high end tubes…not the junk we use on our toy lasers. This is what is on a sealed tube.
You need to make a bunch of tile blanks…painted…and burn test rectangles until you nail a set with a good solid charcoal black. Don’t even try pics until you can burn a solid square or circle or whatever a solid dark charcoal. Took me a pile of tiles…but I have it down as good as a CO2 can do…it’s not a diode laser they can run low power rock steady unlike a CO2 at low power.
Again your images are way over cooked to me.
bonjour a tous
j 'ai un graveur co2 de 80watts apres des millions d’essais j’ai trouvé des parametres qui sont
vitesse 80 , puissance max 14, puissance mini 8 ( en dessous de 10 pas de puissance), 0.1 interligne
focus cale de 22mm
essayez ses parametres sa va vous raprocher du reel