I’ve got an MPCNC in my garage, and I attached a “5.5W” laser to it (BangGood special). It’s been working fairly well, so I’ve been looking for opportunities to monetize it. Someone in a FB group I follow was looking for a piece of barn wood to be laser engraved for a wedding, so I stuck my hand up.
He said it was “6 x 8”. What he didn’t mention was that it was also 66" long, so it was a huge piece. I thought I was going to be engraving a 6" x 8" x 1" piece of material. So I had to modify my machine on the fly to raise it enough to fit the piece under the supports. And even then, I was going to have to do the burn in 2 steps, since my max width was only about 30".
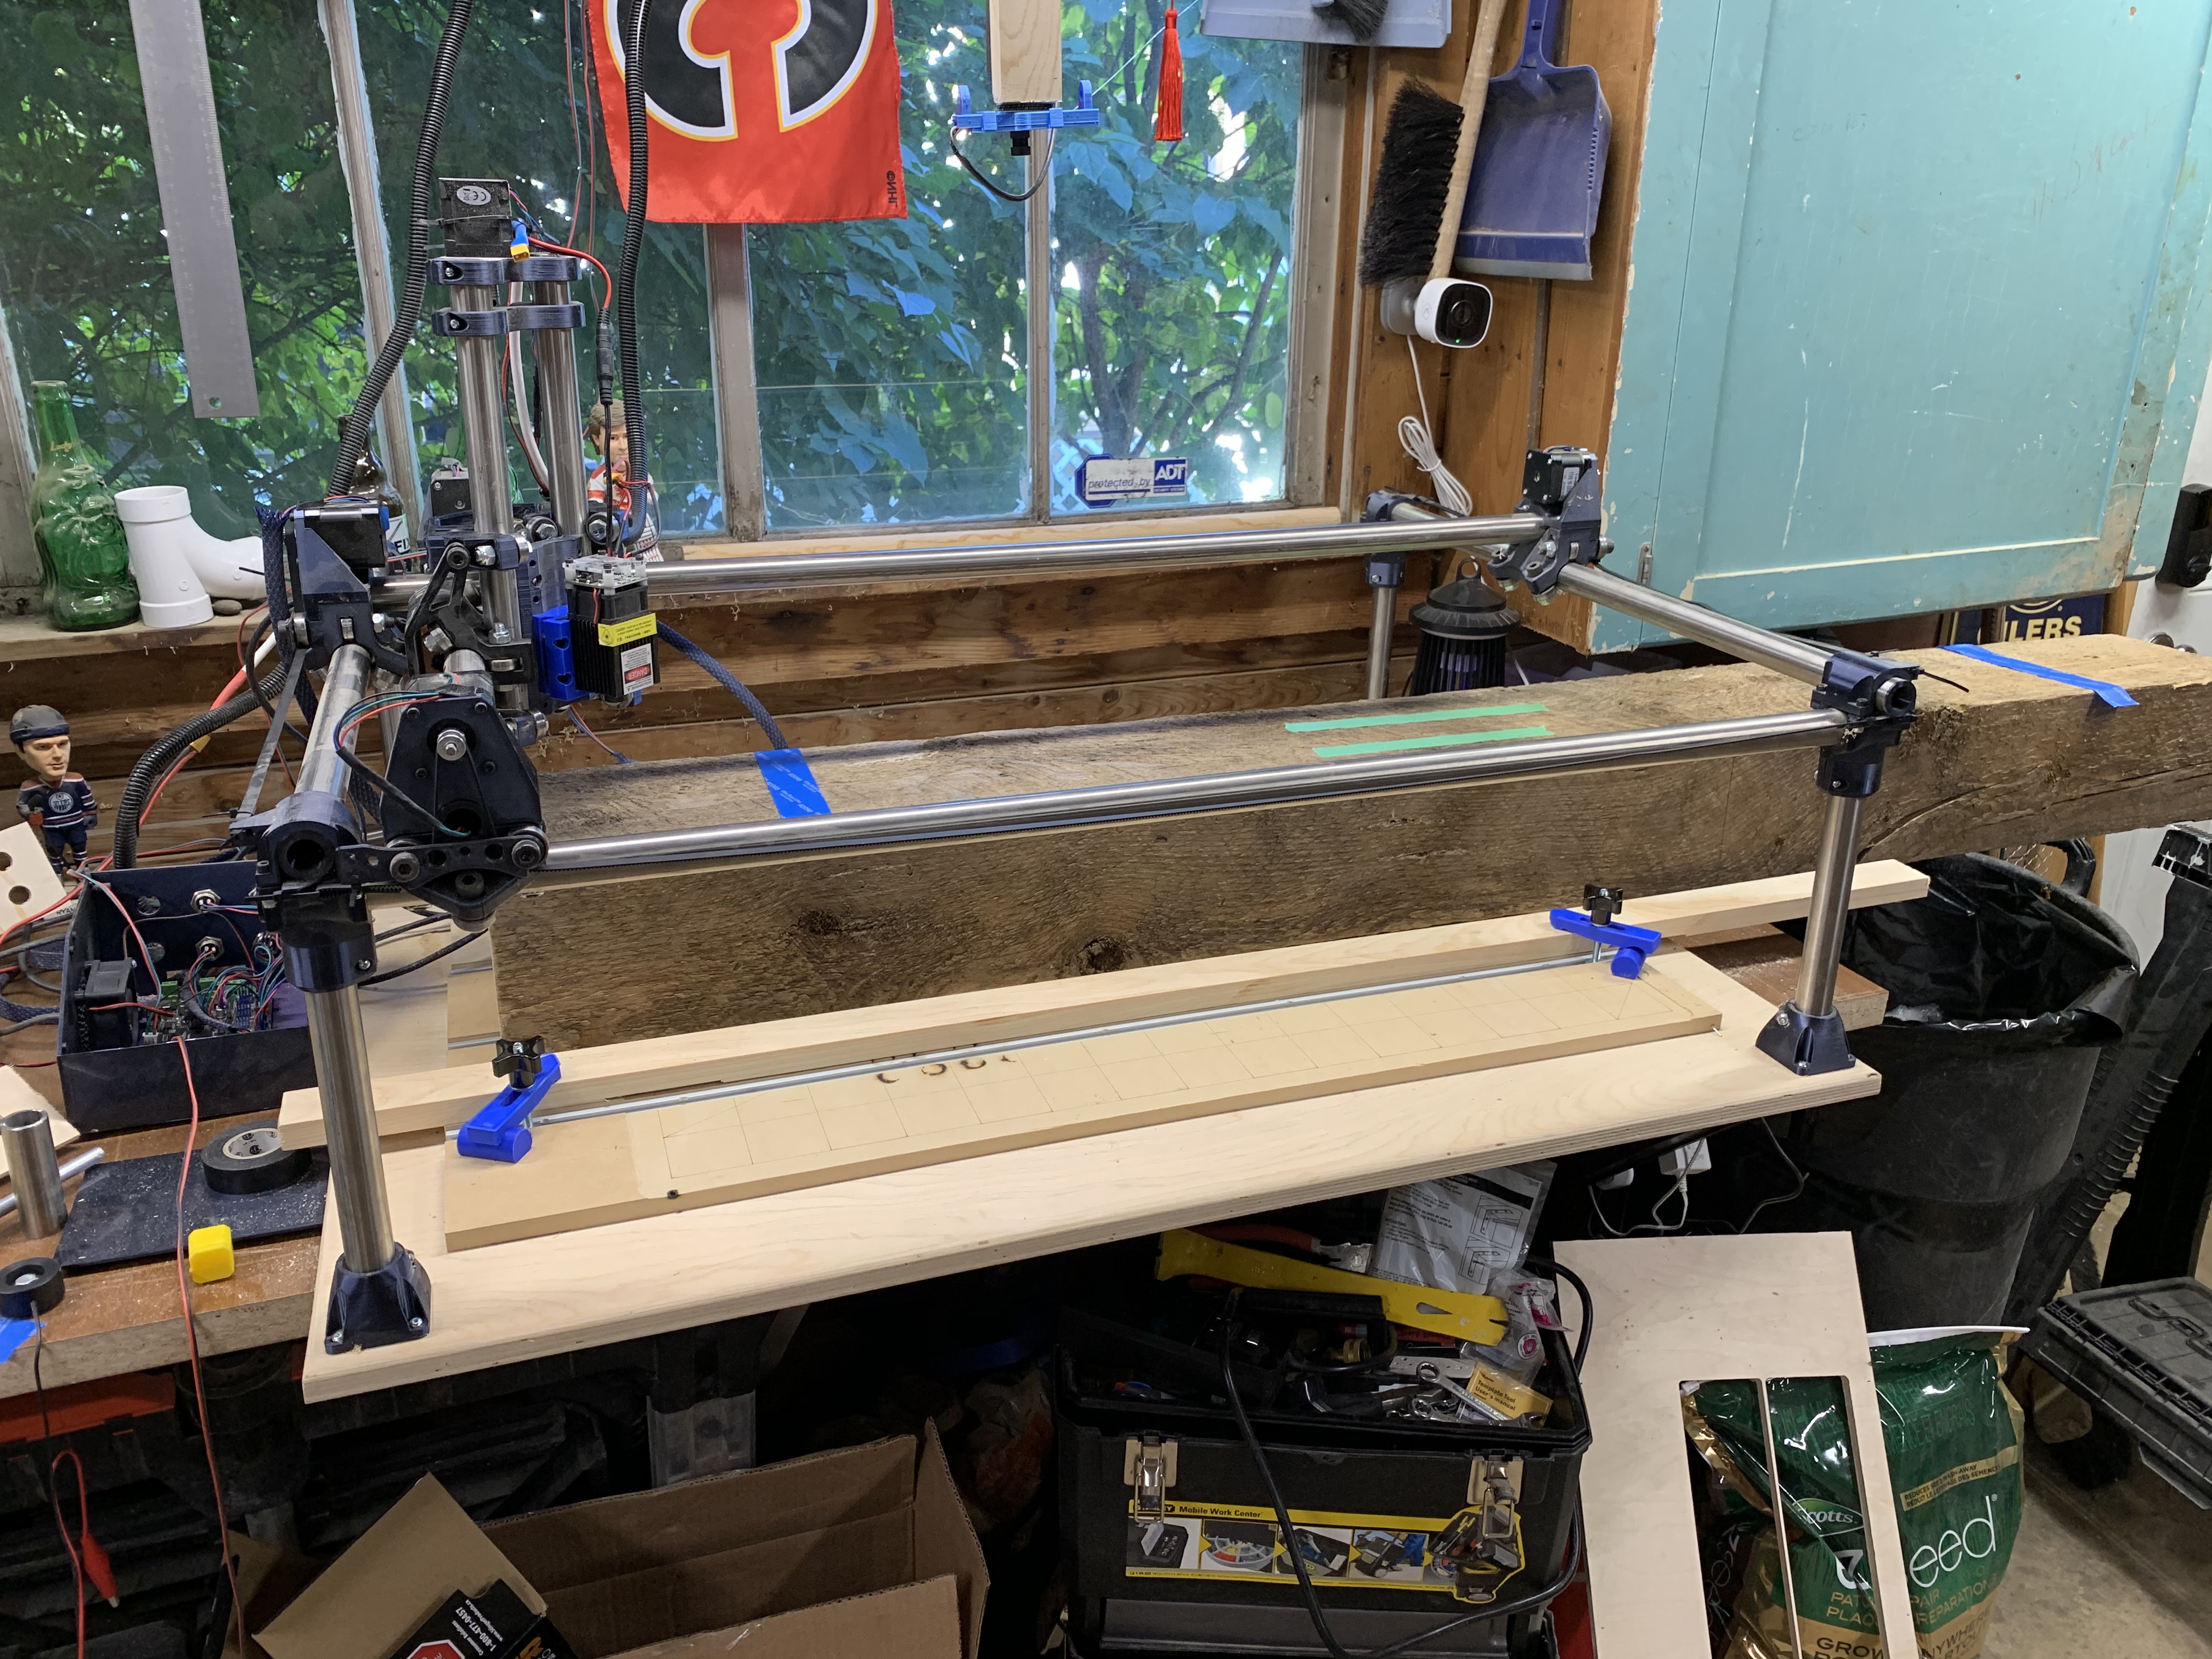
Here’s the “before” picture of my machine:
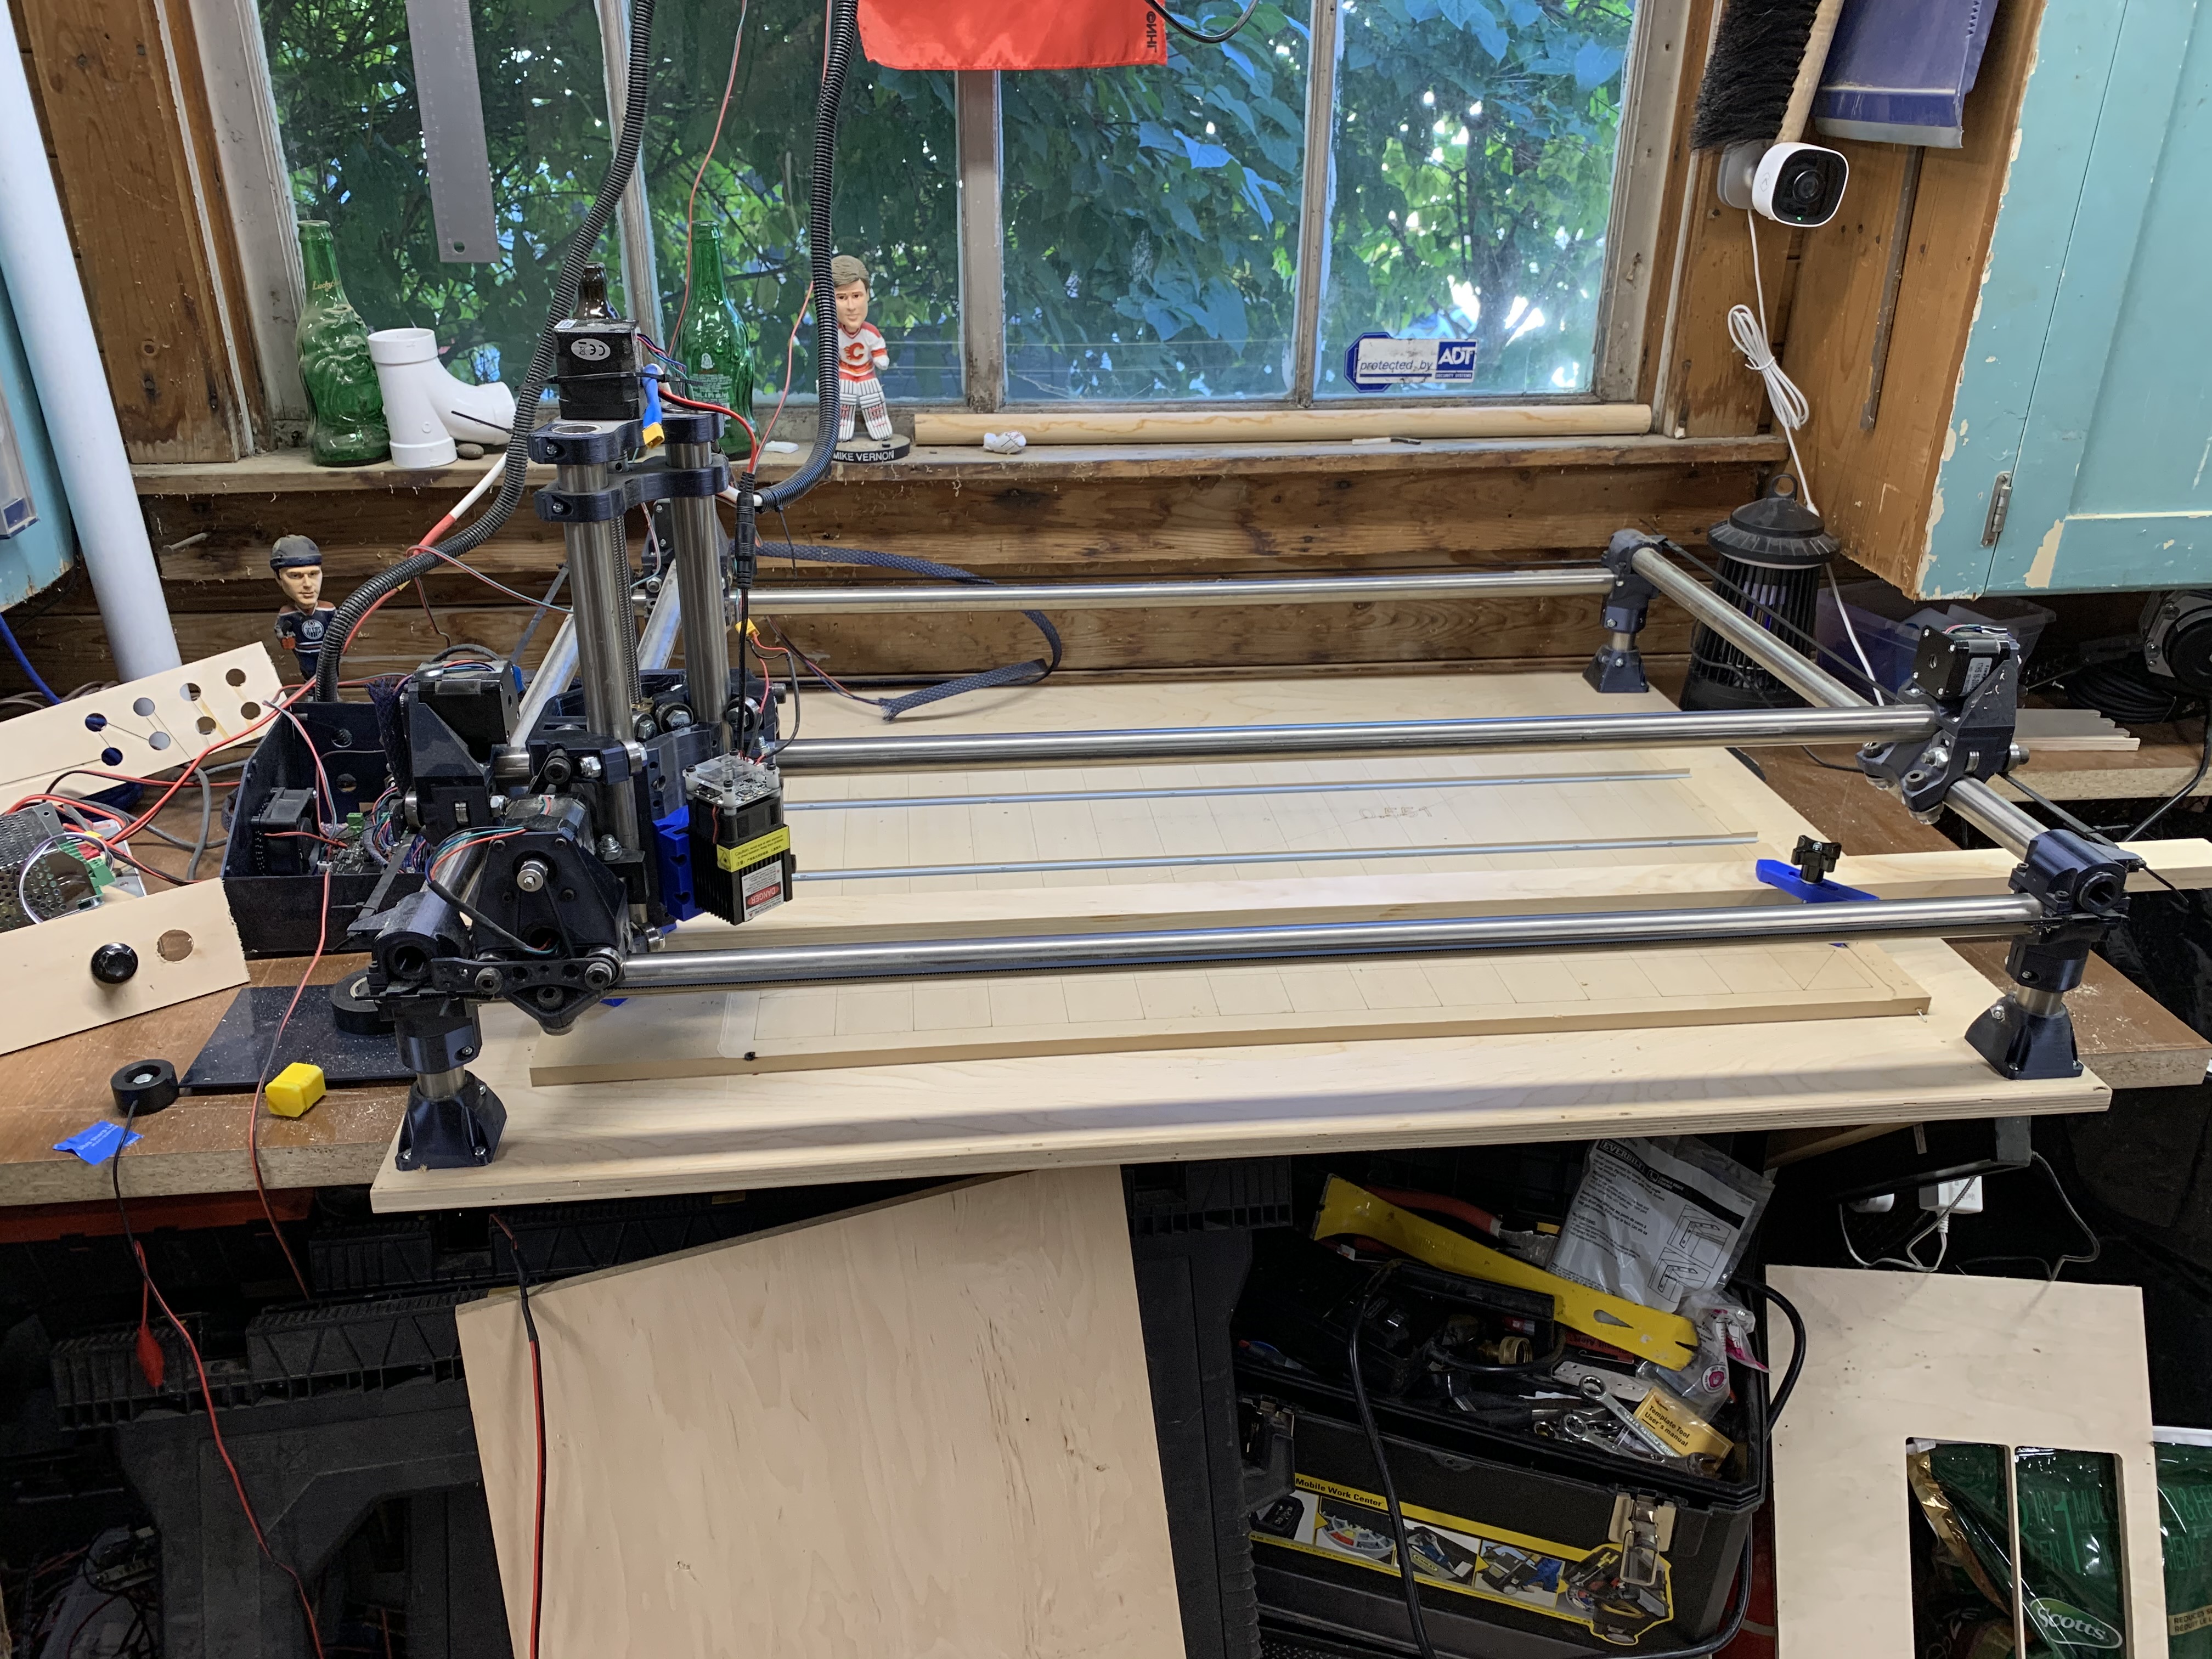
Here’s the “after” picture. Technically, after it was all done and the client signed off on it, I set my laser back to the original configuration, as it was too high to use as a CNC.
This was the test burn I did on a sample he provided before I got the actual piece. I wanted to make sure my laser could handle the material. The test burn went beautifully, out of the box. No air assist required (which is good, because I had the stuff I needed for that, but hadn’t set it up). This was the test burn:
Then I got the beam. Got it all set up, as shown in the second pic. Attached a couple of 2x4’s at the mid-point, and burn in registration marks for reference. More on that later…
Started doing the burn, and it was going VERY different on the actual beam. Even at the same laser settings, it was basically vaporizing the wood, and doing a deeper etch with relatively little color. This was about the point I started pulling my hair out. Forgot to mention… The client needed the piece back in 2 days, as the wedding was the day after that. So I tried very limited burns at different settings, but never had the same kind of results as on the test piece. Got to “good enough”.
The other problem that turned up pretty early was a lot more smoke than I saw on the test piece.

Again, hair pulling time, and not in a good way. Wasn’t at all sure how I was going to be able to clean that up, since I couldn’t sand the piece after without losing all the “weathered” look.
Kept plugging away. Due to the size of the piece and the settings I ended up with, I was about 5 hours into the process (and it was about midnight), and only about 3/4’s of the way through the first half of the burn when I noticed my laser had stopped moving. Fortunately, I caught it quickly, so it only left a small burn mark on the wood, but now I’m really getting concerned. Still don’t know why it stopped, but I’m suspecting overheating of either my control board or stepper drivers. In any case, shut things down to take a break and re-think.
First I had to edit the burn I was doing, as I did NOT want to have to re-burn everything! So I figured out in Lightburn how to remove all the nodes below a certain point, which left me with only the tops of 3 letters to burn.
Then I had to get everything lined up again to continue. For whatever reason, the “Print and Cut” wasn’t getting me back to a consistent place, using the registration marks. Still don’t know what’s up with that, but I need to spend some less stressed time playing with that. But fortunately, as part of my setup I had put down a fence on my spoilboard so I could move the beam along the x-axis and not lose my Y position. This enabled me to use the “Position Laser” to pinpoint the starting location for each of the three letters, and continue from there. While I was pondering how to make all this work, I also McGyver’ed an air assist using my air hose and a piece of 12 gauge wire that I zip-tied in place. It actually worked surprisingly well! Could direct the air right at the burn point.
Anyway… It was 2 am by the time I was done the first half of the burn, and I was beyond stressed. Went to bed, got up the next morning, and continued. The second half of the burn went wonderfully. No issues with the laser stopping, the air assist eliminated the smoke marks, and it turned out great

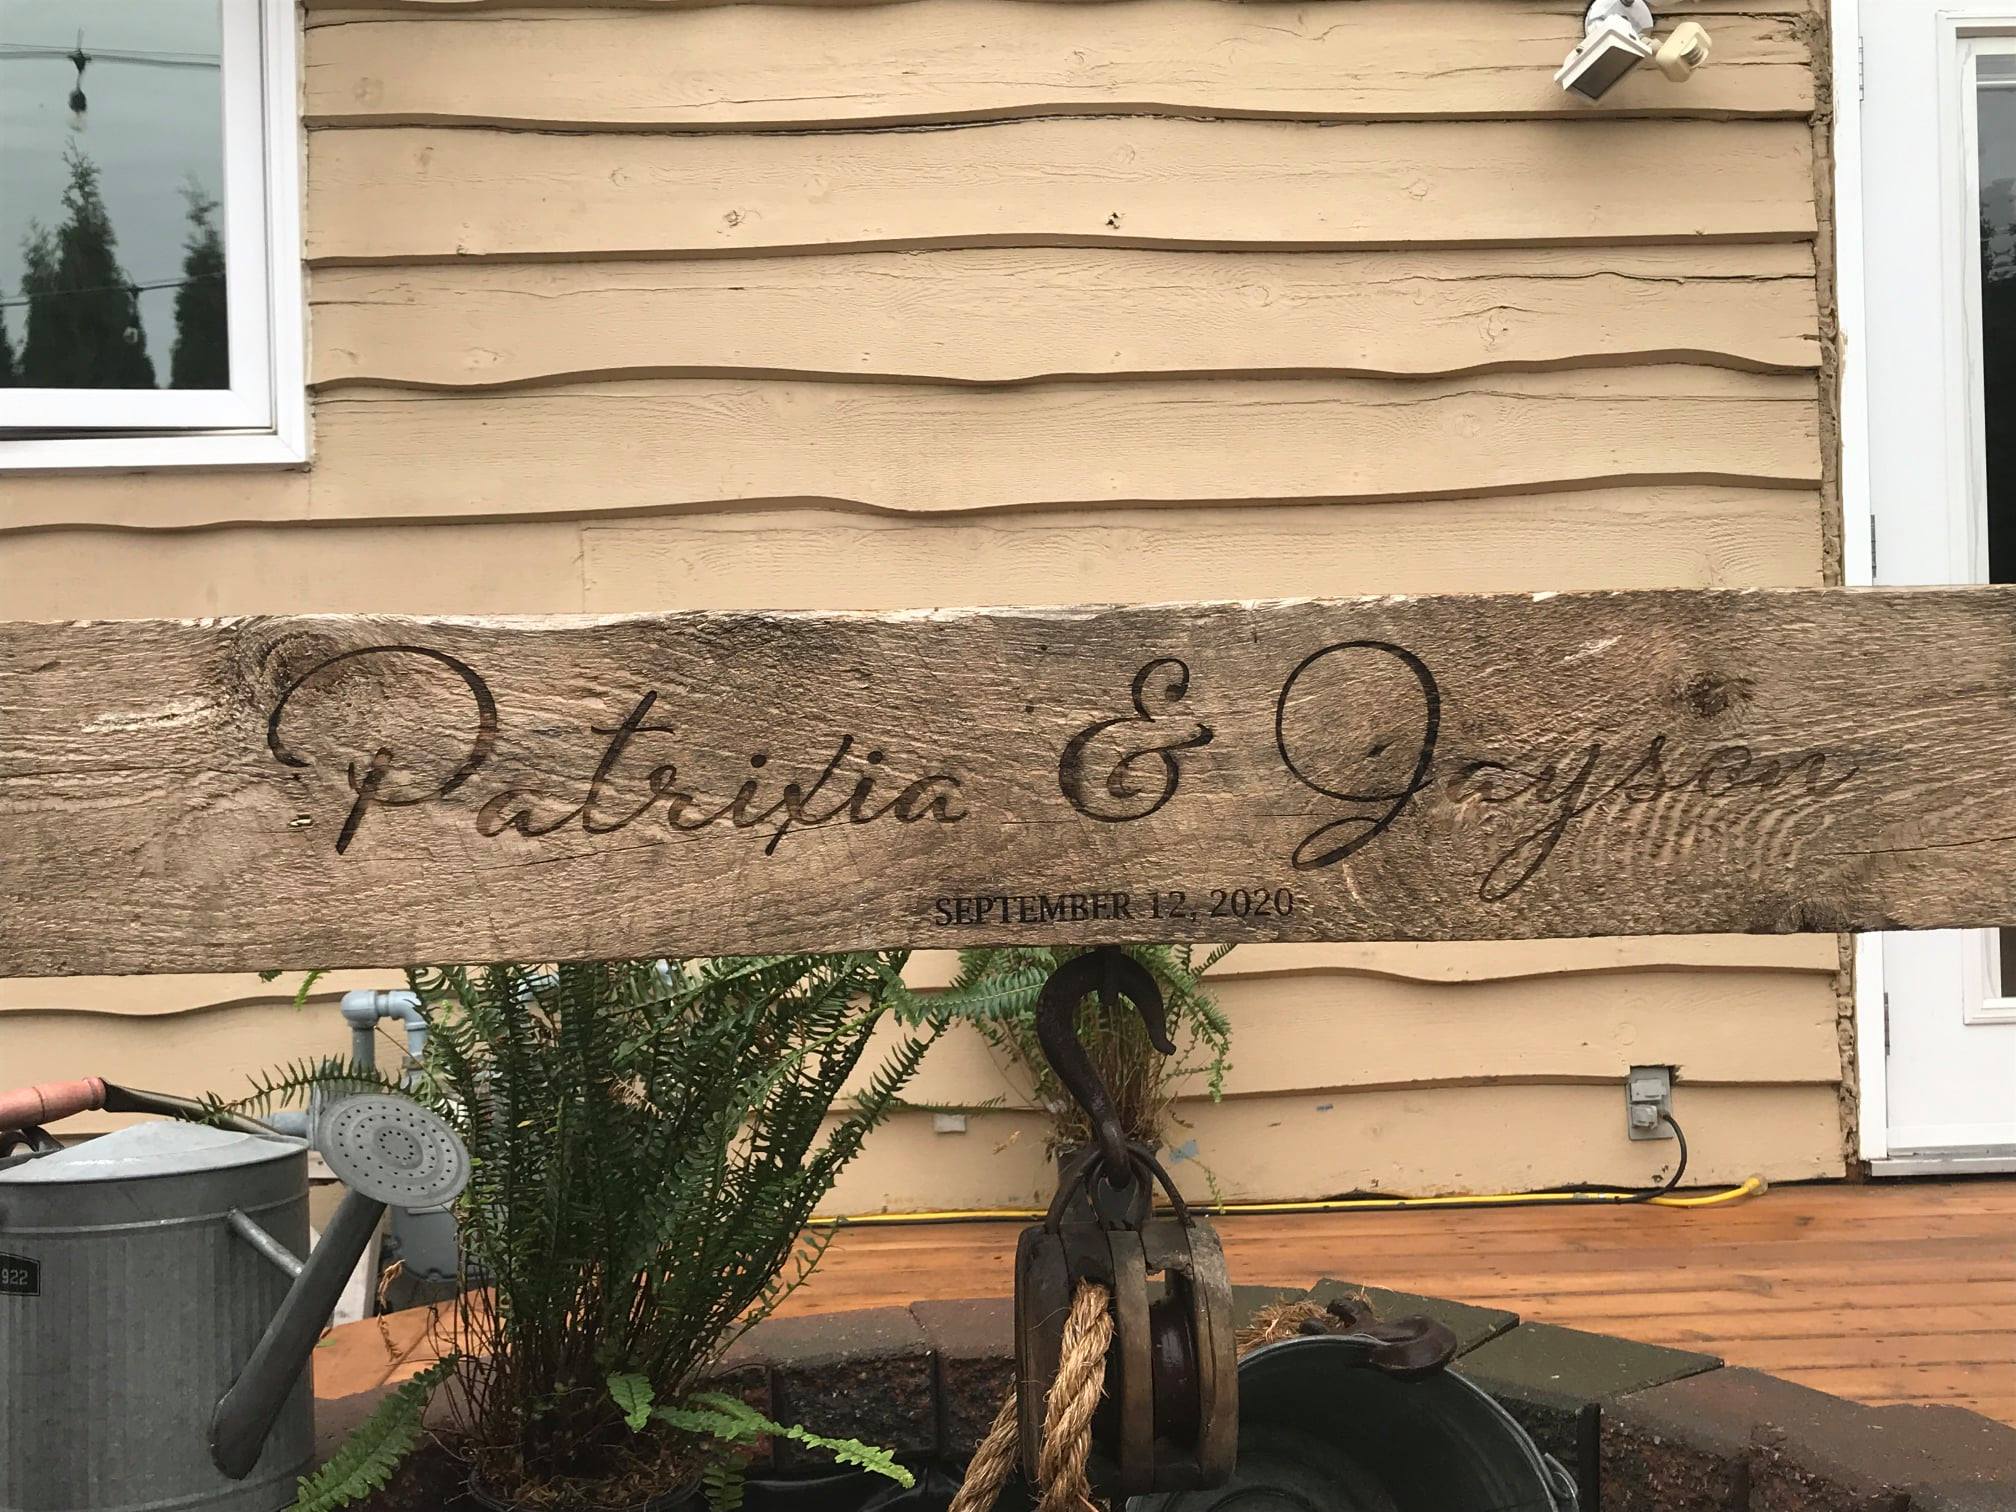
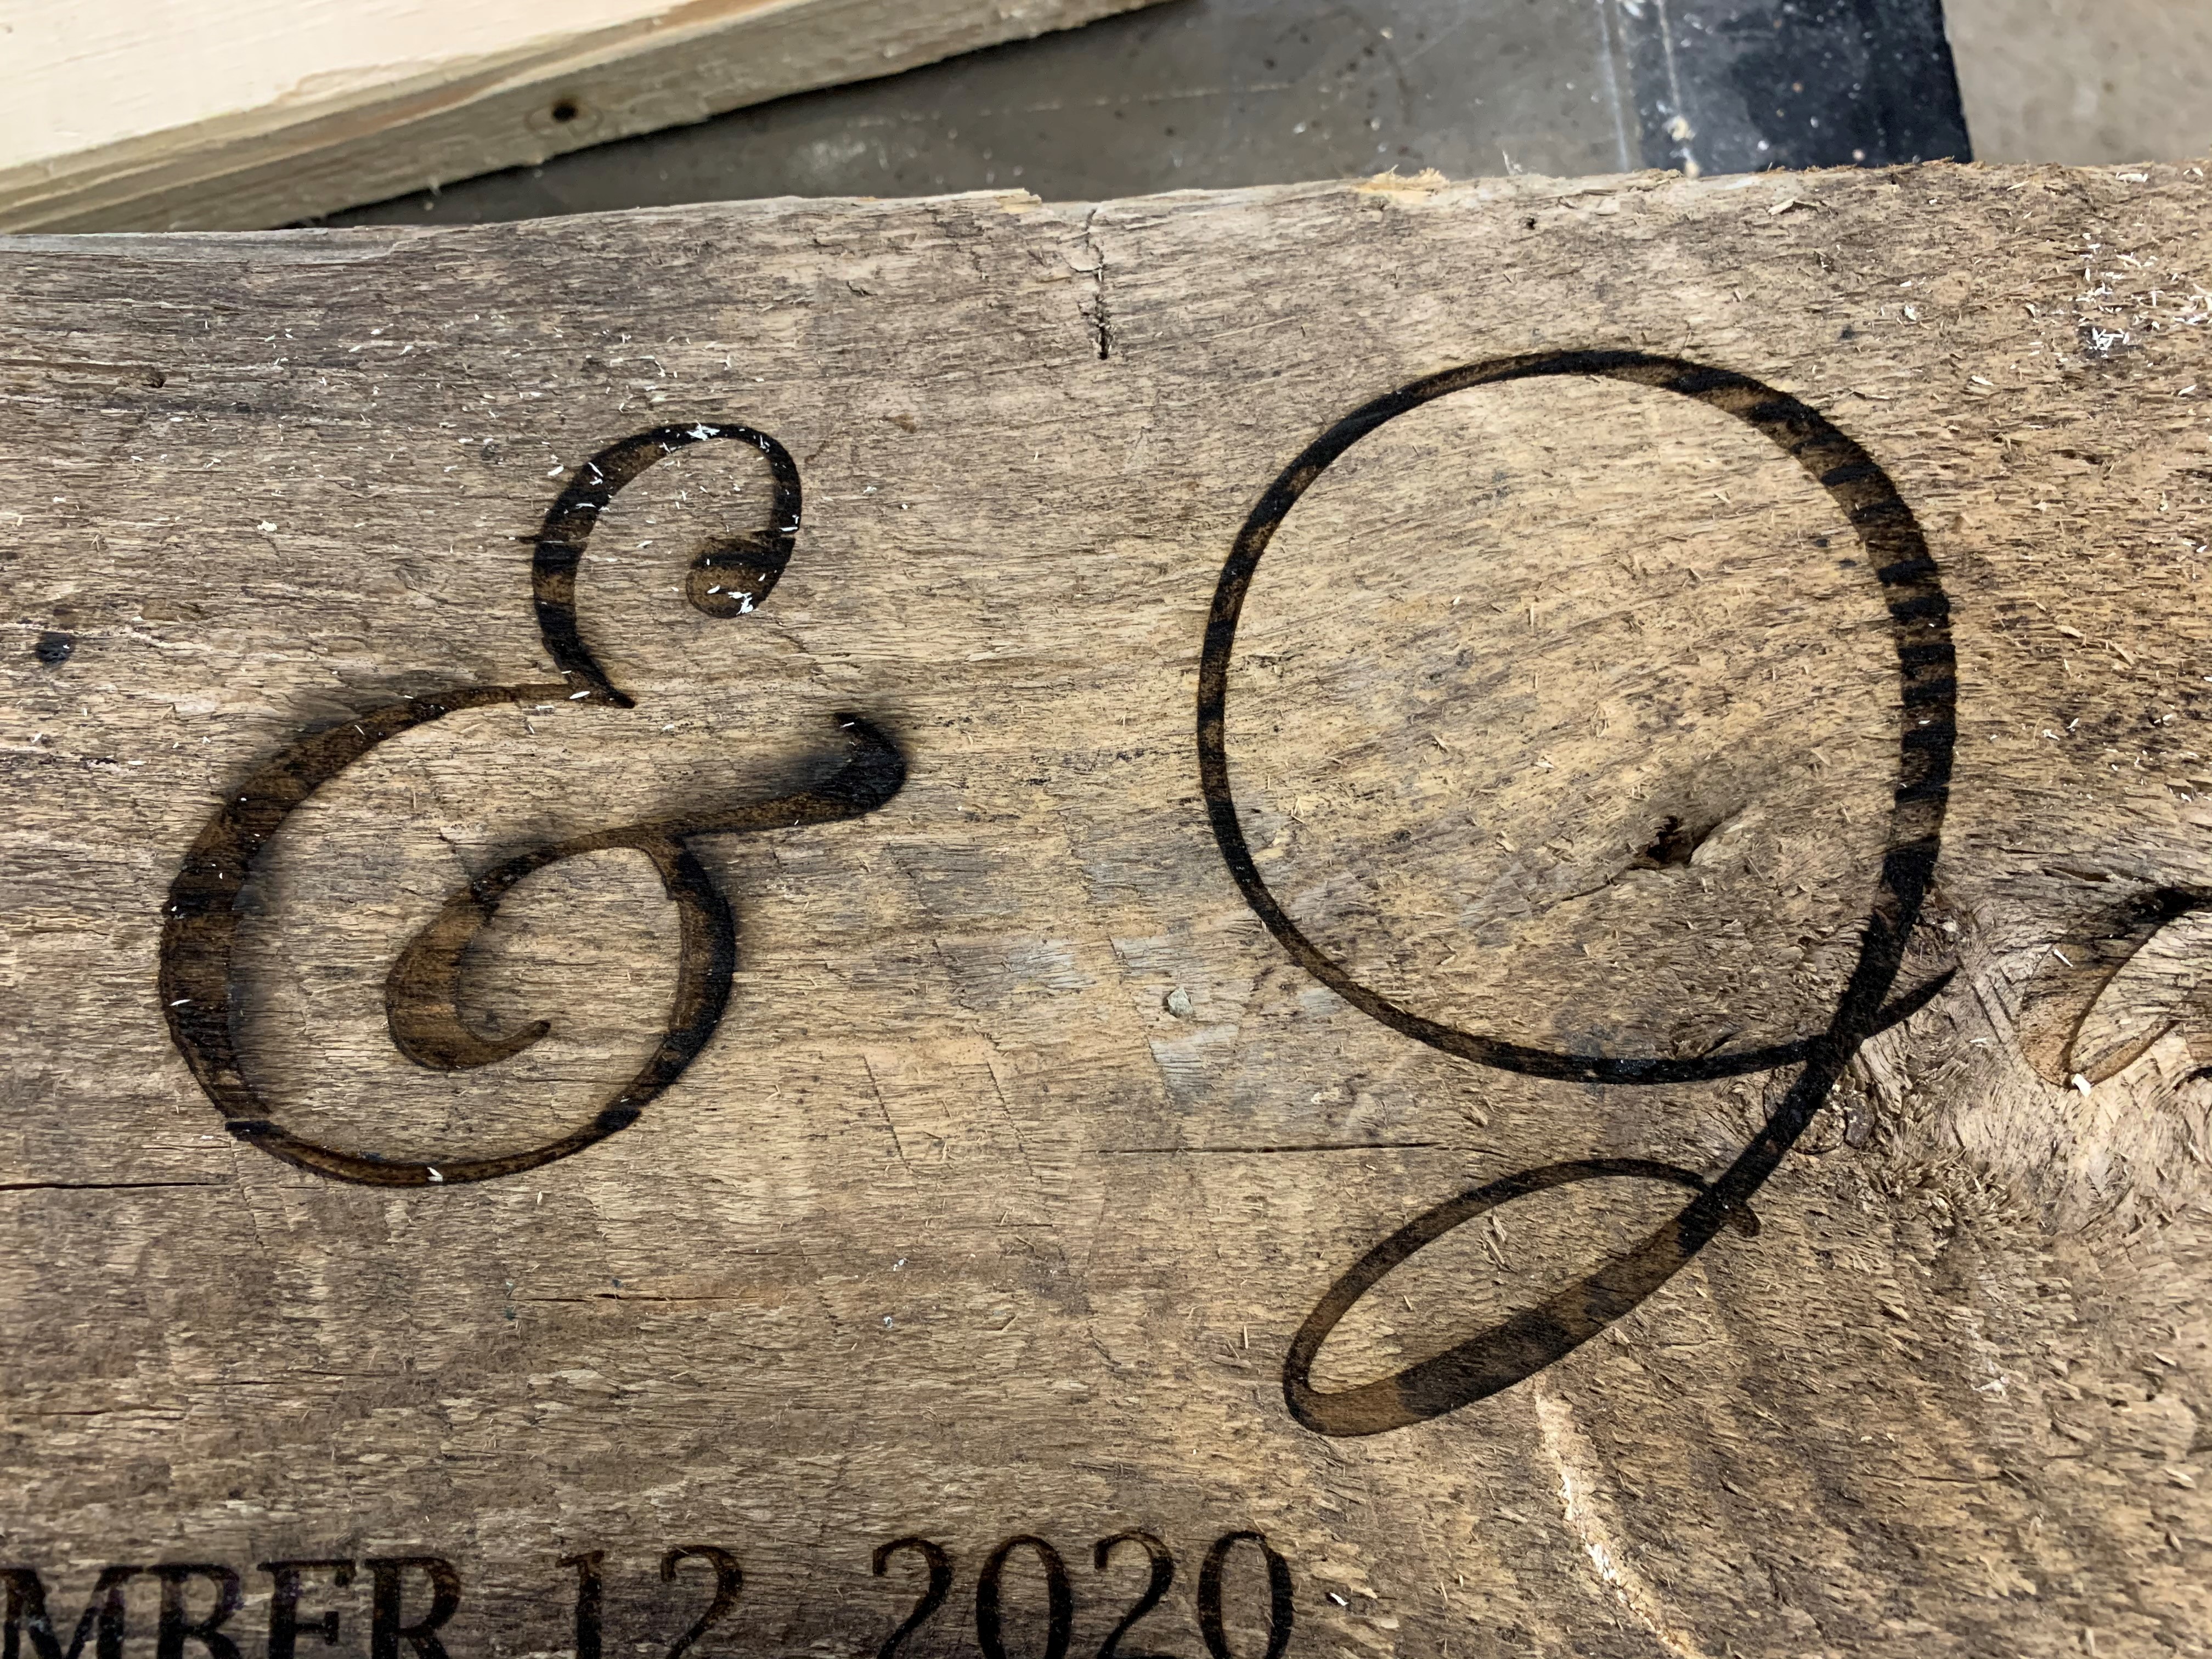
Here’s a comparison between the two jobs… The ampersand was burned the first night, and the bottom 3/4 was burned without air assist. The J was burned the next day, with air assist from the start.
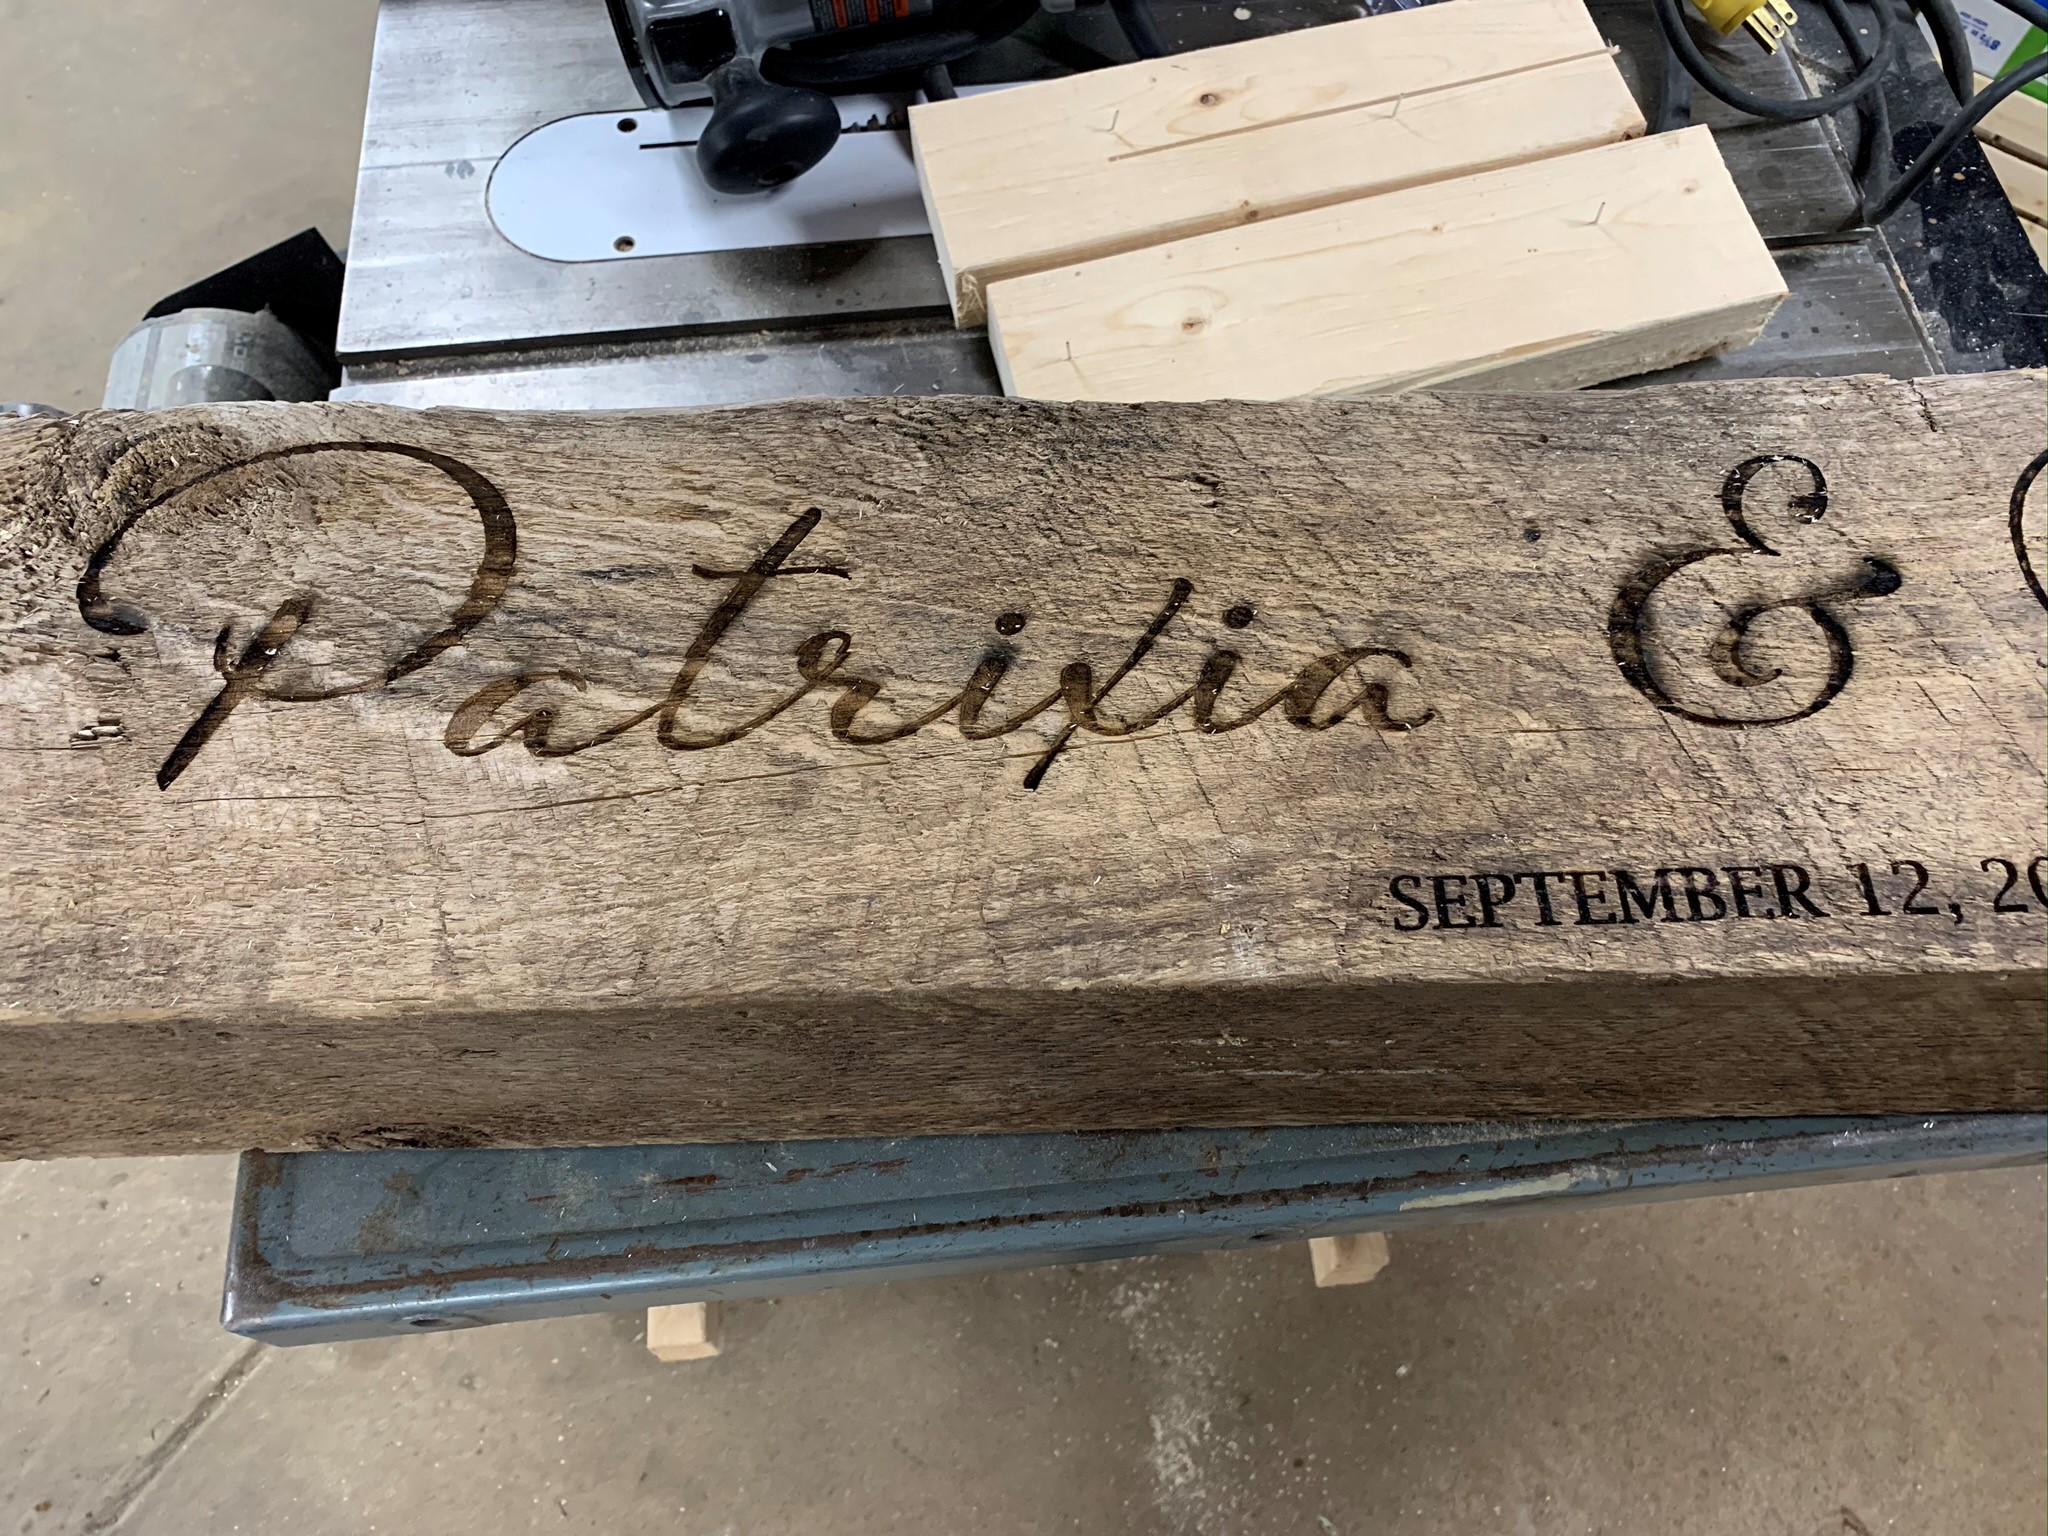
So… While I was watching the second half burn, I was noodling how to deal with the smoke marks on the first part. I had put a couple pieces of 3M paint masking tape on the beam for marking locations, and I ended up peeling off one of those pieces, and tried using that to lift the smoke from one of the locations. Success! Compare the “t” in this image to the one posted earlier. Night and day difference, with no damage to the wood.
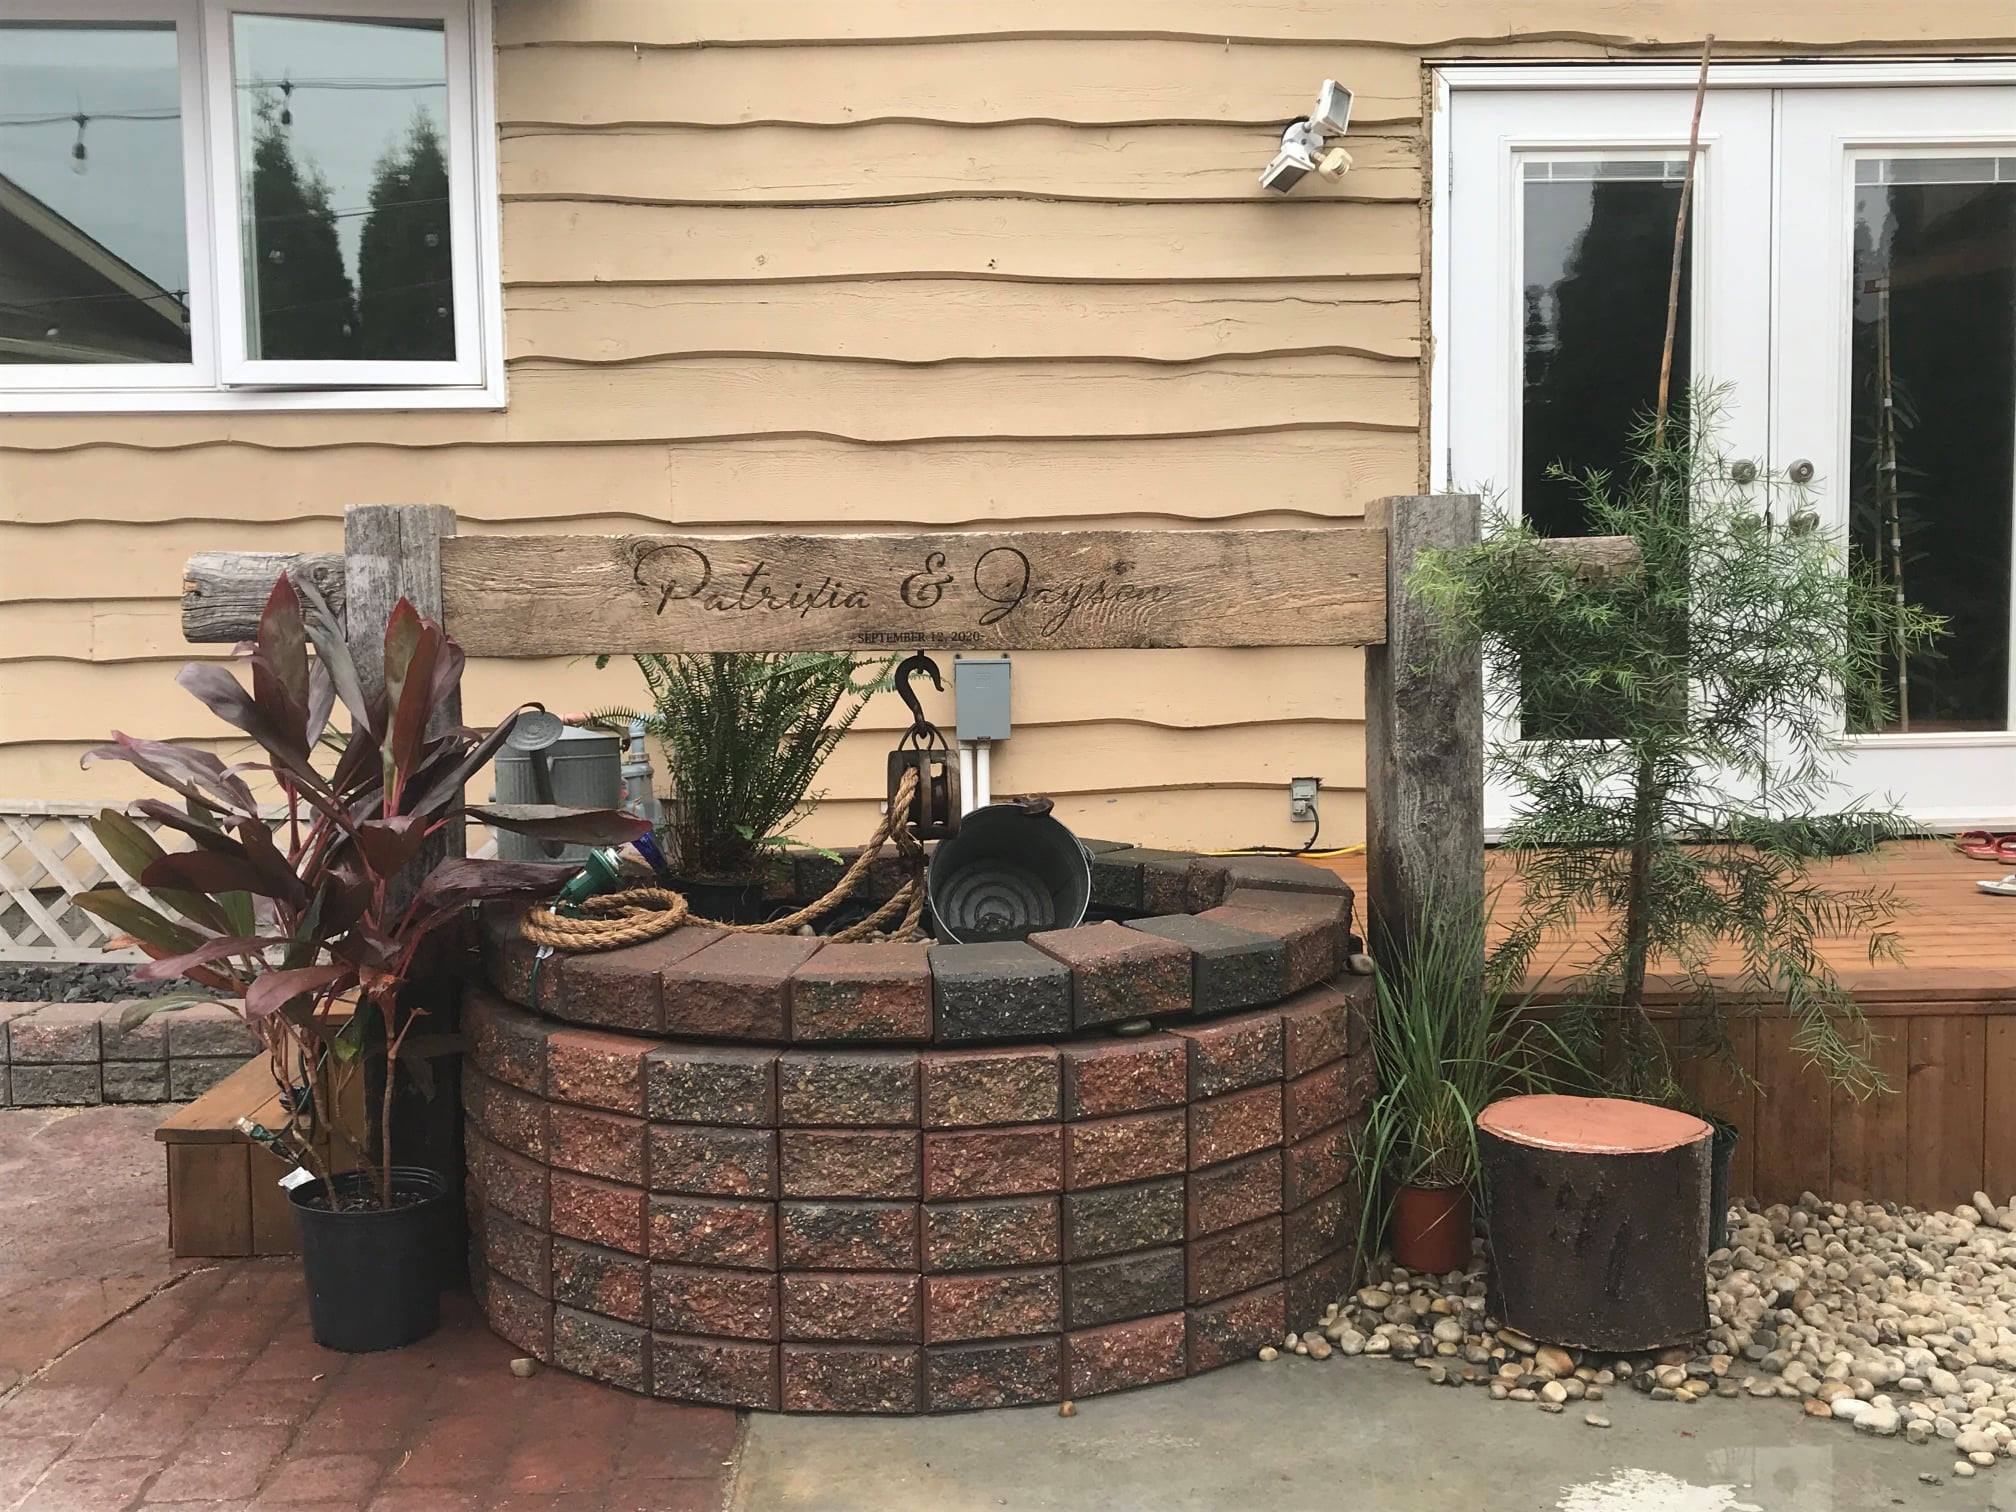
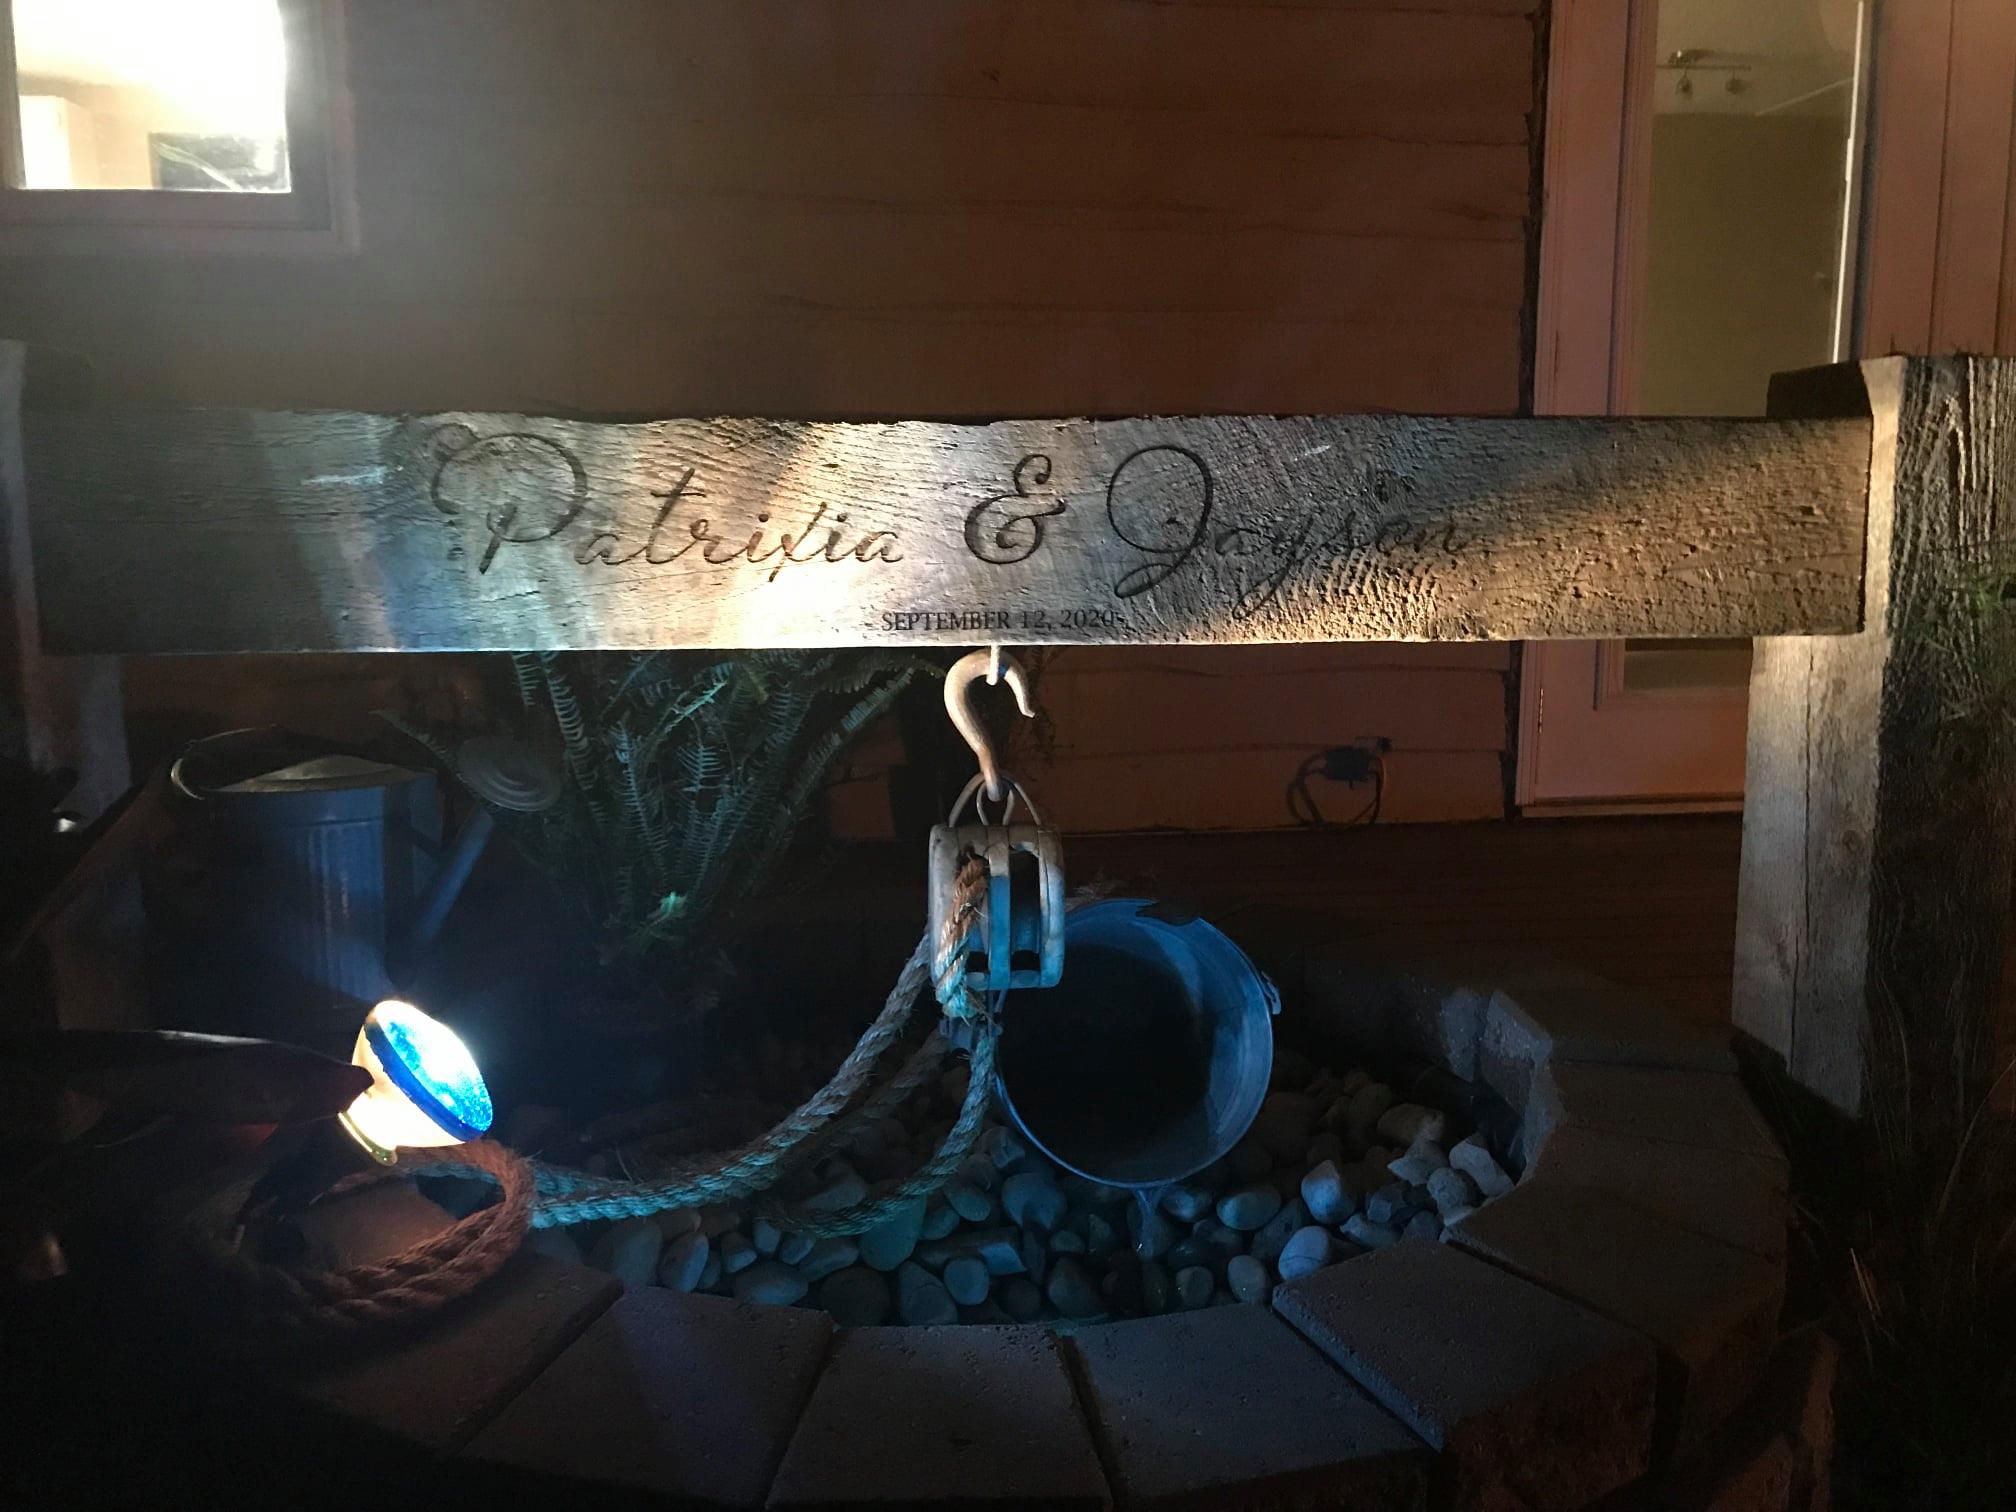
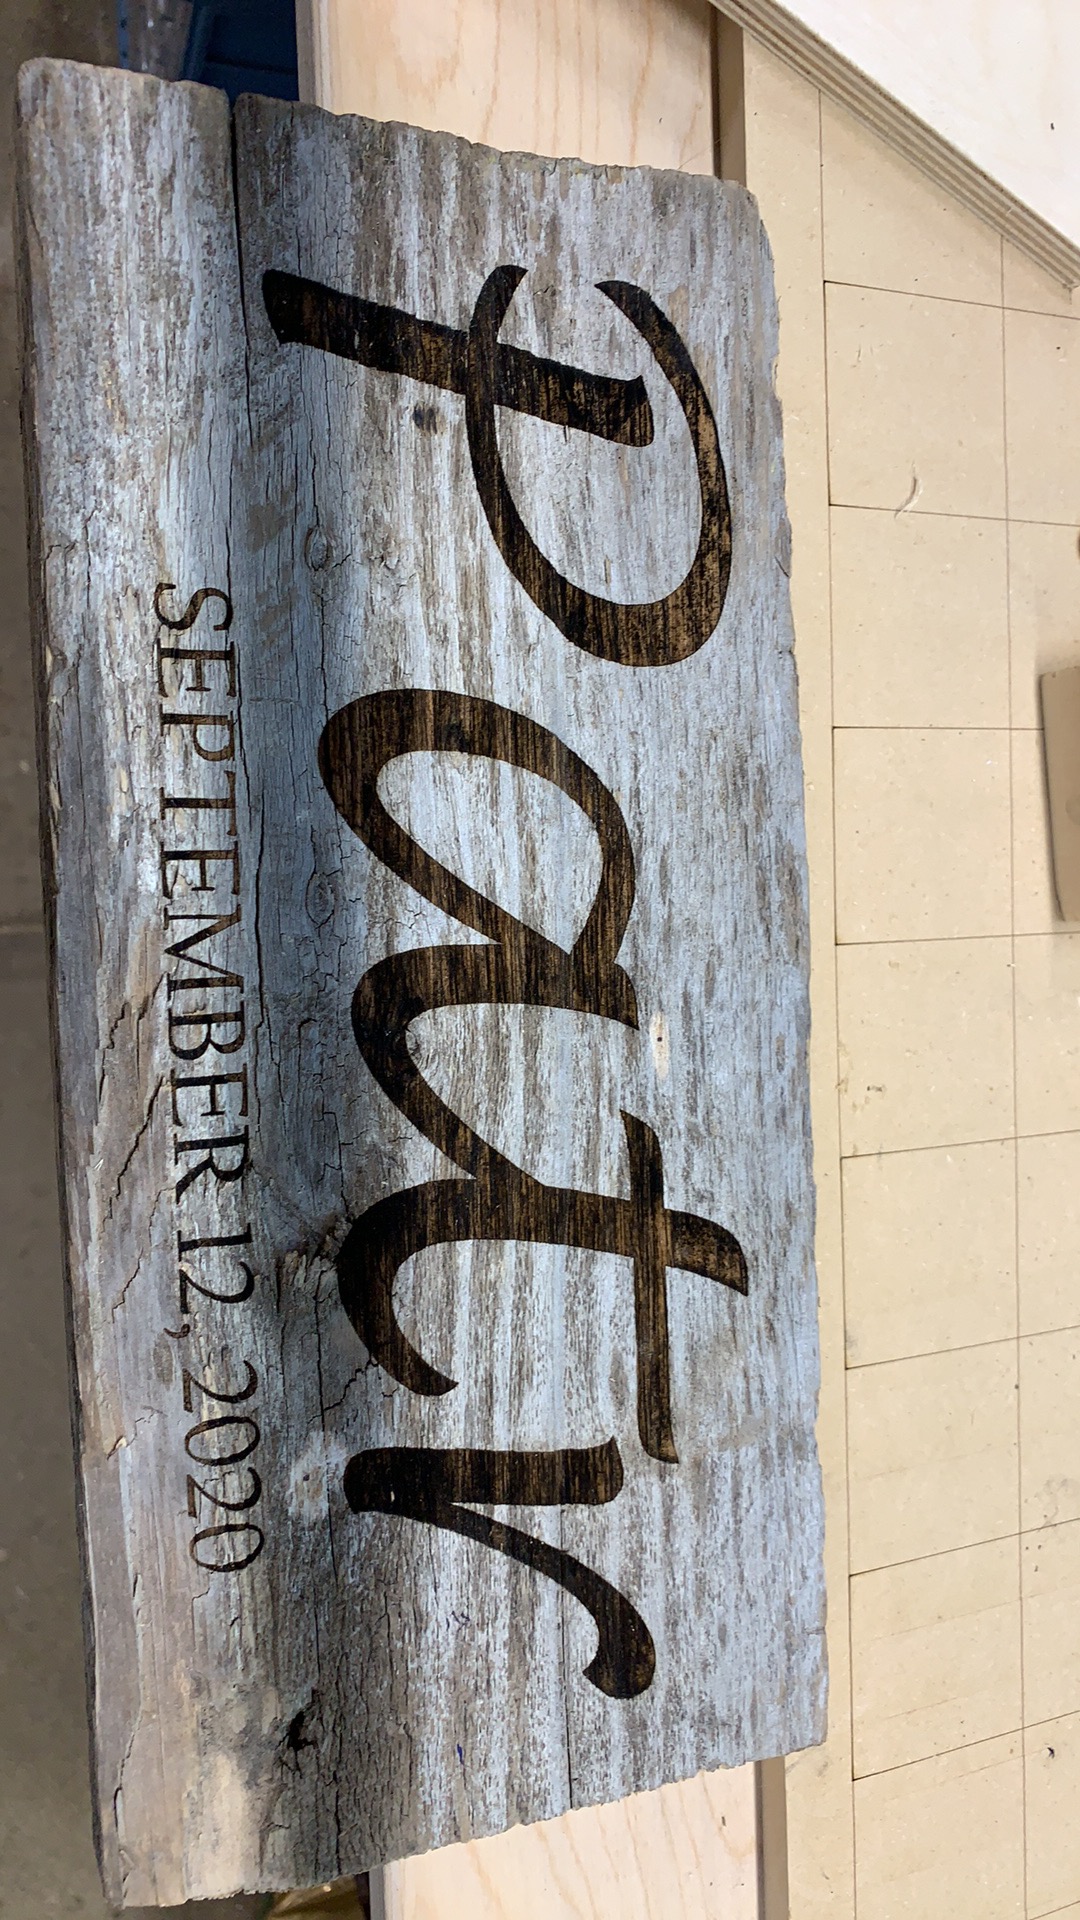
And here’s the final result

The client was super happy with the results, I ended up learning a TON, so even though I made no real profit on this job, I’m ok with the outcome. If you made it all the way through this monologue, thanks!