Just in case… Merry Christmas from Texas!
1 Like
your works are always wonderful David 
1 Like
Hi David ! I have the same laser as you and i’m very glad to see the good result you achieve. Like i’m new with it do you have any link to begin . I saw nwt tiles , what is it ? What color and what kind of paint do you use ? I saw somebody use rustoleum antique white , is it the one you use ? Sorry if it is the same old questions but i’ m realy impress if i could achieve the same result as you with the same machine .
Thanks in advance !
1 Like
Hey, Patrick! Thanks for the kind words.
These tiles are common white ceramic tiles from the big-box stores (Lowes, HomeDepot, etc) in the US… not sure where you are. The “NWT” is the “Norton White Tile” method of processing these tiles to be lasered… exactly like presented in this video
")
I use Rustoleum 2X flat-white paint/primer to lightly coat the clean tile and acetone to both clean the tile and remove the paint after lasering. I’ve heard most any non-water based white paint works but no direct experience.
Good luck!
–David
1 Like
Thank you for all the information you gave me . I will make some try and give you feedback when done.
Have a nice Day !
Did you try to make grayscale image with your Neje
A40640 laser and what was the result ?
Is it better with your eleksmaker ?
Thanks again !
Patrick
Not yet… it’s on my list of things to try. And not using grayscale… using LB’s dithering, usually Jarvis or Stucki.
Let me know when you will have done it .
I’m looking to buy this Neje a40640 as a complement to my eleksmaker 2.5W
Once again thanks !
That’s for you David, when you can, i’m not in a hurry.
A little question about tiles and images and, naturally, LB
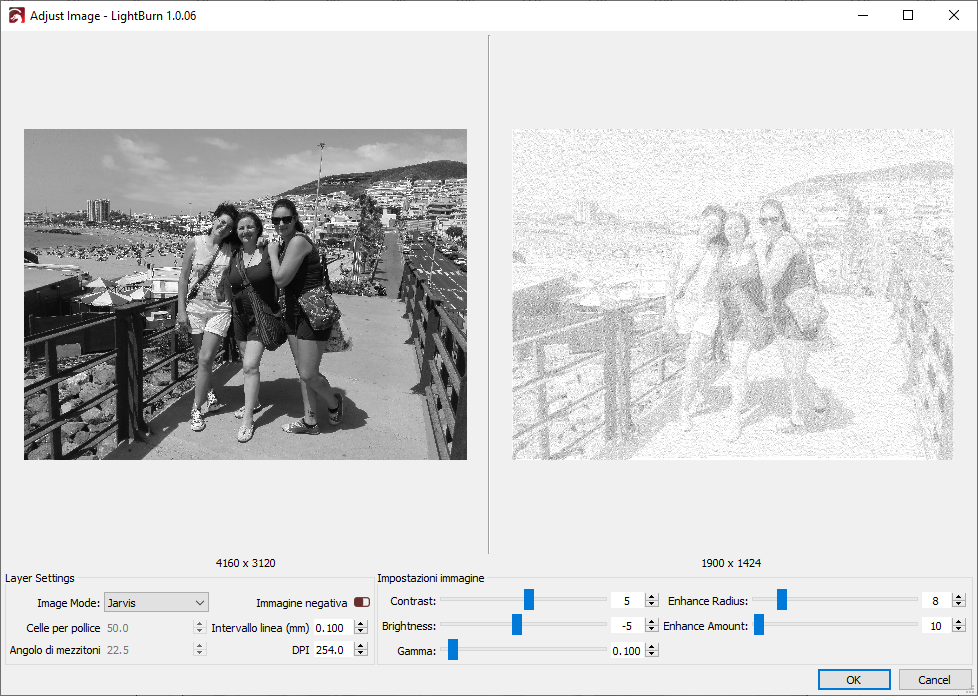
I made up in two days a little cantilever with an MKS DLC V2.0, laser module Eleksmaker 3.5W, drivers A4899 to try to replicate you wonderful works with tiles. The question is this using Jarvis or Stucki in preview i got a very dark image so, according to the preview, i adjust the image to make it less darker as i can and to see details present in the picture.
The image is engraved at 1200 mm/min and 85% power and 0.100 line interval.
Done that i start engrave and i see the impulse that the controller gives to laser but no beam at all.
So what i’ve done in reset all
This is the adjust image
and this is the preview
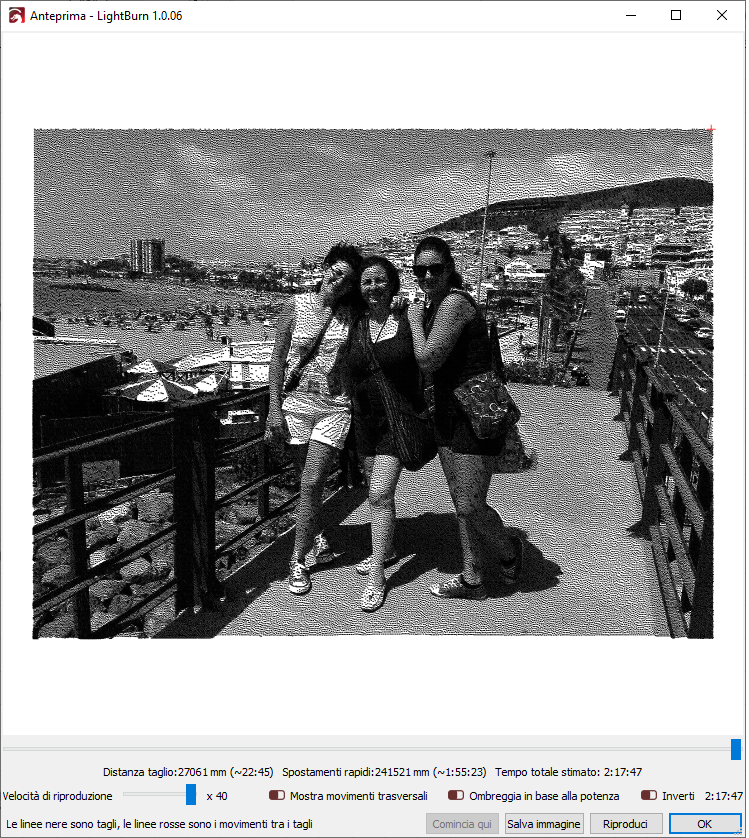
i don’t understand why there is such a difference
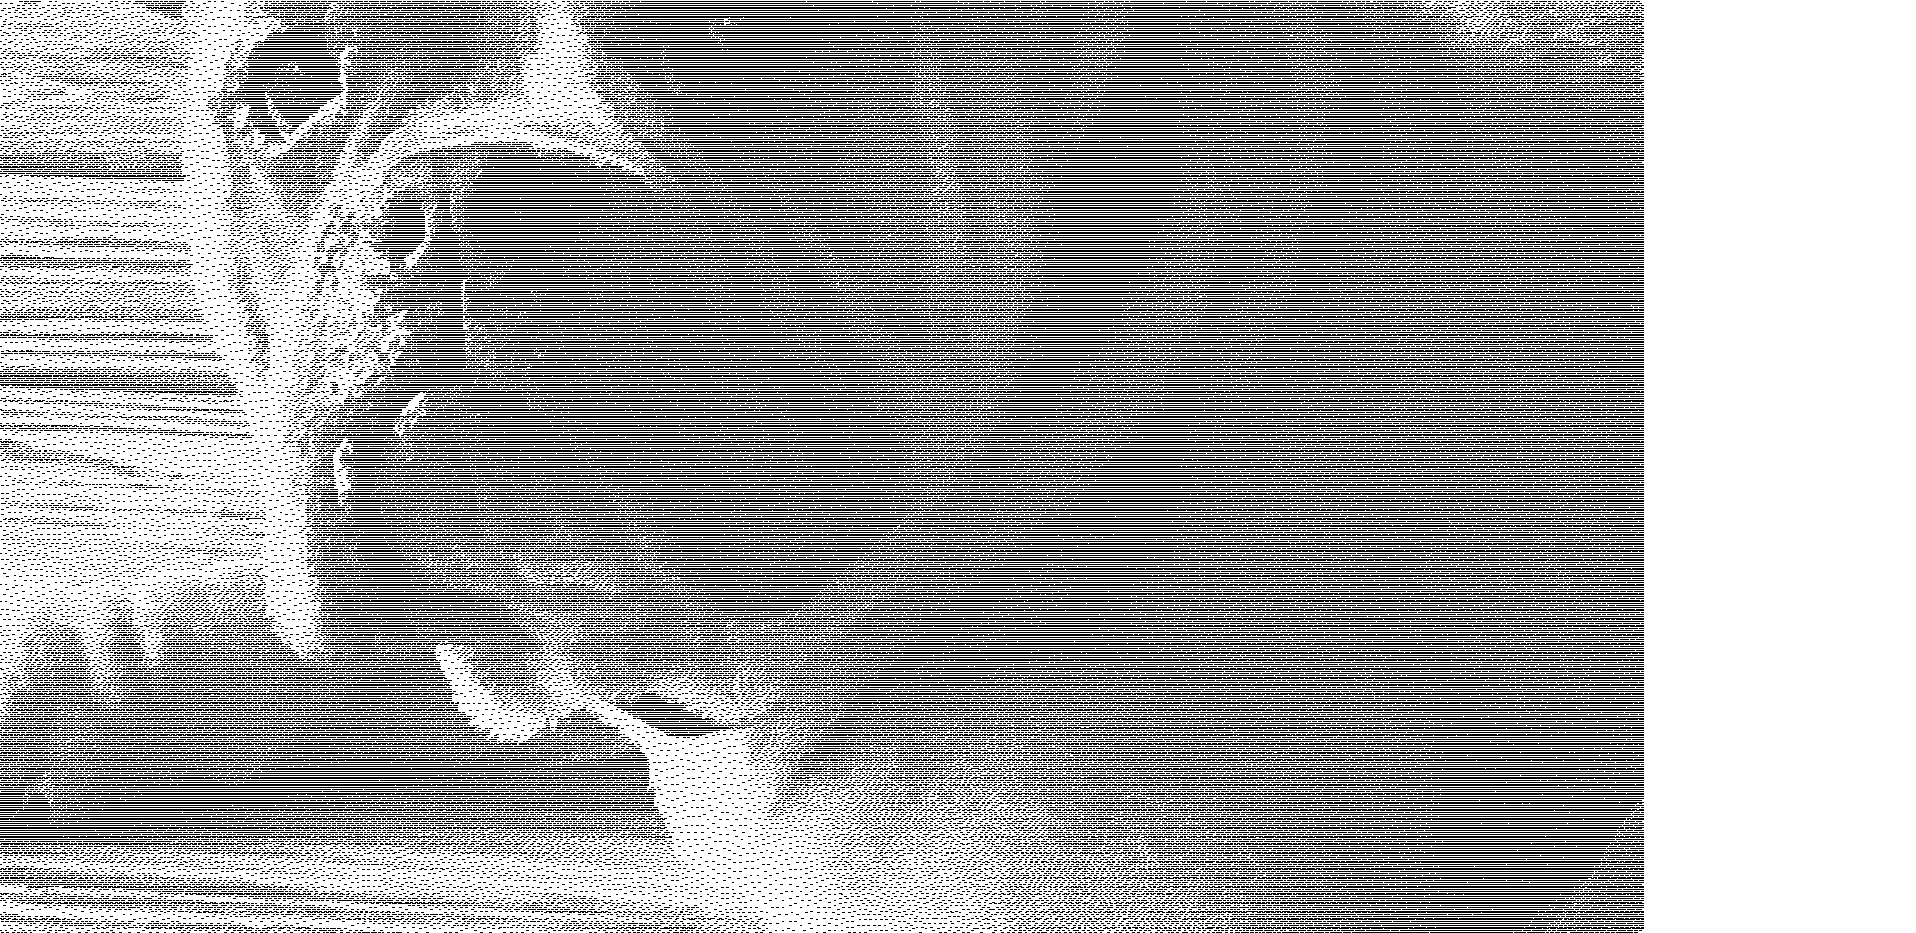
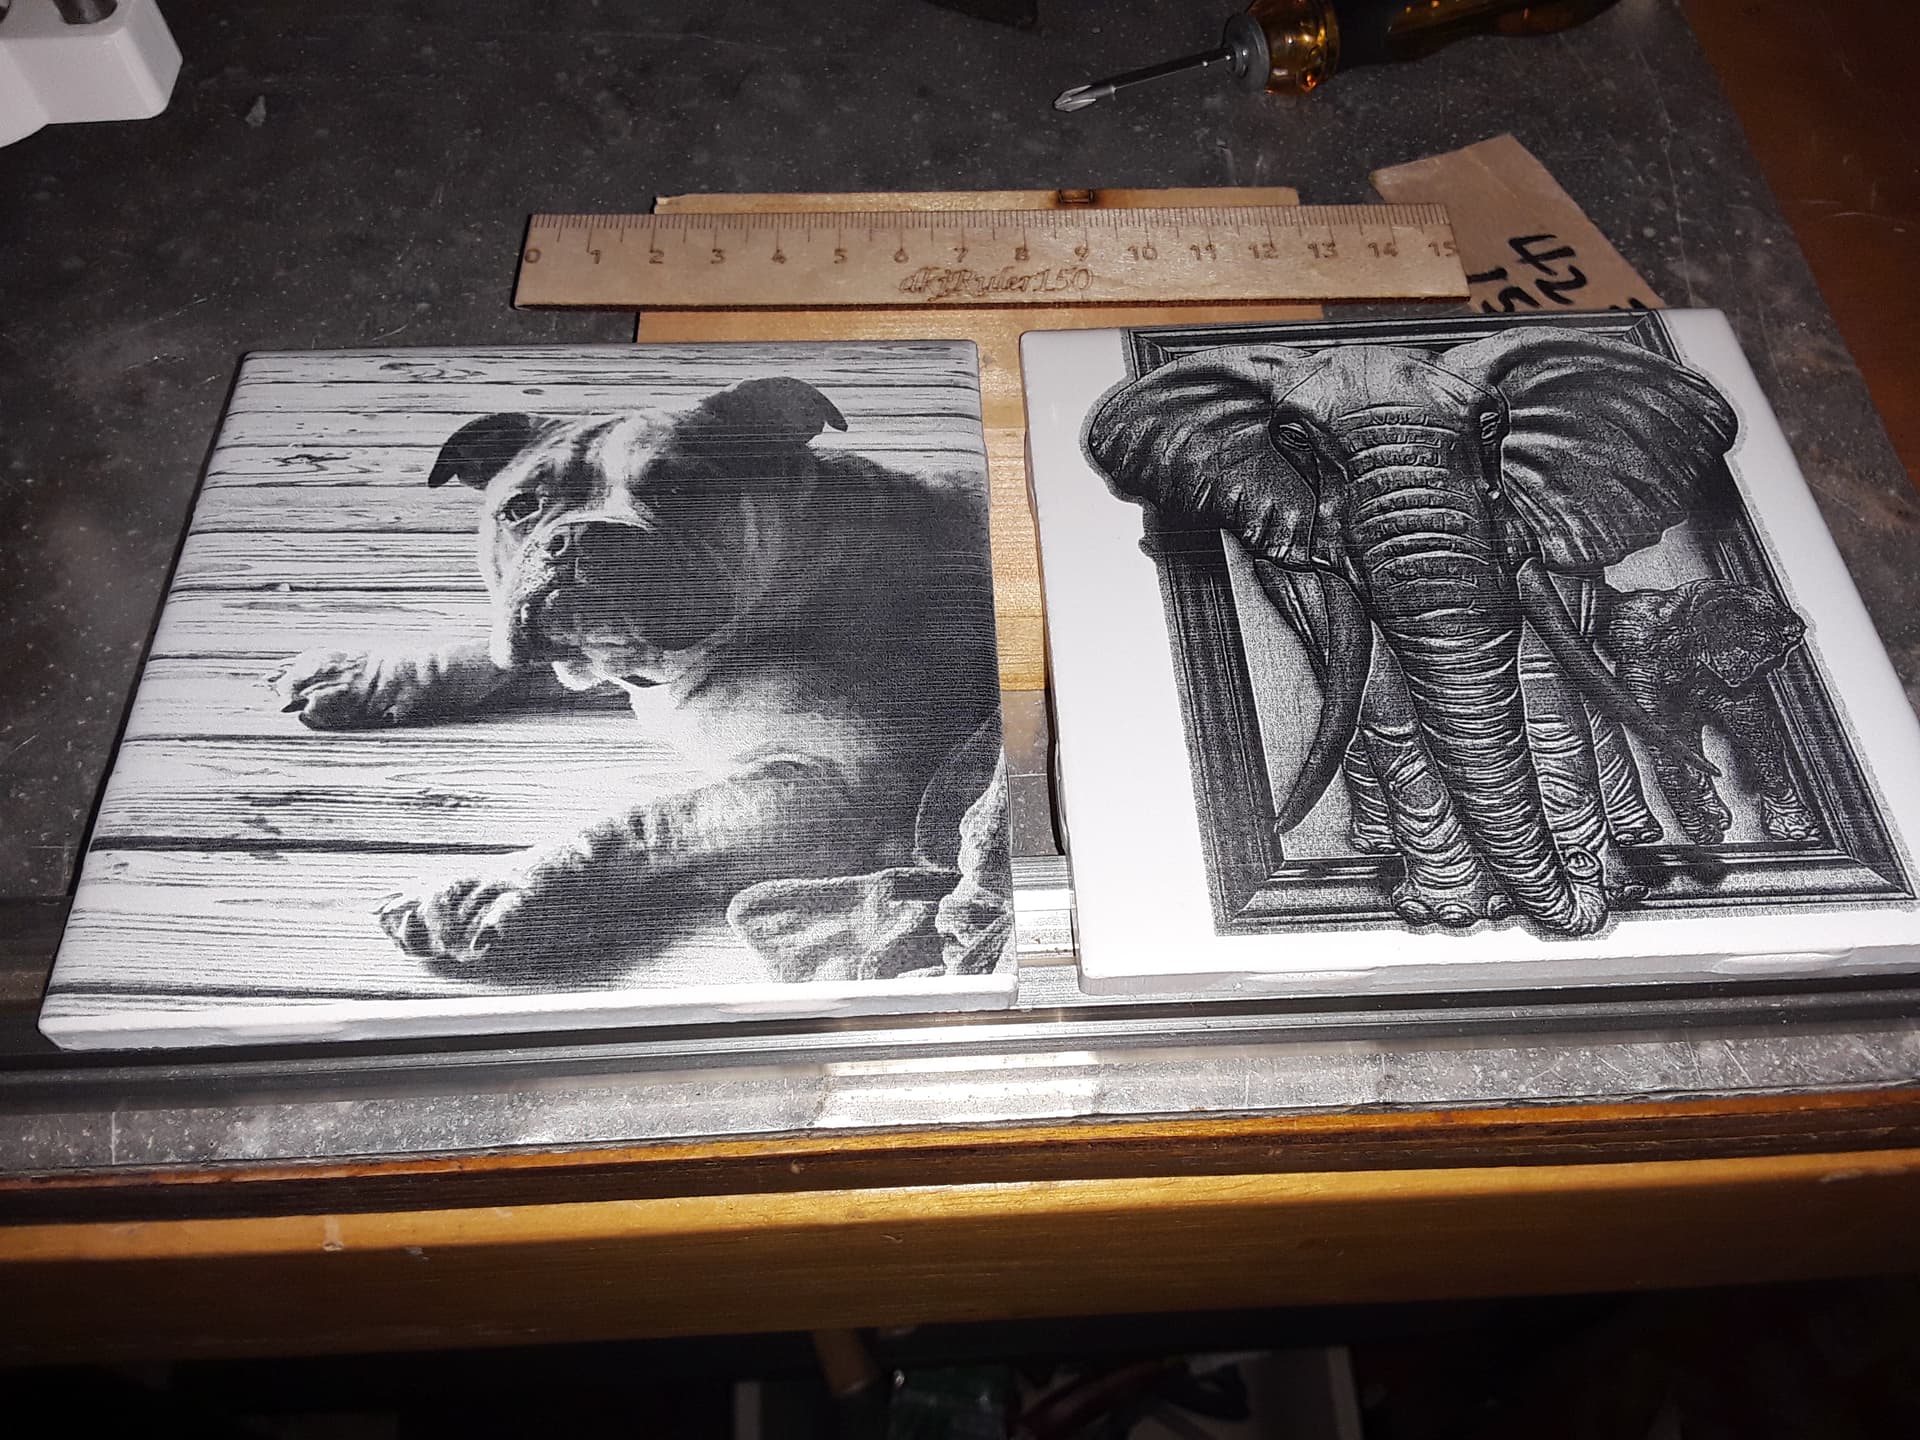
You can’t really tell from the preview exactly what’s going to look good on the tile. My previews always look too dark… but if you’ll zoom in on the preview you’ll start seeing the detail that will make its way on to the tile…

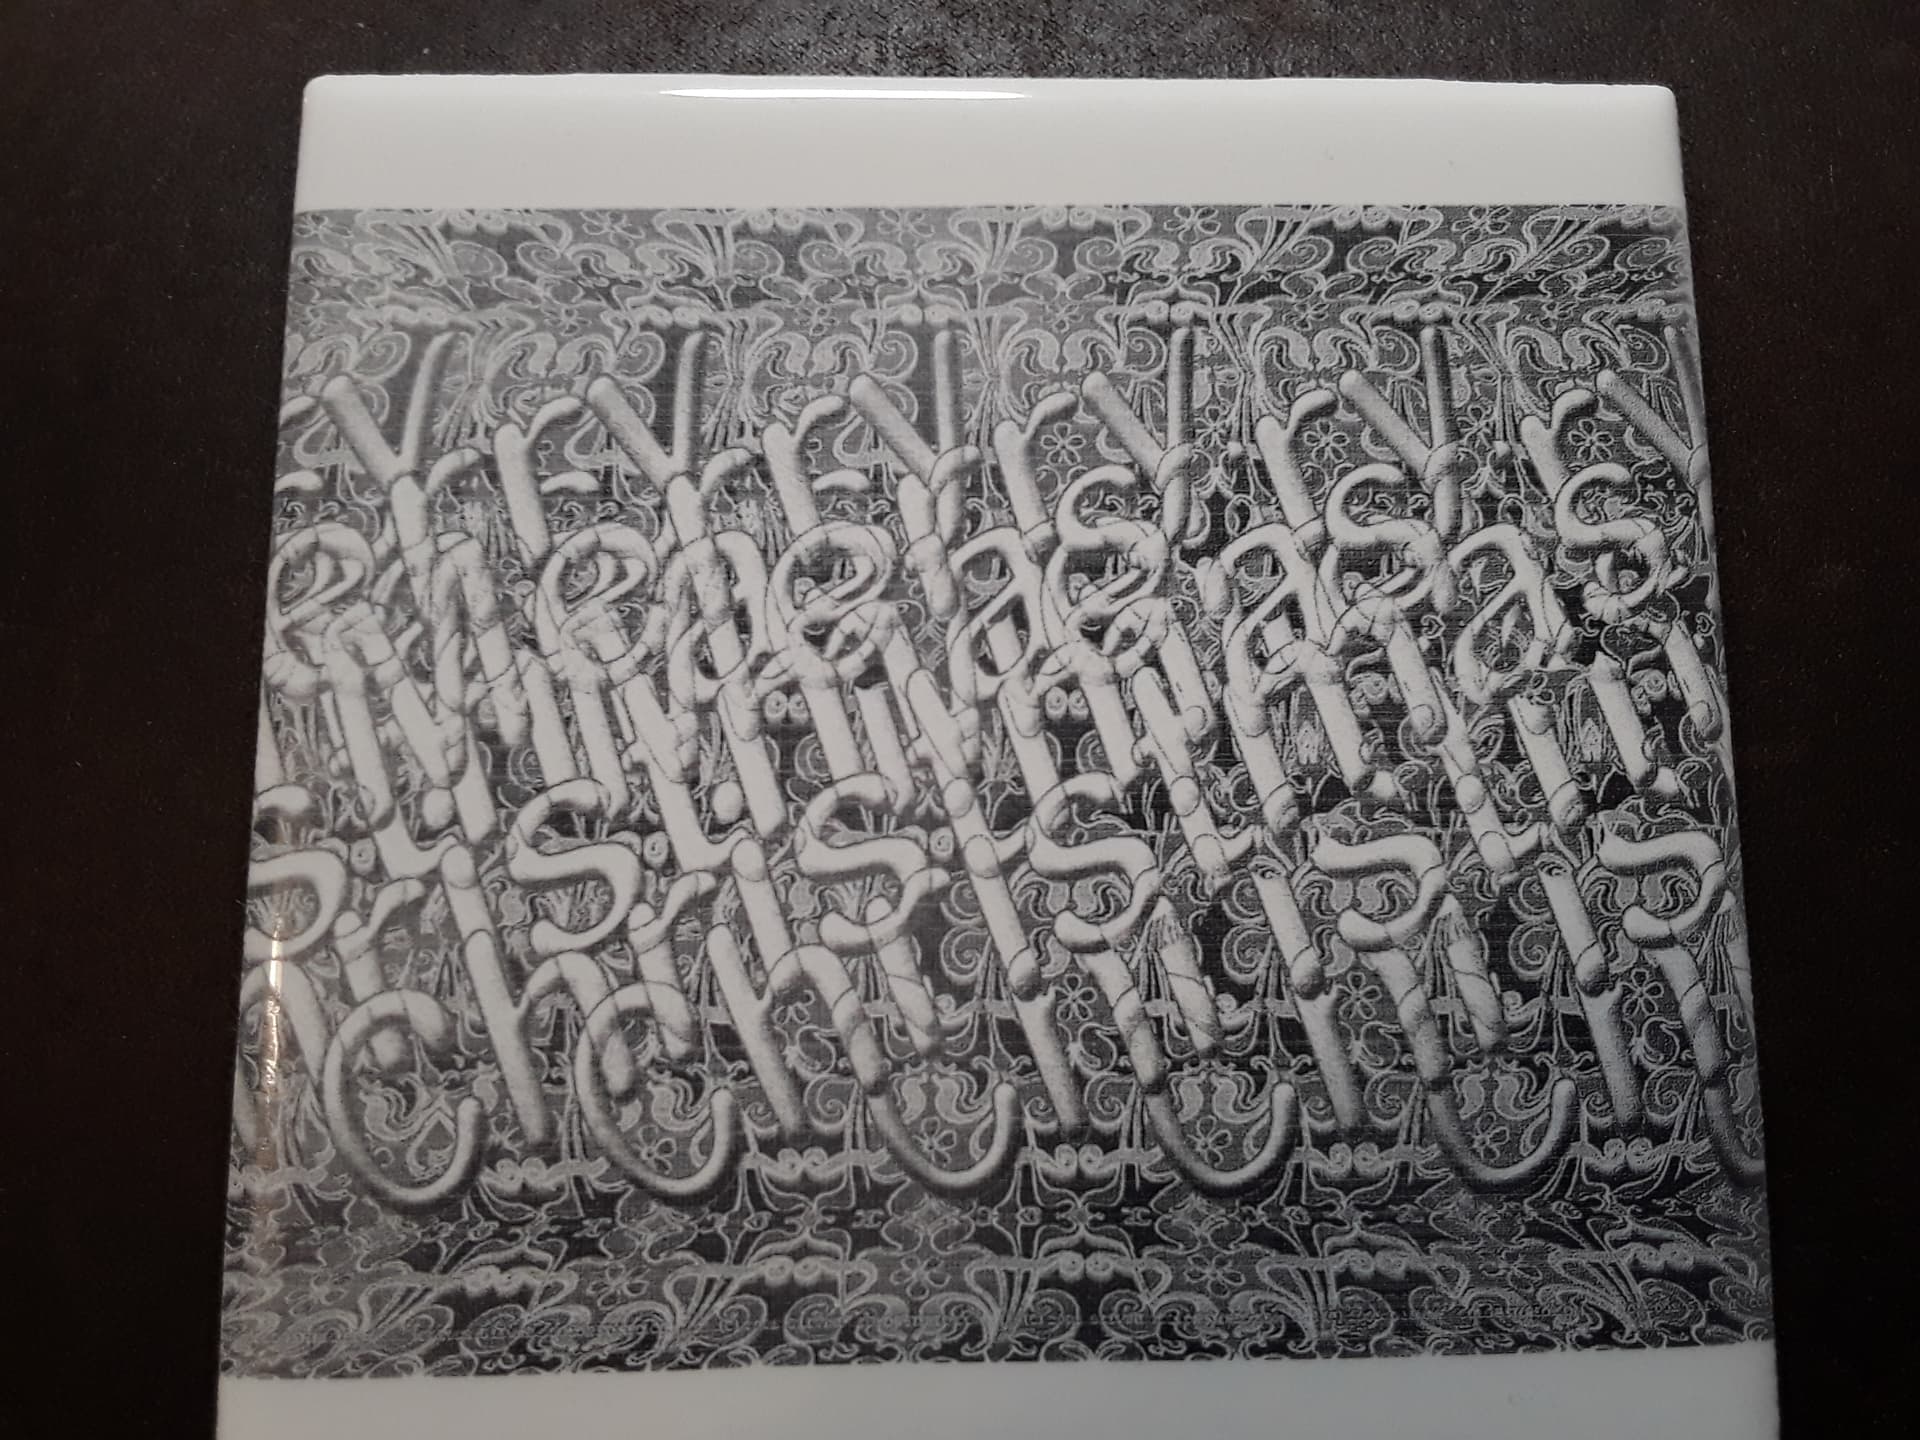
and give a result something like this…
Hardly an expert, dithering, I suspect is the “culprit” as you are basically “faking” shades of gray with the varying density of black dots on a white background. Viewed from afar, maybe it all looks black… zoom in and you start seeing the variation of dot density. I see little difference between Stucki and Jarvis on the tile… I trust the suggested usage comments and sample patterns shown at the bottom of the Cuts/Layers window when setting the Image Mode to Stucki/Jarvis/Newsprint/whatever.
Hope this helps.
– David
1 Like
Hope me too, anyway happy new year to you all
1 Like
I already knew ImagR, but I had never realized that it has tools to work and prepare the image exclusively with the Norton method, as the guy in this video details.
