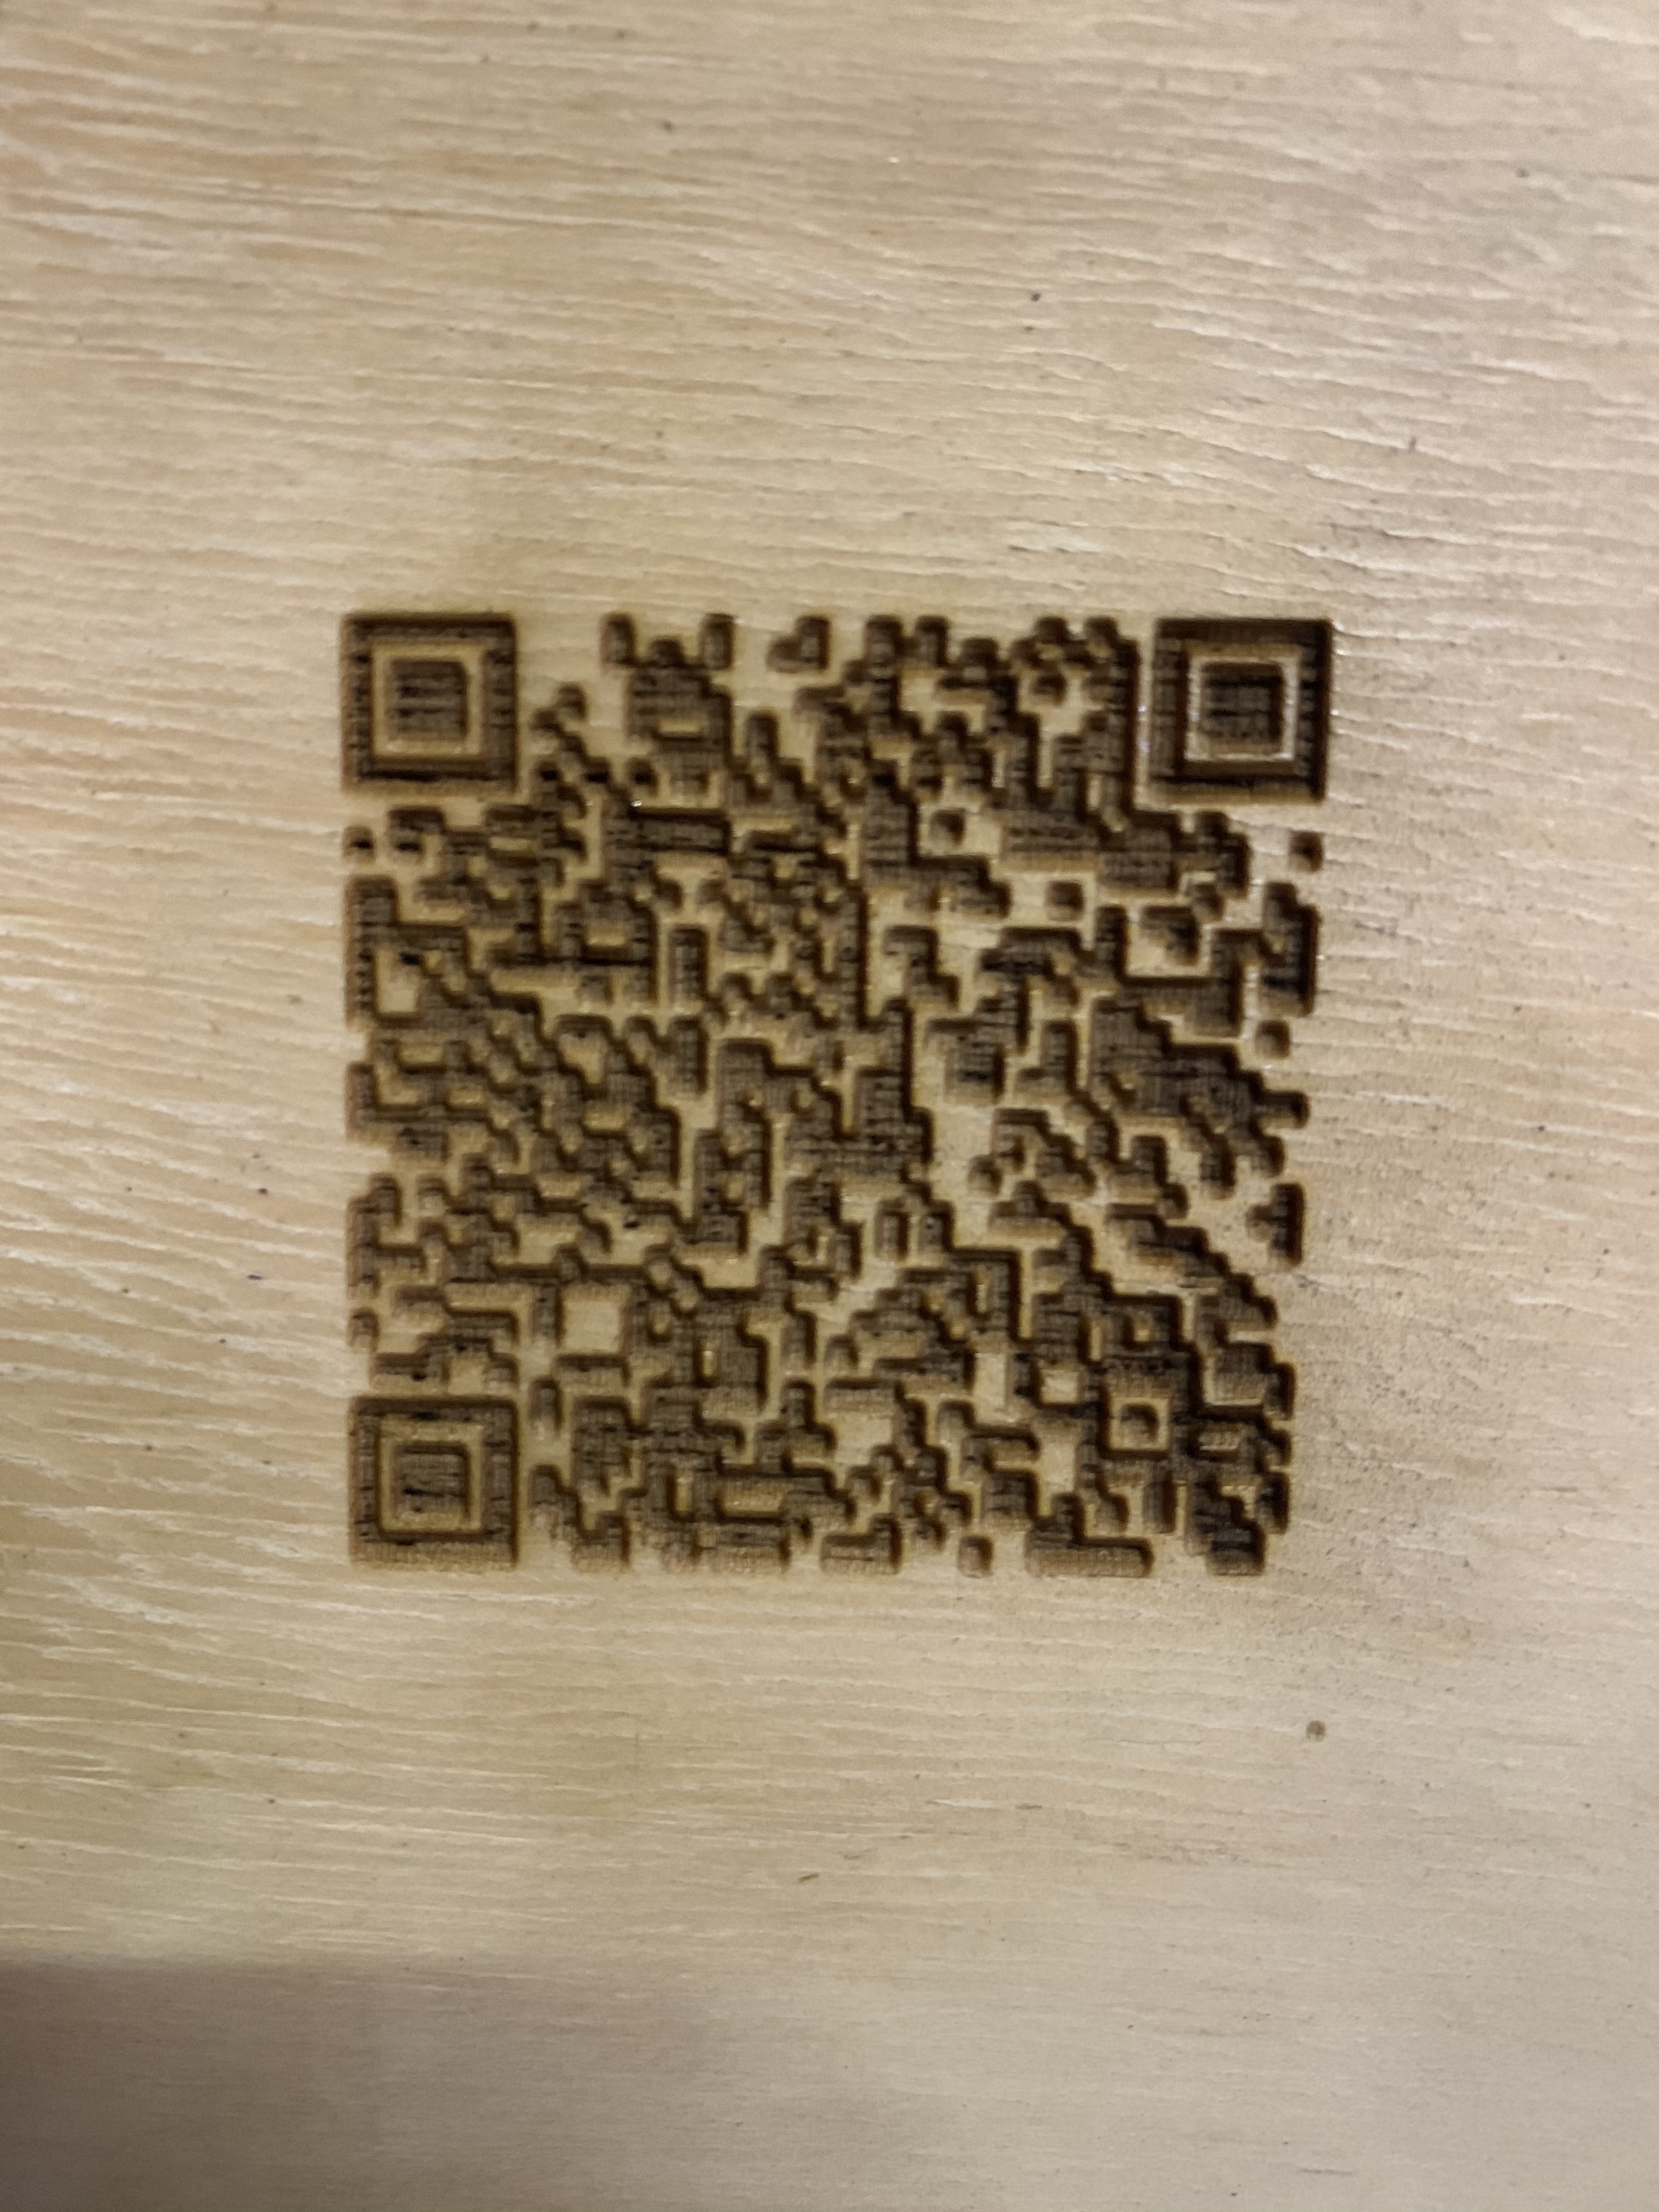
Hello! I’m new and learning to operate a 100w C02 laser. I tried LightBurns QR code project. It is coming out well, however, the QR code isn’t being read by any smart phone. Attached is the latest result. Any recommendations on how to get this QR code read will be greatly appreciated. 
Welcome, Natasha. What does this QR code graphic look like in LightBurn? What are the dimensions of this object? Is it a vector or bitmap image? What are the settings for this Layer?
is it bmorenatty network.
@Rick thanks for your questions. Below are my responses:
Q: What does this QR code graphic look like in LightBurn?
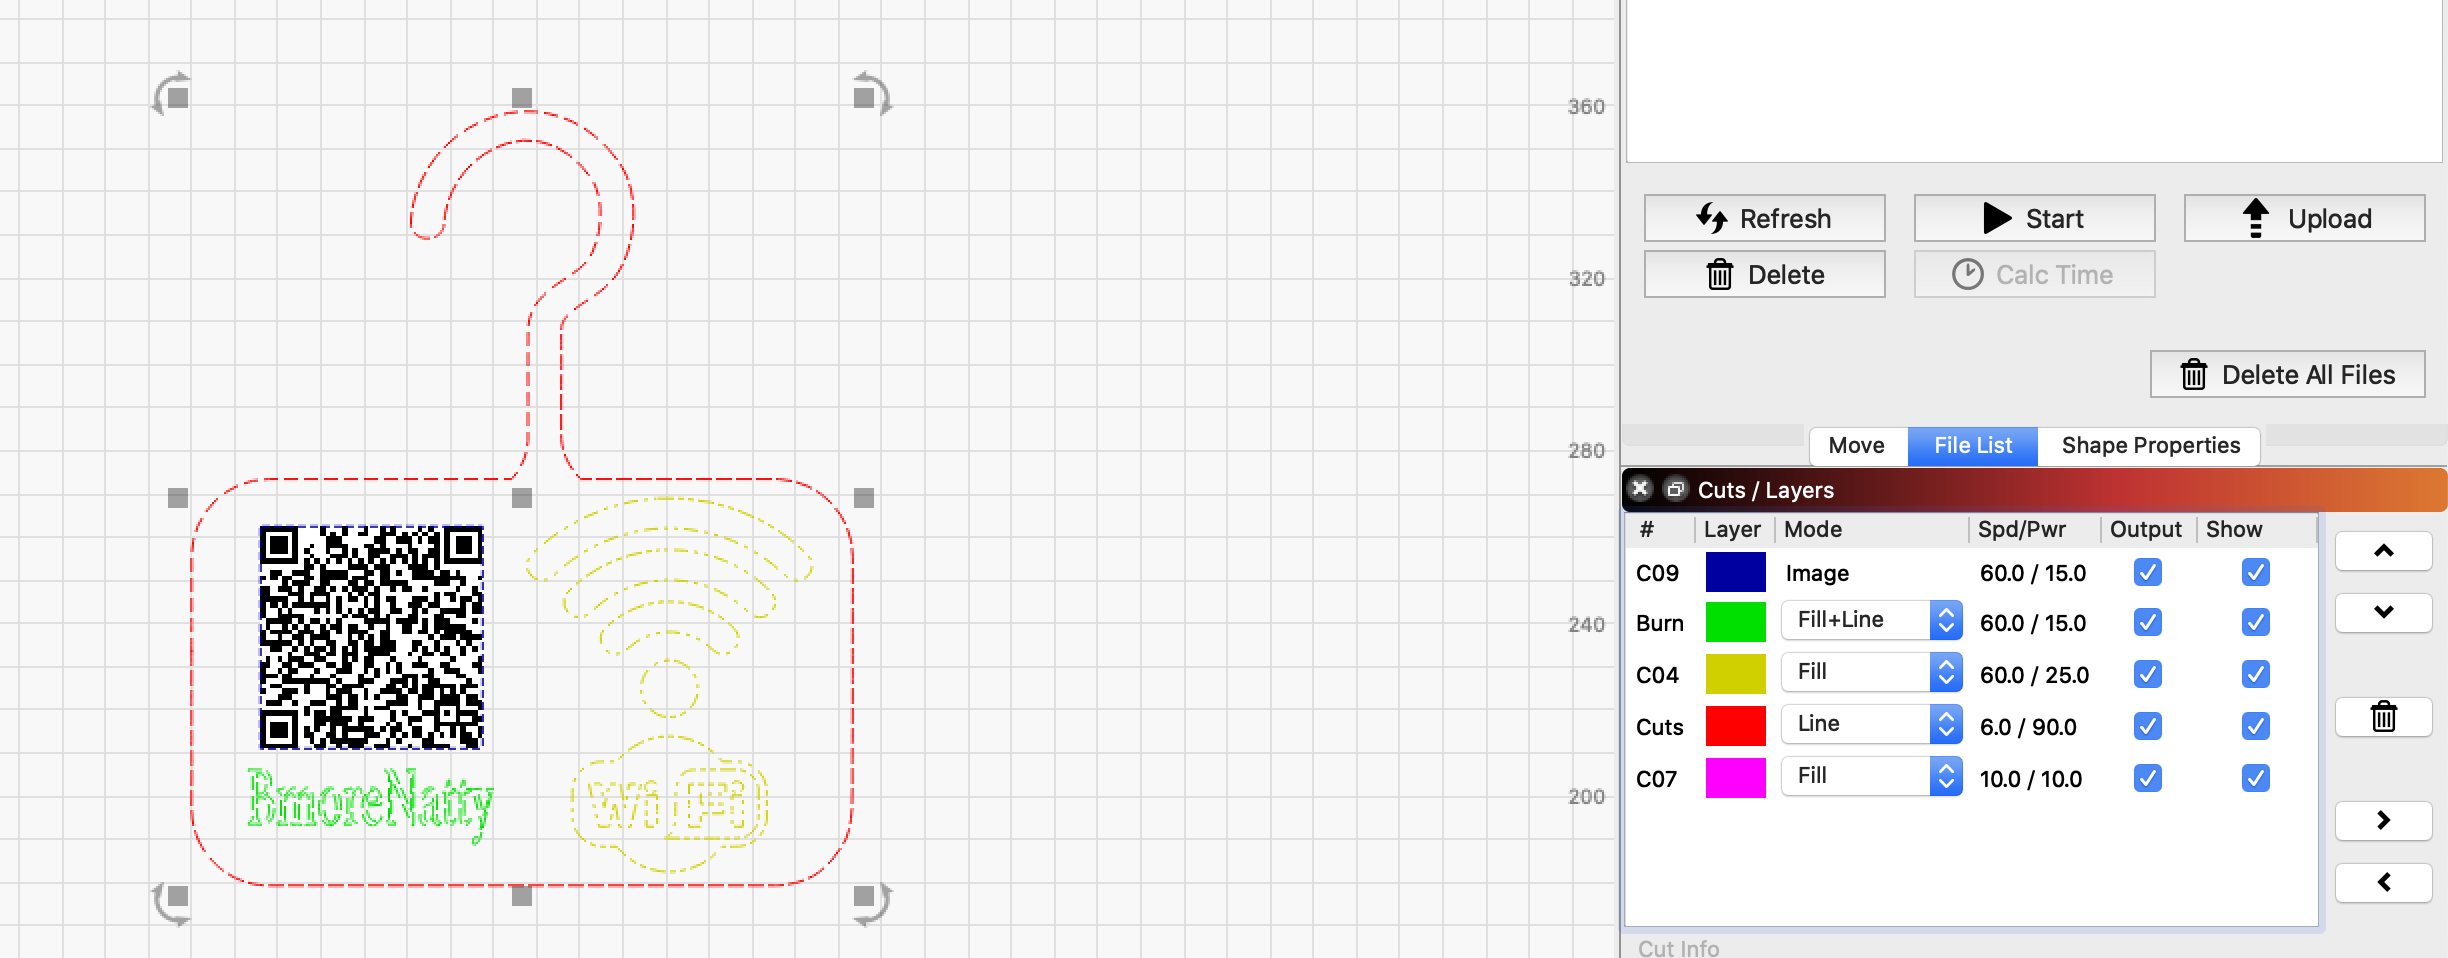
A: The QR code looks clear like the image “pure JS Wifi” exports. I am able to upscale and downscale without losing information. The aspect ratio stays the same since I hold down control when I change its shape.
Q: What are the dimensions of this object?
A: 153mm x 179mm
Q: Is it a vector or bitmap image?
A: I believe this is a vector image since changing its aspect ratio doesn’t pixelate.
Q:What are the settings for this Layer?
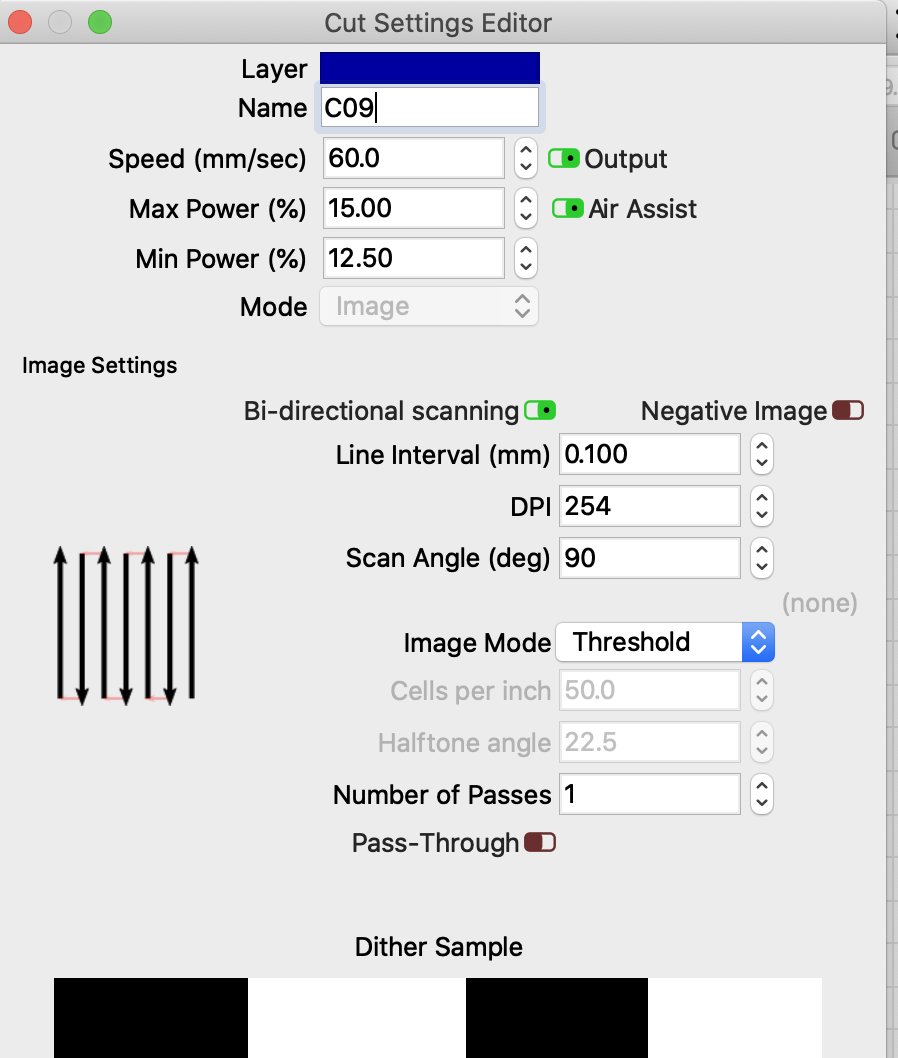
A: Attached are the settings I used to produce the original image that started this post.
Regards,
NM
1 Like
Hi Rudy! The name of the network is “BmoreNatty”. The problem is that none of the smartphones I’ve tried can successfully read this QR code. When I first tried, I was able to get it after a few seconds of angling the phone just right. I’ve been unsuccessful in the attempts after that. I’m thinking it may be a contrast issue and I should give that test a quick sand with 200 grit paper?
It looks slightly out of focus, and probably a little too deep (too much power). If you have a 100w CO2 laser, you can likely run that at 300mm/sec with 15% power and get a decent result.
2 Likes
Sharpness is critical for any kind of barcode application. Worry more about having distinct edges than getting the code as dark as possible.
There’s one subtle feature of QR codes that’s useful to know about when troubleshooting. Look at the upper left alignment mark - follow the solid vertical line on its right side all the way down to the bottom left alignment mark’s right edge. That’s the clock column and it’s always light-dark-light-dark-light-dark, no matter what the contents are or what mask has been applied.
If you can’t clearly make out that pattern, the QR code is likely to not be any good. And when I zoom in on your photo, it’s really not very distinct.
1 Like
I’ve highlighted the clock column here. Use that as your guide to tell if you’re getting readable results.
And if you have the ability to control the content, keep it as short as possible. Less data means larger pixels and more forgiving decoding. For URLs, use a URL shortener. (Someone needs to tell Harbor Freight about that, because they routinely print QR codes in their mailers that are way too dense for cheap printing to render.) For WiFi credentials you’re probably more restricted, but you could at least make the name shorter and see if you can get it to go down a size.

1 Like
@madsci I appreciate your input so much! I understand what you mean thanks to the highlighted clock column. Thank you!! I’m using a 50m lens and I’m using scrap material to zero in the focus at the moment. It looked in focus from the quick dot I lasered. Once I have a better system I’ll be able to cut out the proper focal lengths per lens.
This might help if you’re not sure where the focus distance is - it’s easy to do:
1 Like
@LightBurn…this is definitely the smart way to find focus! I will definitely be trying this. Thank you for sharing 