Boolean does not seem to work whatever I do PANIC STATIONS PLEASE

Hi

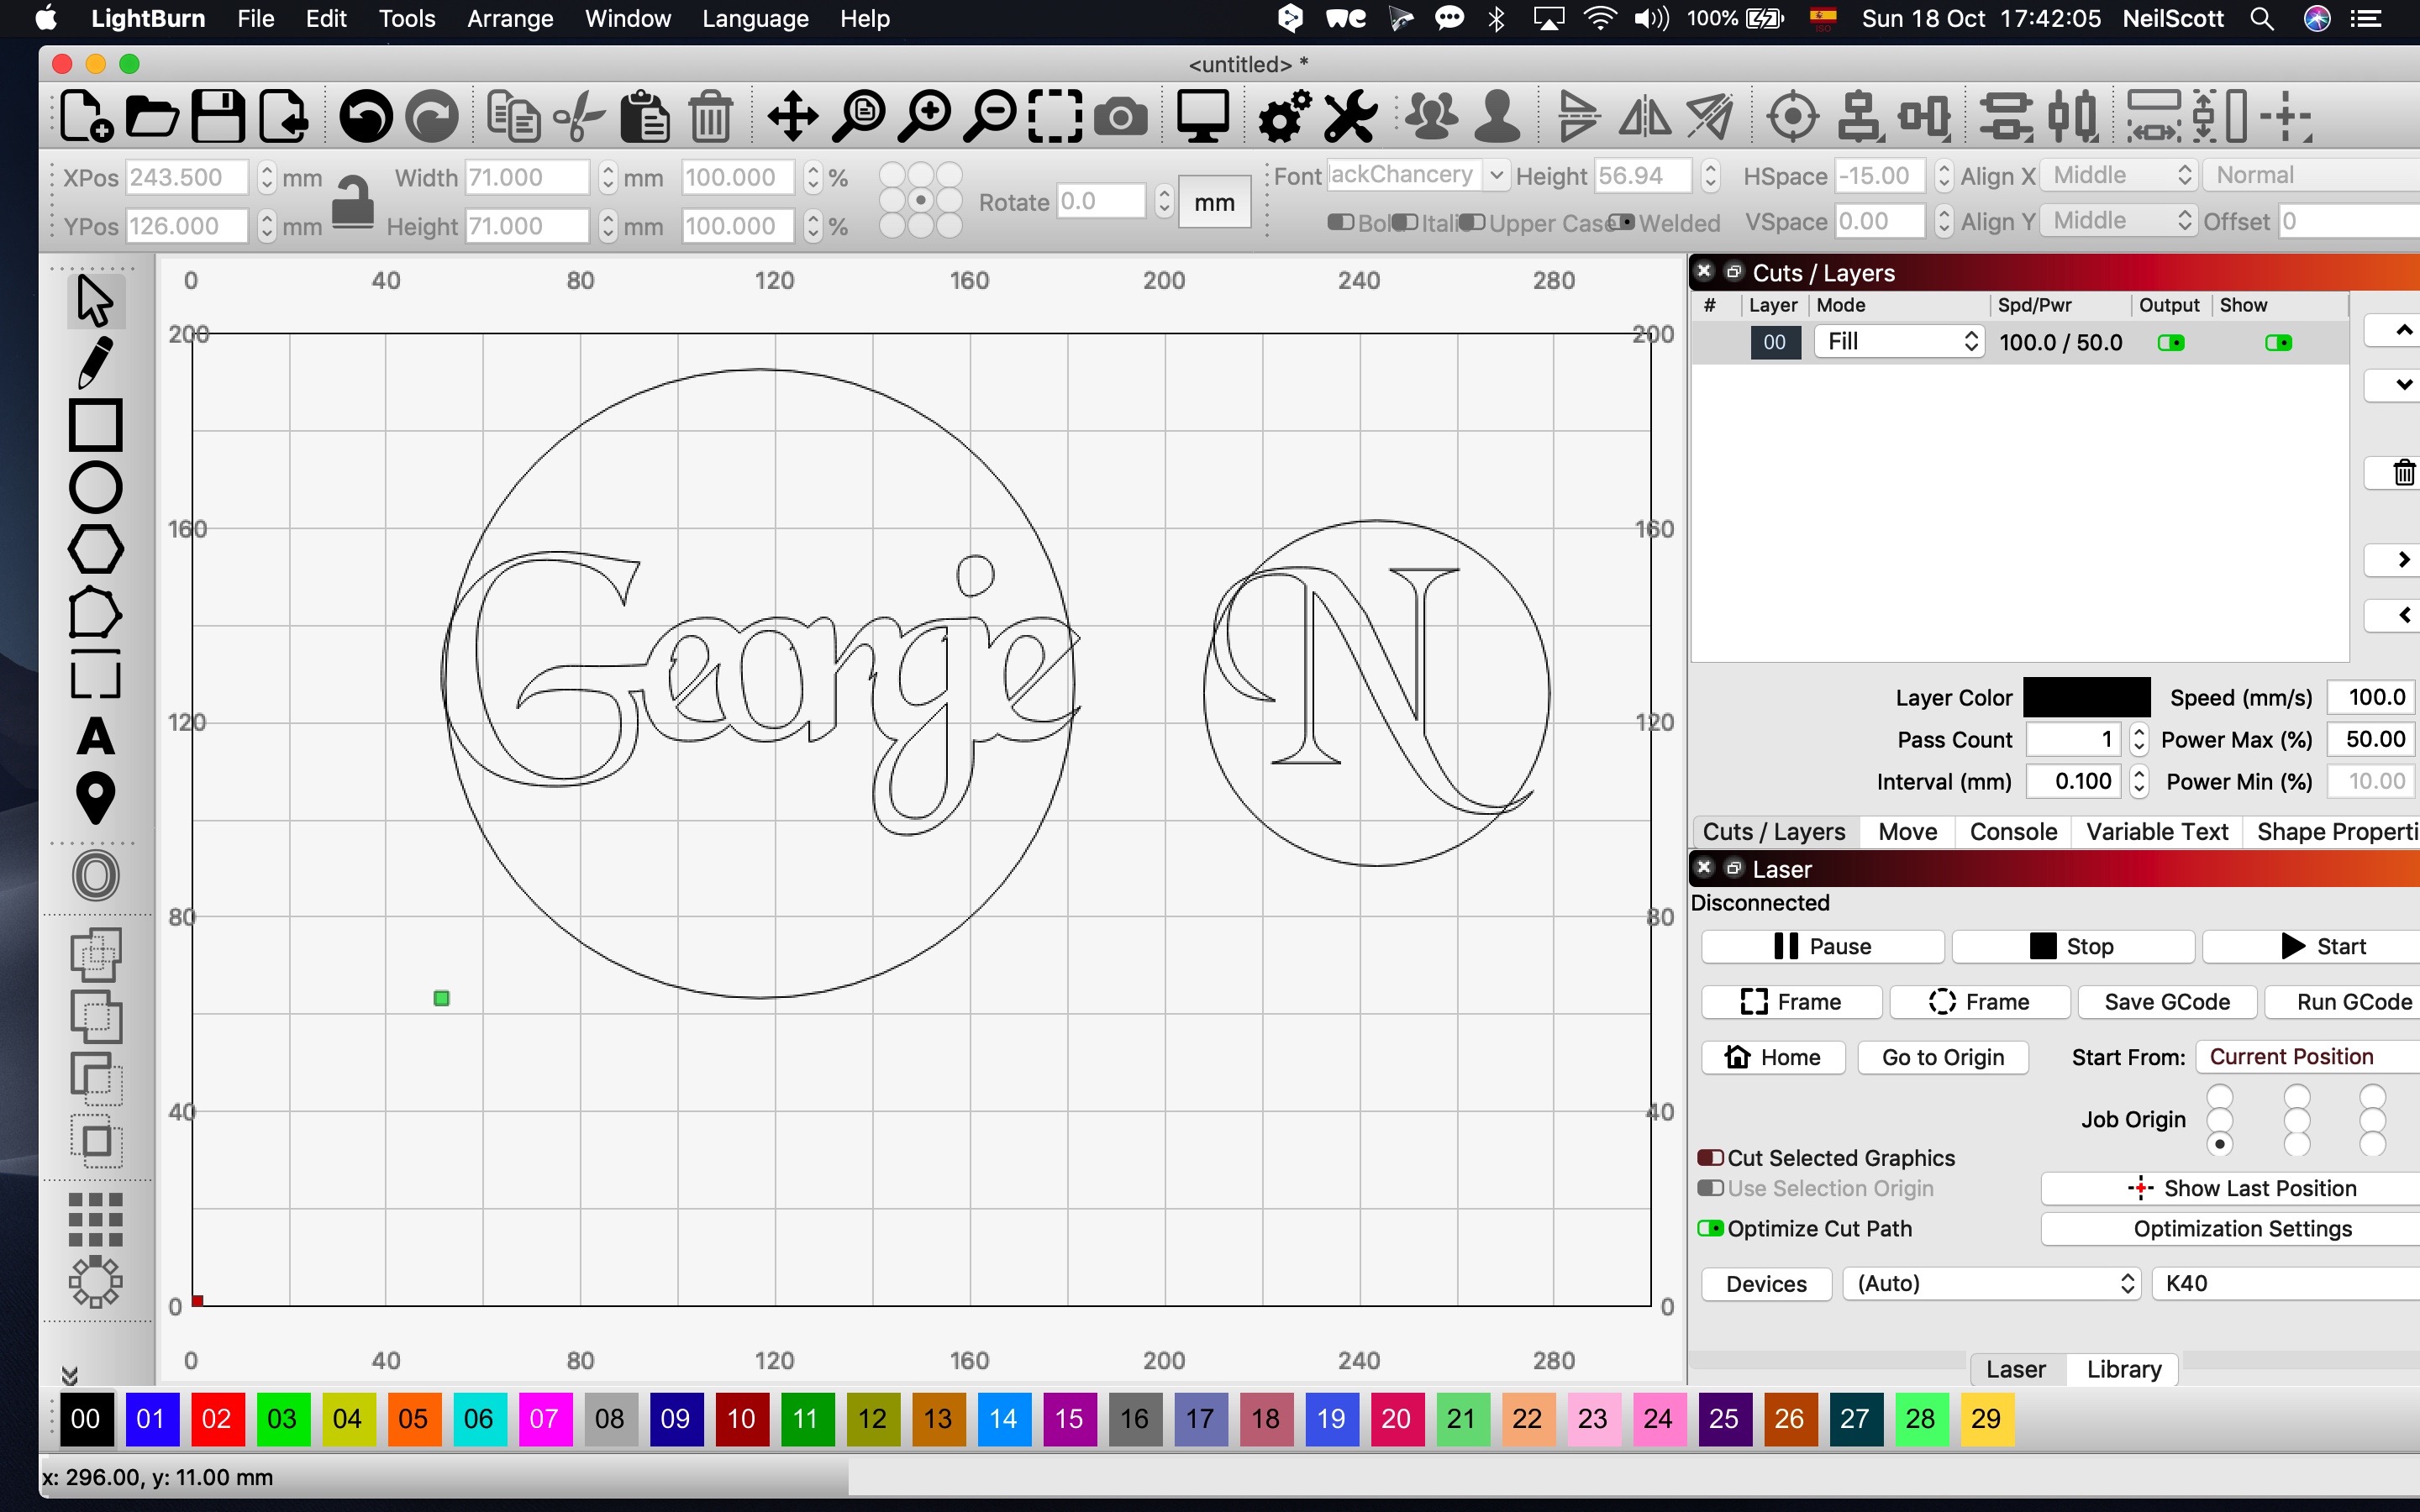
I posted this earlier under another topic but in my name trying to get text to sit in a circle to create a christmas decoration. I thought i found the answer under tips and trick video Boolean welding here

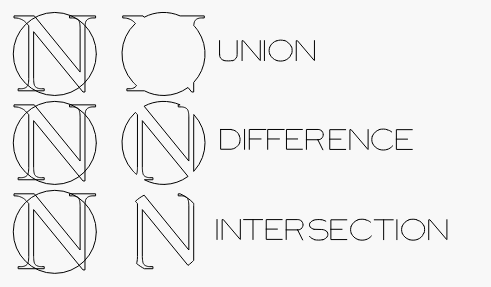
Tip ‘O the Day - Booleans Features.

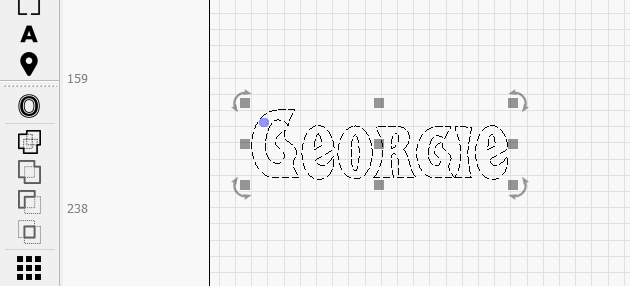
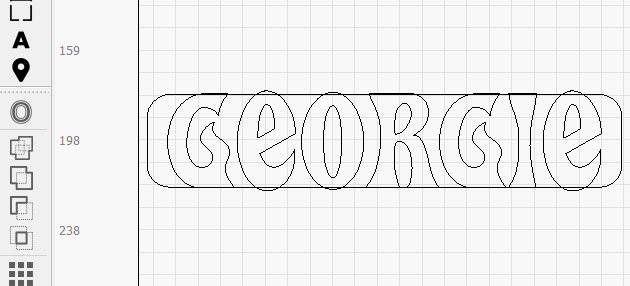
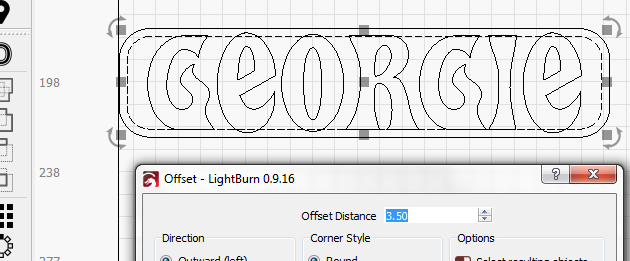
However having tried this I stillcan not get it to work, then I found a answer posted by rick explaining that they had to be closed objects which i think mine are.

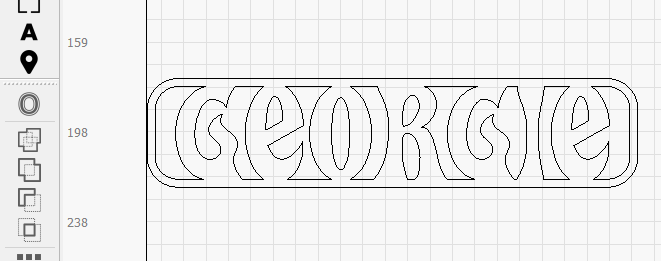
All that happens is the text or graphic disappears.

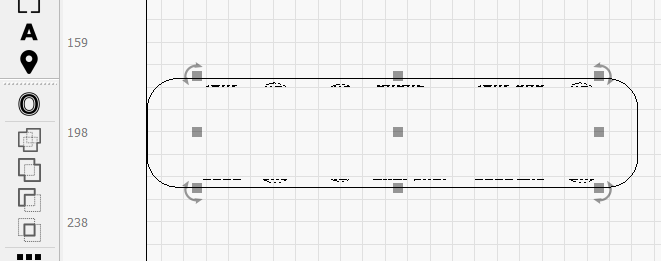
I am not sure how to check for this so i did a simple circle and one letter and I still can not get the letter to be part of the circle whatever way I try, I am just not sure what to do anymore and I am desperate to sort out this problem please, its holding up a order of decorations I have promised.

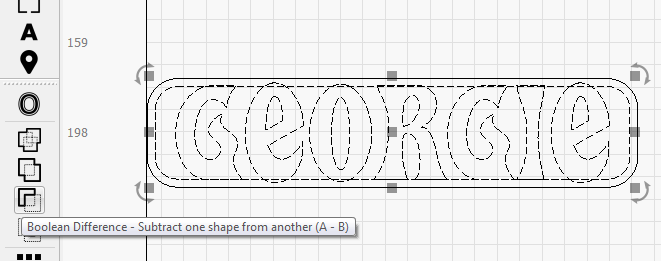
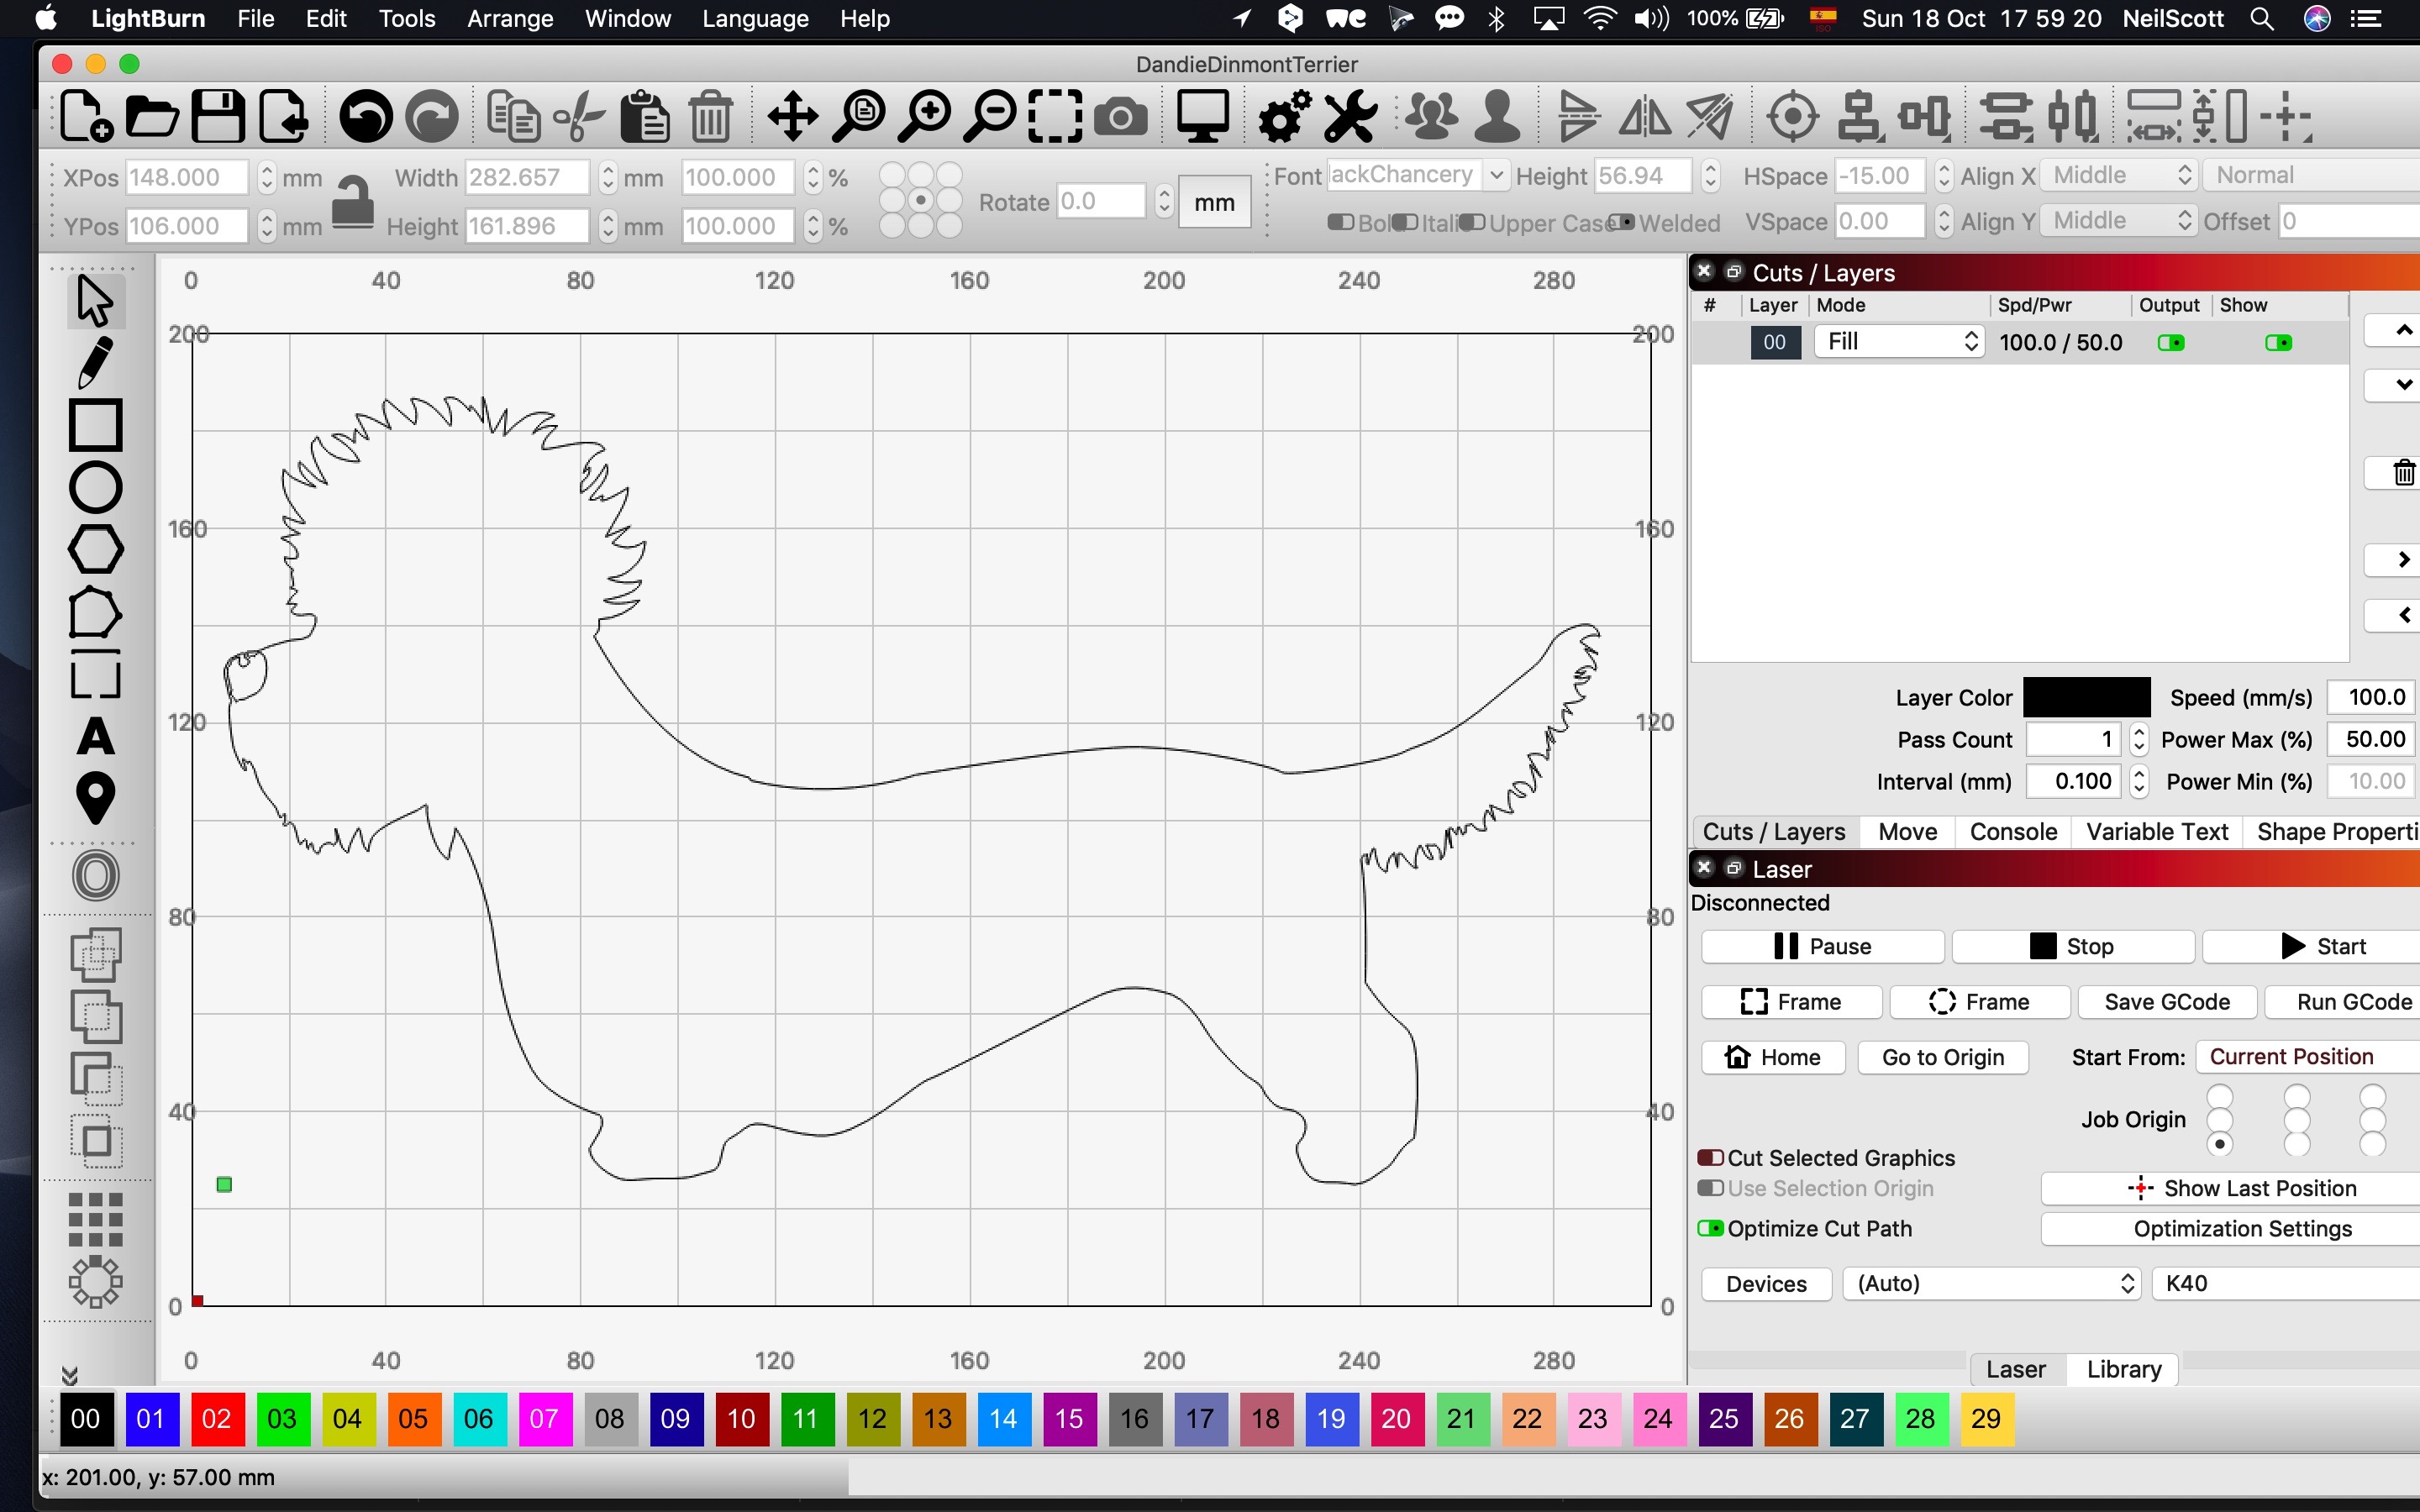
Screenshot attached and lightburn file attached.

Please can you help, I have watched this the video about 5 times and still cant get it to work on boolean union, all i want to do is put a name or another graphic file of a dog in a circle ornament that hangs off a tree. you would think that it would be simple but i’m pulling my hair out, I have to make 200 of these!!
It wont let me upload the svg file of the dog but its a professional image I had made and looks a closed one.

Thank you

Tech

MAC OSX 10:14:6, Laser K40, Lightburn latest version.Boolean.lbrn (26.5 KB)

If I have your objective properly understood, it’s something I create on a regular basis. I use LB to create a name (possible match with your goal) and then place a rounded rectangle around it, with “wall thickness” to the rectangle.

I’ll have to learn someday how to make these animated graphic answers, but not today. My last/only attempt failed miserably.

Image2
Here’s the name, my mistake to use lower case, changed to all upper case to ensure “capture” via overlap.

Image4

Rounded rectangle with certain overlap. Overlap may not apply to your goal. Mine is 3D printed and requires top and bottom connections.

Image5

Offset rectangle to provide framing. Your “offset” would be the ornament, yes?

Image6

Select text and inner rectangle.

Image7

Perform Boolean difference. Oops, wrong result. Control-Z (Undo) undoes it. That’s why it’s called that.

Image8

Do the same Boolean difference after the Undo and it reverses the order. I can never remember which object to select first, and the genius team who created LightBurn makes it darn easy to get the result you want:

Image9

If you are doing this sequence or similar, and not getting a similar result, consider that you have something broken. The text was not converted to a path. I’ve run into troubles in the past that were related to what I thought was a closed path but wasn’t.

Consider to select your outer shape and ungroup it. If it does, you’ve found the trouble. You could then use the node tool and manually push a node away and bring it back until you have a true closed shape.

After ungrouping, selecting the node tool and clicking one section at a time will show you the broken points.

1 Like

“Union” is “combine the area of both shapes” (so is weld), like the top row here. “Difference” is subtract the 2nd from the 1st, like the middle row here, and “Intersection” keeps only the area covered by both shapes, like the bottom row:

image

Most people think they want weld / union when they actually want difference / subtract.

1 Like

Thank you both I will have a look later when I get back from work just wanted to say Thanks for the input.

Thank you so much for the detailed explanation Fred I was banging my head against a brick wall yesterday and you know when you just have to stop and ask for help.

Well it came and this afternoon I have with your and Oz’s replies sorted it out.

Thank you both so much for helping, I have done the ball ball for the Dandie Dinmont club which is what the little dog is and they are on the laser now cutting out. ( they are lovely dogs to own by the way I had one for 15 years)

Thank you, I think yesterday was just too much information overload, I had spent the morning rebuilding the head on my laser and putting in new mirrors, lens and a decent head with the air assist built into the aluminum head itself and its so much better than the bolt on 3d printed ones.

Very happy now. thanks very much for your valued input.

Regards from sunny spain.

Thanks a lot Oz for the reply, makes total sense now, yesterday I was overwhelmed with tinkering all morning and then trying to solve something i couldn’t not realising it wasnt really welding. Your diagram makes perfect sense and now I understand how it works.

The design is made and the doggies are being cut out now.

Many thanks as usual for the brilliant support.

Kind regards from sunny spain

Neil.

I added that diagram to the new docs as well - I’ve used these operations for a long time, in graphic design, 3D modeling, and in software, so I understand what they mean and how they work pretty intuitively at this point. I forget sometimes that not everyone understands the differences.

2 Likes

Thanks Oz, good Idea, yes, we in the land of non graphic designers haven’t a B clue what they mean!!

But between you and Fred I understood immediately and absolutly love using it and have been playing christmas decorations for a few days.

I have also discovered the camera option, never really looked at it until I was shown what it really can do the other day and well Ill be ordering a camera or two I think purely for the ability to get the laser in the perfect position to print. Thanks again. Neil

This topic was automatically closed 30 days after the last reply. New replies are no longer allowed.