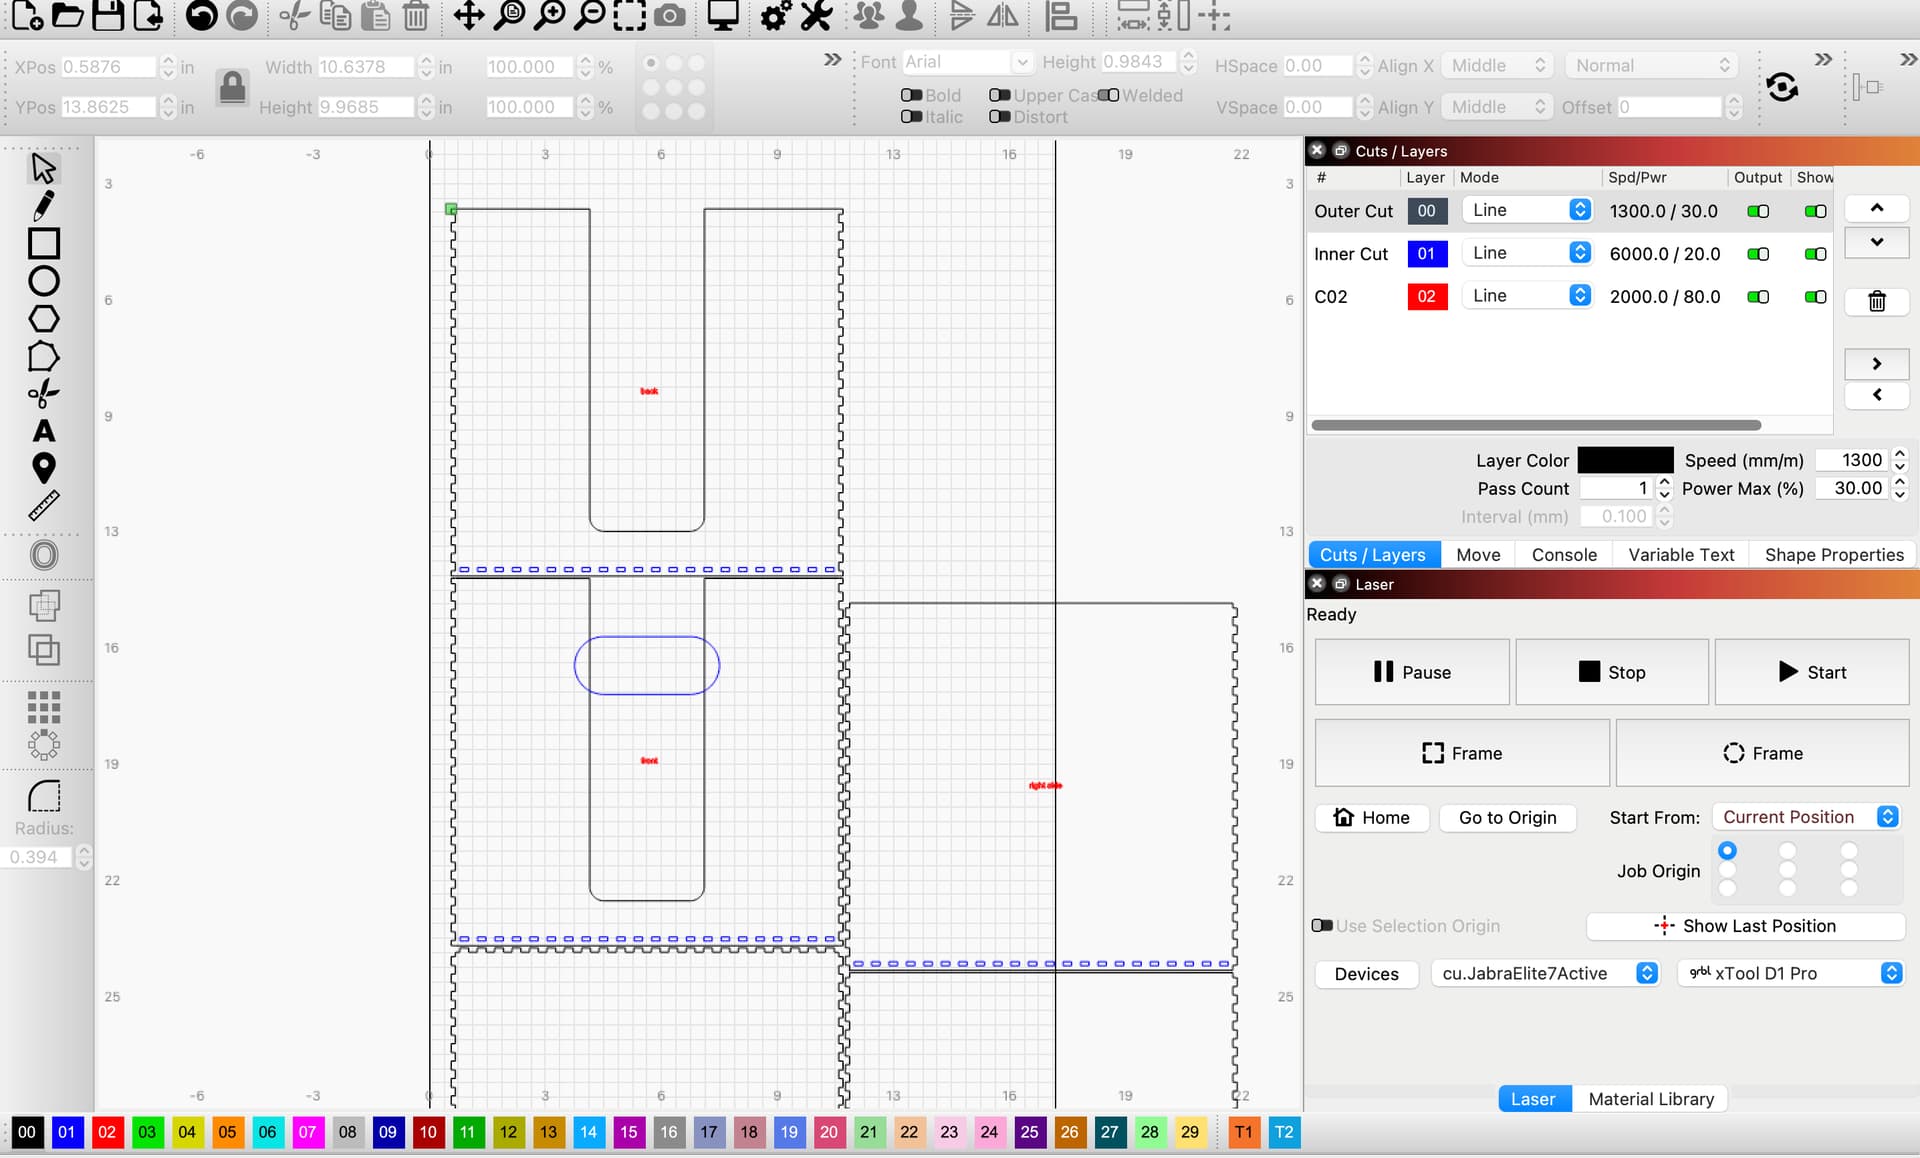
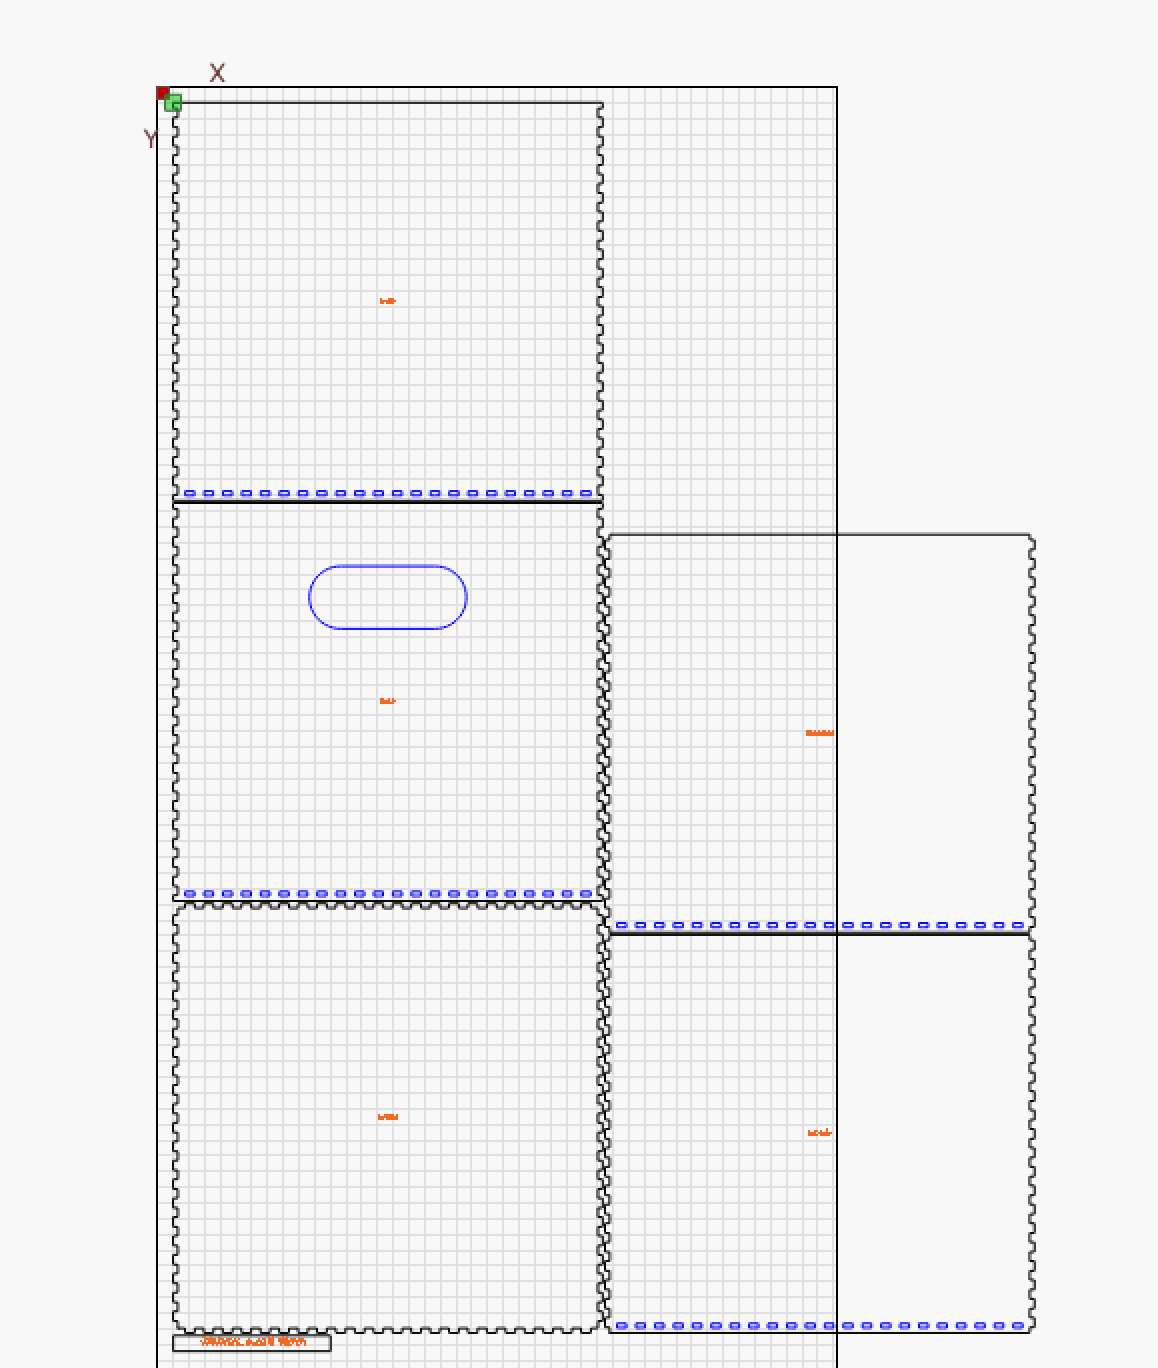
This is my first time using a box generator. I have all the basics figured out but the generated file has a big u-shaped cut-out in the middle of the front and back walls. I attached a screenshot of what it looks like in Lightburn. I’m not sure where that is coming from. Also, I know there is a setting to set the position of the handles but I can’t find that now. All help will be appreciated! Thanks!
What is the purpose of the box? That looks like the design for a coaster box, where those cutouts would be appropriate.
Maybe you selected the wrong box style?
1 Like
I agree with Mike. If you don’t want to redo the box in boxes.py, go to node editor and delete all the nodes in the U and you will have a straight line across the top.
1 Like
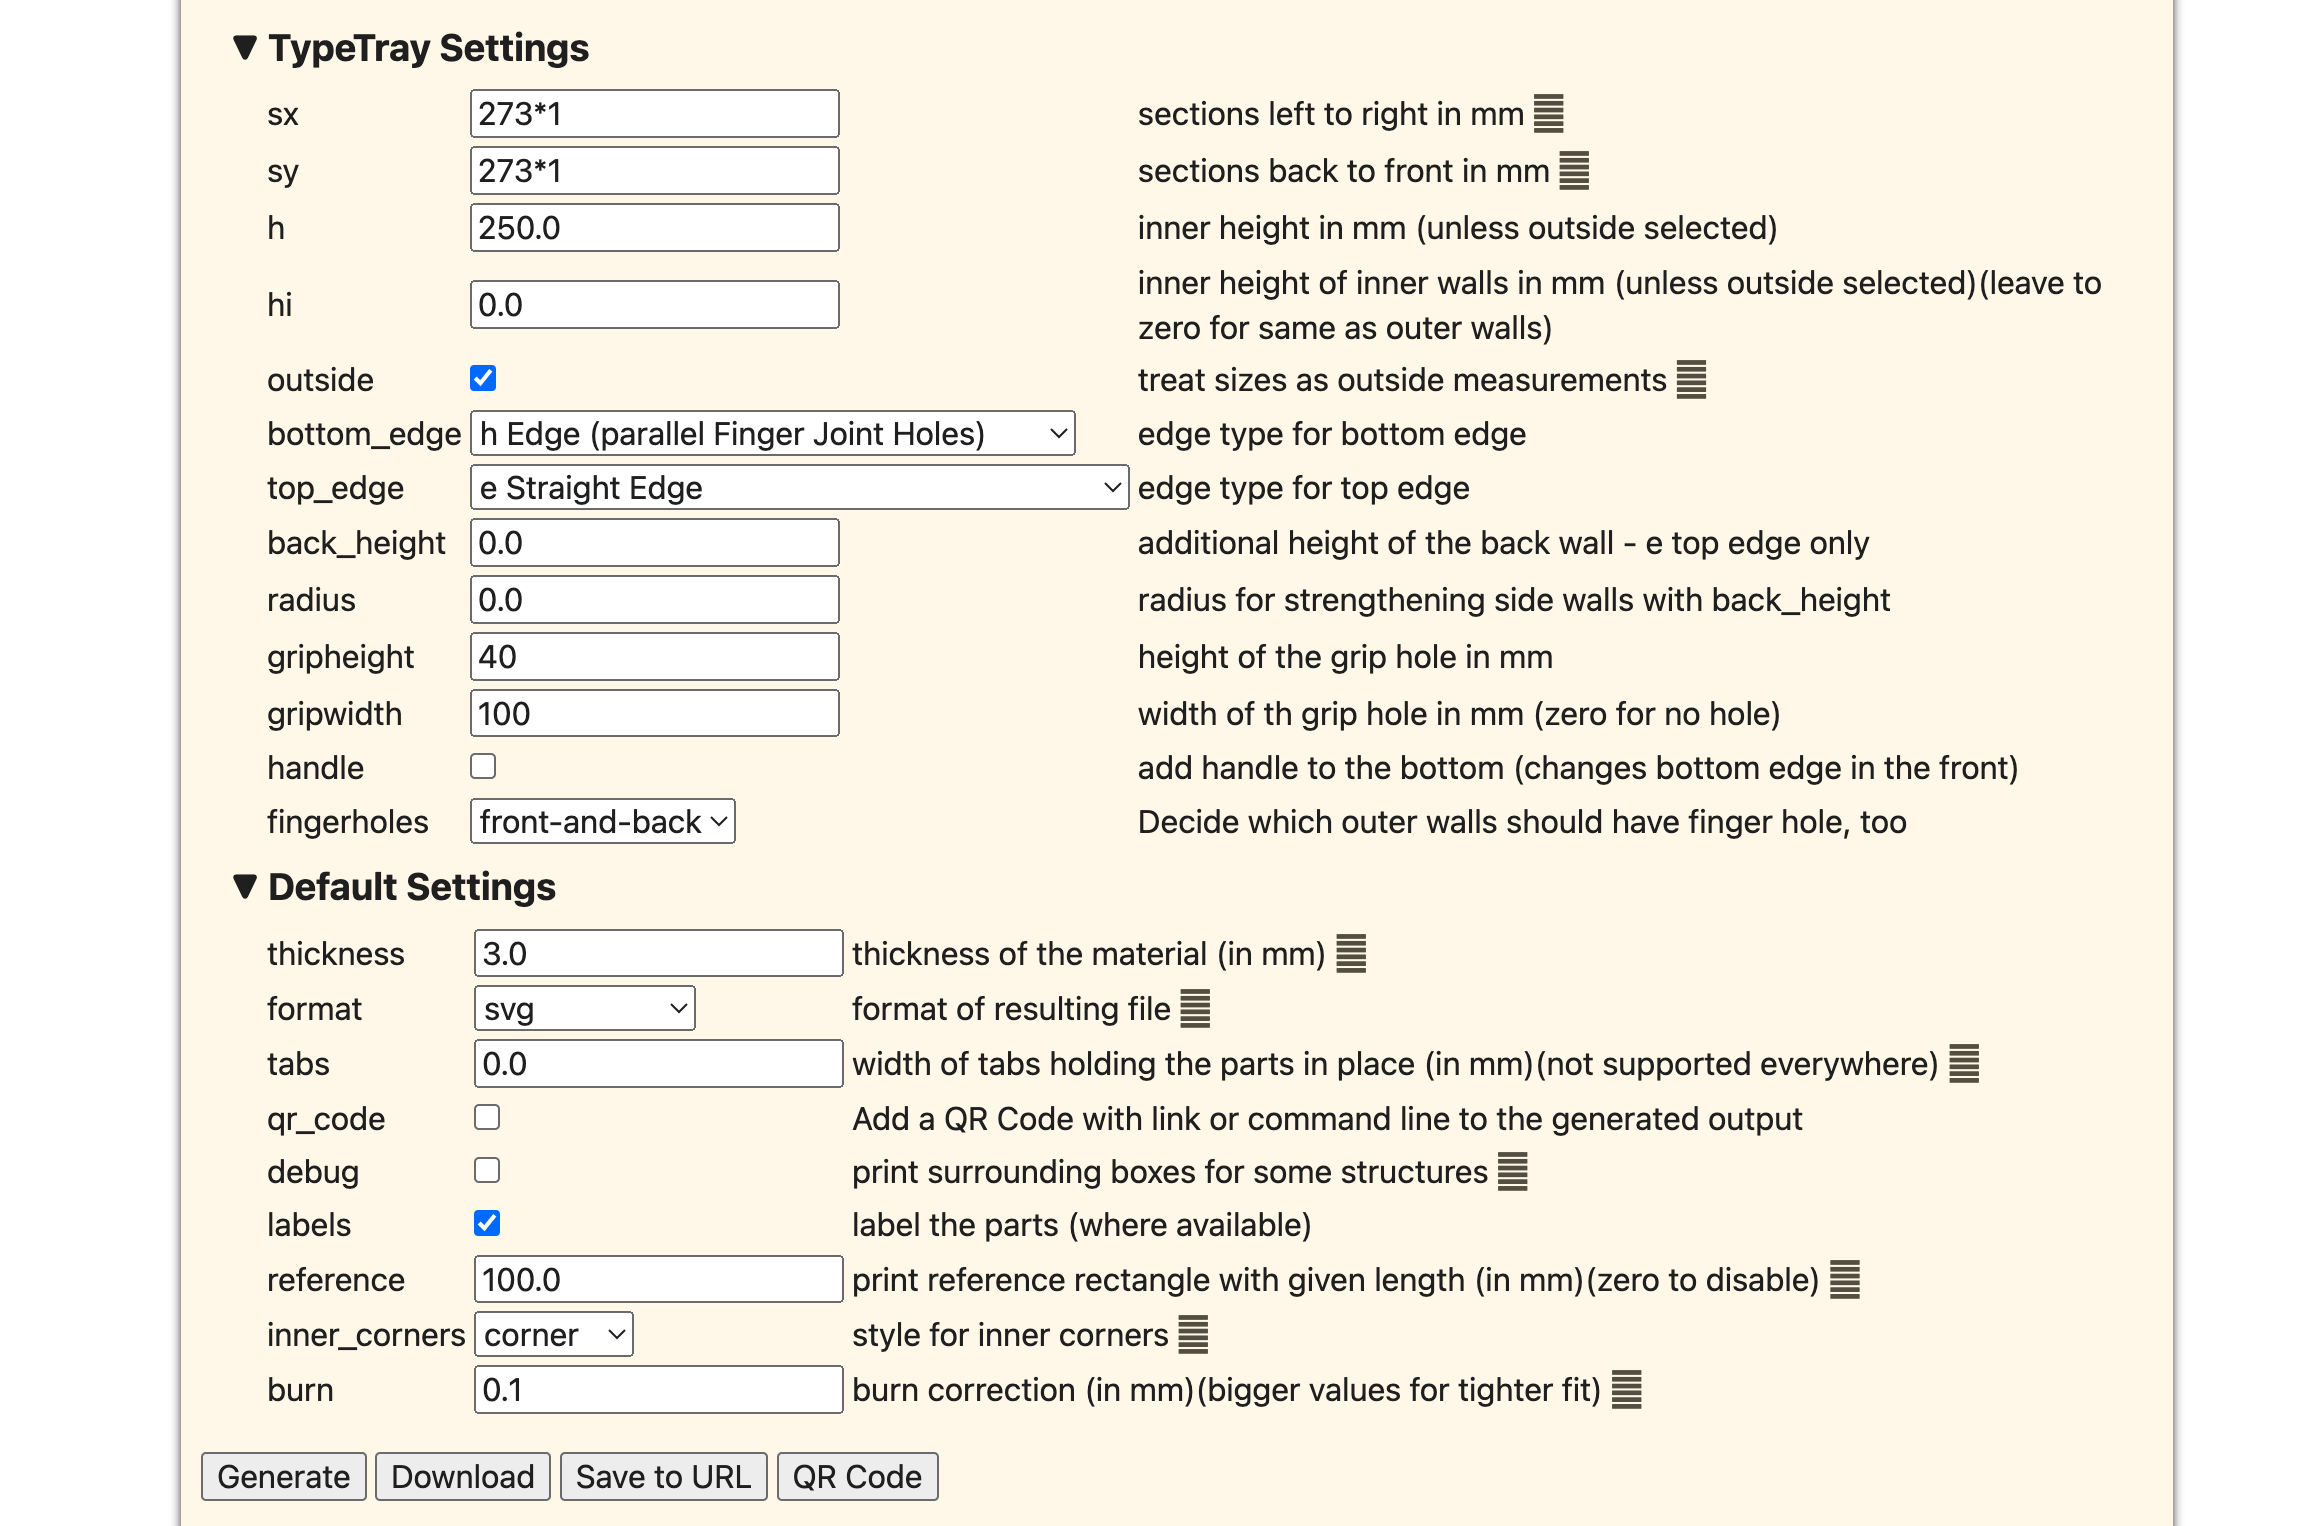
I just want a simple box with oval holes on each end for lifting. Interesting that it looks like a coaster box, hadn’t thought of that. I’m using the Typetray box option.
What is node editor? I’m planning on doing a lot of boxes so I want to avoid any extra steps. I’m sure there’s got to be a way of creating a simple box with handles!
Here’s one video that explains it. There are many. If you just want a box with hand holes, create a box and then on 2 sides place a rectangle with radiused ends and you have handles.
Edit: I forgot the link.

1 Like
Great! Thank you. Will take a look. I’ll probably just use the ABox option in Boxes.py and add the hand holds with Lightburn. ABox doesn’t create those U-shapes.
Thanks for that video! Didn’t know that was a thing in Lightburn.
Prepare to go down a long road of discovery with Lightburn.
1 Like
I will. I do all my design work in Fusion and just import into Lightburn for the laser. I haven’t done much of any graphical editing with it.
UPDATE #1: I figured out a few things. The funny U-shaped cuts were caused by my selection of the fingerhole option to something other than none. I thought fingerholes were the handles but when selected to something like front, back or front-and-back, it causes those u-shaped cuts. Still trying to figure out how to position the handles and put them both on the front and back. Any help will be greatly appreciated!
1 Like
Simple. Select the side with the handle and ungroup if grouped(right click menu). Once ungrouped click off of everything then click on the handle and duplicete it(right click menu). Move the duplicated shape to wherever you want it in the other side. You can use the alignment tools to center or hold down shift while dragging.
Hi, yes, I can do it in Lightburn but I wanted to figure out which option it is in Boxes.py. Still can’t find it!
Why? You have much more control of location and size of your handle if you add it in Lightburn.
Actually, it probably does not have the option. I think they only add things that affect the edges, not something in the middle of a side.
I know, I know! I just feel like I saw it in there and now I can’t find it. It’s weird they let you add a handle and even customize its size but they don’t let you position it. Oh, well. It’s easy enough in Lightburn. Thanks for you help!
I have made a number of different boxes for various purposes.
I’ve installed the code from GitHub - florianfesti/boxes: Boxes.py - laser cutting boxes and more
then run
https://boxes.hackerspace-bamberg.de/Menu
I adjust the multitude of settings and transfer the settings to a script.
Run the script and fine tune until it is exactly what I want.
I now have a repeatable box without having to fill in the settings any time I want to make the same box again.
It is the best way to learn each setting, example ~/bin/breadbox.sh -
#!/bin/sh
~/boxes/scripts/boxes breadbox --thickness=‘3.0’ --format=‘lbrn2’ --output=‘breadhigh.lbrn2’
–tabs=‘0.0’ --debug=‘False’ --labels=‘True’ --reference=‘0’ --inner_corners=‘corner’ --burn=‘0.0’
–FingerJoint_angle=‘90.0’
–FingerJoint_style=‘rectangular’
–FingerJoint_surroundingspaces=‘0.0’
–FingerJoint_bottom_lip=‘1.0’
–FingerJoint_edge_width=‘1.0’
–FingerJoint_extra_length=‘0.2’
–FingerJoint_finger=‘7.5’
–FingerJoint_play=‘0.0’
–FingerJoint_space=‘7.5’
–FingerJoint_width=‘1.0’
–x=‘220.0’ --y=‘380.0’ --h=‘340.0’ --radius=‘100.0’
–Flex_stretch=‘1.0’ --Flex_connection=‘2.0’ --Flex_distance=‘2.0’ --Flex_width=‘5.0’
I also have scripts for a wide and high breadbox …
2 Likes
Thanks! I’m starting to get the hang of it.
Hi Michael, have a look at the “gripheight” and “gripwidth” under the TypeTray settings and change them to “0” to get rid of the ‘U’ shaped cut out.
1 Like
Actually that adjusts the height and width of the handhold itself.
This topic was automatically closed 30 days after the last reply. New replies are no longer allowed.