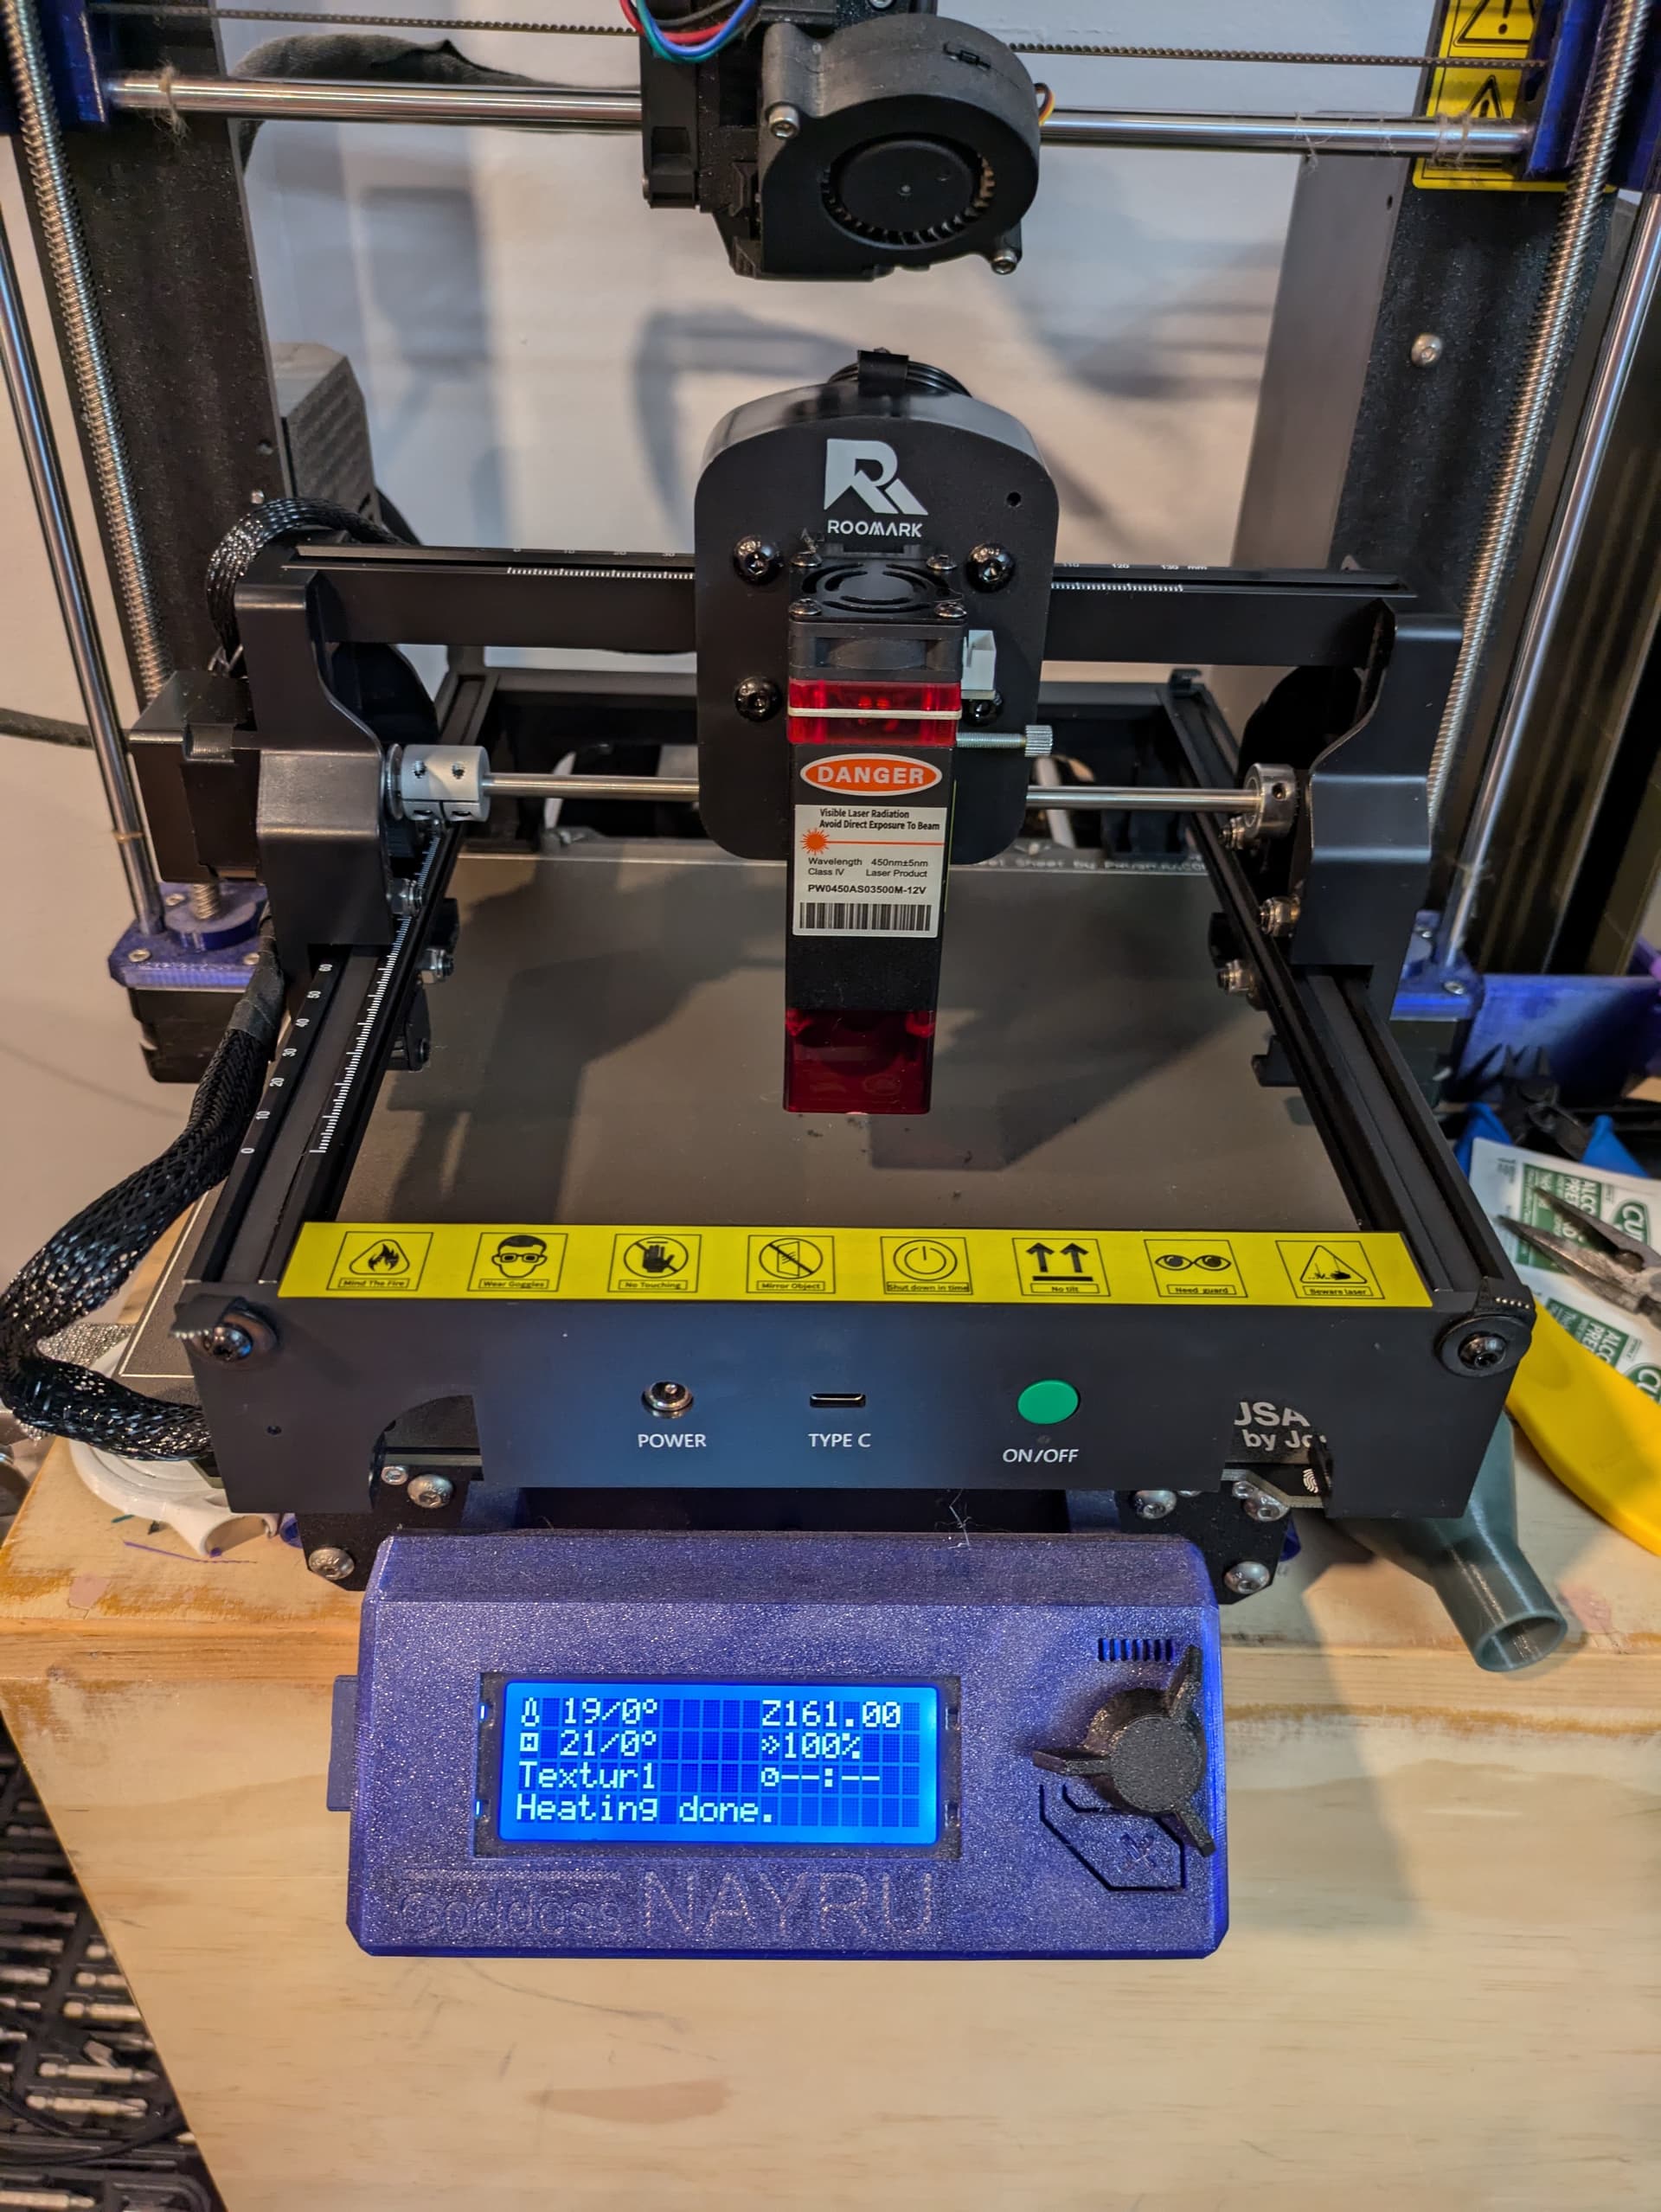
Bought an absolutely tiny and cute 3.5W laser for $70 and noted the PSU only output 36W. So I got to thinking, I could make this into a completely untethered laser. So I designed up a squaring jig and setup a Raspberry Pi Zero 2W with Octoprint + GRBL plugins and run the entire setup off a makita battery inverter. Works great, can be carried anywhere, and set on larger objects Only a 130mm square engraving area, but a lot of the time, that’s all you need.
Workflow is just place my object in the square, or set the laser on my object depending on project. Export my gcode from Lightburn, drag/drop into the octoprint instance, hit go.
That is a cool setup. I would like to know if you calculated how long the rig will run before the battery dies out? I’m thinking about, what if someone wanted to take your rig to flea market type place and make trinket things that would only take a few minutes to burn. While the customer stands there waiting and watching a laser, (that they can’t see working ) to make their trinket.
While I haven’t tested until a battery has died, I’ve had a 4.0Ah battery on it and it lasted all day with on and off playing with it. I’ll try to do a long run with it and try to get some harder numbers. I can definitely say, if you had a charger available and two batteries, you could run almost non-stop.
But running trinkets that take 2-5 minutes apiece? I’d say you could likely run an 8 hour shift on one large battery.
You could use the box it comes in as an enclosure! That’s my plan eventually. I have a USB powered 120mm fan that I’m going to cut out for ventilation (since I have a spare USB on the inverter to run the fan as well as the Pi) and notch a small wire hole to run the pi/battery/wires outside the box. Cut a small flap so they can lift it and wear the included goggles to watch.
where in the world did your find that thing? I would like to get one for that price.
about 1 & 1/2 years several of us on here bought a little Cenoz laser, (about the same size) for $59 each. In fact the X carriage and motor and the two Y drive motors and carriages I used on the cherokee beast came from the Cenoz laser.
You cannot buy all those parts for less than the cost of the little laser. I think we all used ours for spare parts in reserve.
My wife does events to support cancer patients (started when I was diagnosed, and since my bestie started Chemo she has been on a bit of a mission, half the funds to covering my buddies expenses, half to a childrens charity) I have been doing customization at the house, then running finished stuff over when done…
This would be a literal weather change. I will even donate step by step instructions on how to make a power supply for it that runs on batteries for RC Cars… Which is where I build a lot of things, easy to find, easy to replace, and very reasonably priced for what they do. a single 12v 5AH battery would do justice for a longish while, do 3 of them and a down converter and it would print for days… Just a thought…
But definitely, please post where ya found the wee rascal.
I looked up the brand name from one of the pictures and it looks like he might have gotten it from Amazon. However, the 3.5W unit is marked currently unavailable. There is a 5W unit by the same seller for about $115. It’s quite a bit bigger, though at 400mm x 400mm, so wouldn’t be quite as portable. My biggest issue with taking an open-frame laser anywhere is finding a way to protect everyone’s eyes. You really want a see-through enclosure with the laser-blocking tinting. You might wear protective goggles, but you cannot guarantee everyone else who comes near will do so.
I looked everywhere and found nothing, BUUUUUUT!, I found this for $55 plus shipping - 58.?? total, 410 mm X 950mm with a 5W laser, which is more than likely a 3.5 W laser. (OOPS, I meant 1.6 W)
only one left so I bought it. As soon as I bought it
the Temu said sold out, so I did get the last one.
Then I kept looking and I found this one for $61.38 plus tax.
For everyone wondering where I got it, it was Amazon. Specifically here but it’s currently unavailable now. However, you can still get them around ~$115 (I’ve watched the price steadily go up on the others since I bought mine, likely due to Christmas).
There’s a “name brand” one, which is the Acmer S1, which you can find a few reviews on Youtube for. There were two models when I bought mine, a 1.6W model for $60.99 and the 3.5W for $70.99, naturally I paid that extra ten for double the power. You might be able to find similar on AliExpress or such by looking up the model “Z35” or 3.5W Laser, or the Acmer S1.
And a rando chinese branded “HENGTONGTOOL T1” version, that happens to be blue! $165.99, but has a $50 coupon, so $115.99. Here
Also, the square jig I made:
EDIT:
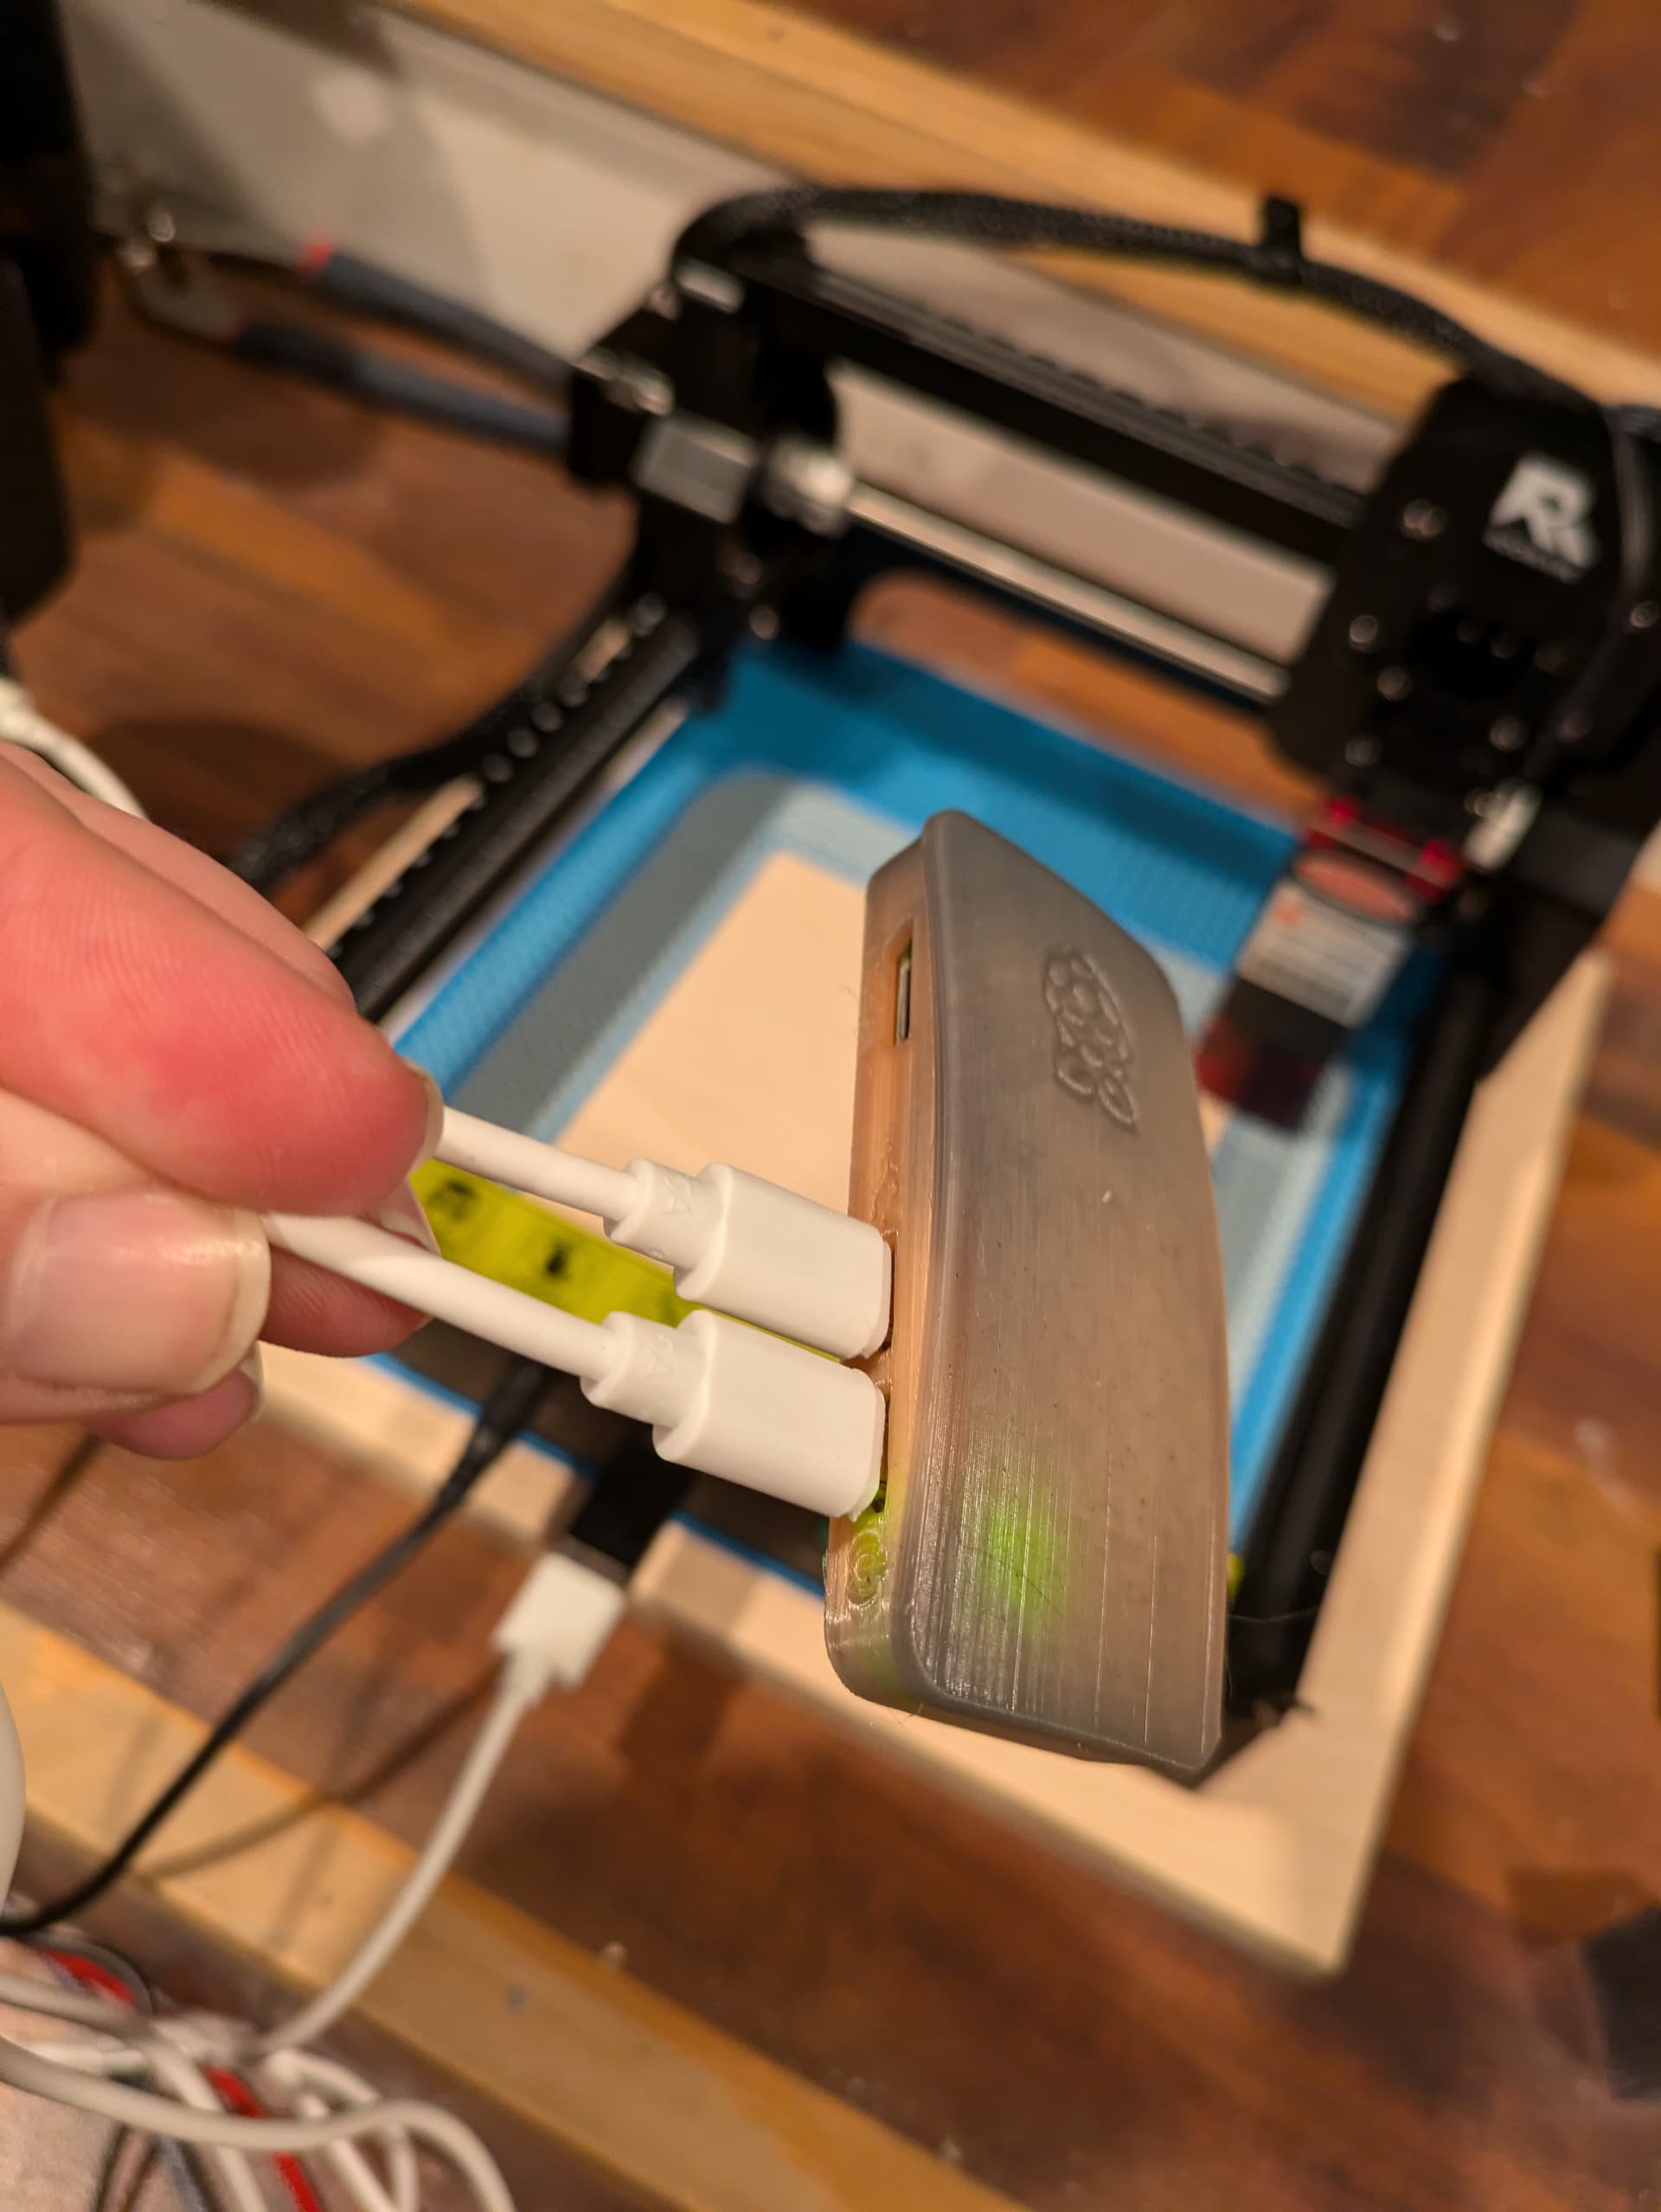
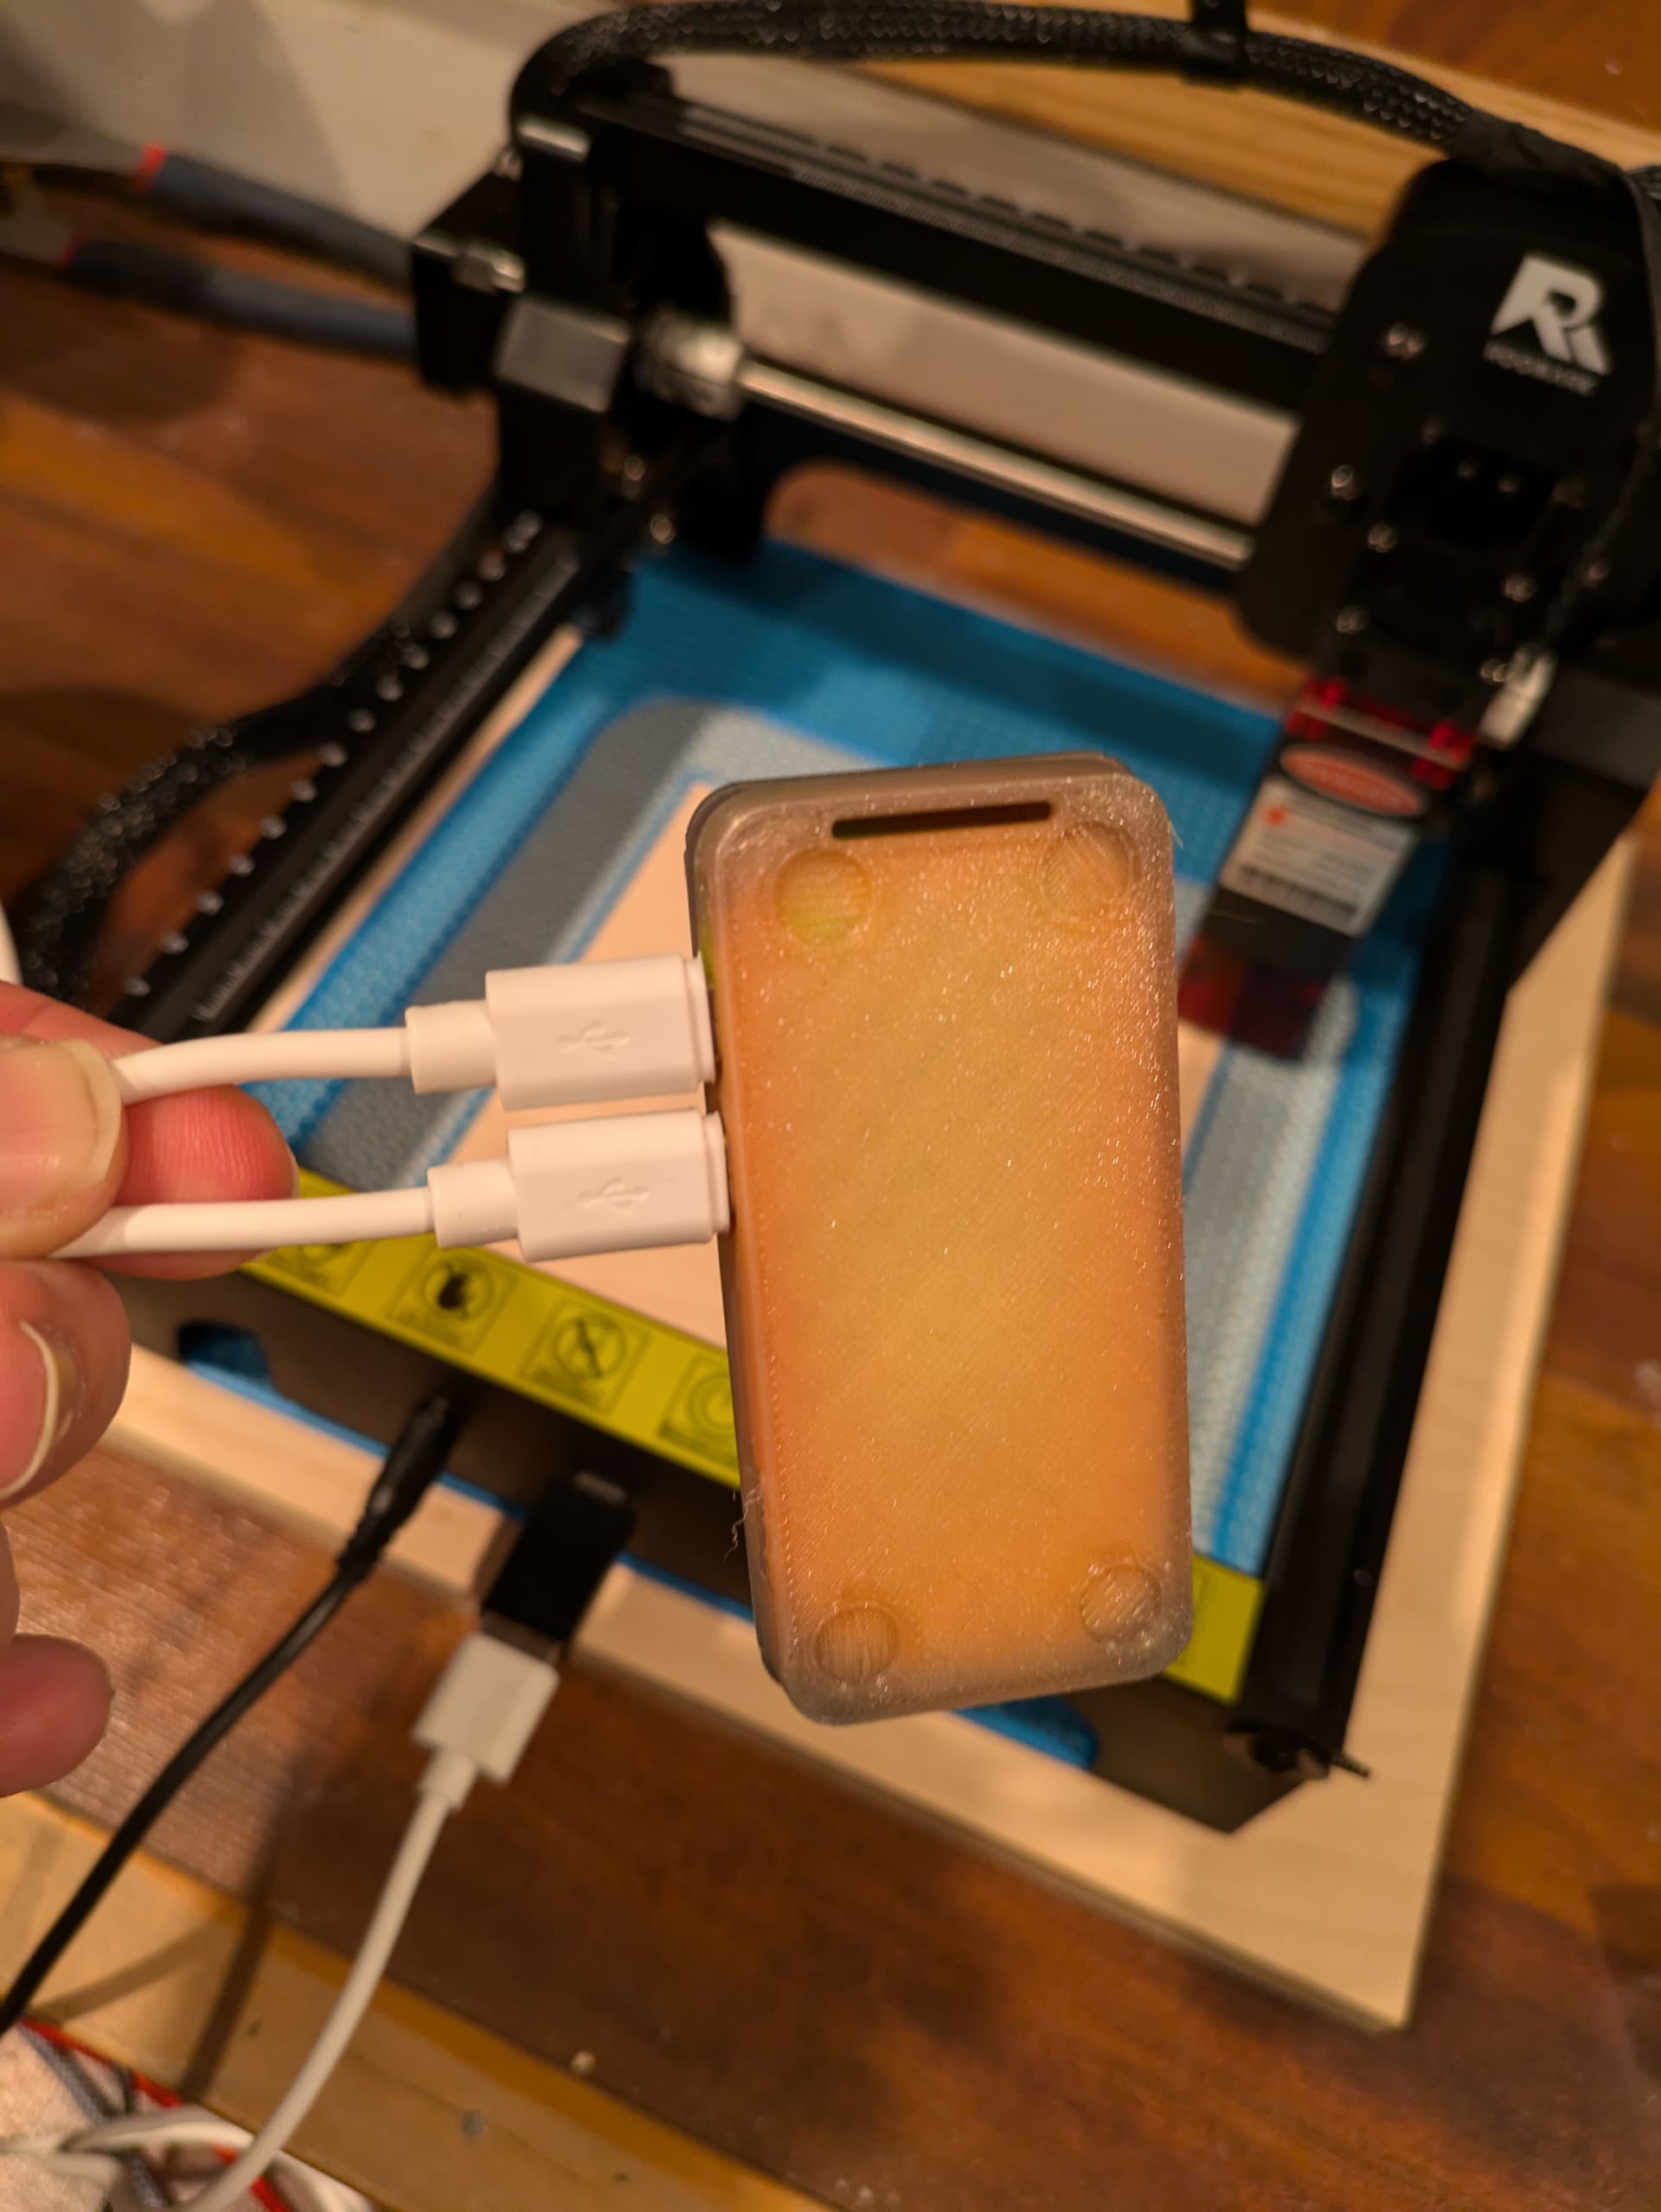
Well, you’re in luck. My setup lasts a long while, and it’s highly inefficient. I’m using an 18v DC battery, with an inverter to 120V AC, to a PSU that converts it back to 12V DC. If you run it directly off 12V DC, the batteries will last way longer.
The PSU outputs 3.0A @ 12V DC with a standard 5.5mm barrel jack. So, theoretically, if you have a wiring harness to convert the RC batter to 5.5mm barrel jack, you’re good to go with higher efficiency.
Just bring a small power bank with USB ports to power the Pi.
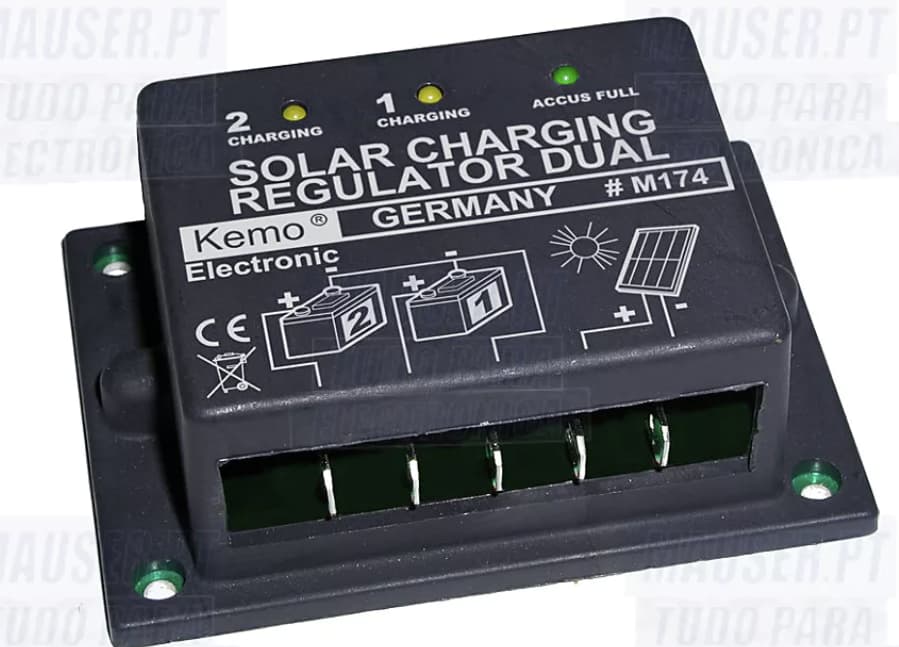
This makes me want a nice sunshiny day… I have a 30W solar panel, and while the PSU outputs 36W, that’s not continuous need. I want to test if the entire rig runs off a solar panel in direct sunlight. Weekend project!
Looked at the specs, apparently my solar panel outputs 18V, so I bought a buck-boost supply to drop the voltage to 12V. So I’ll get around to the test as soon as that and the connectors come in.
Oh just for reference before people ask, the solar panel I’ll be testing is also on Amazon. It’s a Marbero 30W model. A lot of the reviews have problems with the 21W model, but the 30W model has been good, it actually over produces a little. One of the reviews shows it outputting 33W, I’ve seen 35W on mine. Listed at $69.99, but has a 50% off coupon. $35 is worth, and I grabbed a second one because of the price. (since I might have to use both to run the laser if it’s juuust not quite enough) It can be found here
Finally did a ‘real test’ (not until death) but to get some general numbers. On a 4.0Ah battery with an inverter, powering the laser itself and the pi. I ran a 120x120 solid square fill. 0.1mm interval, 80% power, 6000mm/min. Trying to pull a high draw with the almost 100% power, constant power, and high motor use at a fast speed. Engrave took 38 minutes, ran it once; still 4 bars on the battery indicator. Ran it again, so about 1.25 hours, 3 bars. So you can likely get 3~4 hours constant running. Which engraves won’t be 100% on and using the full engrave area, so yeah. This is also ontop of, I’ve just had it on and idle for about 6+ hours.
So yeah, take a couple batteries for safety and you should be good to go at a flea market, trade show, etc.
EDIT: Also if you have a 12V DC source, running it directly without all the inefficient conversions I’m doing should last longer. I’d like to try say, one of those kids motorized vehicle batteries, or a lawnmower battery that’s 12V. However, I’m not going to spend any more money currently on this project. Hopefully I can get the solar test in tomorrow if my stuff doesn’t arrive too late.
Sorry for double post. However, the one day the things I ordered get in at a decent time? It’s overcast and rainy. No solar tests to be done today.
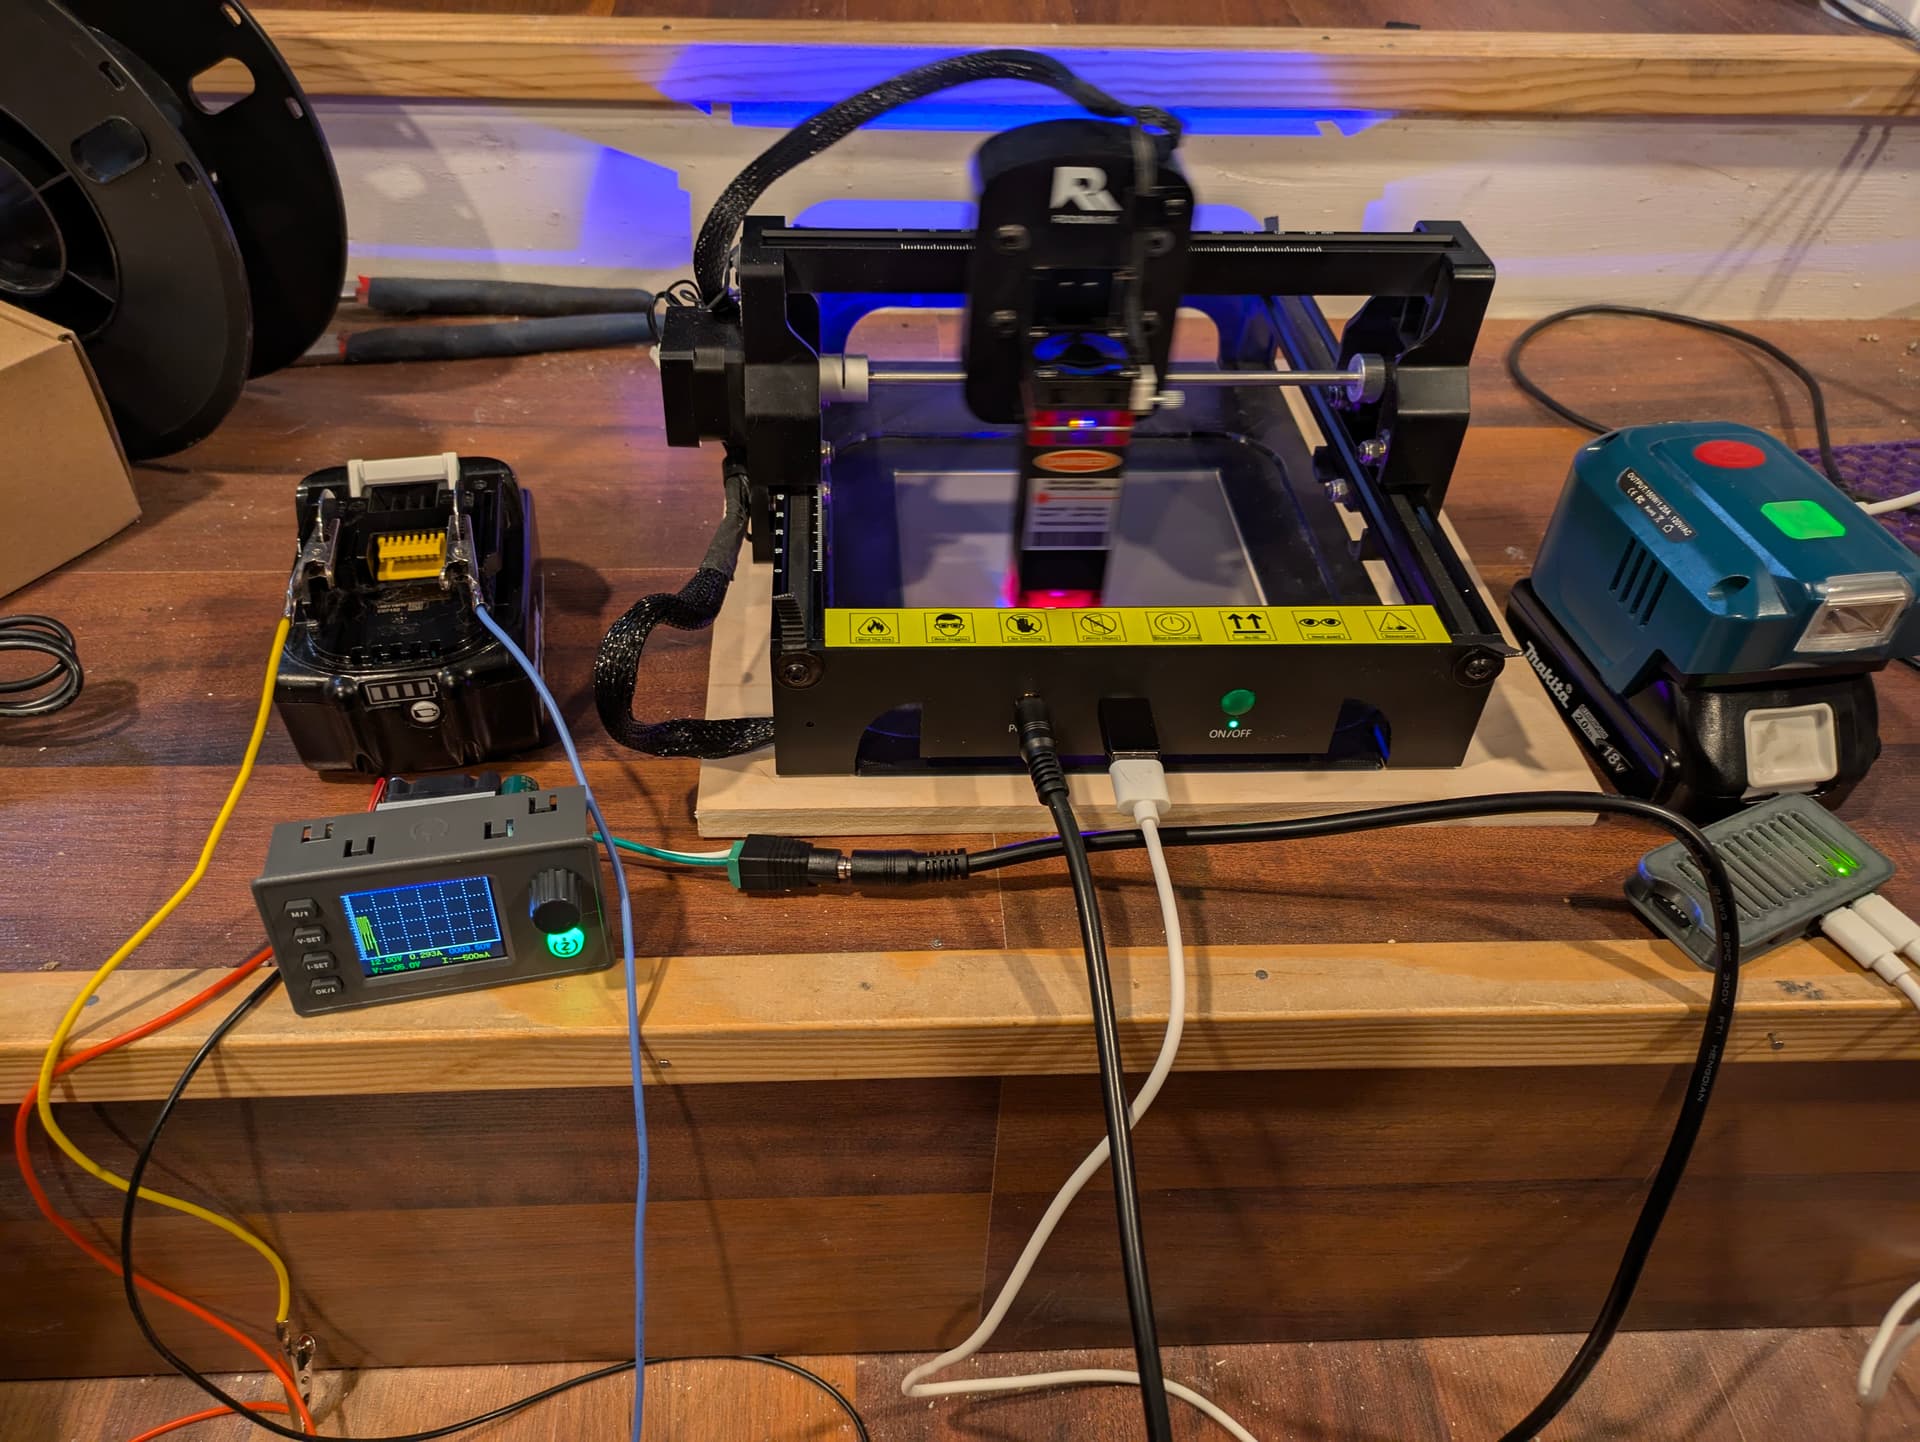
However comma I am able to simulate it. I have a battery with an 18V DC output (not a makita battery, it has proper 5.5mm DC outputs). So I used that as my 18V source, wired it into an SK90C buck-boost supply and set the output to 12V 3.0A. Voilà, laser seems to be running happily from it.
Movement alone seems to average about 310mA, or about 3.7W… Not bad at all. Let’s see what 6000mm/min and 80% power consumes. Remember, our goal is <30W.
Aaaand results? That’s a lot leaner than I thought! Did a 120mm square, 6000mm/min, 80% power, and only used about 12V @ 1.3A so average 15.6W!
Here’s the graph display from start to finish. Now I really want to get to that solar test! I figured it would require a fully on sunshine day… but this looks like I might manage a partial cloudy day with decent sun. Do note; this has the pi being powered by an external source, this is just powering the laser.
EDIT: Bonus running tests on a square of thermochromic PLA. The laser doesn’t burn the PLA, but the heat causes it to change temporarily so you can see what you did, but then it fades as it cools down.
It works fine, but that’s a lot of exposed and weak connections. I have two 30mm stainless steel coins shoved into the contacts of the battery, with alligator clips connecting them to the wires and to the supply. Works great though. Might end up printing a proper click-on accessory with solid connections and a barrel output. Make a makita battery run DC power supply for any voltage I need.
I laid out a box 46x46cm, and put that on a 2nd piece of wood cut to fit inside the top recess of a pack out system (the blue/black Hart system from Wally world) the lower piece of wood has a metal flange in teh front so teh recess clips will hold the box on top of the stack…
In the top box I have a pair of 12v batteries in series to produce te 24 it wants. These are mounted in the box it is attached to. I am kicking around putting a sbc into that box as well with a small external touch screen.
I am waiting on the other one to show up so I can see what I can do with that. I lucked out having a spare honeycomb from my first laser venture (CreAlity falcon add on for my 3d printer) so out shopping tomorrow to get a bit of sheet metal to mount in base of the box for laser resistance.