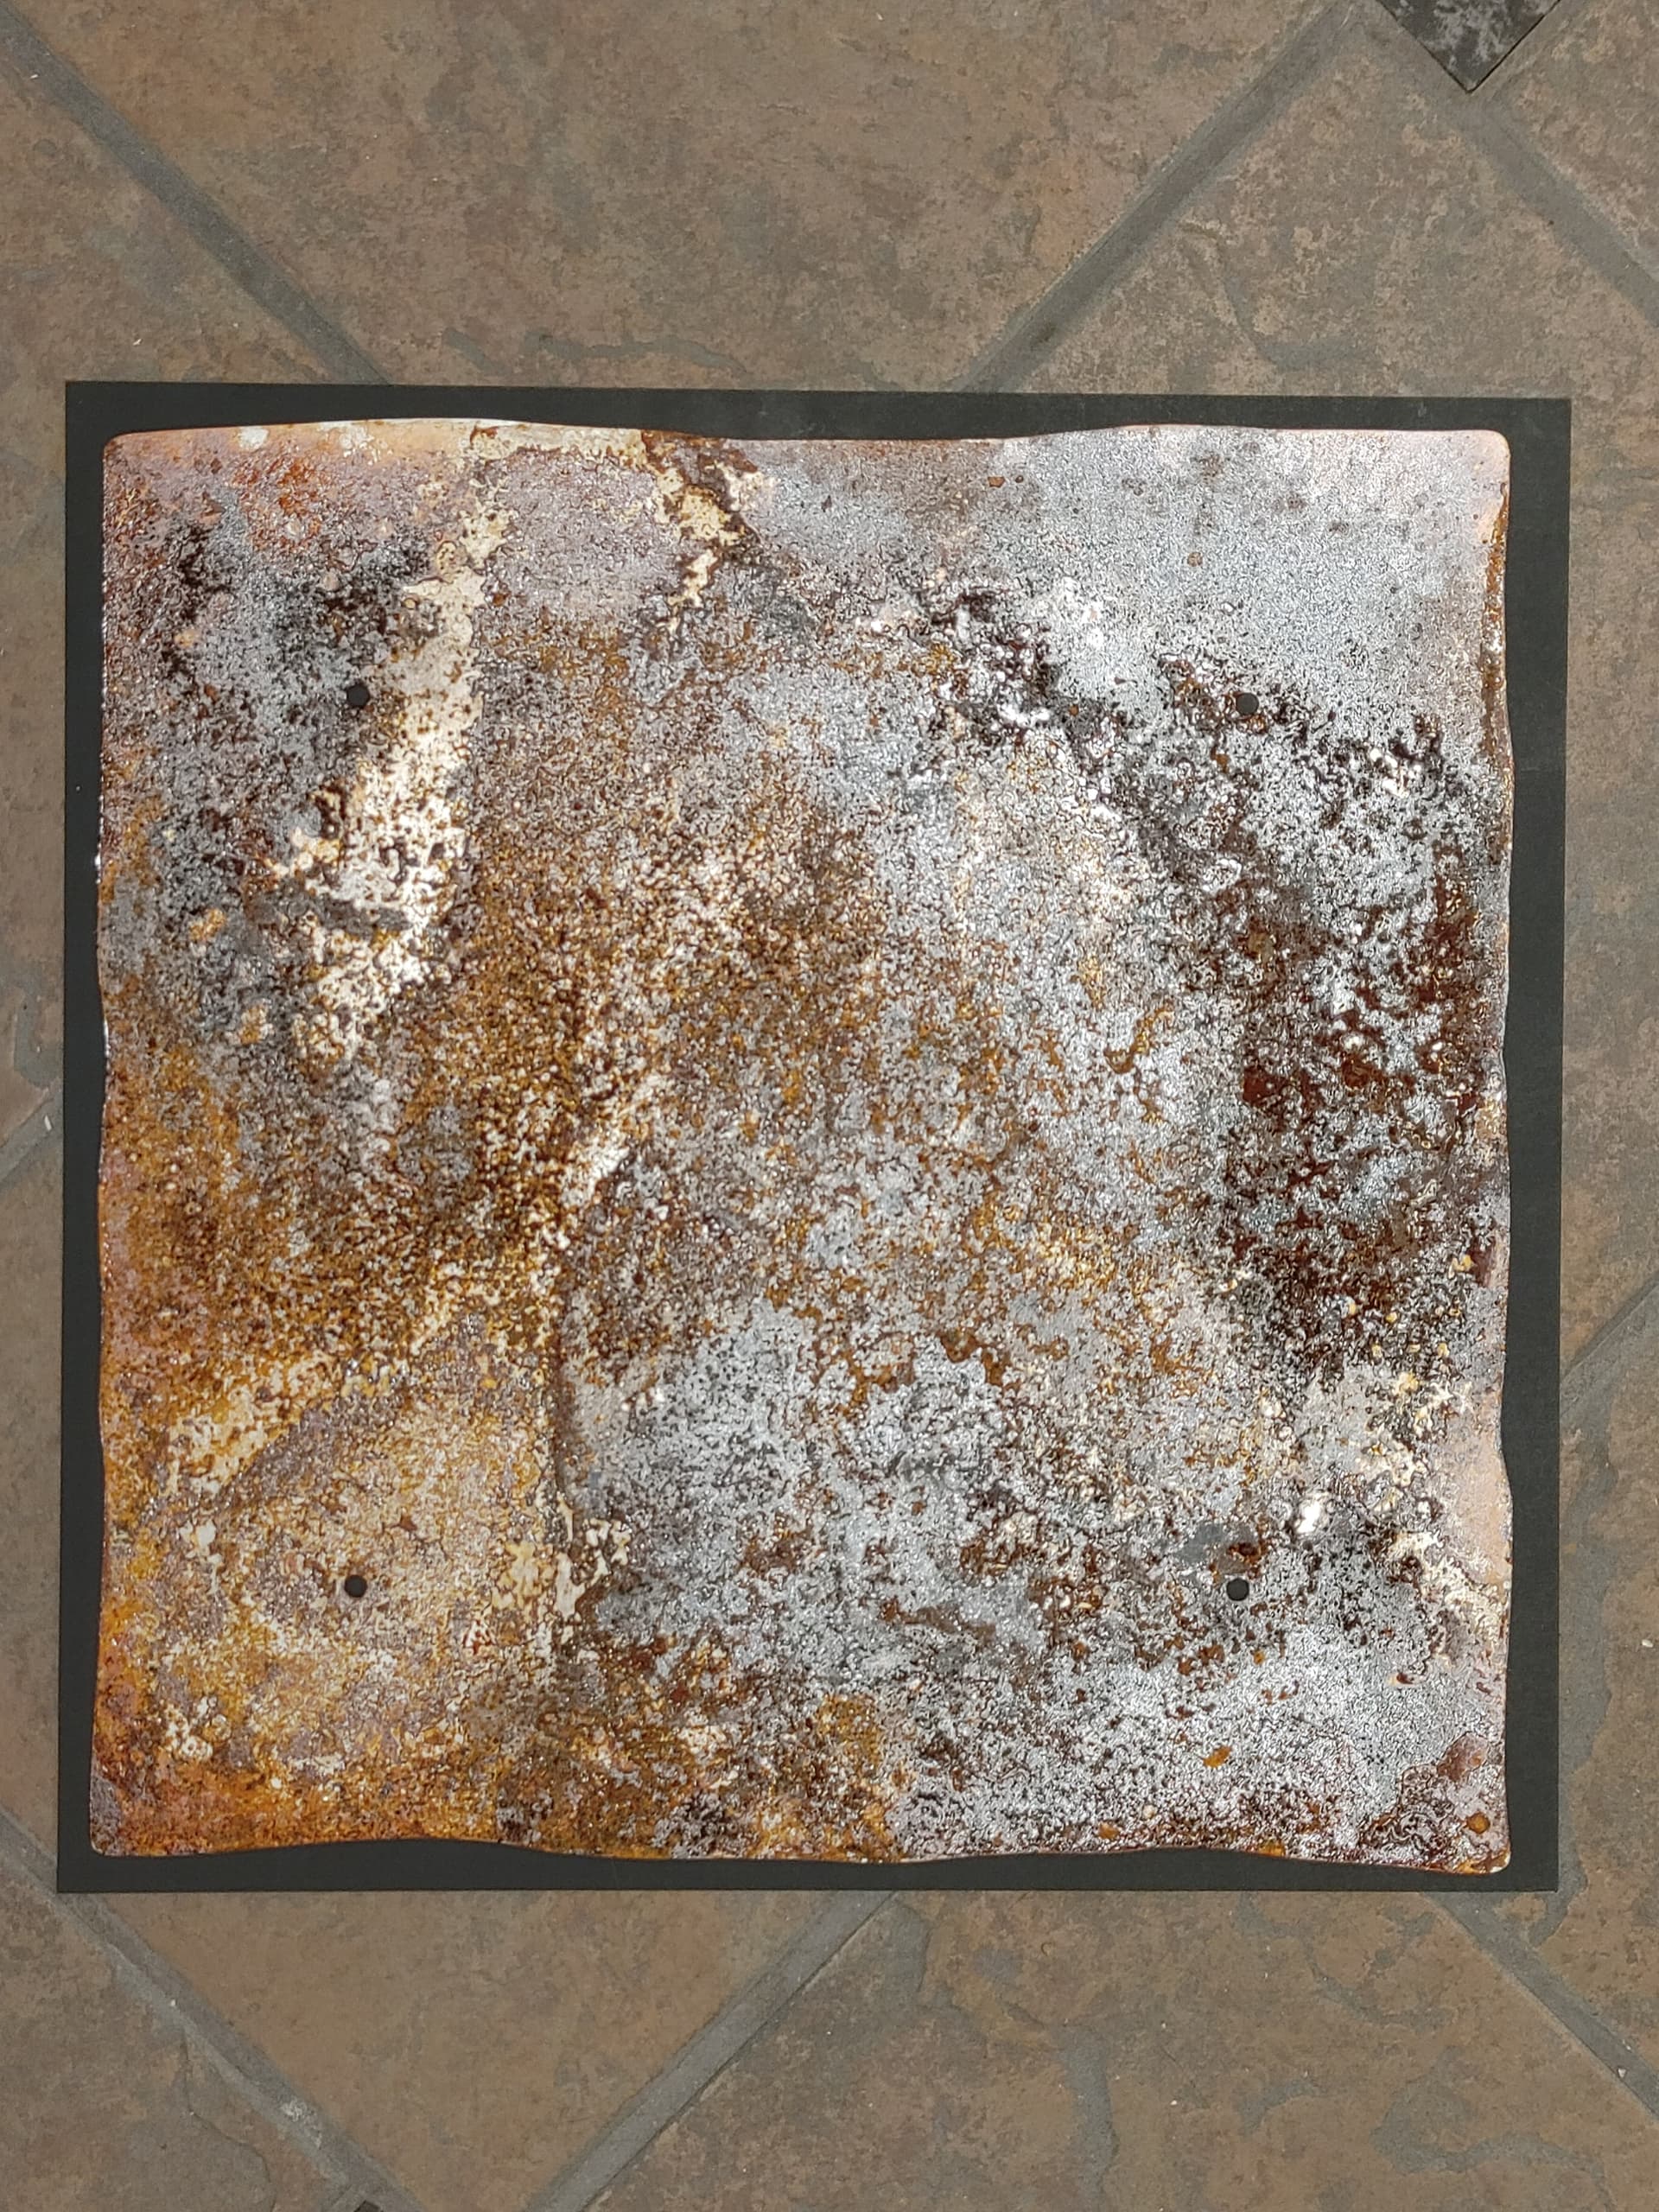
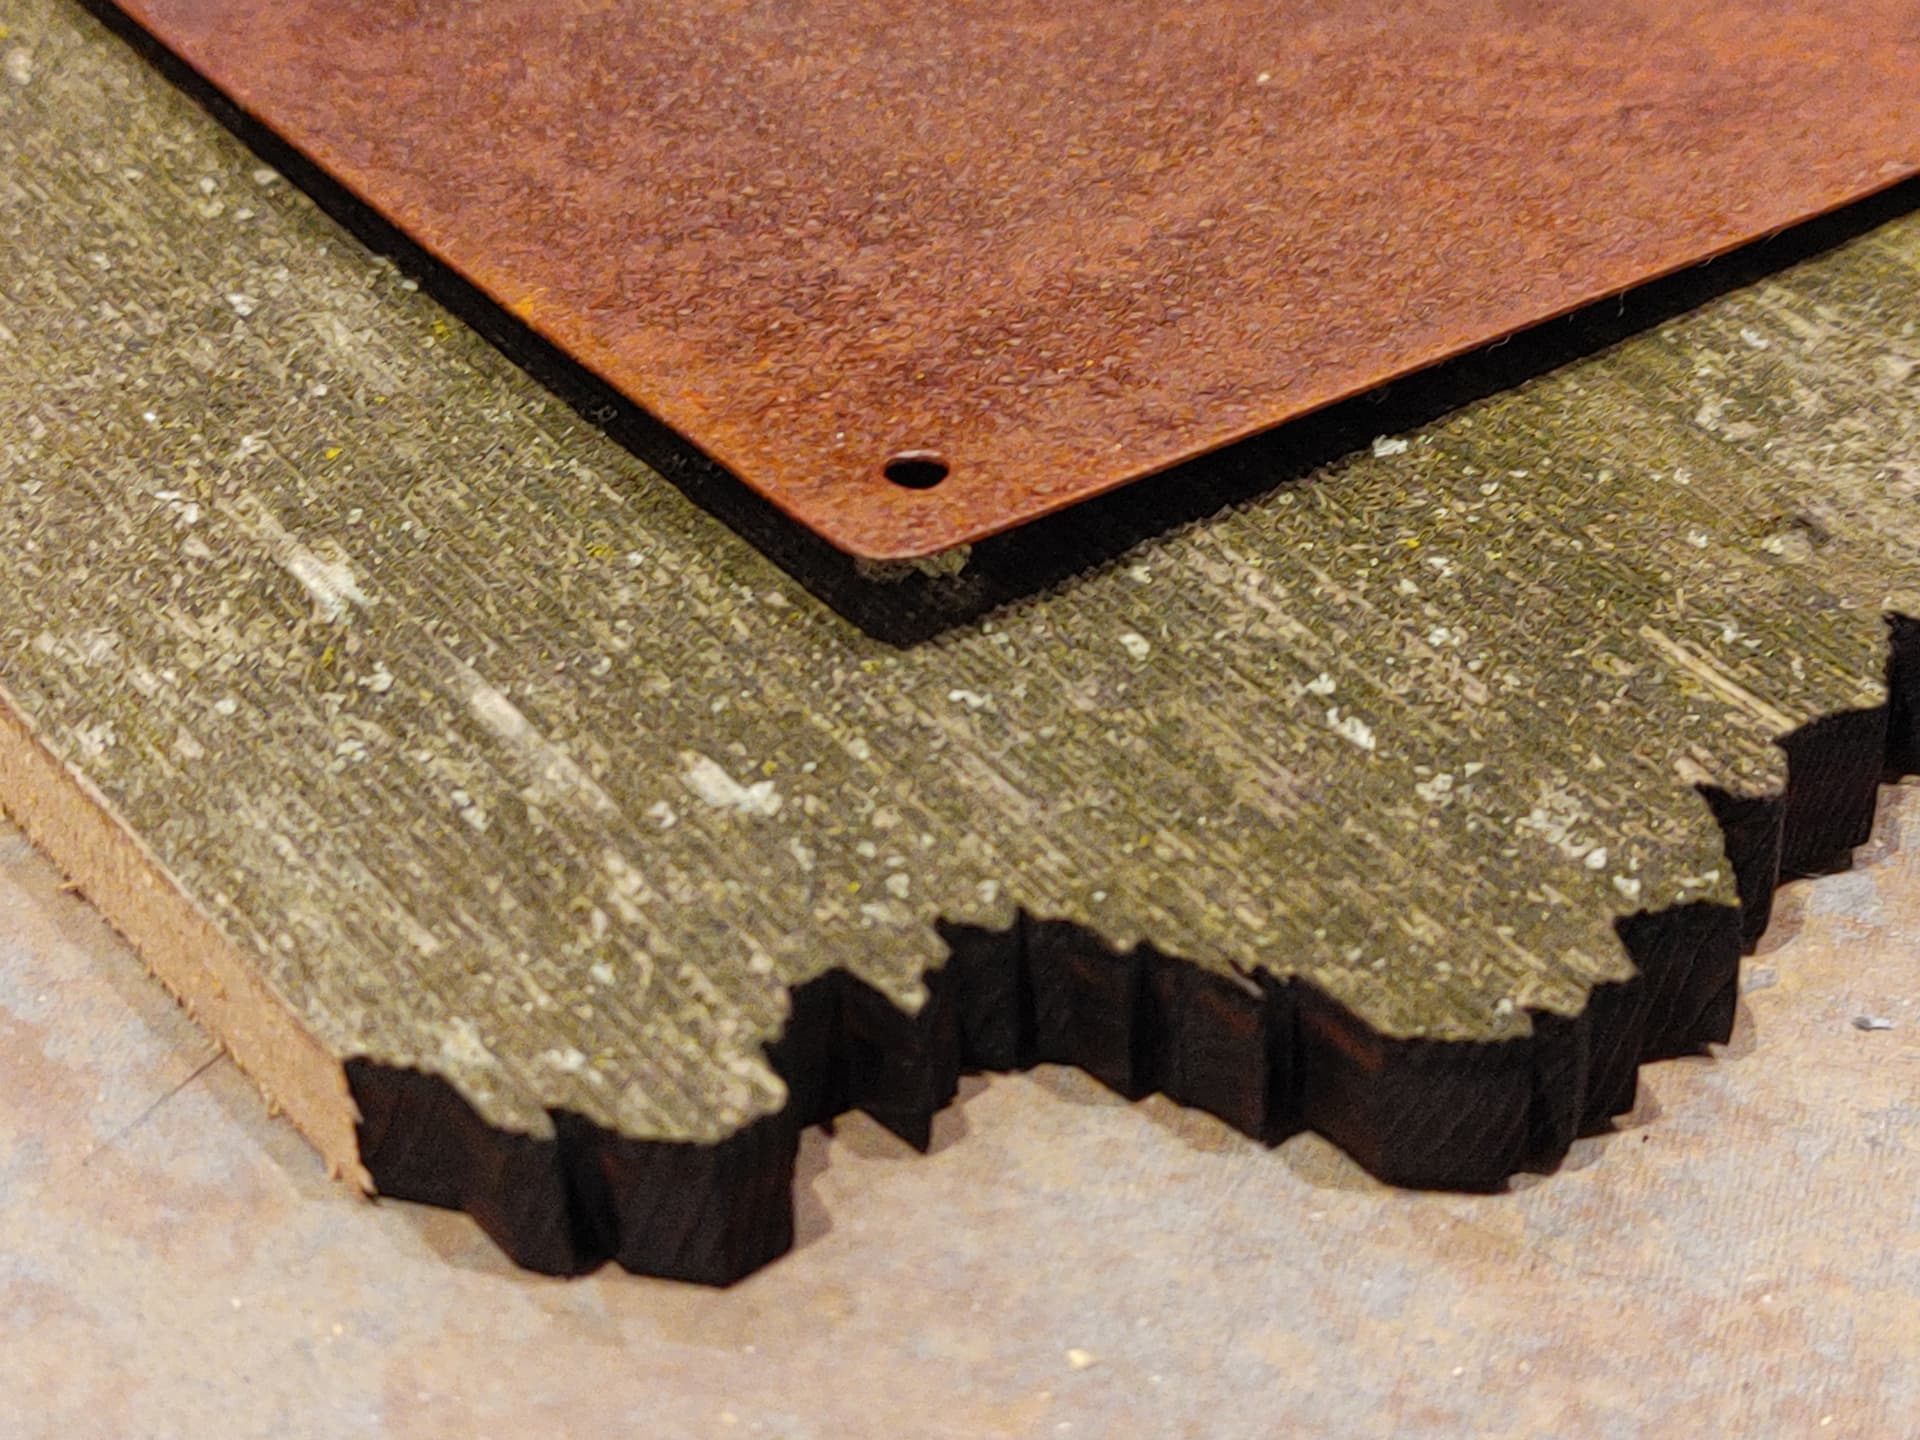
I’ve got a piece of irregular steel I want to make a plywood backing for. Just a narrow wood reveal around the steel. Maybe 4mm. It doesn’t need to follow the steel contour EXACTLY, but ±1mm would be nice. The steel was cut freehand and intentionally irregular/sloppy, so no digital model.
I cut piece of posterboard to an “exact” 16" square, laid the steel on it and took a picture from a distance with a bit of zoom to fill the frame.
Planning to use the square as a datum to correct distortion and scale, then trace the outline of the steel, offset, cut.
I’m not a big camera guy and this was just a phone pic, so I’m not sure what kind of issues I should expect with correction or if my plan is even sound.
Thoughts? What am I overlooking? Better ways (scanner is not an option at this size)?
If i got you right, you want to Inlay the sheet in the wood but keep the wood thickness or…
You want to make a wood “surround” thats 100% hollow where the metal is?
first think i can think of is…
Use the metal as a shield, engrave on TOP of the whole lot (but I don’t think you have 16" in your frames)
Then you would have a negative of the metal on the wood.
This would only work, however, if you were to hollow the wood with a router, and use the engrave edge as a guide.
Using camera on top of laser to take a screenshot and trace could work, with an offset, but you are too close to the edges to have precision.
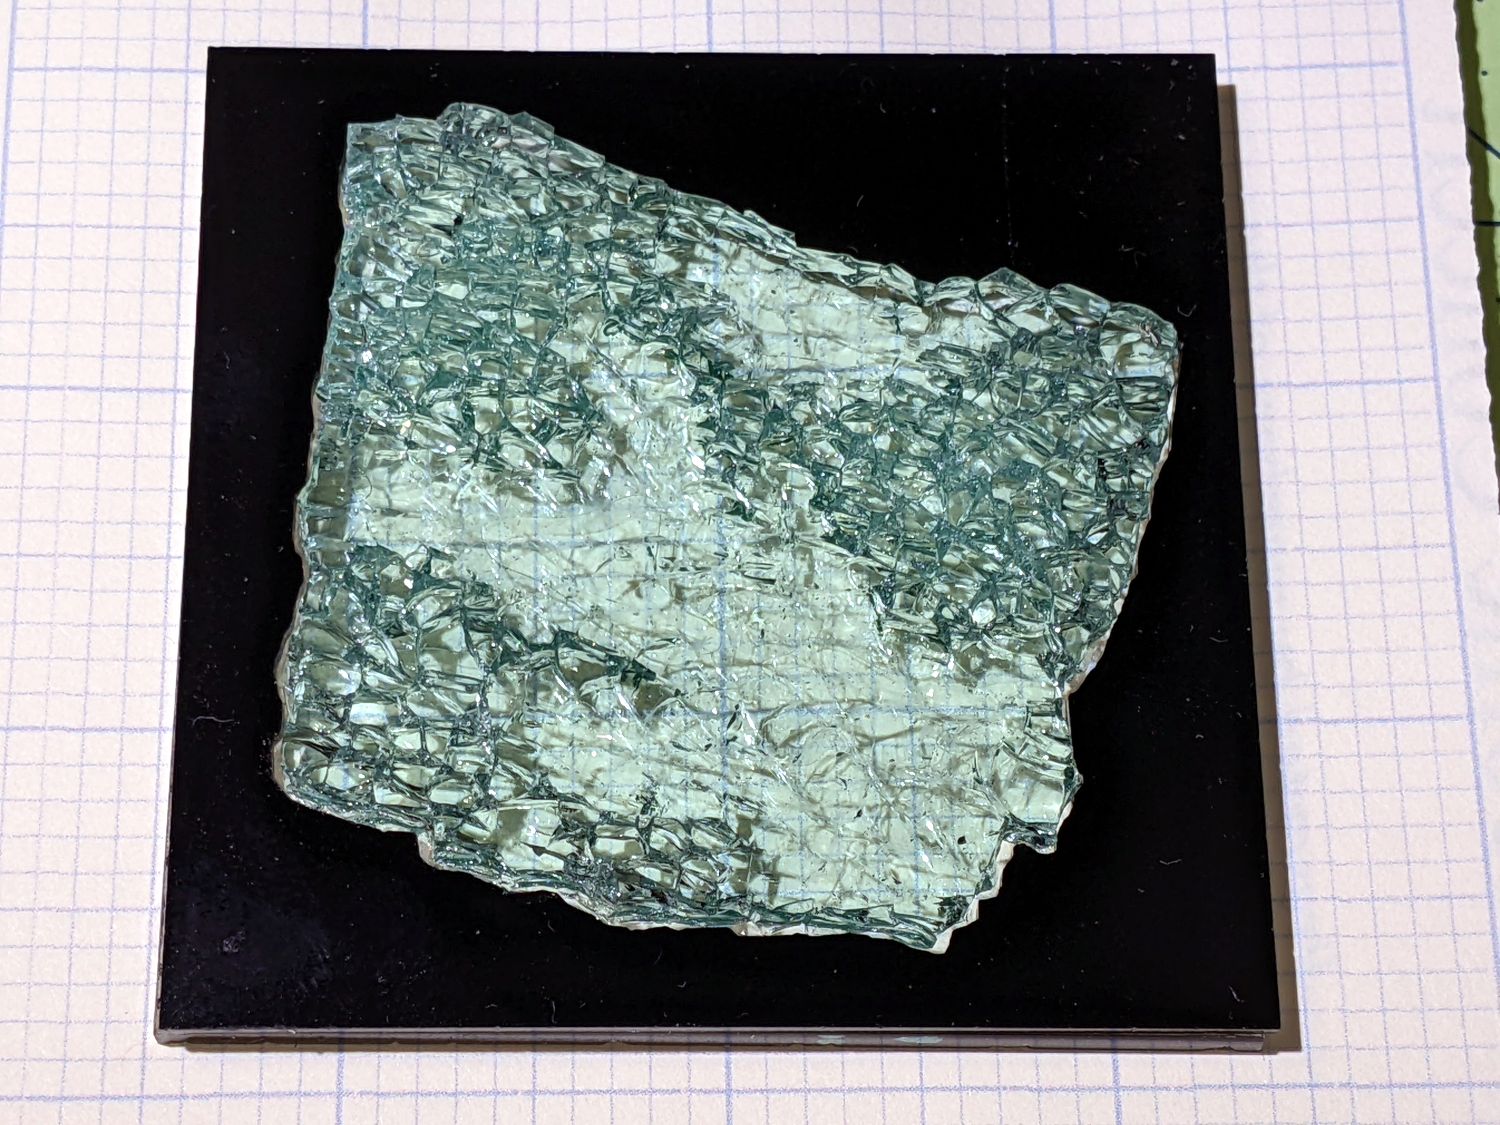
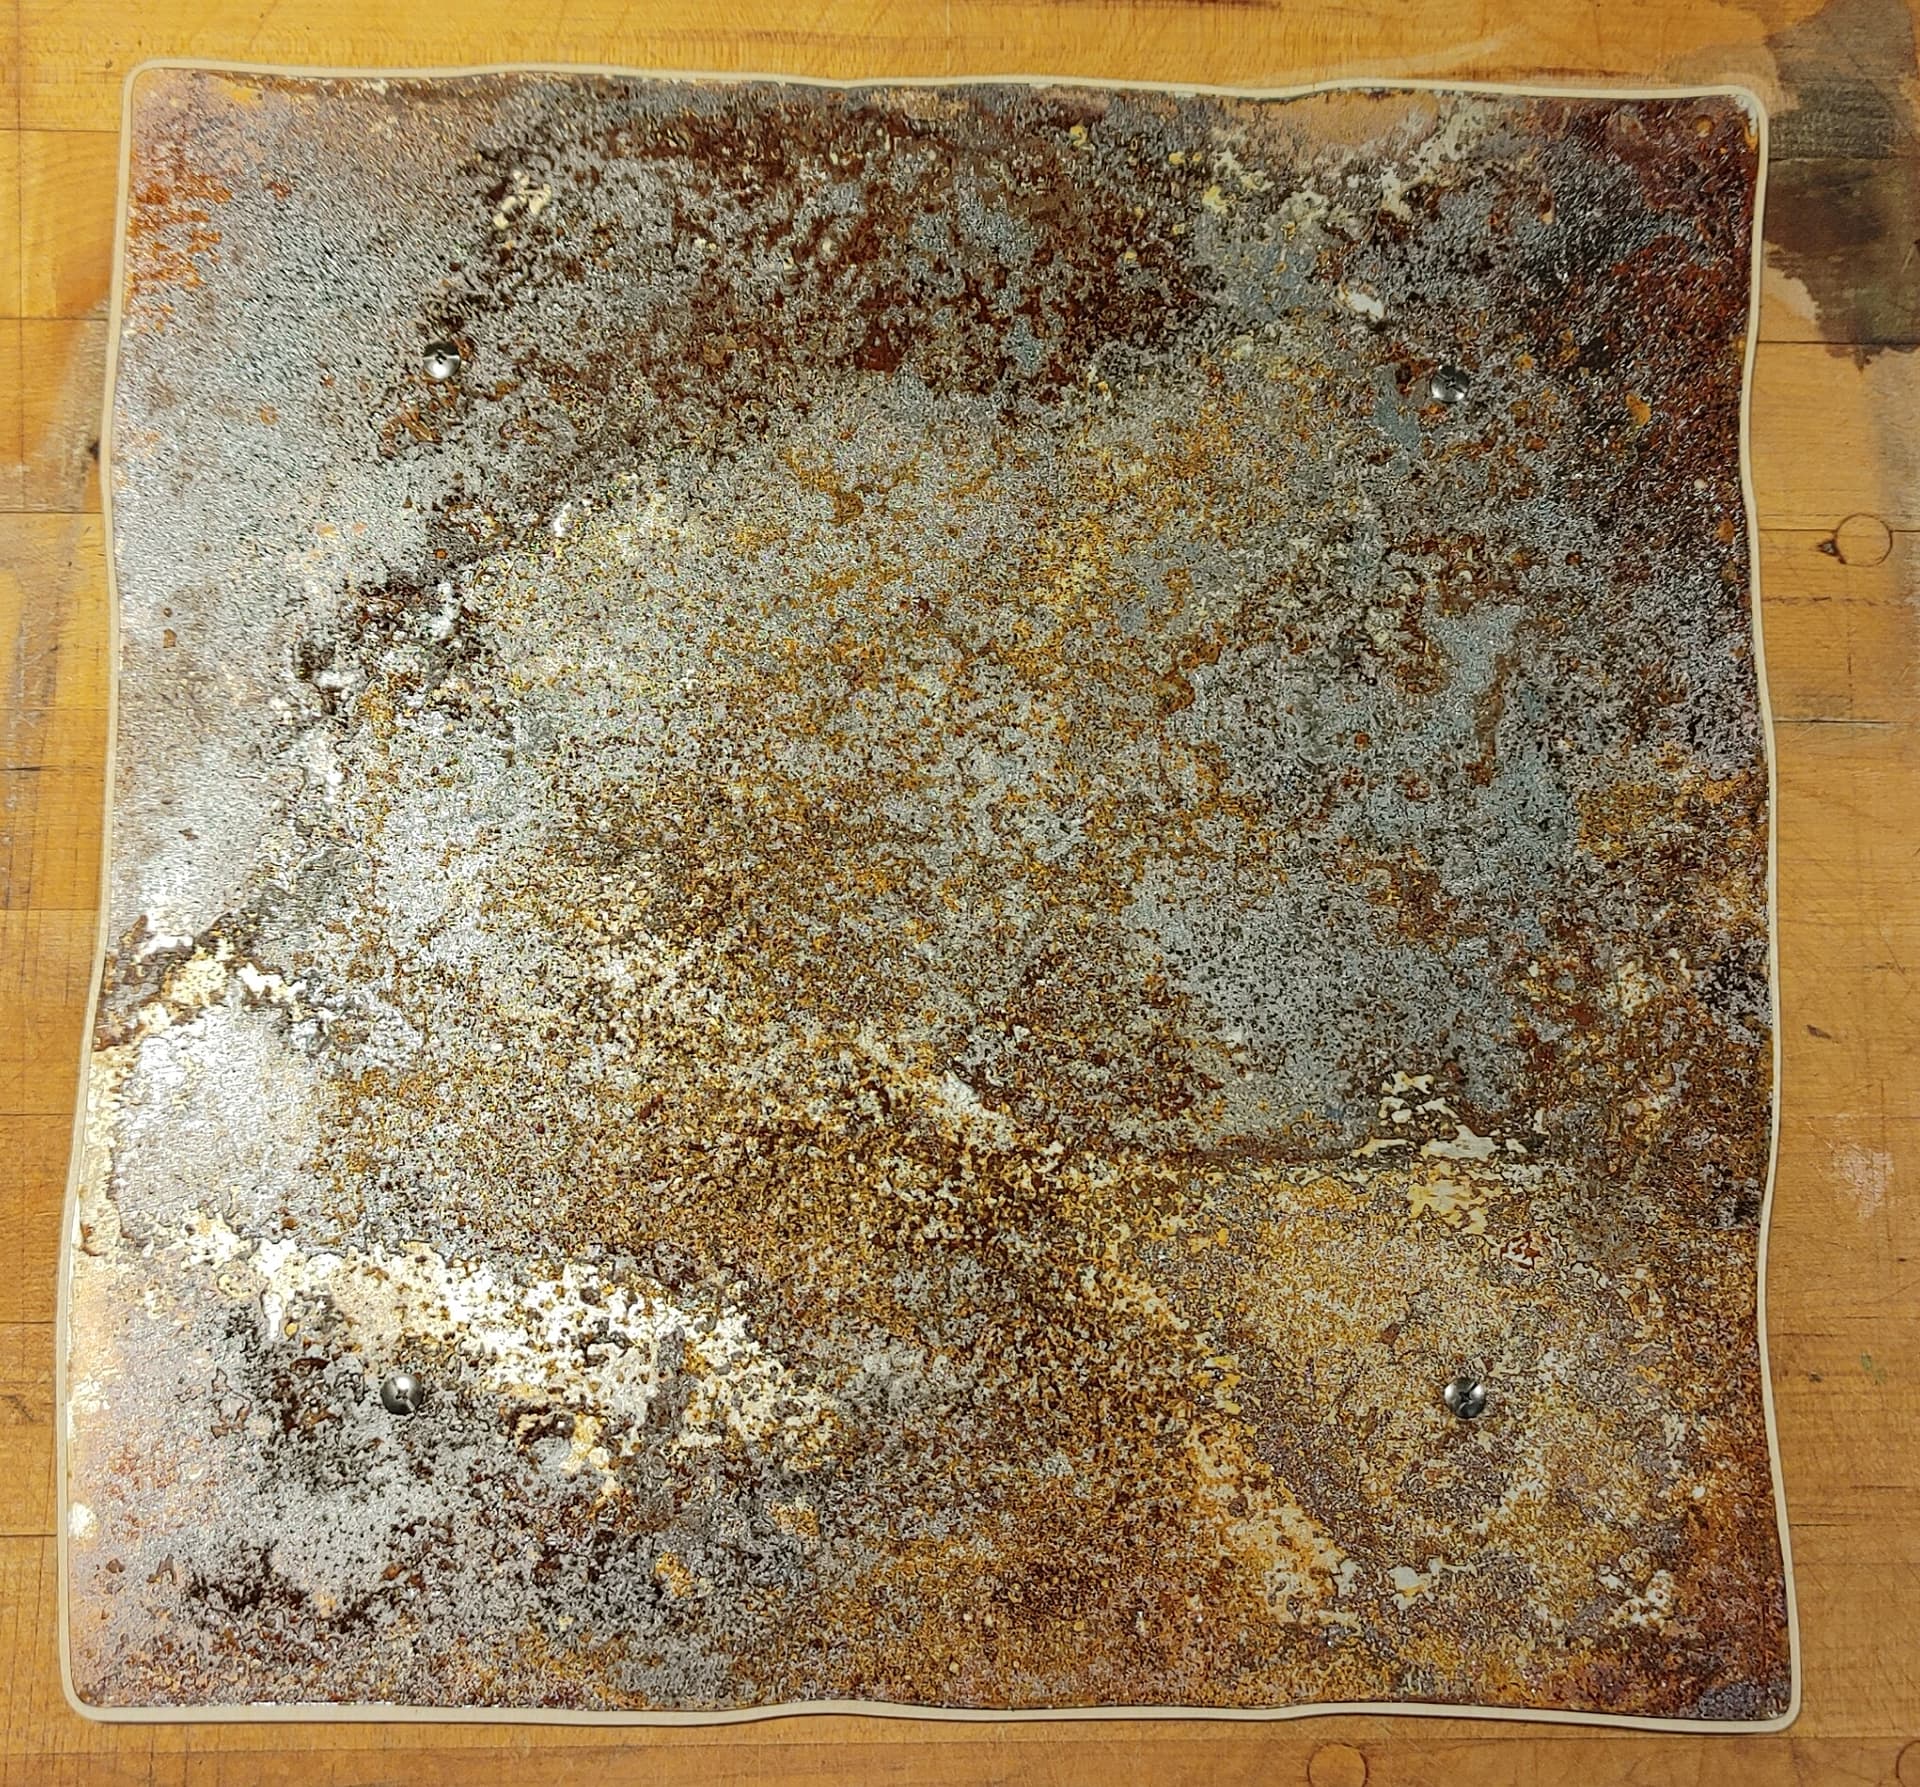
I’ve done something like that using GIMP, rather than LightBurn, to put conformal borders around pieces of smashed glass:
Those pieces fit on a scanner, but your picture will work well.
Start by putting a true square over the image, twiddle a Perspective Transform to align the image with the square, adjust the scaling to make it match the proper size, and blow out the contrast to make the perimeter easier to trace.
You could trace in LightBurn, but IMO GIMP will work better, if only because it has a Scissors Select tool that lets you tweak the perimeter as you go. After you get the perimeter, turn it into a black-and-white mask for LightBurn’s trace function.
I wrote down what I did so I could do it again and perhaps it’ll help you:
Nothing that complicated. I just want to make a 2-3mm thick backing for the steel. Primary function is to protect the wall I’ll be hanging it on. Secondary function of the backer is mechanical reinforcement (the steel is quite thin). It could easily be hidden entirely behind the steel, but I thought a small reveal would be more interesting. I want the steel to sit on top of the wood so I can see the edges and it has some “thickness”. The wood and steel will be bolted together with Chicago screws (aka binding screws). The whole thing should look a bit primitive at first glance, but the details should reveal careful intent.
I’ve read that! I forgot about it, but that certainly does apply. I’m pretty competent with Gimp, but thought I would see if LB could get me there.
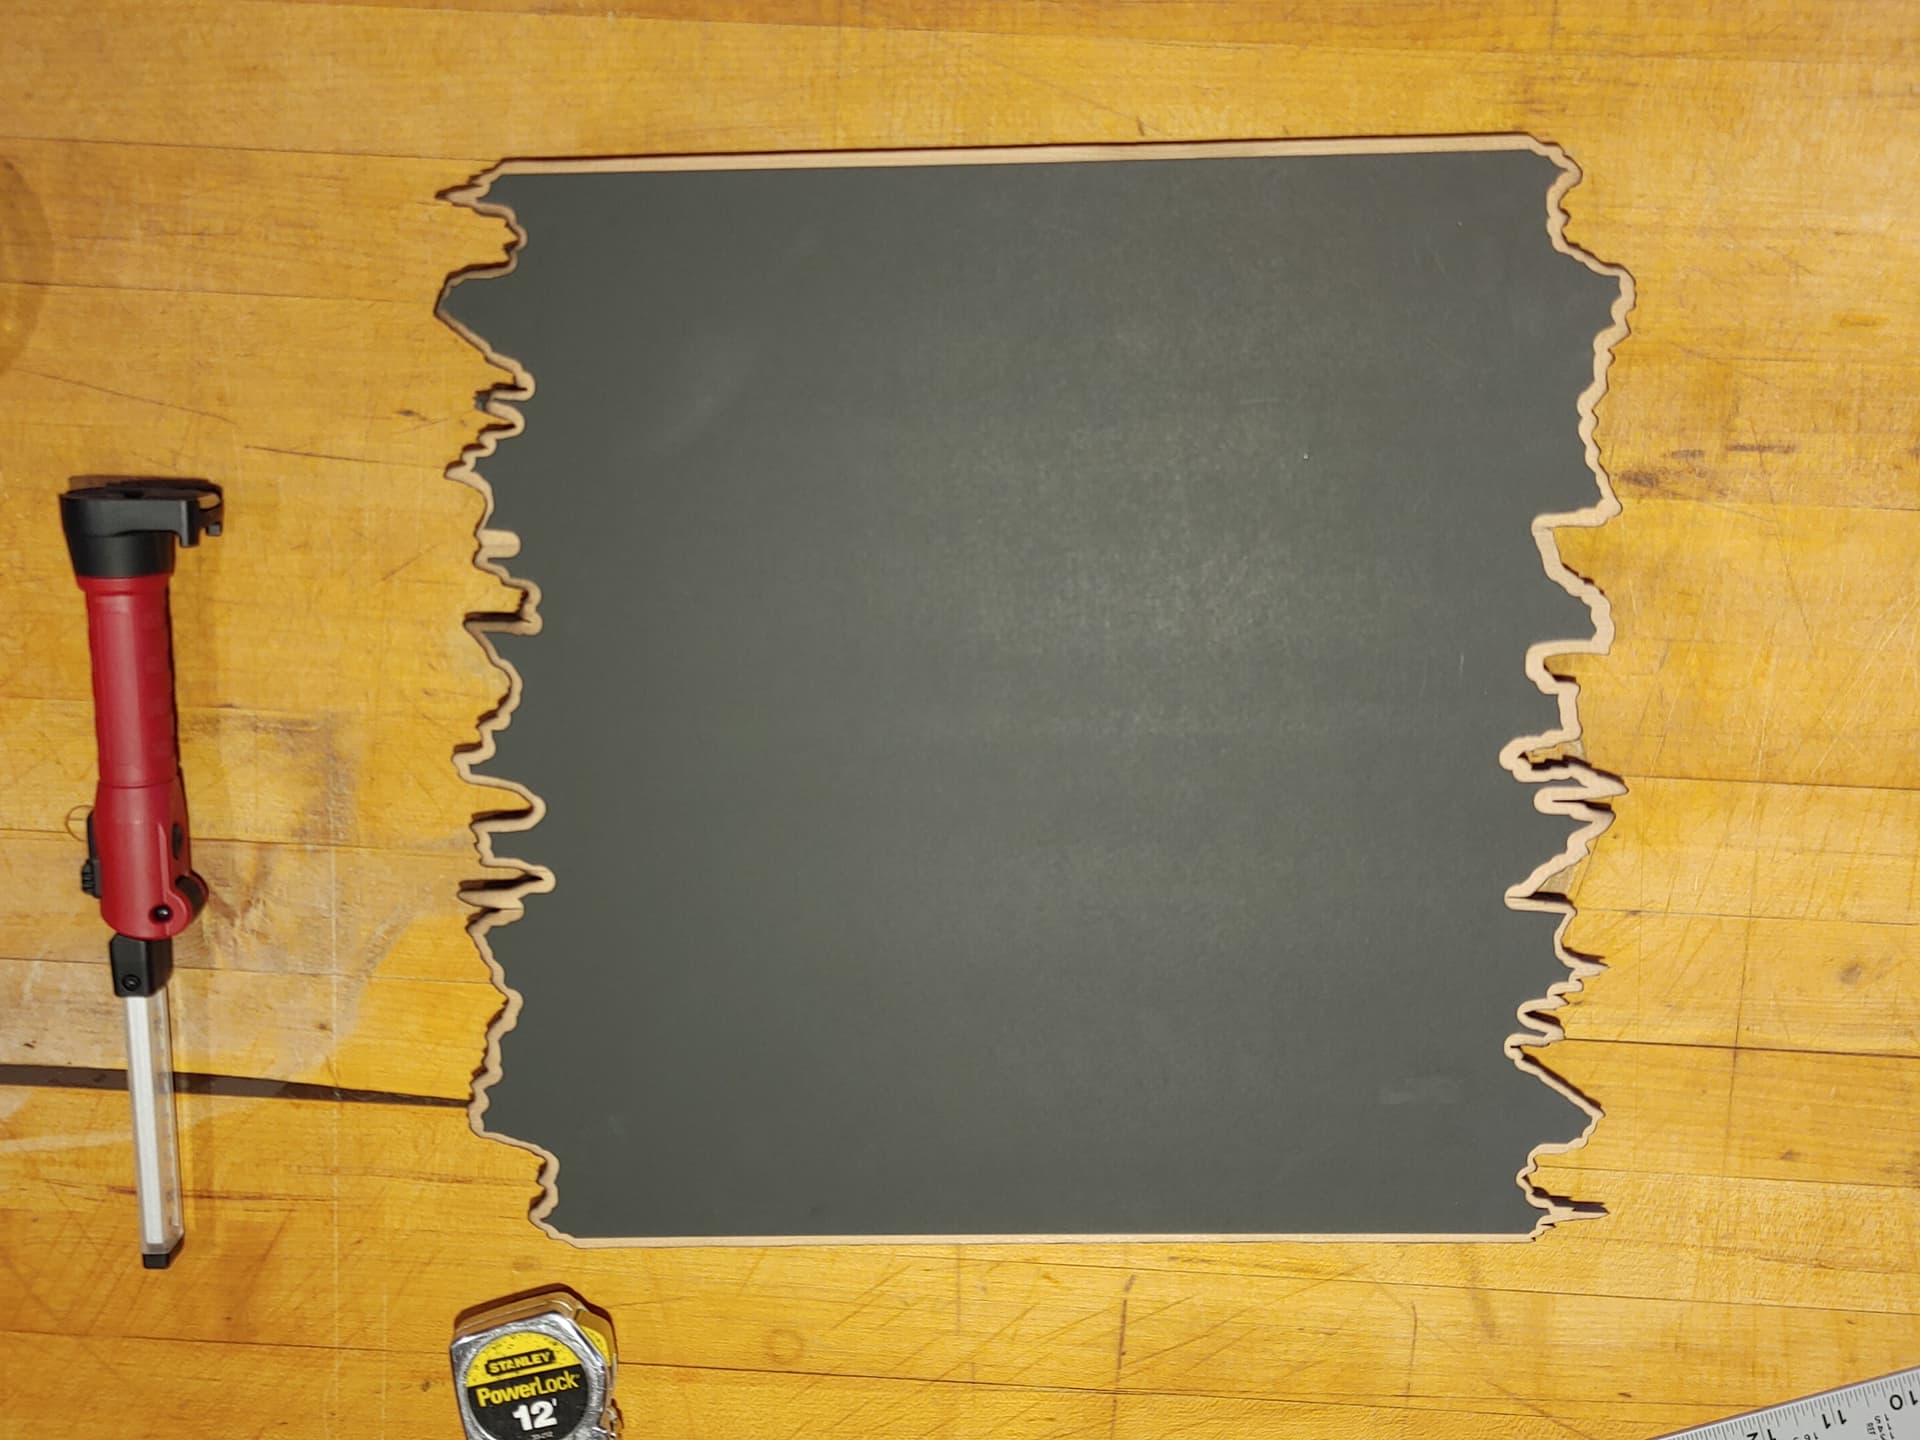
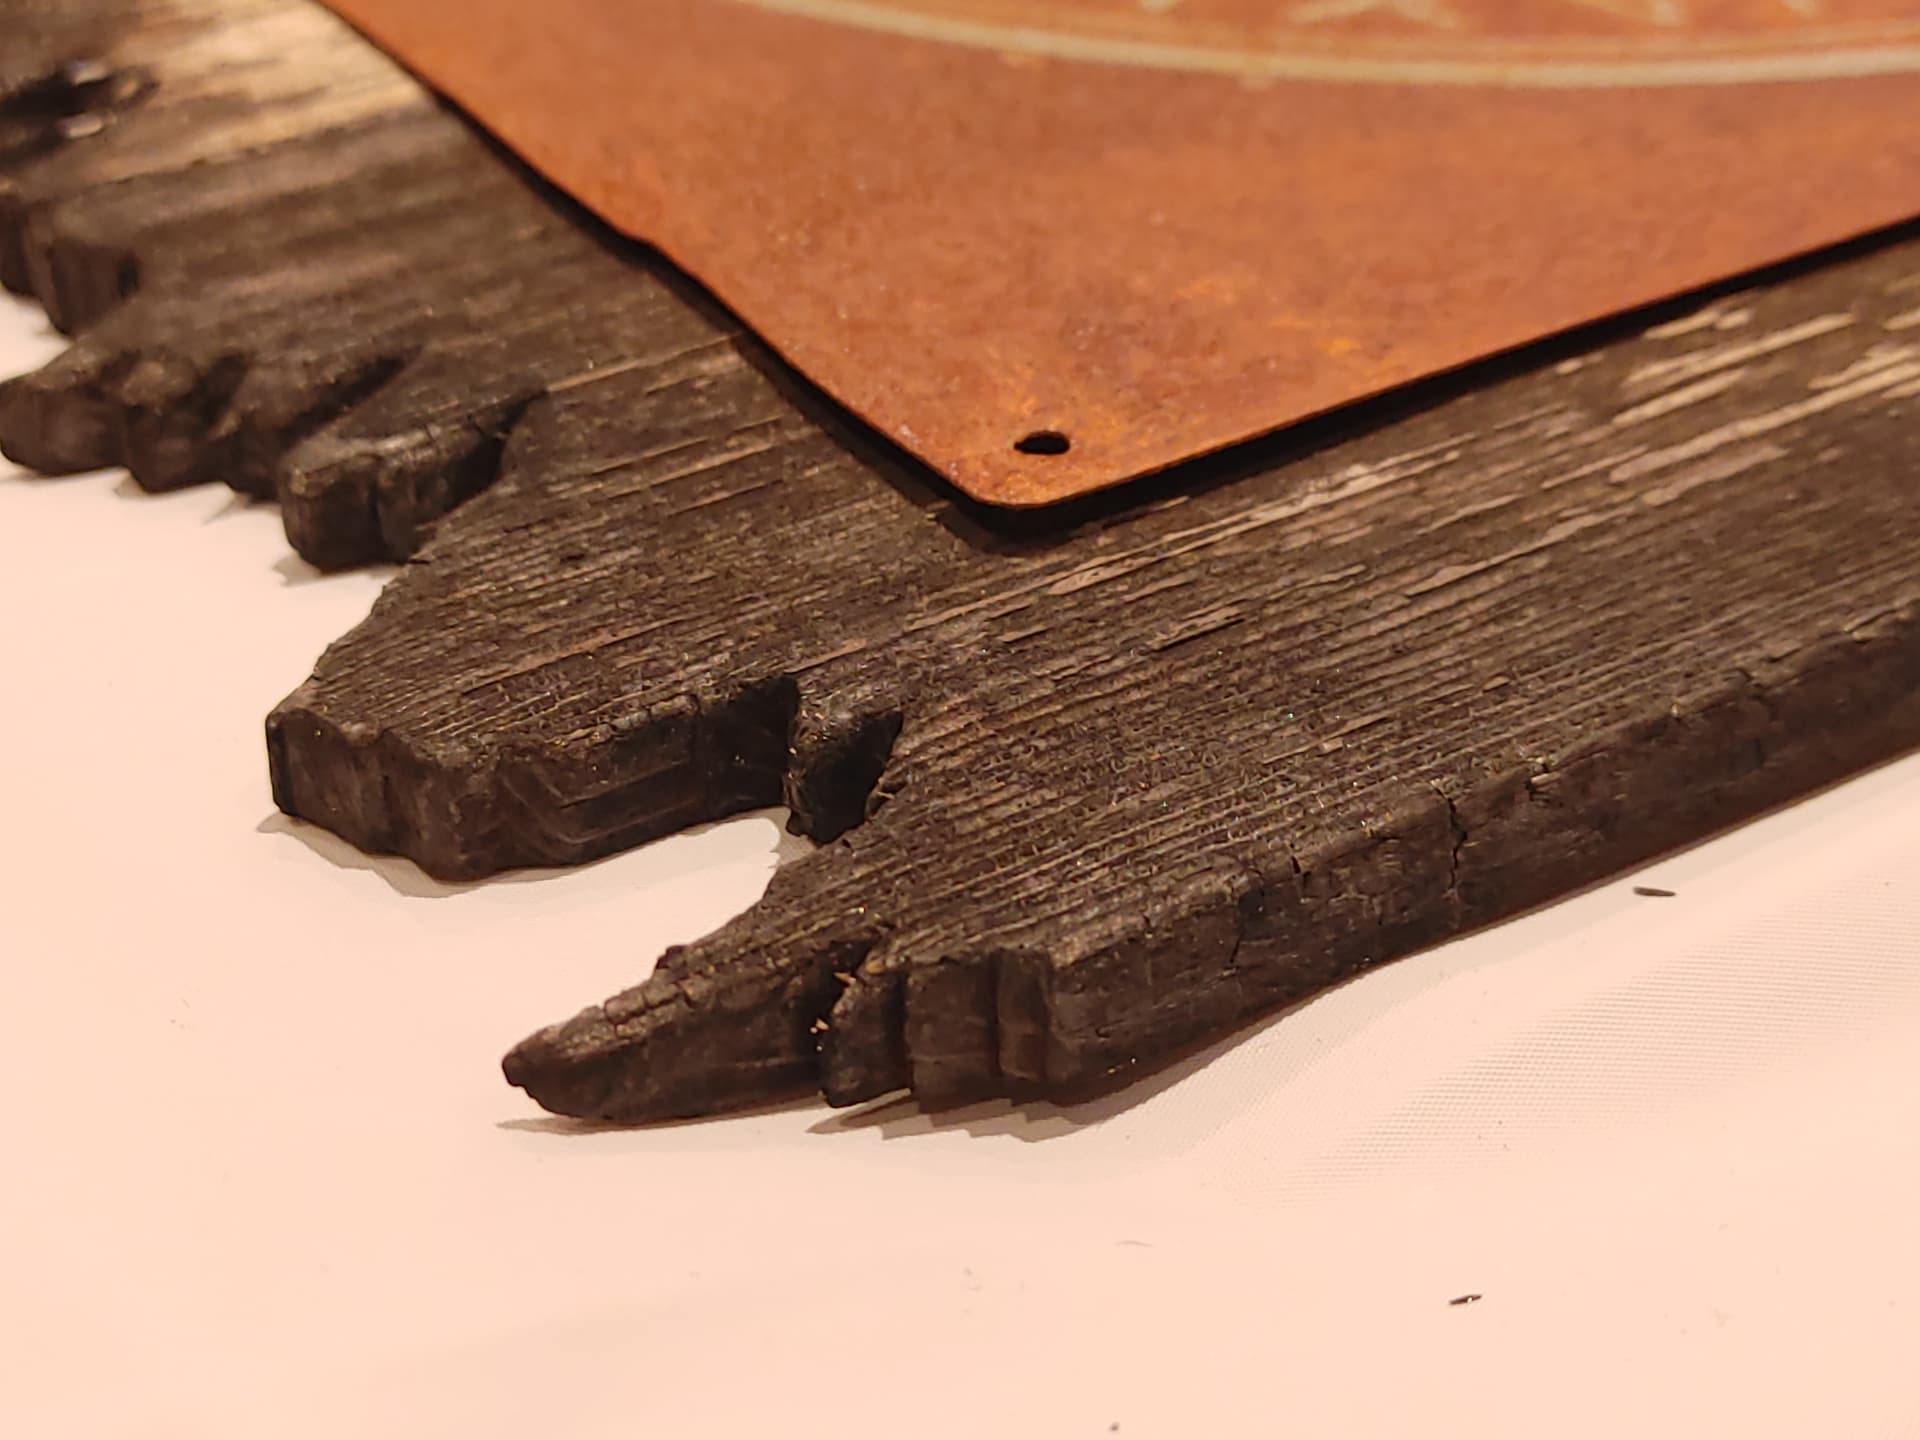
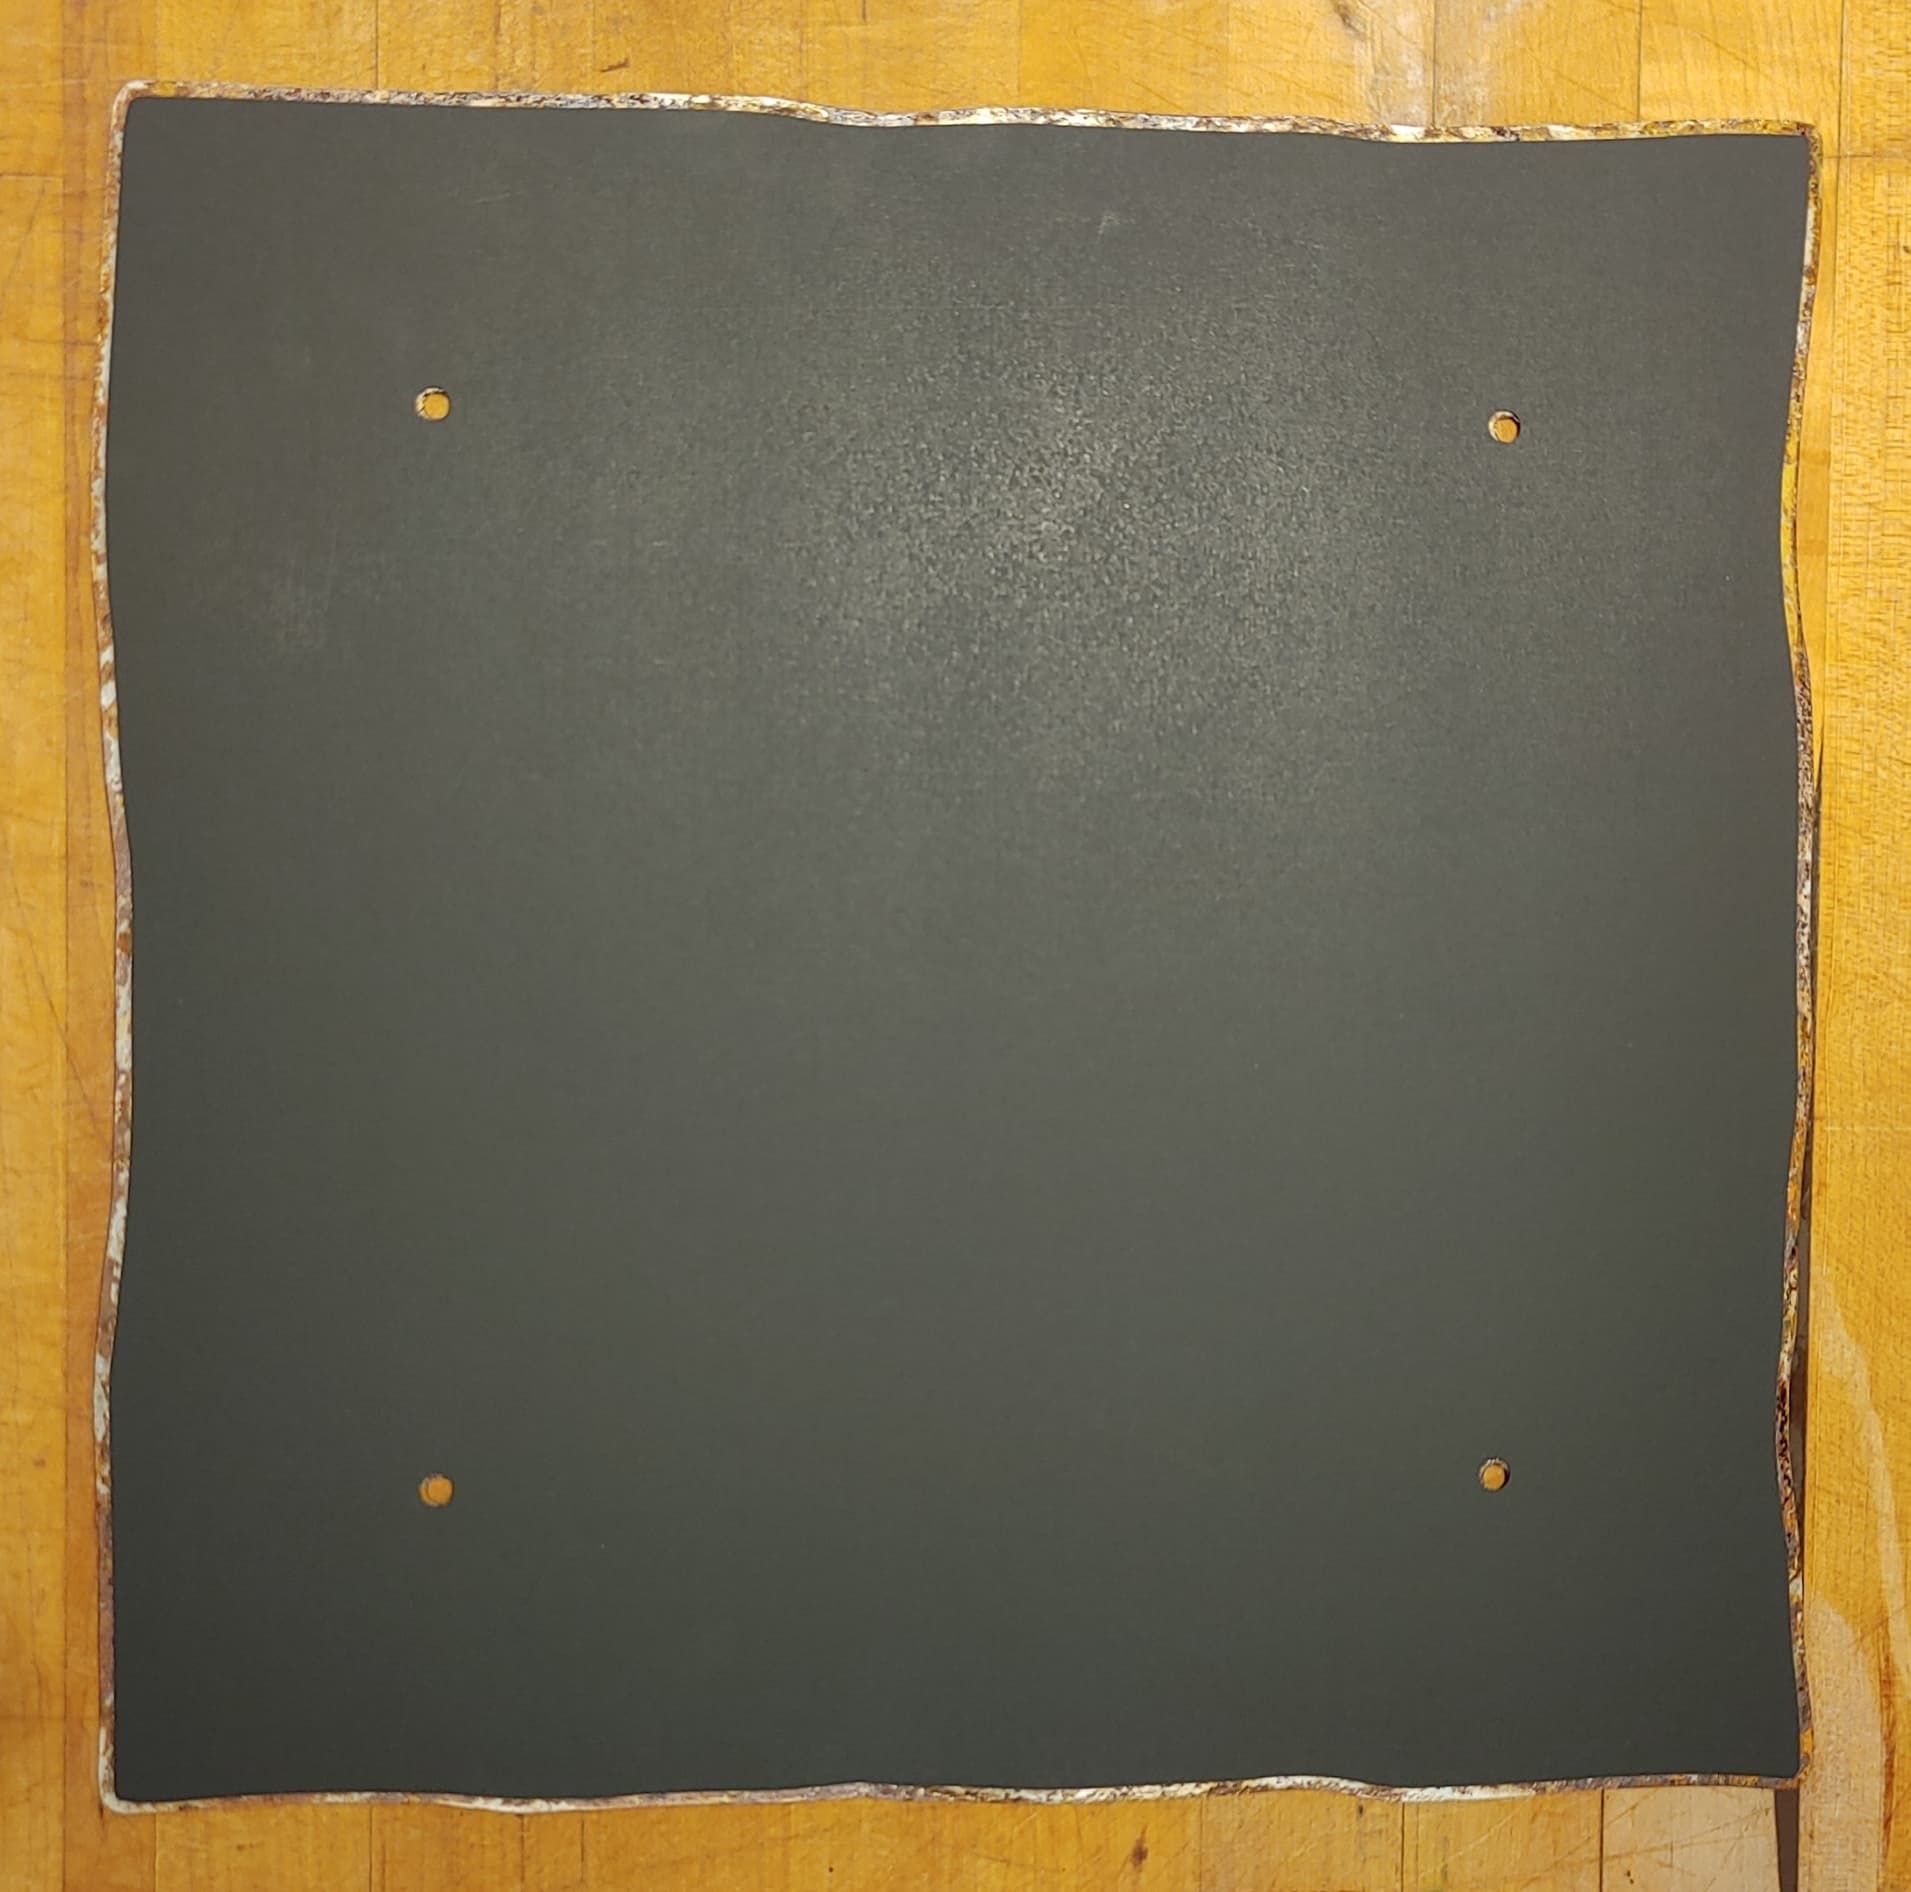
This is a similar project, but started in the digital realm, so fewer unknowns… ~60 year old “found” cedar shakes planed to thickness, cut to width, and edge-glued. Then laser cut “broken ends” (derived from photo references), finally burned real good with a torch. For this one, I just want a “clean surface” against the wall, so I cut a piece of posterboard with a small offset (not interested in seeing this backer). I thought about felt, but wanted minimal added thickness and a bit of stiffening because the wood is quite fragile.
The Ikier has 410mm (16.14") useable X and 750mm (29.53") usable Y. I’ve never actually cut a job THAT close to the limits, but it does reliably frame at the full size. I’ll just need to be careful securing the workpiece or dig through the stack to find one that isn’t warped.
To improve the photo precision you can place the phone on the edge of a table to keep the planes of the phone and the object parallel.
With 2 or 3 points of light to eliminate shadows, but that one seems to have been taken in a similar way
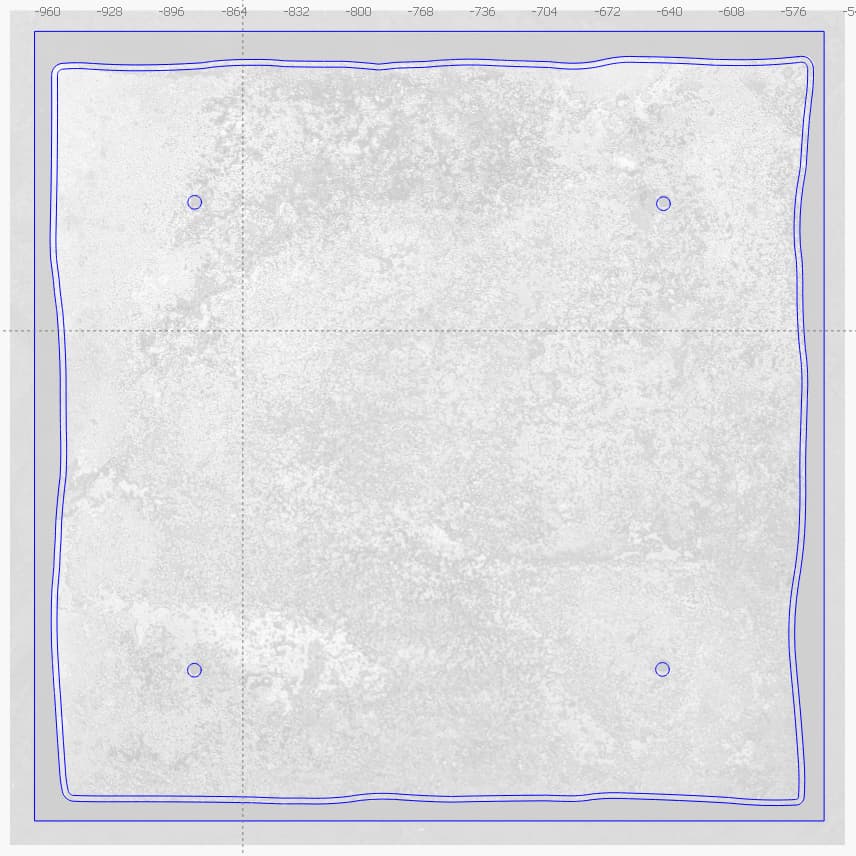
Done 100% in LB. Imported photo, did some 4 point warp adjustment, image adjustments, trace, node editing, then optimization to smooth the path.
Neither normal nor rubberband framing can show me how this reconstructed outline followed the real contour, so I set the outline layer to a moderate speed and 1% power and ran it as a job to see how it lined up. Pretty darn close! The lower right corner needed a bit more warping, maybe 1.5mm, so I did that and all was right. I think I could have gotten first time out if I had used a higher resolution photo. I had my camera set to 3MP, so it was pretty pixelated.
I also decided to put in the 4 mounting holes. No tracing for this. I just made some true circles at the right diameter and positioned them over the pic so they looked centered. I checked them the same way as the outline For some reason they didn’t line up quite right. Maybe 1mm off center. Probably a discrepancy between the warp algorithm and the lens distortion. Perhaps one is linear and the other is not. I’m not a camera guy. I just did the 1% job run several times and adjusted them by eye. Not as close as they could be but they’ll be covered by the hardware anyway. Just saves me having to cut or drill them by hand.
Mulled over the wood/reveal thing and decided against. For now, at least. I did a 3mm inward offset and cut it from posterboard. I may still cut a piece of wood. I dunno.