Hi have found that when I set the origin to the corner of my tile engraving it always starts about 4-5mm in the X and Y position from where I nominated User Origin position. I have a Yorahome 6550 PRO. Have checked my $ settings and G# codes and can’t find anything that is showing this offset. I have looked through the Lightburn settings and can’t find anything in an offset, is there a setting I should be checking? Is there some way I can set up a permanent allowance for this in GET Position etc. or is there another way
Thanks
- If using Absolute Coords do burns occur where expected?
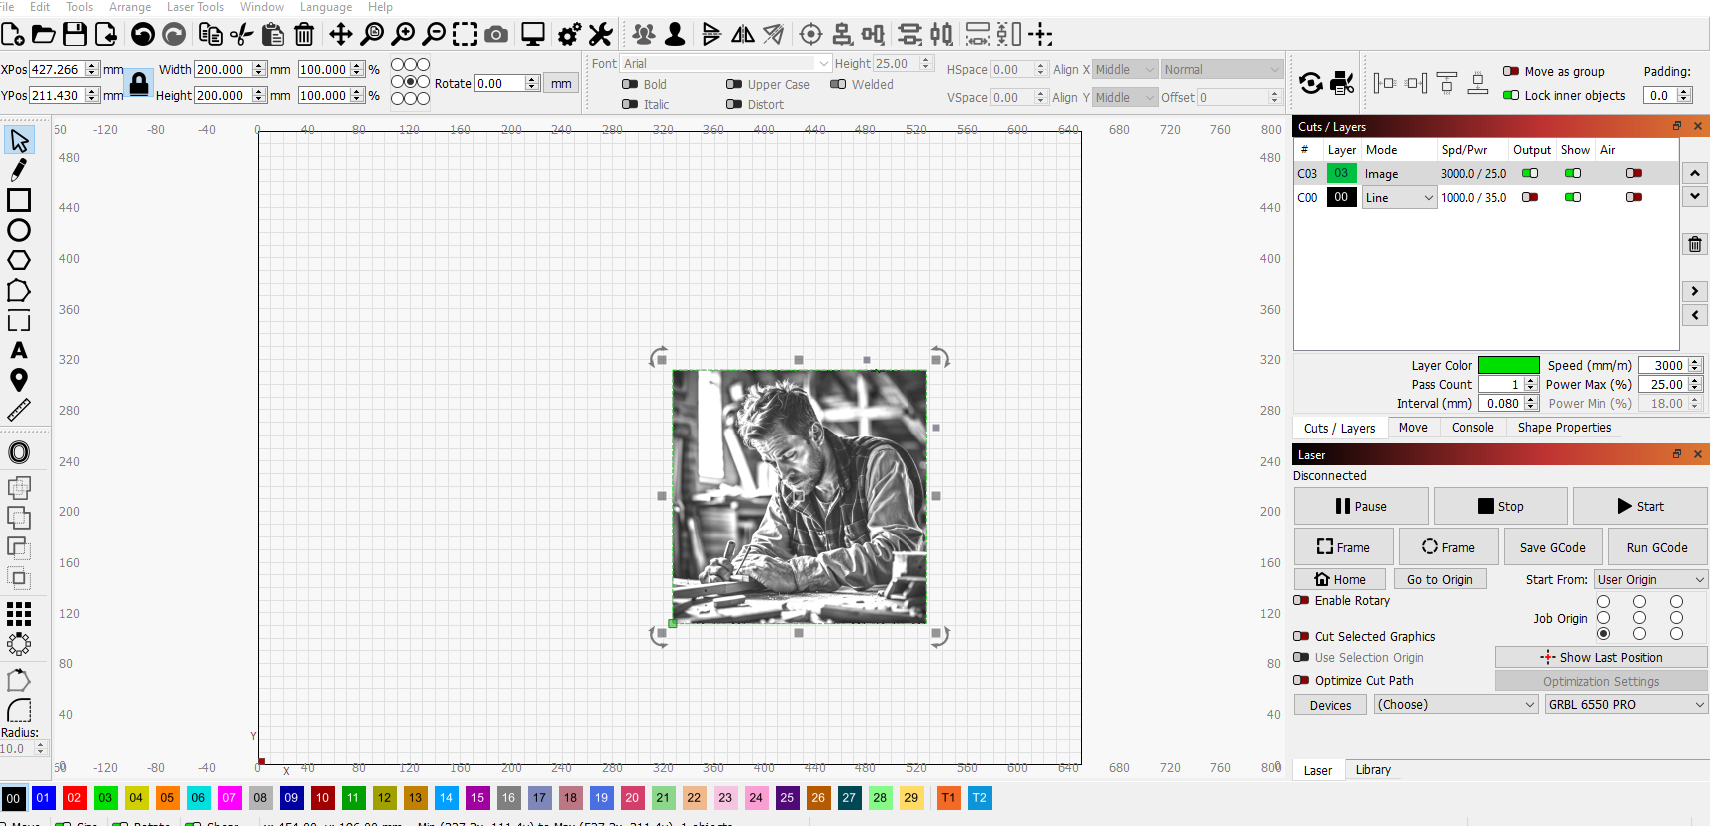
- For this issue, can you take a full screenshot of LightBurn with the design loaded and ready to go?
- What coordinates have you set User Origin to?
Can you elaborate on what you mean by this? What would this entail?
When I set the User Origin I move to the designated corner of my tile then I just use the SET ORIGIN button in the MOVE window
I have not tried Absolut Coordinates as I don’t know how to use this feature only ever used User Origin or current position. Has only been happening since I updated to 1.4 version.
As for GET position is there an offset to the User Origin to be able to overcome this problem. Like if I set my position and knowing it is 5mm out when engraving. Don’t know other than that to help fix the problem
The design setup looks fine to me. I don’t see any obvious issues there.
Still not following what you expect to happen with this. What steps do you envision taking for this?
And to confirm, 5mm out is in which direction?
Also, can you validate that these conditions are all true:
- you are homing the laser prior to job
- you are not moving the laser by hand after homing
- you are exclusively using the jogging controls to move the laser
- you are setting user origin after homing and before running the job
I would think that I could set an offset once the origin is established thinking it may program the laser to move back 5mm before starting the fire laser maybe if possible.
it moves 5mm in both +X and +Y directions.
Yes, homing laser.
No movement by hand
Only ever use the jogging buttons in the MOVE window
Yes, home laser, jog laser into position then set user origin then run the job.
I get what you’re saying now. No, there’s nothing like this. That sounds like it would be a user origin on top of a user origin.
I’m curious. What does the Line layer look like? It’s not obvious from the screenshot.
If you enable “Cut Selected Graphics” and “Use selection origin” does it resolve the issue?
The line layer is a square snapped to the size of the picture. I have zoomed right in, and it does not overshoot the photo. I add this to insert the photo to size I want. Besides that it is on another layer that doesn’t output.
I was not using Cut selected graphics as I thought that function might affect my power settings etc. .
It is funny you get things done as you have always done for the last 12months then after an update you get these problems. I don’t know whether it is a problem with the update or a change to the program.
I will try your suggestions on the next one I do and see if that corrects the problem.
Thanks for your time
1 Like
Me back again. I have tried the Cut selected graphics but it starts off at the corner of my photo not the corner of the tile which is not centre to the tile. I also setup a saved position for home and another for the origin I want, so I just select the position and slect go which automatically takes the laser to the correct position. But soon as I hit the start button the laser moves in 5mm both ways. So I don’t know what is causing it. The only thing I can see is that I have $27=5mm but that should not affect the setting of the origin and turning on the start button to commence the burning.
I had thought the corner of the photo was meant to be the corner of the tile? I may not be understanding exactly how you’re trying to go about doing this.
Can you further explain this?
Perhaps a photo of the tile with the laser positioned at the User defined Origin could clear things up.
Let’s do one thing. You said you checked for it but let’s review the basics to make sure nothing is conflicting.
Can you run these commands in Console and return output?
$H
$I
$$
$#
?
Note that the first command will home the laser so be prepared for it.
The photo is not the same size as the tile. I have to centre the photo on the tile. The photo I have just started is 200mm x 170mm and the tile is 200mm x 200m if that explains it. I am in the middle of a burn right now to complete what I had setup new, so will get back to you with a photo once the engrave has finished as well as the $$ settings
What’s your process for doing this in this example?
Have set 0,0 as the corner of the tile as usual as I also tried cut selected graphics but it didn’t start correctly either even though I set the 0,0 origin in the desired distance to centre the picture. It also moved 5mm in both directions as well from the origin when started. So I am engraving with the setting origin as the corner of the tile. Yorahome has got back to me and said that there is nothing in the firmware that would affect the startup and change of position that I am experiencing.

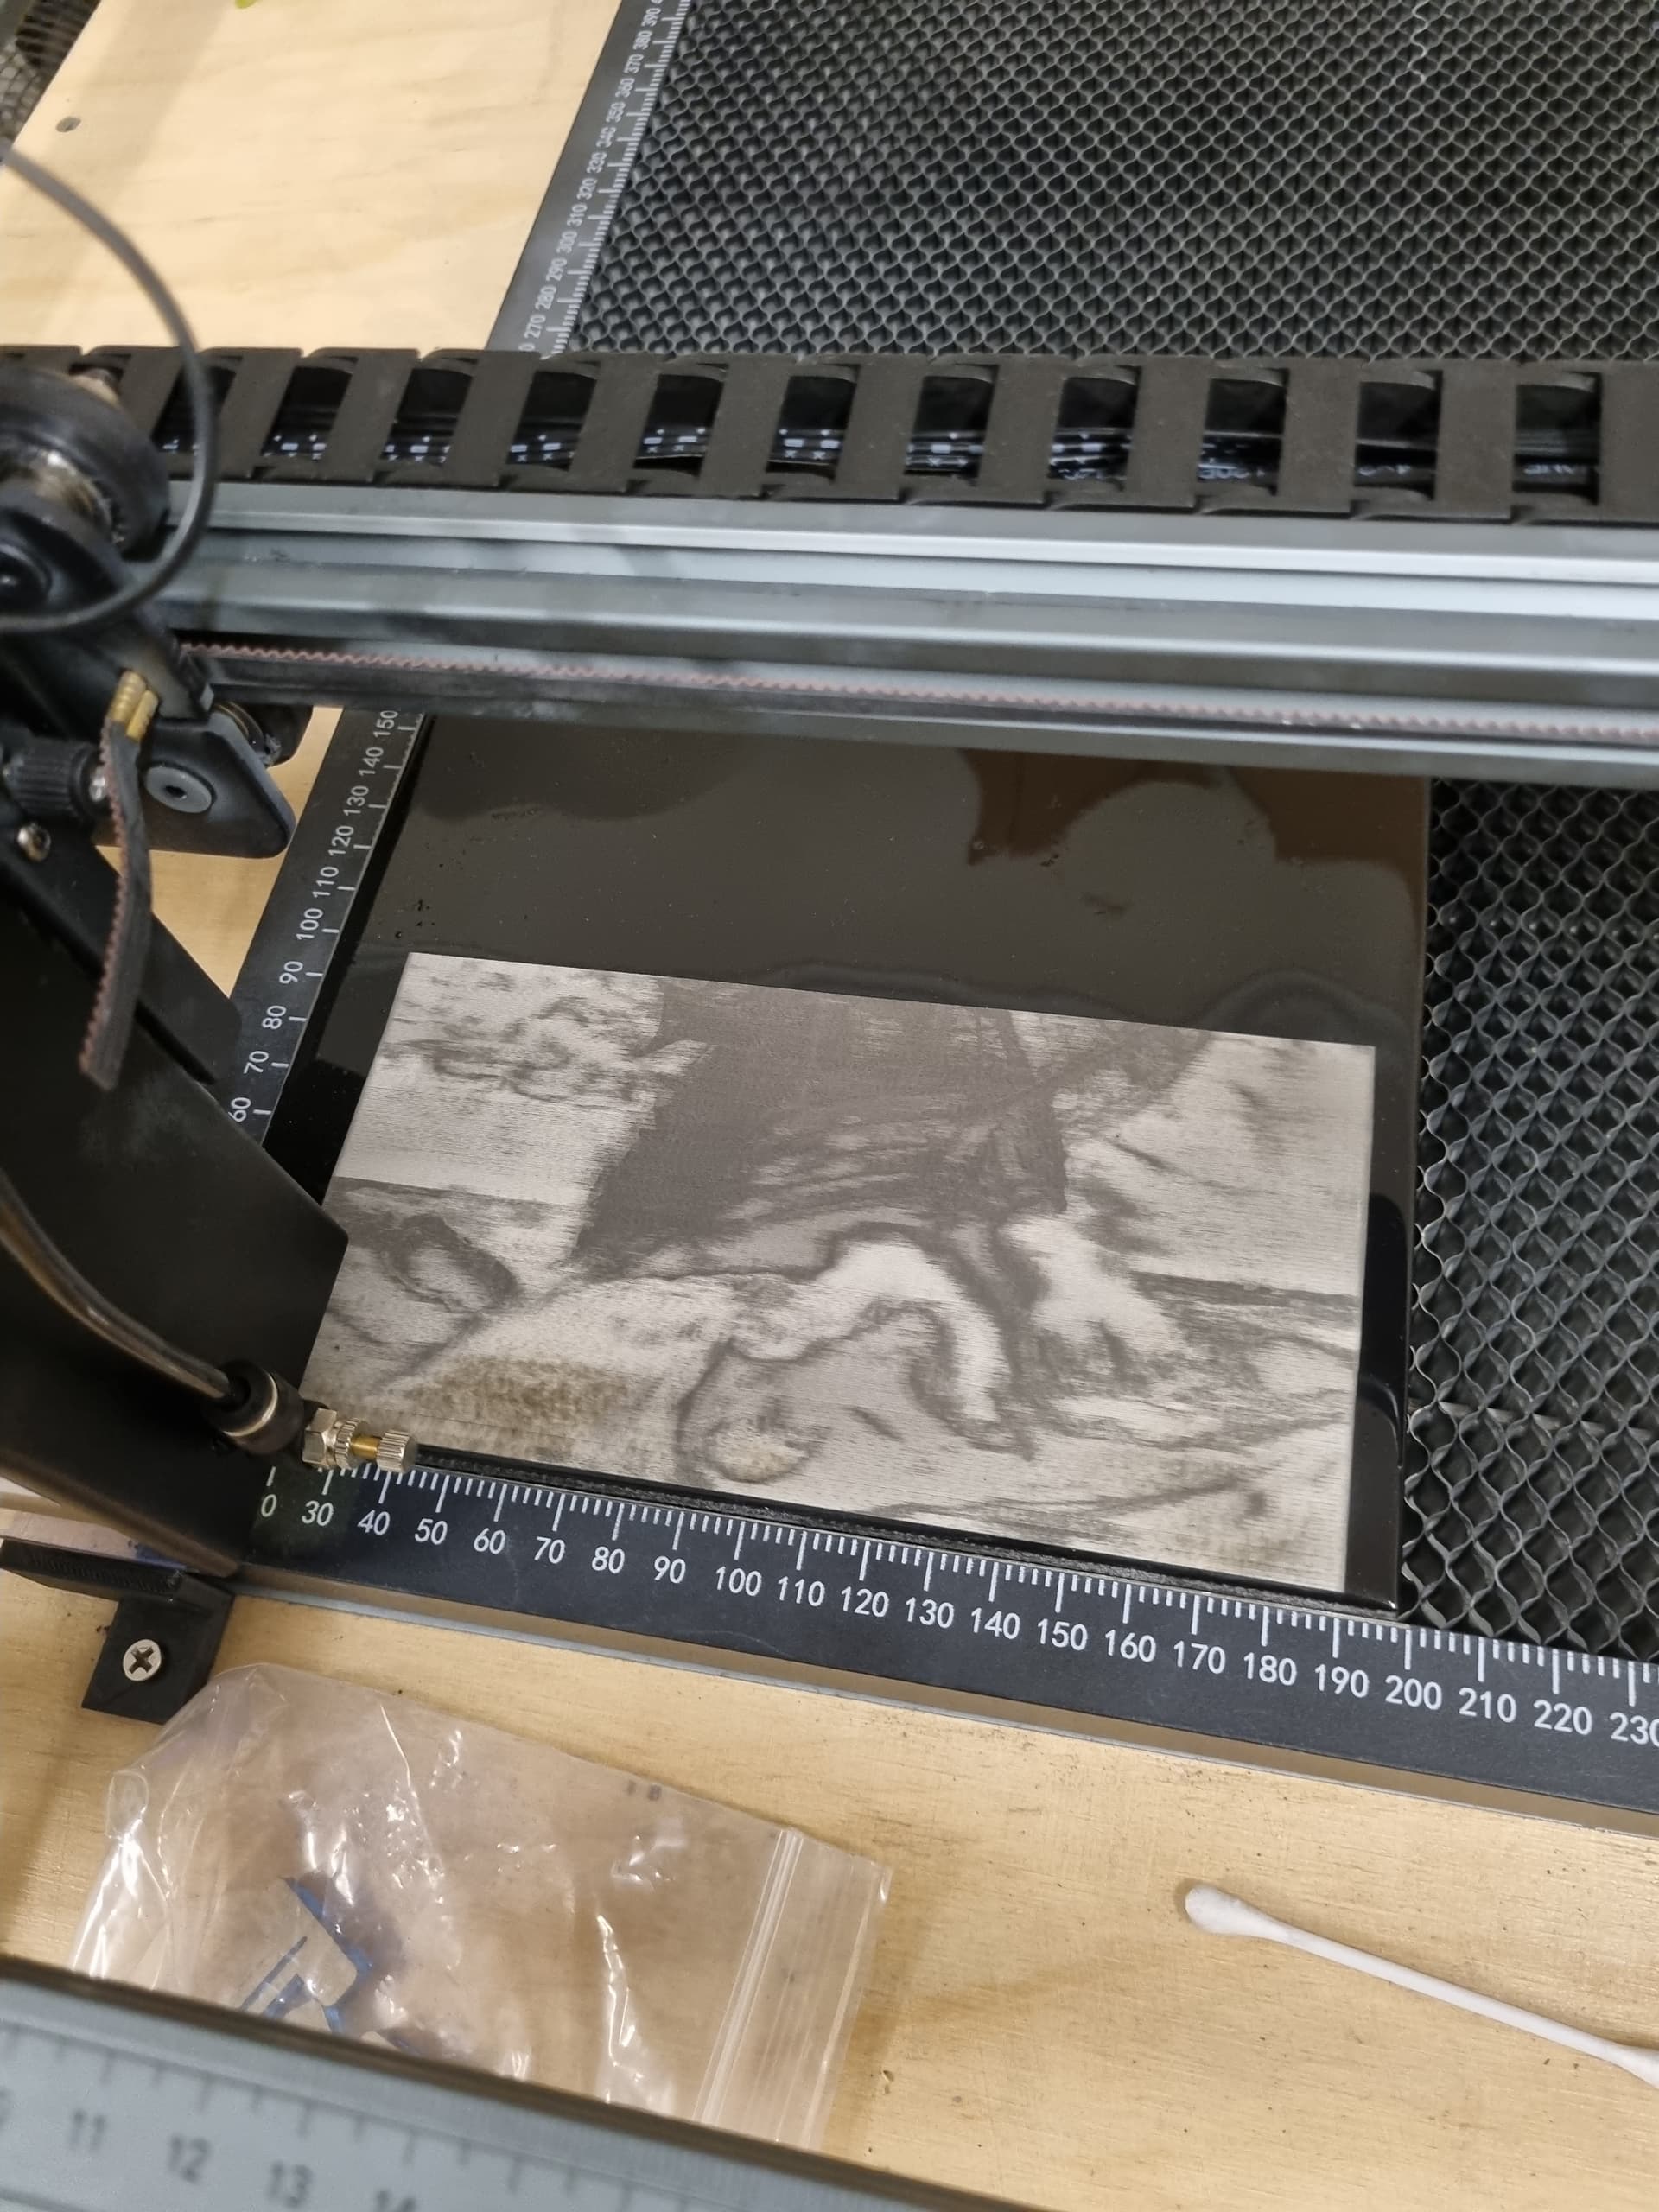
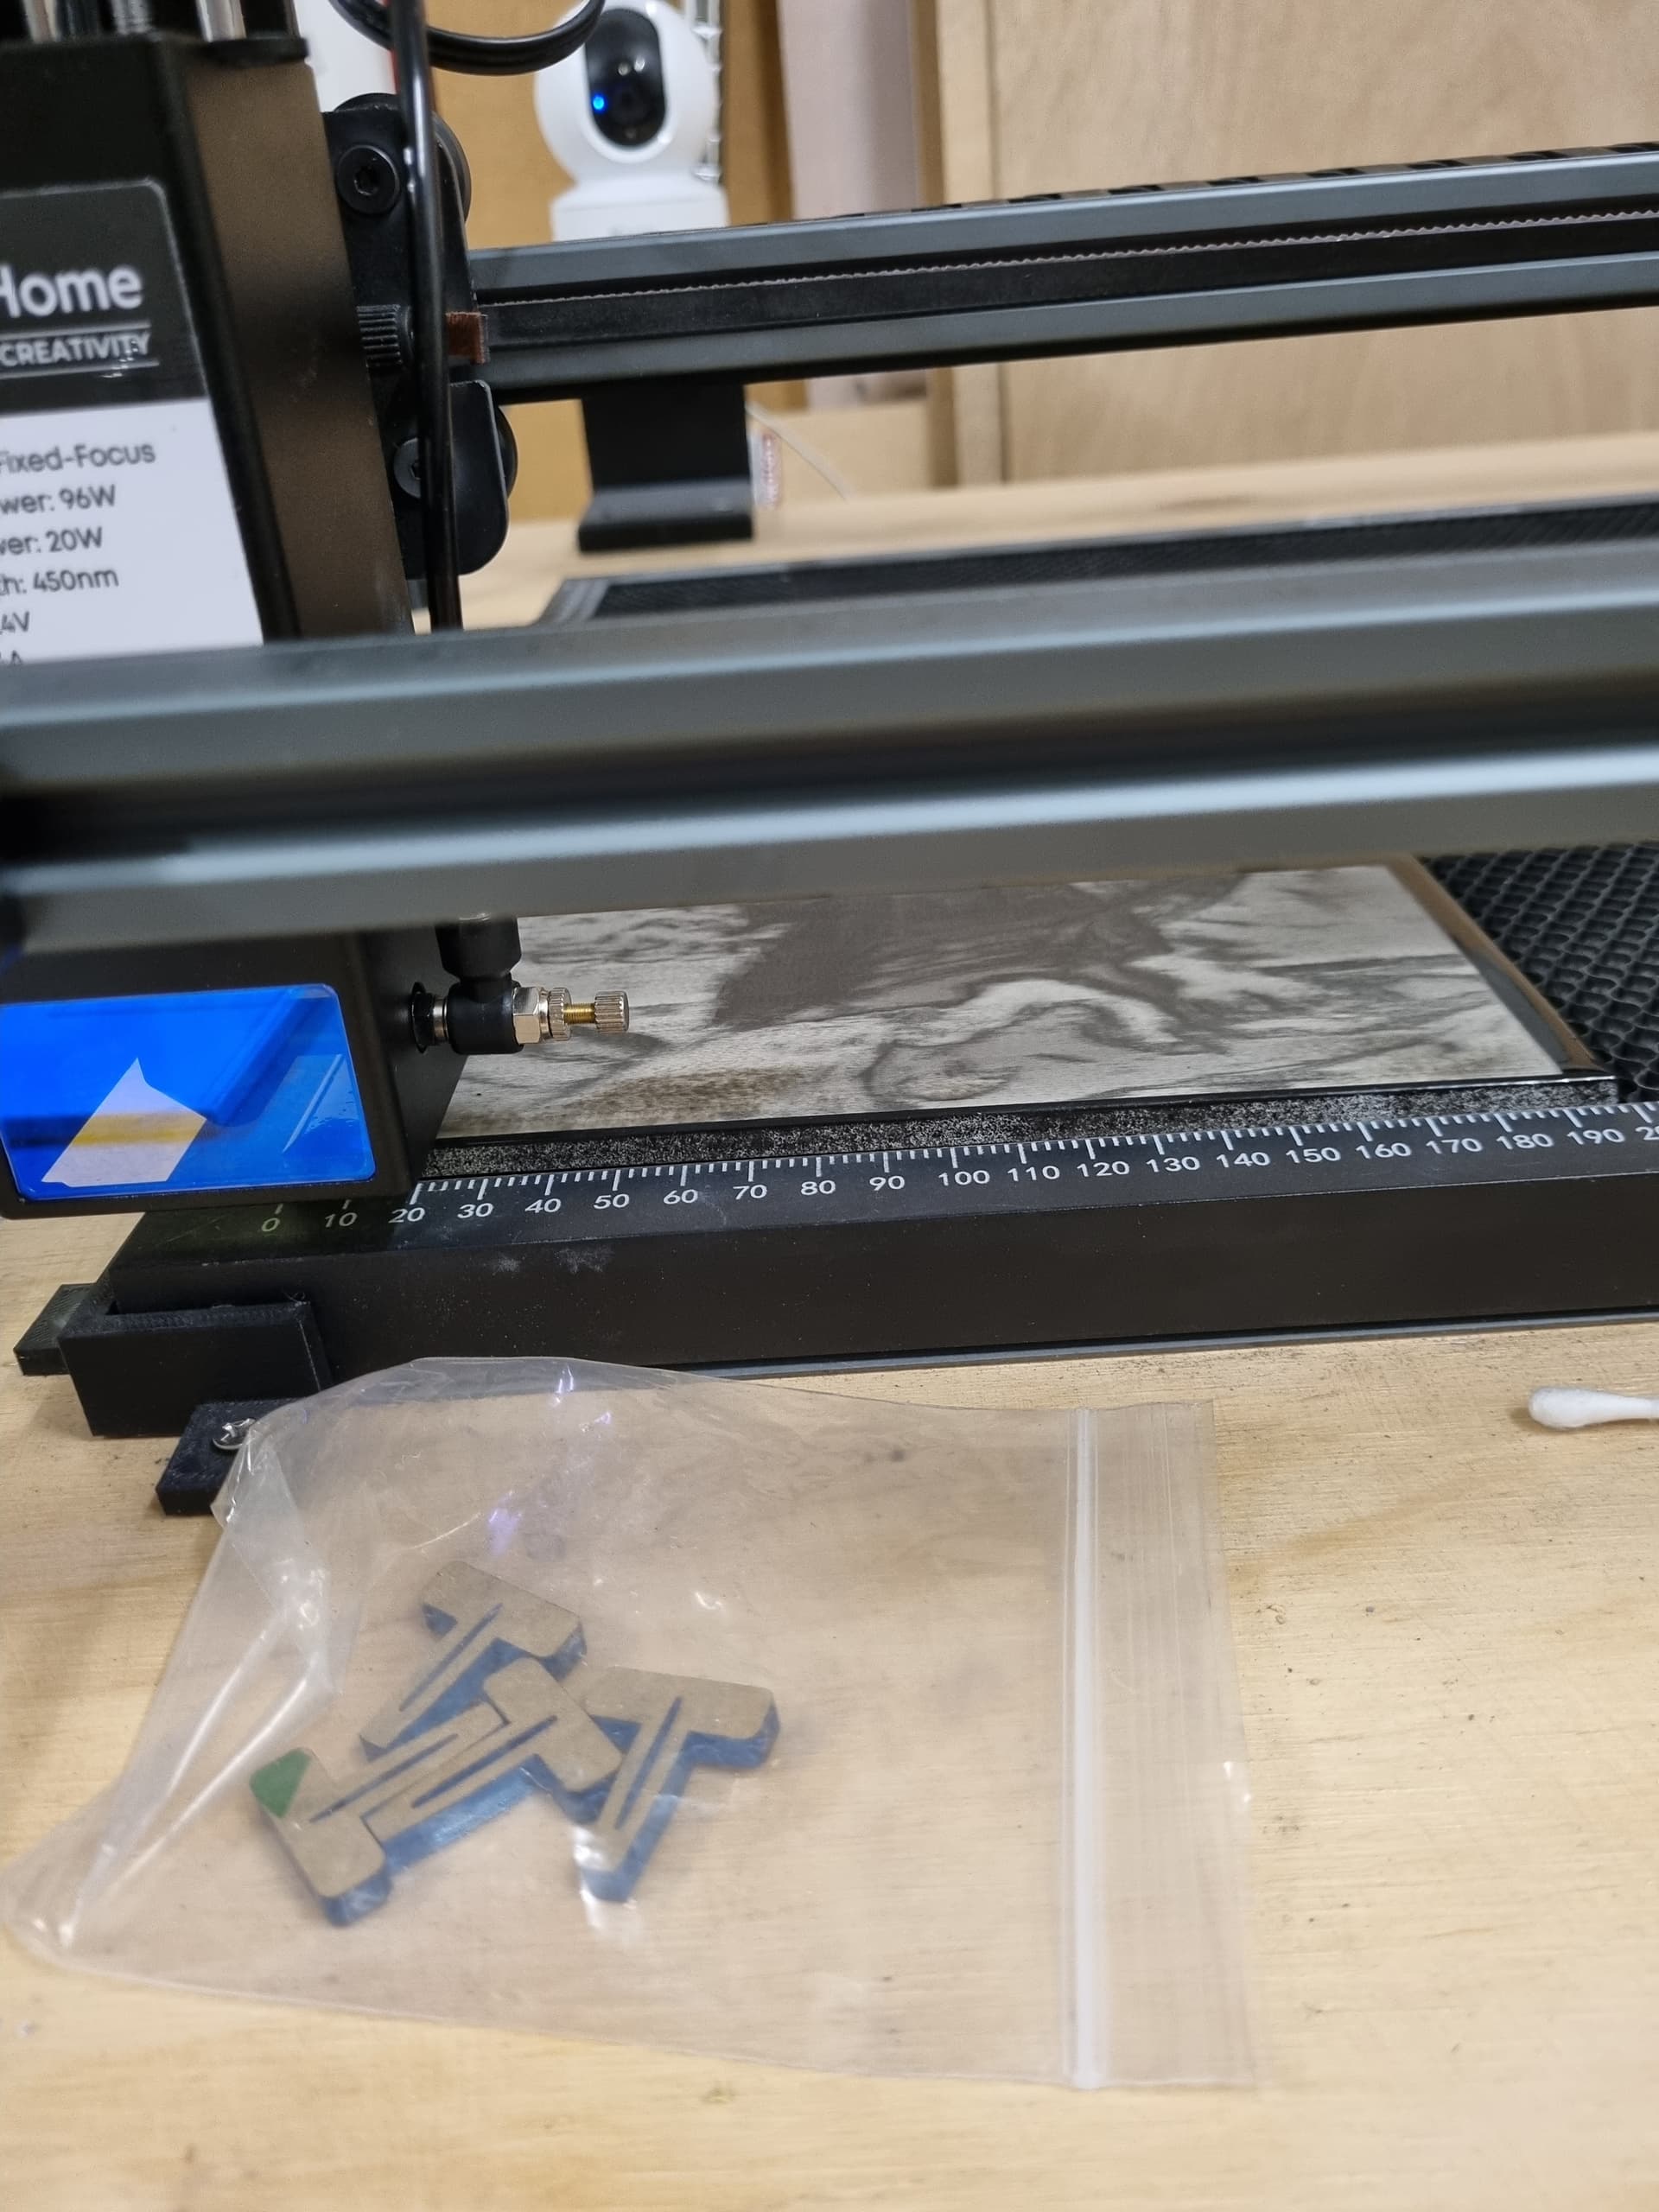
As you can see in the photos the margin on the side of the tile each side is different whereas they were set equal in Lightburn and moved 5mm in when the start button was pressed
Settings as requested
[VER:1.1.2022033001:]
[OPT:PHSW]
[MSG:Using machine:LKS TS3]
[MSG:Mode=AP:SSDI=MKS_DLC:IP=192.168.4.1:MAC=94-E6-86-C7-C9-29]
ok
$$
$0=10
$1=25
$2=0
$3=2
$4=0
$5=1
$6=0
$46=2
$10=1
$11=0.010
$12=0.002
$13=0
$20=1
$21=1
$22=1
$23=3
$24=300.000
$25=3000.000
$26=250.000
$27=3.000
$30=1000.000
$31=0.000
$32=1
$38=0
$37=1
$100=80.000
$101=80.000
$102=80.000
$103=100.000
$104=100.000
$105=100.000
$110=8000.000
$111=8000.000
$112=8000.000
$113=1000.000
$114=1000.000
$115=1000.000
$120=500.000
$121=500.000
$122=500.000
$123=200.000
$124=200.000
$125=200.000
$130=651.000
$131=501.000
$132=80.000
$133=300.000
$134=300.000
$135=300.000
ok
$#
[G54:0.000,0.000,0.000]
[G55:0.000,0.000,0.000]
[G56:0.000,0.000,0.000]
[G57:0.000,0.000,0.000]
[G58:0.000,0.000,0.000]
[G59:0.000,0.000,0.000]
[G28:0.000,0.000,0.000]
[G30:0.000,0.000,0.000]
[G92:3.000,3.000,0.000]
[TLO:0.000]
[PRB:0.000,0.000,0.000:0]
ok
?
<Idle|MPos:3.000,3.000,0.000|FS:0,0|WCO:3.000,3.000,0.000|PS:100|PF:100>
ok
Give this a try, if I am reading you right this should work.
- on laser tab set Start From to Absolute Co ordinates.
- in work area draw box size of Tile and make it a tool layer
- Import Photo and move inside square.
- Select Photo, then hold shift and select Box
- Select center icon, looks like bullseye/target
- check Tool layer is set to frame and frame job
- position tile in framed area.
- Start job.
This may be the source of your issue.
Run this in Console:
G92.1
Run some tests to see how it behaves.
2 Likes
Thank you that has fixed the problem . This led me to discover that altering my $27 setting to suit more pull off from the limit switch which was setting the alarm if set on 1 and if set it at 5 and 3 is what is showing in the G92 settings. So in other words, whatever I set $27 at changes the G92 setting.
So how do you think I can overcome this please. I will try and reset the $27 back to the original setting and see if it still triggers an alarm. If not do you think if I added G92.1 to my start code setting in LB that this would fix the problem?
Thank you for your patient help and spending so much time with me
Thanks Chris but your suggestions are what I normally do. Apparently, it is the $27 setting in GRBL that is changing my G92 setting to whatever I nominate the $27 to be, in this case I had $27=5 and sometimes a 3 to clear my limit switches. This in turn altered the G92 command which positions the laser nozzle.
Thanks for your reply