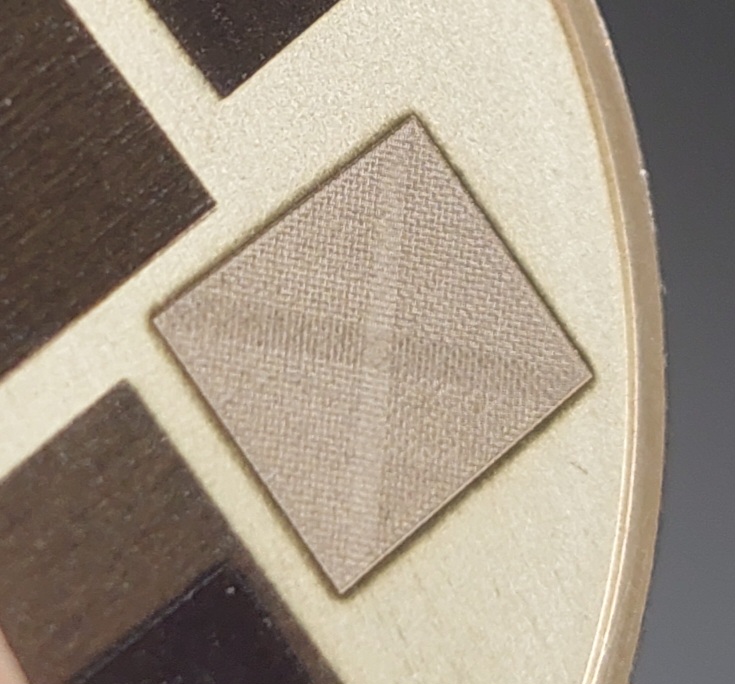
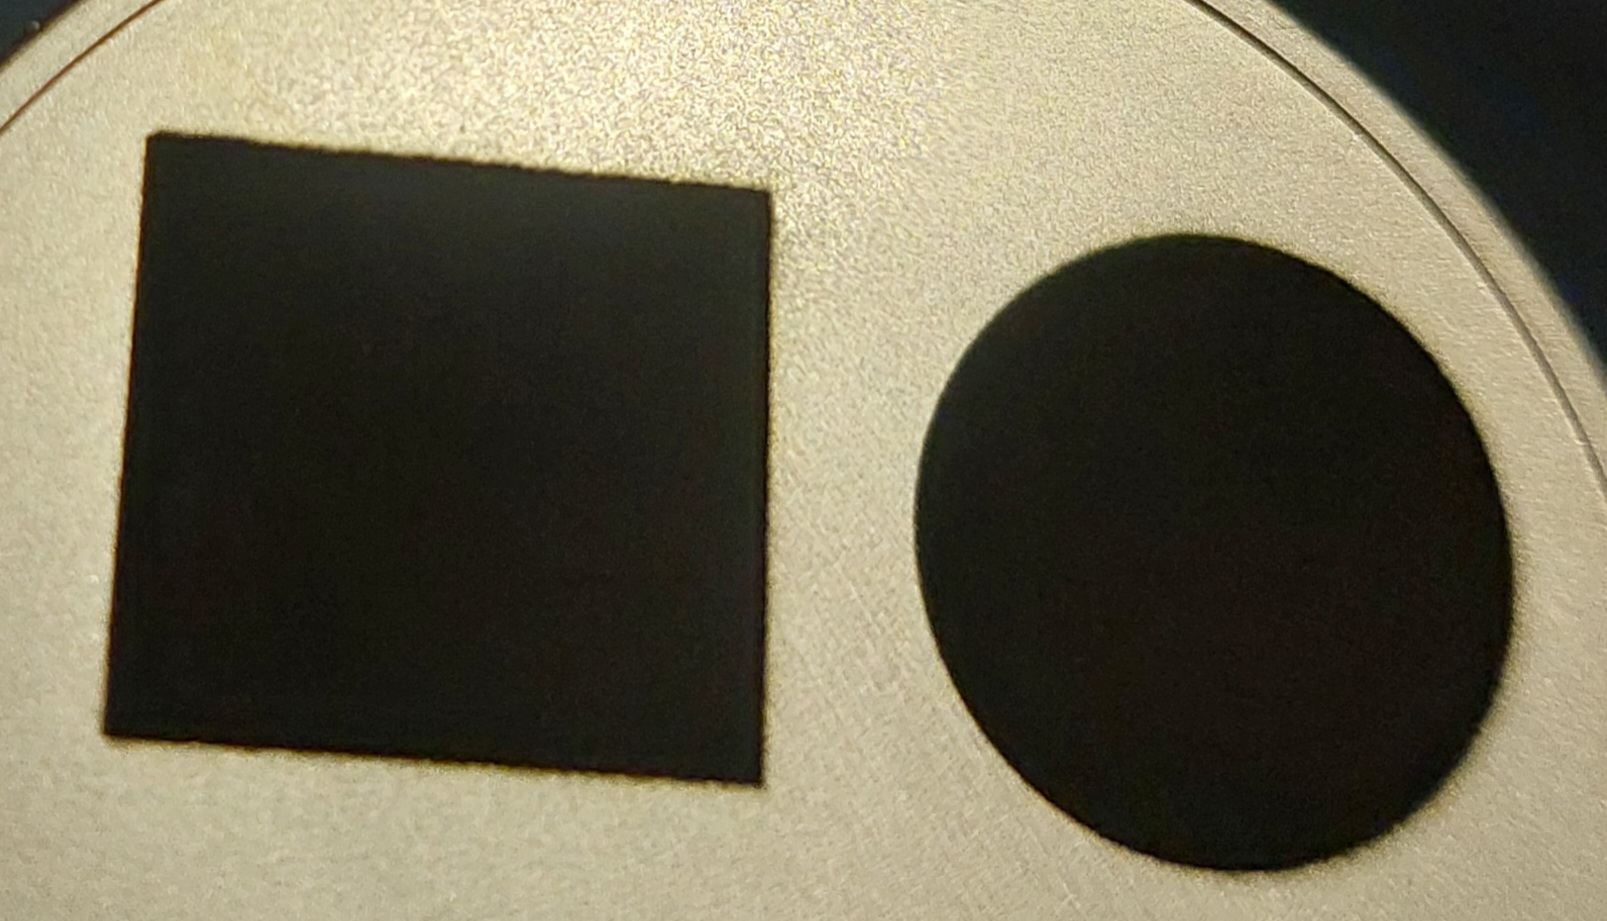
I have just encountered an issue with my marking. I have been using my 30W JPT-LP Litemarker Fiber Laser for a while now and for the first time a filled square i tested have a dark/burned edge with a cross in it.
Not sure if its related but this happened after i removed my lens for the first time which i worry that i may have done something with the mirrors. But i doubt this may be the case as i would imagine that messing with the mirrors would be very obvious by producing inconsistent messy results. I could be wrong.
Could i please be provided with any insight into why this may be and how to resolve it?
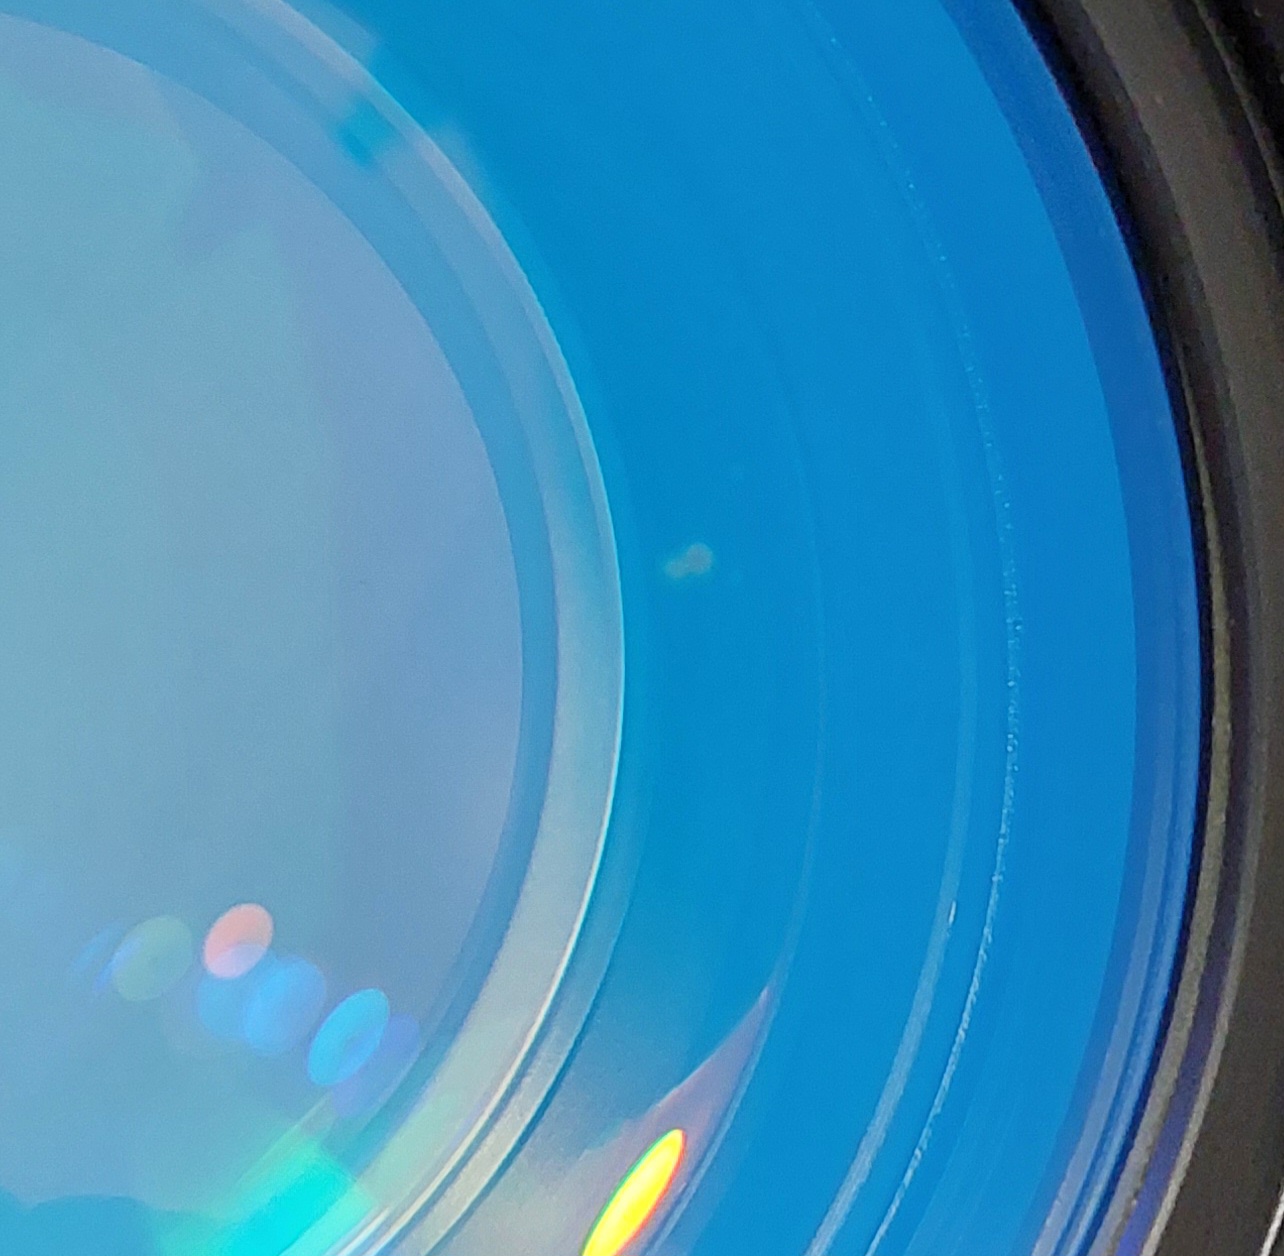
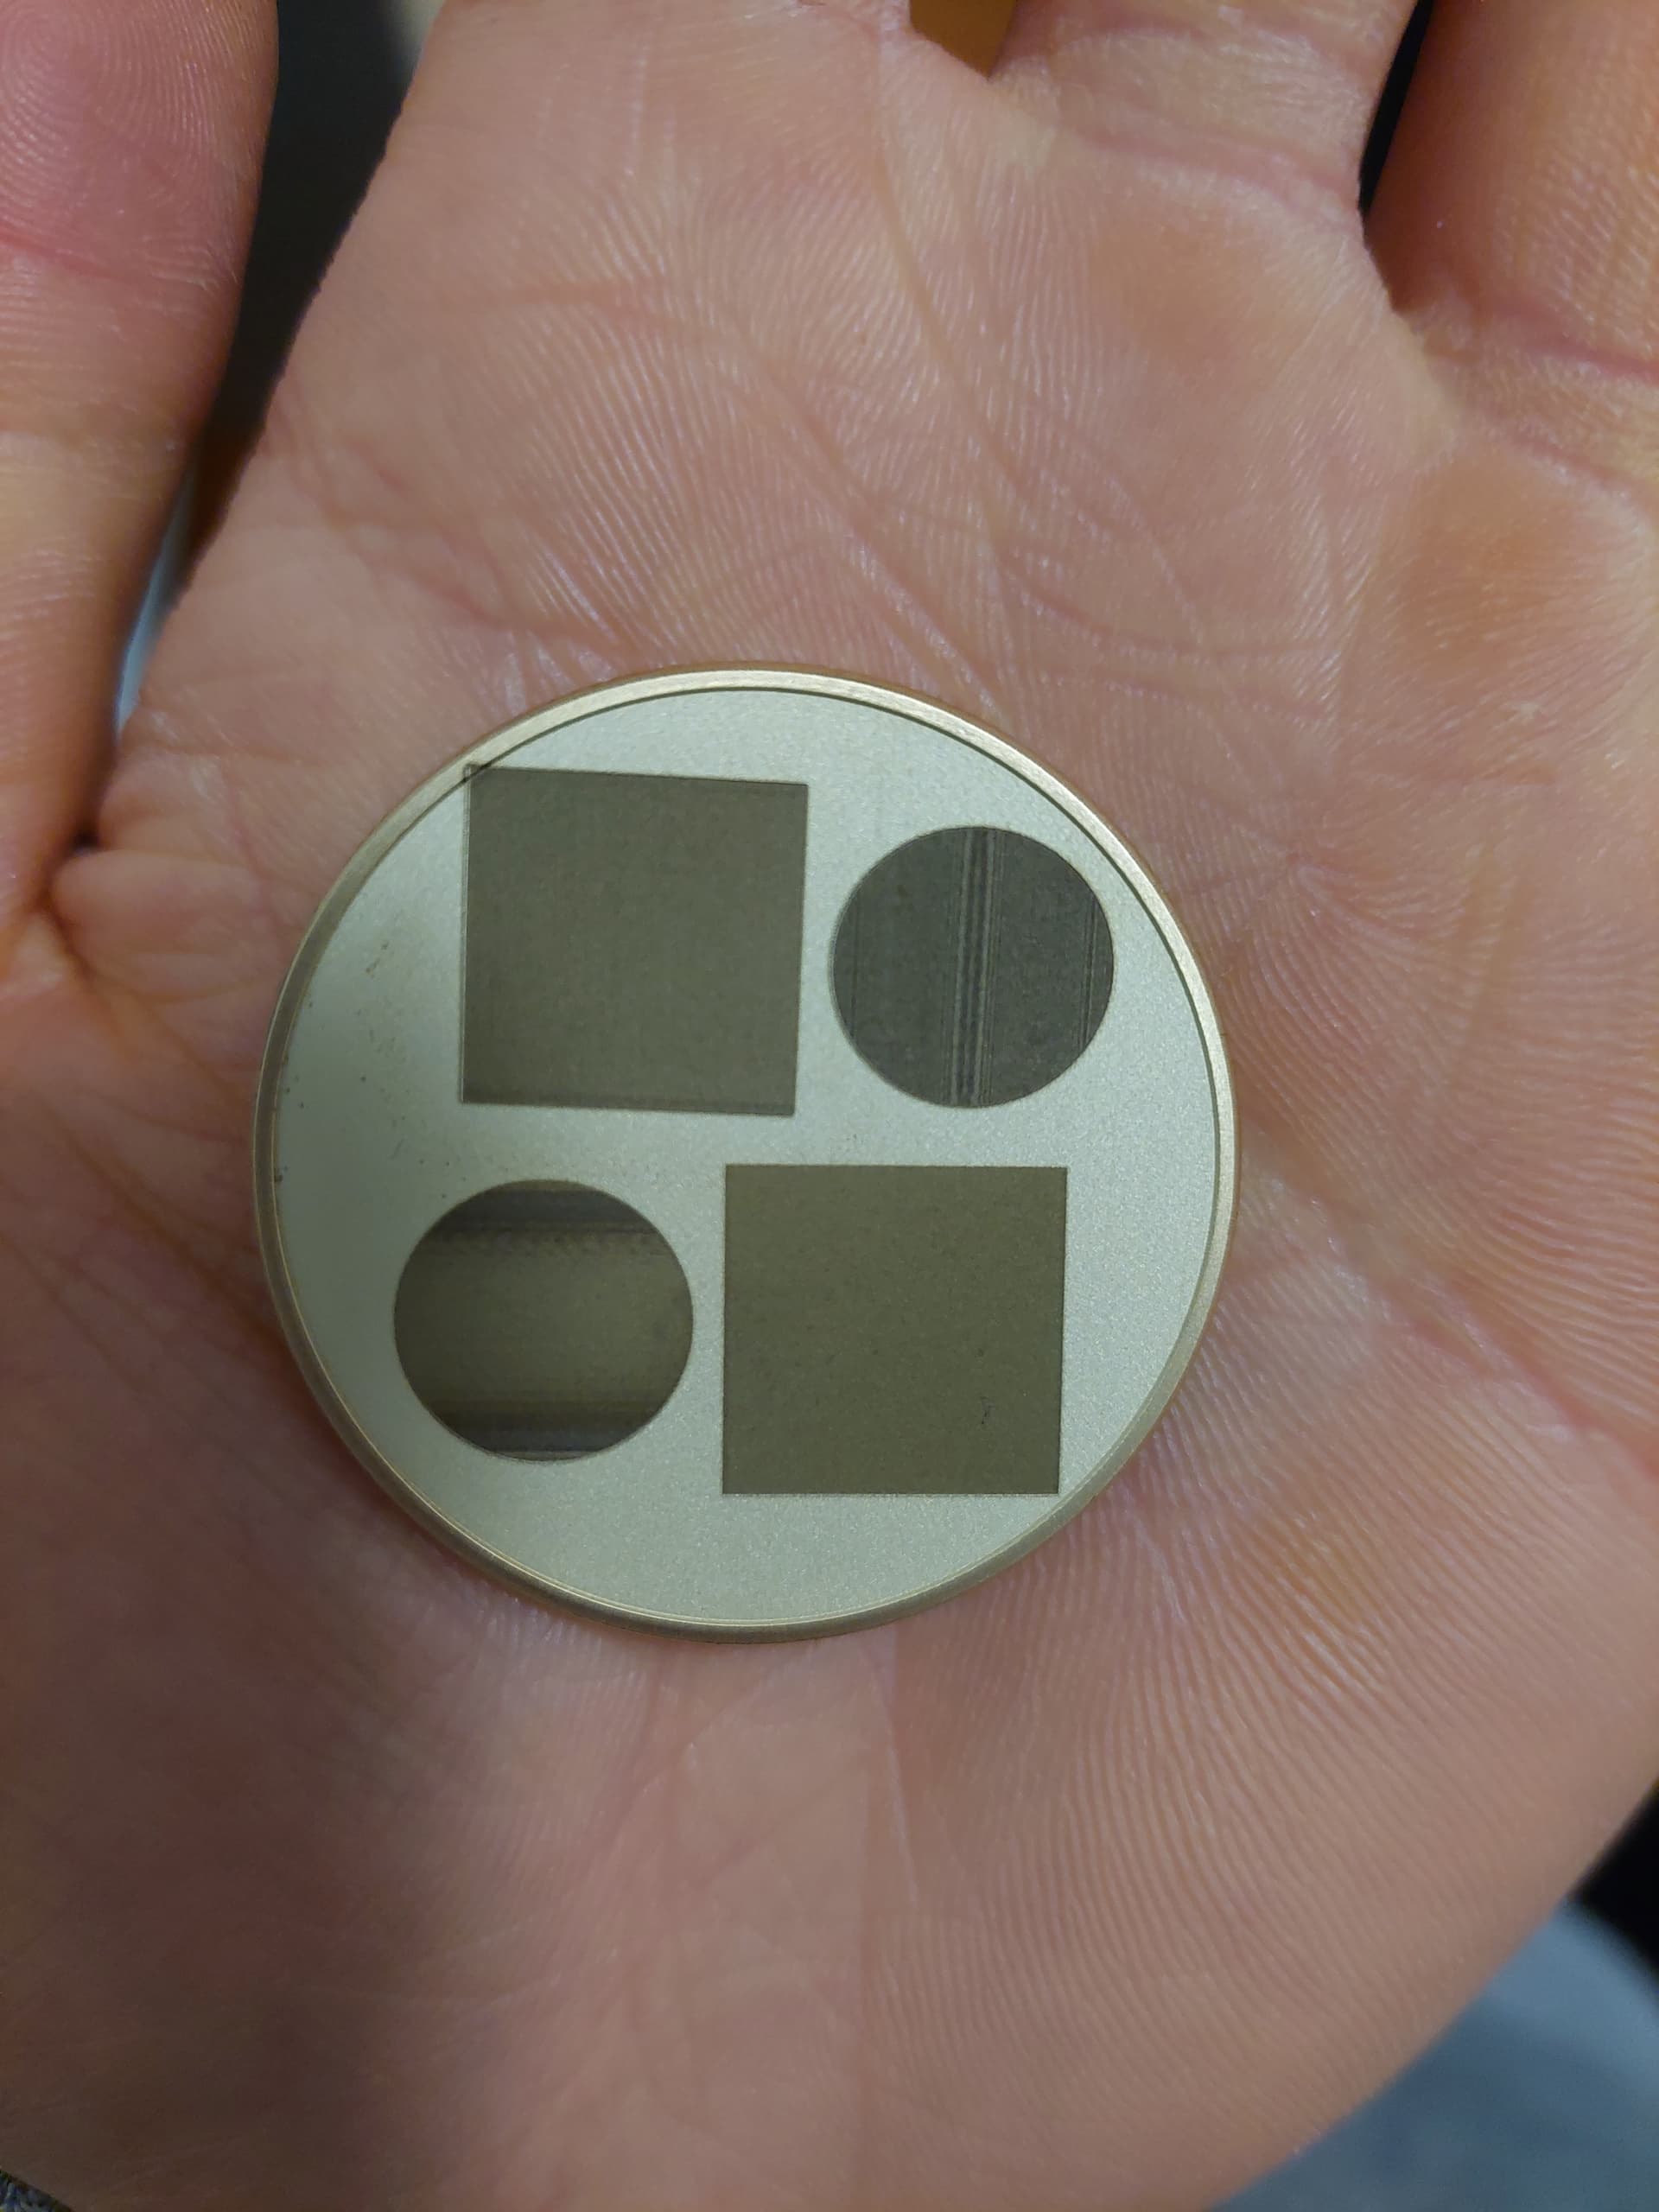
I have attached photos and i have never seen my markings look like this under the microscope either.
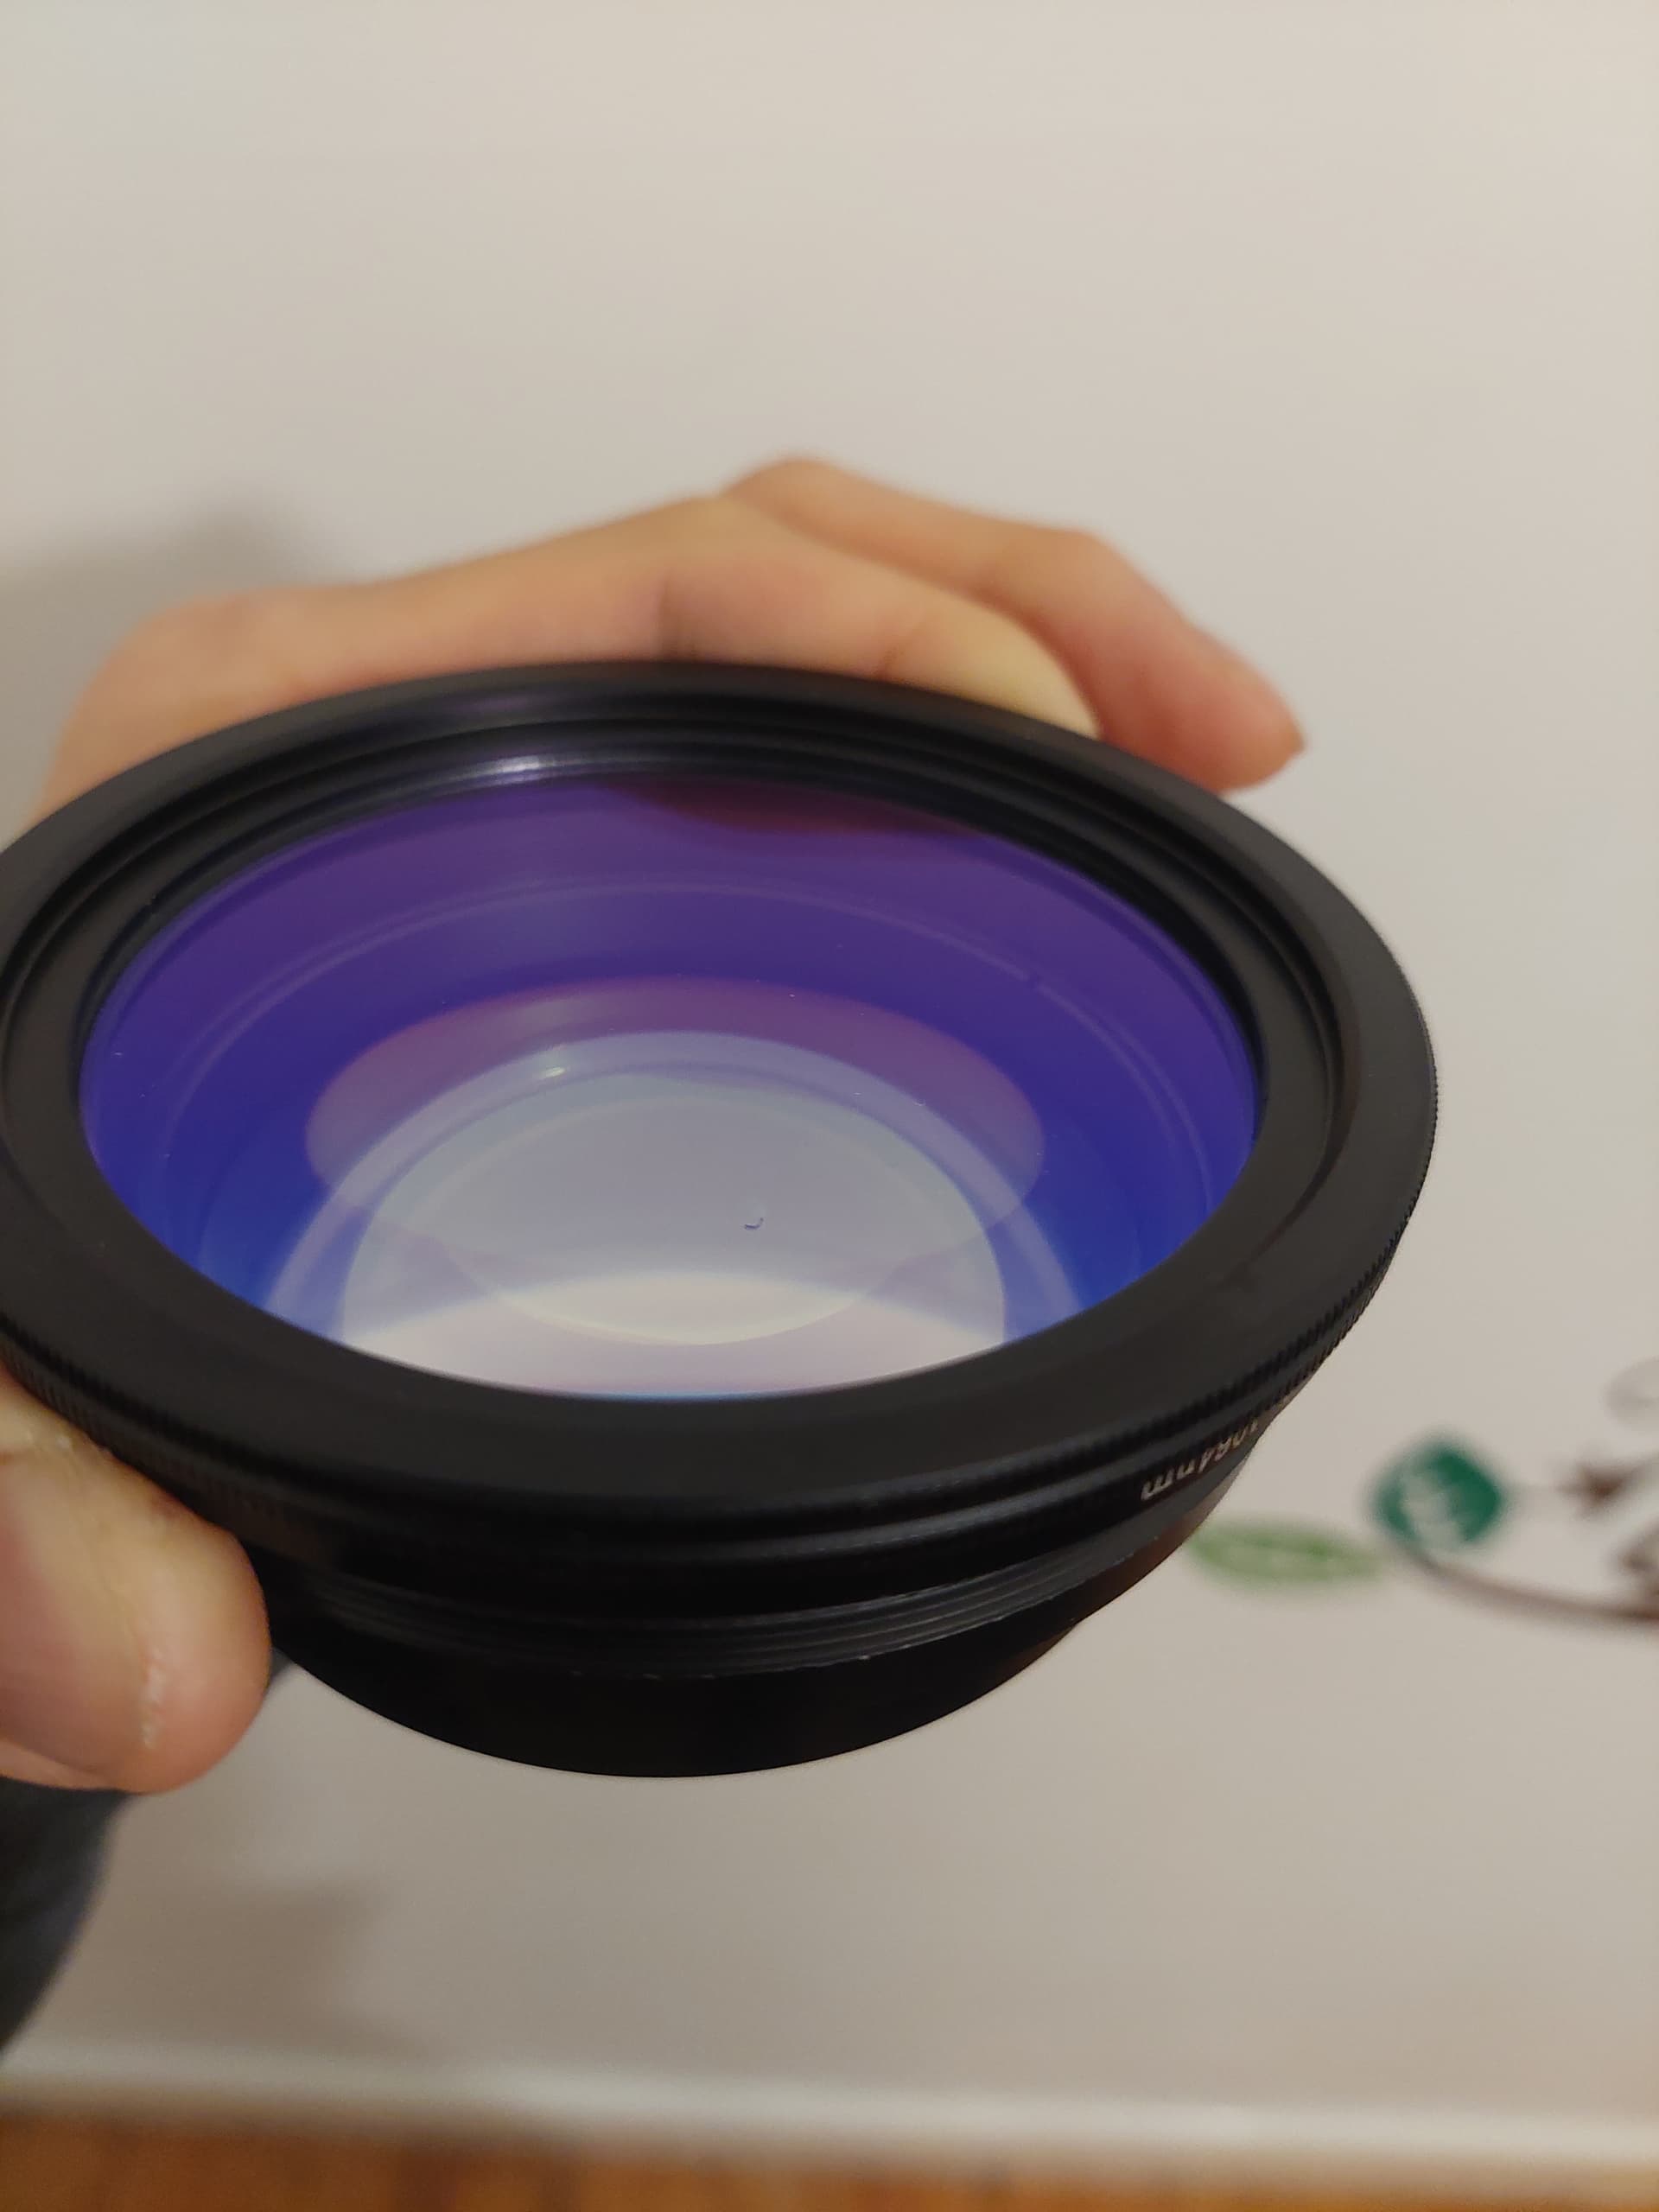
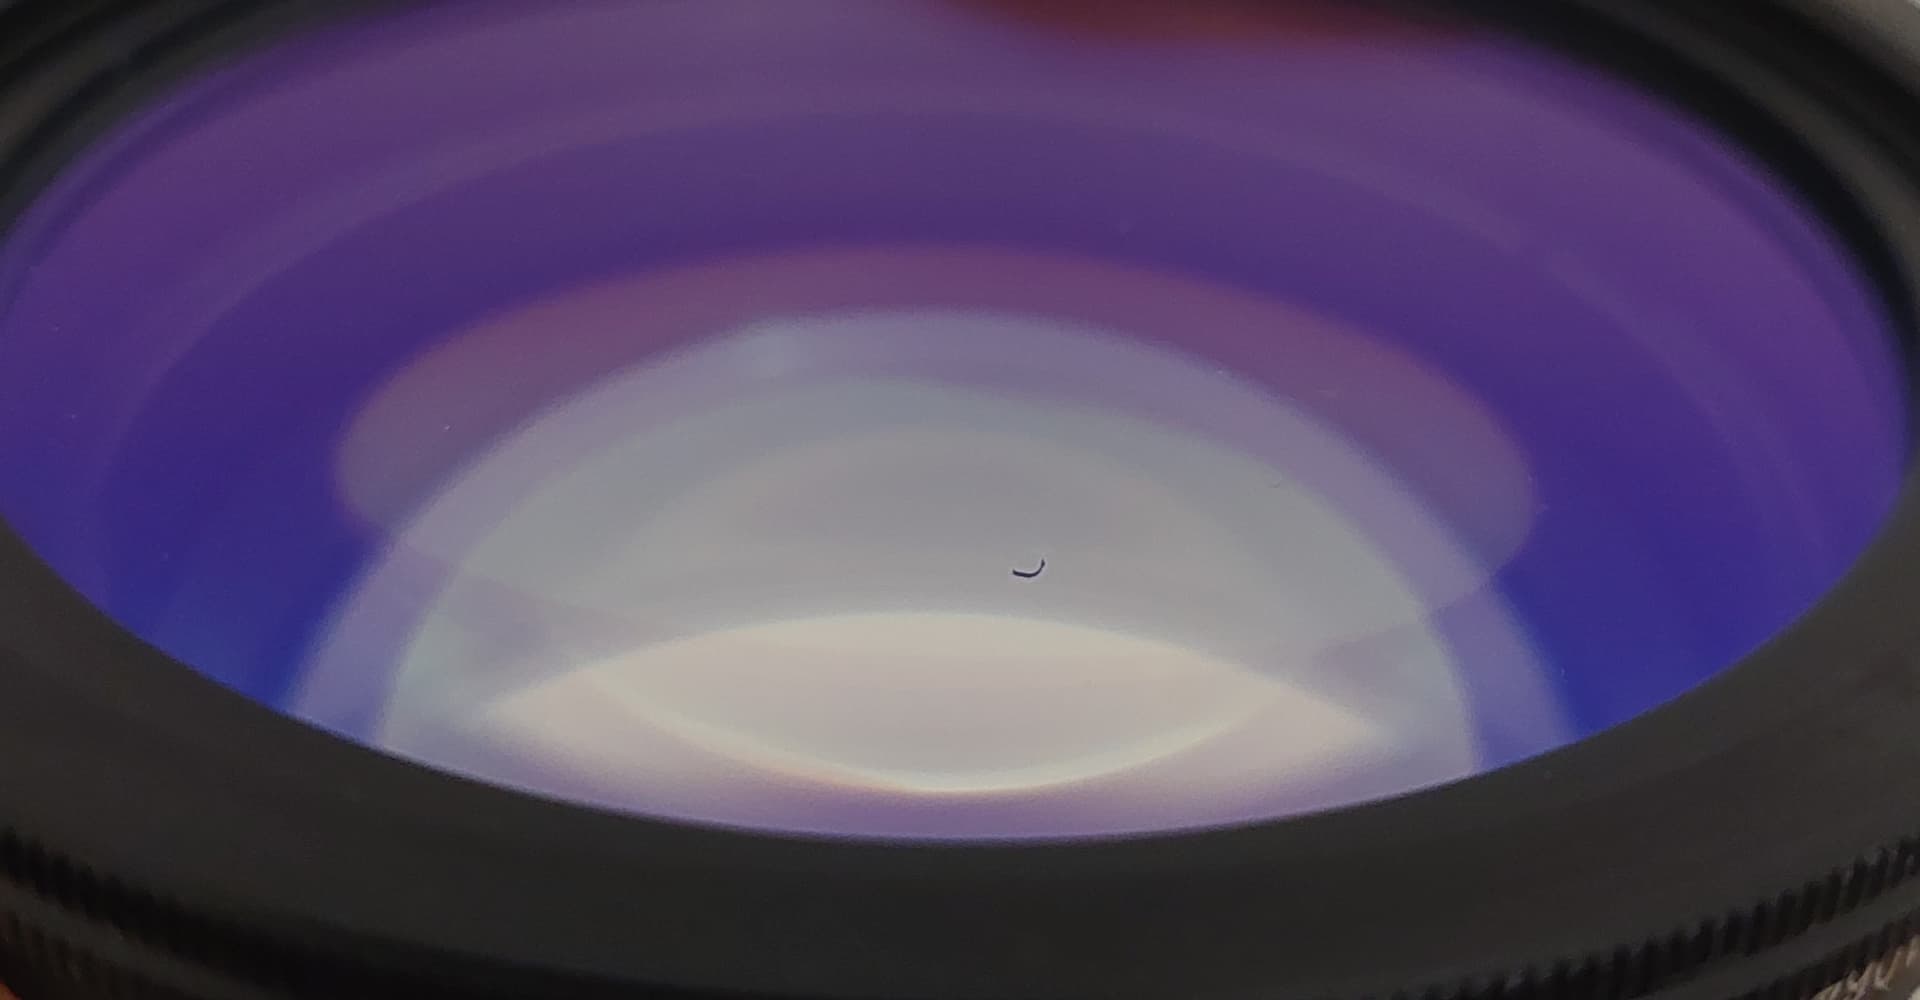
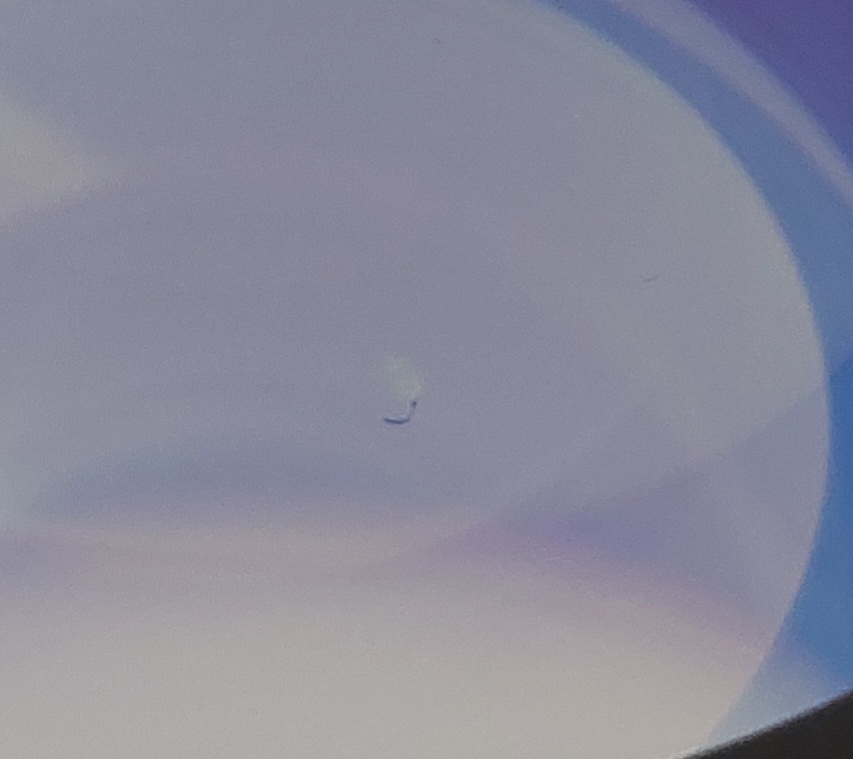
Another update: Removed my lens and found this. Didnt notice if it was there or not the first time i took it out to check. Could this be the cause or if this another issue entirely? Would have to get a replacement though but would like to know if its an issue with my laser or just the lens…
Hey Jack, thank you for your reply! I figured it couldnt be the lens either.
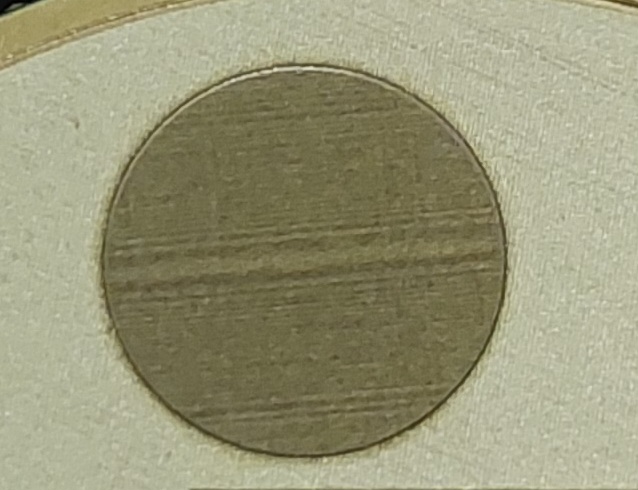
I turned off cross hatch and these are the results. Still the same issues with the edges of my shape being burned deeper and the odd lines inside, particularly in the middle of the circle which never used to happen even with the same line intervals.
Do you think this could be an issue with the mirrors inside the galvo head? Or a software problem?
Just tested a setting i used for black on brass. The blue circle is a test square i did in the past where the circled edge is clean. The red circles are what i just tested with the same settings but comes with jagged edges.
This indicates that something has definately changed for the worse.
Sorry, can you clarify what you mean by “not on galvo”? I also retested on a new coin (same supplier as these are my only coin). Same results, jagged edges which never used to happen with the same settings, same coin.
I don’t have a fiber laser.
Test rhe same coin where you make your material test the one with the green circle (use the other side) . The surface seems more flat than the other coin.
Update, i have swapped my lens from a 110 to 70mm. Issue still persists. Therefore i feel like it is not the lens thats the issue but perhaps the mirrors. Bottom circle with thick line, uses unidirectional while top circle with thinner line uses cross hatch and bidirectional.
Have you calibrated your timings? If the laser is waiting too long at the start and the end of the pattern you would see excess power being dumped at the edges of the square. I used this guide/files ti diak in my timings, made a big difference on ultra fine engraving.
I have just stopped short before fixing my timings up for my new 70mm lens in case i needed to replace the mirrors completely and having to redo the timings.
When i had my 110mm lens though, the timings were all tuned up. Perhaps the mirrors were impacted when i removed my 110 lens for the first time (only to put it back in as i needed to check it) as the issues only started after removal.
With this in mind, if you think i should still fix my timings for my new 70mm lens i will give it a go!
Damn, none of these are the cause either. i only do 1 pass and its the same for every single coin. same with the weird lines, it doesnt matter where the ventilation is coming from.
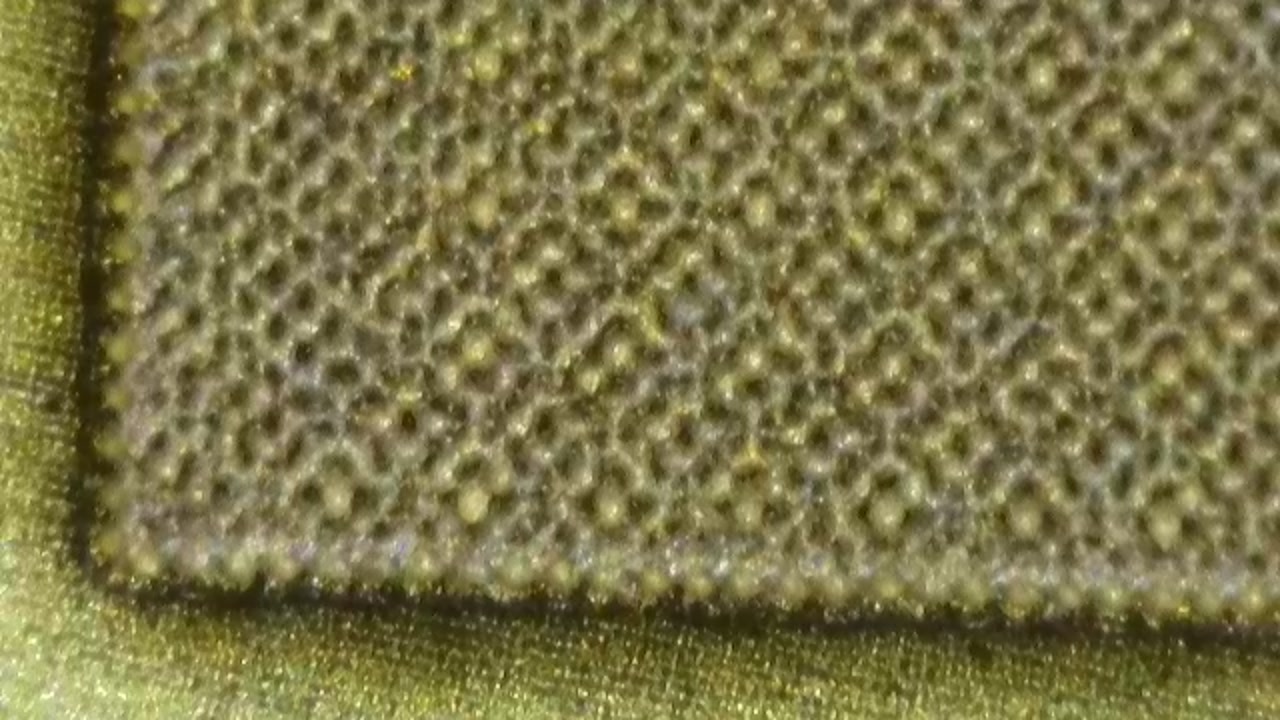
Also, as a general update for this thread, i just re-calibrated my jump delays and TC timings for the 2nd time hoping it would reveal another clue. Nothing again. Same issues still persists. weird line in the sames and it gets fuzzy when i do my brass black settings. also, deeper edge is also still happening. i played around with my TC ON/OFF settings with no notable differences. I have attached a photo of this under the microscope when adjusting my jump settings. Happens at the start of every text/shape.
Can you post a lbrn2 file, with timing settings overrided to match your current settings (i.e. just copy the values in, will allow my defaults to not override). I have a similar JPT (20W M8), and want to see what happens with the exact settings you are using. Also, on the picture when you switched to the 70mm, was the coin poisitioned relatively in the same position? i.e., did you leave the framing for the circles the same and rotate the coin 90 degrees?