I would like try and do some inlays with my 9060 laser. Is the a benefit of the order I calibrate the machine. I could calibrate the axis to get the correct size cut and leave the kerf compensation setting at 0. Or should I just work on the kerf and not worry about the axis calibration if it is close. I assume I will need to teat the inlay parts and the spaces I place them in with different kerf factors. Or an I over thinking the preocess
I don’t think you are understanding what kerf is or how it’s applied.
Think about a ‘beam’ that is one inch in diameter. With 0 kerf, the center of the laser beam will follow the line in your artwork. The resulting part will have lost 1/2 inch all the way around because the ‘beam’ center is following the line. 1/2 the beam outside of the part and 1/2 inside the cut.
With 1/2 inch kerf, the center of the laser will follow 1/2 inch outward from the drawn artwork. The edge of the resulting cut will be that of the artwork because you adjusted it’s kerf.
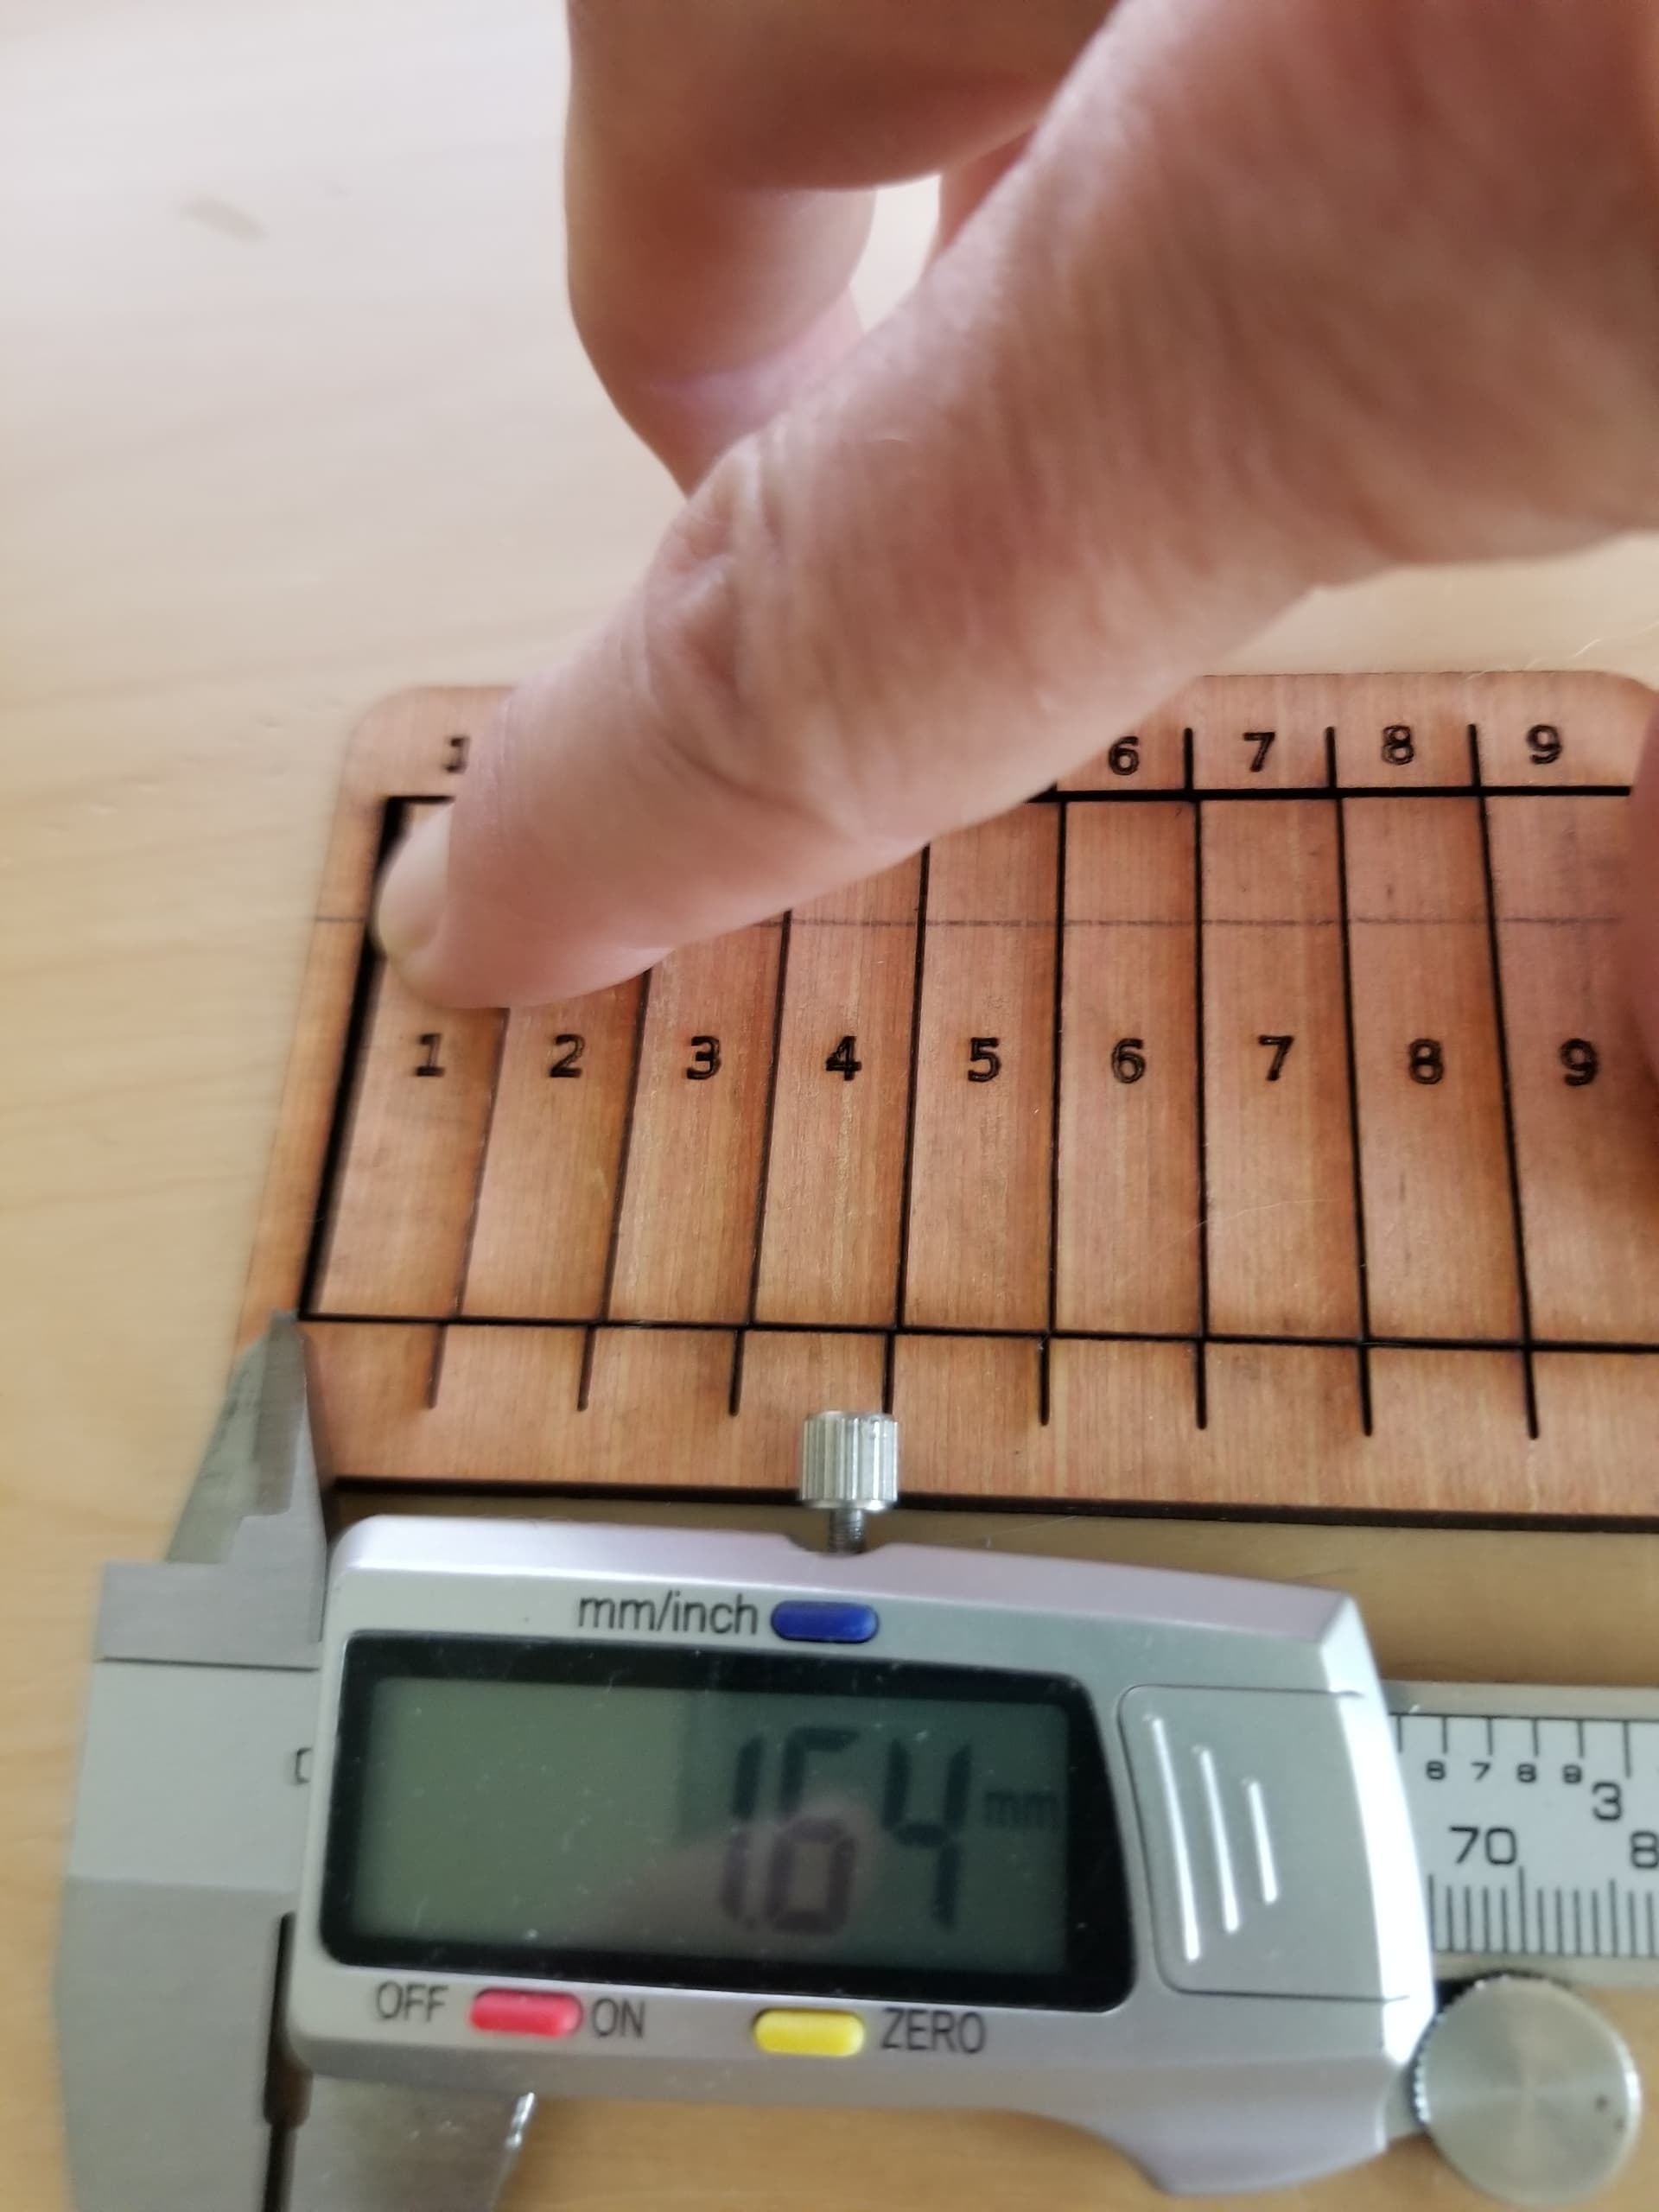
One I recall, is plywood that has a kerf of .164mm. There are 10 cuts, so you have to divide by 10. I use 0.082 for the kerf.
kerf-master-00.lbrn2 (94.1 KB)
If you want to do anything that needs to ‘fit’, you cannot make the ‘hole’ and the ‘part’ the same size. With no clearance it won’t fit. If you don’t use a kerf, the laser cut will be 1/2 the kerf smaller.
I use 1/2 the kerf on each part. If it has holes you want the kerf on the ‘inside’ and tabs that fit on the inside…
If they are different parts and or different materials, you can do whatever makes for the most simple workflow and best end product.
Does this make sense?
Good luck
![]()
Tell us what material are your inlays being cut from? What material are you debossing to place the inlays in?
I will experiment with your explanation and see If I can make sense of it. Thanks