I just went through the whole Camera Alignment and what I engrave does not match or align up with the design. I am using a Longer Ray5 10 watt, limit switches installed and a Svpro 12MP Auto Focus USB Camera Module 4K 30fps Webcam Board for Computer UVC USB2.0 1080P 60fps PC Camera 300ms PDAF Fast Auto Focus Camera IMX362 Machine Vision camera.
I need some help to figure out why the offset is happening? Is there a sitting that I am missing to set up or what?? I have watched I don’t know how many YouTube videos; nothing seems to help. I want to be able to put my design at a particular spot and want my laser to engrave at that spot, not just close. The topics I searched for have been closed.
You have probably already noticed that material height changes lead to misalignment.
Another crucial element is the static stability of your camera mount, as it is also absolutely necessary that the materials do not “move”. With the vibrations that the Longer diode laser, I have been working with, makes during the engraving, I can hardly imagine how a stable camera mount can be achieved, but, it was also a slightly older laser…
thanks for the reply, but I am using angle iron with holes to support the camera. I don’t believe that there is any movement. The angle iron is mounted directly to the laser frame as well as the supports. But I guess if could look at adding more supports.
The only thing is, no matter what I engrave, it is all off by the same amount. Should I make shifts to the X&Y in the camera adjustment?
Basically: no. If you need to do that, your calibration was incorrect. Do it again. And maybe again. Until you are satisfied. If the calibration is correct, there is no need to play with offsets.
Make sure not to change the material height at any time compared to the height you calibrated with.
@misken is right with this statement, but… I use a “fine” calibration in the +/- 0.5mm range on my machine myself.
Regarding the stability of the camera mount, here with me, I forget to focus from 3 to 4mm of material for example, I can see it immediately on the result of my image overlay and on my red laser pointer - both aids no longer match reality.
I have also done some tests changing the camera angle in both directions by half degrees at a time, the error/misrepresentation of the camera image grows diametrically, in fact the misrepresentation becomes larger as with the height errors.
I’m Having the same problems. I placed white poster board over my entire bed to a line the camera. With the white poster board every capture was around 1.0 or less….perfect. What I found out is right under the camera in the middle of the bed I could get it to work perfectly but corner to corner of the bed it was off by around 2-3 mm for each x and y. I guess I can engrave stuff that need the camera in the middle of the bed but if that’s the best these camera’s can do I don’t see it’s a lot of use. I hope I’m doing something wrong but don’t think so.
I don’t know your camera beyond what you describe and haven’t seen your setup, but you should get under a mm. over the entire bed with a reasonable camera. I have a 4/5??MP 85 degree LB camera and although it is far from the most “modern” camera and my system can’t handle the exposure sensibly enough, I still get reasonable results.
As I wrote in another camera thread, if I have to fine-tune more than 1mm in X or Y, I start all over again with lens and camera calibration.
That’s absolutely expected. If you have a wide angle camera lens, the more you come to the border of the field of view, the fewer pixels the algorithm can use and the more distortion is present in the image.
The camera feature is NOT meant to engrave a pen on the outermost position of the workspace. It can give you a general and fast alignment procedure, but only in specific use cases. In general, using manual methods and jigs is way faster and much more precise.
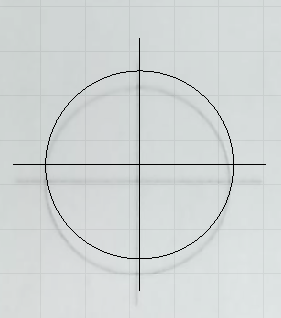
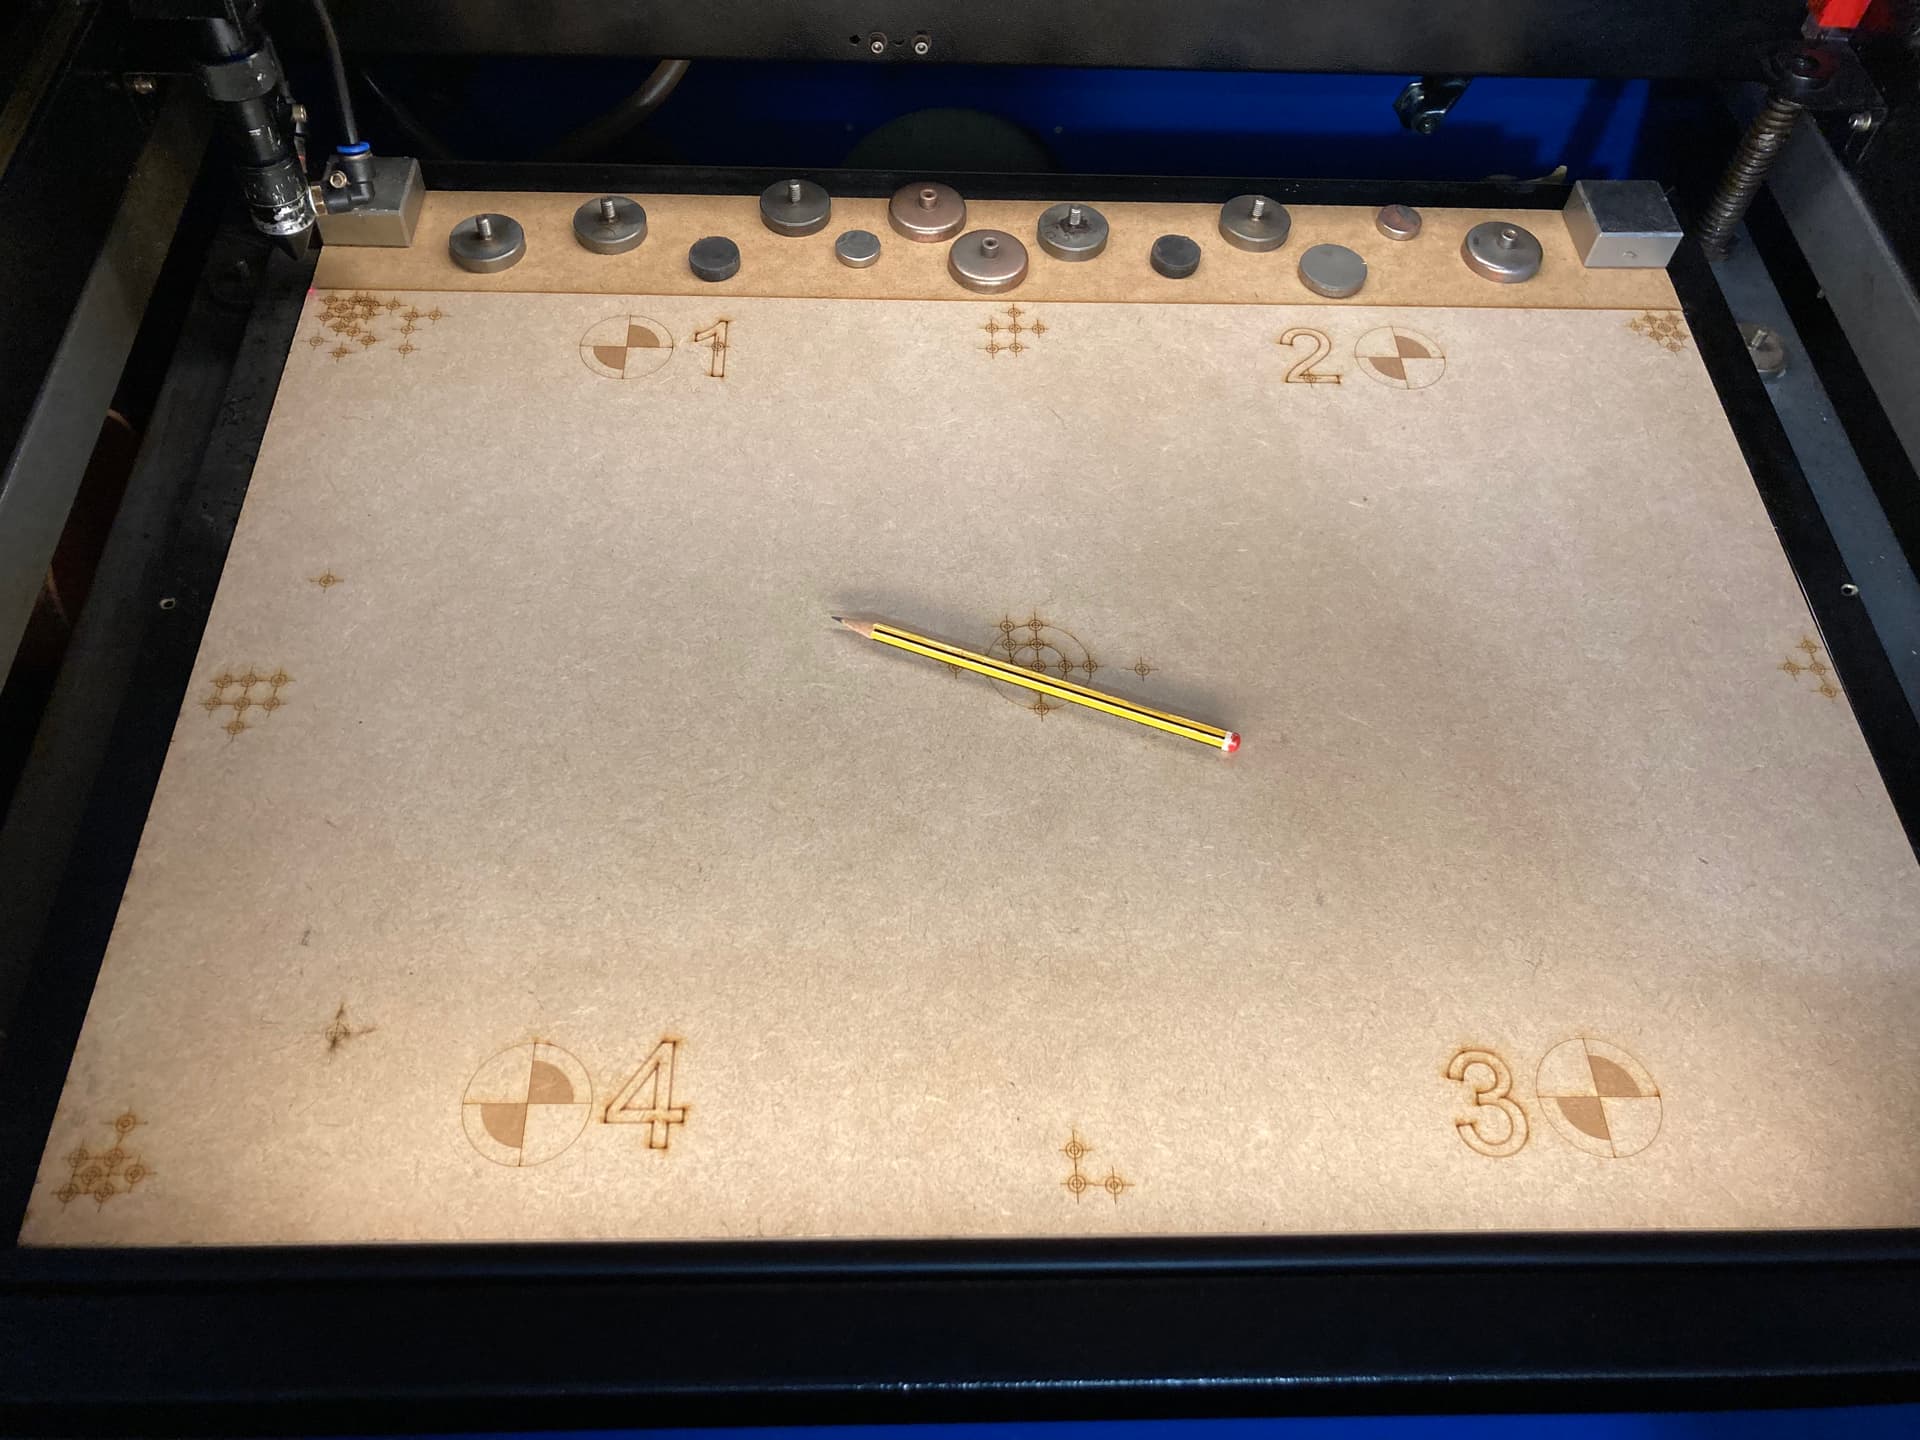
In “Part1”, notice the little dots, these are my align/test dots, if they are ok I pull the text.
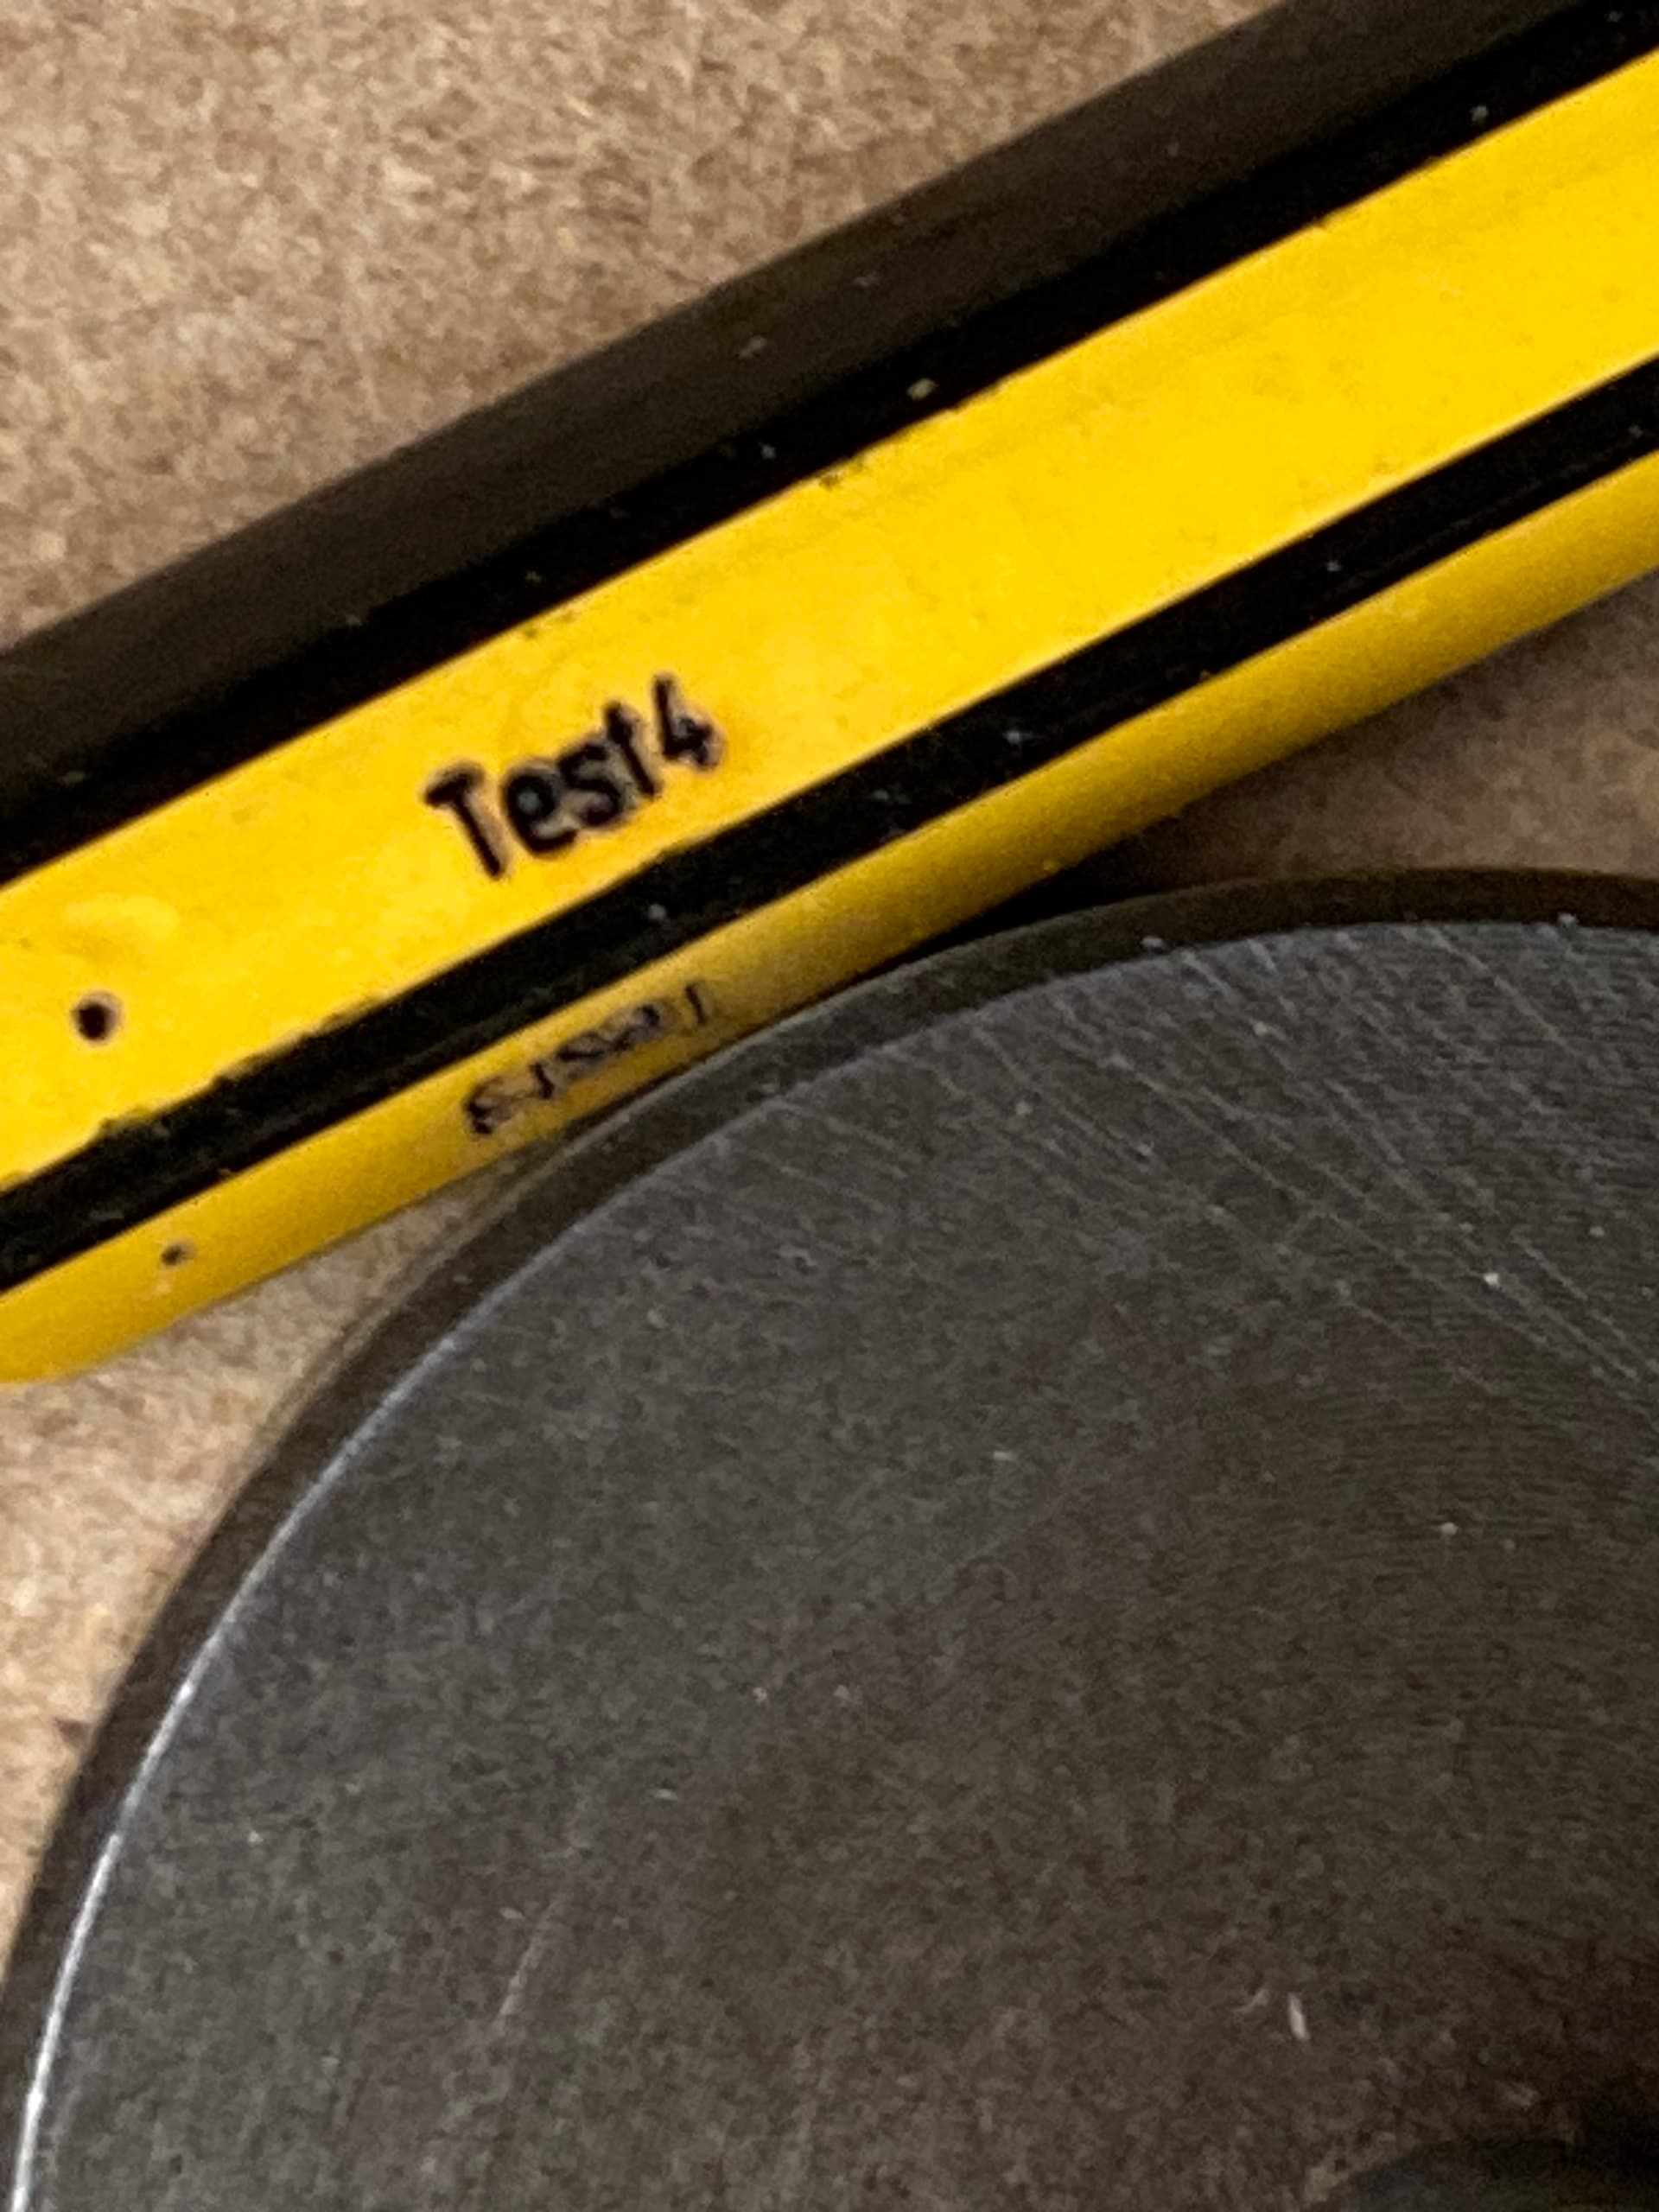
If I “forget” to correct for the pencil height (focus) I am typically 2mm off
I never said it’s impossible I also had good results in many use cases. But I also know the logic and physical effects behind That’s why I always try to tell people the camera feature is not the holy grail; for most users, it causes more issues than it solves. If you understand the limitations, you know how to deal with them.