Some time ago when I was reading about the camera option the actual LightBurn cameras were out of stock, so like the impatient soul that I am I ordered a 4K device from the internet.
It arrived Thursday. An incorrect connector, then a defective USB cable stopped my immediate tests but, test I did.
I had an image, max resolution standard camera option in LightBurn. Super.
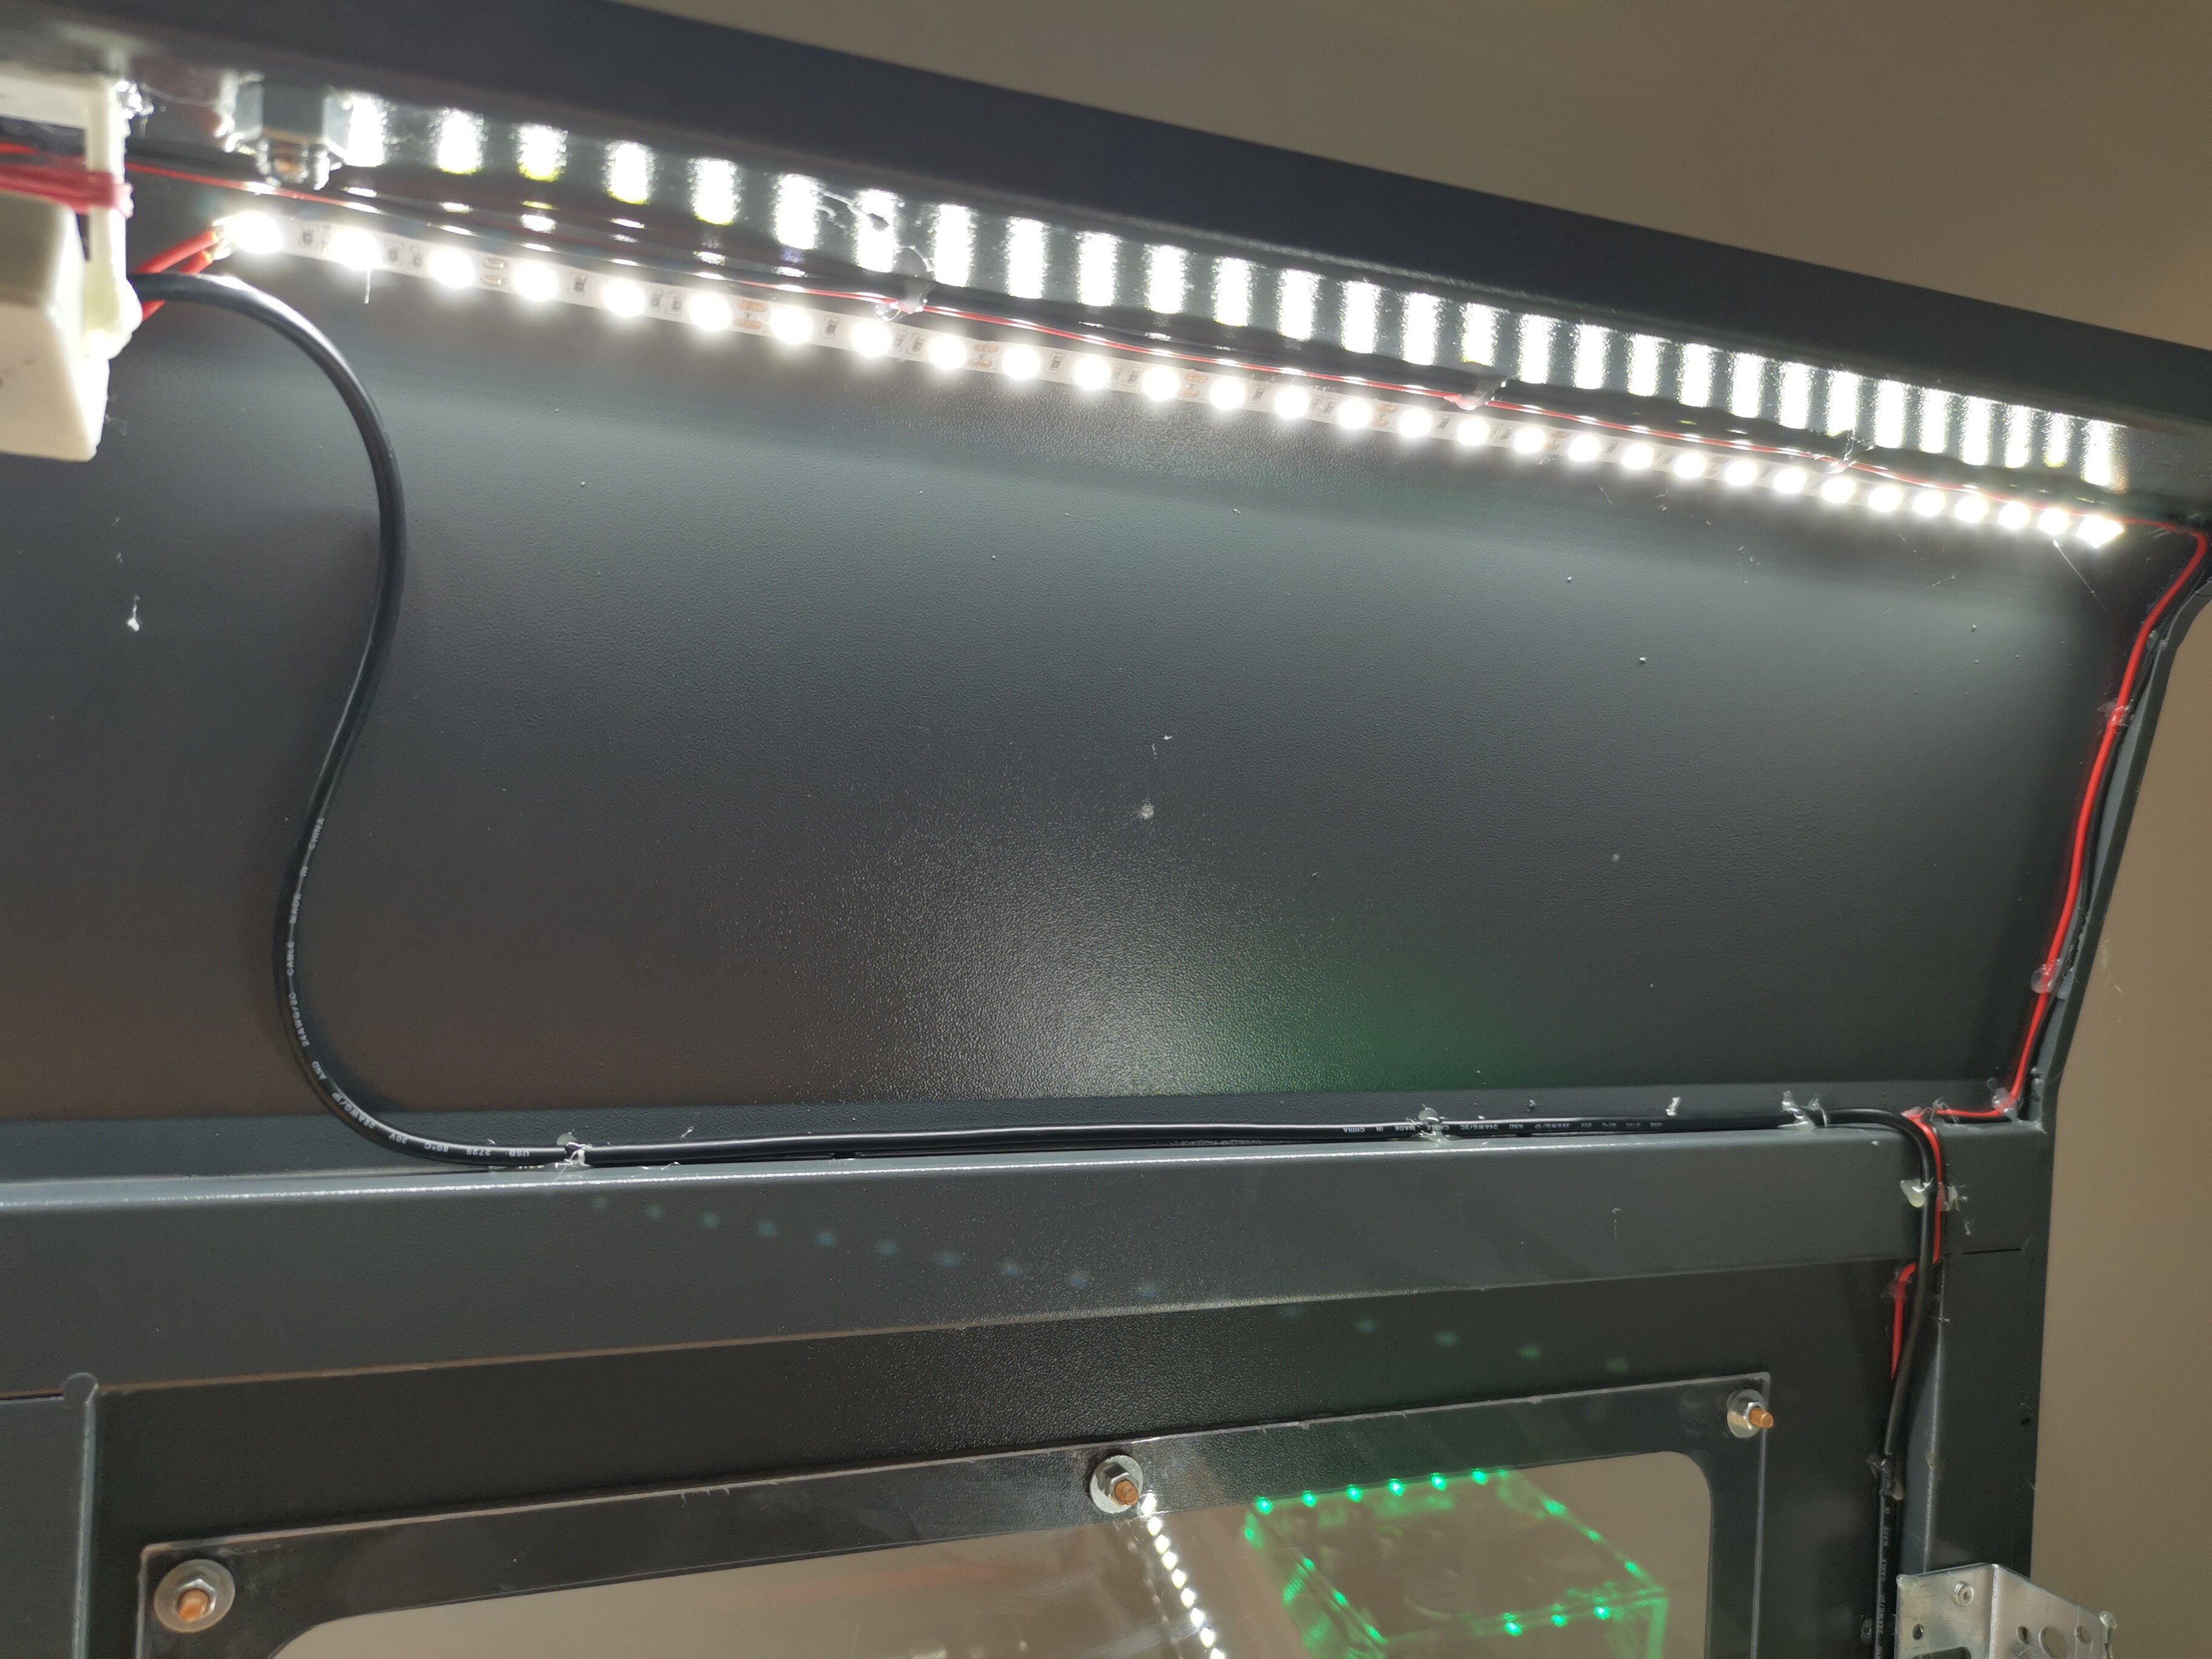
So to mount the thing. I designed and printed a housing, bought some 90 ° angle brackets and remounted the gas rams so that fully extended the later top puts it’s front face over the center of the bed.

Ran the USB cable, connected to LightBurn, and, centered the image presuming that Calibrate Camera lens would square things off for me. The camera arrived with a 3.6° lens and the slightly now reduced height of the laser bed gave about 6cm of extra frame around the bed.
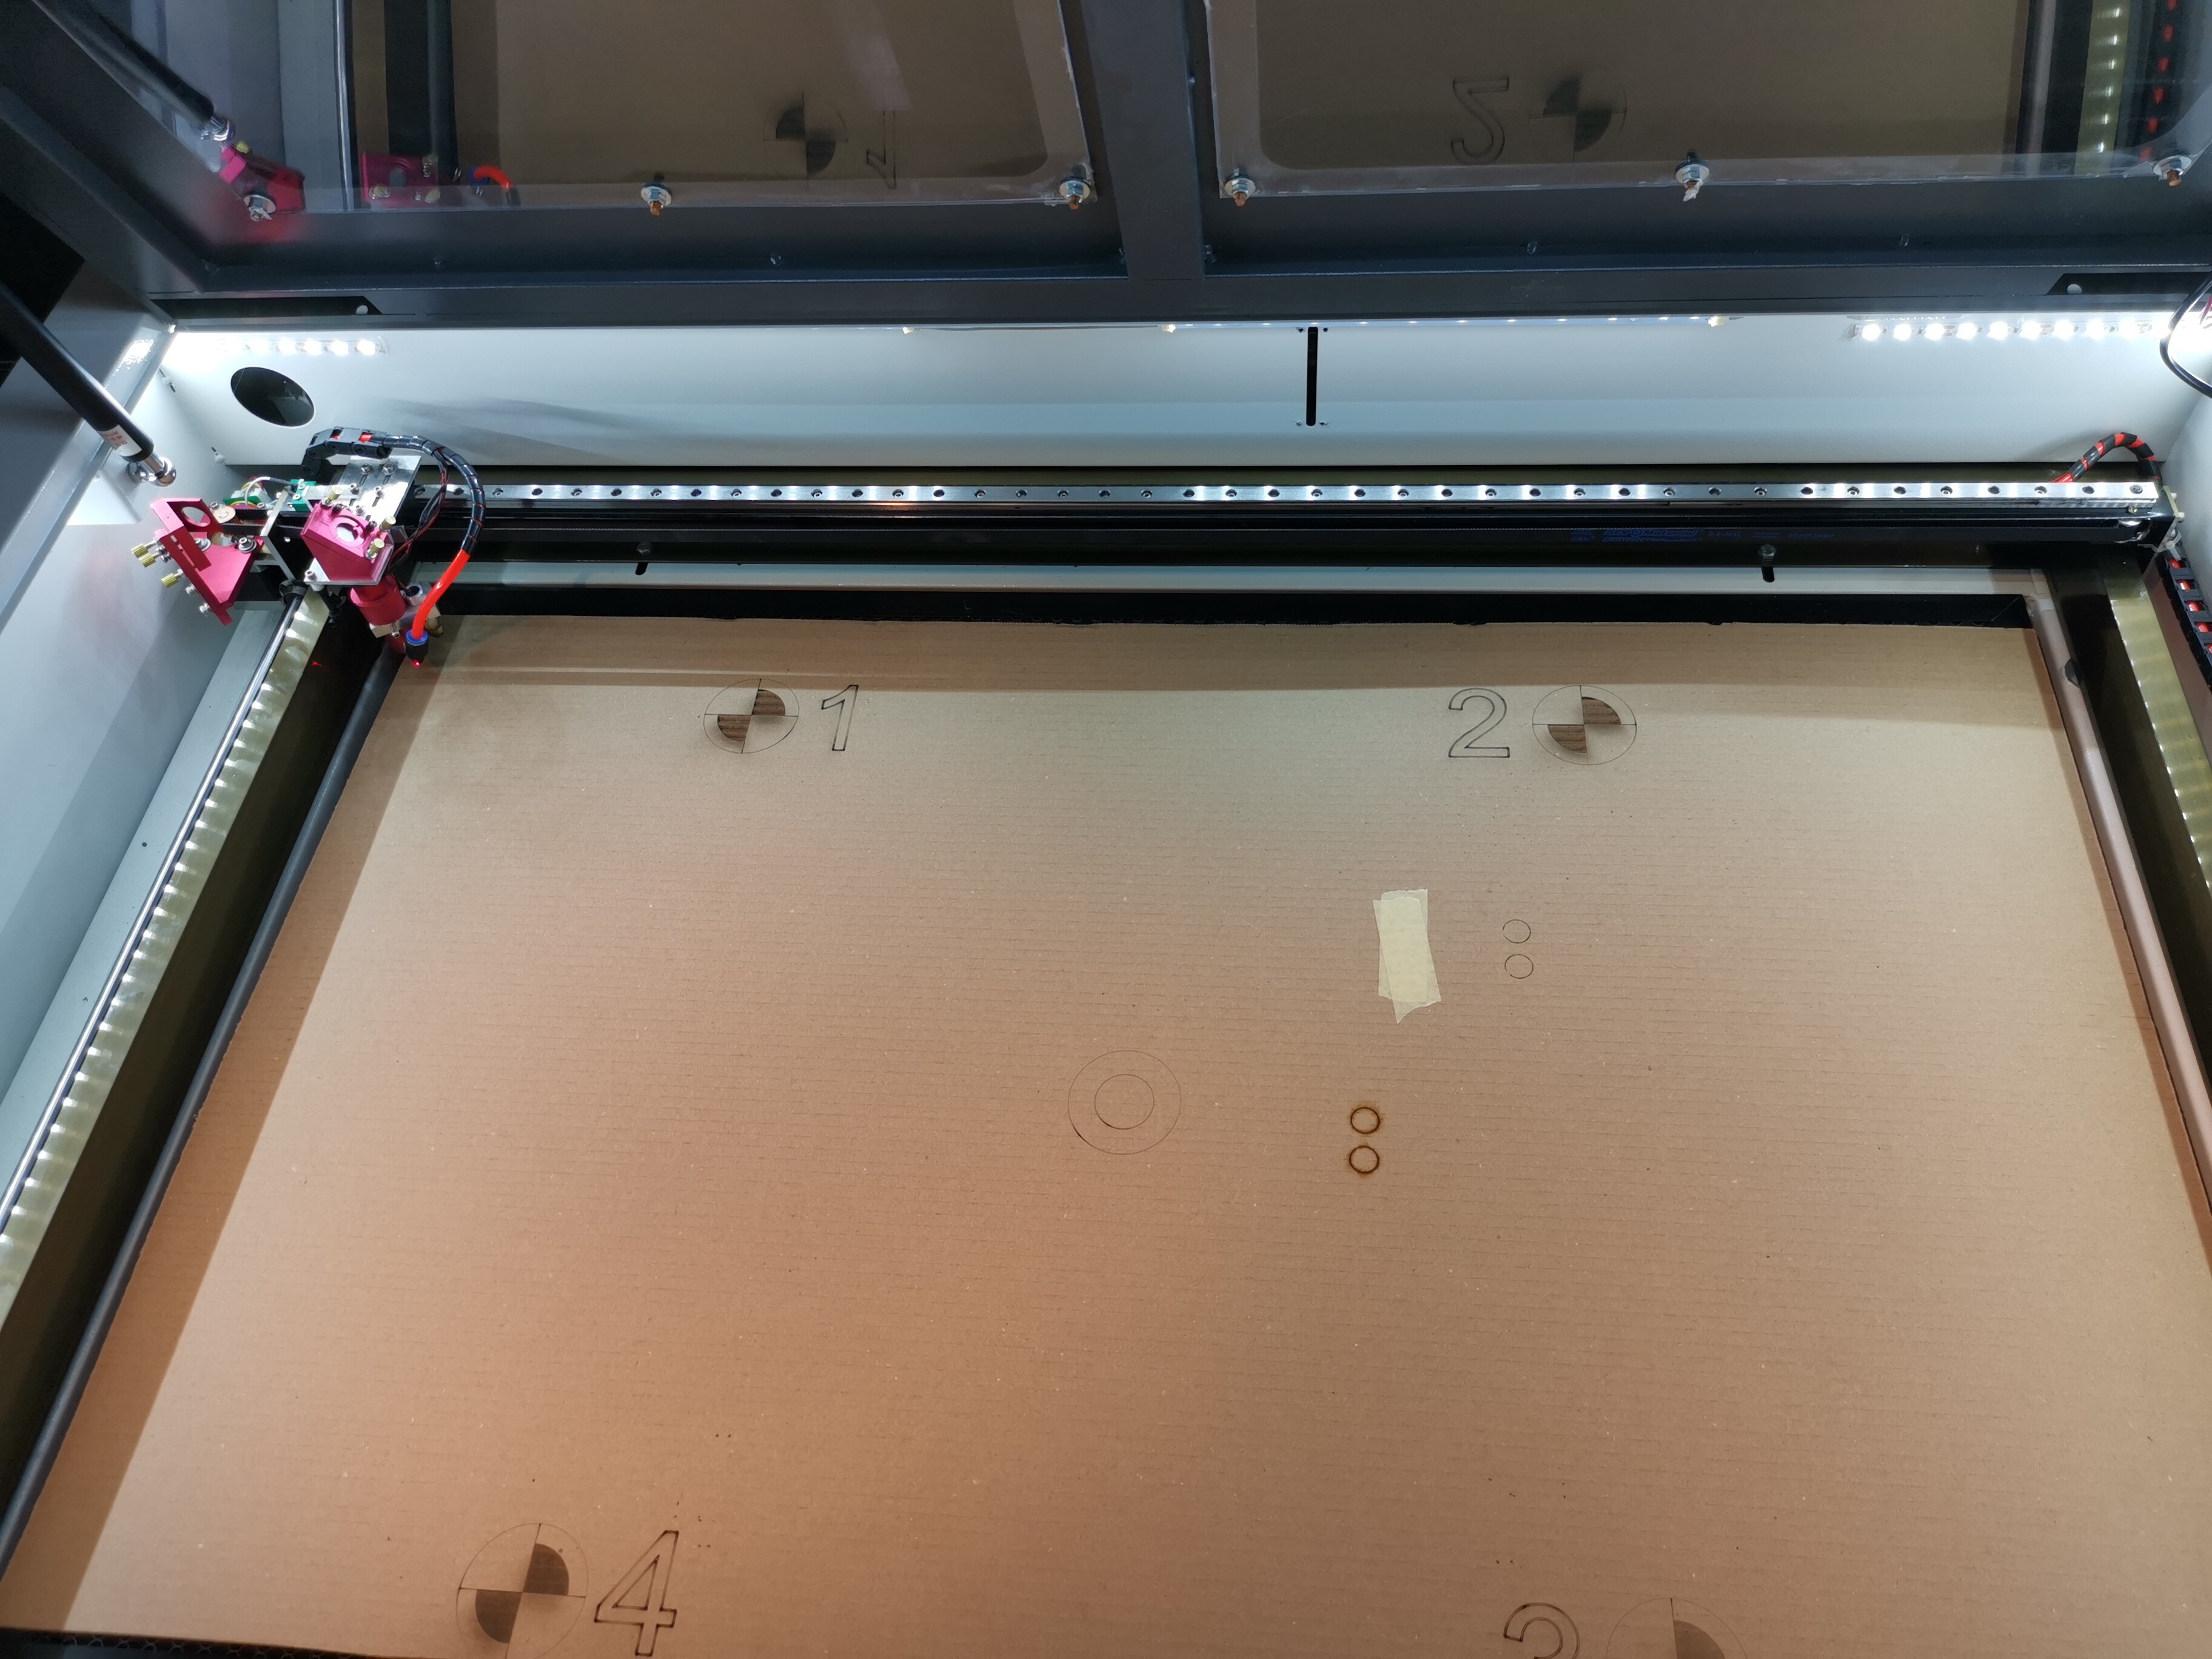
Covered the bed completely with card.

Then I started the proceedure with the printed dots on paper… quickly learned that the information given in the proceedure, as it pertains to angle of paper to camera etc. Is invaluable.
Even though on two points I did not get under .3 I continued.
Next the Calibrate Camera Alignment.
Ran the burn after setting the scale to 280% and then went through the setting of the crosses.
Done.
So a test was called for.

I put down a scrap job part. Drew a 14mm circle on a line layer. Aligned the circle over another 14mm circle on the scrap and pushed START…

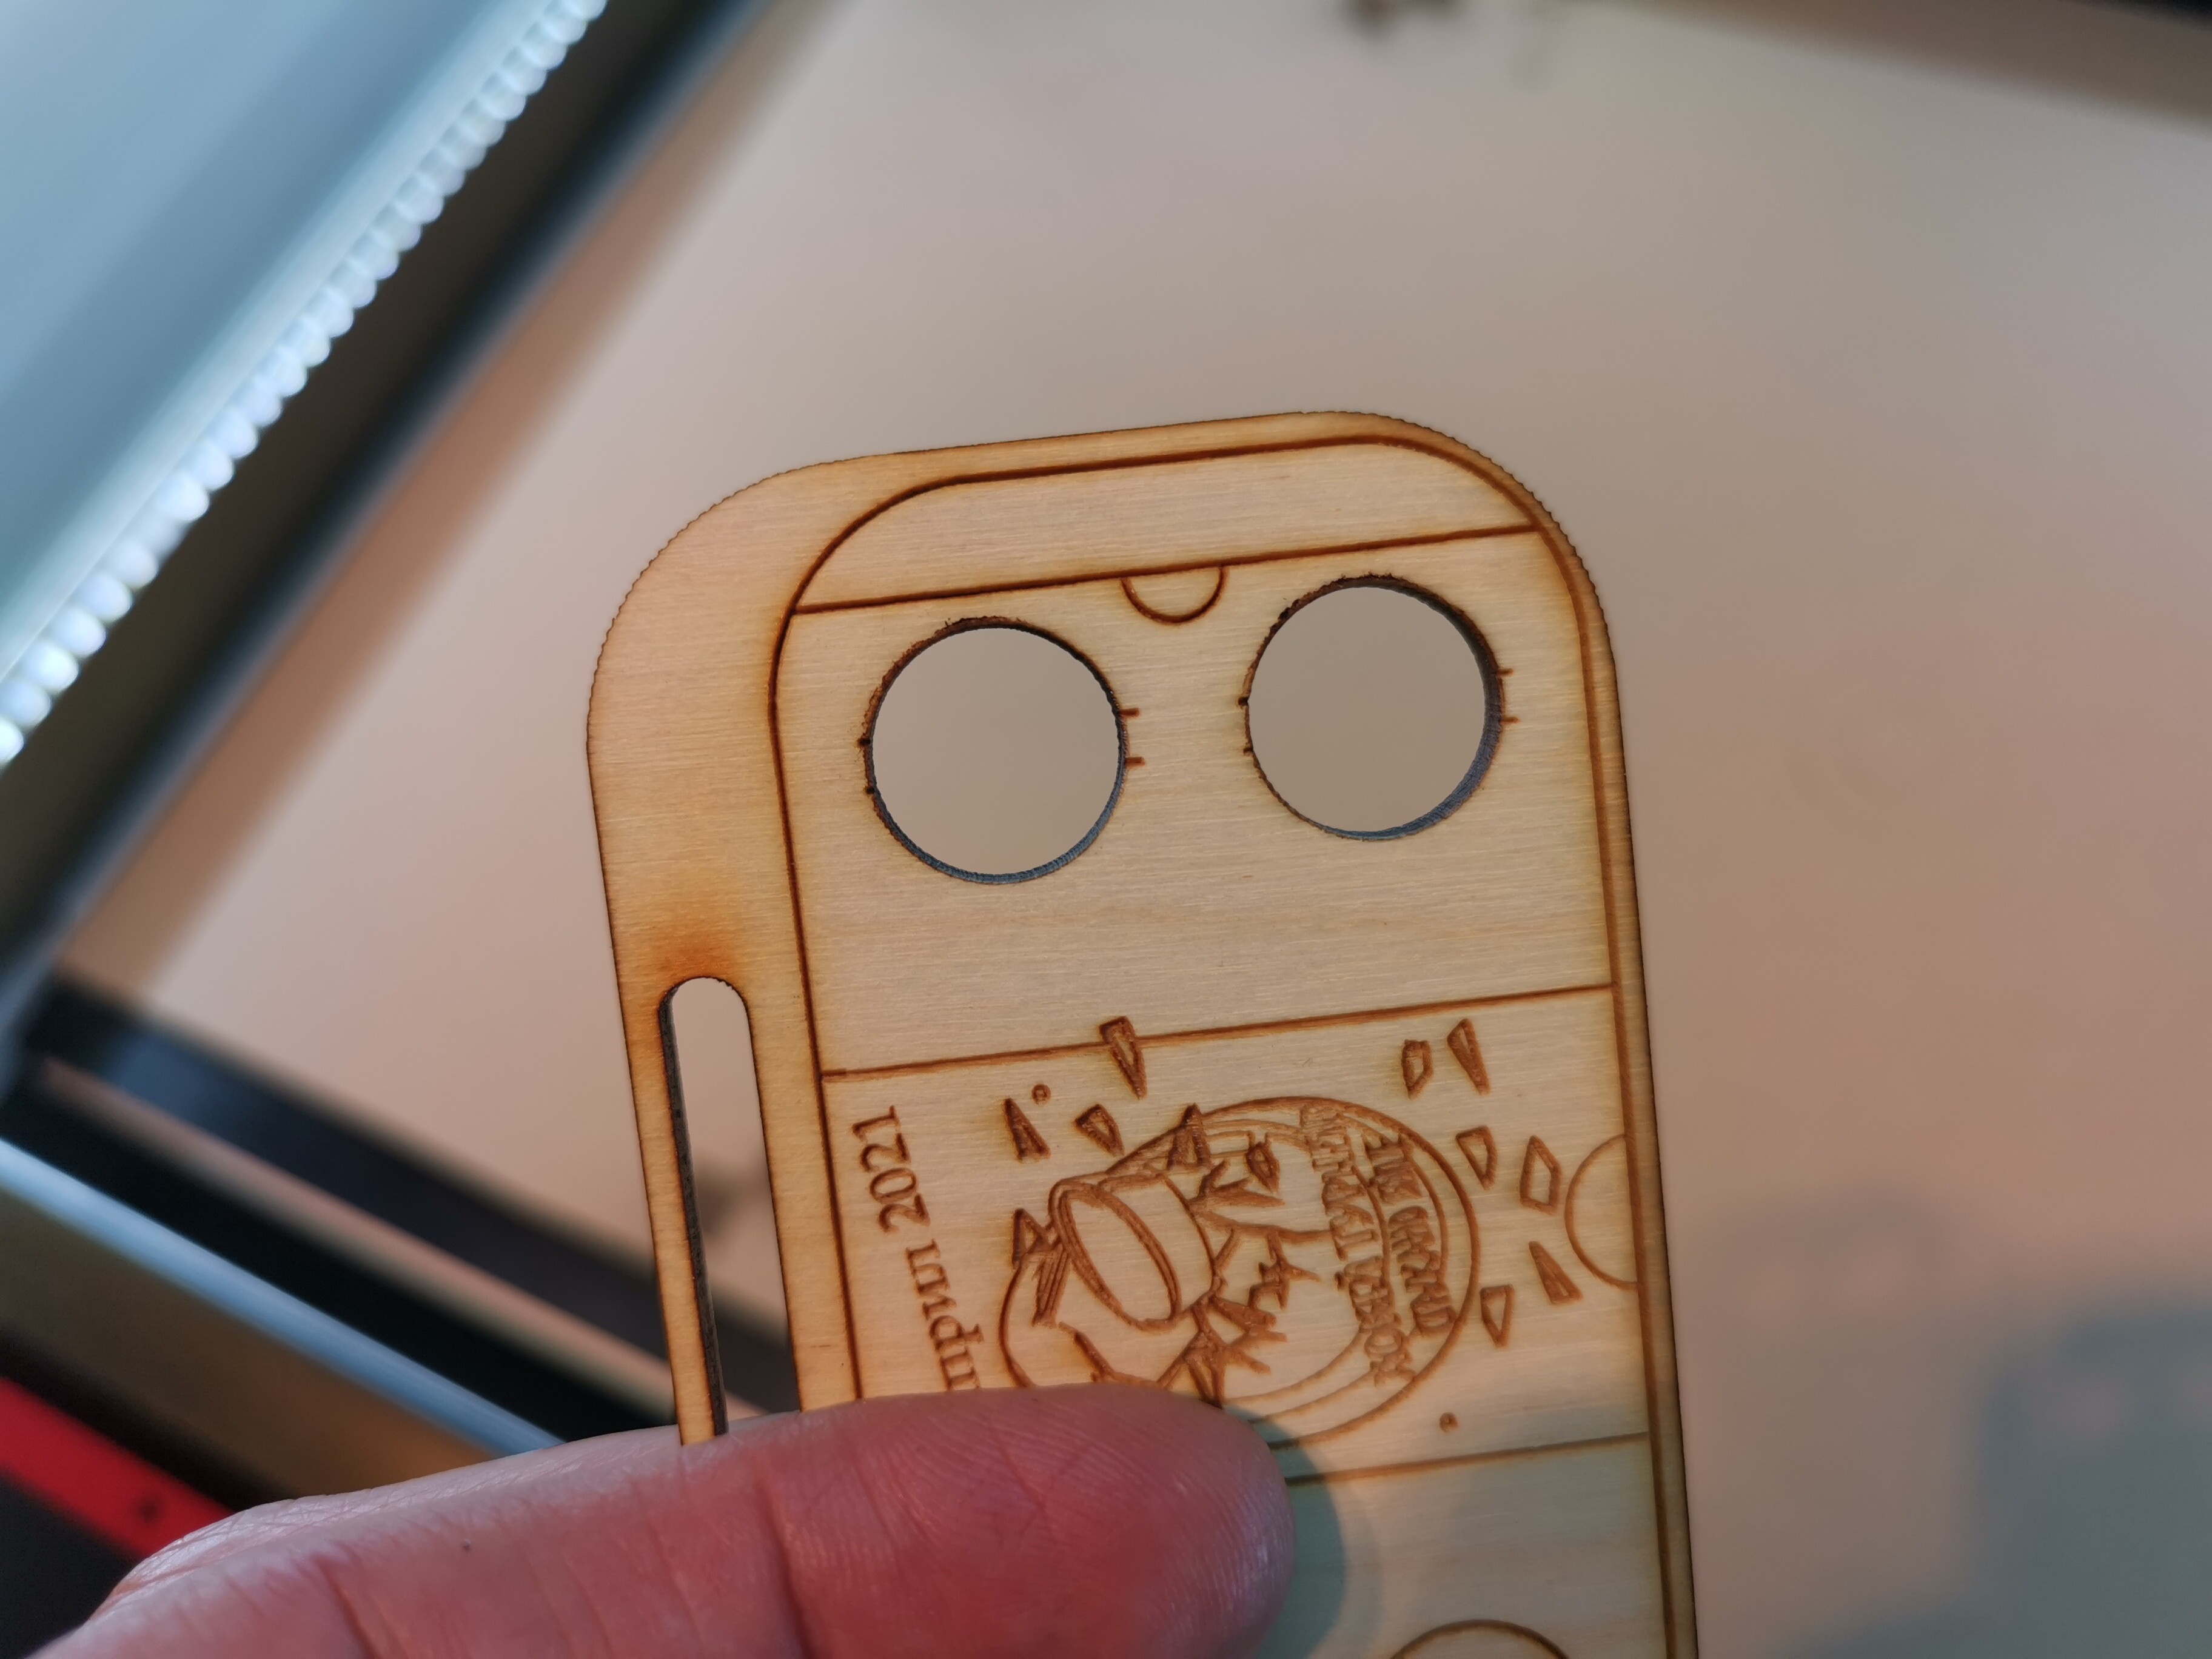
It’s not even .5mm out of true
Dam that’s soooo cool…
Good job LightBurn.
Ah, one thing…this really has an issue with honeycomb during the setup… REALLY!!!
If you’re thinking of not covering or part covering the bed, my advice is cover the whole thing 

I just removed the card and tried an Update Overlay…it really doesn’t like honeycomb either. So…I’ll keep it covered 
