Camera Print & Cut Window
Use the Camera Print & Cut window to line up a job with a printed sheet, automatically. LightBurn moves the
head camera to each registration mark on the sheet, finds it, and moves the job to match. Open it from
Window → Camera Print & Cut.
About Camera Print & Cut
Print & Cut lines up a job with something already printed, such as a sticker sheet, by
matching registration marks in your design to the same marks on the material. The classic method uses two marks
that you find by hand, jogging the laser onto each one.
Camera Print & Cut does the finding for you. It uses three or more marks, so it can correct for a sheet that is
shifted, rotated, or printed slightly too large or small. A printer that stretches the sheet in one direction can
be corrected too.
The marks can be printed, or engraved by the laser itself in an earlier job.
Before You Start
You need:
- A laser with a head camera (one mounted on the laser head) that is calibrated, aligned, and set to
Include in Overlay in its right-click menu. See Cameras Window. - A gantry laser, connected to LightBurn. Galvo lasers are not supported.
- Three or more registration marks in your design, on a layer of their own, not all in a straight line.
Four marks near the corners of the sheet work best.
Registration marks can be:
| Shape | Notes |
|---|---|
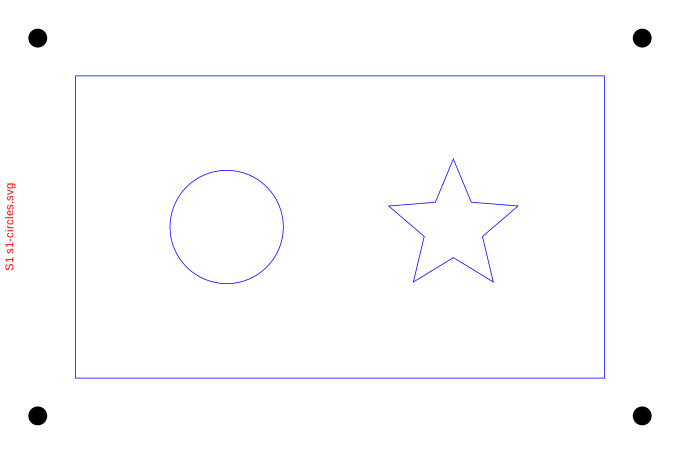
| Filled circle | Recommended. 5 mm works well. |
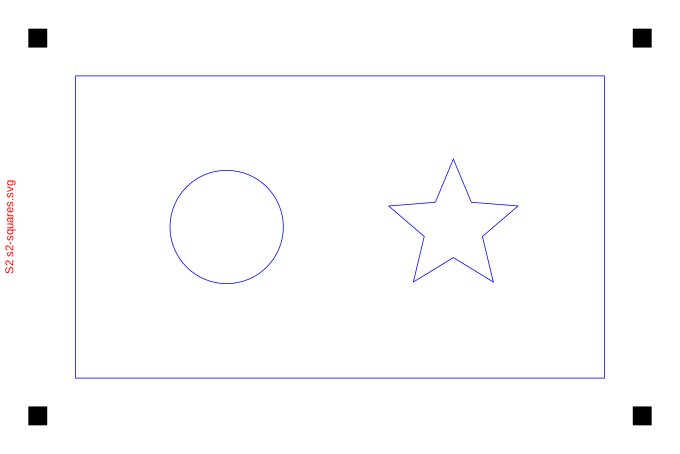
| Filled square | Any rotation. |
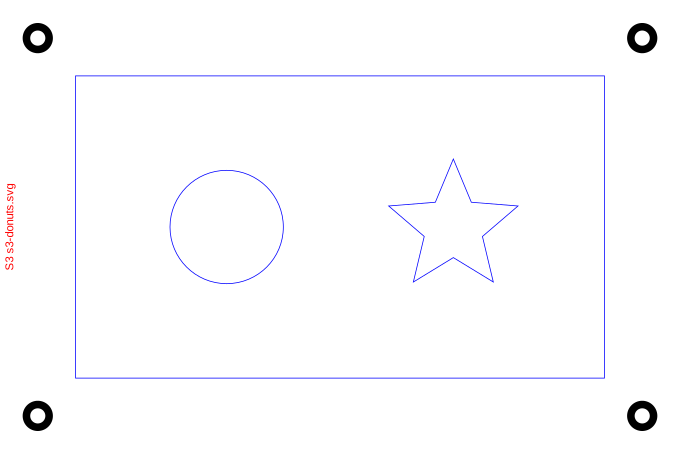
| Donut (ring) | One shape with a hole, or a circle inside a circle. |
Marks should be dark on a light material. For light marks on dark material, turn on
Light marks on dark material.
!!! tip
Put the marks on a layer you don’t use for anything else. LightBurn turns that layer’s output off for you, so
the marks aren’t cut.
Using Camera Print & Cut
- Load your design, with its registration marks, and print it at 100% scale.
- Open Window → Camera Print & Cut. LightBurn chooses the Mark layer for you; check it, or choose
another. The marks appear in the list and are ringed in the Workspace. - Place the printed sheet in the laser.
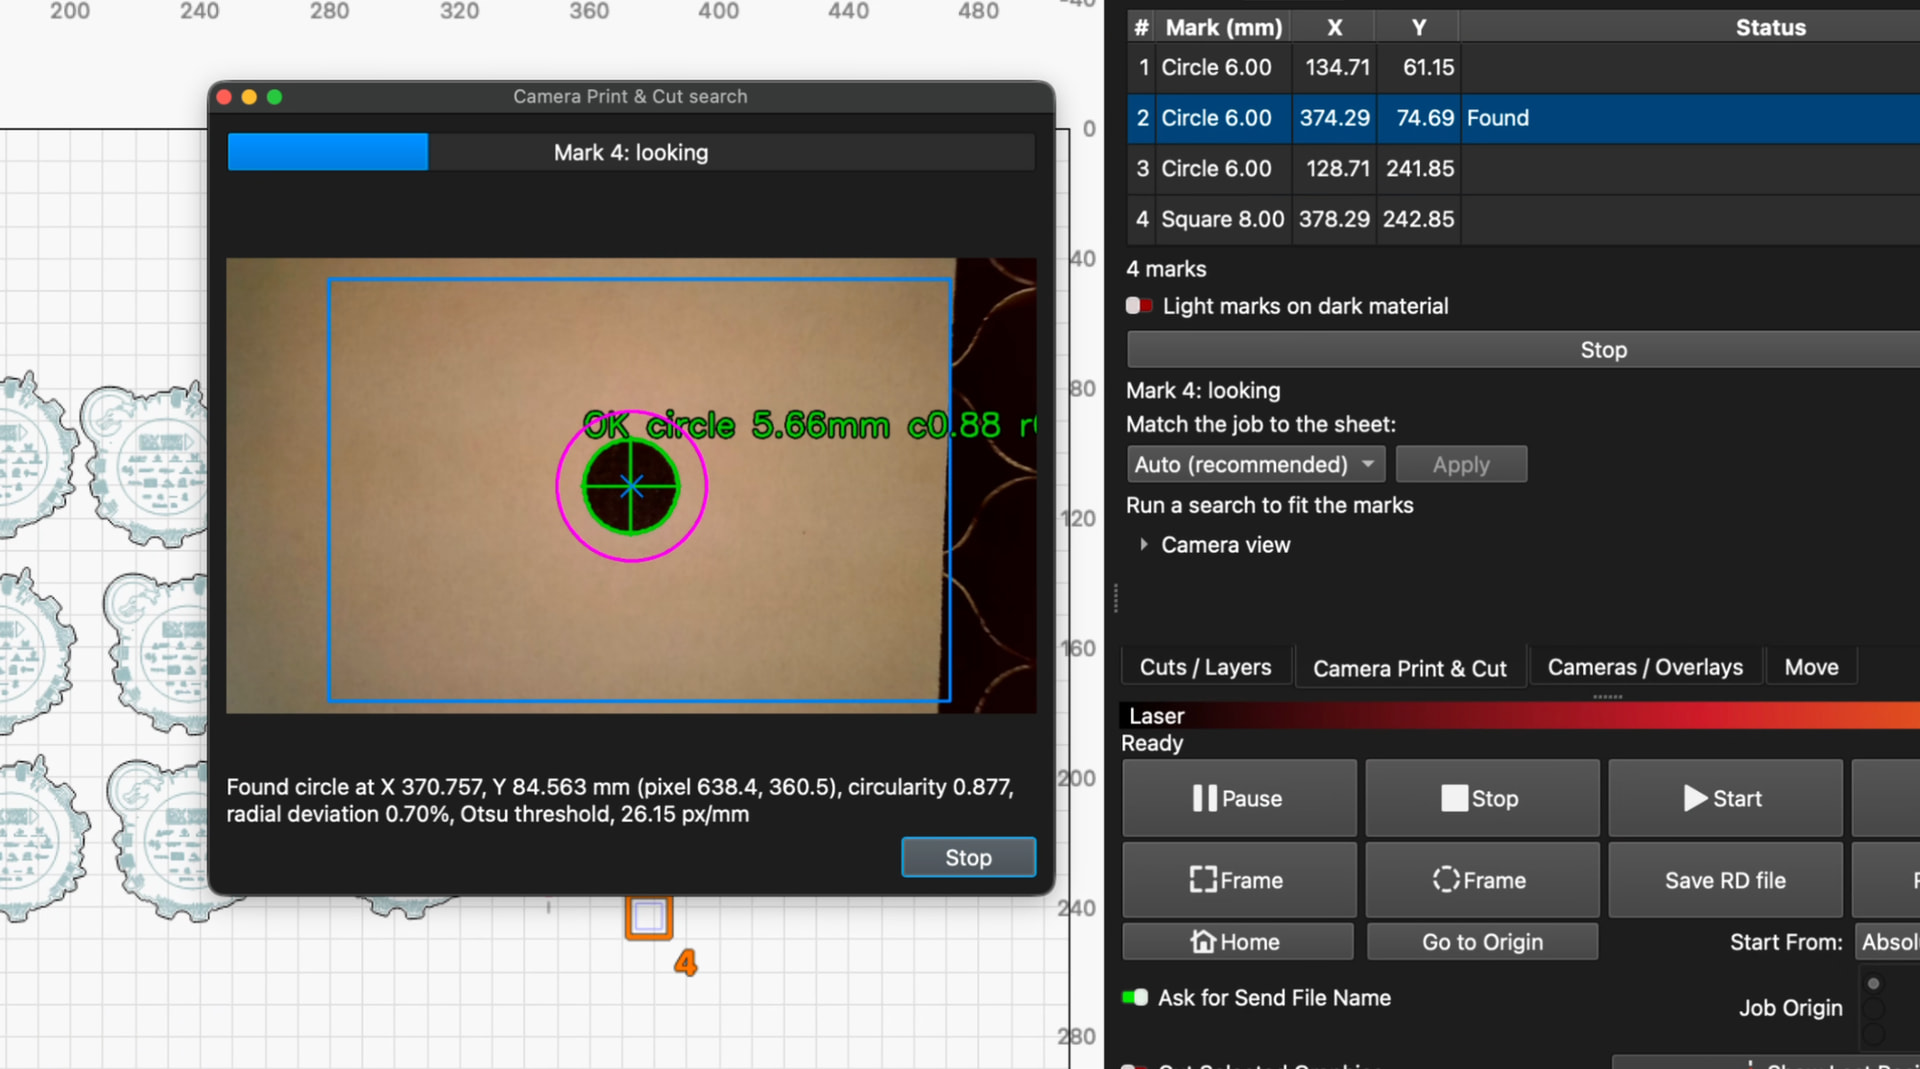
- Jog the head so the camera can see the mark named in the yellow line in the window, for example “Park the head
over mark 1”. - Click Find Marks. LightBurn finds that mark, then moves to each of the others in turn.
- When every mark is found, the fit is applied automatically, and the window says
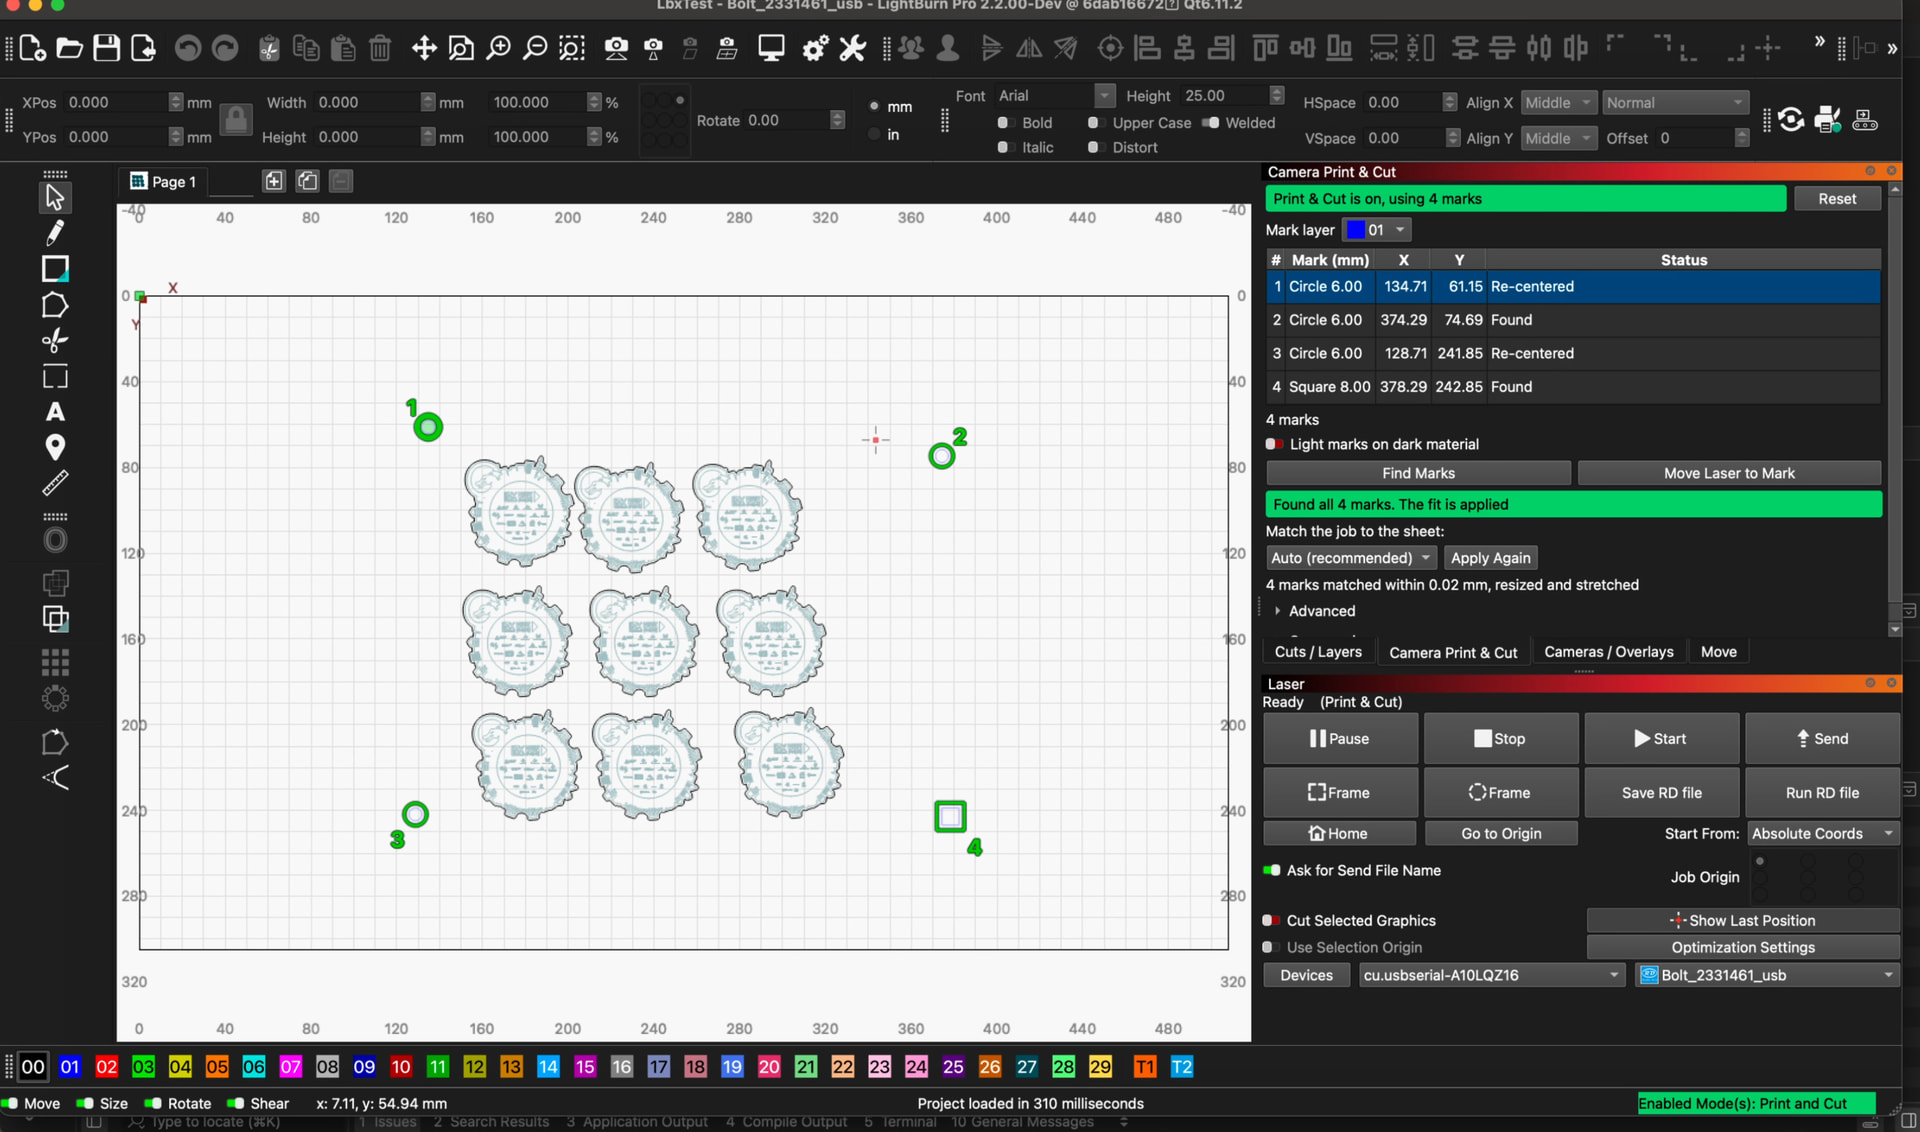
Found all 4 marks. The fit is applied. - Optionally, check the fit: select a mark in the list and click Move Laser to Mark.
- Run your job as usual. It is moved onto the printed sheet.
Camera Print & Cut stays applied until you click Reset, choose Reset Print & Cut, or start a new search. The two-point Print &
Cut targets and Camera Print & Cut replace each other: setting either one clears the other.
Camera Print & Cut Window Reference
Mark Layer
Choose the layer that holds your registration marks. LightBurn lists every shape on that layer as a mark,
except text, images, and barcodes, and turns the layer’s output off, so the marks are not cut. If you turn the output back on, the window warns you.
When the chosen layer has no usable marks, for example after you open or import a file, LightBurn looks for the layer that
holds your marks and chooses it for you. It looks for a layer with only marks on it: three or more small circles,
squares, or donuts. They can be mixed, such as one square among circles to show which way up the sheet is. If it can’t find one, it asks you to put the marks on a layer of
their own and choose that layer. A layer you choose yourself is kept, even before it has marks on it.
Mark List
Each row is one mark:
| Column | Shows |
|---|---|
| # | The mark’s number. The same number is shown next to the mark in the Workspace. |
| Mark | Its shape and size. |
| X, Y | Where the mark is in your design. |
| Status | What the search found, such as Found, Not found, Skipped, or Out of reach. |
Hover a row to see where the camera found that mark. If a shape is not recognized, its row shows Unknown:
double-click its shape to choose one.
Select a row to highlight that mark in the Workspace.
Marks in the Workspace
While the Camera Print & Cut window is open, every mark is outlined in orange, with its number beside it, so you can
find marks even on a hidden layer or a pale layer color. Circles and donuts get a circle, and squares a square turned
to match the mark. The mark selected in the list has a thicker, filled outline. Once the fit is applied, the outlines
of the marks it used turn green.
Before fit -
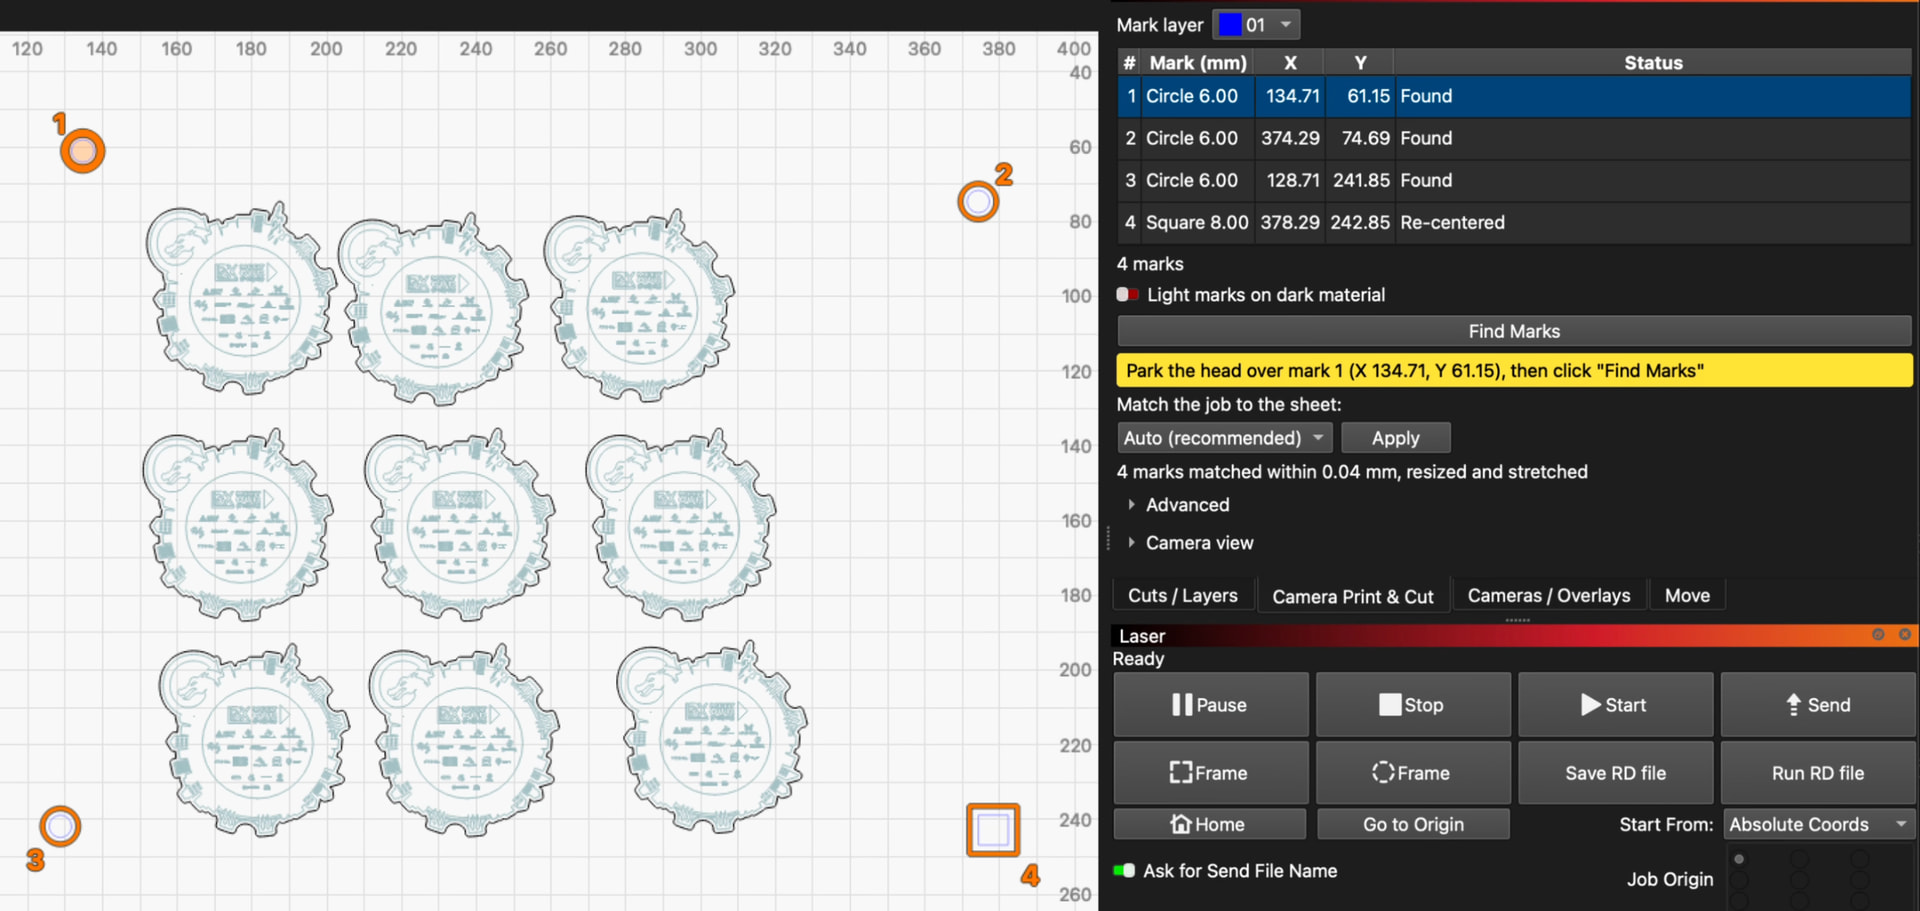
After search and Auto fit -
Find Marks, Search Here, and Skip
Click Find Marks to find every mark. Before you click it, jog the head so the camera can see the mark the window
names. You can choose a different starting mark by selecting it in the list.
LightBurn searches around where it expects each mark. If it can’t find one, it stops and shows
Mark 3 not found. You can:
- Jog the head near the missing mark, then click Search Here.
- Click Skip to leave the mark out and carry on, as long as at least three marks remain.
Click Stop at any time to end the search.
Match the Job to the Sheet
Choose how the job may be adjusted to match the marks:
| Option | What it does |
|---|---|
| Auto (recommended) | Chooses the best of the options below for the marks found. |
| Keep size | Moves and rotates the job only. |
| Resize evenly | Also resizes the job, by the same amount across and down. |
| Resize and stretch | Resizes across and down separately, for a printer that stretches the sheet. Needs four or more marks to be checked properly. |
Below it, a line tells you how closely the marks matched, for example
4 marks matched within 0.08 mm, resized evenly.
Apply and Reset
The fit is applied automatically when every mark is found and they all match. Otherwise, check the warning, then
click Apply to use the fit anyway.
While a fit is applied, a green bar at the top of the window says Print & Cut is on. Click Reset beside it
to turn Camera Print & Cut off.
If one mark doesn’t match the others, the window names it in red, for example
Mark 3 doesn’t match the others: it is 0.7 mm off. This usually means it was found on the wrong mark, or the
printed sheet is damaged near it. The fit is not applied automatically in this case.
Move Laser to Mark
Once a fit is applied, select a mark in the list and click Move Laser to Mark. The laser moves, without firing,
to where the camera found the mark, so you can check it with your red dot pointer or a low-power pulse. If the laser
is not centered on the mark, check your head camera’s alignment.
Advanced
Click Advanced to see the fit in detail: how far each mark is from the fit, the overall error (RMS), and the
scale and rotation applied to the job. Most jobs don’t need this.
Camera View
Click Camera view to see the last image the camera captured, with the mark it found outlined.
To check one mark without moving the head, select it in the list, jog the head so the camera can see it, and click
Find Mark in View. The line below the image says where the mark was found and how big it is.
Messages
Problems show in red, and things to check in orange:
| Message | What to do |
|---|---|
| Needs a ready head camera that is included in the overlay | Connect the head camera, and turn on Include in Overlay in its right-click menu in the Cameras window. |
| Align the head camera first | Run the head camera alignment in the Cameras window. |
| No marks on layer … | Choose the layer your marks are on, or put them on the chosen layer. |
| Needs at least 3 marks | Add marks. Four near the corners work best. |
| The marks are in a line | Move at least one mark off the line. |
| … not recognized | Double-click the mark’s shape in the list and choose one. |
| Layer … is set to output, so the marks will be cut | Turn the layer’s output off in Cuts / Layers. |
| Connect the laser first | Connect to your laser. |
Tips
- Print at 100% scale. Auto corrects small printer scaling, but not “fit to page”. A sheet printed more than
about 10% too large or too small, or stretched more than about 15% in one direction, is not found: the
camera view shows the marks labeled “wrong size”, or not recognized at all. - Use four marks, one near each corner of the sheet, for the best fit over the whole sheet.
- Laser-made marks work well: engrave filled circles in one job, then use them as marks for the next.
- A whole sheet of designs can share one set of marks. Every mark on the mark layer is used for one fit across
the sheet.