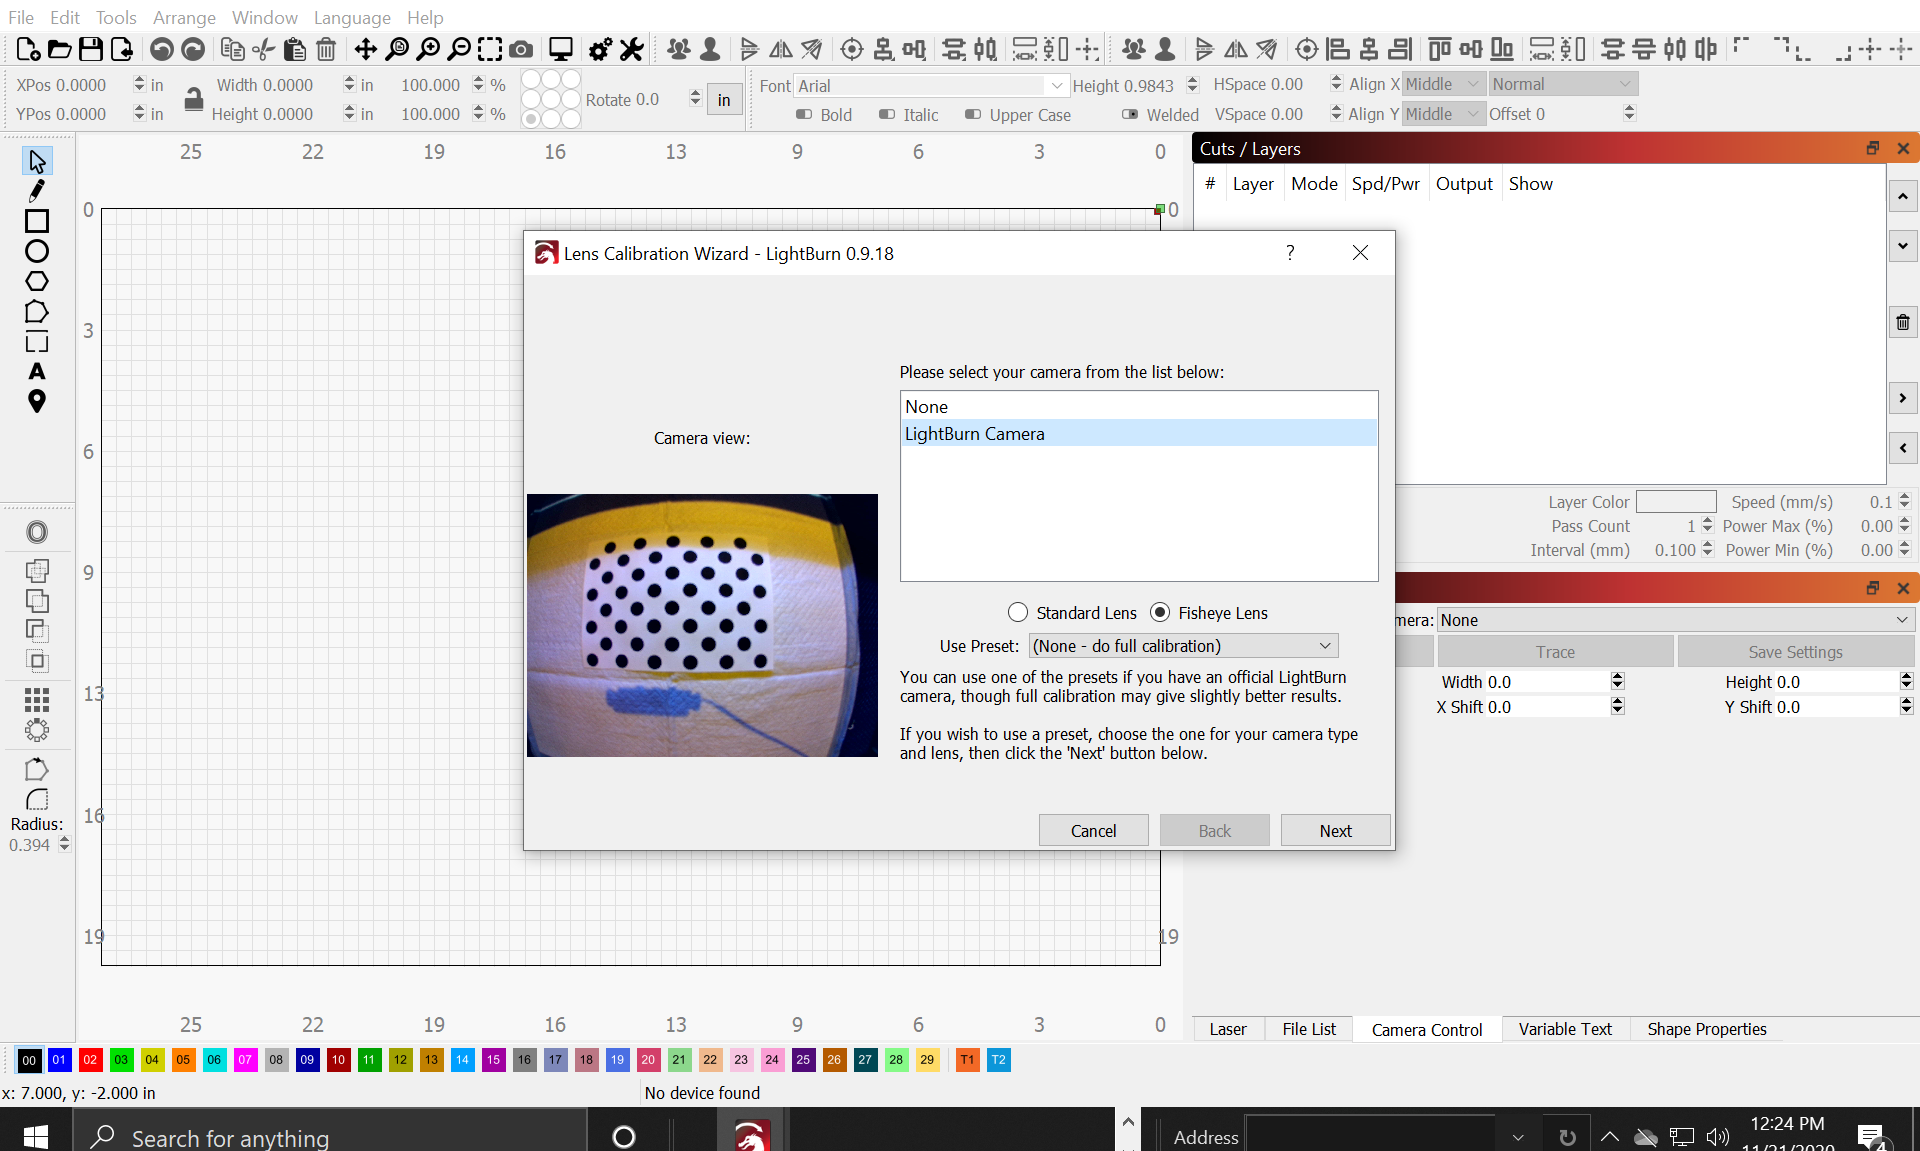
We have a 60W Ruida 700x500mm engraver. We purchased lightburn camera 8 MP 4N camera 120degree. We thought this would work. We have tried everything to get it to recognize/capure the ‘dots’ but it will only capture the dots if the lid is open with the camera angled straight down. So, big question is, did we buy the wrong camera? Any help would be appreciated.
The dots pattern has absolutely nothing to do with the machine - it’s only to measure the distortion of the camera lens.
That said, with the shorter distance is the image in focus? (The camera is manually focused by twisting the lens). Is the image facing the camera? (It has to be)
These things are covered in the documentation - have you read that?
https://lightburnsoftware.github.io/NewDocs/UsingACamera.html
There’s also a FAQ on tips for getting good calibration here: The camera doesn't find the lens calibration pattern (no pattern found)
Thank you for your reply. Yes, we manually focused the lens with the lid closed and still ‘no capture’. Before we tried contacting you, we did everything in the ‘camera doesn’t find the lens calibration pattern’ FAQ. We have put in a piece of wood under the paper, a sheet, cardboard, we taped it to the bed, cardboard. I printed the dots several ways, borderless, fit to page, landscape and portrait. I’ve printed in high quality, draft and neither seemed to make a difference. But none of this has yielded any success. That is why we thought maybe we bought the wrong camera for our machine.
The machine has nothing to do with the camera lens calibration, only the alignment. Can you show me a screen shot of what the dots pattern looks like when you’re trying to capture?
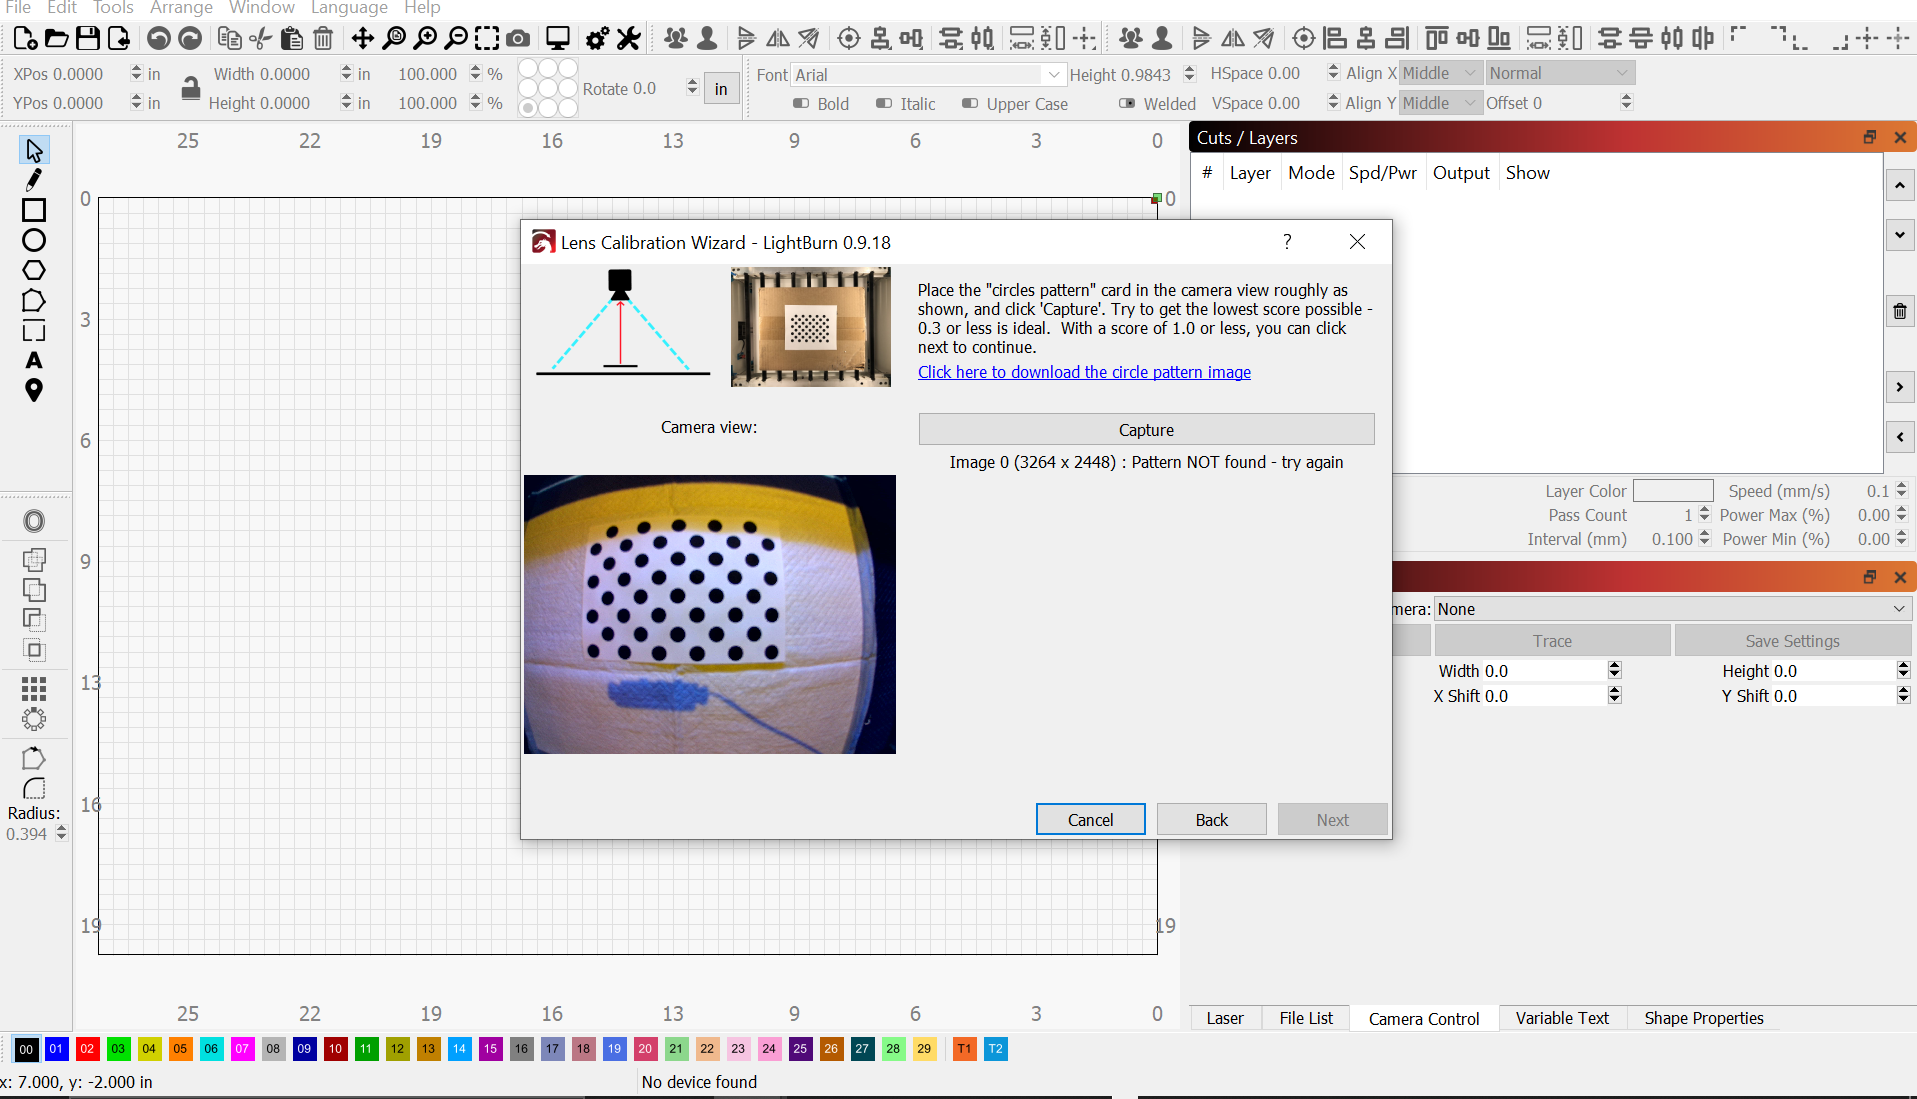
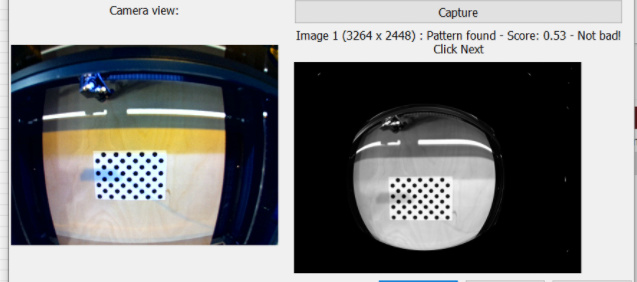
same configuration, with the lid open yields a captures the image with a score of .53

But after initial capture the next capture gives me a score of 8888 try again.
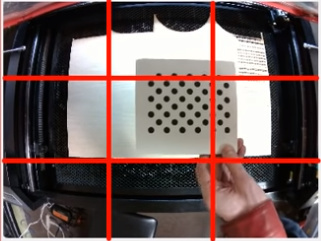
Is that paper glued to the wood to ensure that it’s flat? If the paper is curled at all it’s going to throw off the calibration. It also needs a larger border - you’ve cropped it right to the dots, but it needs some white space around it.
Also, why is there a weird blue streak across it, and the strange yellow line? Those likely aren’t helping, and the pattern should be a bit bigger in the view.
Also I originally had my camera placement towards the front of the machine on the angled section. I changed it to the center of the viewing lid like it shows in the lens calibration wizard diagram. Would this matter?
Not unless you were trying to calibrate with the dots pattern laying flat on the laser bed. It has to be facing the camera.
I can’t stress enough, the machine has nothing to do with the lens calibration. You could mount the camera to your left earlobe and place the calibration pattern on the bottom of your right foot, and as long as the dots pattern was in focus, and the correct size and orientation in the camera view, it would calibrate.
ok, we did all the tests, all the alignments, it is still showing in a fisheye and not flat.
Also, we were doing the alignments flat, because that’s how the wizard showed us how it should be aligned with the camera (flat on the bed) if you look in the previous pics, it shows the camera angle downward and not at an angle. We understand about the lens calibrations, but what seems to be the issue is the distance between the lense and the paper (dots) when the lid is closed.
If we could call someone at the company, maybe that would help eliminate some of the misunderstandings via messaging.
The wizard shows the card perfectly facing the camera, with the camera mounted overhead. Again, all that matters is the size of the pattern in the camera view, and its orientation relative to the camera. If you close the lid, and the card is at an angle relative to the camera, you would need to prop it up to face the camera. If the card is too large or too small within the camera view, you’d need to print it at a different size, or move it further / closer to adjust the size in the view.
This image shows the card too large in the view:

This image shows it a bit too small:

This is ideal:
You could just bypass the entire process and choose the preset provided for you. Is there a reason you haven’t tried that?
It’s also worth stating, ignore the ‘preview’ image until you have at least 3 good captures. This image on the right side is what I mean:
After a single capture, it will still look really warped and strange, because you only have one card capture taken at this point, so there’s not enough information yet to properly correct the image. By the time you have 3 or more, it should look mostly normal.
Regarding a phone number, we don’t provide phone support - we have a very large customer base, and a very small staff, and phone support costs huge amounts of time.
Why doesn't LightBurn have a phone number?
We did try the preset option in the past and it was still warped looking. I’ll try angling the dots and different sizes and see if it helps. Thanks
What was still warped looking? The live feed is never corrected, only the captured bed image.
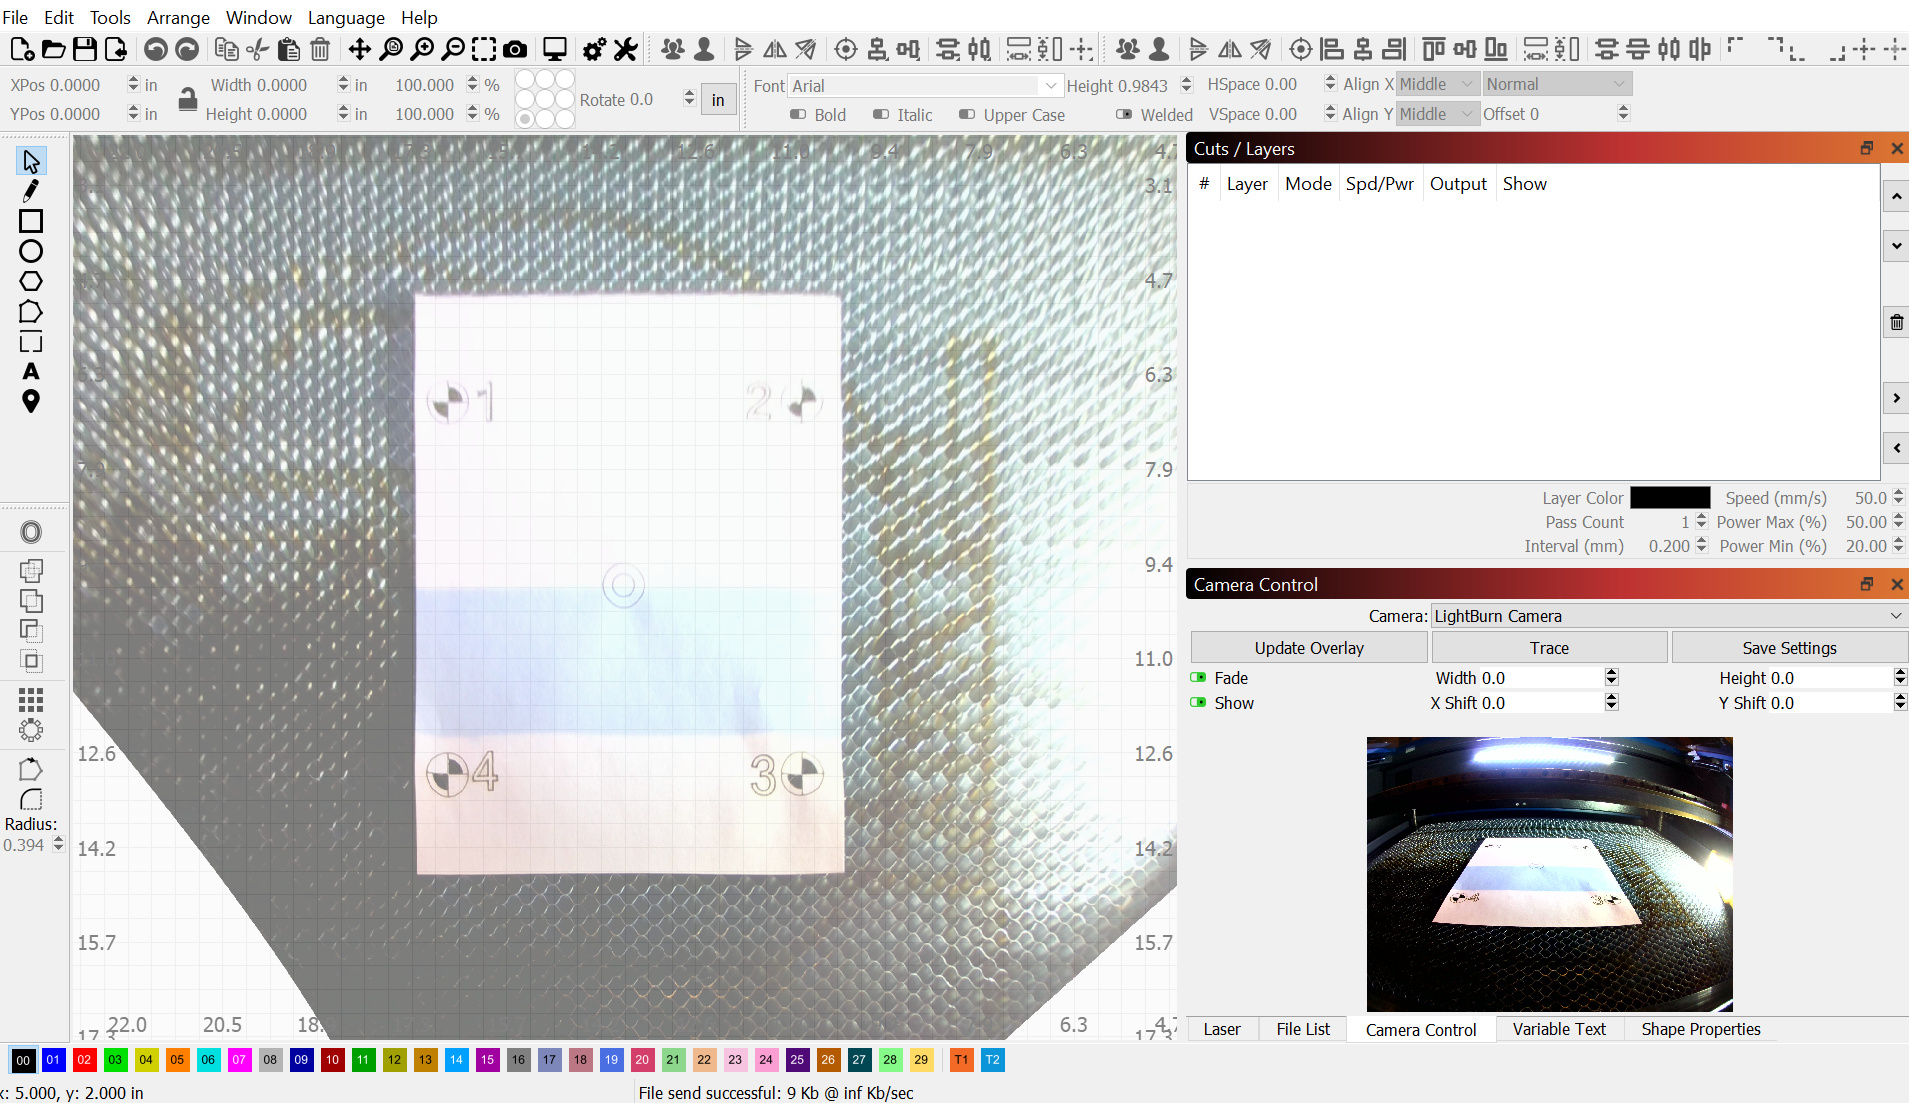
This is what it looks like from the preset setting. The paper is now flat but why is the cutting bed/honeycomb cut off on the corners? Thanks
Because the camera can’t see those corners:
I found that a bright light shining on the dot pattern helps the camera recognize it.
This topic was automatically closed 30 days after the last reply. New replies are no longer allowed.