You can start by reviewing the file I shared above, and I will write something up. ![]()
Edit: Here is what I did to produce this @veselka. ![]()
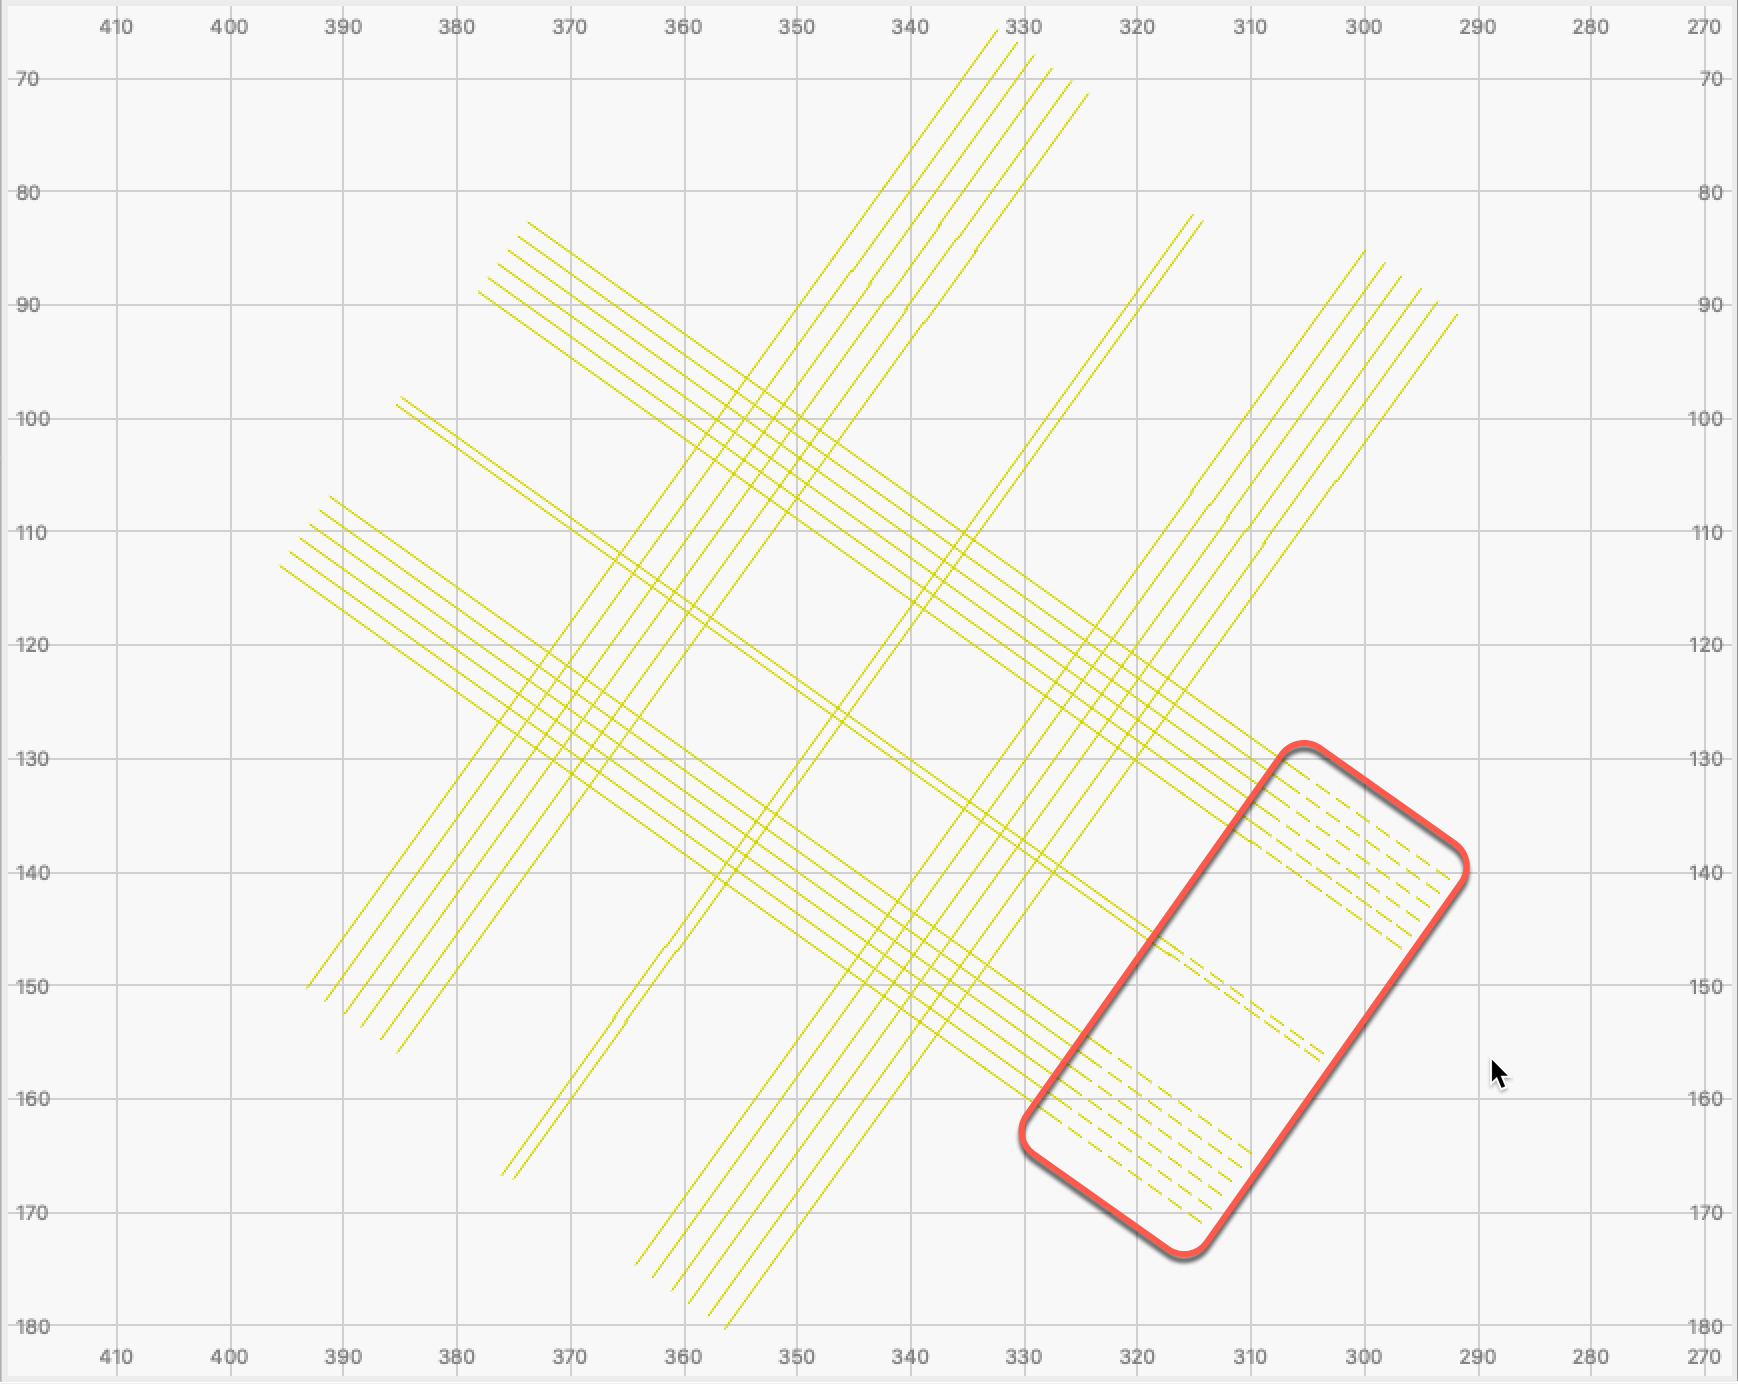
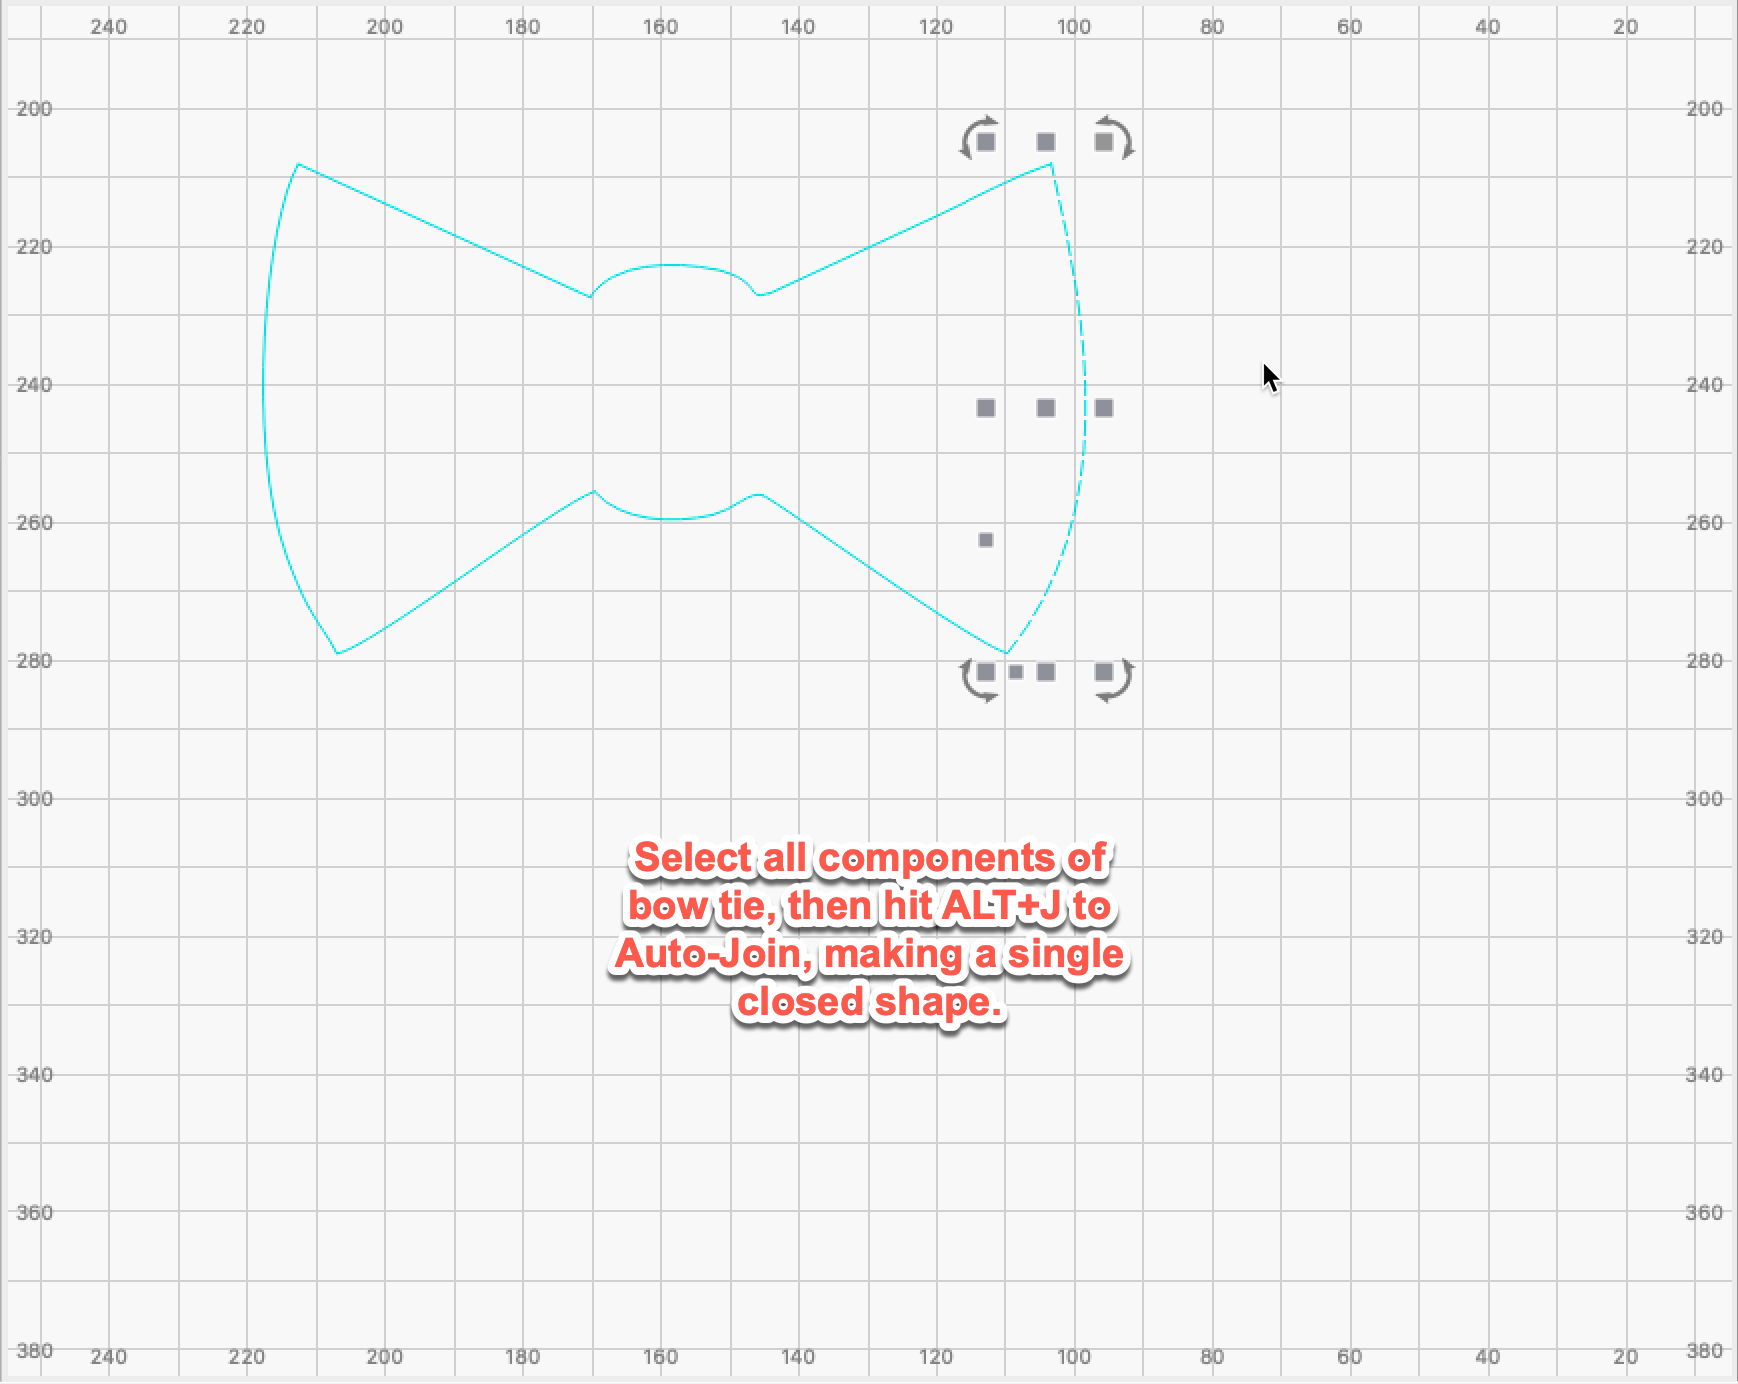
Starting with your file, I note the shapes are made using dis-jointed line segments. First, I used the ‘Auto-join’ to connect things into single pathed shapes.
Then, select all shapes of the pattern and ‘Group’. With group selected, ‘Offset’ outward by 0.25mm. You can have the Offset tool delete the original for you, I did not and removed later.
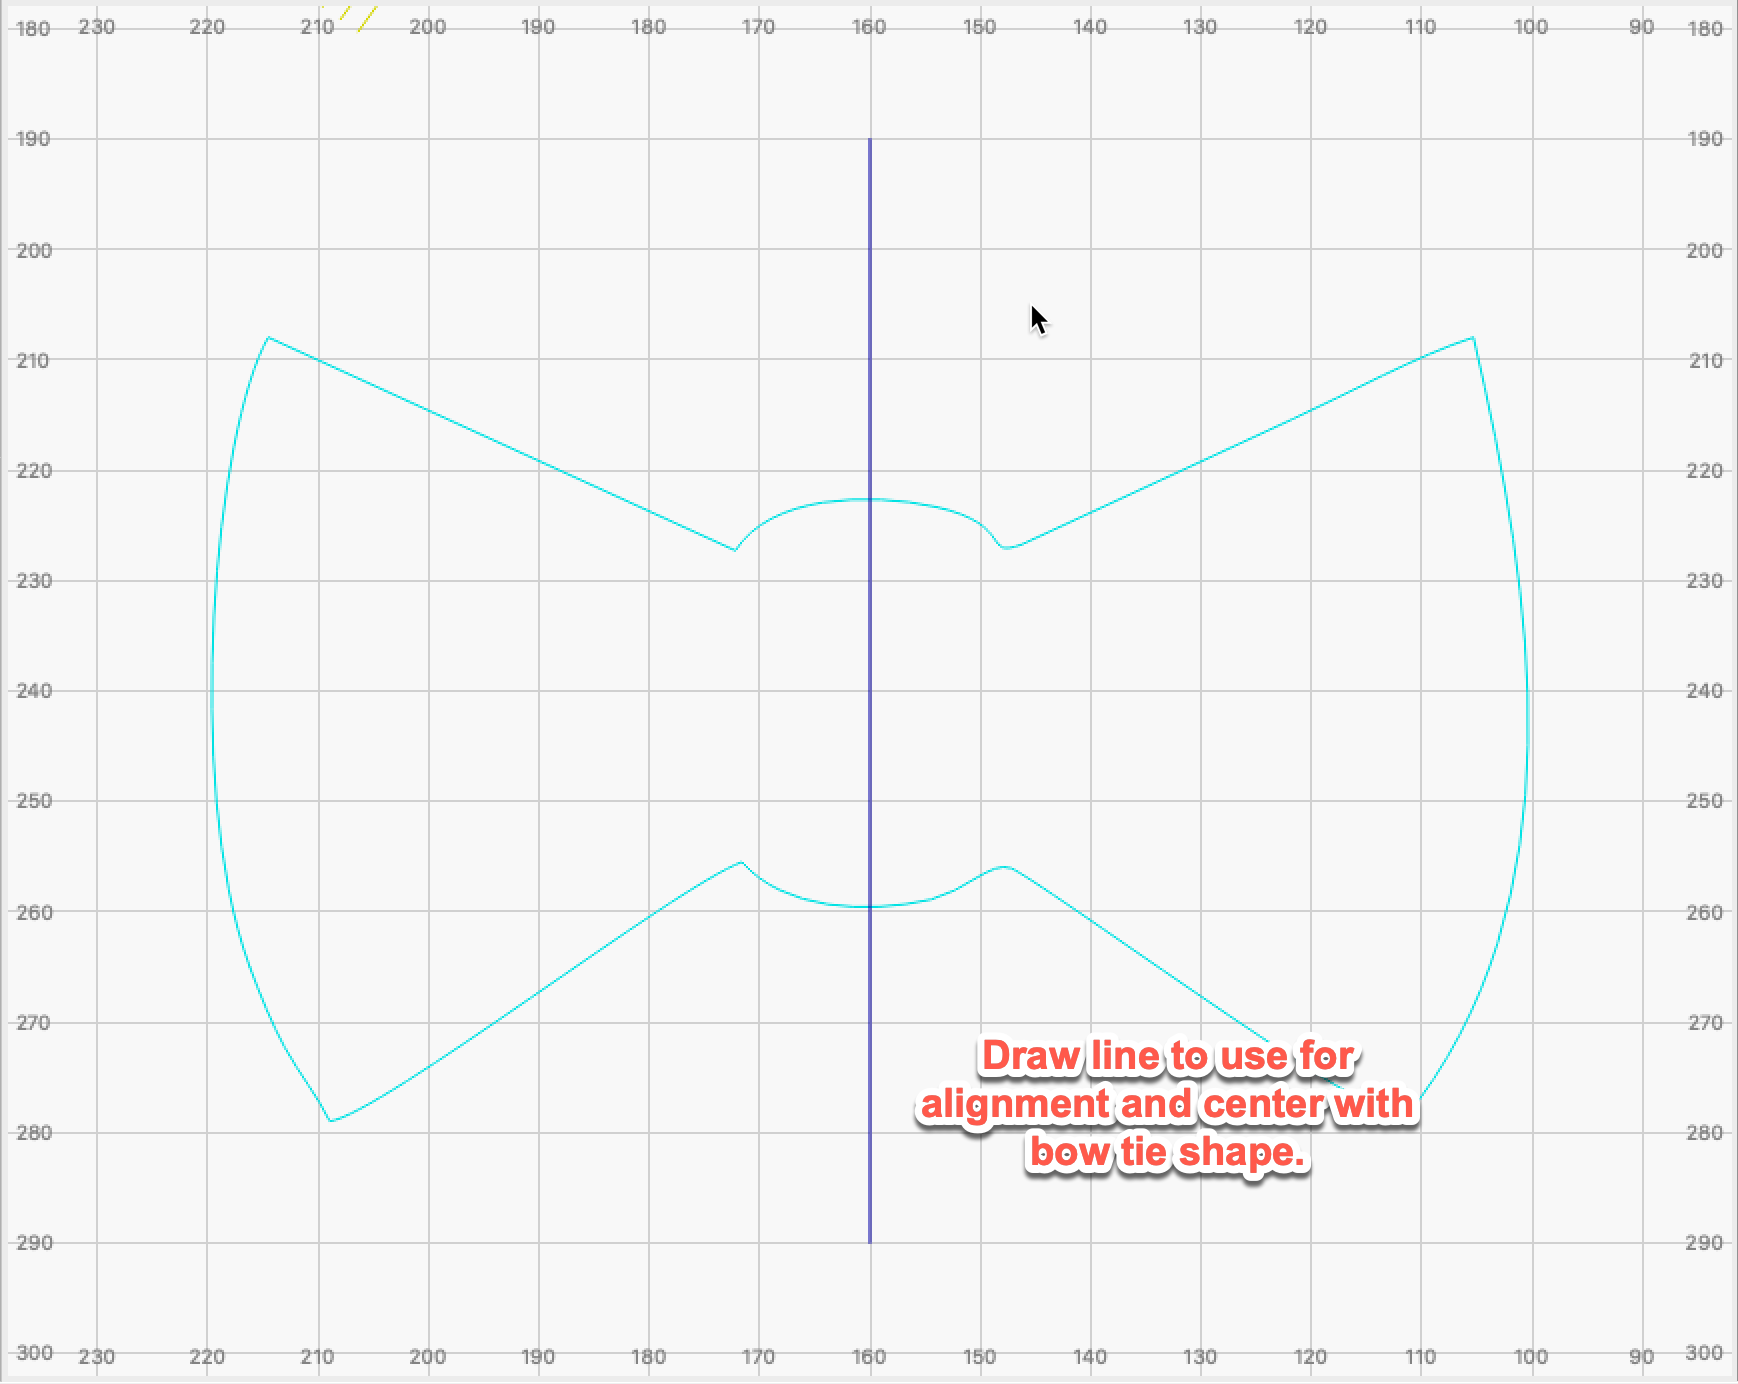
I drew a line to use for alignment and centered with bow tie shape. Moved pattern over bow tie shape on left side. With the pattern selected, hold the shift and select the line, then hit Mirror the current selection across a line to duplicate the pattern on the right.
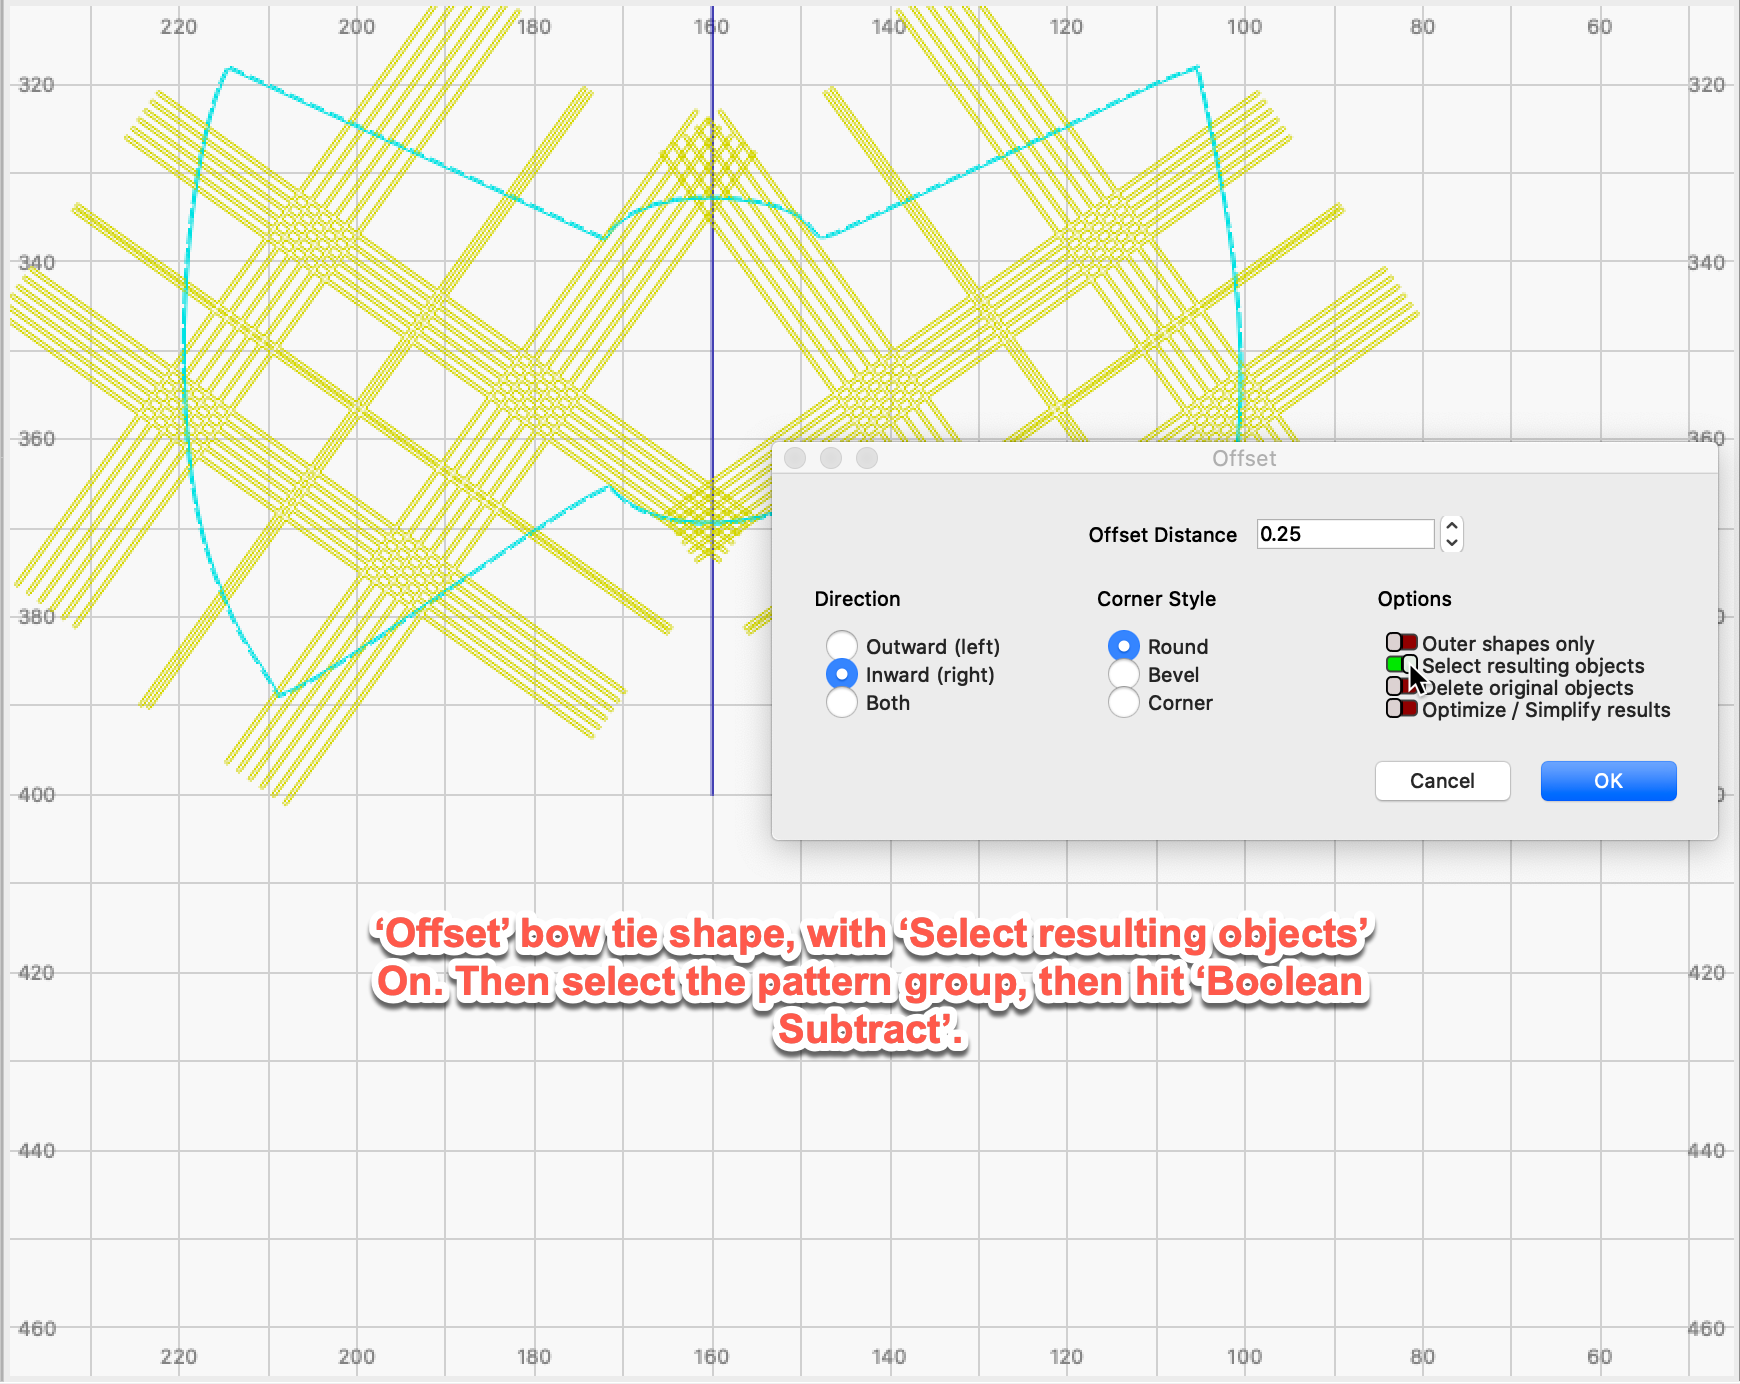
Subsequently, select the bow tie shape and ‘Offset’ by the same amount, 0.25mm, with ‘Select resulting objects’ On. Followed immediately by selecting the pattern group(s), then hit the ‘Boolean Subtract’ button.
Now, select the bow tie shape again and ‘Duplicate’, followed by placing the result on the 04 layer to close the shapes for filling.
- -


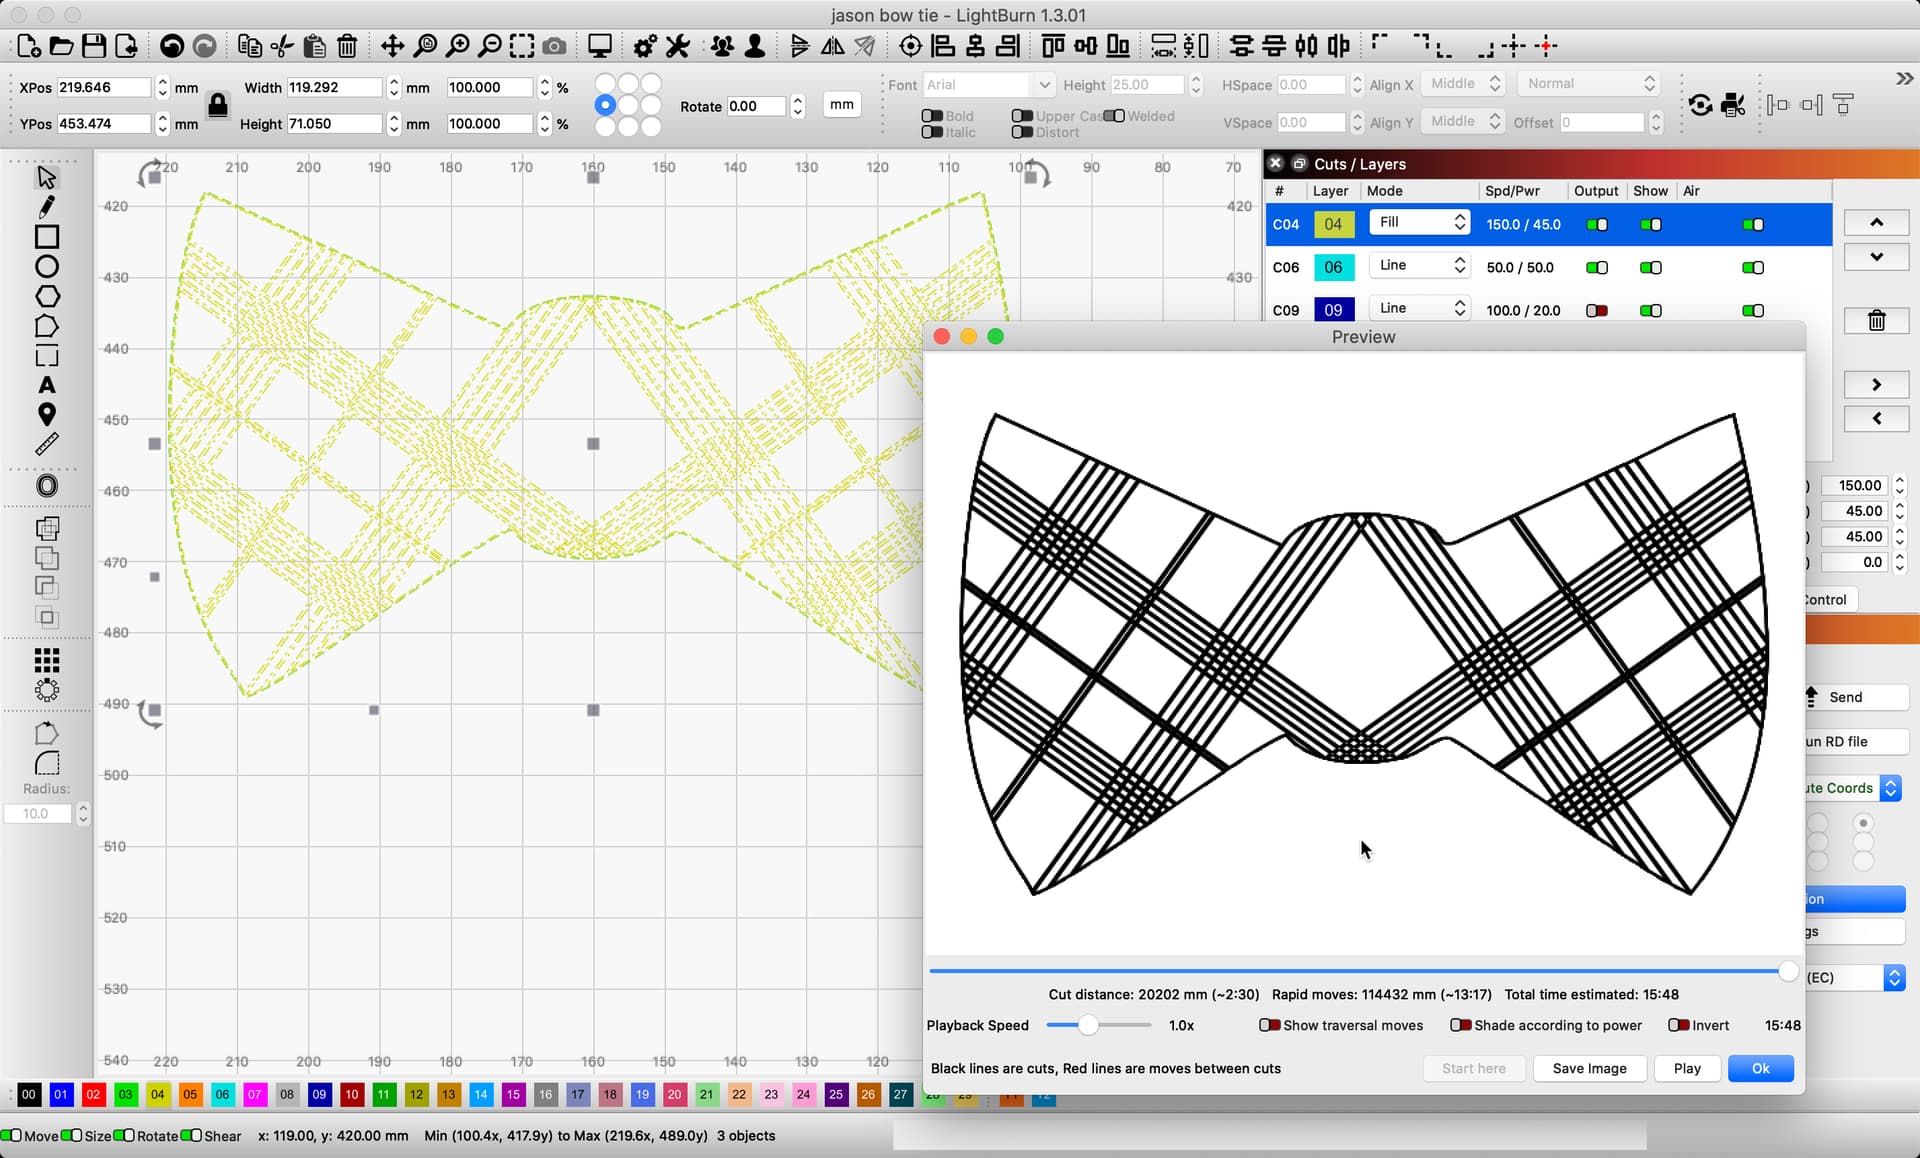

Lastly, check the order of layers will produce as you’d expect. I hope this makes sense and helpful.