I finished my first clock this weekend. It was a joint project between my Shapeoko CNC and my FoxAlien Reizer. I used both Carbide Create and Lightburn to design everything.
I started with Carbide Create to design the carving for the back but was worried that I would somehow misalign the front when engraving so what I did first was design the back including the keyhole for hanging the design and then used that to create a jig instead of a blank clock. The jig pocketed out the circle for the clock but also included a post where the keyhole and the center post for the clock mechanism would go. This was now usable on the laser engraver. I centered the post hole for the mechanism and made sure it was square to the engraver. Now I can reuse it over and over with multiple clock designs. You can see more about the clock and jig design over at the Carbide3D forum. That includes some of the work done in Carbide Create for the clock face.
Since Carbide Create is able to export SVG and Lightburn can import them it made the design work easy. I was able to bring the design into Lightburn and then play with custom text for the message. I could have designed the face in Lightburn but I was used to Carbide Create so I started there. I think next time I will probably work in Lightburn to get more used to the tools in it.
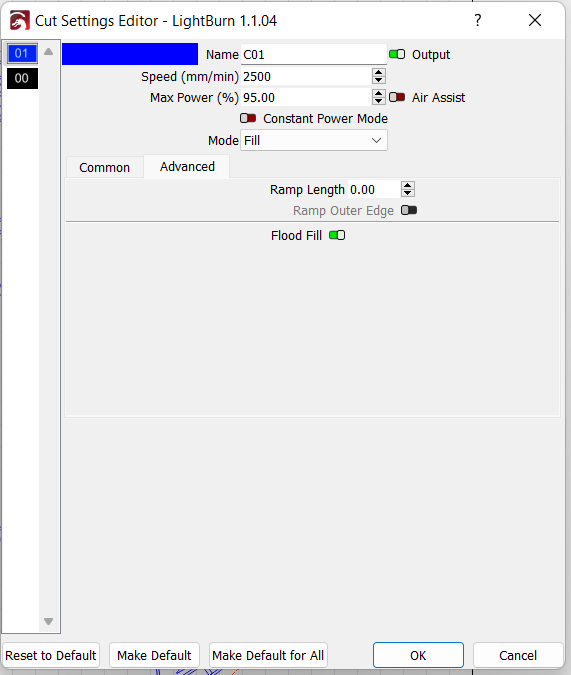
I set most of the design elements to fill and started testing small parts on scrap to get my speeds and power correct. I ended up with 2500 @ 95% for my laser to get good coverage. The initial burn however took way longer than I wanted to since I could not figure out how to optimize the path. It scanned from the bottom to the top no matter what I did. I finally figured out I had to go into the cut settings and enable flood fill. It made things work so much faster. What took 5 hours on the test run took under 2 on the second.
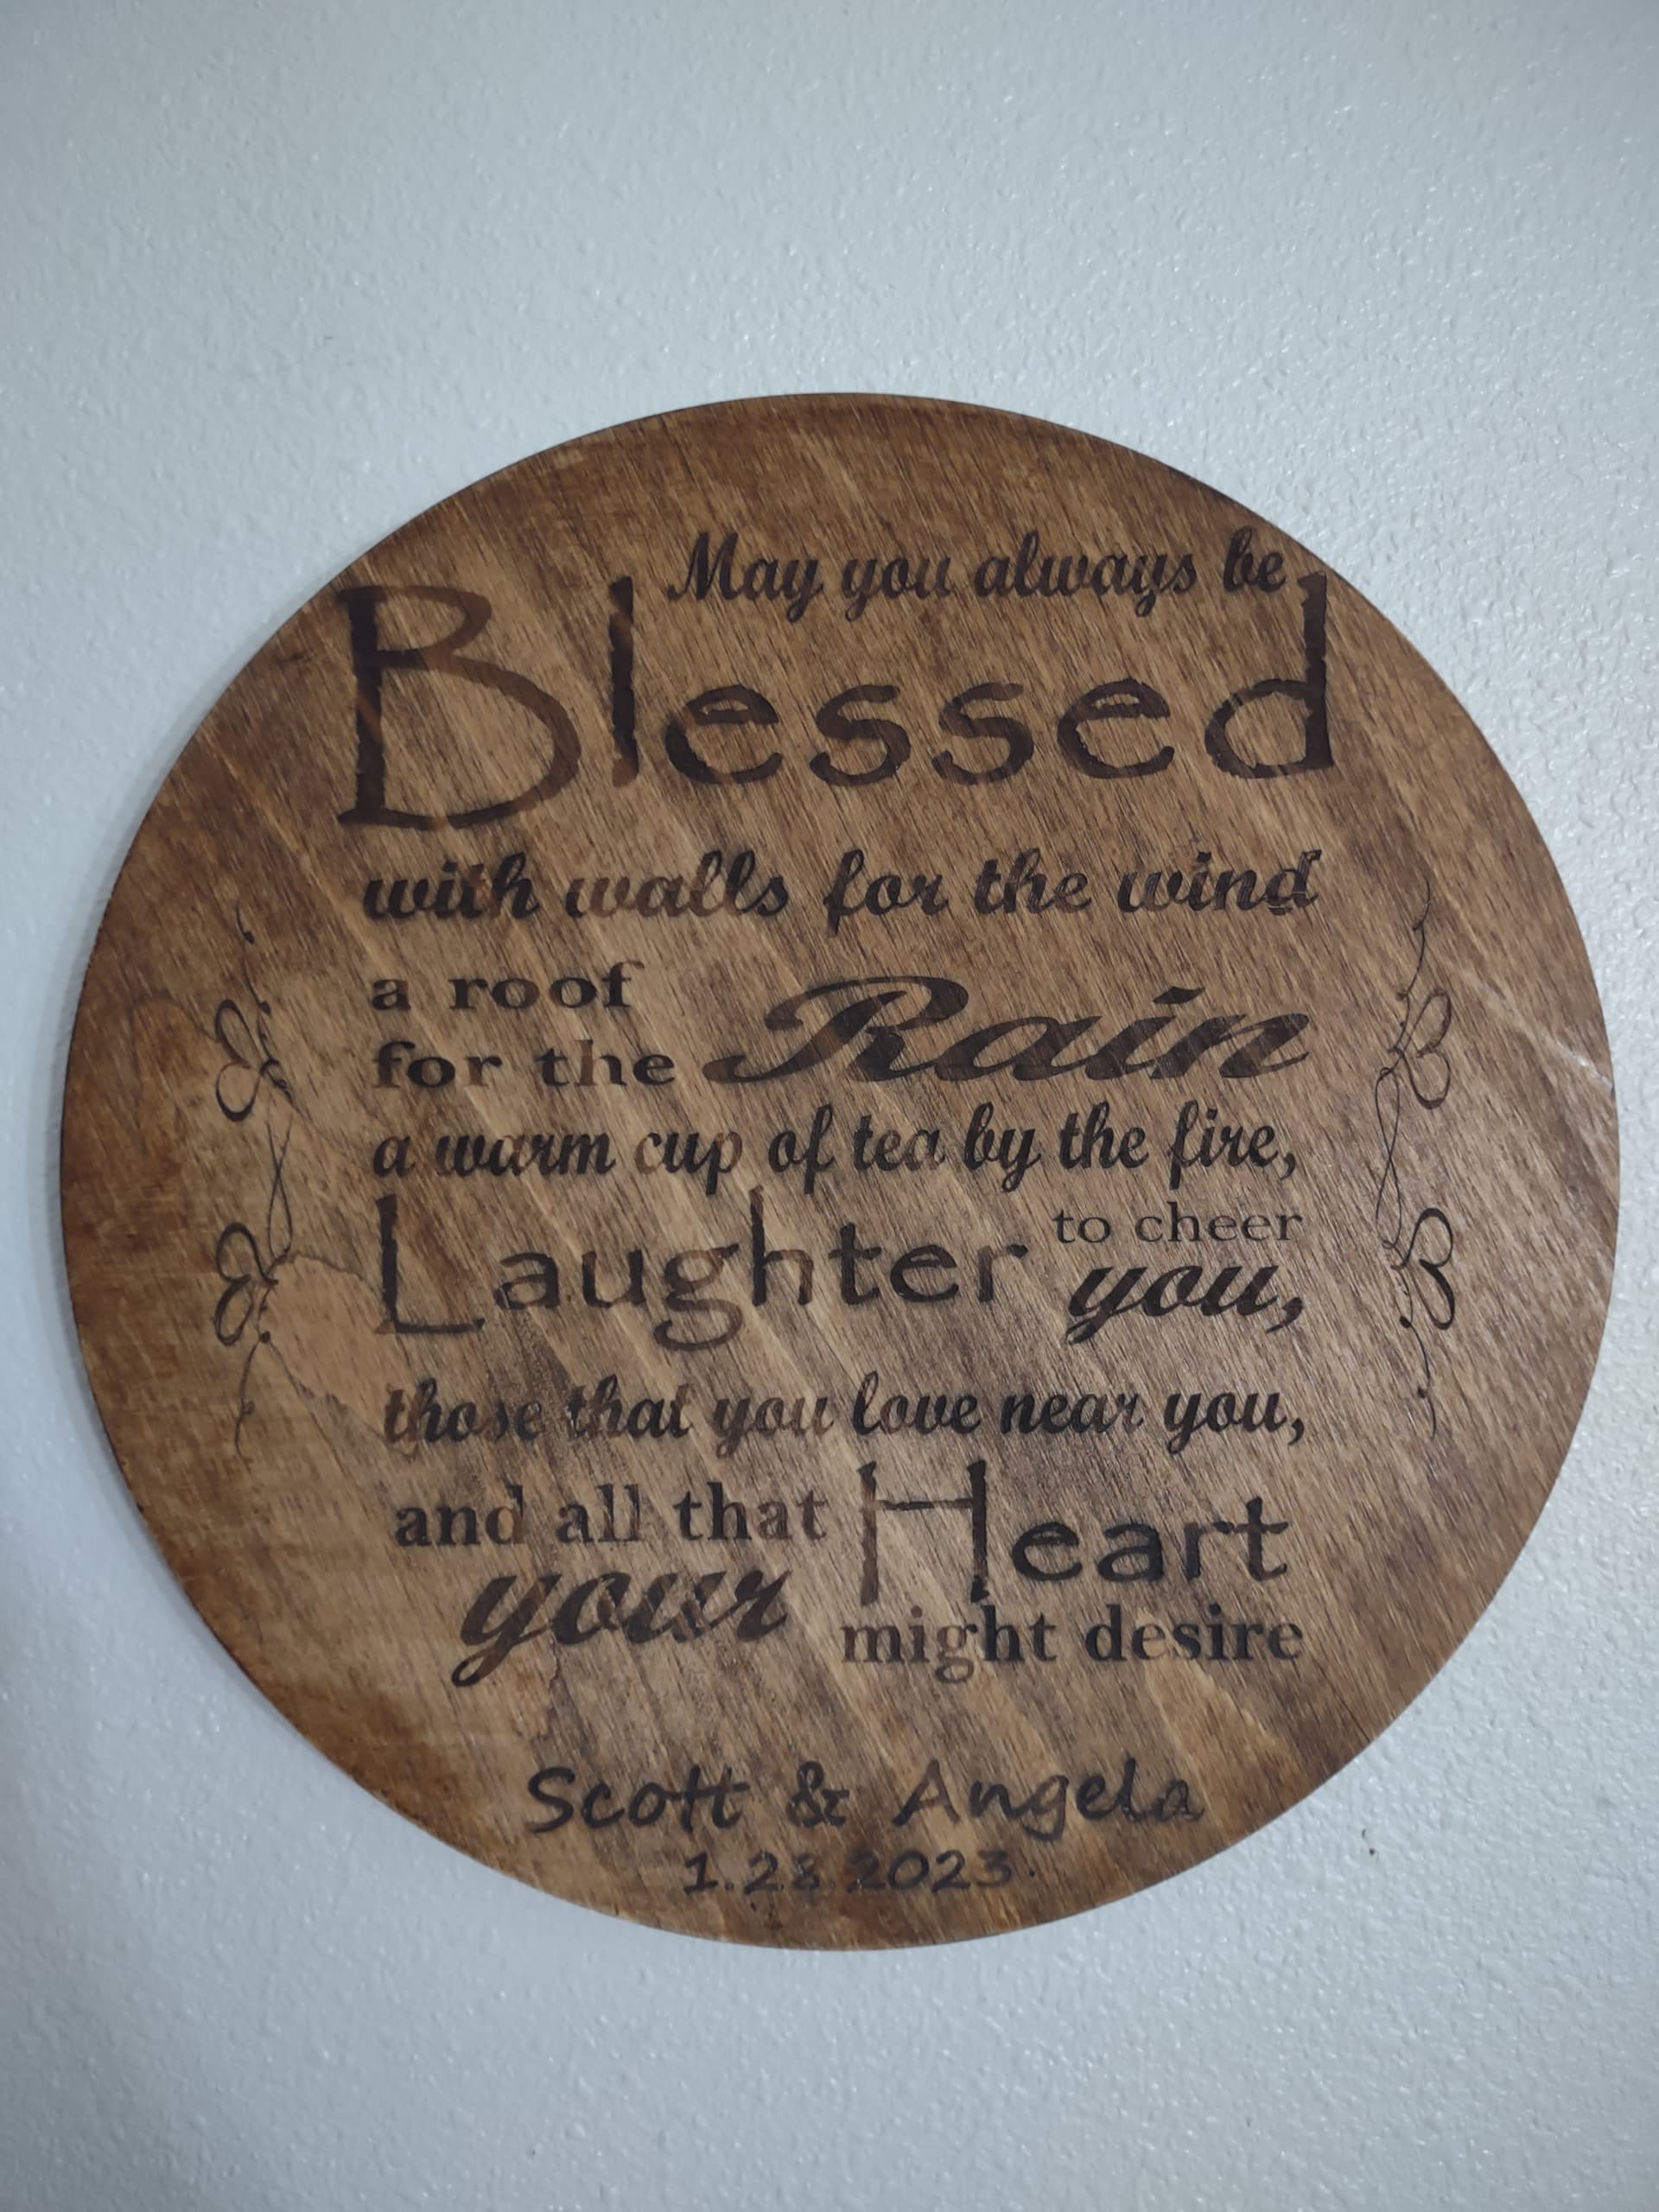
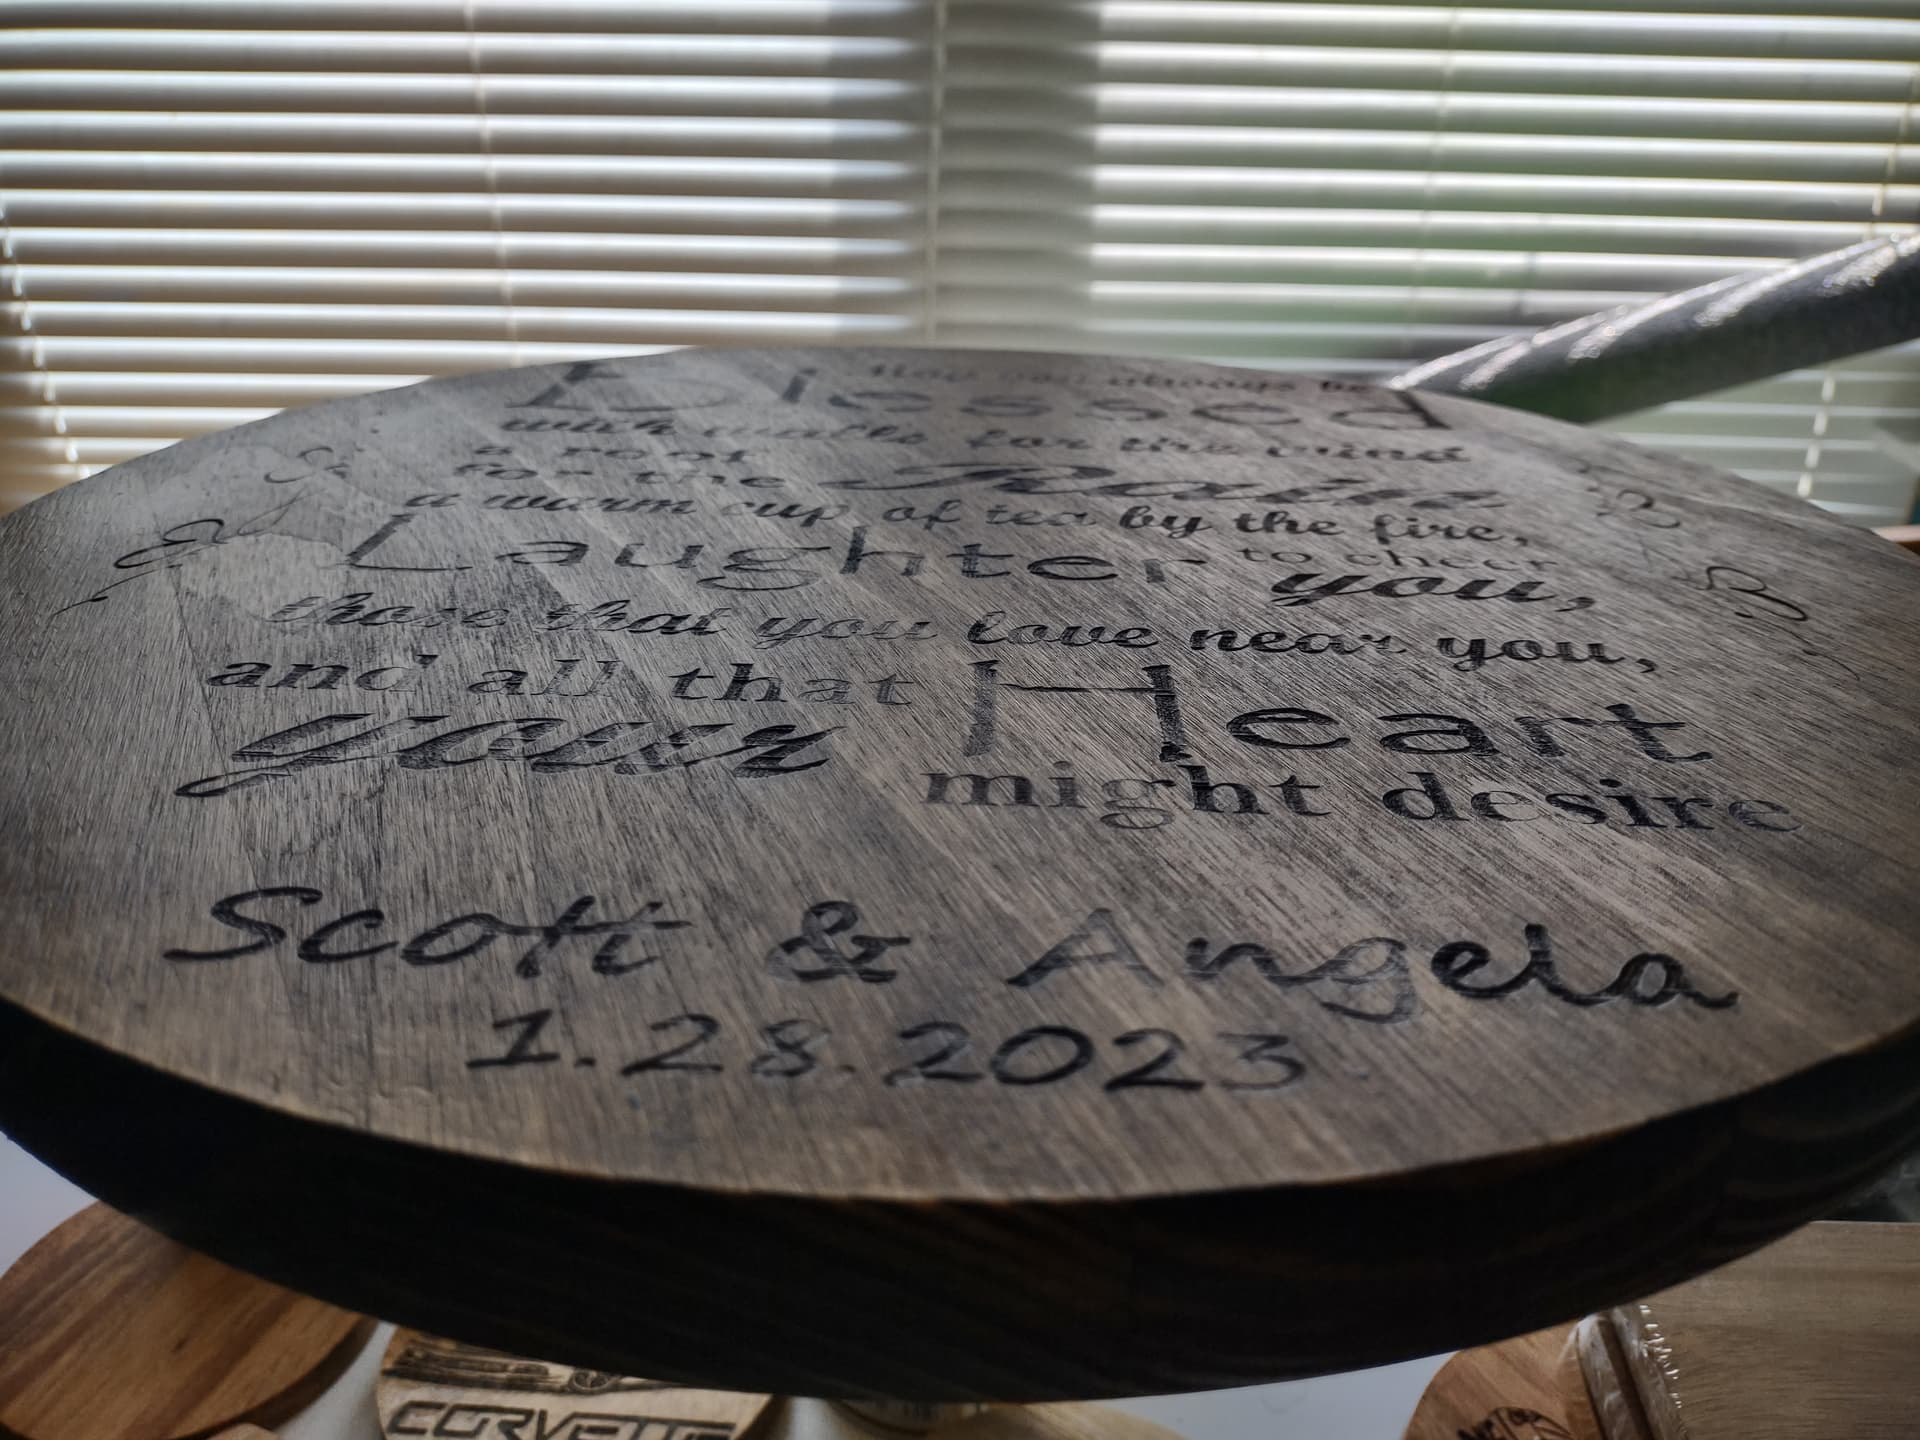
Here is a picture of the final clock. I apologize for having to redact some but I did not want to include personal information.
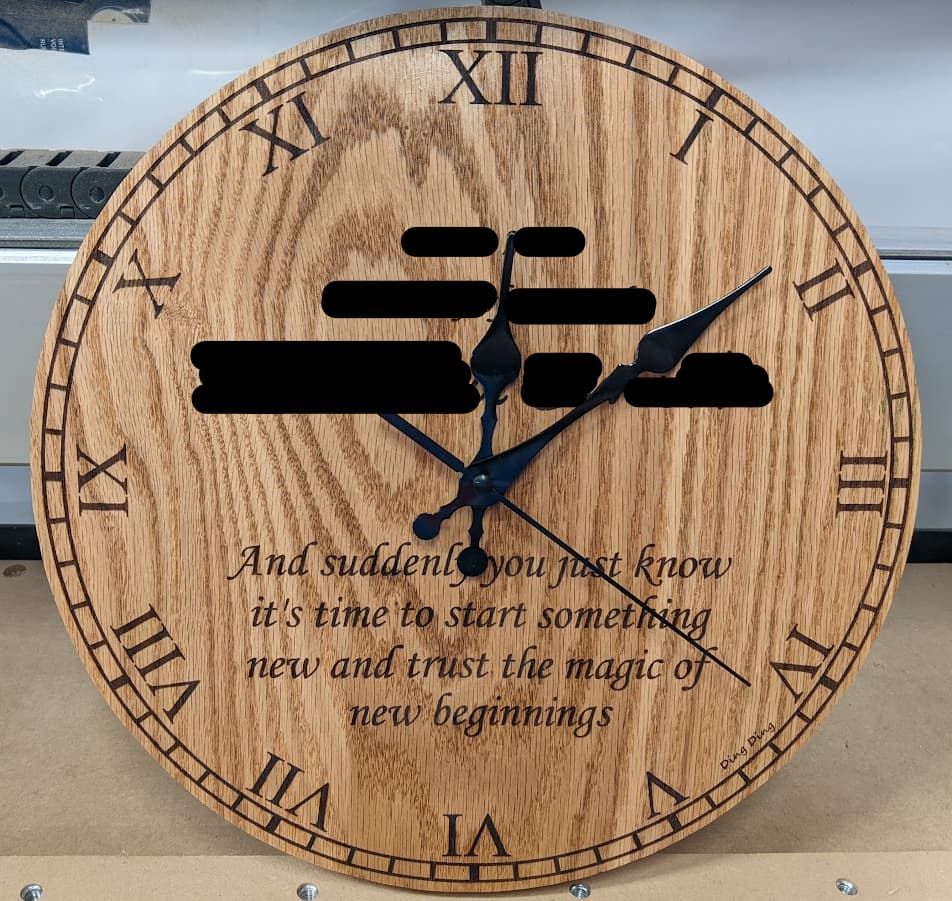
I am really happy with how it came out and most importantly so is my wife who asked to have it made in the first place.