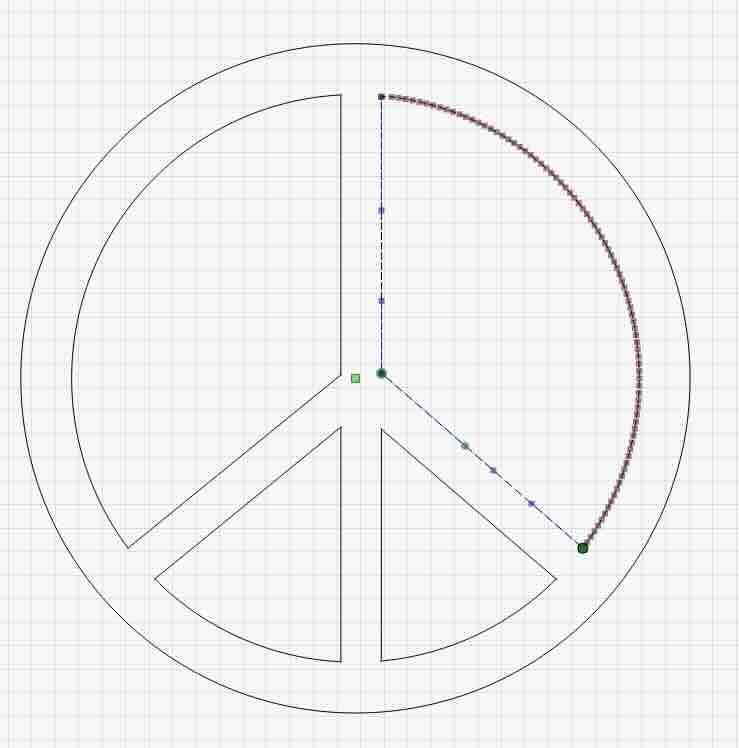
I have read many of the posts on closing paths but am stumped in this case. I have an arc and two lines that I want to make into a closed shape. I select all 3 and then select “close path” from the Edit menu, select the node tool, giving me the result shown in the image below.
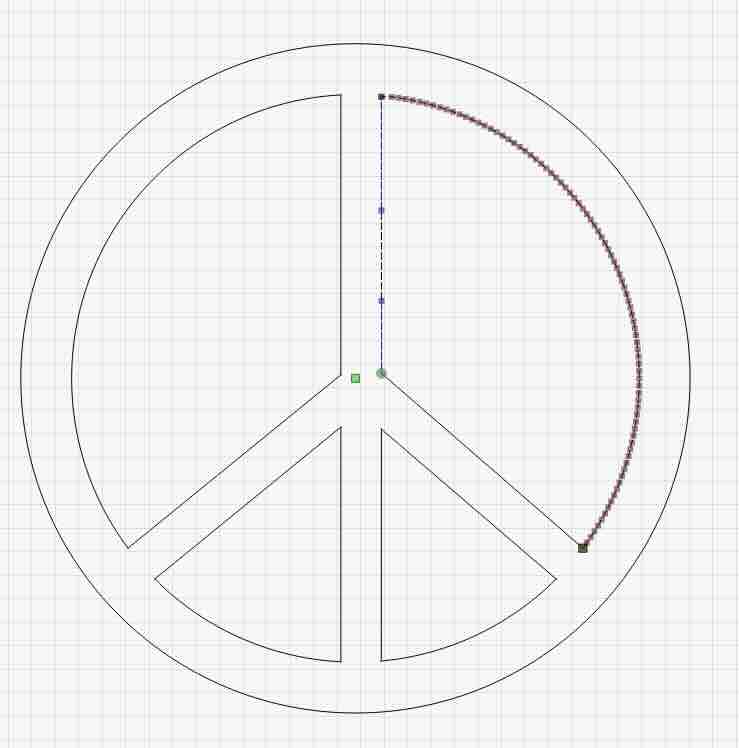
Since this shows nodes for all three segments, I assumed this was now a closed path. But when I return to the select tool (or use the Measure tool), the shape is still Open as shown below since nodes are only shown for two of the segments.
I also tried Close Selected Paths with Tolerance, same result. My lightburn file is below. I am clearly doing something wrong but can’t figure it out. Many thanks in advance
I select the parts I want to join and then press alt+j, which seems to be most reliable way for me.
Worked for the top ones and had to go in and manually connect the two at the bottom.
There may be others, I didn’t check beyond this point.
I couldn’t help myself, so I had to continue to help you. Most if not all of the internal shapes are broken in the corners. Some of them are curved when a straight line is more appropriate. The circumferences of all items have too many points.
After fixing the breaks, I used Optimize and slid the bottom control one notch to the right, which converted all the points to a single pair, one curve. For at least one of them, it changed 256 points to two.
50 kb to 30 kb, a slight improvement and very likely an improvement in the lasered result.
Thanks so much for the responses and even the corrected file. I want to learn to do this myself so will try to follow what you have shown or described. For my educational benefit, why does the close path operation not provide the result I desired?
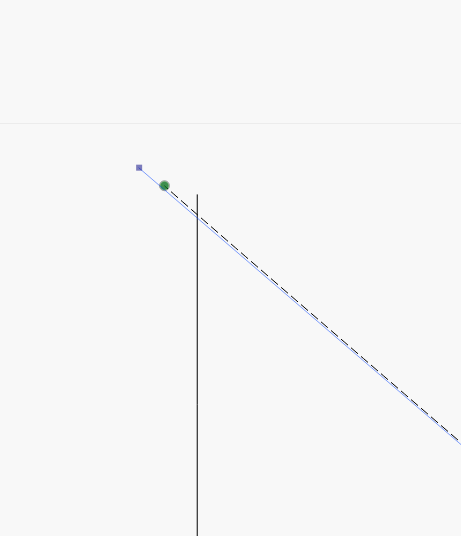
Sometimes the line ends are too far apart, which can be seen when you Zoom in a whole lot. I usually use the Close with Tolerance edit and set the slider over to 1-2mm. That usually closes them.
I check that the path is closed 2 ways:
I look for what Oz (@LightBurn ) calls the marching ants. They should go all the way around and be in the same direction.
Click on the line and select Fill in the Cuts window. It will not go solid if the path is open.
We have a video guide and documentation page on identifying open shapes and different methods of closing them:
Close Path and Close selected paths with tolerance will only close paths that are fully connected except for a single gap between a start and end node. Close Path will always join the start and end nodes with a new line, and they must be within .5 mm of one another. Close with tolerance allows you to specify a greater (or lesser) distance, and you can choose to bring the start and end nodes together rather than join them with a new line.
Auto Join can connect any number of individual segments together, but their start and end nodes must be really close to one another — within .05 mm.
easier to just redraw it as a circle/inner offset, plus a vertical box and two angled boxes. Tools > Weld the centre items, then weld the circle and centre.
thanks very much. I’m a a newbie so can you explain in a bit more detail the steps you summarized? I get the circle/inner offset and vertical box but was less clear after that AND I have never used the weld tool.
make the vertical about half the length, rotate it 45°, duplicate and flip horizontal, position on either side of the vertical; select all but the circles and weld, the select all and weld.
Thank you again, especially for introducing me to the weld tool. I was almost successful in implementing what you described. I welded the vertical box and two angled pieces together. But when I tried to weld the circle and centre, the centre disappeared. My file is attached if you have time to troubleshoot.
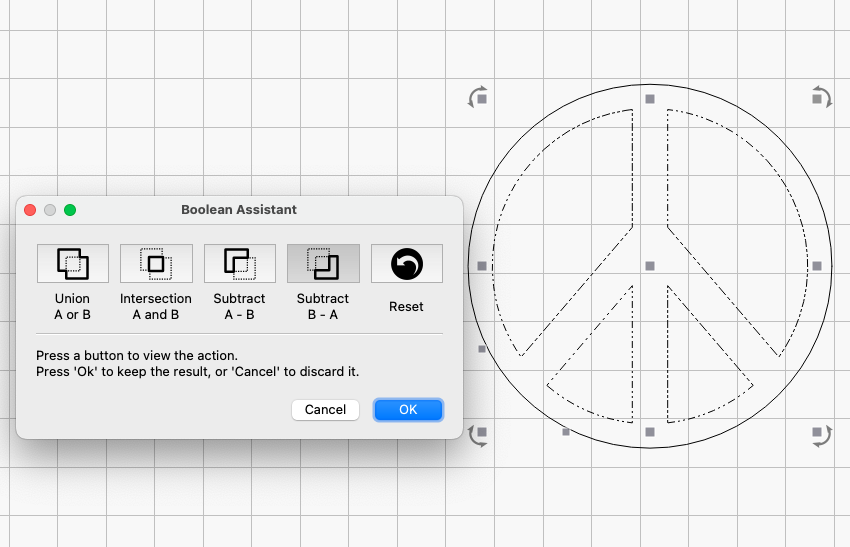
For that you need to use one of the subtract options. Type CTRL + B to open the Boolean Assistant. That will allow you to preview the operation before committing to it.