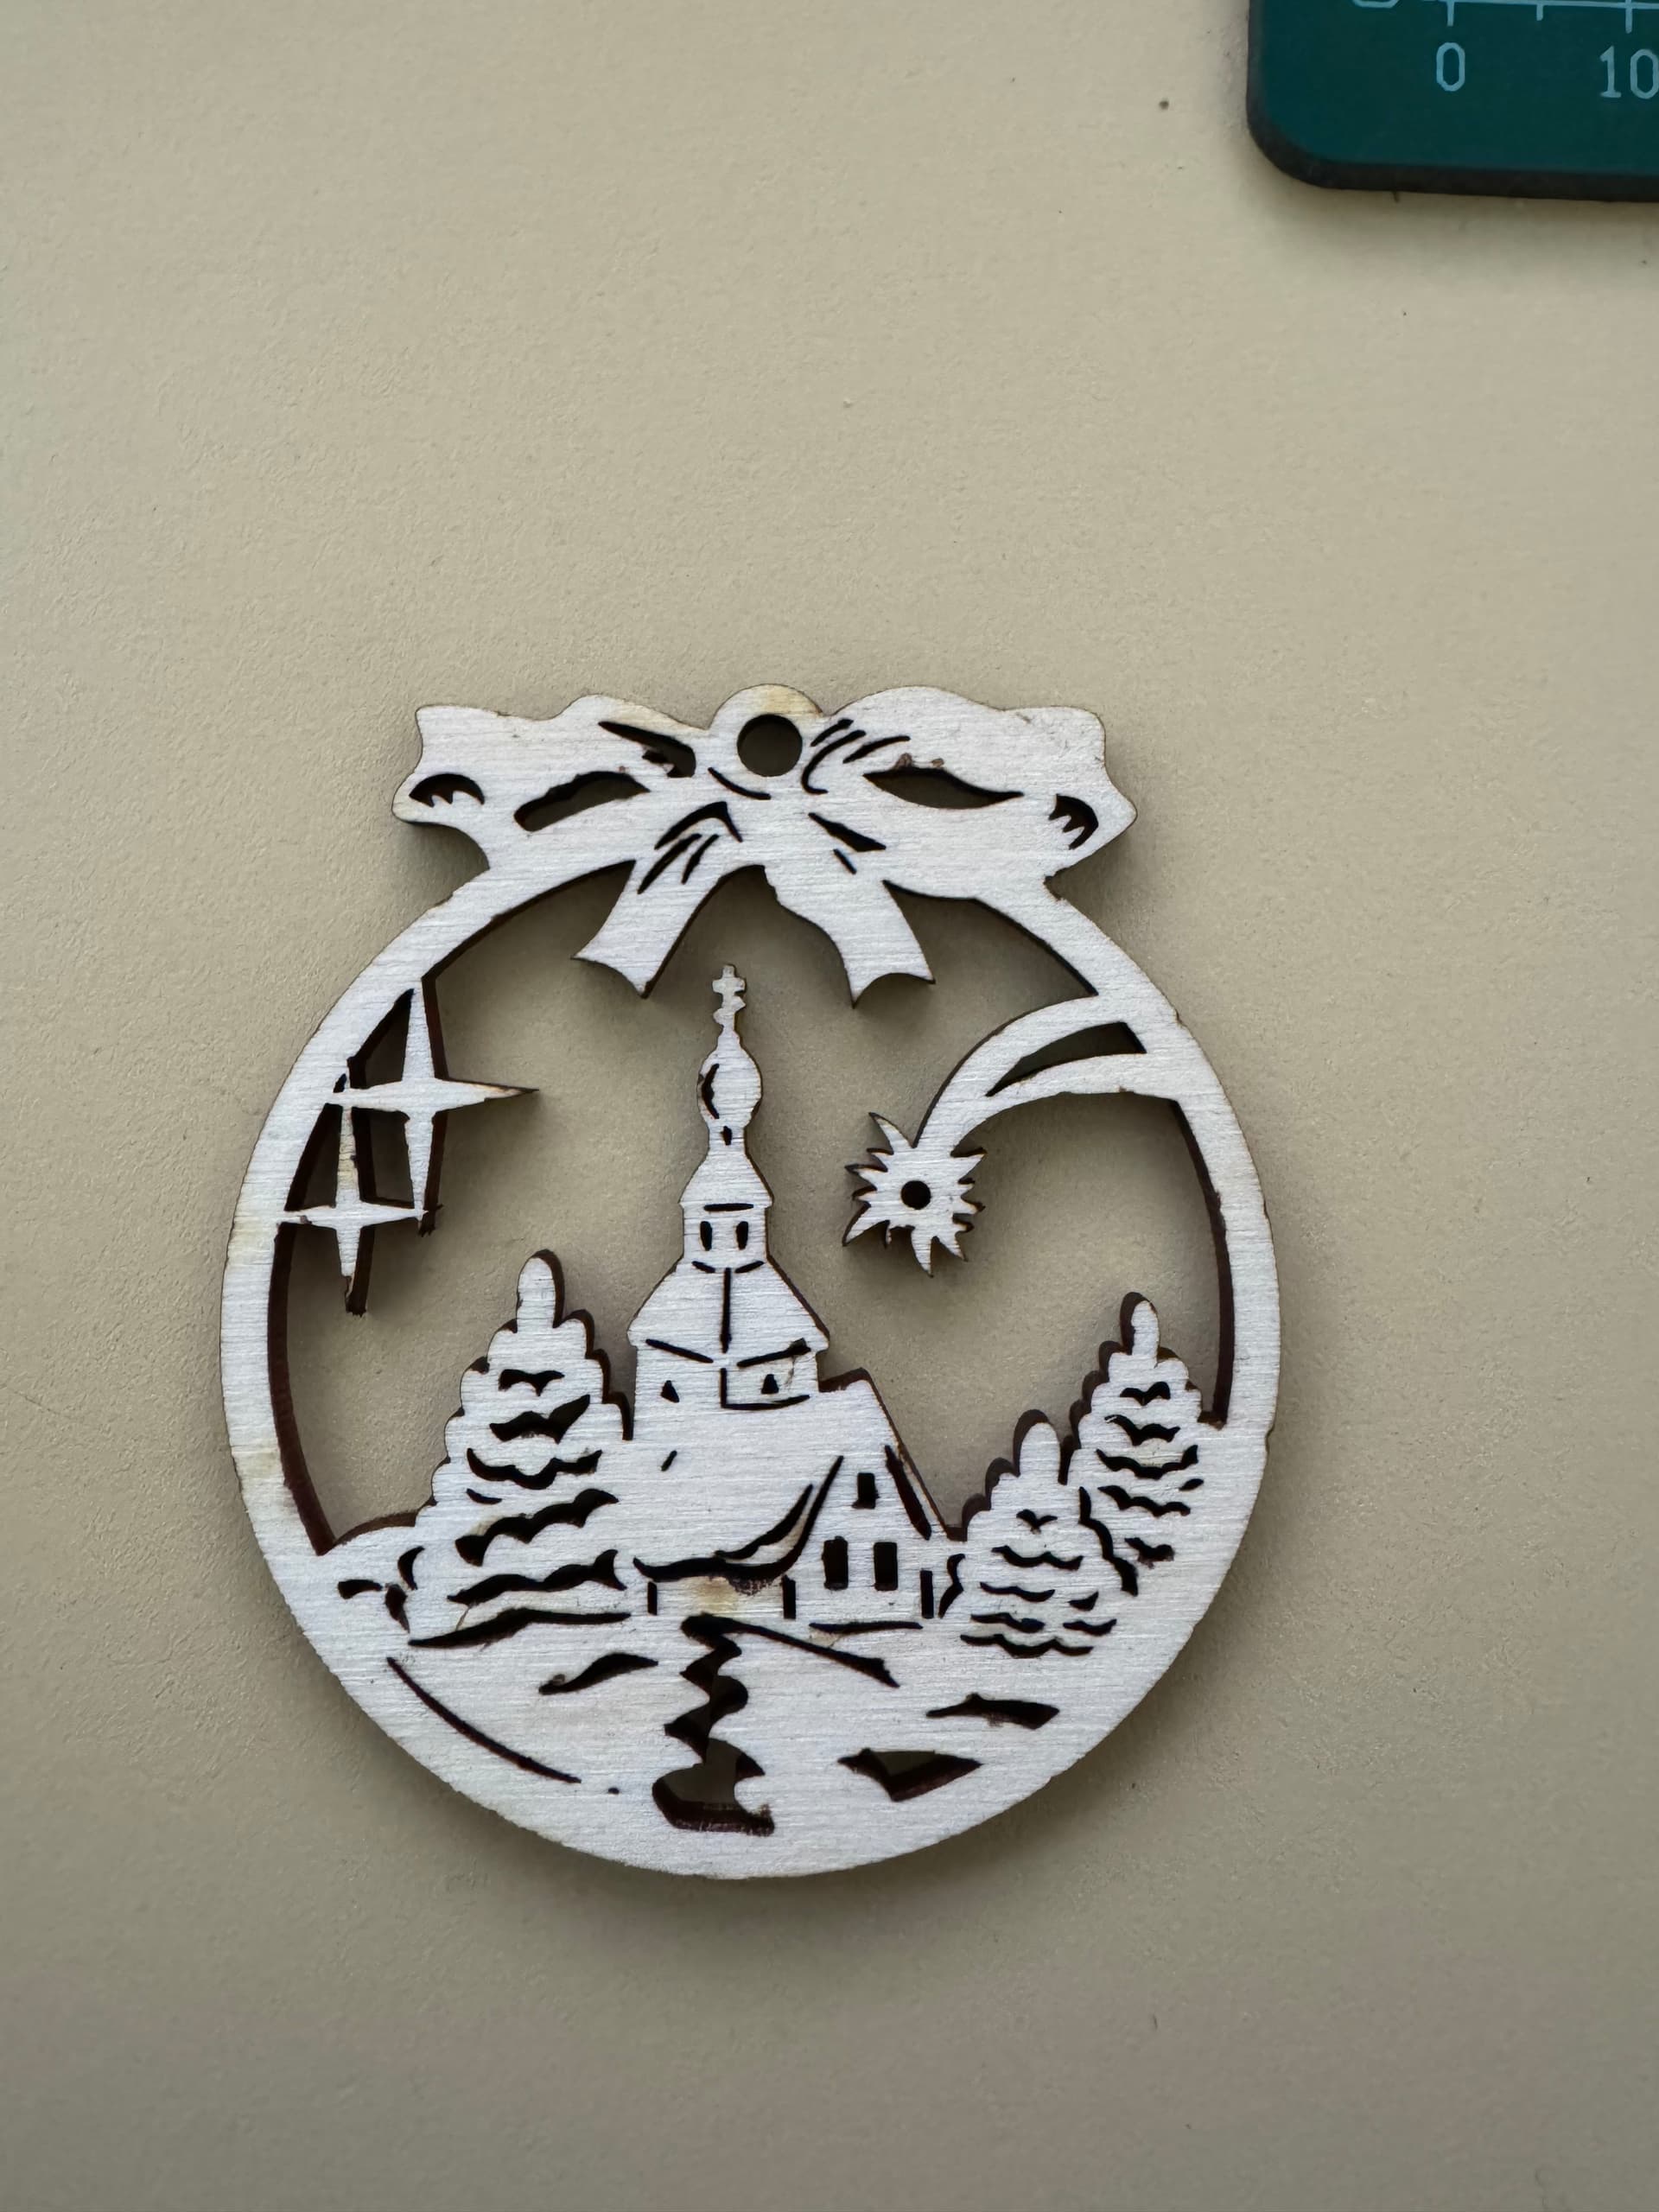
Hello. I don’t know what’s wrong but can someone give me some advice? I’m trying out my new AtomStack Hurricane and it’s working strangely when cutting 3 mm birch plywood. When I test the material and set it to constant power, it burns through everything at any power and speed, but on the other hand, the material is badly burned. When I leave the original modulated power, it burns almost nothing in the corners. See the photo. What can I change to make the material burn through at modulated power? Thank you Tomas

Might want to post the .lbrn2 file for us to examine.
What kinds of speeds and power values are you running… also what controller does it have, grbl or dsp?
![]()
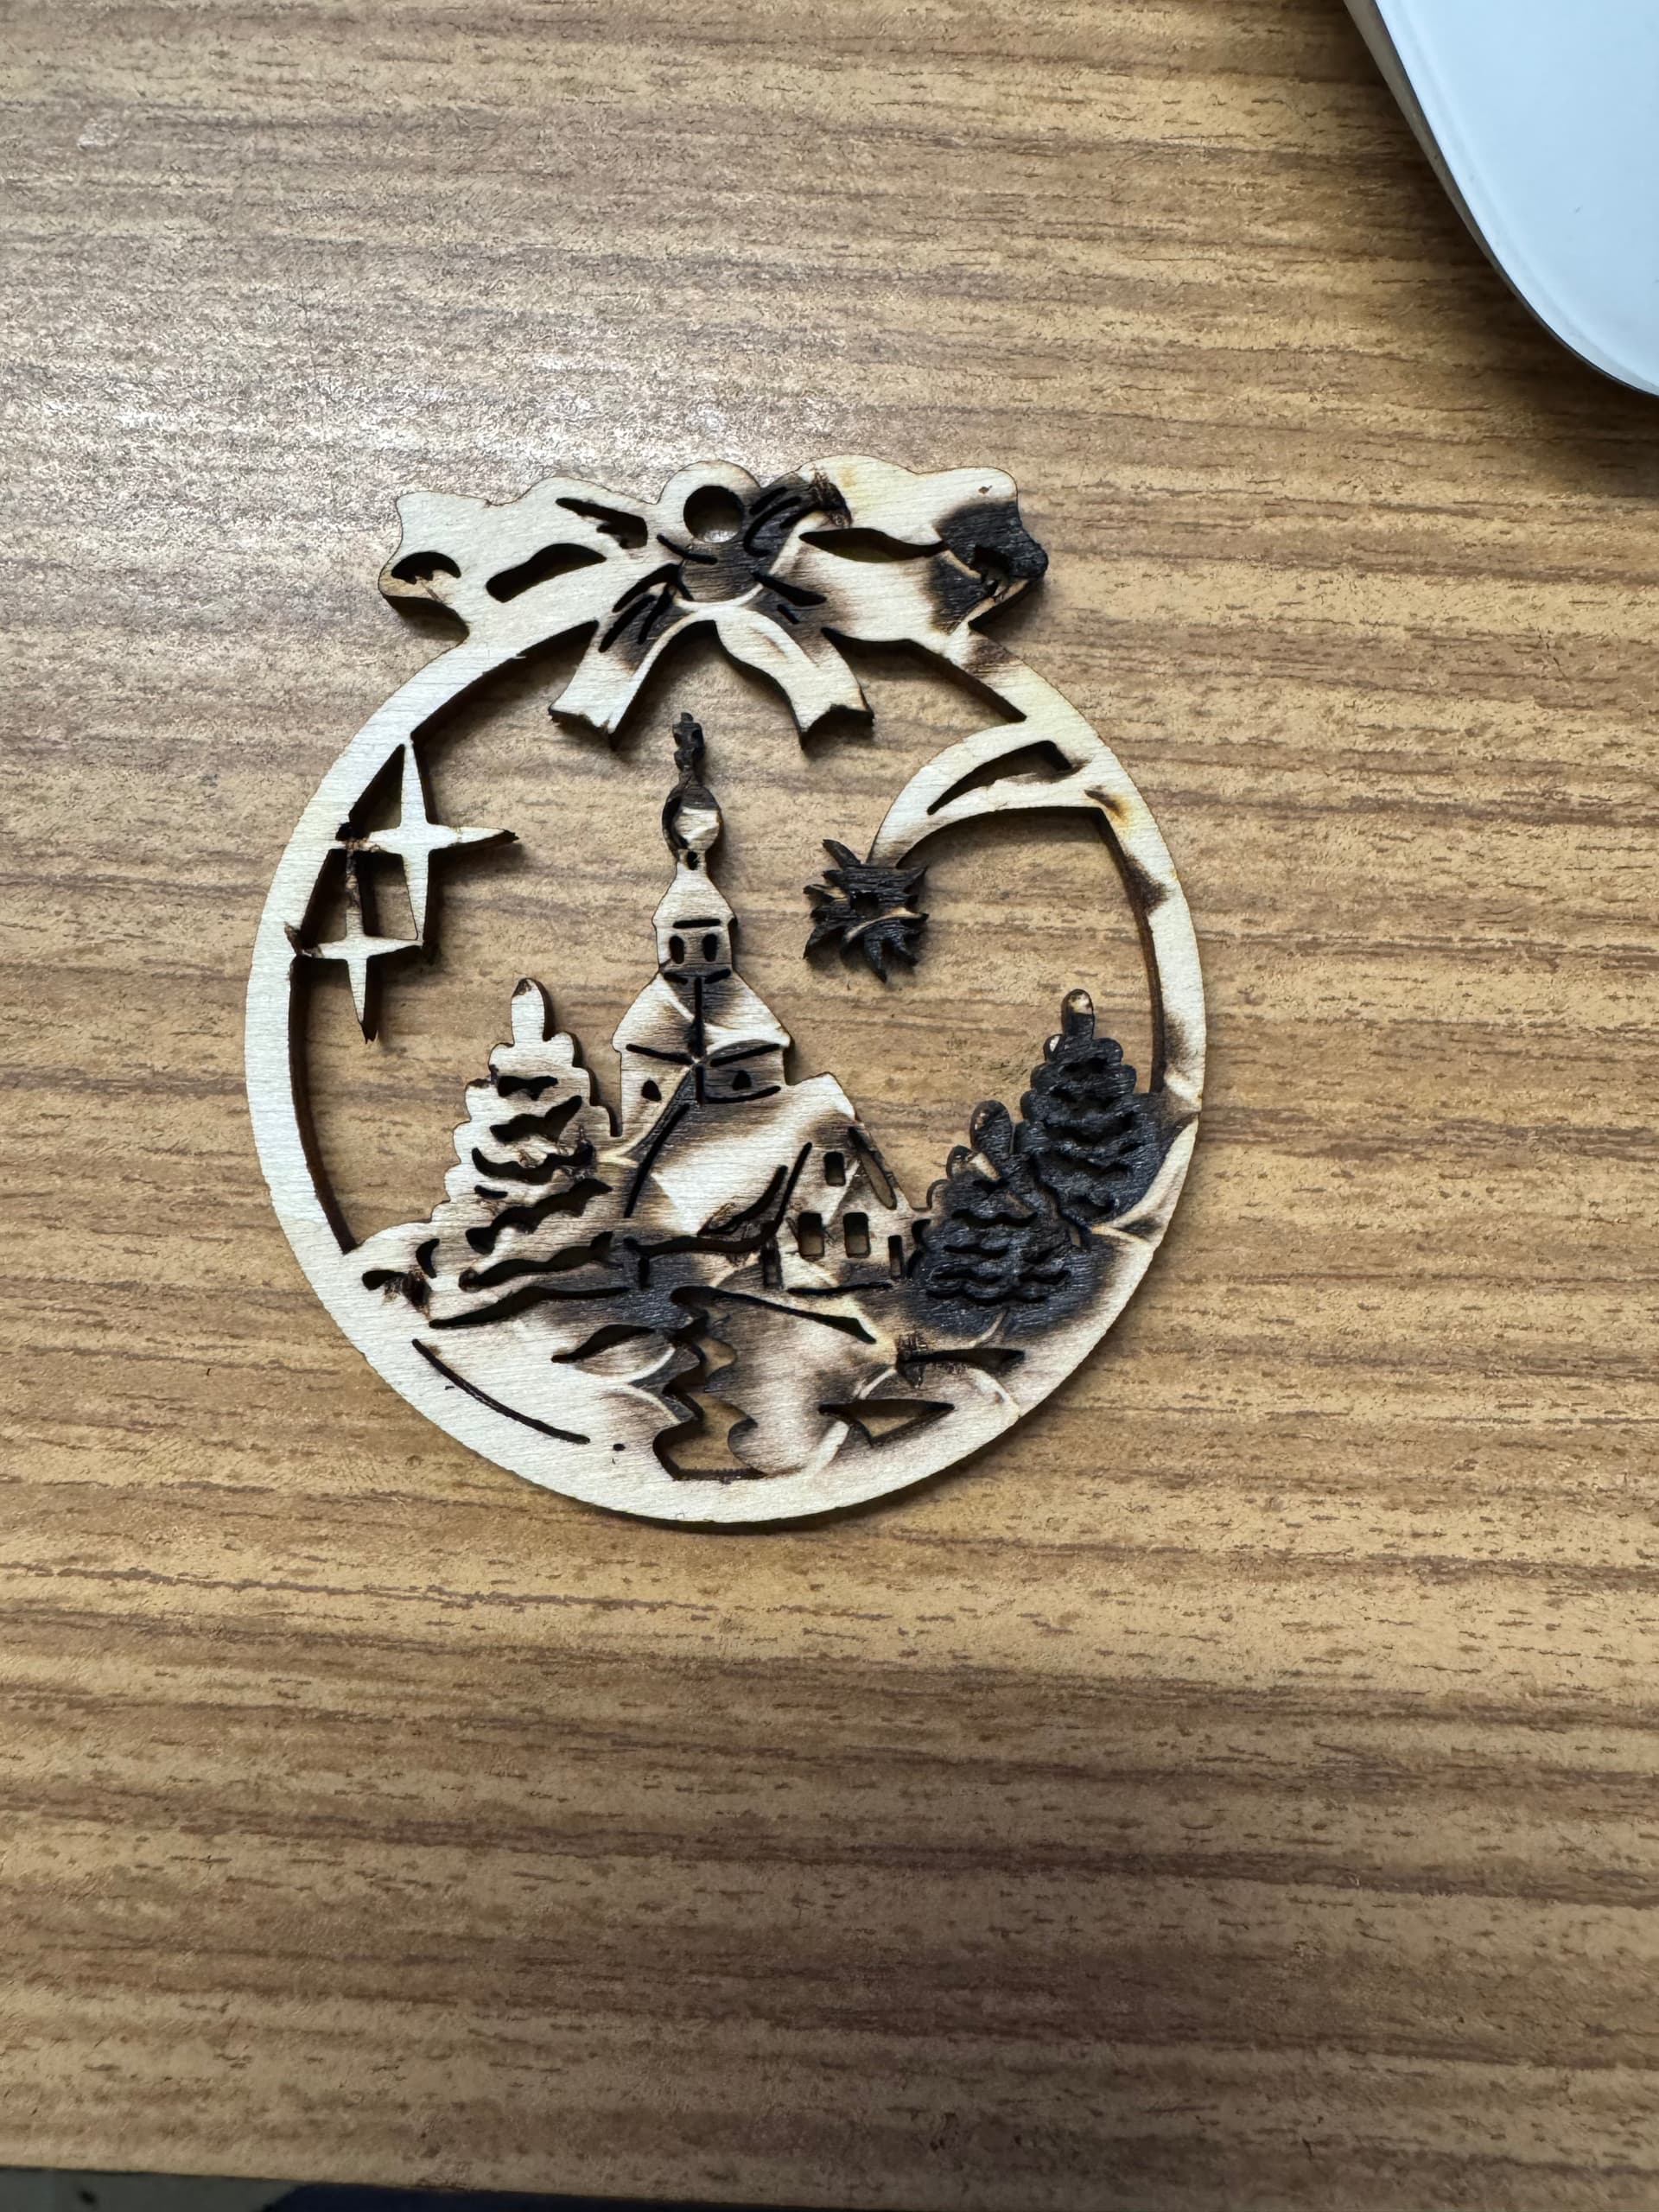
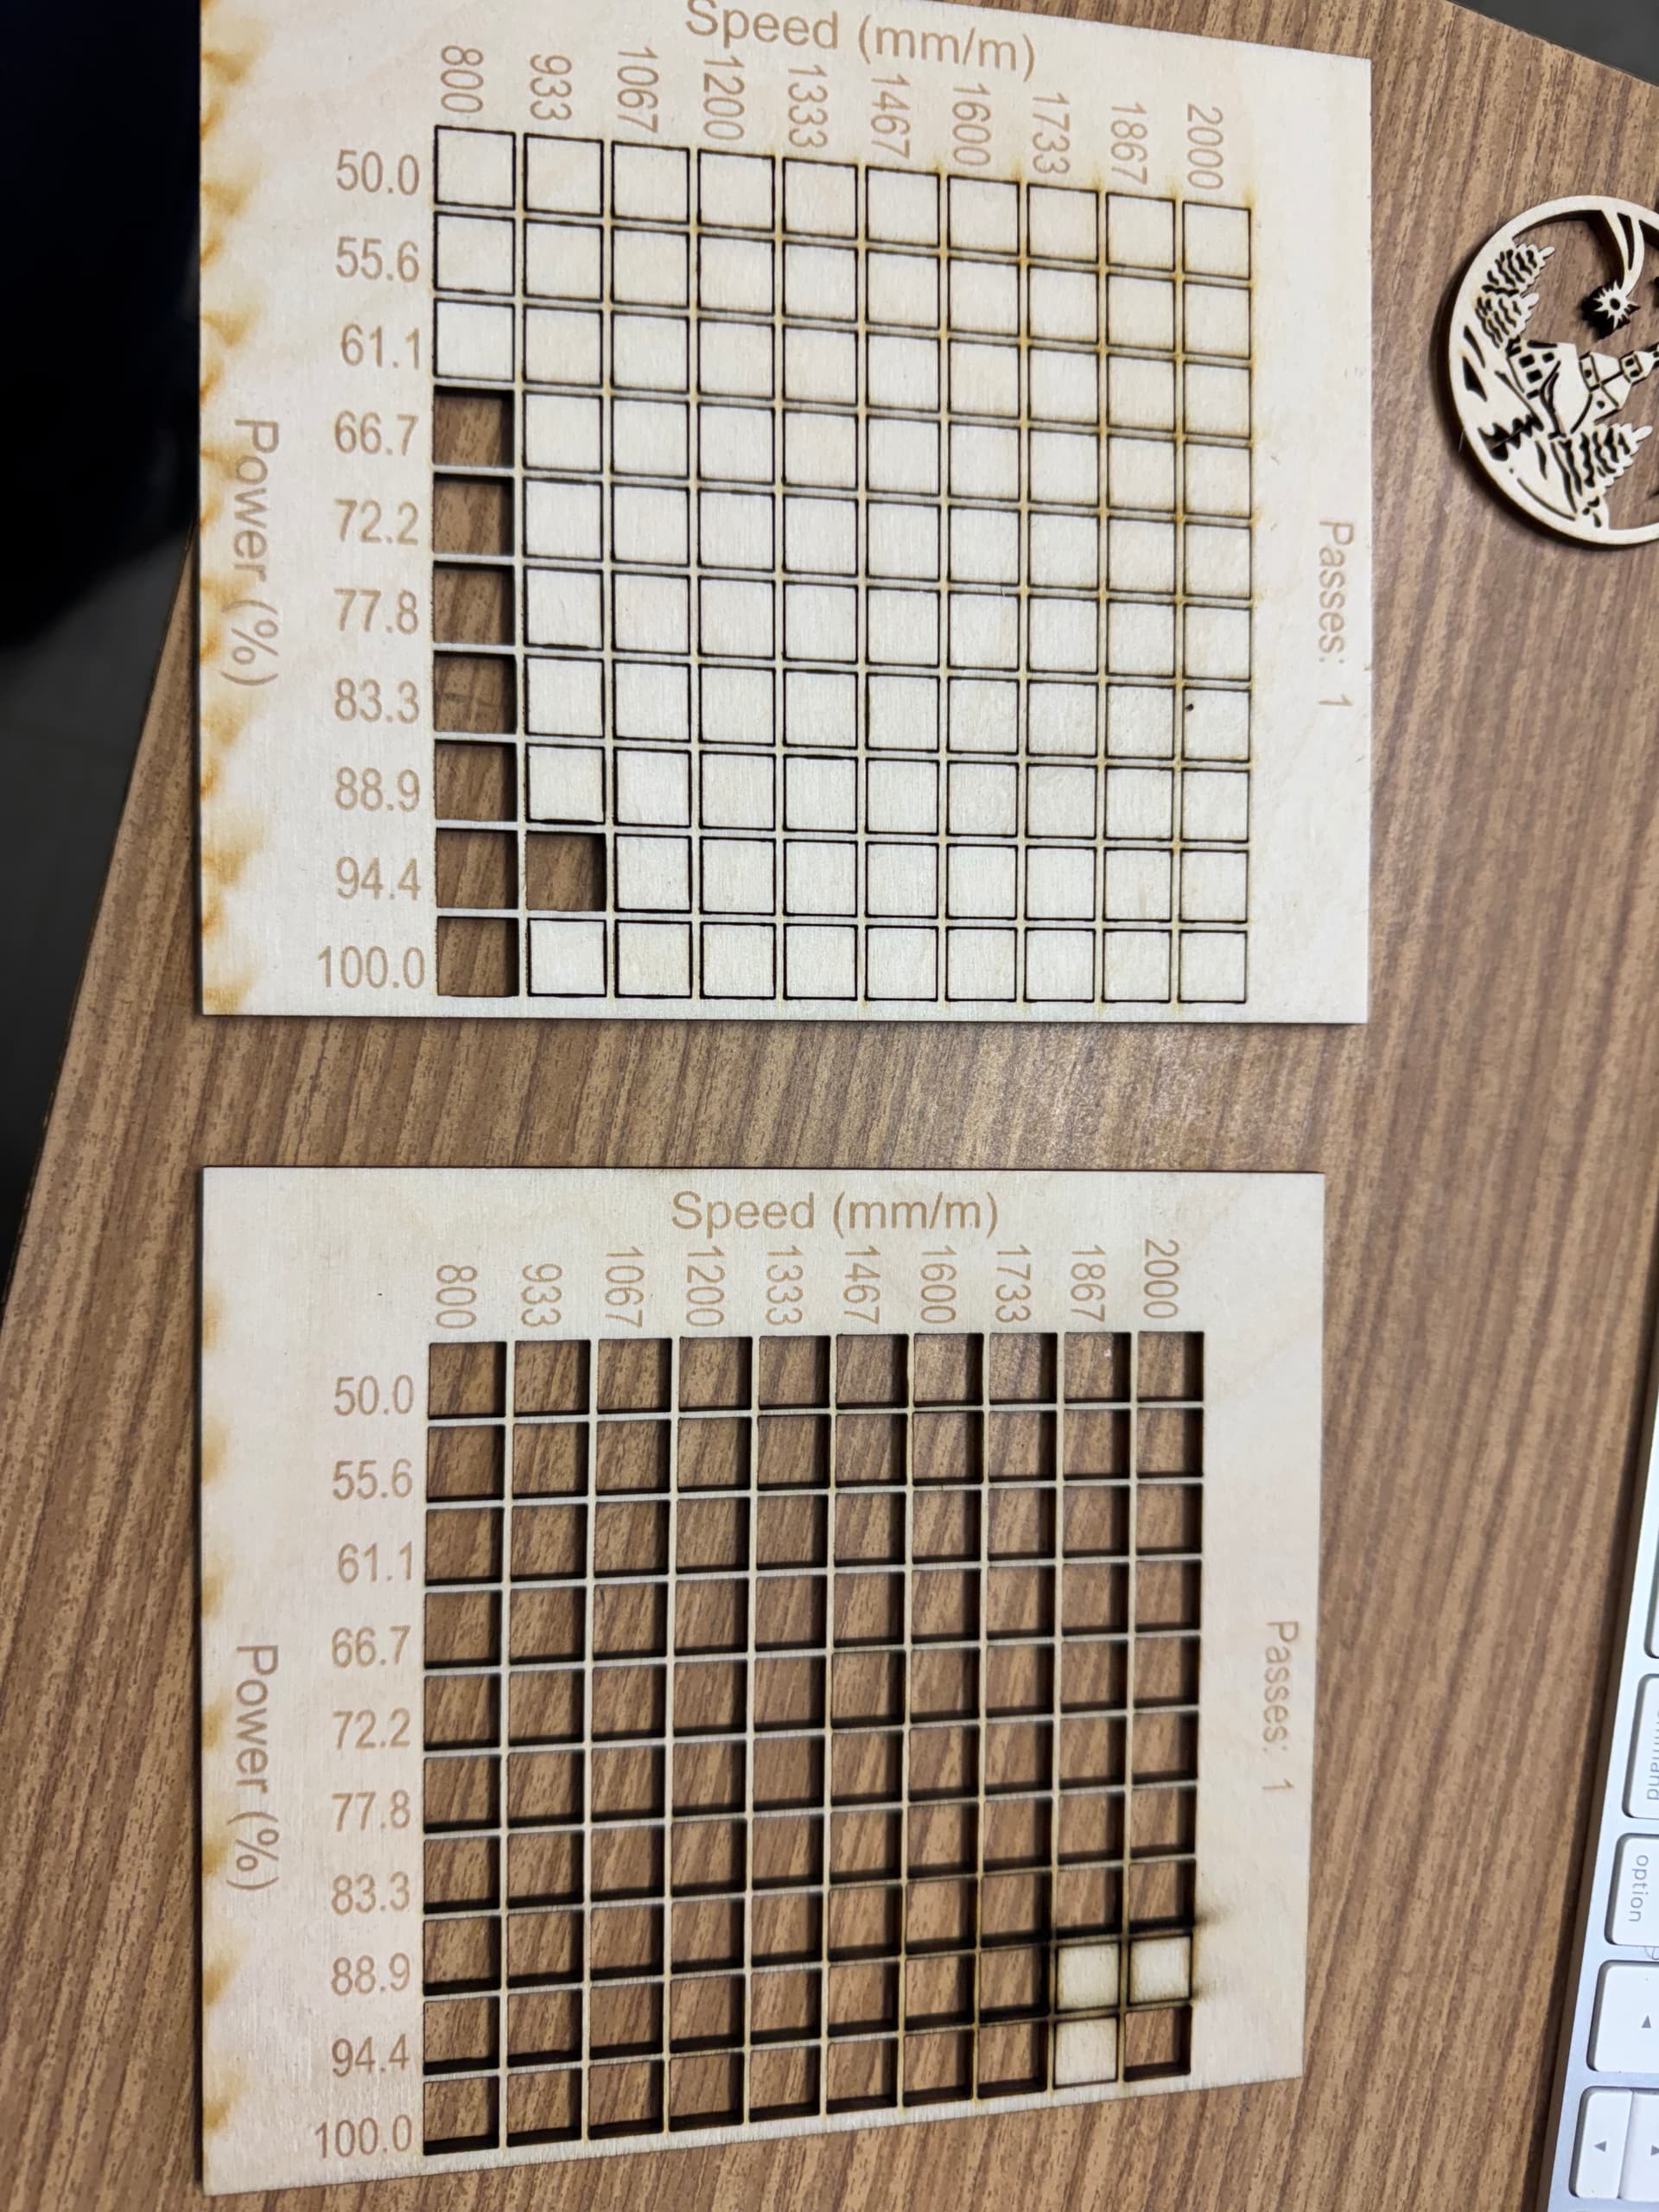
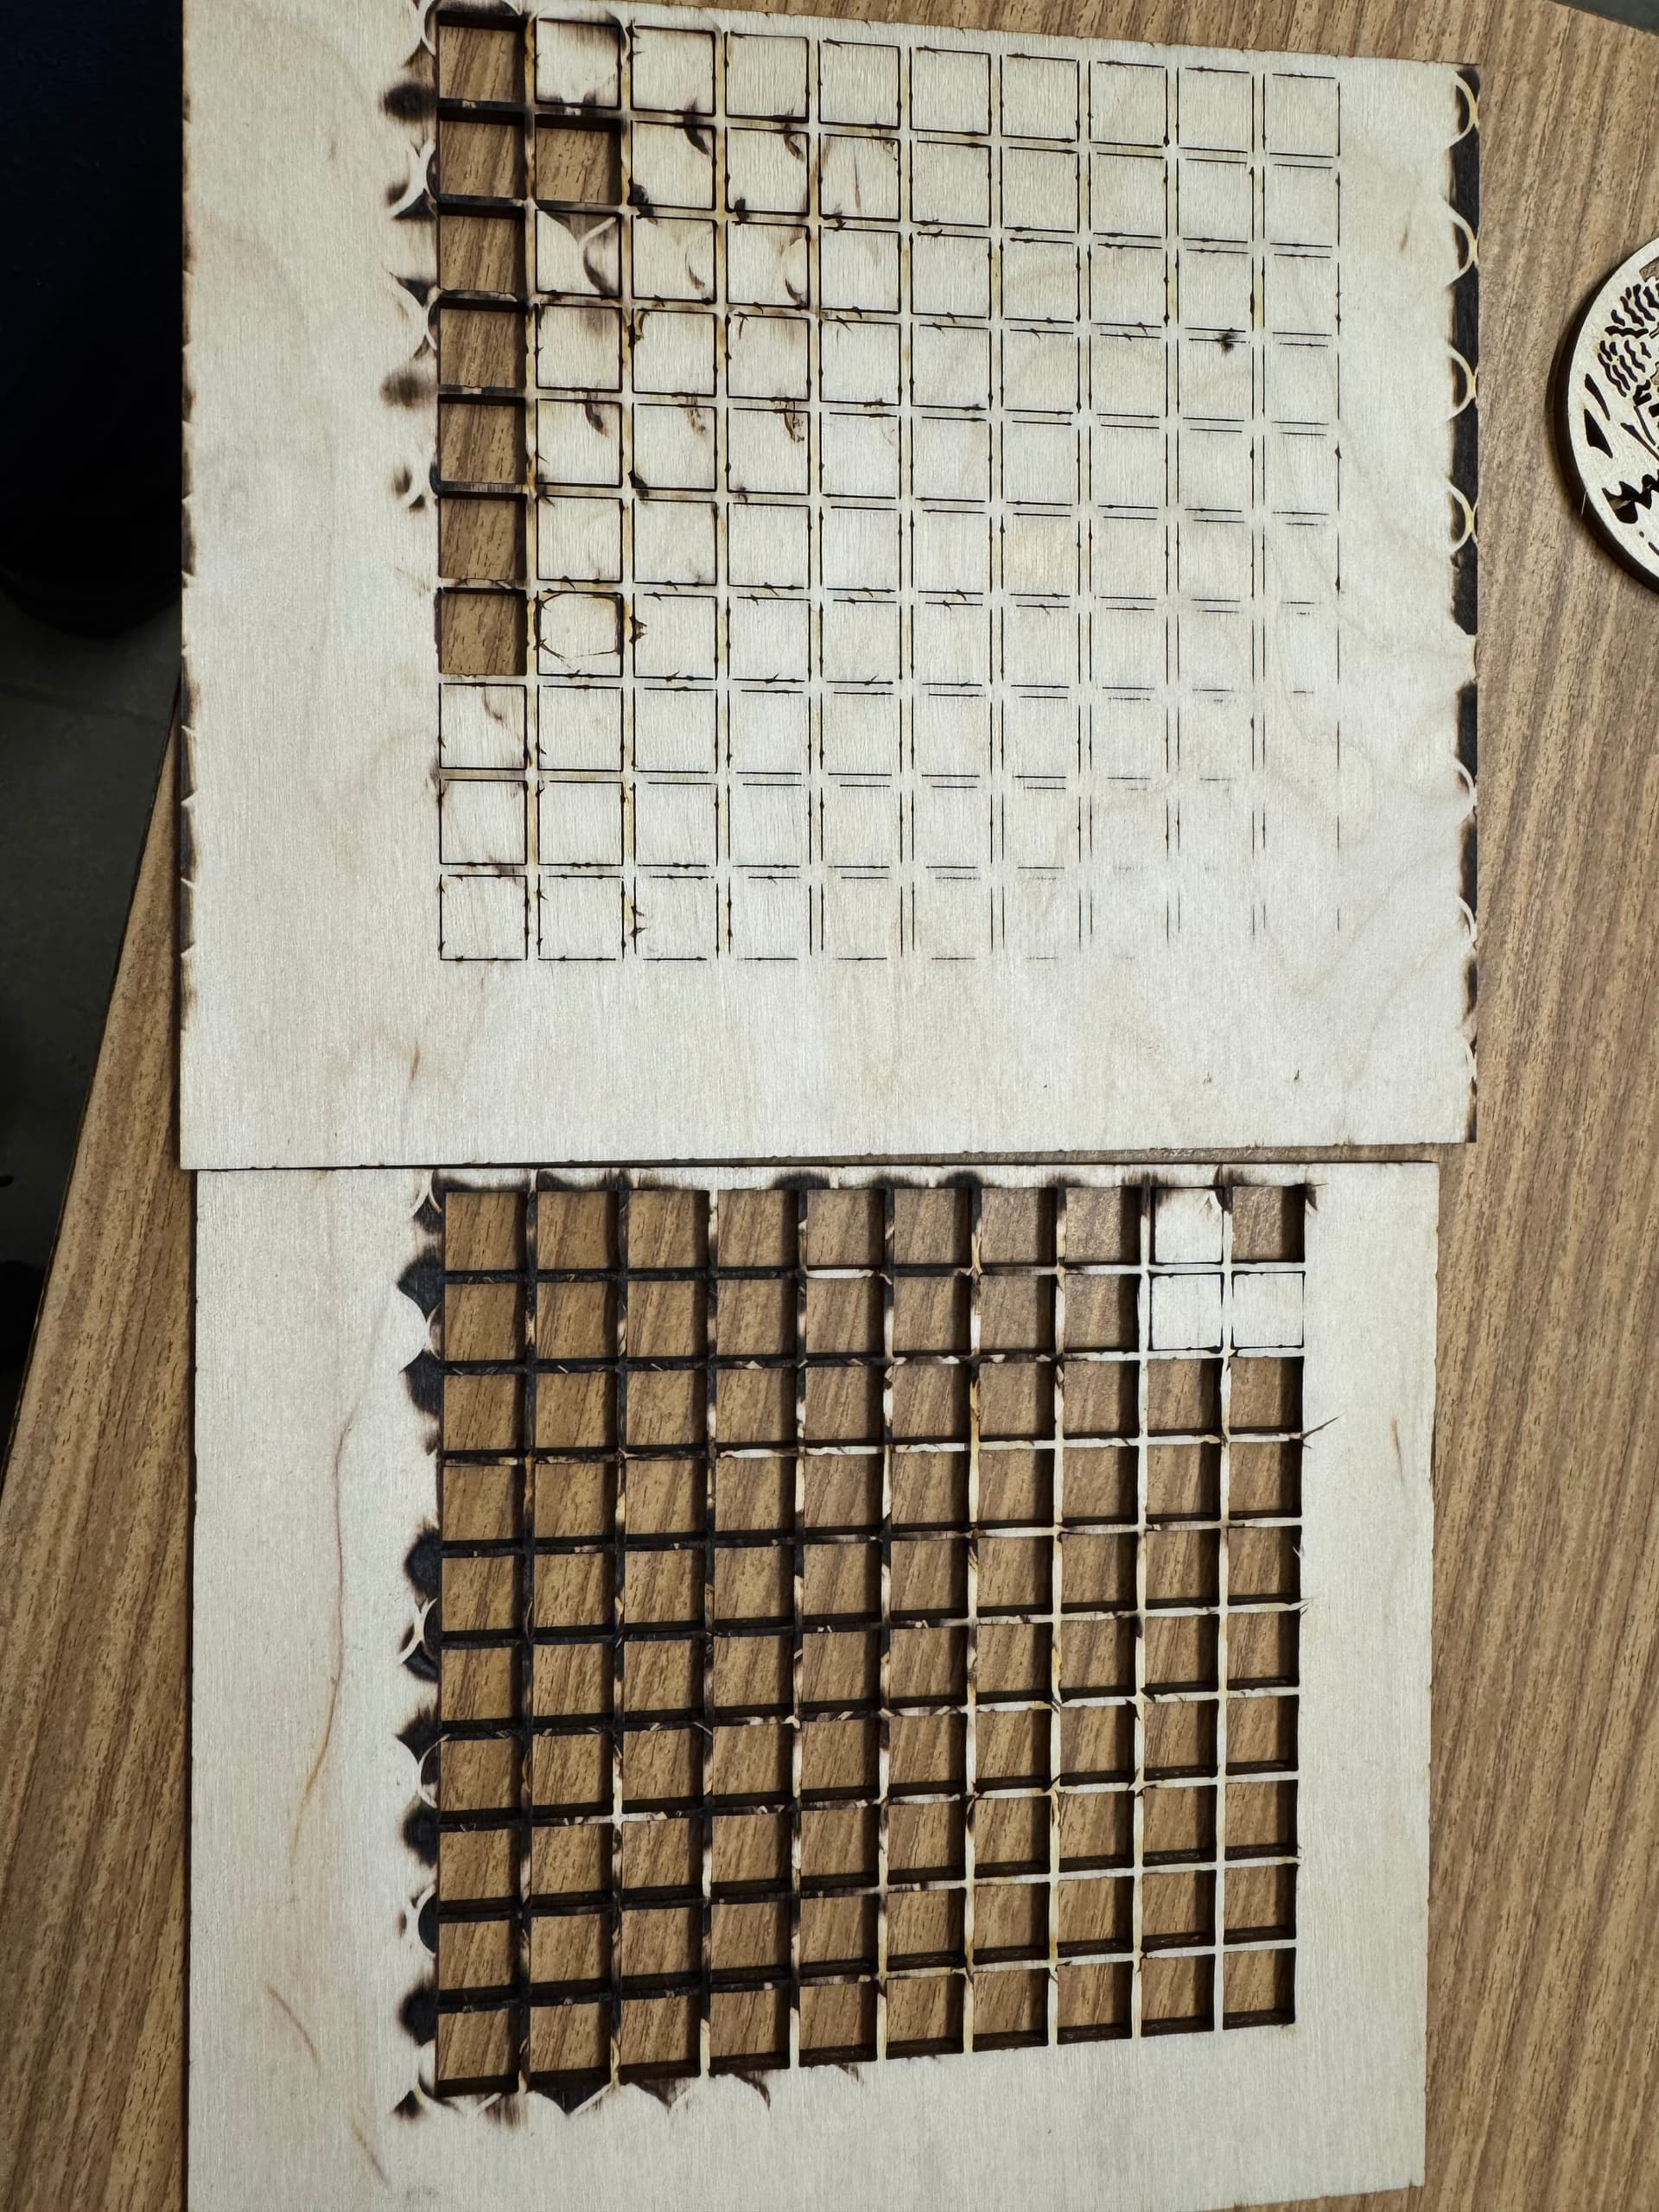
There is basically no .lbrn2. The Christmas ornament is just to show how the back side is burned. The settings were 1200 mm/min 80% constant power. The other photos are standard “Material test” in the Lightburn menu. The left board is without constant power and the right board is checked constant power. Otherwise, the Atomstack Hurricane GRBL machine
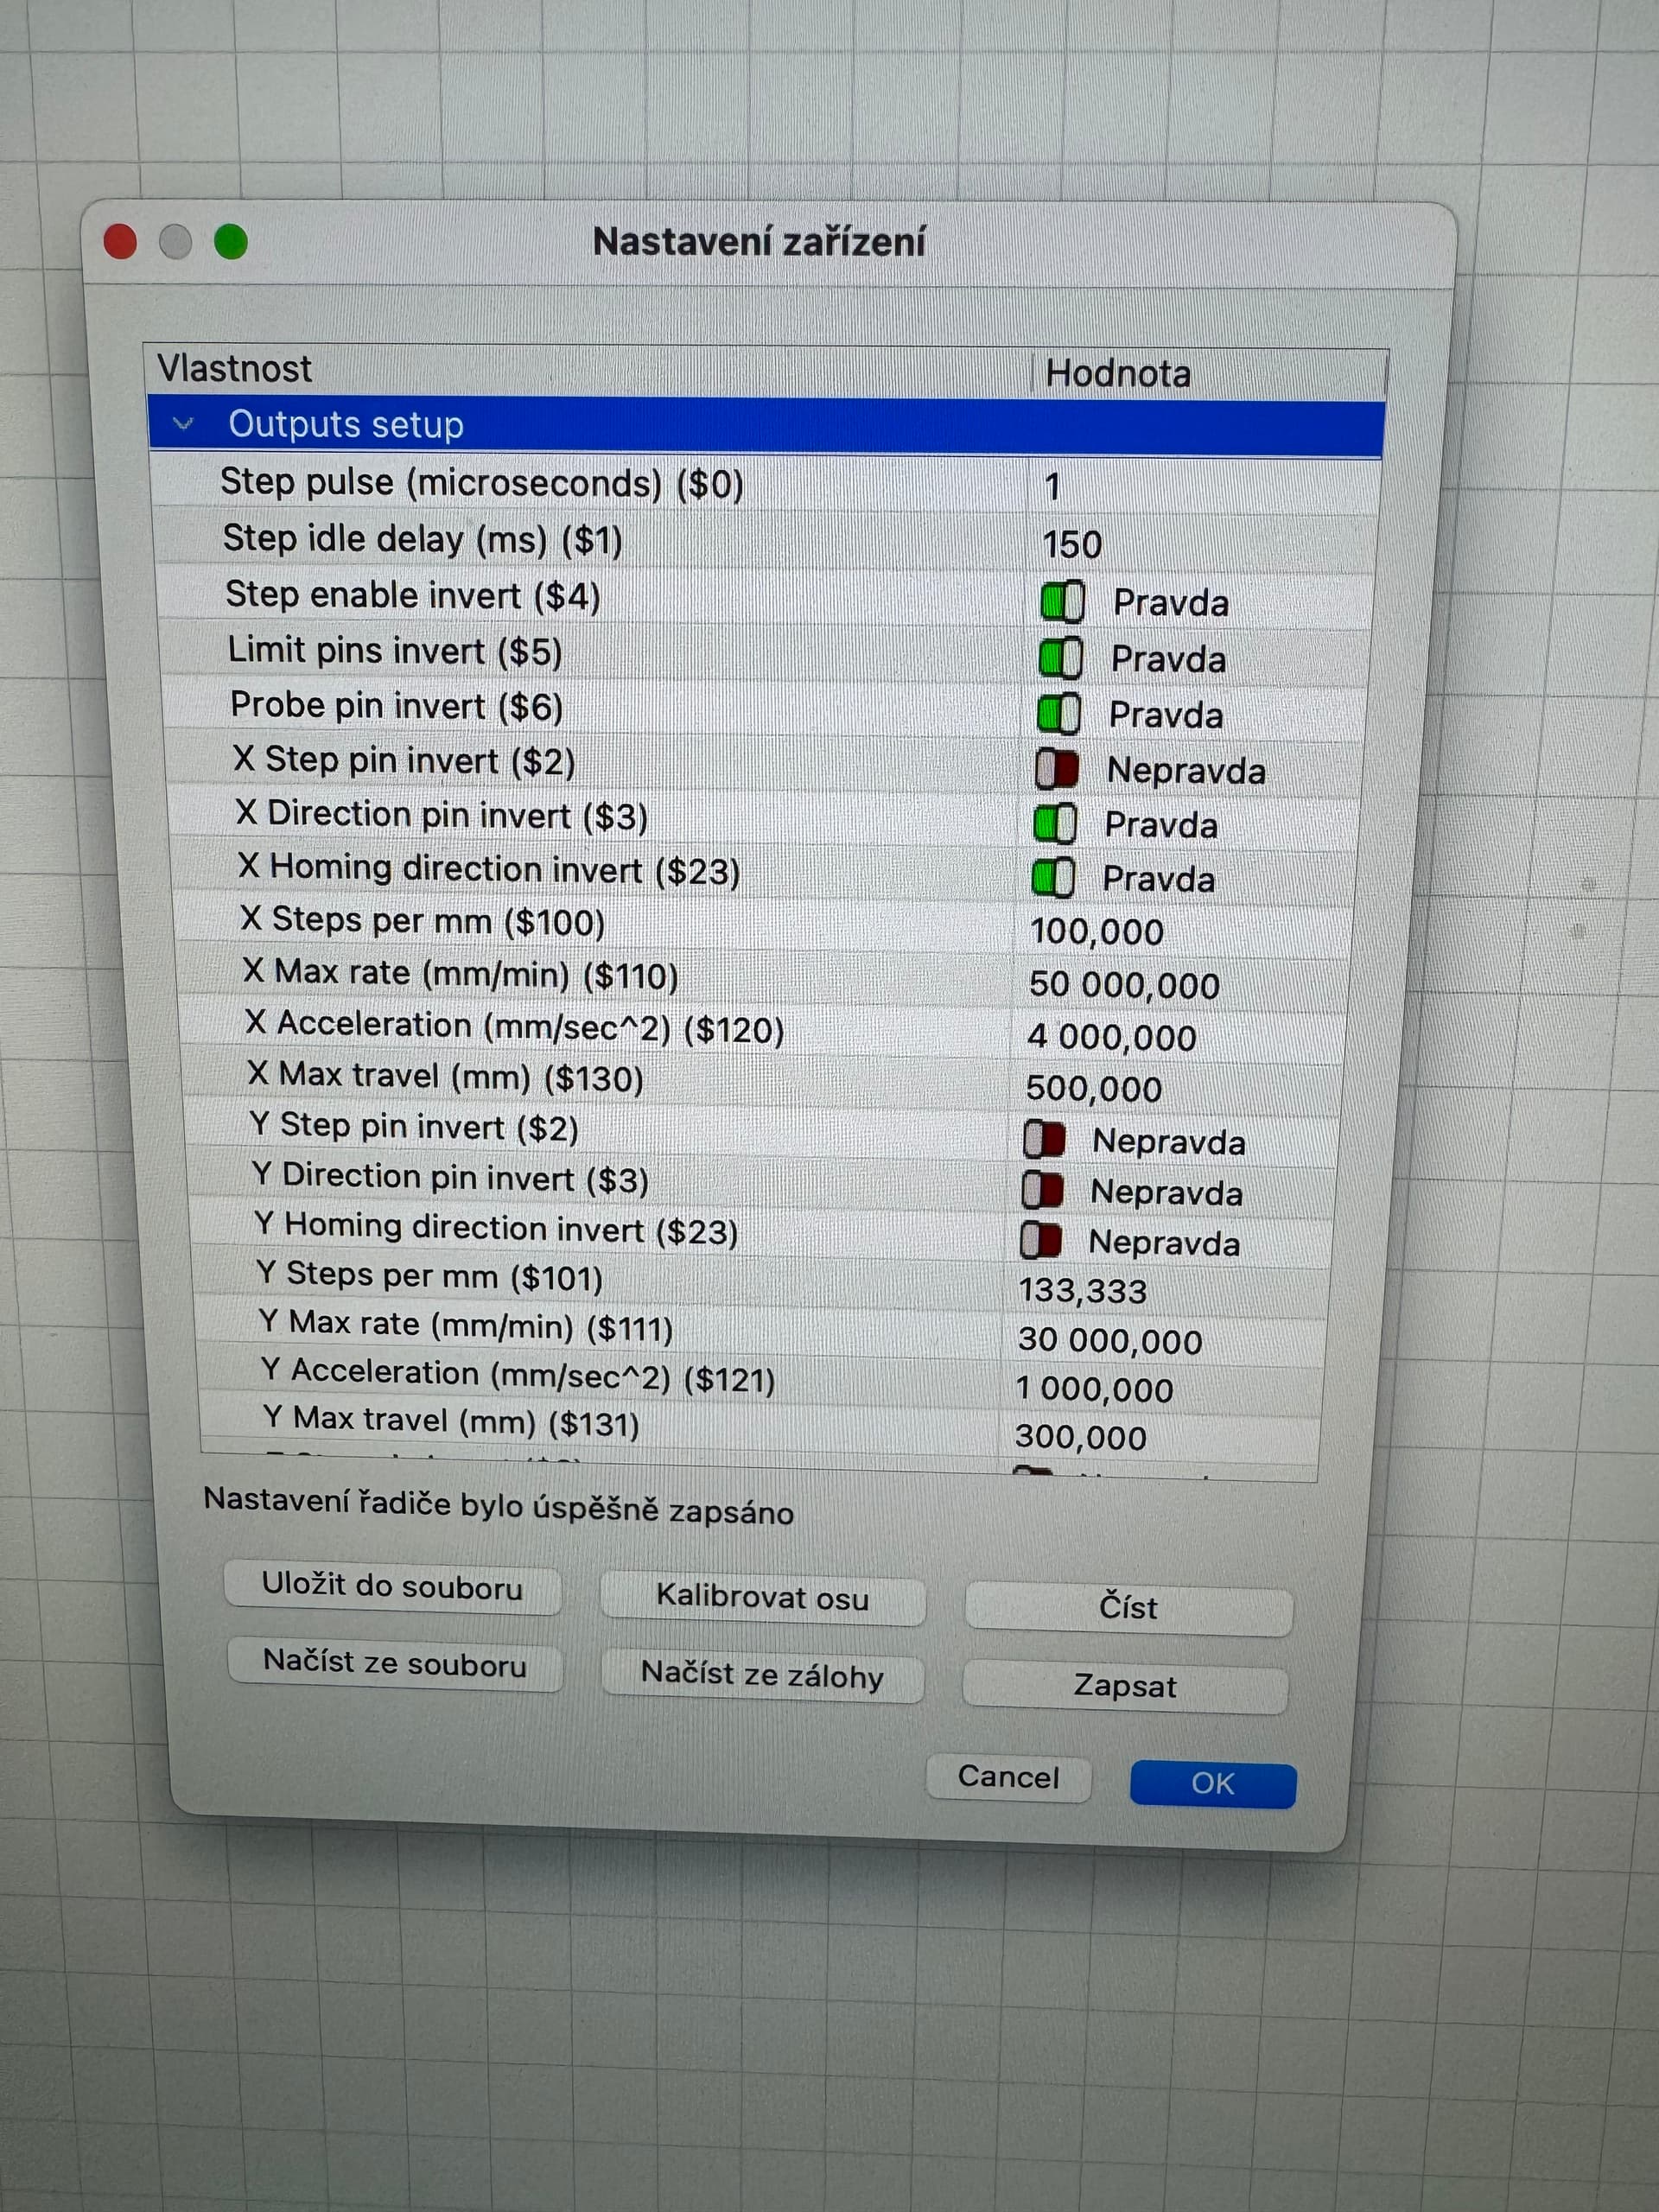
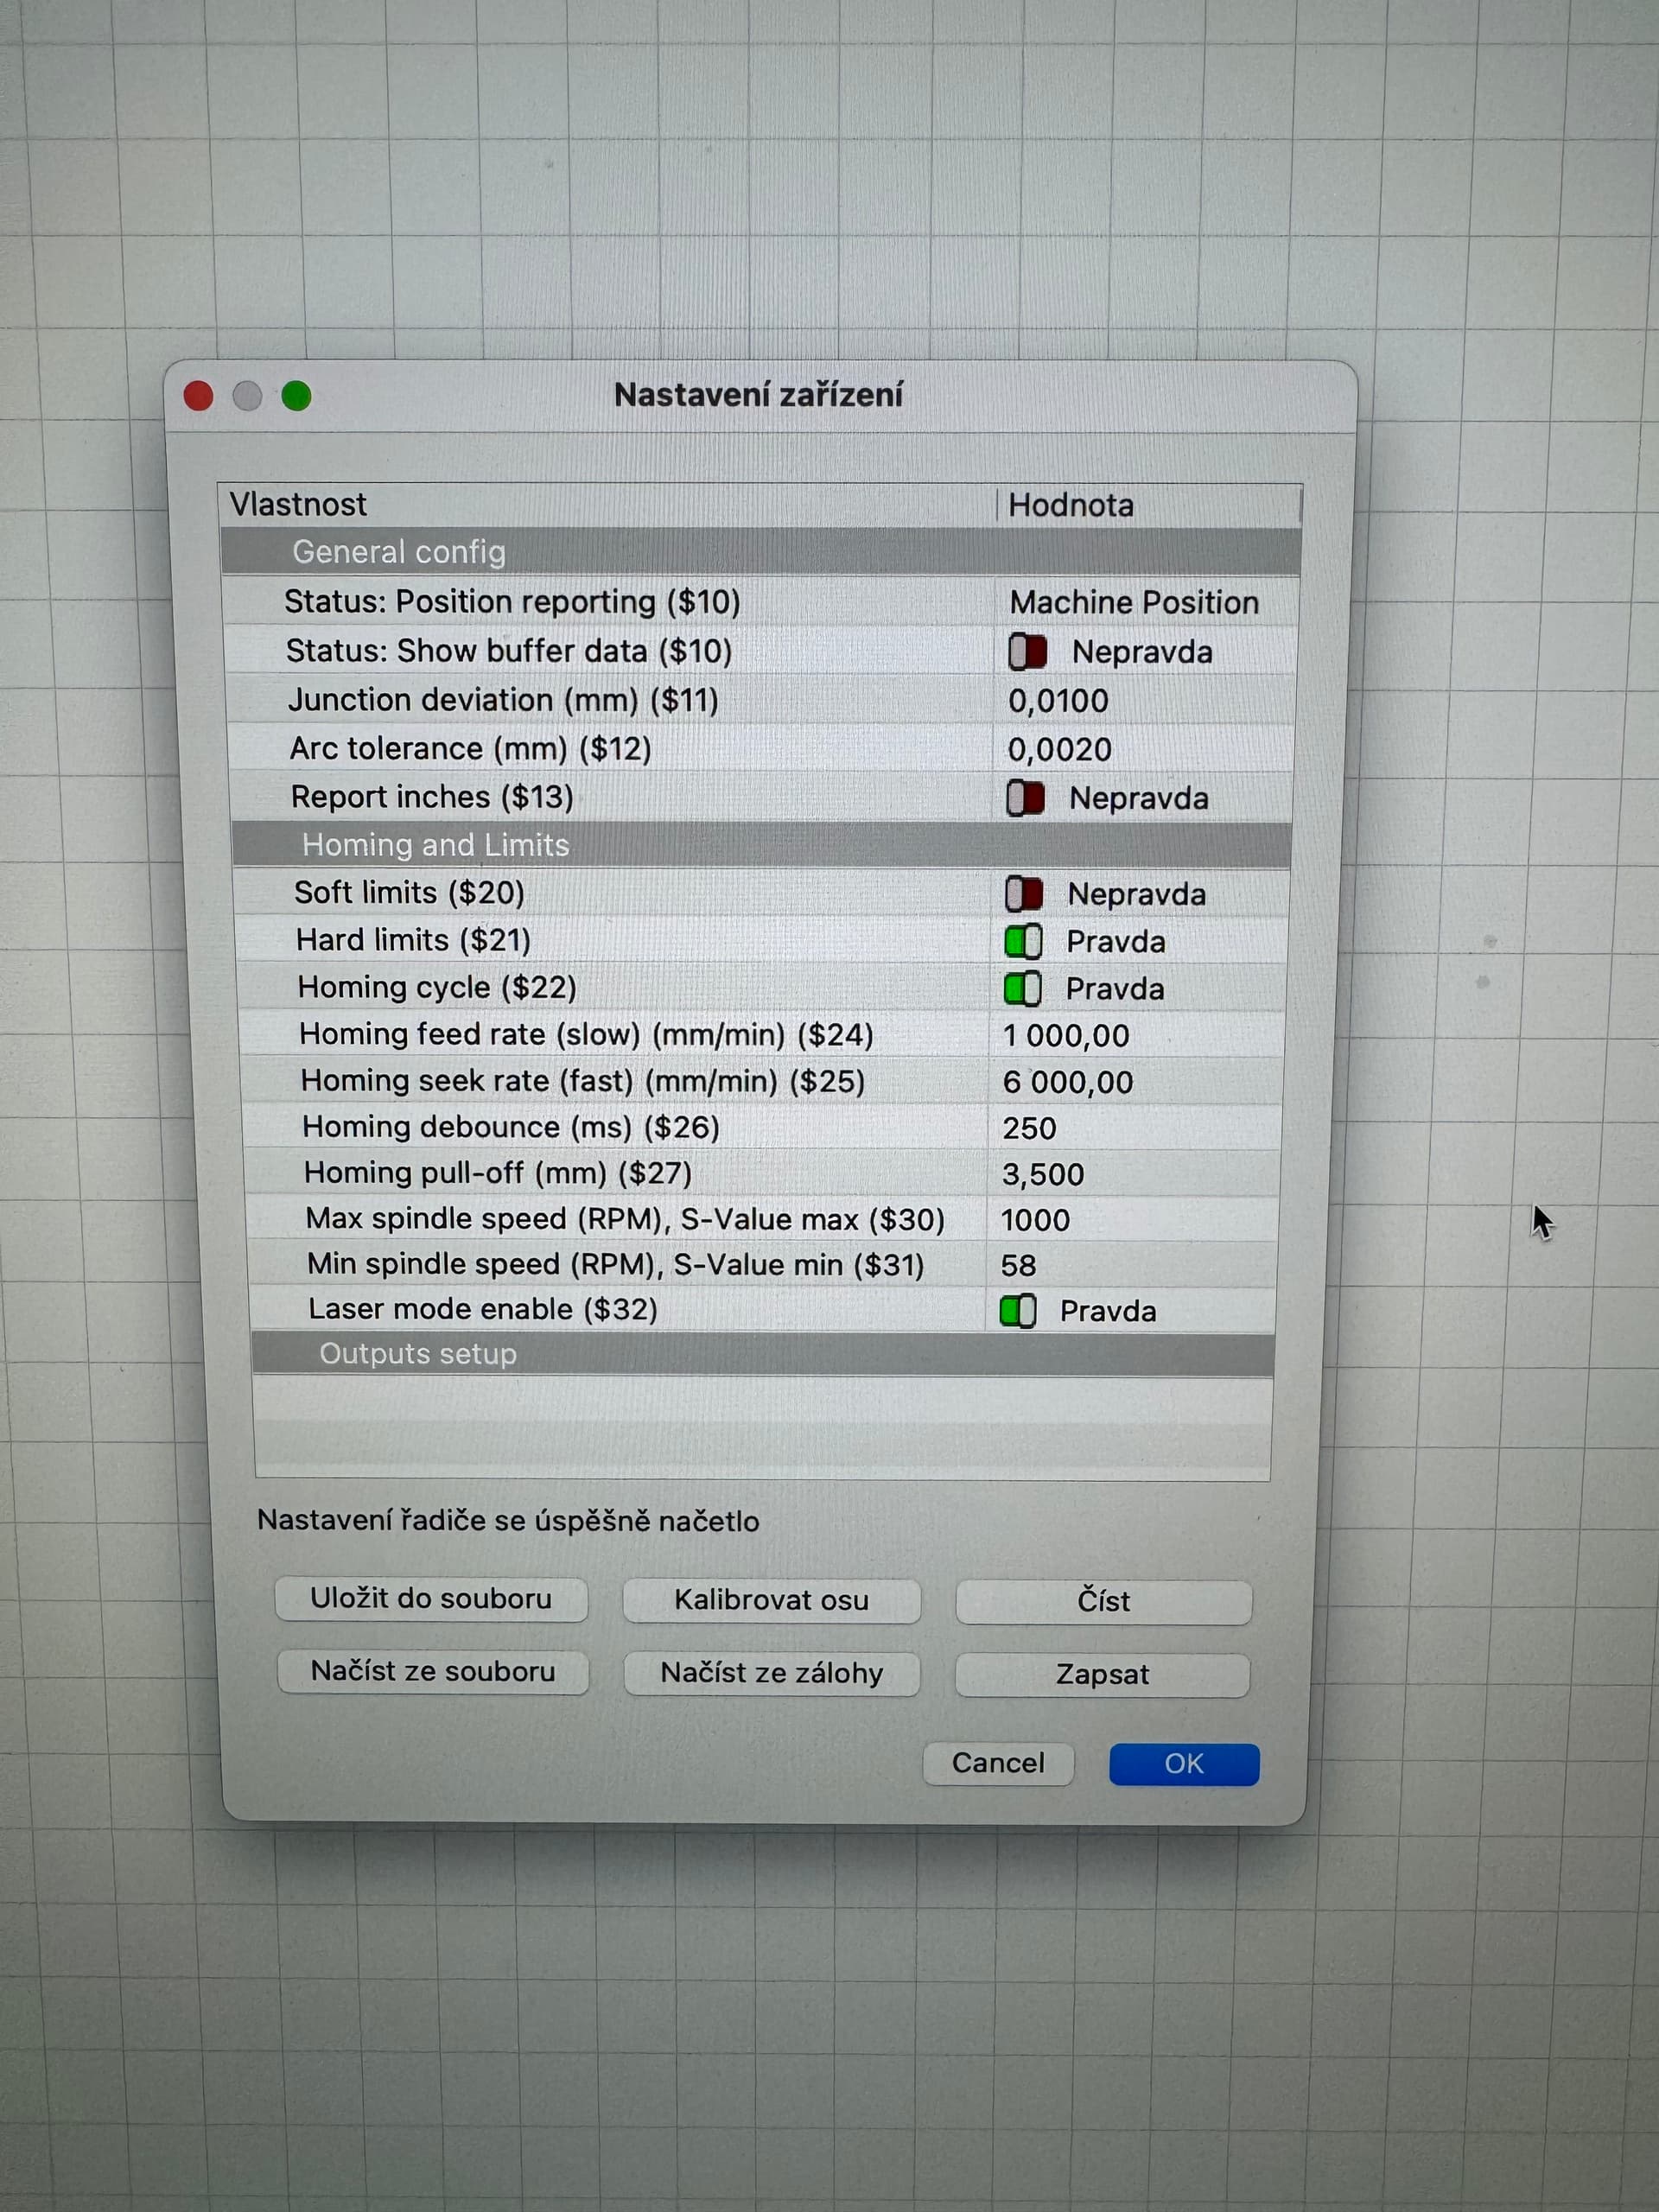
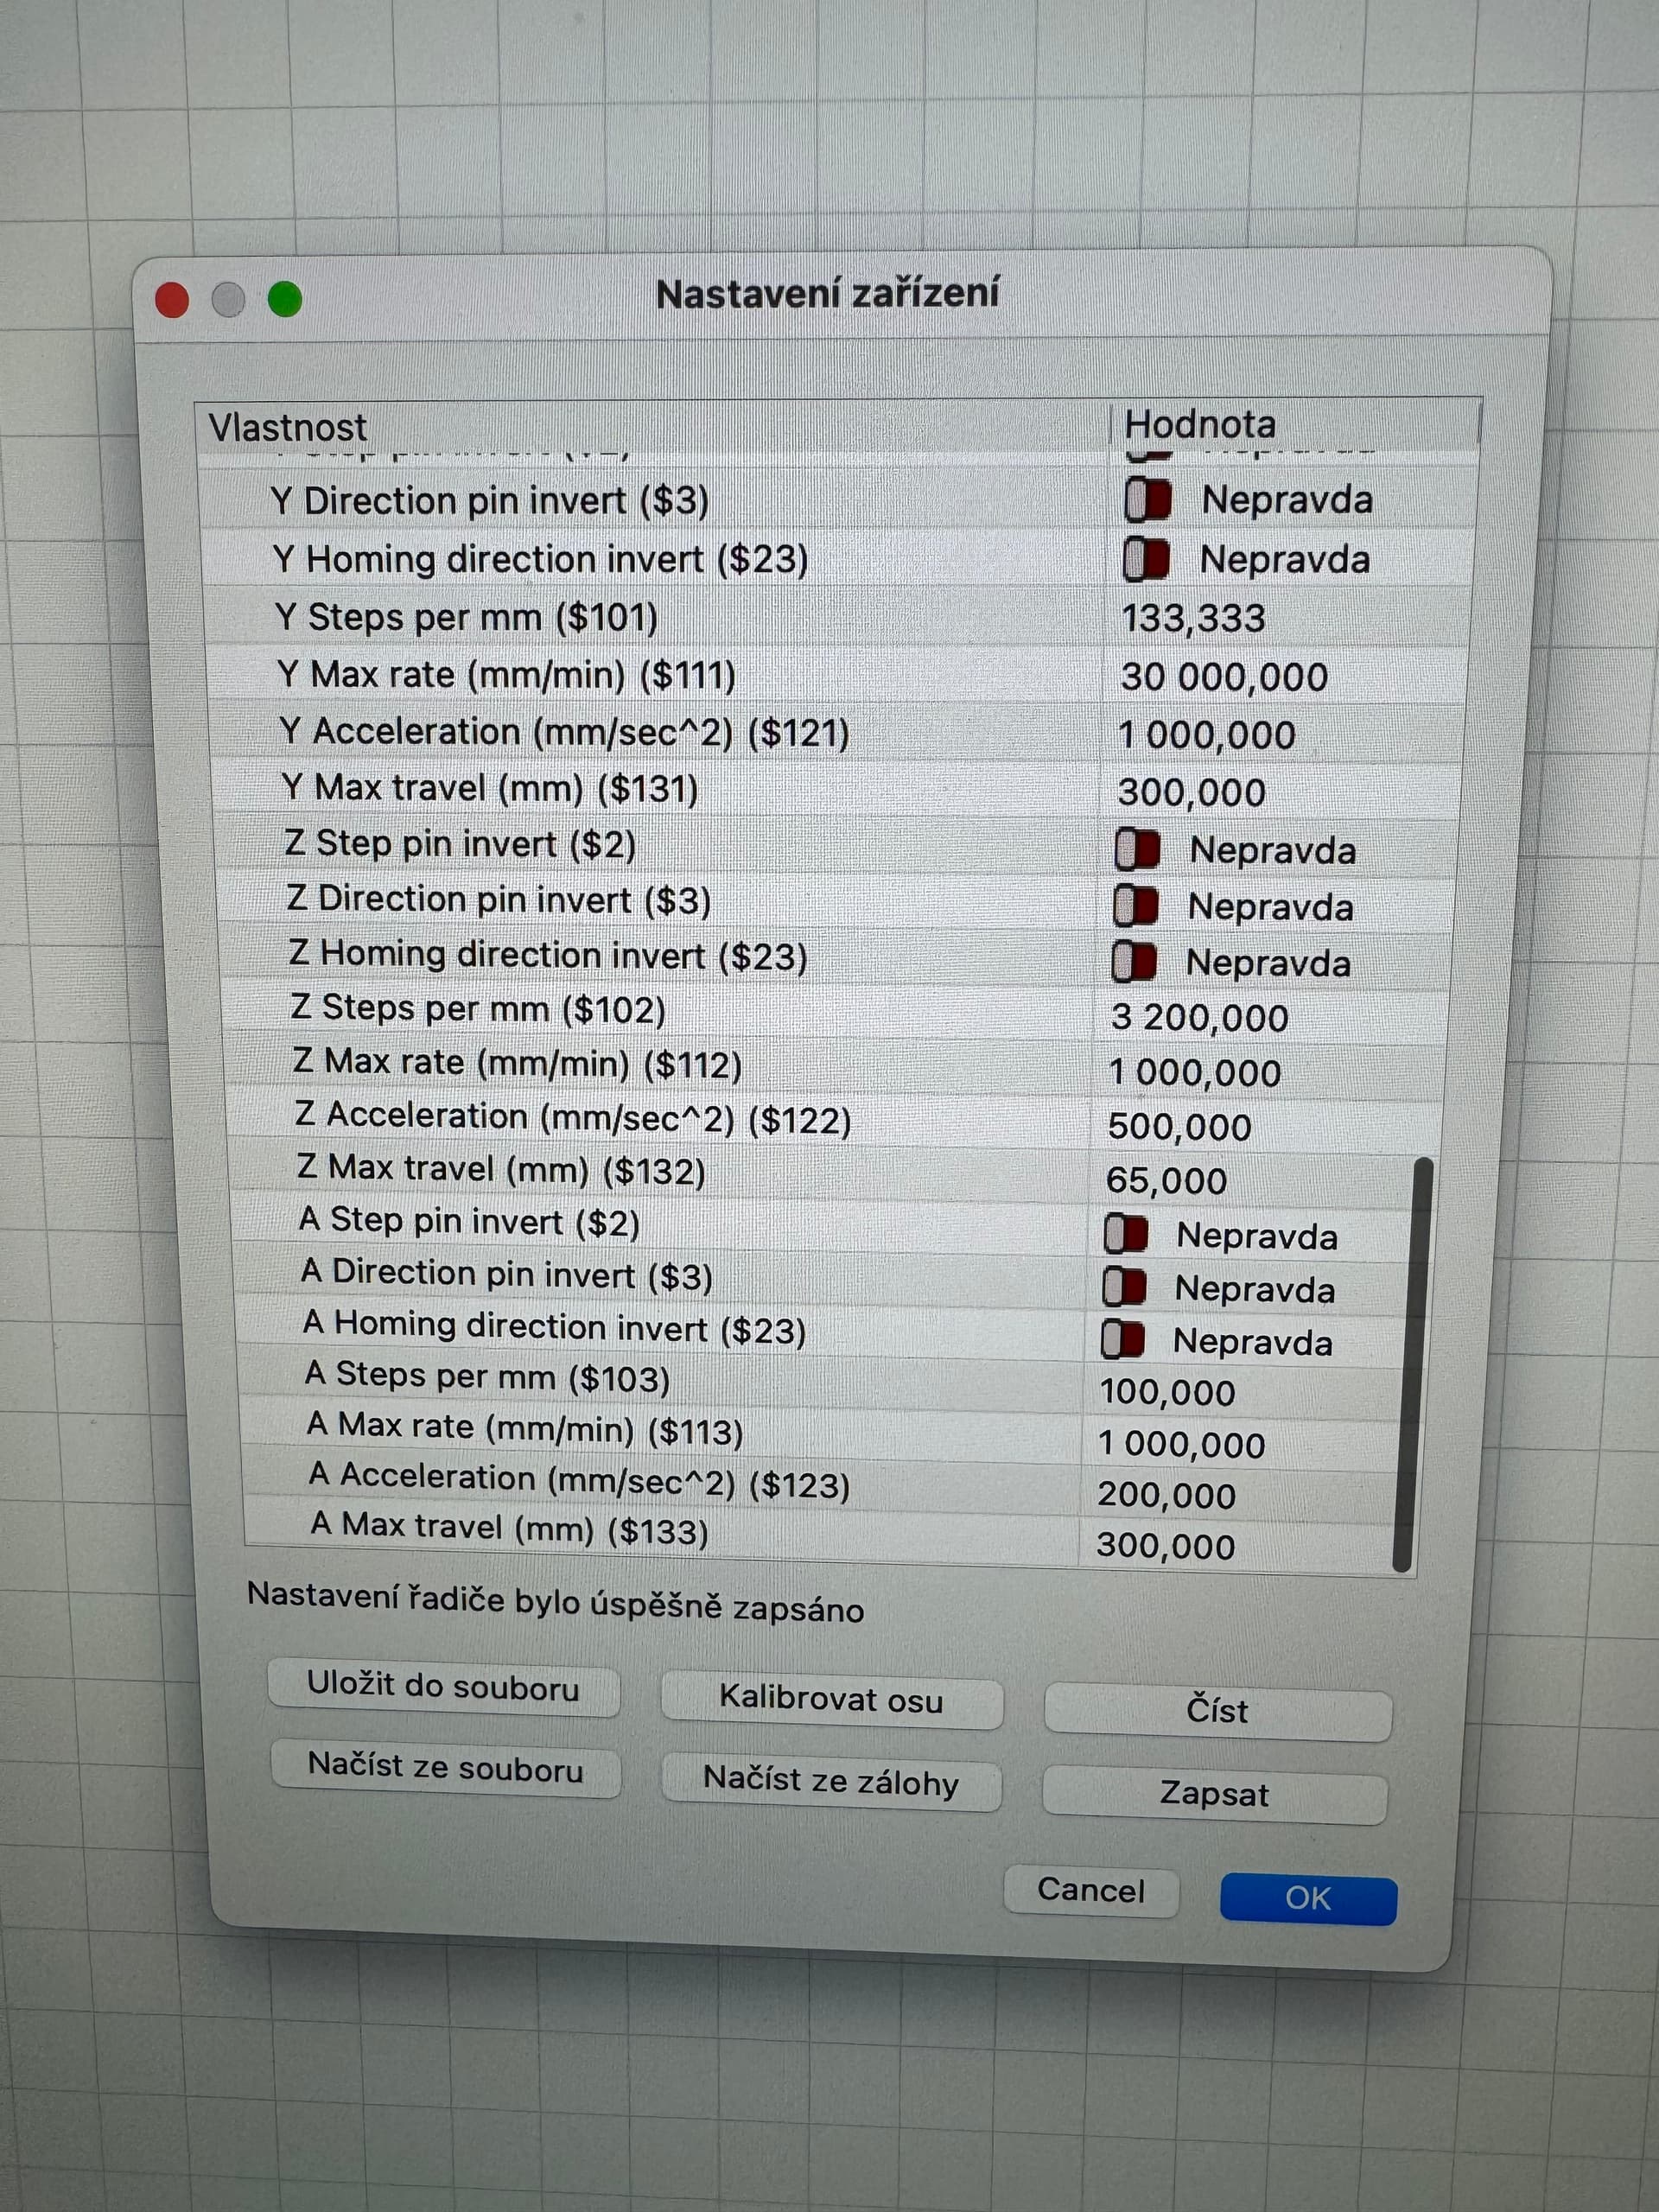
I took a picture of the settings of the Hurricane controller, is there anything wrongly set? From the previous photos you can see that with variable power it only doesn’t cut at the corners of squares, which means that when it goes into a corner it reduces the power too much and therefore doesn’t cut the material. And then one more thing, according to the manual, when “Guide home”, it should go down left but it goes up left and on the “move” tab it shows the position X:0.0 Y:299.9
I would also like to mention that I am using the latest Lightburn MacOS i.e. 1.7.06 but the manufacturer sent version 1.0.02 MacOS on the flash drive. Could this have an effect?


It is the Lightburn file you used to create the ornament. If you did not use Lightburn, you are in the wrong forum.
Of course I used Lightburn. But it’s a built-in tool right from Lightburn (Material Testing Generator) so I didn’t use any external lbrn2 file.
The squares are the material test. The Material Test is only useful to you.
What did you use to create the ornament?
I’m sorry but I didn’t understand what you need. My English is not good, I use google translator and it translated it wrong. Now I understand and I’m sending the lbrn2 file and the photo that I burned exactly from this file.

test ozdoba.lbrn2 (114.0 kB)

What is the wattage output of your laser? Your settings look abought right for a 20w output.
The file you sent was for the ornament that looks pretty good. Can you send the file for the second one that looks burned?
55 Watt Atomstack Hurricane.
Woah!!! Try 4500mm/m, 60% power, and 3 passes (I am just guessing here based on experience with my 40w laser). This should get you farther from the Toasted Marshmallow effect.
When cutting, multiple passes usually results in less charring and sometimes shorter cut times. My 10w laser can cut (YouTube video) 18mm MDF in a single pass. but there is no way I would do that.

It looks like a power modulation issue. Try these fixes:
- Lower acceleration so power stays even in corners.
- Check your PWM settings in the software.
- Adjust air assist to reduce burning.
- Clean and properly focus your lens.
- Try multiple passes at a lower speed instead of high power.
If you share your power and speed settings, we can help more!
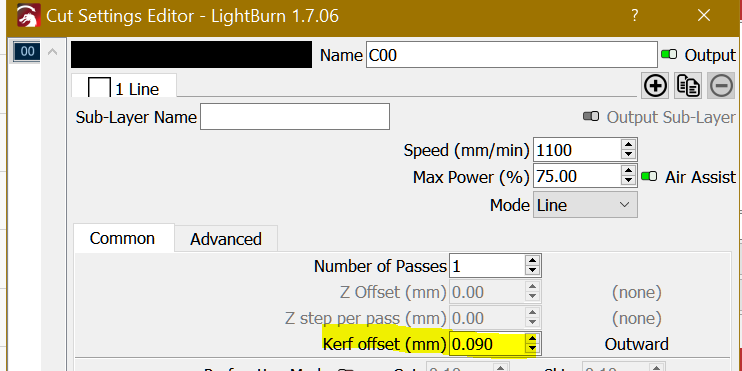
Hello and thank you for the question. Yes, I normally use Kerf so that the dimensions of the product fit exactly, with small cuts you can be sure that it does not reduce the resulting shape. And I set Overcut because apparently the stepper motors are not completely accurate and sometimes it happens that the cut does not connect perfectly from start to finish. So I am sure that the cut is complete because at the end it continues 1.5mm along the path.
1 Like
Thank you for the answer.
I can adjust the acceleration but I don’t know how much because I have no experience with it. The X axis is currently 4000 mm/s^2 and the Y axis is 1000 mm/s^2 . How much would you recommend or should I try trial and error?
Unfortunately, I don’t know how to check the PWM.
I have checked the air assist and I think it is sufficient when compared to another machine.
The optics are checked and fit exactly, I just found that the 8mm focus, which is standard, is too low. I set it to about 9.5 mm and it is better. The top edge of the cut was like a beveled edge. With the new setting, the edge is nice.
I haven’t tried more passes. From experience, I prefer one pass with more power. But I will definitely try that too.
Now I tried another experiment with a new focus setting, a higher speed of 1500 mm/min and 75% power and it looks a lot better.

Although a scope is better, you can check the hardware pwm with a regular voltmeter.
I think what @Heatsign has in mind is the setting of S-Value Max and the $30 variable within the machine. $31 is usually set to 0 as this is the minimum spindle speed.
![]()