Is it possible to create a cone-shaped hole in a thick acrylic?
(I have a xtool P2)
thank you
Is it possible to create a cone-shaped hole in a thick acrylic?
(I have a xtool P2)
thank you
When you say cone-shaped hole, are you referring to the side profile of the hole? Meaning that the entry and exit holes are of different size? If so, in principle you’re always getting somewhat of a cone-shaped hole based on how lasers cut.
If you wanted a greater cone-shaped effect I see 3 major approaches:
Instead of the side profile being cone-shaped, if you meant just a hole that looks like a cone, then that woudln’t be different than cutting out any other shape. Design a cone shape, then cut out with the appropriate settings.
One could grab the acrylic sheet in a chuck rotary, tilt it to the cone’s half-angle, position appropriately, and spin it around. I have no idea what that shape would look like on LightBurn’s workspace.
I’d do it so the cut plug falls out of the sheet at the end of the cut, so as to avoid sticking to the hot side wall.
Definitely bold, but …
I knew there was a bit of mad scientist in you but I like the idea. The design in LightBurn, assuming a Y-axis rotary, would likely be a vertical line the length of the circumference of the circle that would be on the entry side of the cone.
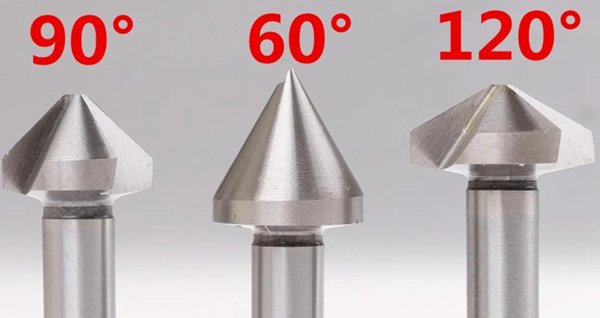
Are you meaning similar to what a countersink bit would do? So that you have a circular ditch in the surface of the acrylic that’s deeper in the centre than the edges?
If so, you can engrave a circle that has a radial gradient that’s black in the middle, fading to white on the edges and engrave that using greyscale image mode. That would make a circle that is lower in the middle. You will have to play with speed/power/passes settings, and probably the brightness/contrast/gamma of the gradient, but once you worked it out, it should be relatively repeatable in acrylic.
You can also achieve similar by doing several engrave passes, each taking a small amount of material off the surface, and each pass engraving a smaller circle than the last. This would give you a staggered/stepped ditch, but probably more predictable results.
Sorry, I was only able to test this idea today, as it came to me as soon as I saw the topic.
You could try a fill with the ramp option activated. Just a test settings not optimized.
Offset fill - 6 minutes
Line fill - 12 minutes.
5mm ply.
ramp_hole_try.lbrn (27.4 KB)
Unless this is some weird custom angle or shape, I’d just use a drill. Mark the center with engraved lines and drill thru or cut the pilot hole with the laser.
If it’s a standard angle but a weird shape, a piloted chamfer bit and a router.
