Hello, I really hope someone can help me, new to laser engraving. I recently purchased the Atomstack S20 Pro laser engraver, along with X20 extension kit (according to Amazon it’s compatible). I’m having trouble connecting the wire harness, the motherboard has a TTL already attached, looks like I can’t remove. The X20 extension comes with a TTL connect to wire harness. How do I proceed?
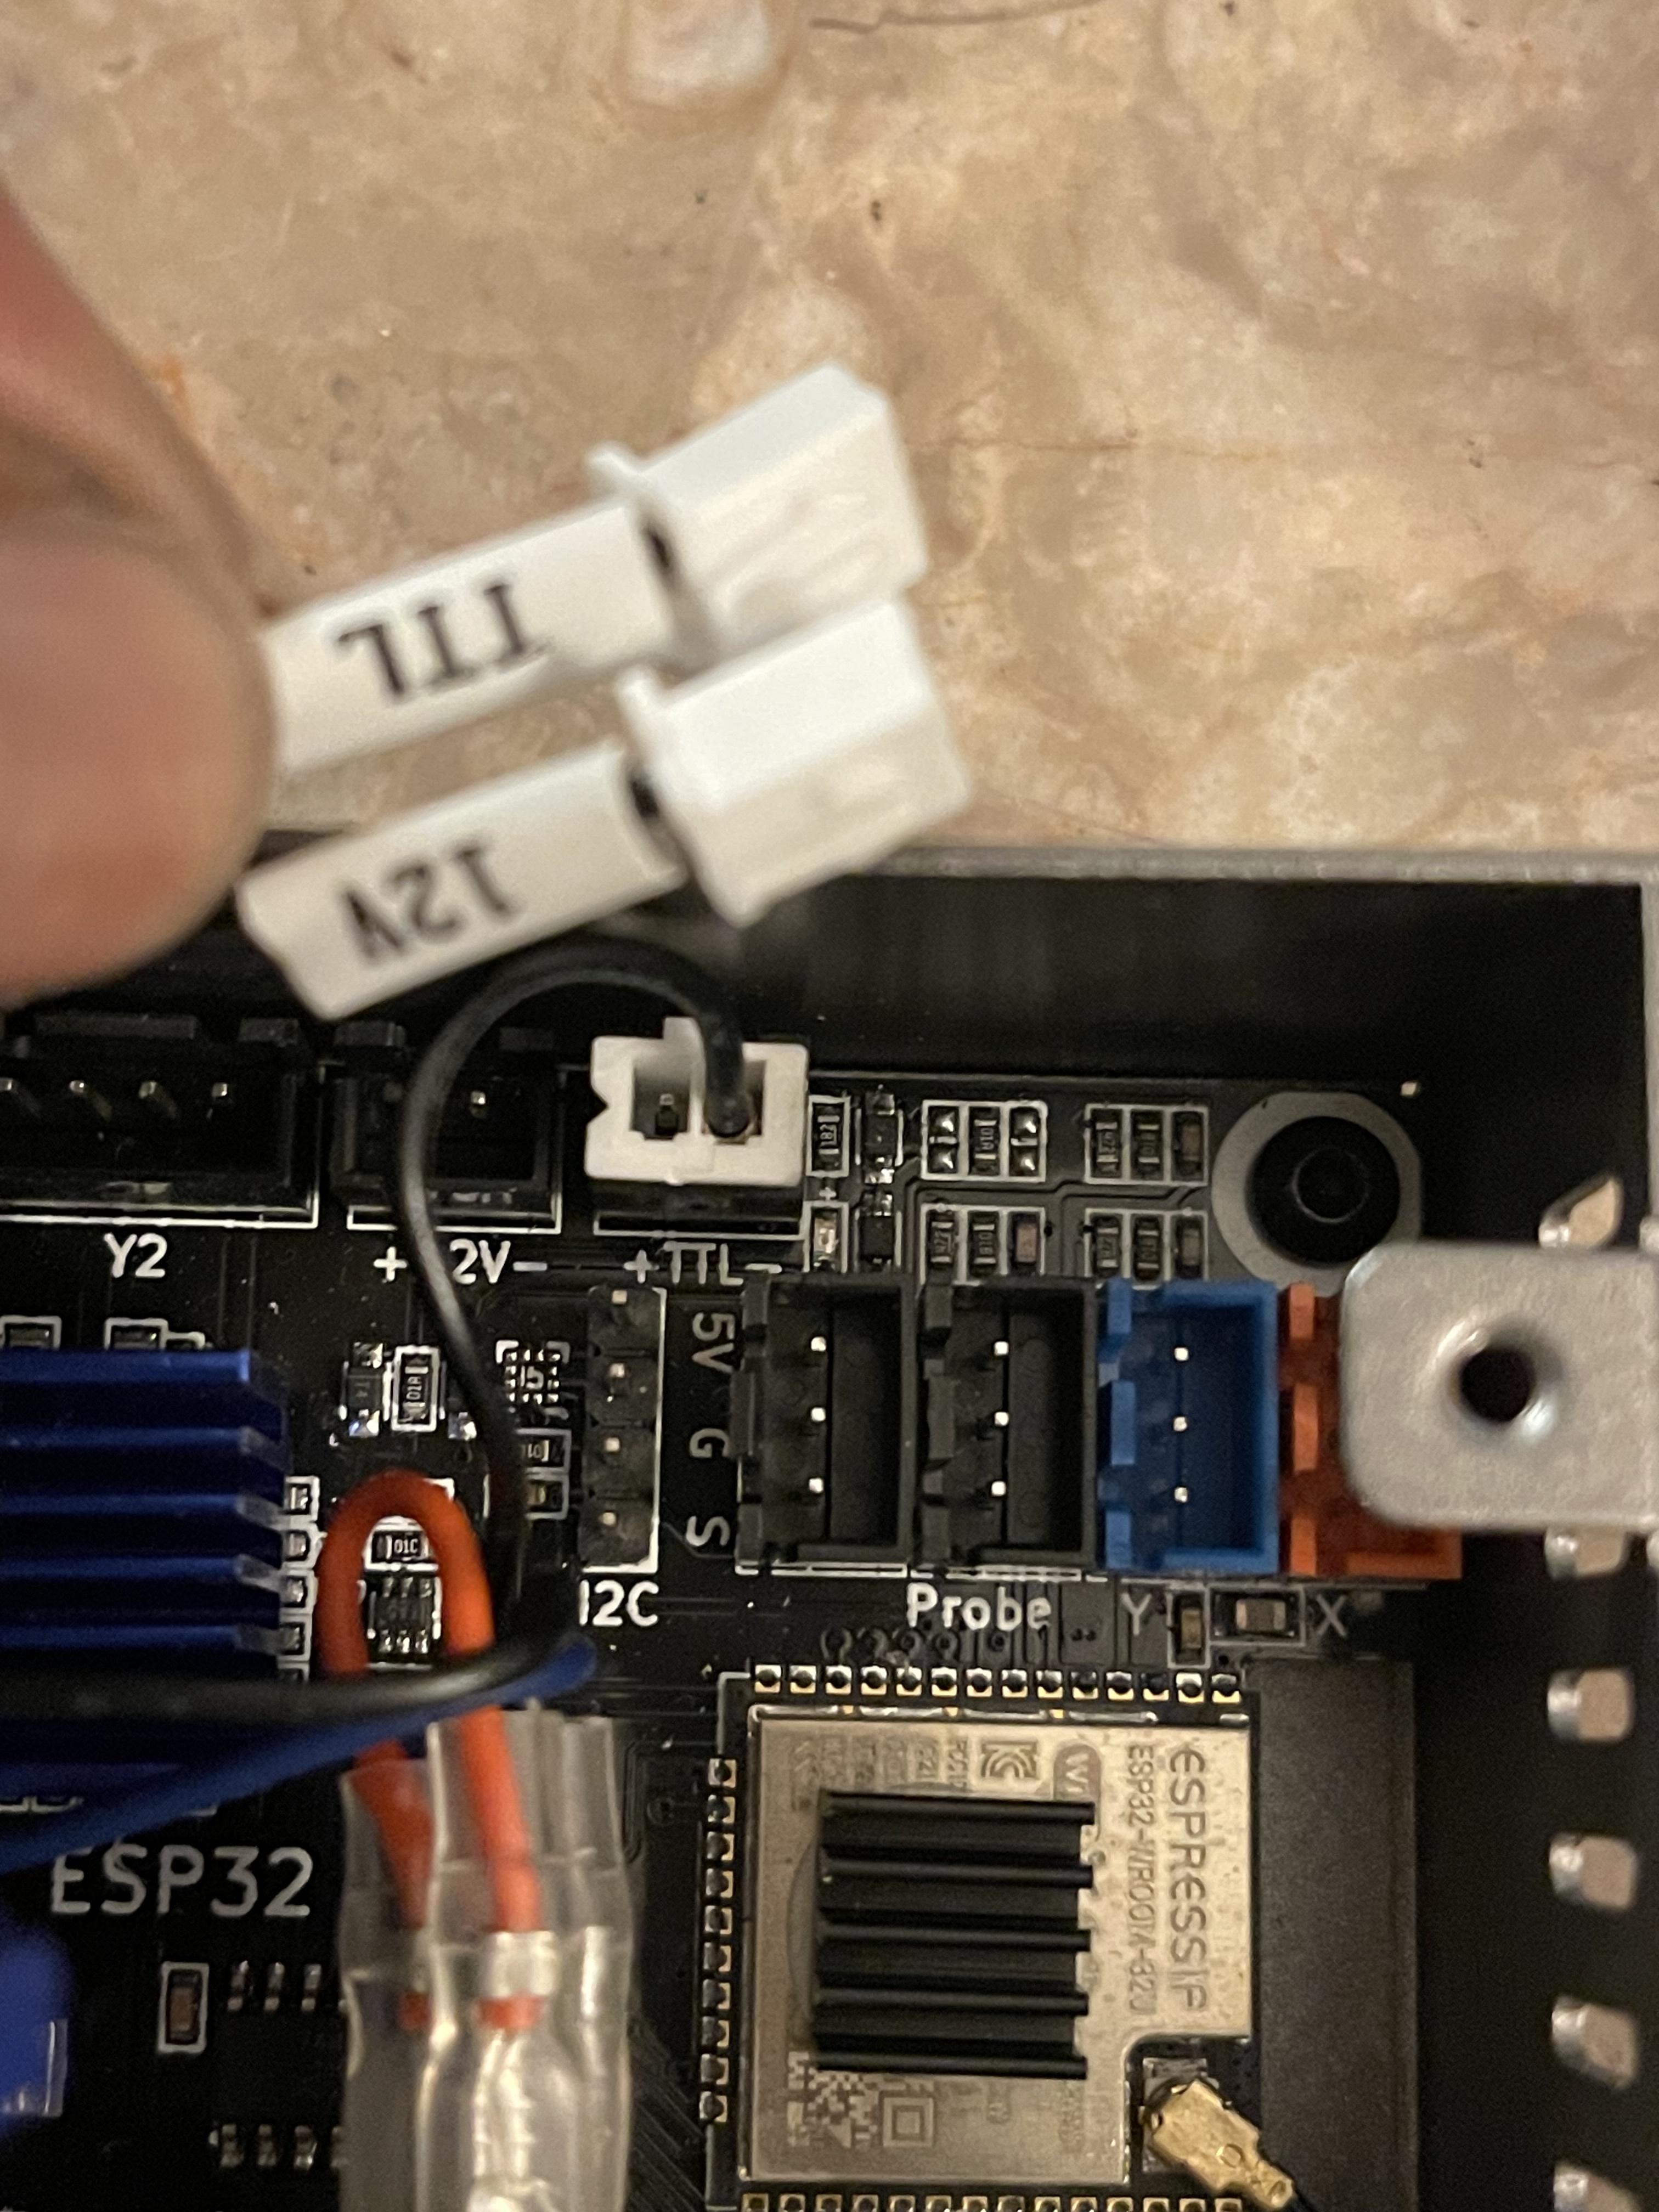
You can remove the plug from the existing TTL port. It looks like it’s only using the GND line there, you can put that connector to another port where it gets the ground signal. Or, just leave it out, I guess it’s the LED from the power switch.
If you cant remove the TTL connector i would just cut the wire and solder it on to the wire with the connector on it
I just checked again, he doesn’t even need to solder anything. The new TTL connector only uses the + labeled pin and the old connector uses the - pin. So he can remove the metal piece of one of the connectors and put it into the other (you just need a needle). I hope you understand what I mean ![]()
Thank you! I was able to take moles out and reconnect it to the 2nd ttl port. Good looking

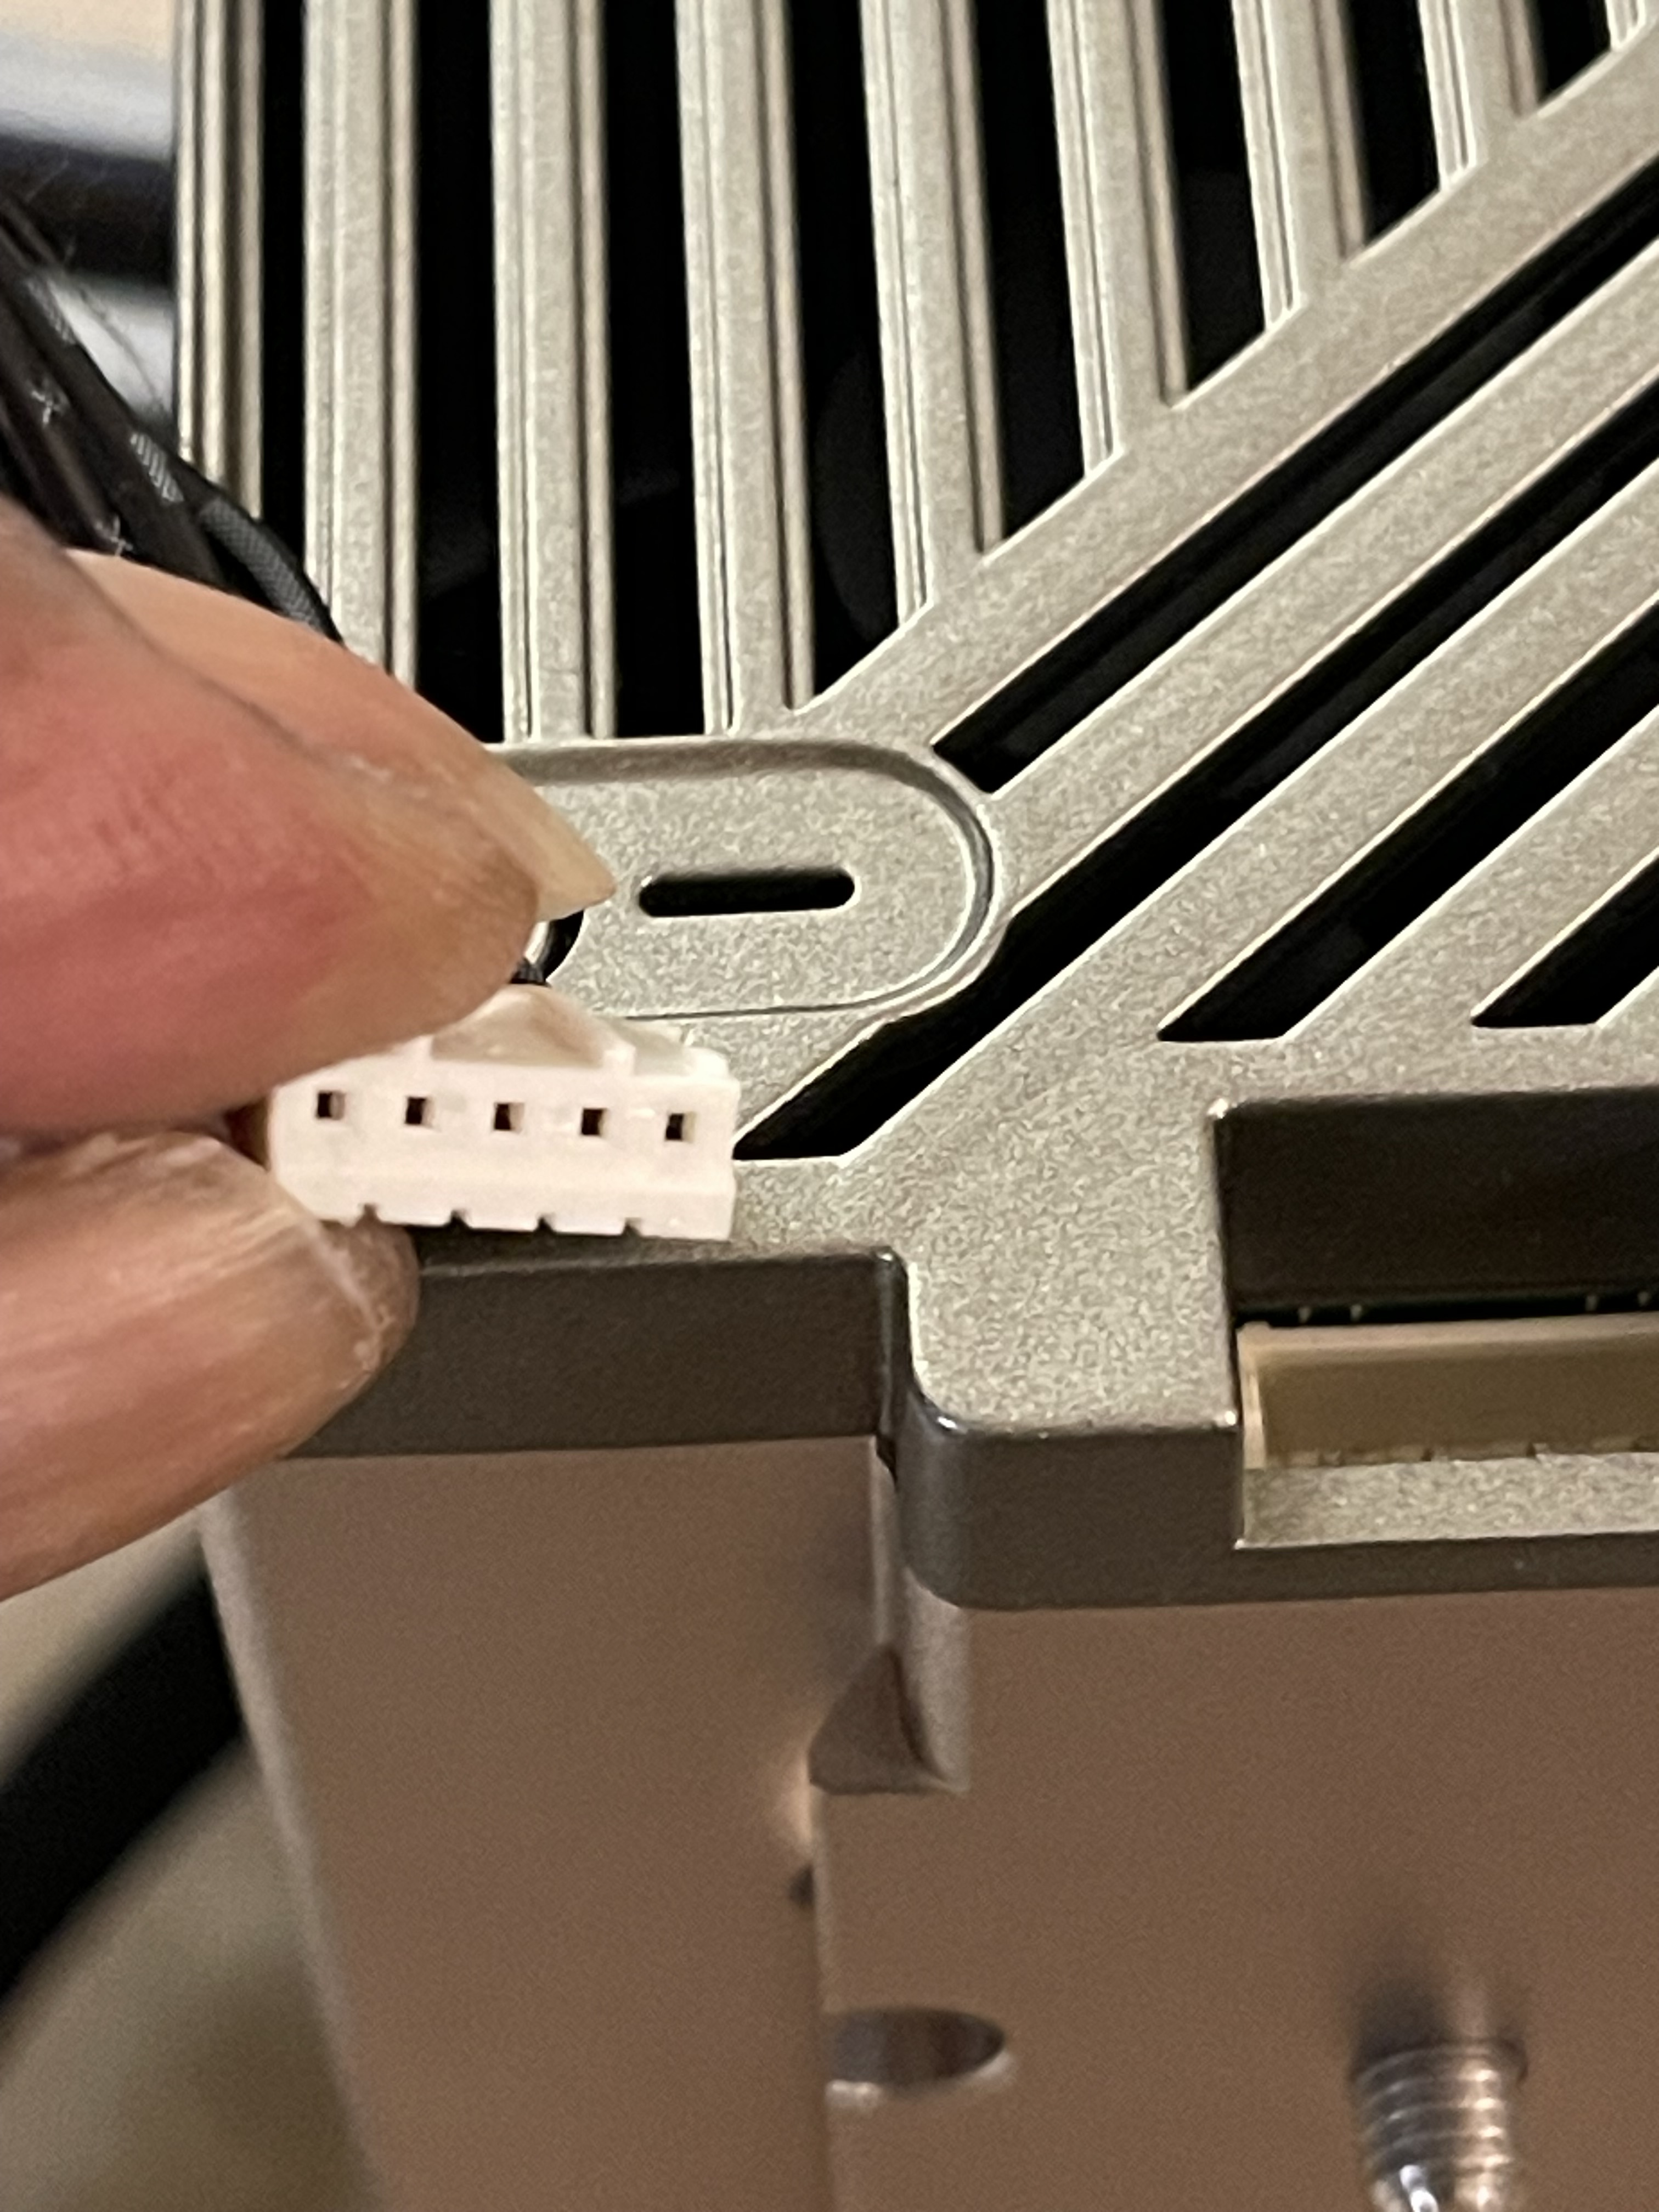
out. I haven’t tried it out yet. Working two jobs, trying to put this thing together in spare time. It’s taking me almost a month. I keep running into issues too. I’m hoping you can come thru again or anyone had this problem or know how to fix? 5-pin connector on X20 Pro extension harness and 4-pin molex base connector. It doesn’t fit.

Unfortunately, I don’t have any Atomstack laser anymore, so I can’t check the pinout. But I think some high-power laser heads use more lines for power supply since the cables are too thin. Maybe someone with more Atomstack hardware experience can help.
@Reece have you solve the Problem with the wire. I Need the Solution please.