I have an Emblazer 2 diode laser cutter. I have been working on cutting out various projects from 3 mm birch plywood, but have had considerable difficulty getting consistent results. Some times the cut goes through well and other times it does not go through at all, which ruins the project once I remove it from the base. I checked that my focus is still accurate, although this is set only at the center of the platform. When I check the gap from the head to the plywood, I can see as much as +.3 to -1.3 mm difference. Is there any way for the software to allow the platform to be calibrated much like my newer 3D printers can? I recently tried to cut a square and the cut did not go through with the material thickness set at 3 mm. But since it was in the corner that I measured to be 0.3 mm lower than the center, the same square cut through when the material thickness was set to 2.7 mm.
But the problem is not just the offset.
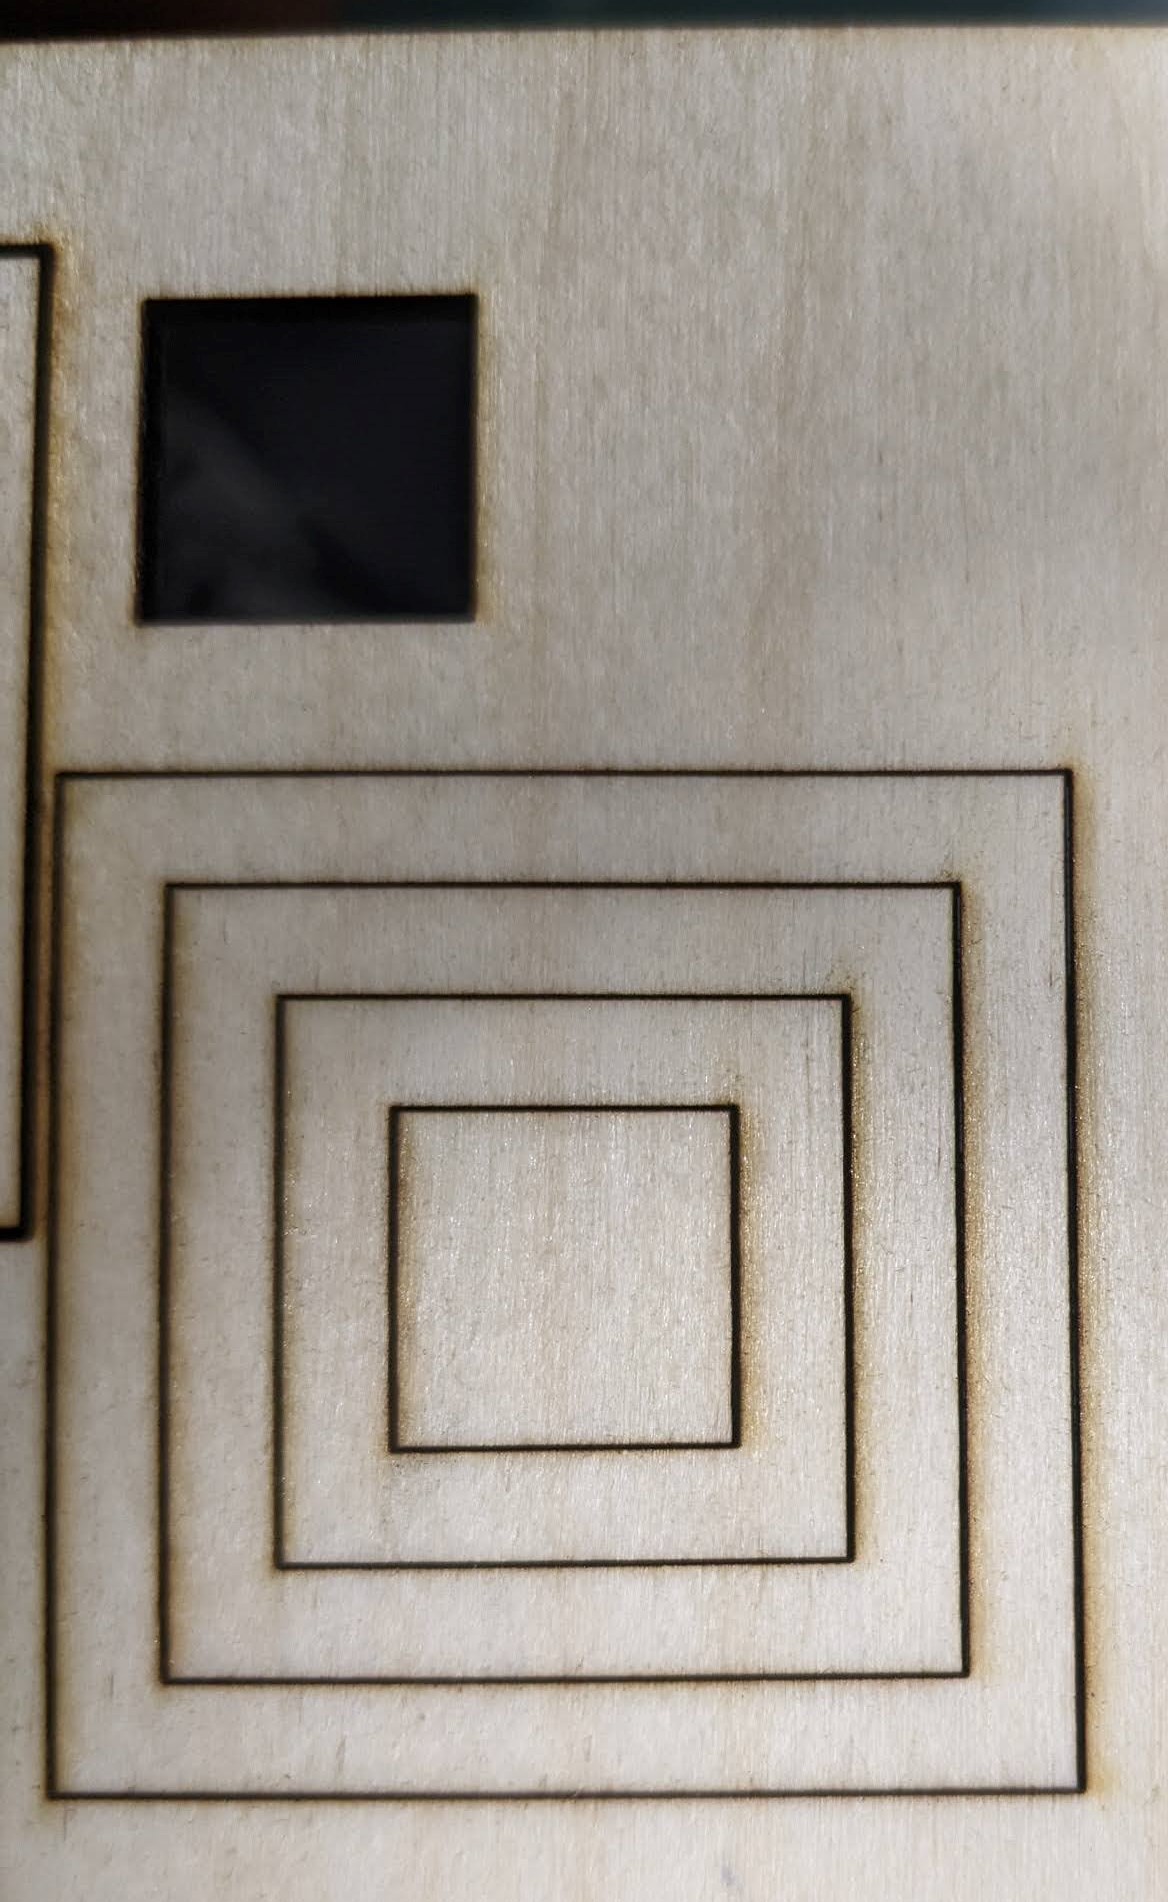
I have cut a 15 mm square at 300 mm speed, 100% full power and 4 passes with a 0.5 mm offset each pass. The part falls out freely. When I tried the exact same setting with a 45 mm square at a place just adjacent to the one above, it did not cut through. (See photo) I have been able to successfully cut using 3 passes when the material thickness was only 2.8 mm. I had previously done multiple cuts using various speeds at 3 passes and could not get consistent results even when the same speed is set. I have checked the layer settings and all parameters are the same.
I did see the comments about plywood having layers that inhibit cutting, but the machine is advertised to be able to cut 6 mm plywood, so either they lie or I am doing something wrong.
You would need a very expensive machine for that, and honestly no surface is perfect. This machine really needs air assist to get better engraves and cuts.
Diode laser markers are not Laser cutters.
The more power you have the better. This machine you have is likely a 2.5 - 5 watt at best. So you need slow speed, high power, and air assist to do any cutting.
You can search Etsy or any sites since you 3D print, there’s a whole other world open to you.
To get clean consistent burns, you need true air assist. I am guessing you might be trying to use this indoors? If you do, please have a STRONG Fume extractor added to it to vent or clear the VOC’s.
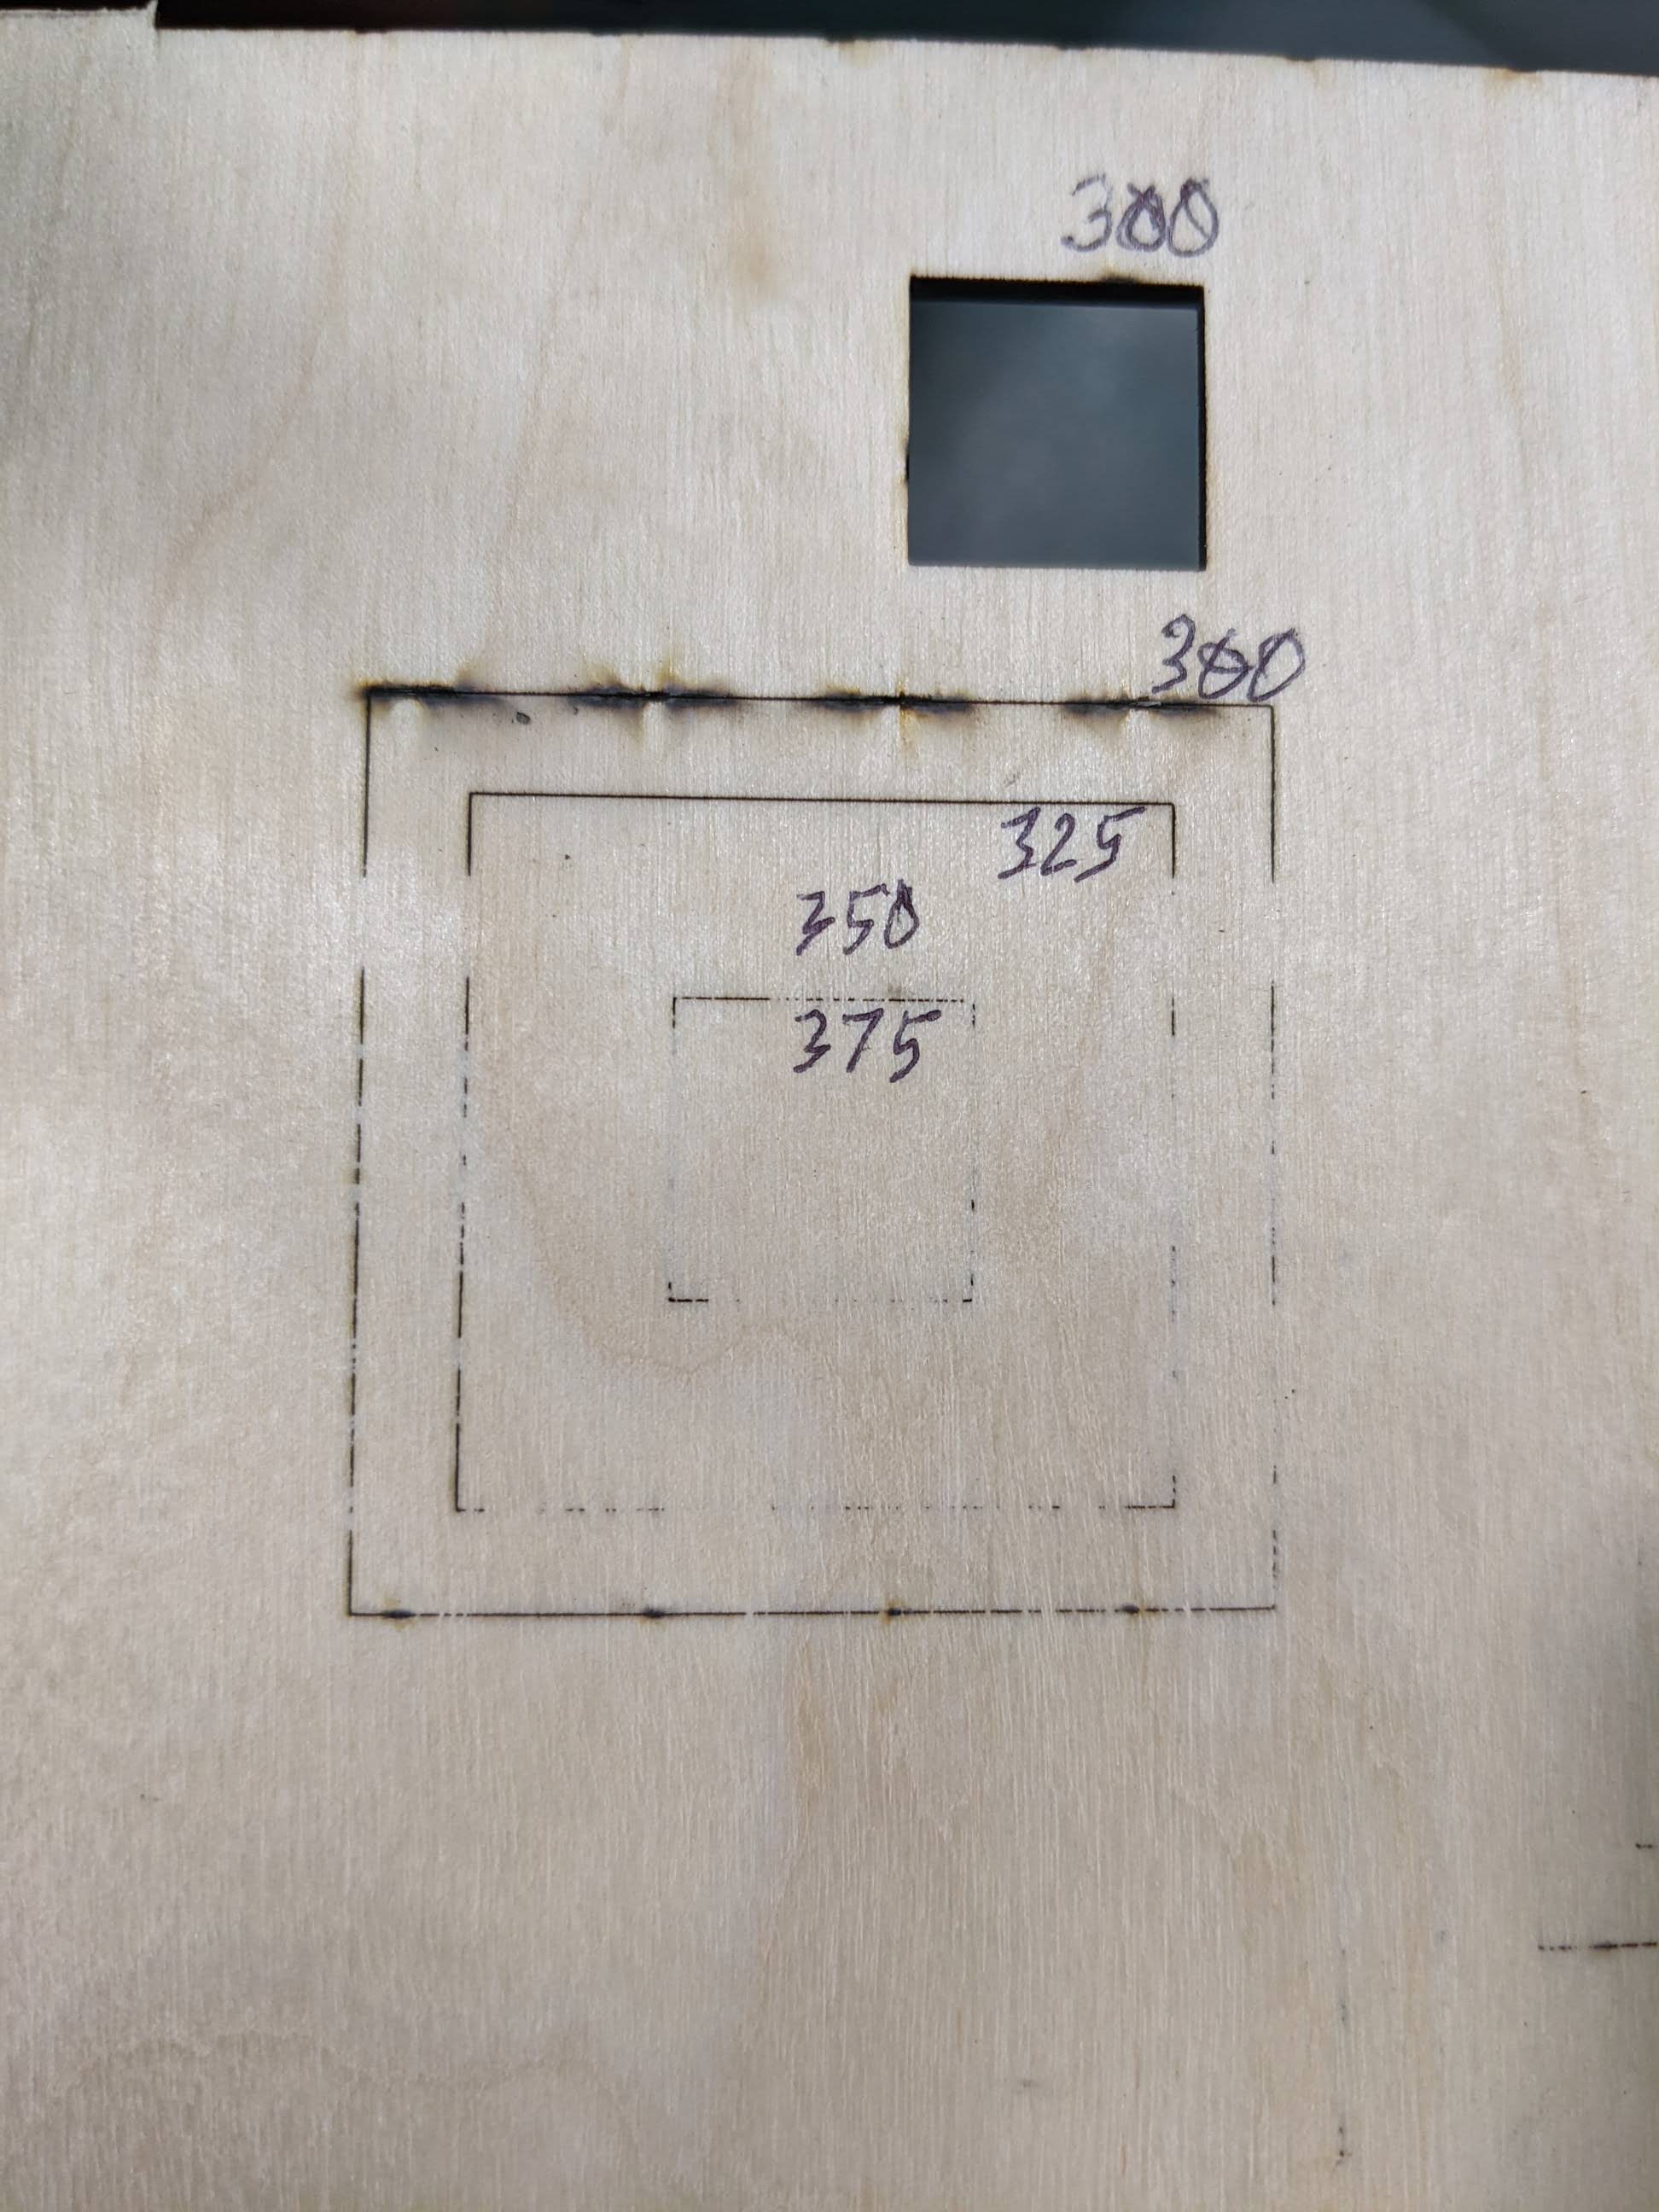
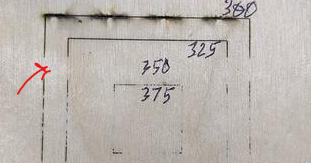
If you look at the area I’ve marked you can see the band. That’s either in the material (glue, thicker sheet, etc) or the machine itself is moving along that axis. Or maybe a bit of both.
My high recommendation that you might not want to hear is to return it if you can and buy something with a bit more power. These diode lasers consistently oversell their power and ability.
I have a model like yours so I am just being honest.
The scorching on top looks like a culmination of things. It’s charring too much and it looks like soot from glue.
You can try a bit slower or faster, but you for sure need more passes. I’d try a cut test for materials.
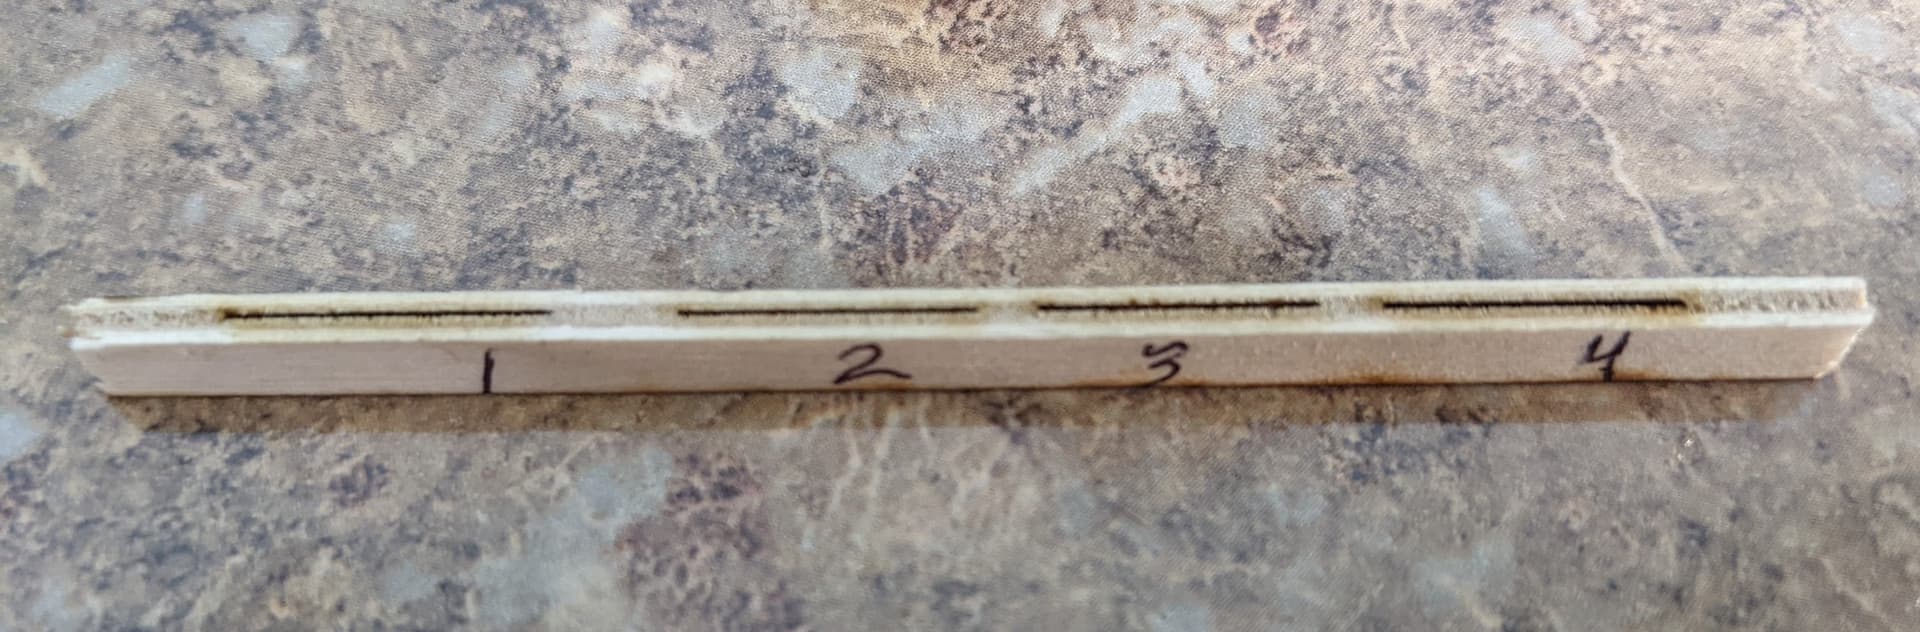
After reading the link about the makeup of plywood, I did some more exploration and measurements. The 3 mm plywood I am using is from Joann’s, and is probably as cheap as you can get it. Each outer layer of wood is about 1.3 mm thick and the center part may be all glue. I cut a section out of the edge and used the laser to try to cut through the center layer from the edge view. It had no problem with the center layer, maybe because it is dark and also glue instead of wood.
I was able to cut through 4.4 mm of the glue center layer with almost 2 passes and through with 3 or 4 passes. I checked the width of the cut at 3 mm above the focus point and it is the same as at the focus point, so I don’t think the beam is being clipped by much when the focus point is moved down with successive layers. It would seam that the laser is struggling with the white plywood, perhaps also affected by the grain direction.
I have tried checking the depth of cut by having the laser cut to the edge of the material. It seems that a step offset of 1 mm rather than 0.5 mm works better. I am compensating for the error in the distance from the head to the material by changing the material thickness to get the focus at the top surface of the material. I wish there was a way to establish focus at 9 points instead of just the center. My Afinia 3D printer does that and it is really just a software feature that could be added to Lightburn. The software could interpolate between points and move the focus when making cuts or marking.
Now that I know of some of the variables and eliminate those that I can control, I am able to concentrate on the speed that provides the optimum cutting depth. That may mean making each successive pass on a different layer with different speed and offset settings. Worst case, I can set up the board with a fixture and cut the opposite side. I have cut several objects with this plywood before, and the only difference I saw originally was the 2.8 vs 3 mm thickness. I will continue to investigate and report back my results in the hope that others may benefit.
I have used CO2 lasers that are much more expensive and powerful and I had similar issues with trying to cut through 1/4 inch plywood, so I am not convinced the wavelength is the prime difference.
If I’m correct, that’s a $2,500 machine. Best power output is 2.5 watts. You really need air assist and more power. Materials is just one issue. But if you have it all figured out, then awesome.
The output is rated at 5 watts average power and it does have air assist.
As an update, I am able to cut the original 3 mm plywood using a speed of 150 and 0.5 step increments per pass, 3 passes. This is slower than what I have used in the past for this same 3 mm plywood, so it might mean I need to clean the laser lens to get the power back.
I was actually able to cut through 2 layers of the 3mm plywood by using 6 passes with a step of 0.5.
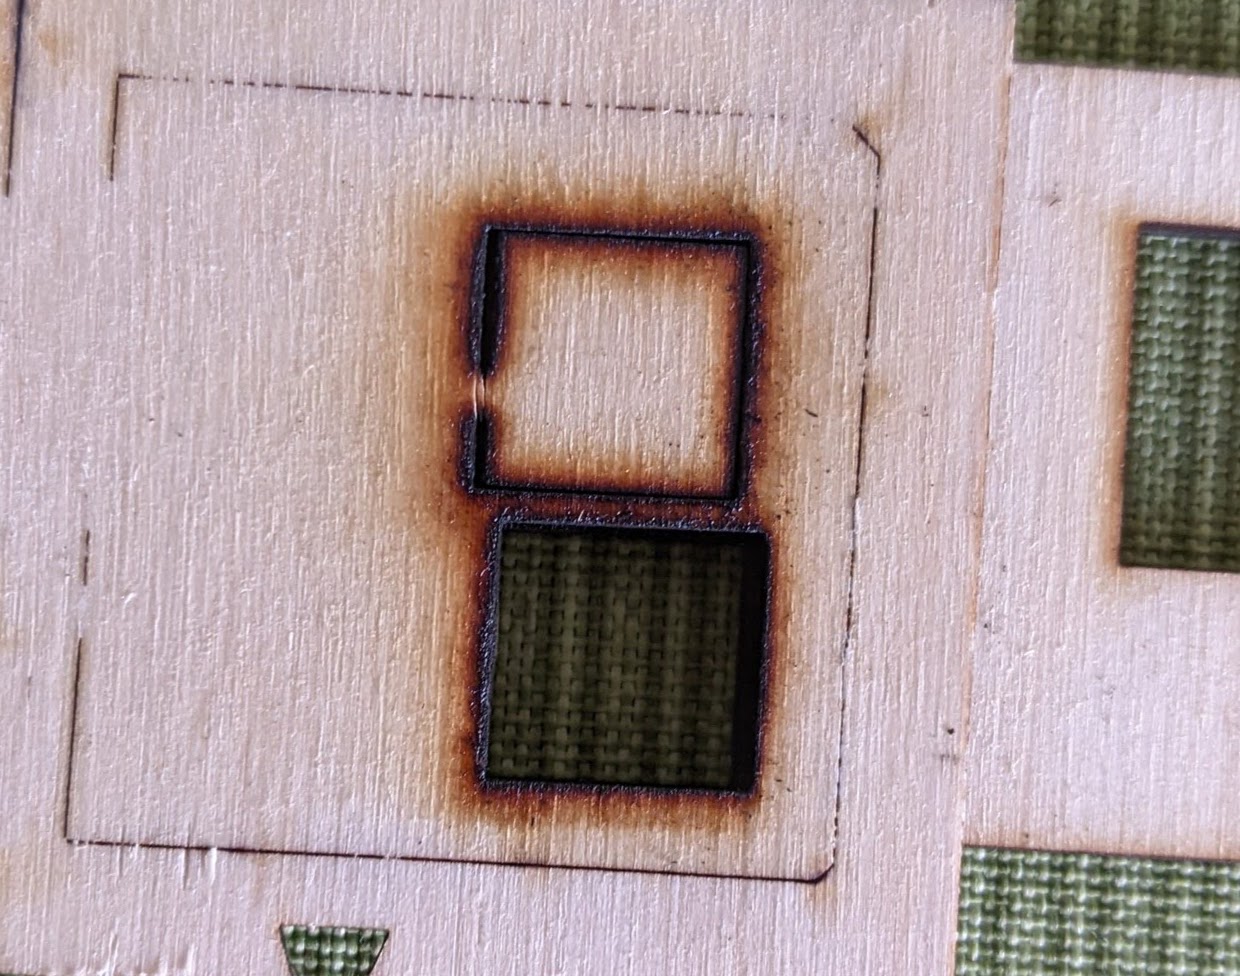
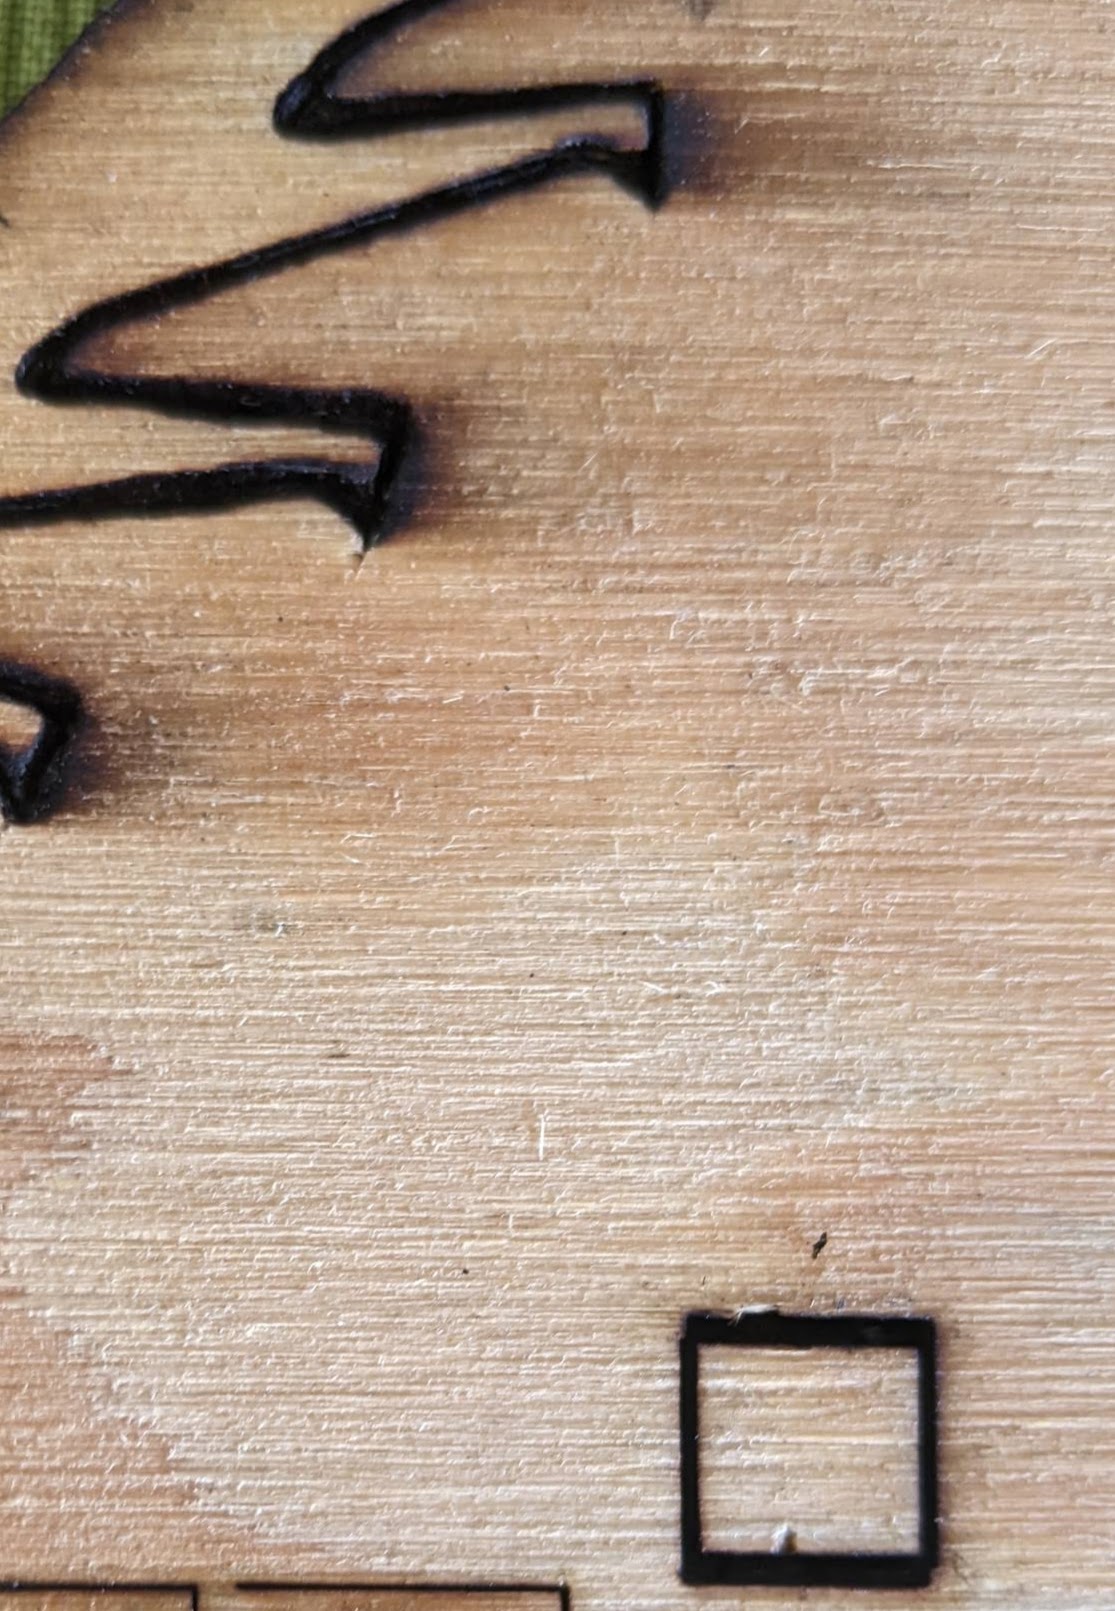
When I tried this same method on a piece of pine plywood from Lowes, it did not go very far. This is the same 1/4 inch plywood I had tried to cut out an escapement gear using a 50 watt CO2 laser before I acquired the diode laser. I was only able to get it to break out the backside with the CO2 after so many passes I lost count. (see gear teeth in upper portion of photo. The box at the bottom is from the diode laser. The pine is harder to cut than the birch plywood I have been using. If it was a big part it would take forever if it could even be done at all.
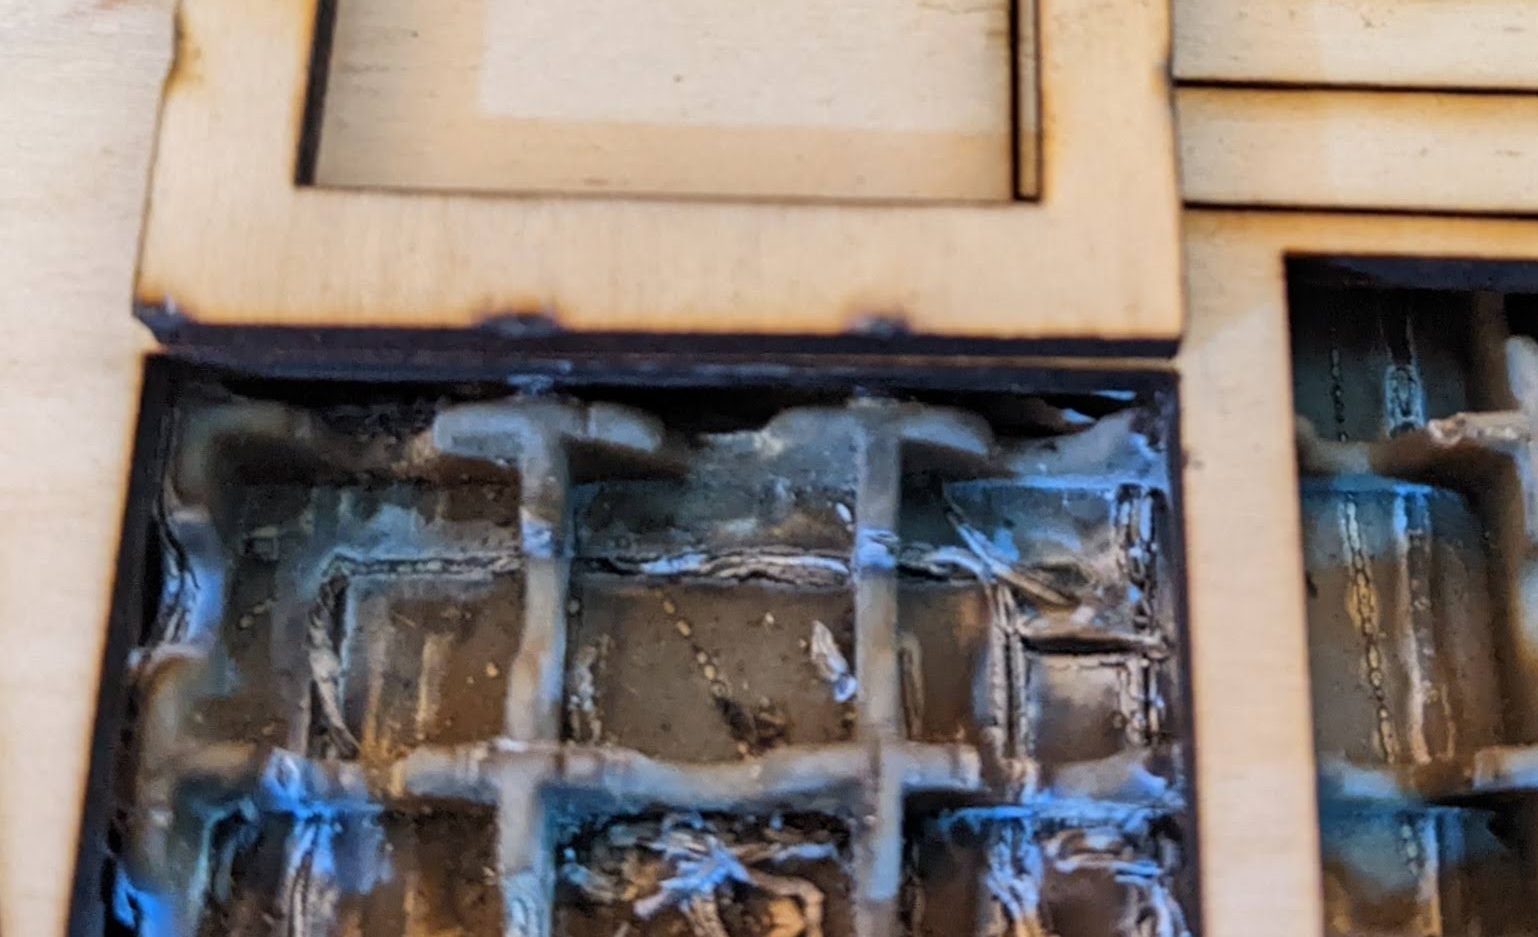
I also realized that the spots along the lower side laser path correspond to the touch points of the silicone waffle support pad. See photo.
I consider this topic closed for now, given the reduction in speed solved the problem.
I still think having the ability to check focus at any given point in the field of the laser would be a useful addition to the software.