Hi, so to sum up. I need to flash LaserBox ESP32 v1.0 with “V2.0.8_H35_20220105_N.bin” using VSCode and PlatformIO? I have Atomstack A10 pro, so I’m not sure it will run.
Could you also provide info how to get my defaults?
Hi, so to sum up. I need to flash LaserBox ESP32 v1.0 with “V2.0.8_H35_20220105_N.bin” using VSCode and PlatformIO? I have Atomstack A10 pro, so I’m not sure it will run.
Could you also provide info how to get my defaults?
Yes you can flash this software to your Laserbox DLC V1.0 but there is only value if you need to control air assist or need more WIFI features. Otherwise the Atomstack firmware should be fine also. Be sure to used the binary from V1.0 tree. You will be able to export your defaults from the A10 with $$ from the console of Lightburn or LaserGRBL. Both programs also have native functions to backup and restore the configuration.
Back on this subject, would you be ok to resumt exacly the electric wiring, wich components and where does you plug it in the A20M mother board and the Air Assist block ?
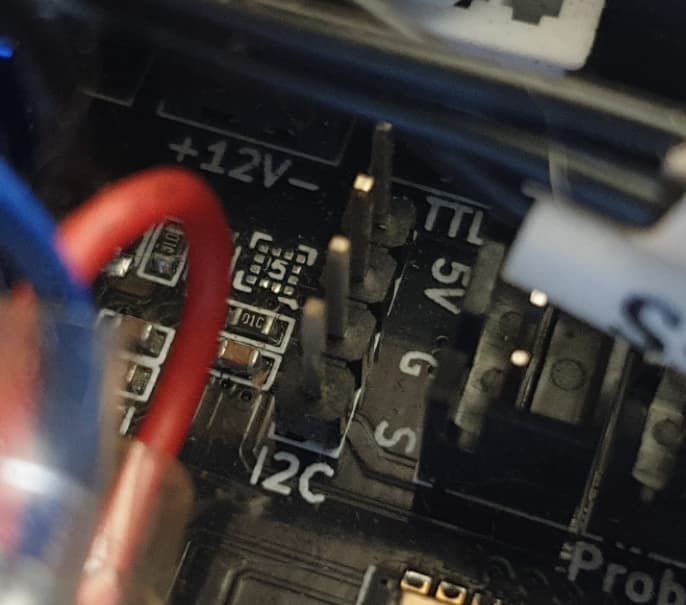
The pins at the I2C connector are in reverse order to the MKS DLC32 board. From bottom to top at the I2C connector 3,3V, GND, SDA, SCL. This is if you look at the board and can read the all labeling in regular orientation. The optocoupler Mosfet switches i use are connected to GND (black) and SCL (yellow). Red and white are not connected. The 12 or 24V (red) are connected together. The GND (black) ist output in the middle and input at the opposite of the red wires at the output side of the module. You can see the detail of wiring in my pictures posted above.
So you directly connected the serial SCL to the mofset switch ? isn’t is supposed to transmit serial datas ?
From this picture, could you please re-explain the pinout of the I2C ?
The I2C port is not used in I2C mode by the firmware. The SCL pin is just switching on and off. As already explained before from bottom to top at the I2C connector 3,3V, GND, SDA, SCL. To connect the mosfet switch only GND and SCL signals are used. DollaTek 5Pcs D4184 MOS Modul MOSFET Steuermodul Feldeffektmodul: Amazon.de: Gewerbe, Industrie & Wissenschaft
Perfect !, thanks, sorry for the duplicate questions, but re-reading the whole thread, I was a little lost ![]() now it’s perfectly clear.
now it’s perfectly clear.
Im thinking about the same thing. Its kinda noisy, and it would be nice if it did shut off after some time.
I have implemented both flood cooling(SCL) and mist cooling(SDA) output signals on the I2C port in the modified firmware now. I think im gonna run both the air assist and cabinet fan on flood cooling and the laser fan on the mist cooling.
I also started this way to modify the MKS source before i found this code is much older and with issues than the released binary versions. Finally i used the last working binary for the MKS v1.1 board with good success. To also switch the laser fan you need to do an hardware modification and I like to avoid this. To keep the air assist and enclosure fan running for some time after the job is finished im thinking to add an finalisation script in Lightburn.
Which issues did you encounter? I have no problem with hardware modifications in the state my Atomstack is right now. There is no warranty left on mine and its heavily modified allready ![]()
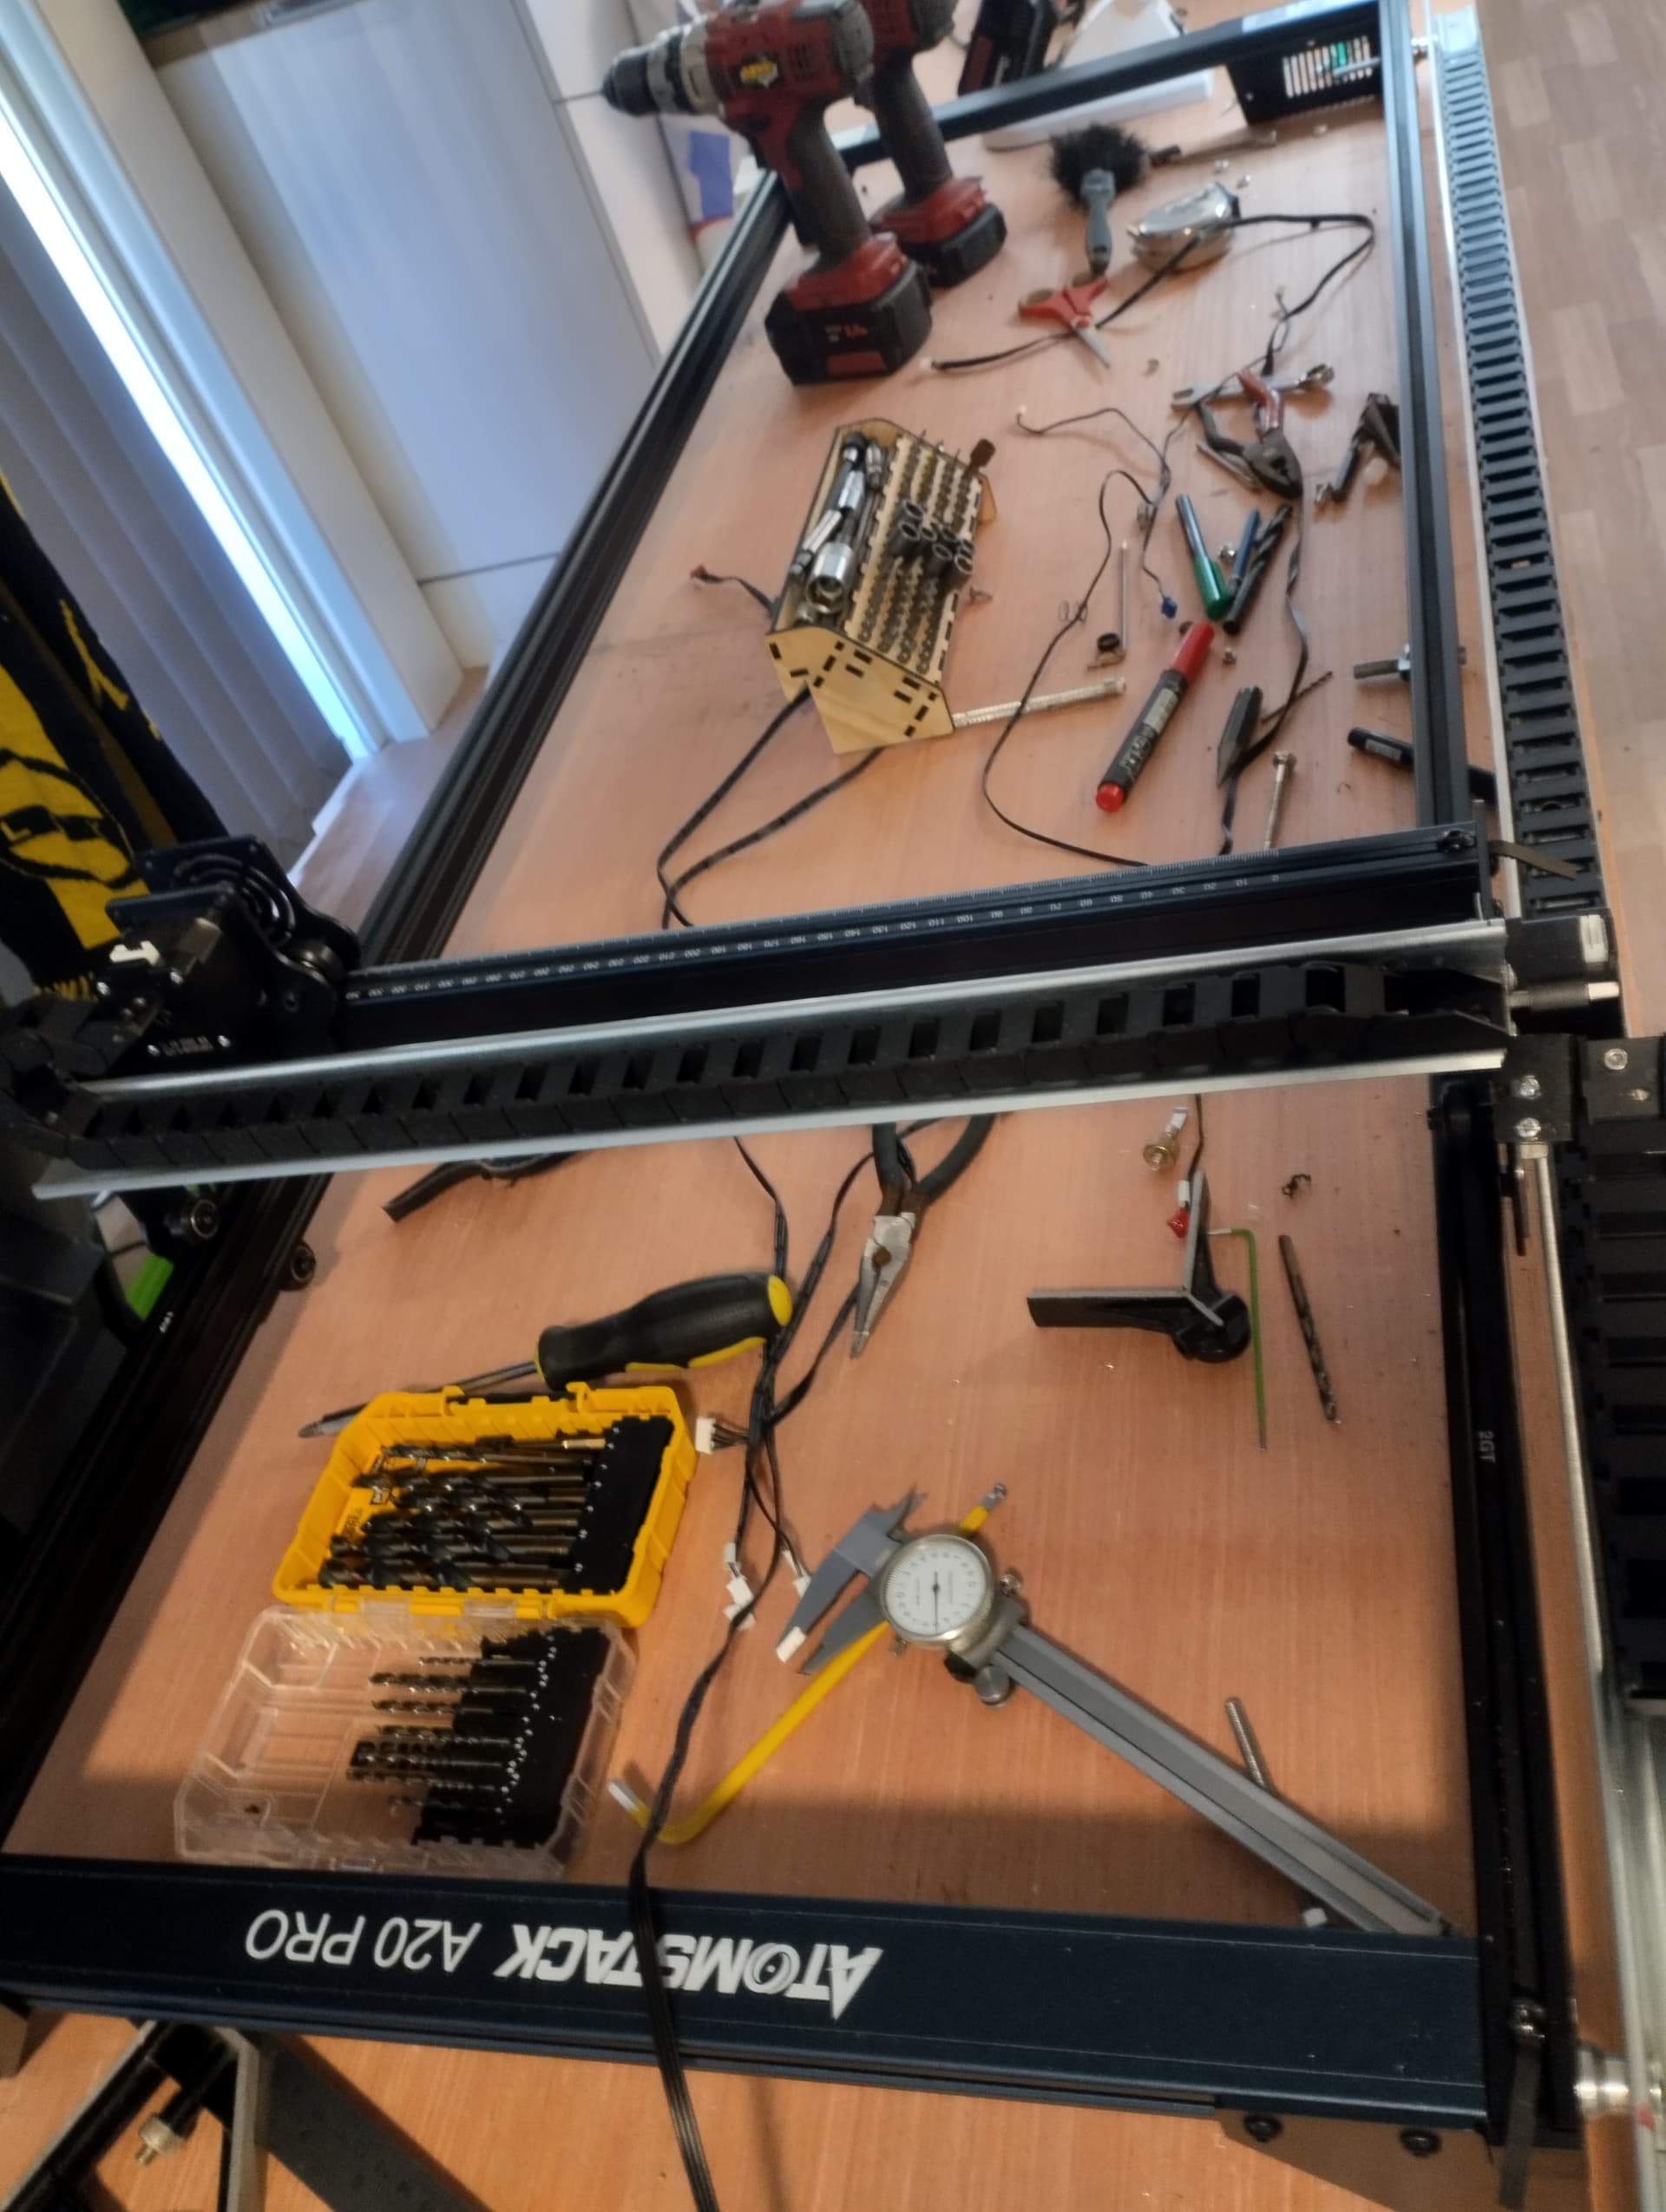
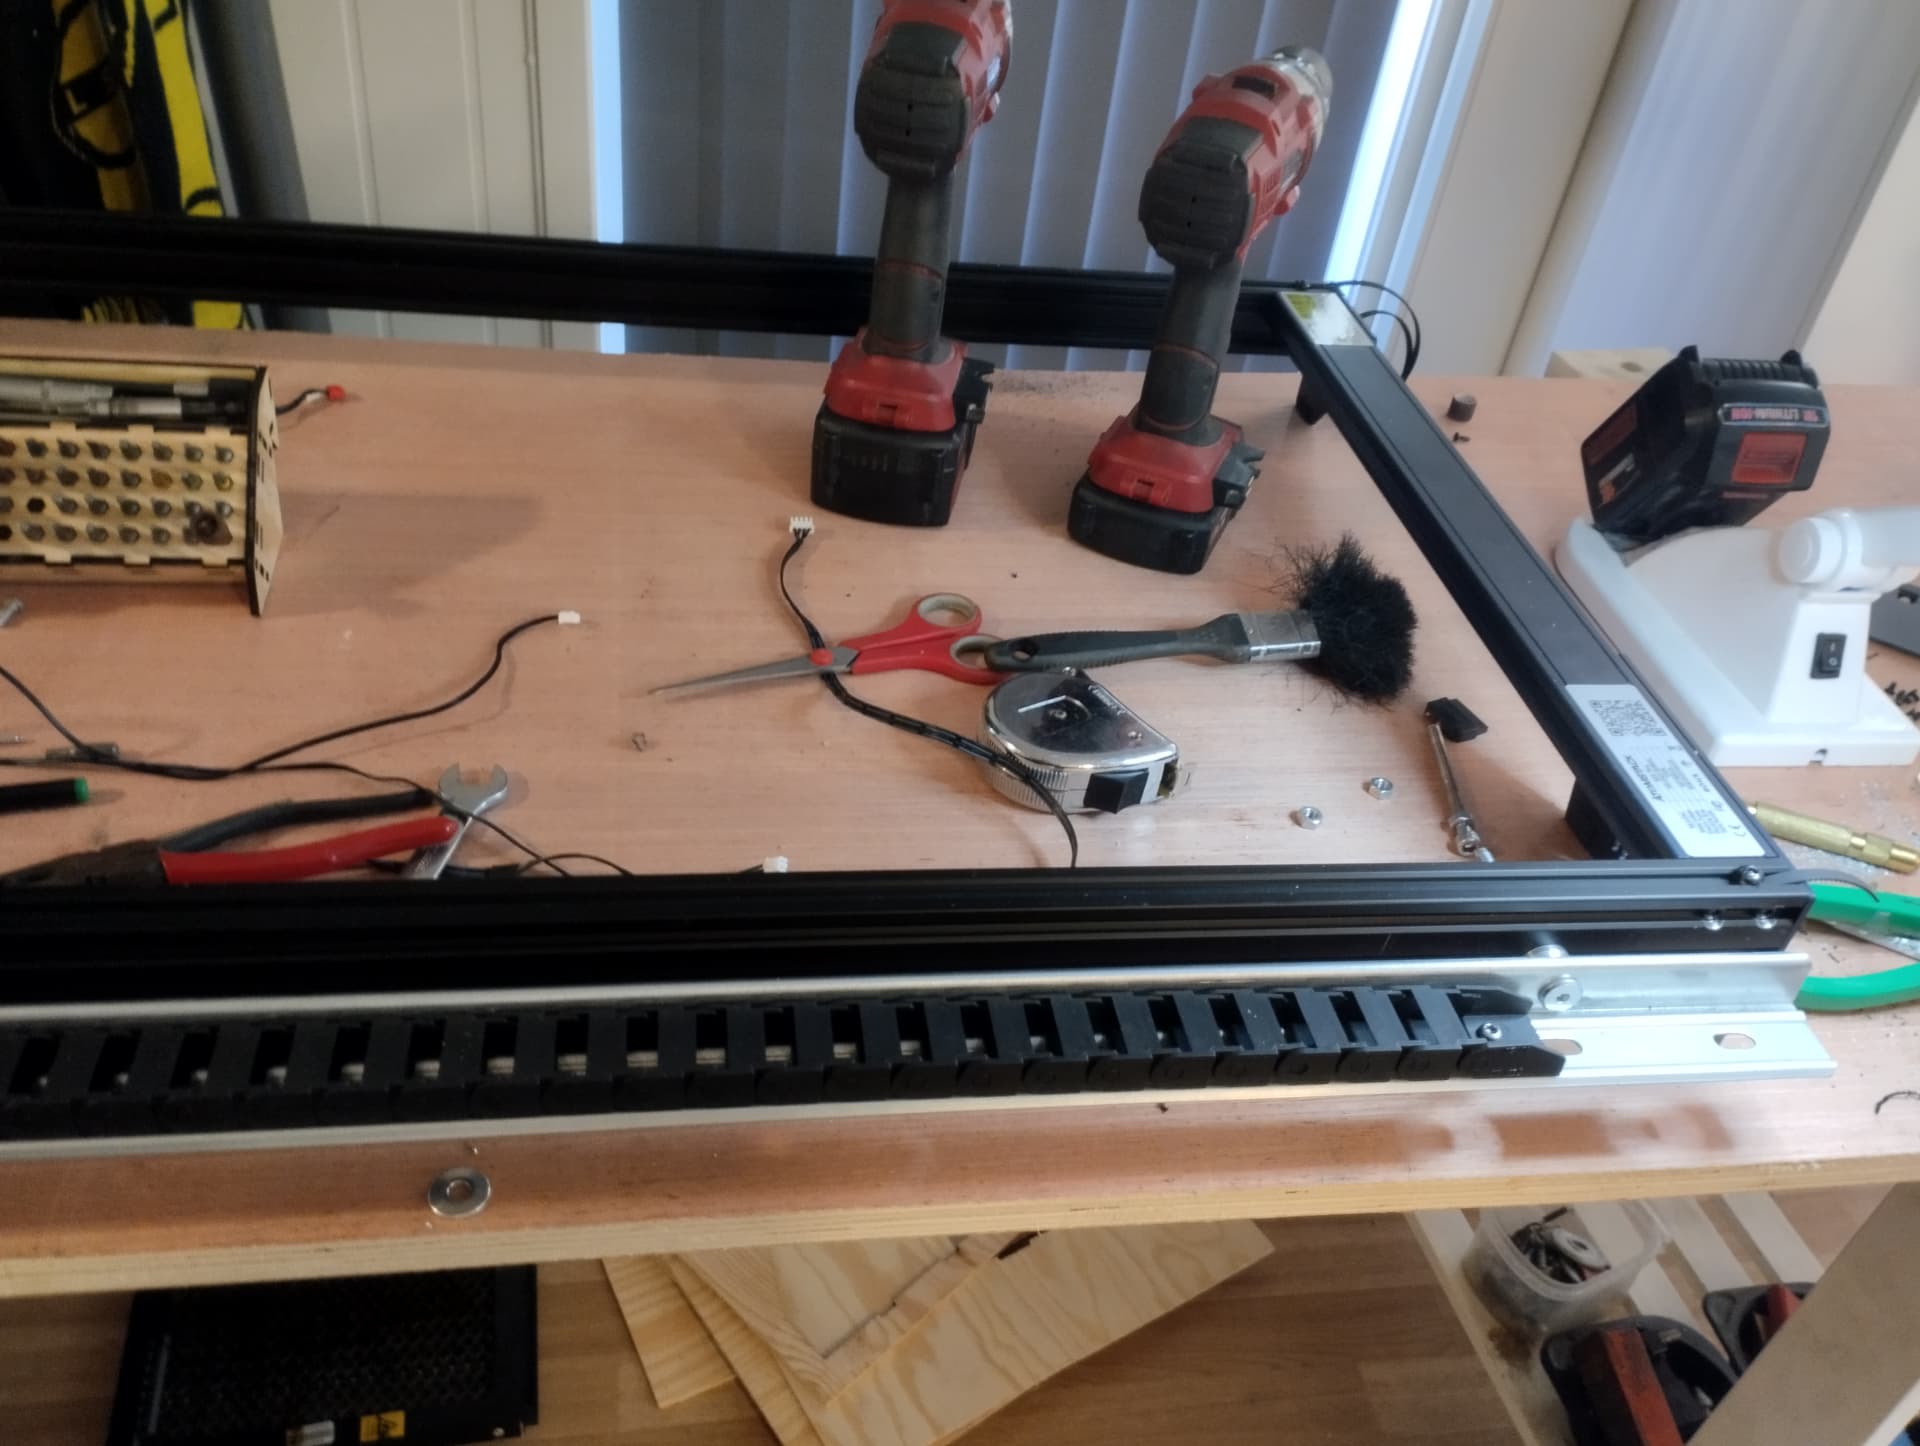
Pardon the mess, i have just extended the Y(now X) axis (1500mm) and i’m about to build a cabinet for the machine ![]()
Mhhh, my X20 is still under warranty (i think). I still have the standard size and the standard FB2 enclosure with a custom exhaust end (to my window). I always try to run the enclosure fan for about 1 or 2 minutes after the job finished before i open it. At moment I do this manually with the M7 command from the Lightburn console. With firmware build from source i had issues with the screen and WIFI i also have seen some strange messages from time to time. Was not really affecting engraving or cutting but i don’t feelt very save to use the firmware in this state and updated the source from ESP32_GRBL at least for the laser part. How did you modify the laser fan to control it?
Yeah, if its still under warranty, its okay to keep it unmodified. I have not modified the laser yet, but there shouldnt be any problems getting the module apart. Im planning to use a transistor to control it with the M8 command and also have a timer on the off command. Maybe 2-3min or so.
@janrunejohansen Nice chaine cable and extension! I have bought nearly the same cable chain months ago, but still not had time to put it in place ![]()
@mj666 thanks for your work and all your answers on air assist, this is a great addition.
On another subject I bought the X30 for its lazer & air assist combo promotion, because the frame is probably the worst frame I ever seen, poor quality, poor cable management, poor design, poor motherboard :), so I dont care about warranty exept for the lazer module, absolutly all the other parts can be bought (in better) and replace for a cupple of euros.
This is so low quality than the whole frame itself can be rebuild from scratch pretty easily
I think the X20 is not super fancy but the build quality of the frame an controller is not bad at all. The cable management could be improved but is doing its job. In my understanding this is still the same frame, controller and cabling for the X30? For sure many components are quite standard but i don’t see any bad with this.
I have bought the X30 in early access, and I am not sure I got the official frame that’s maybe why I am thinking so much of bad about it.
EDIT: I will post photos later, you will tell me, but it really look like the lower quality they could have done. And I have to say that at the same time, I bought a Bambulab for about the same price ![]() The contrast in quality is striking. But once again 99% of its price come from the laser module.
The contrast in quality is striking. But once again 99% of its price come from the laser module.
I mean, if you decompose its price it is around (for a small batch, price drop a lot with quantities):
Nema 17x2 : 30$ ?
Aluminium extrusion: 15$ ?
Motherboard : 10$ ?
Belts, screw, gears : 10$ ?
Okay, for me that wouldn’t be a problem. I’m not using the screen or WIFI. I’m using a custom post processor from Fusion 360 to Lightburn and it’s all over USB CDC. I’m also a programmer by trade, and have a lot of experience with programming ESP32’s. So if it’s not any thing critical to cutting via USB, i can live with those issues ![]()
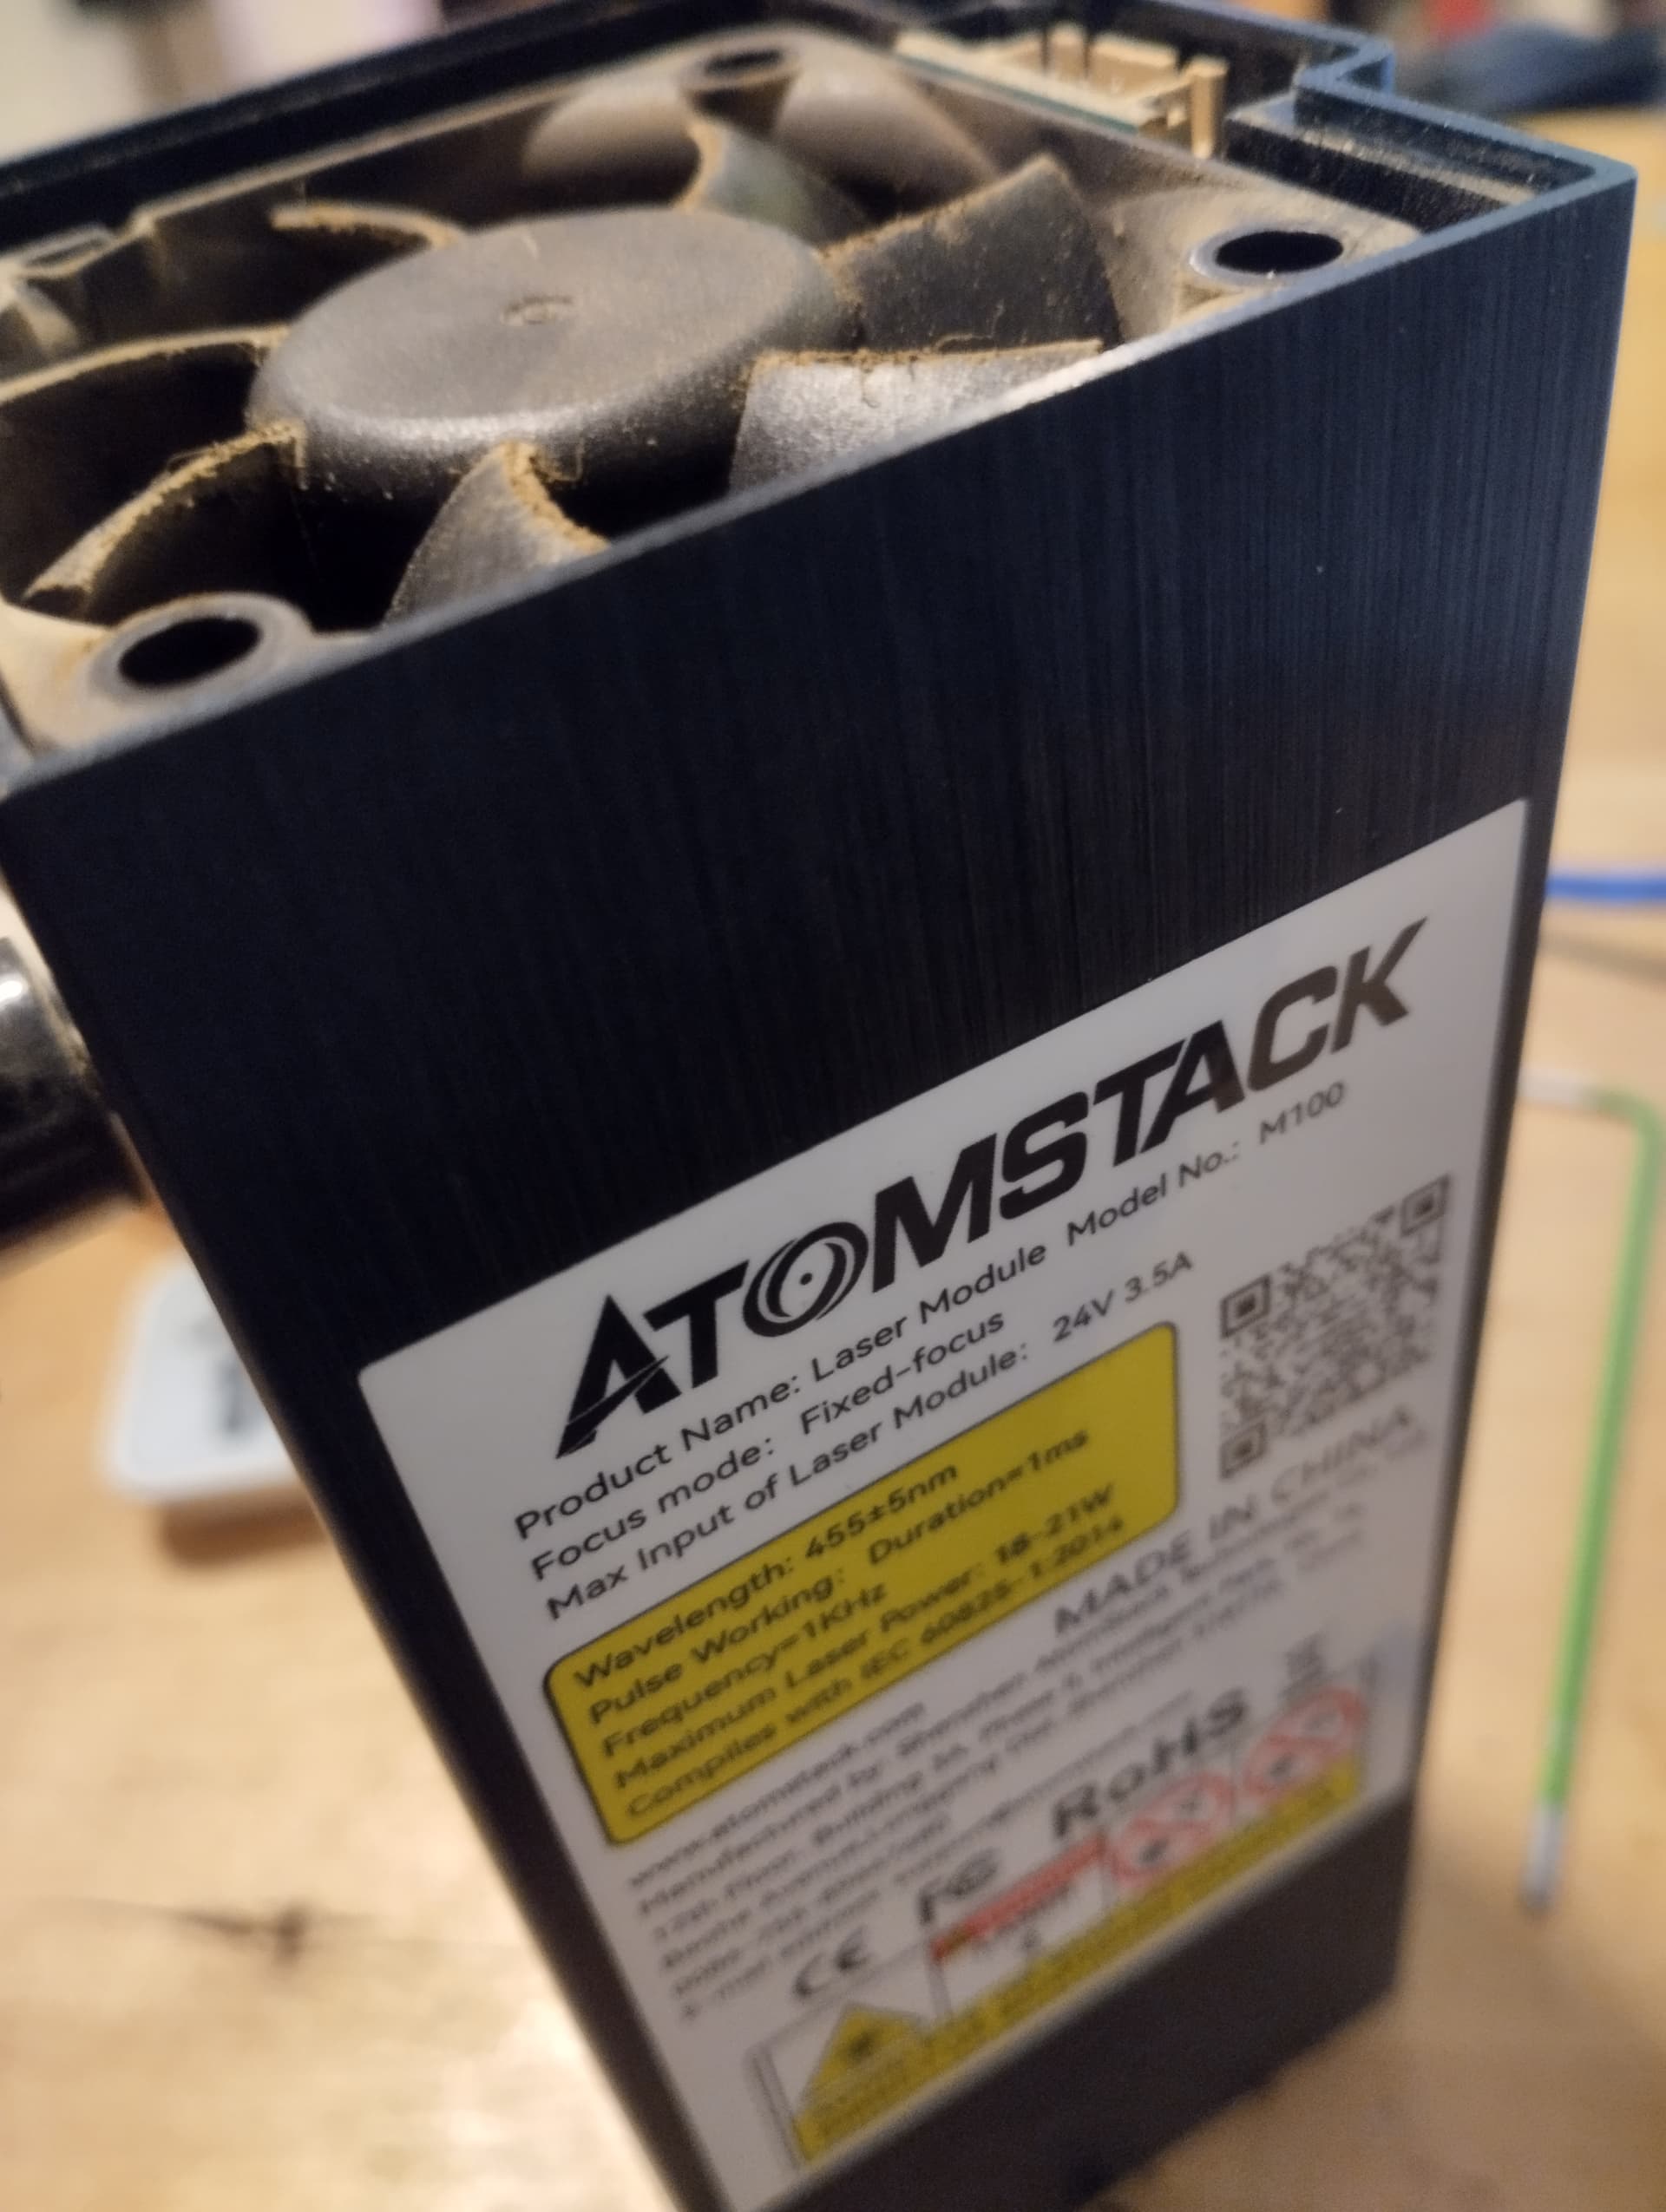
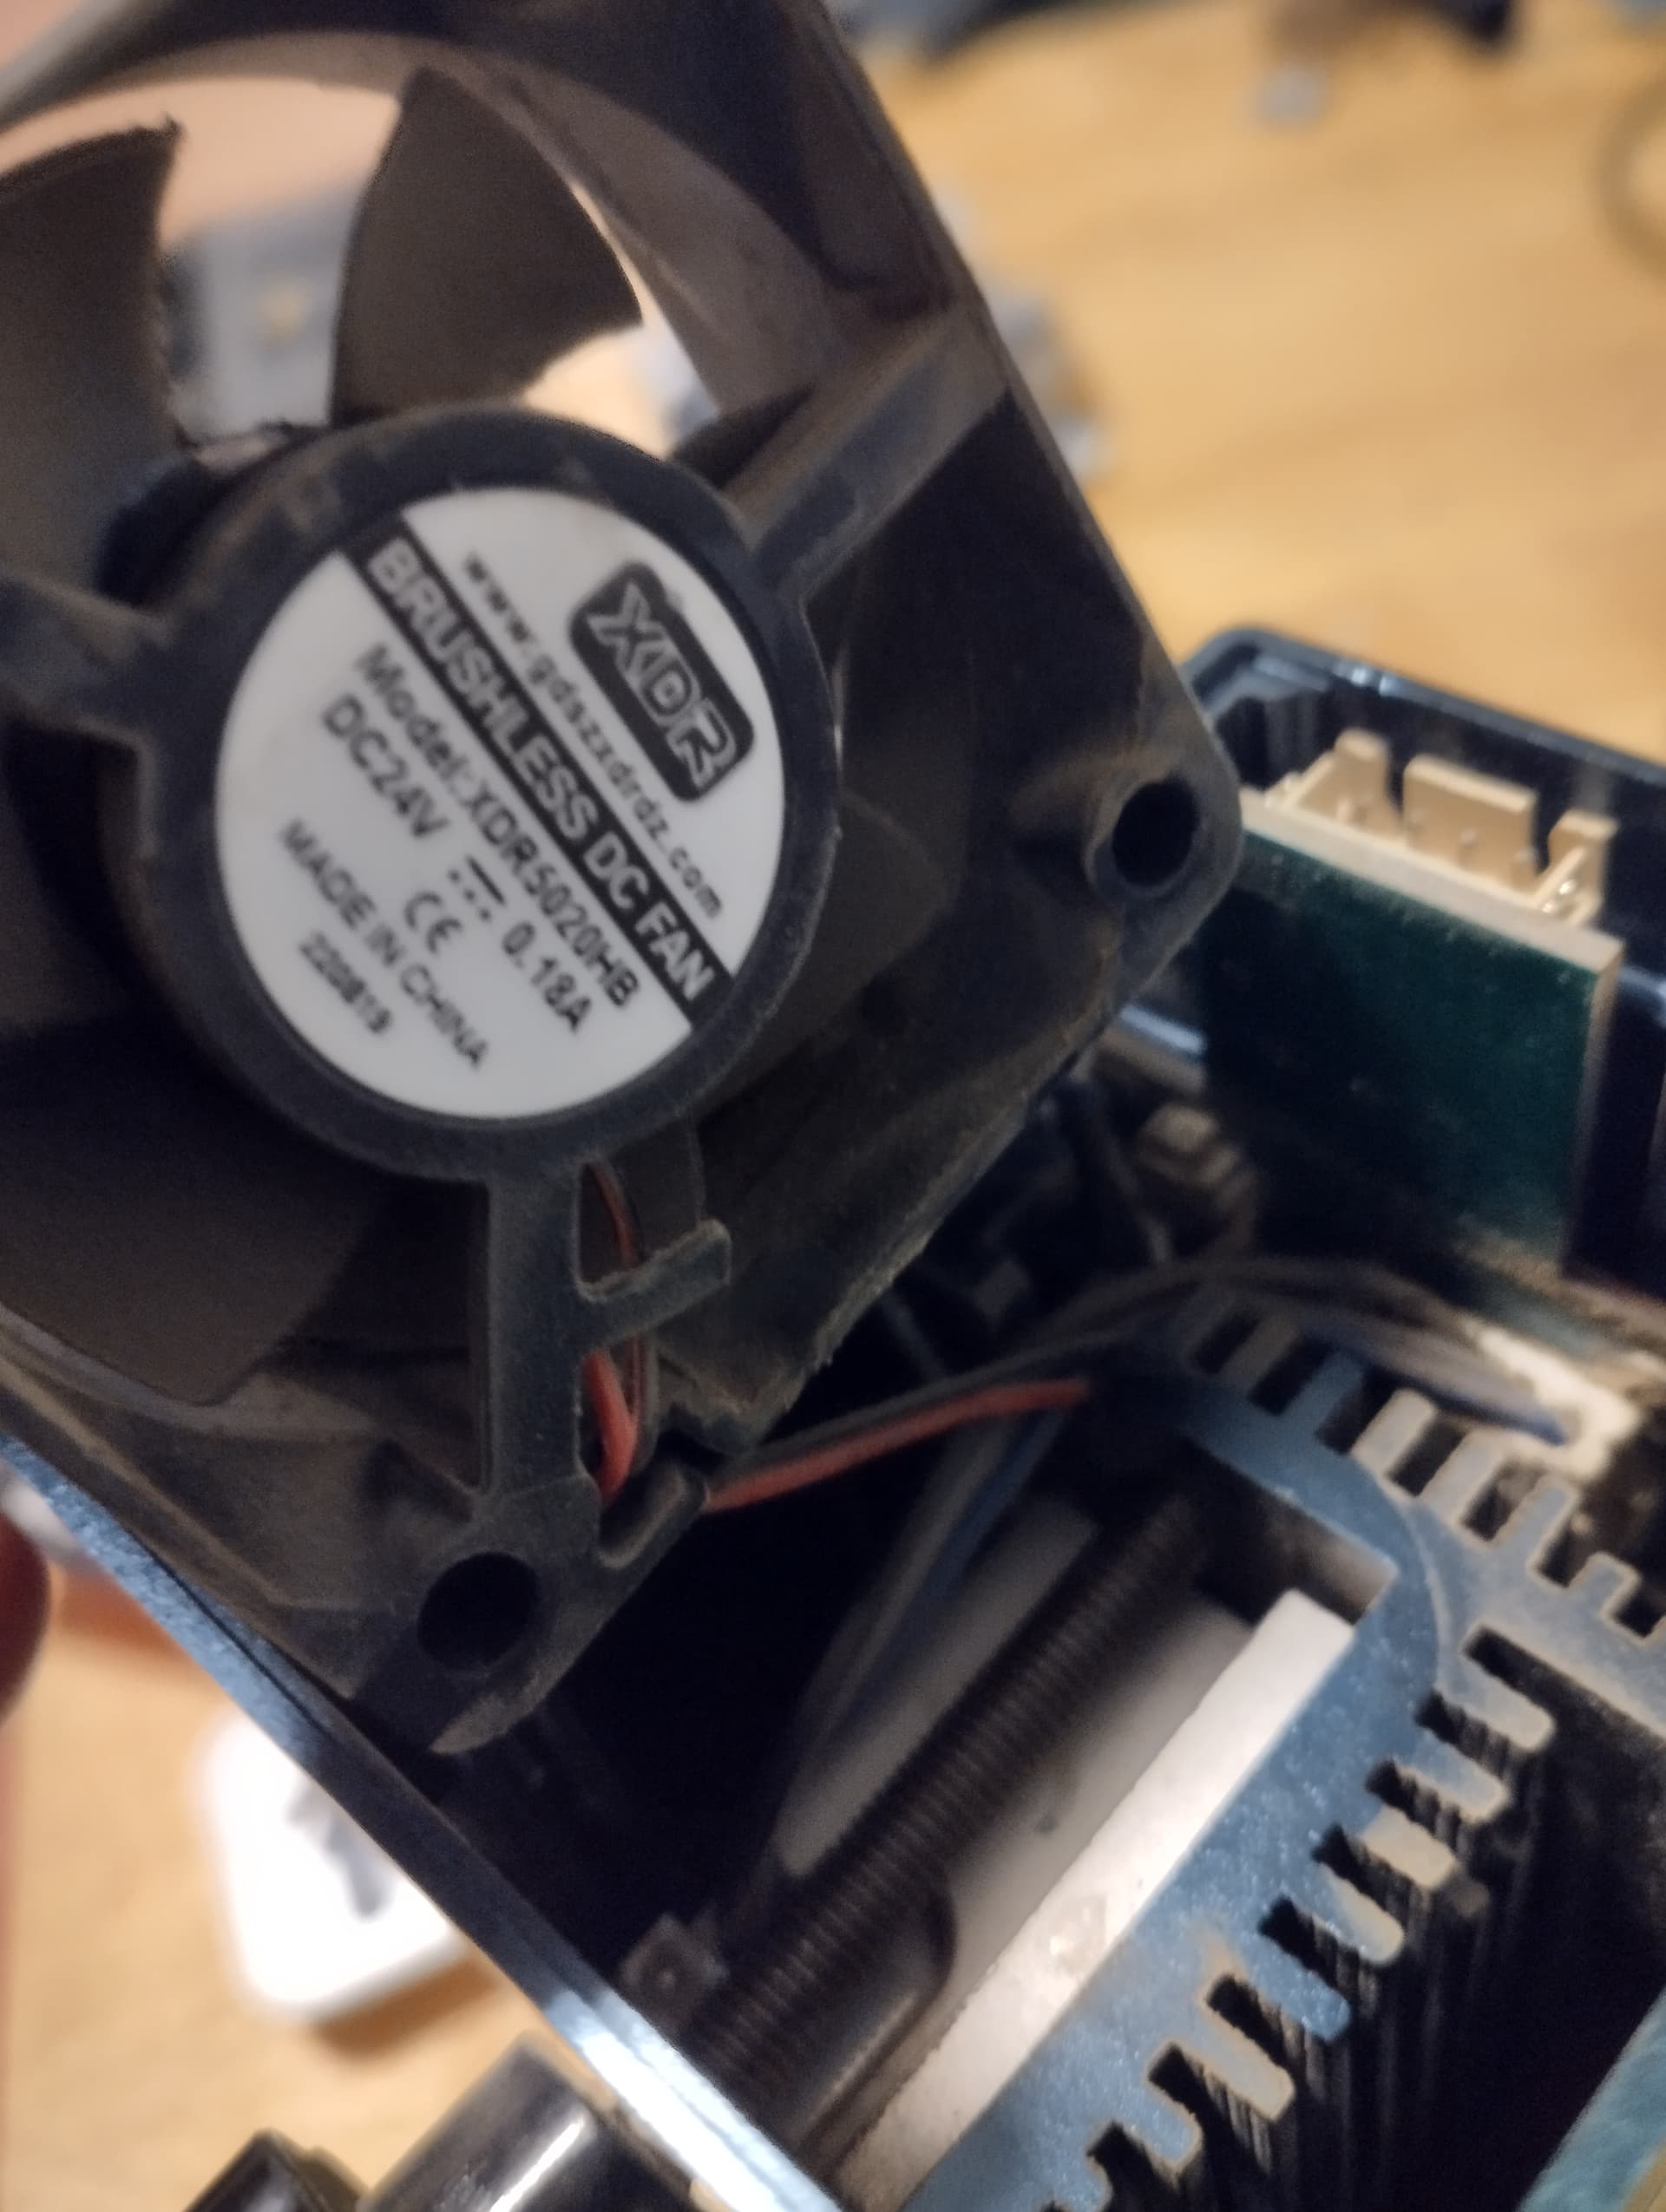
Some images from the module fan on the M100:
Same here, I never used the screen, it is not even more connected and lost in boxes of mess,
For Wifi + camera, I use USB/IP (USB over IP with a raspberrypi + usb cam), I can then controle/send jobs from lightburn and see the camera withing lightburn using my Wifi.
For the rest, how are you going to proceed ?
I was thinking of using the laser TTL to control its Fan ? What’s your opinion ?
I am also interested on this subject, let me know about your progresses !
The components of my X20 are mostly standard but have a decent quality. I know how the laser head looks like. I disassembled it a few times already for cleaning. Not sure haw you want to control fan speed and laser intensity with one PWM signal? There is an additional pin at the laser head. Not sure for what it is used since it is likely connected to the probe port of the controller? Not really verified but may be some over temperature of the laser? I don’t use the display very often but sometimes. If you dort use the display at all than FluidNC is may be a better option since it will still actively maintained.
I’m just gonna get everything working again. I had those extrusions, GT2 belts and cable chains laying around here for about 6 months and I finally had some spare time to get this together. The biggest issue I have had with my laser so far is that it didn’t have an enclosure.
It’s possible to piggyback into the PWM signal, but for me that means I need an extra microcontroller. A better option in my opinion is to use a circuit with a NTC and a transistor to control the fan. Then the circuit will control the speed of the fan according to the temperature. I might go that route, but then again something easy as just having a delay for some minutes is a lot easier.