Hi all
Still no joy with the Snapmaker-Ray-20w coordinates issue.
I did a File - Pref - Reset to the earliest date available thinking I might have earlier adjusted settings in the wrong way but now I’m not sure about that as the behavior is still the same.
The module moves around great…once its away from Far Left & All the way back.
In the move window, If I press the UP arrow (move backwards)…it moves Forwards and if I Press Forward arrow it moves Backward.
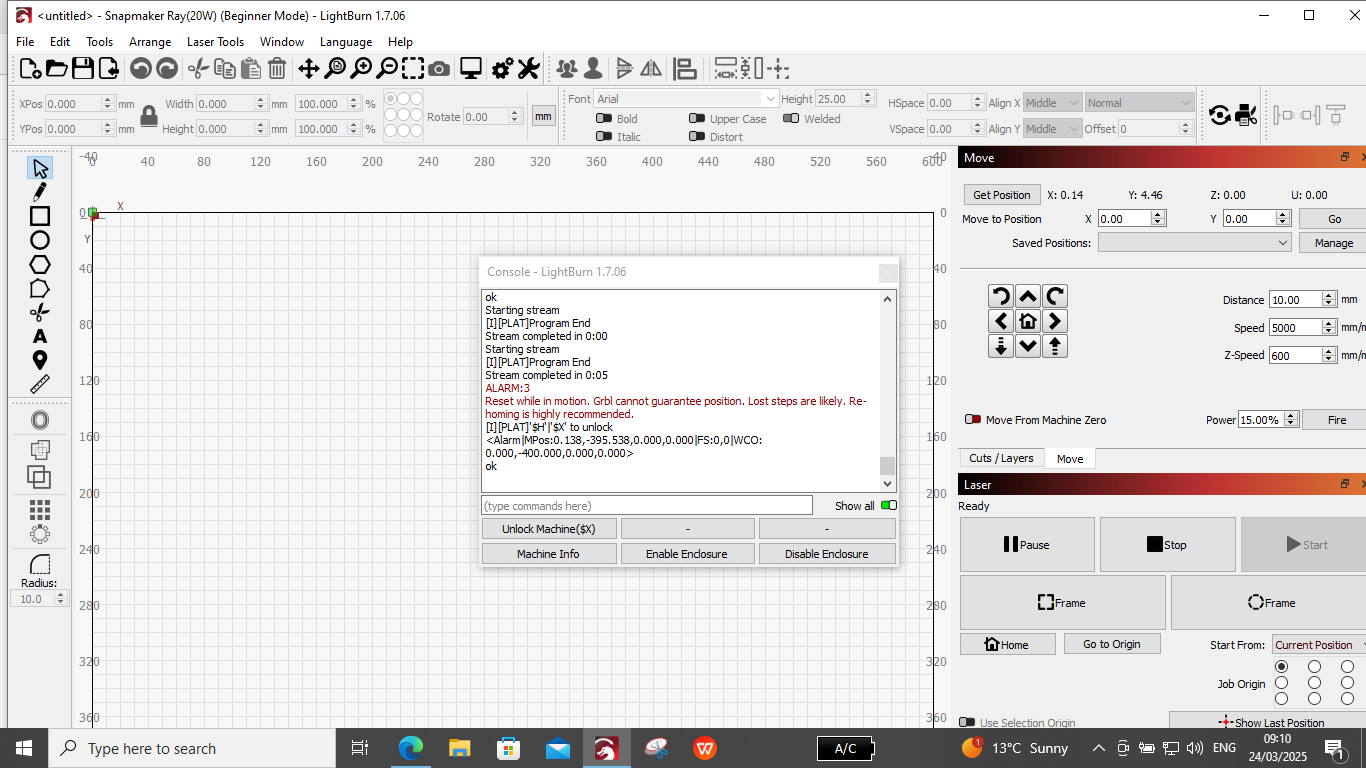
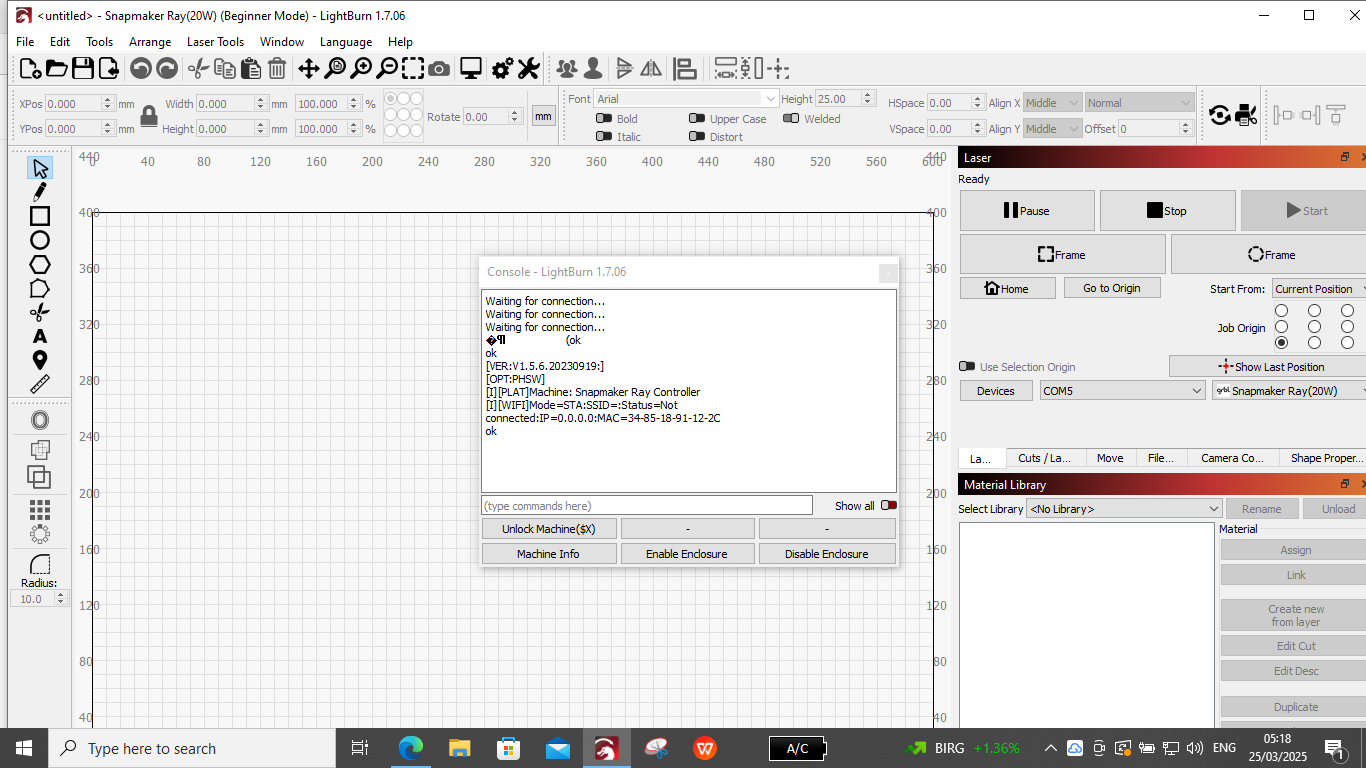
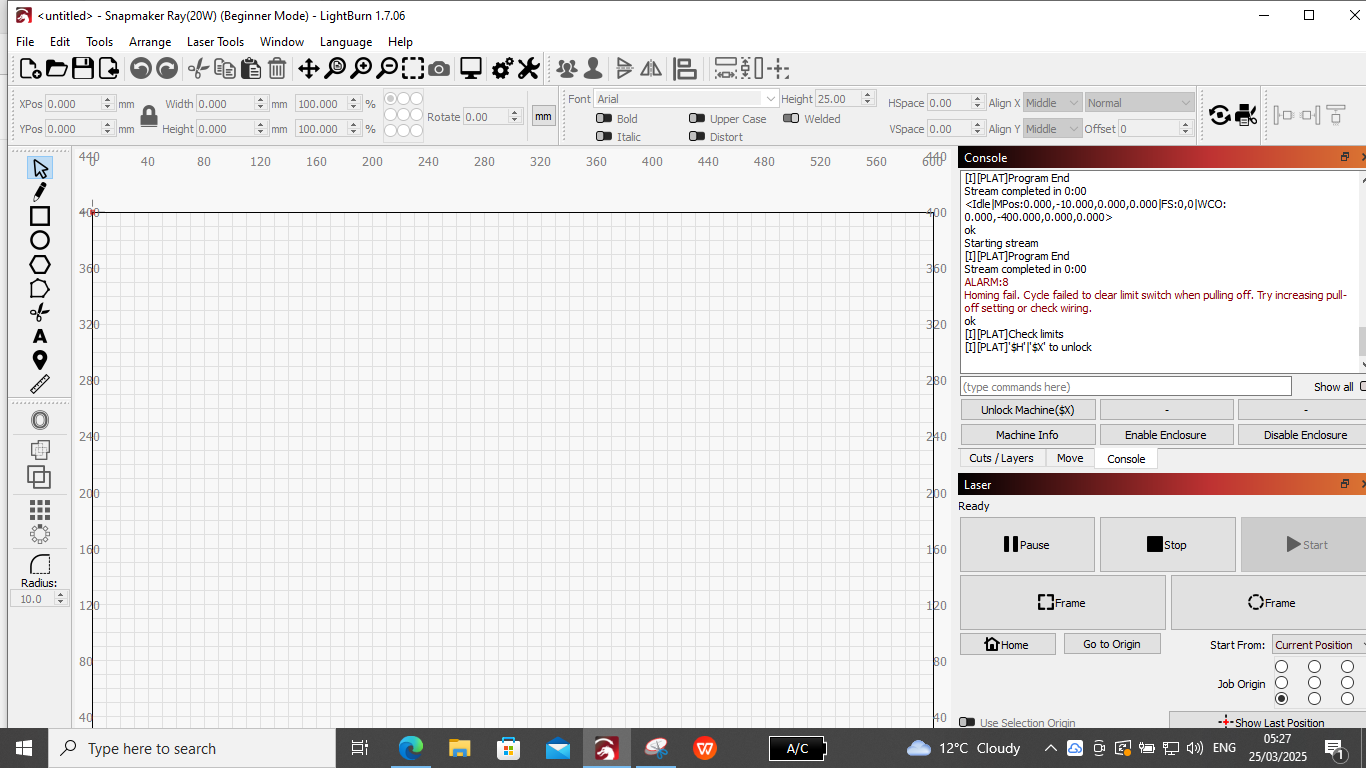
If I press Home button in move window it moves to Back-Left corner - Pulloff 2mm - Alarm 8..Homing fail.
Press $X to unlock.
Press Arrow-Right - moves right 10mm - Repeat and it moves another 10mm.
Press Arrow Left - Moves left 10mm.
Move position X 0.00 Y0.00 - Moves to front of machine - Alarm 3..Reset while in motion
I’ll just tether the phone and switch to laptop so I can send a screenshot.
First, where are your limit switches at. Normally they are on the front left corner. But Confirm. Second you have Start From: set to Current Position. Normally to home it should be Absolute Position. You also have job origin set to Back Left. If you do not have limit switches manually move the head to front left position then turn on machine and see how everything works. When homing where does it go.
This is what I want you to do. Download this file. It’s the .lbdev for Snapmaker Ray 20 watt. snapmaker-ray-20w-v1.lbdev (5.2 KB)
Now, in the Laser window, click the devices button, select your machine profile and click remove. Next click Import and select the file you downloaded. That will install the correct profile for your machine. Once that is done make sure its connected. Power cycle the laser. Make sure the laser head is somewhere in the middle of the work area before you start it up.
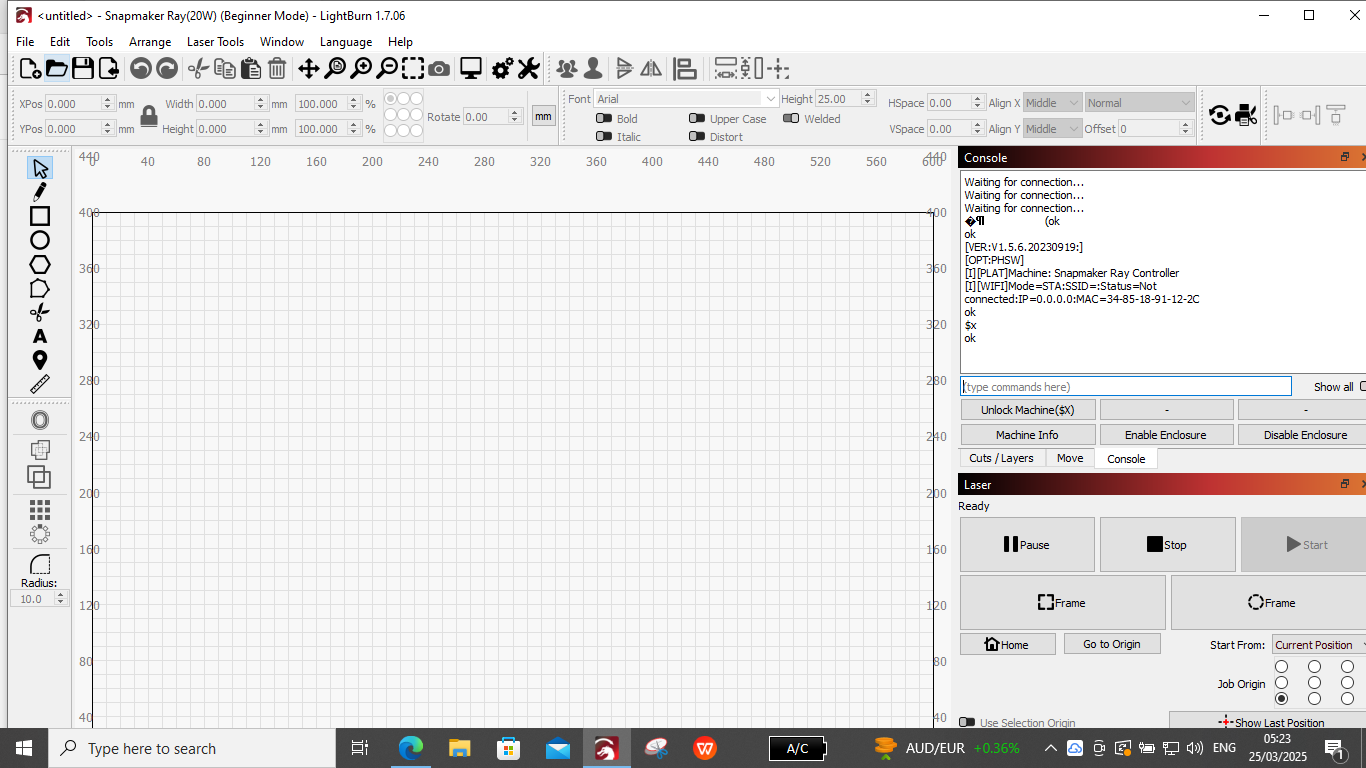
DO NOT click home. In the console type $x.
Next step, check arrow operation. If the arrows cause the head to move in the wrong direction go to console and type $$. Copy and paste ALL the contents here and we will go from there.
If it does move in the correct directions, click home and see where it goes and what happens and respond here.
Thanks Loren
Yes it does have limit switches and I think they are at Left of Xaxis and Front of left side Y axis…but I’m not totally sure and should have an answer from Support soon.
The machine Homes to Back left for all Home buttons inc Absolute coords.
I think thats why I have Job origin set to same.
First you need to change Start from: to Absolute Coordinates and see if the machine will home correctly. If it doesn’t then check your device configuration and make sure it is set to home at Front Left.
I wouldn’t recommend he change any Output Setting at this point. This person is new at this and may cause more issues that he will not be able to correct. Seems to me he has his device configured to home to back left instead of front left, thats why everything is backwords. If he sets Start From to Absolute coordinates the machine should home correctly if his device configuration is correct. If not first step is to correct device configuration. Just my two cents worth
I’m sure we’ll make progress. Can I ask your opinion on this:-
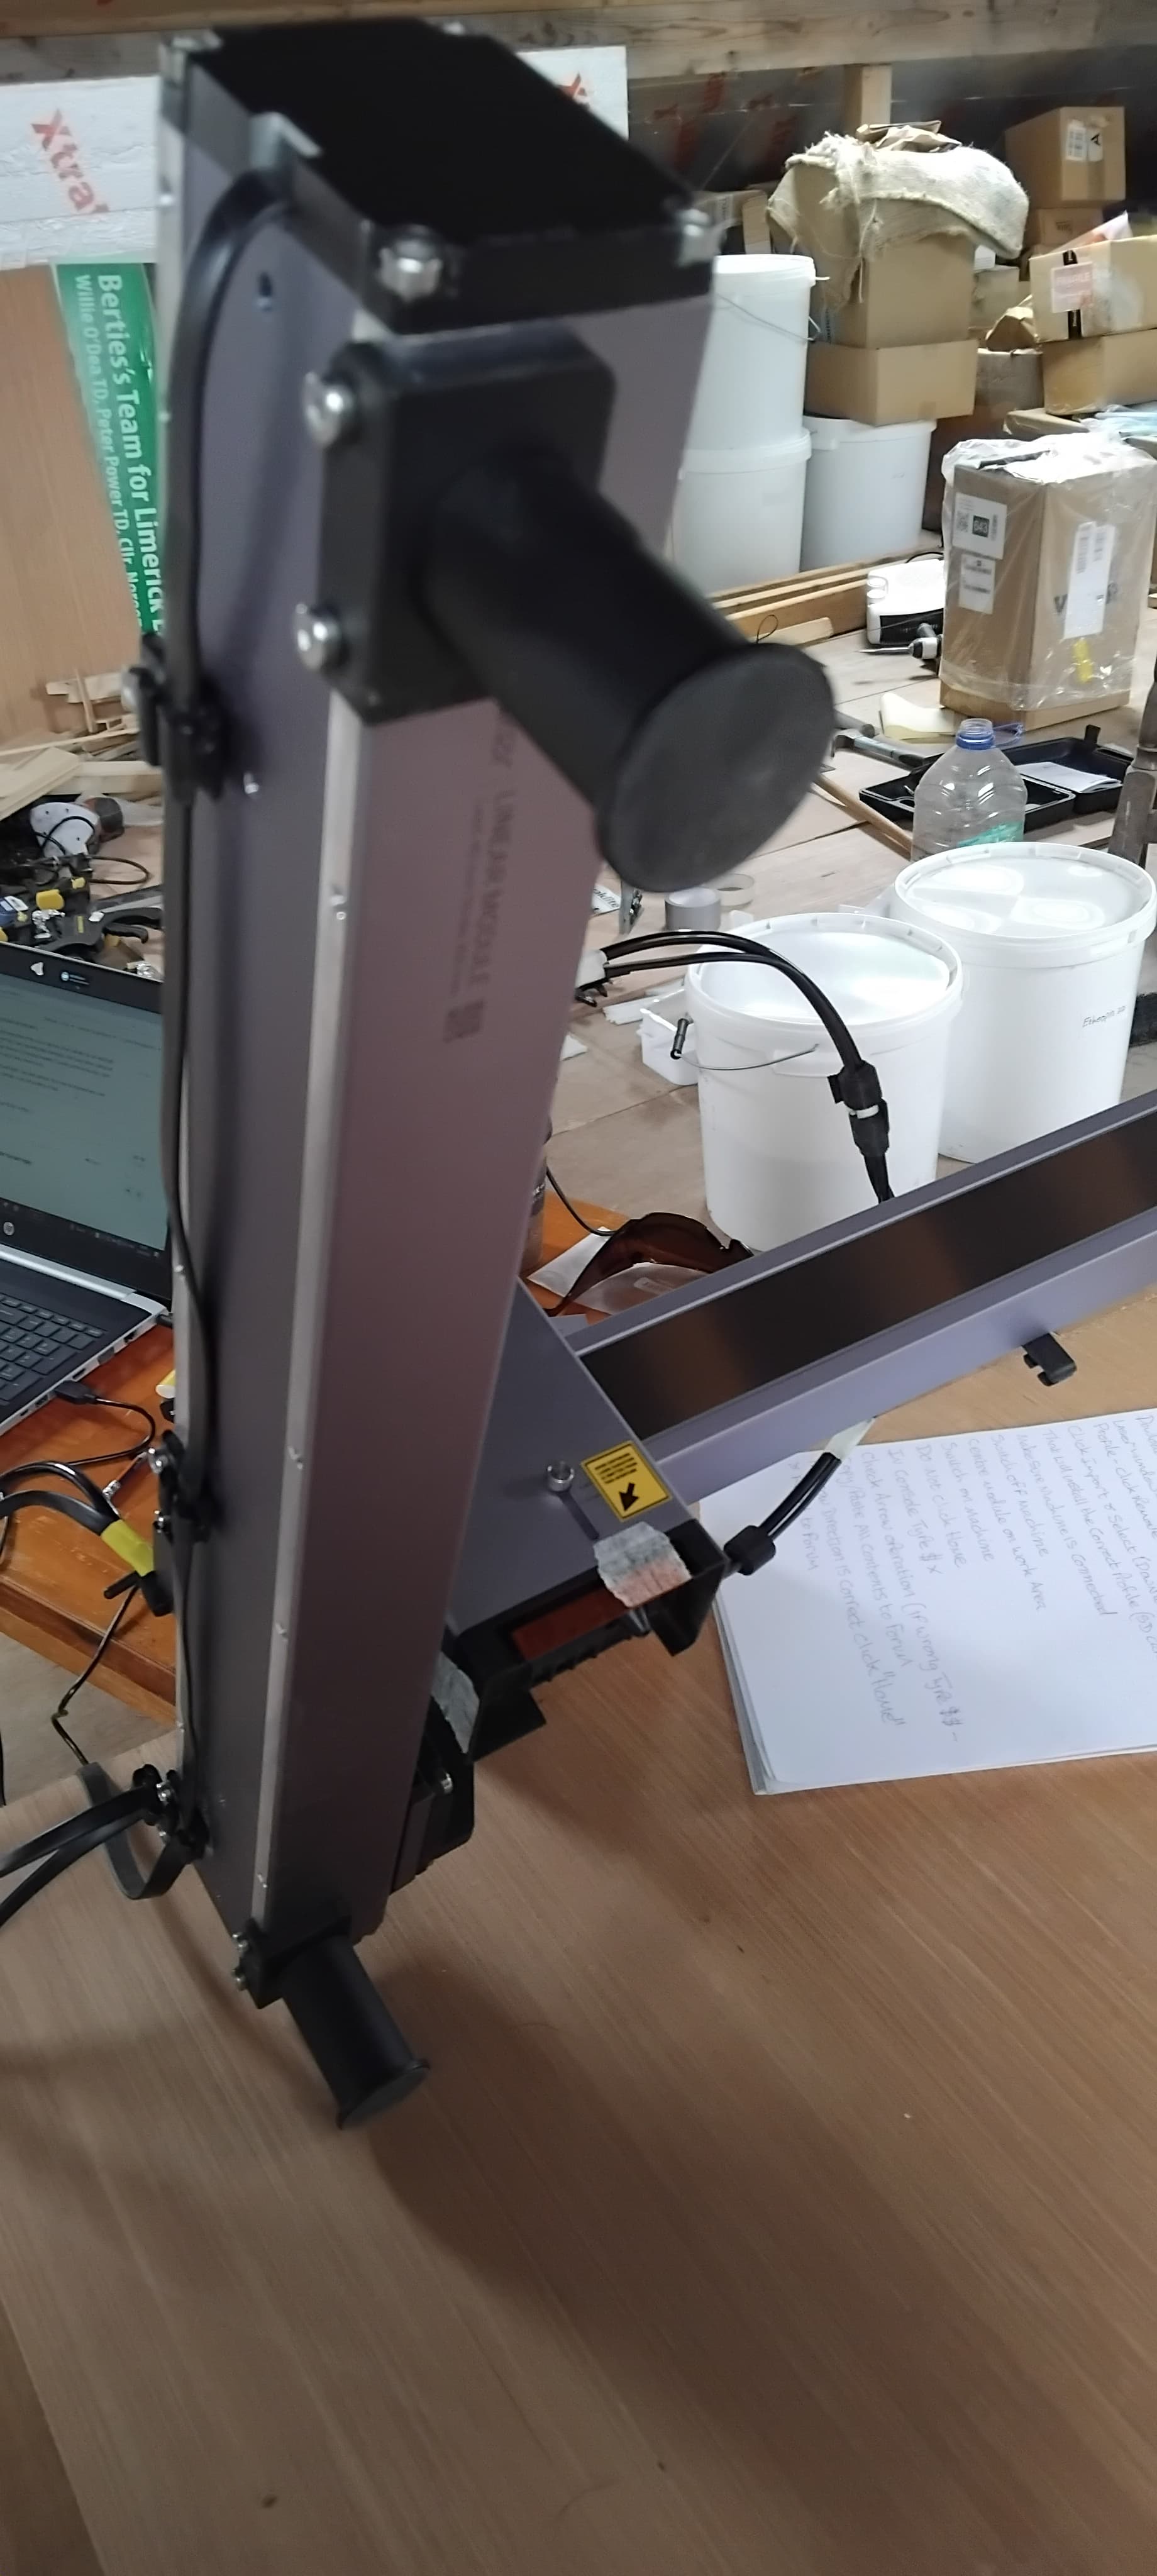
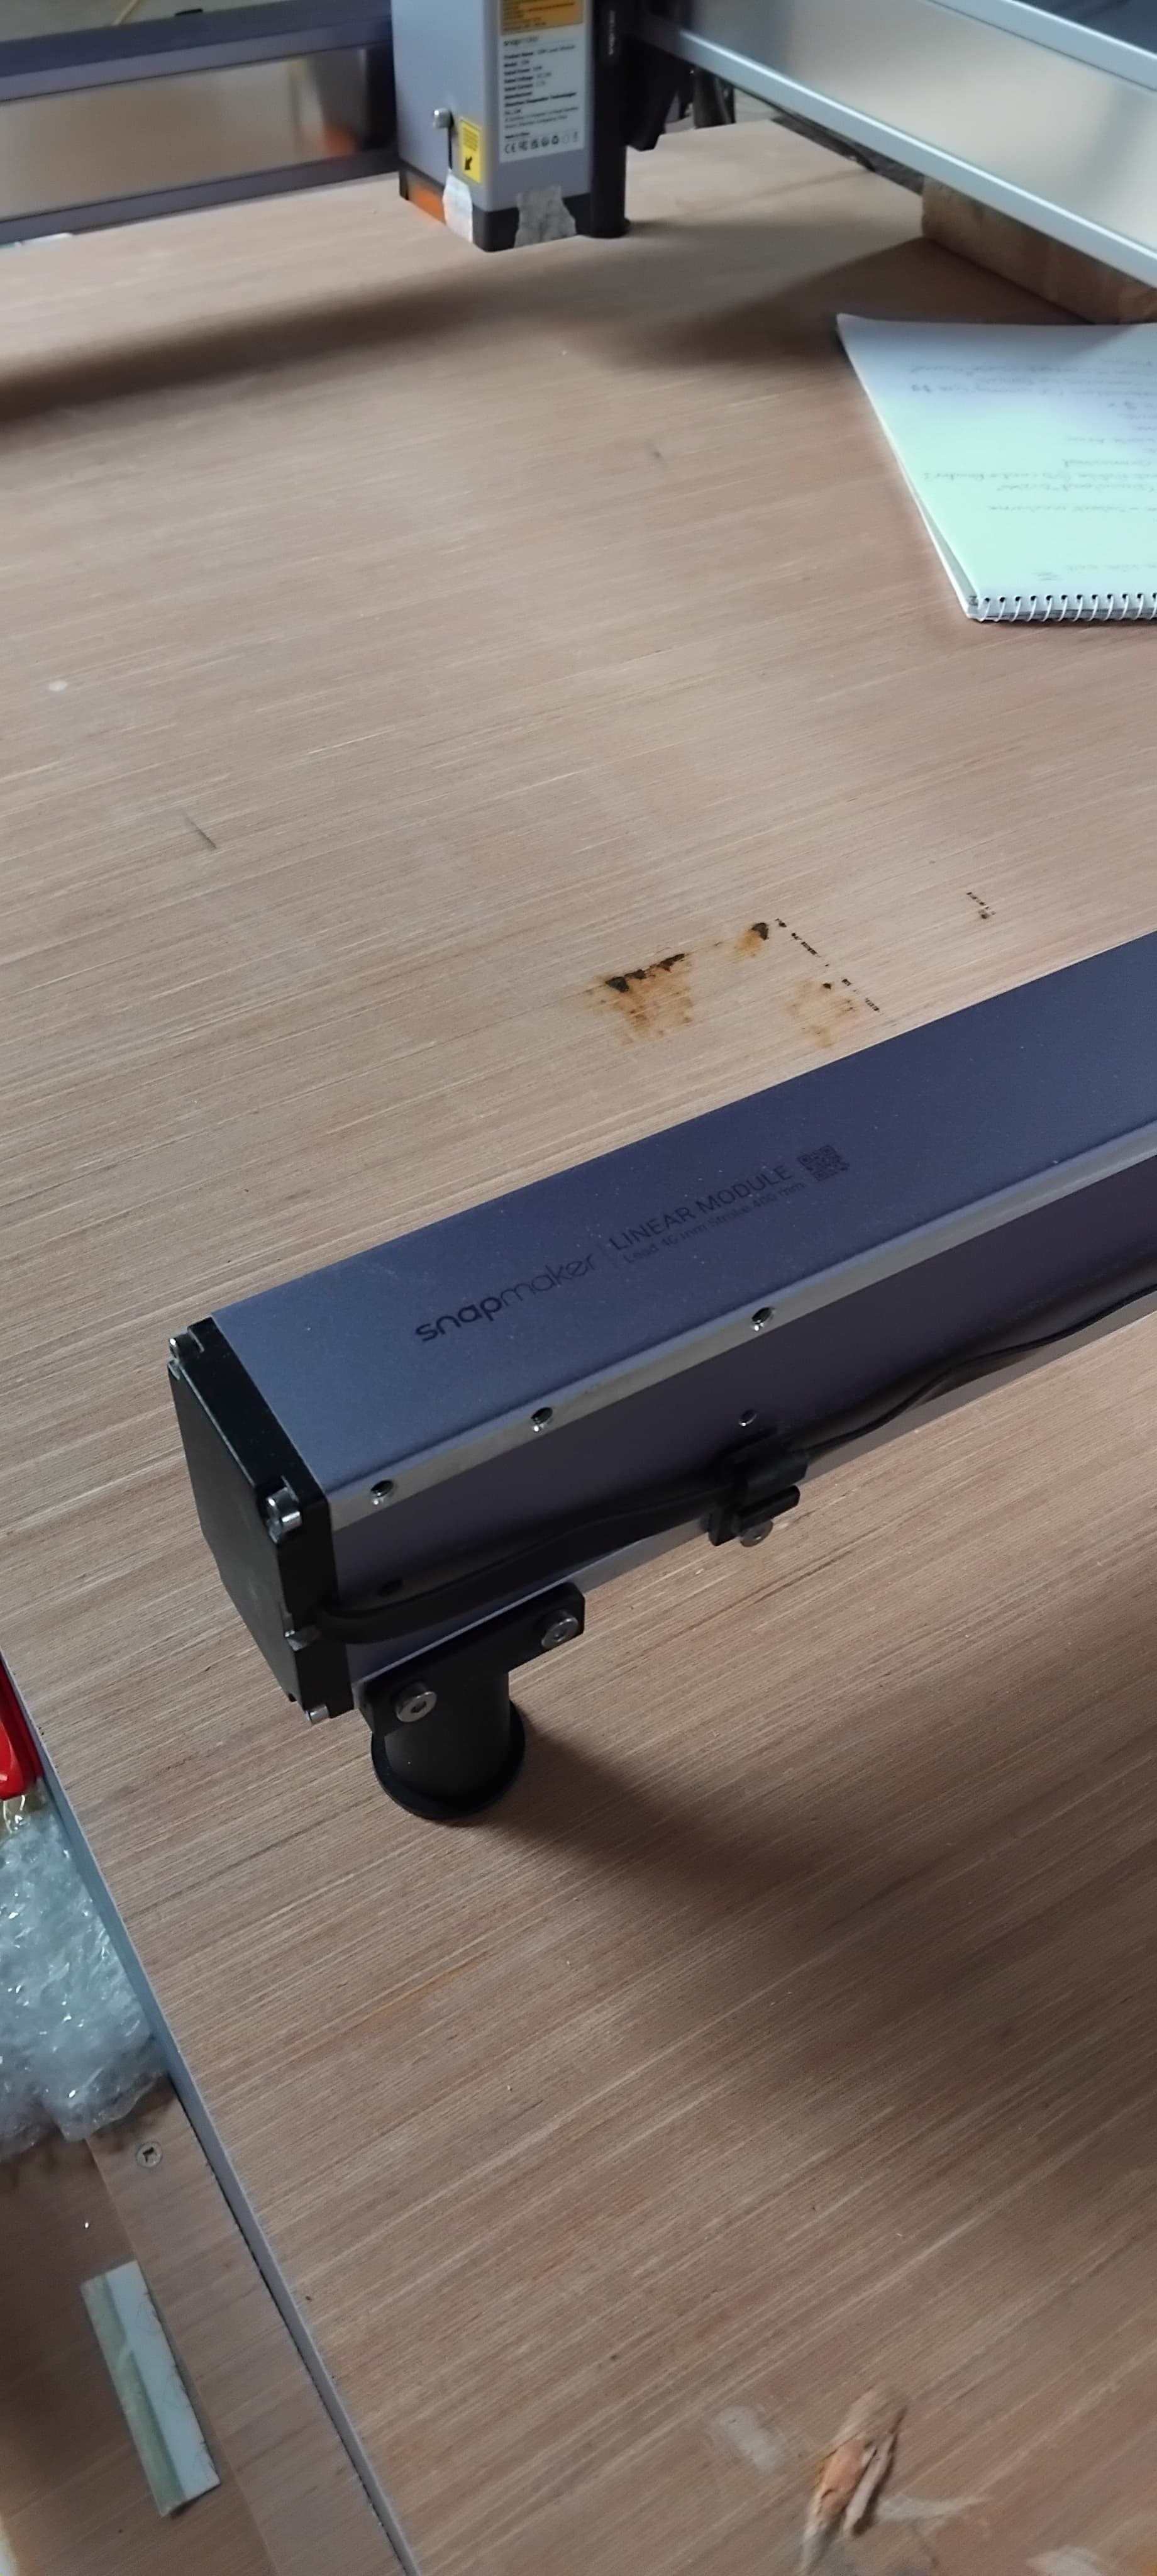
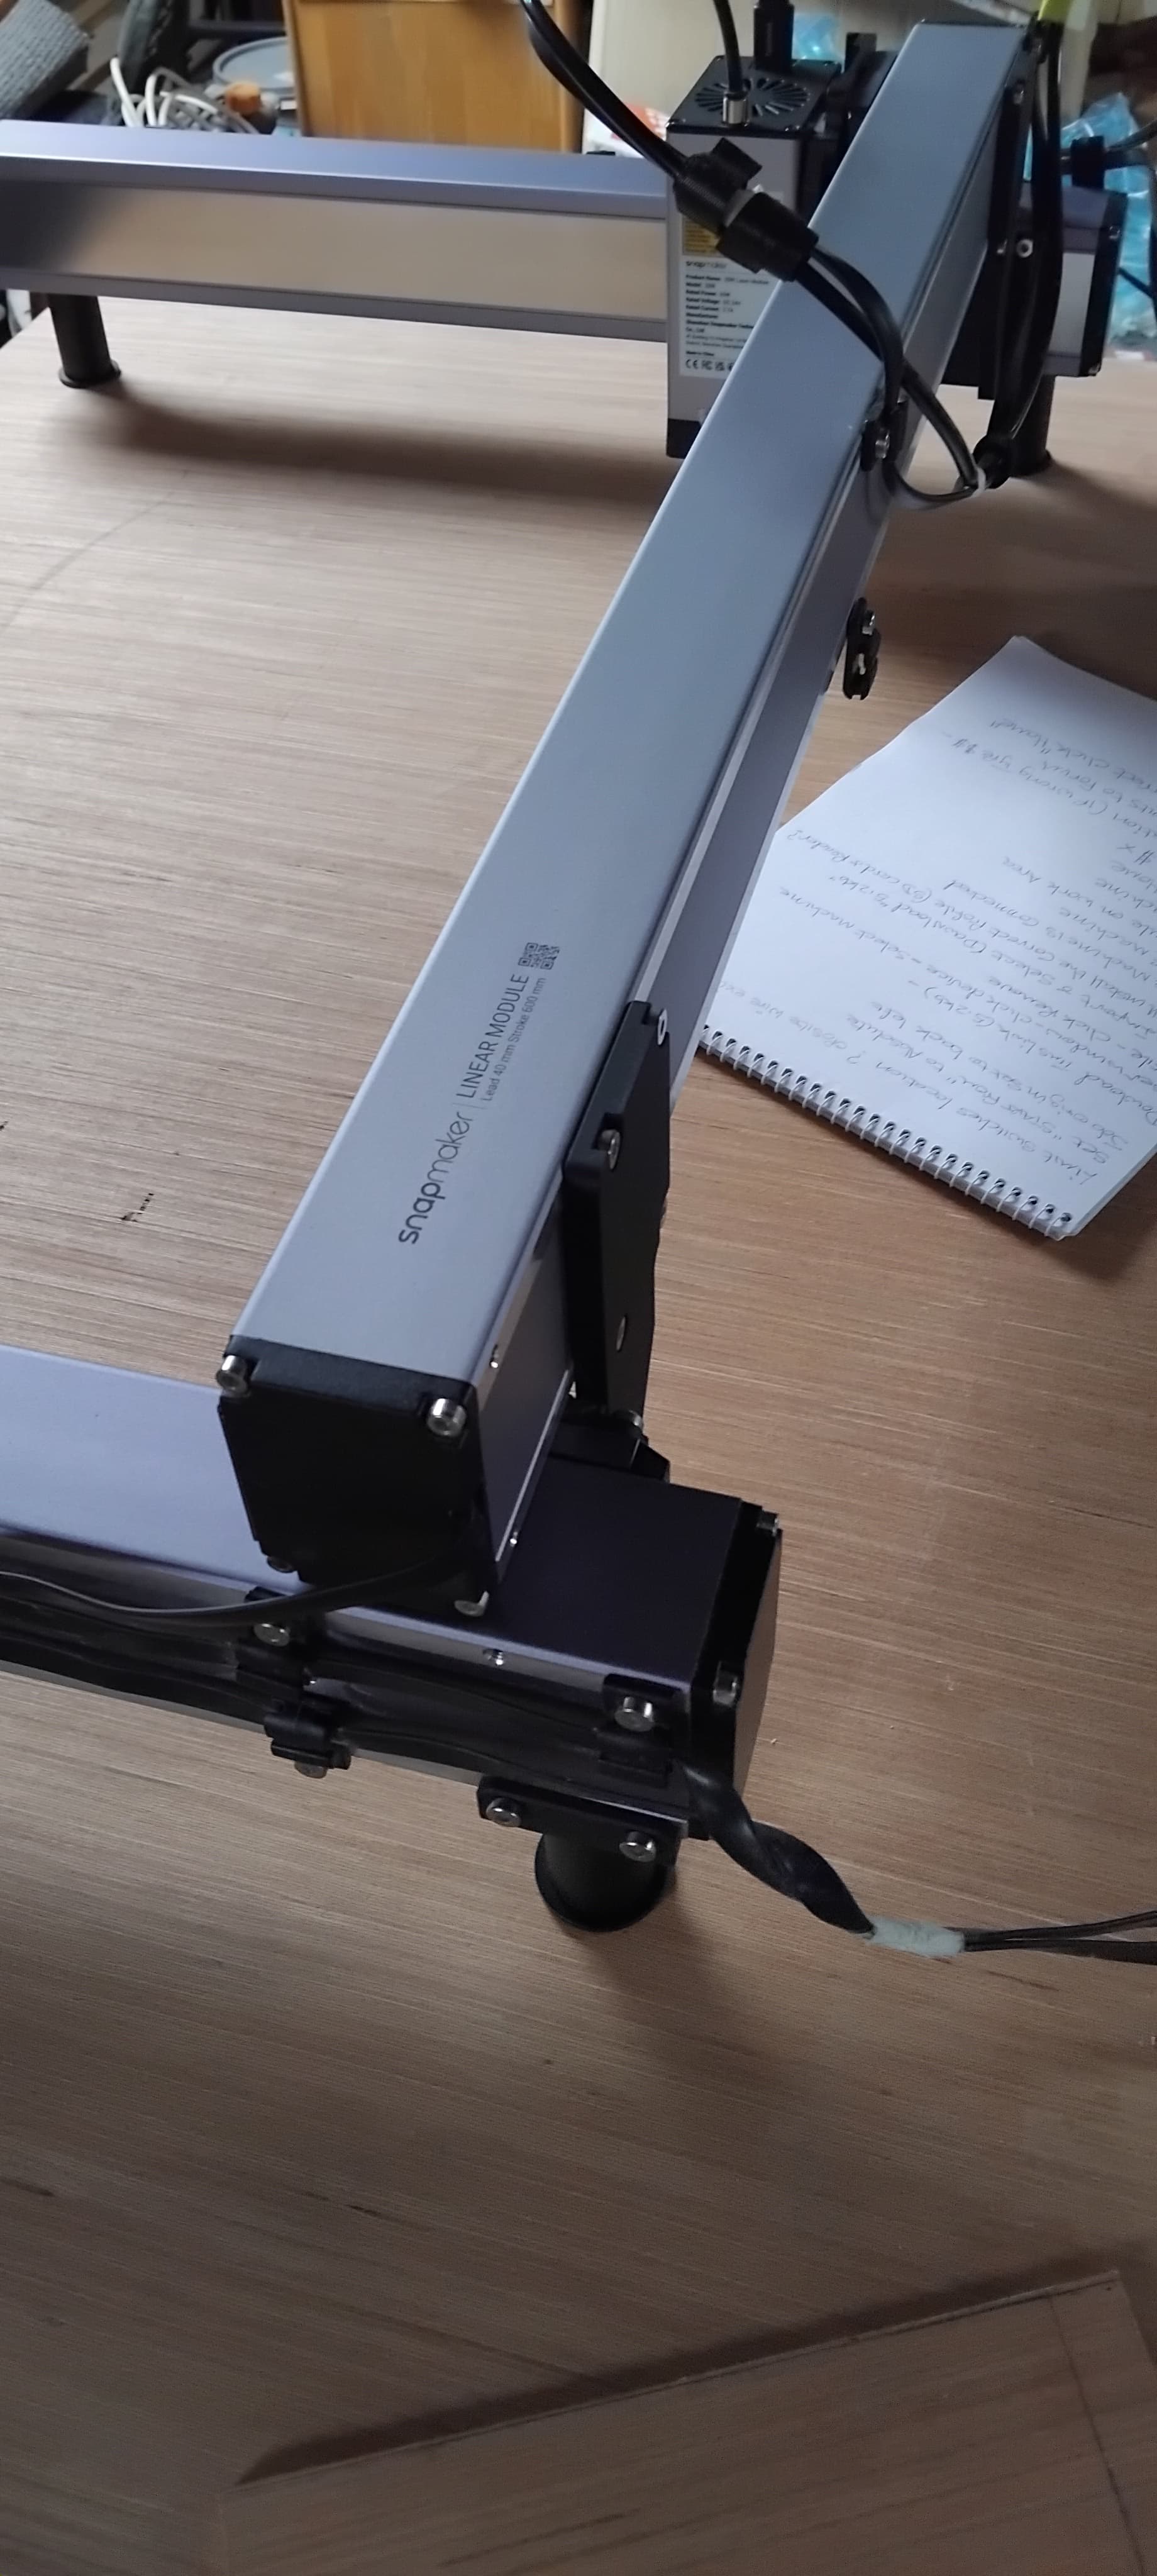
When the machine arrived I had two identicle Y axis…like same in every detail, which means I got two lefts or two right hand Y axis that would not mirror each other when fitted.
I asked on snapmaker forum and was instructed to position the left hand axis upside down, which was massively counter intuitive in how it would fit. It did eventually, but it was hard to understand how it could be sent out like that.
The SM logo is on the underside instead of topside!
Do you think that an upside down axis would work just like a right way up axis? the upside down axis is also on the left side, where I assume the limit switch is supposed to be…but would it have a limit switch if its really a Right side Y axis.
Its bugging me how this thing didnt work when set up as its so well made. I have asked Support about it today and I’m also sure the guys that gave me the workaround would have mentioned further issues.
Edit to This post:-
I have been informed by Snapmaker that this assembly is quite normal.
To add to that I would like to state that the quality of this machine is very good and I would not like anyone to be put off, if considering a purchase or recommending to others due to any comment made by me.
Yes, but I could not bring up a mental image of what you described. I expect I would need a Snapmaker machine to make sense of it. Sorry that is all I can offer.
No problem, I couldnt figure it or picture the workaround with the machine right in front of me, and I did argue with the SM forum guys about it..but they were right.
I’ll photo it tomorrow, cause its a real curiosity and SM may have rreplied by then with some insight.
That’s interesting. I would think the two y axis would be different. They should be mirror images of each other. There would be no wiring to the one on the right. And there would be a limit switch on the front left of the Y axis. Usually its underneath. Wherever its at if the carriage is moved all the way to the front it should activate the limit switch.
Found this on line. Assembly instructions if this is your machine. Does look like the Left and Right Y axis are identical except for the X axis mounting plate orientation. Both have cables coming out of them and on the controller there are 2 connectors marked Y. Looking at the instructions i don’t see anything to mark where each Y axis connectors go.
From what i can find the Left and Right Y axis look identical. But it may be important which one plugs into which port on the controller. I cant find anything on that
The Snapmaker support reply confirmed that both Y axis are identical and that the logo being underneath is normal and also that the limit switches are positioned oposite end to where the control wire exits the axis body. So that means the limit switches are positioned at the Left end of X axis and at the Back of the Y axis.
The ports for both Y axis into the controller have no marking for L/R and nor do the cables, so whether it matters and how it works would be best explained by someone qualified.
The arrow keys all work in their given directions.
I pressed Home symbol (centre button) in Move window and the laser head traveled to the Back Left, Stepped out 2mm and Beeped with Error as in pic.