Hello all,
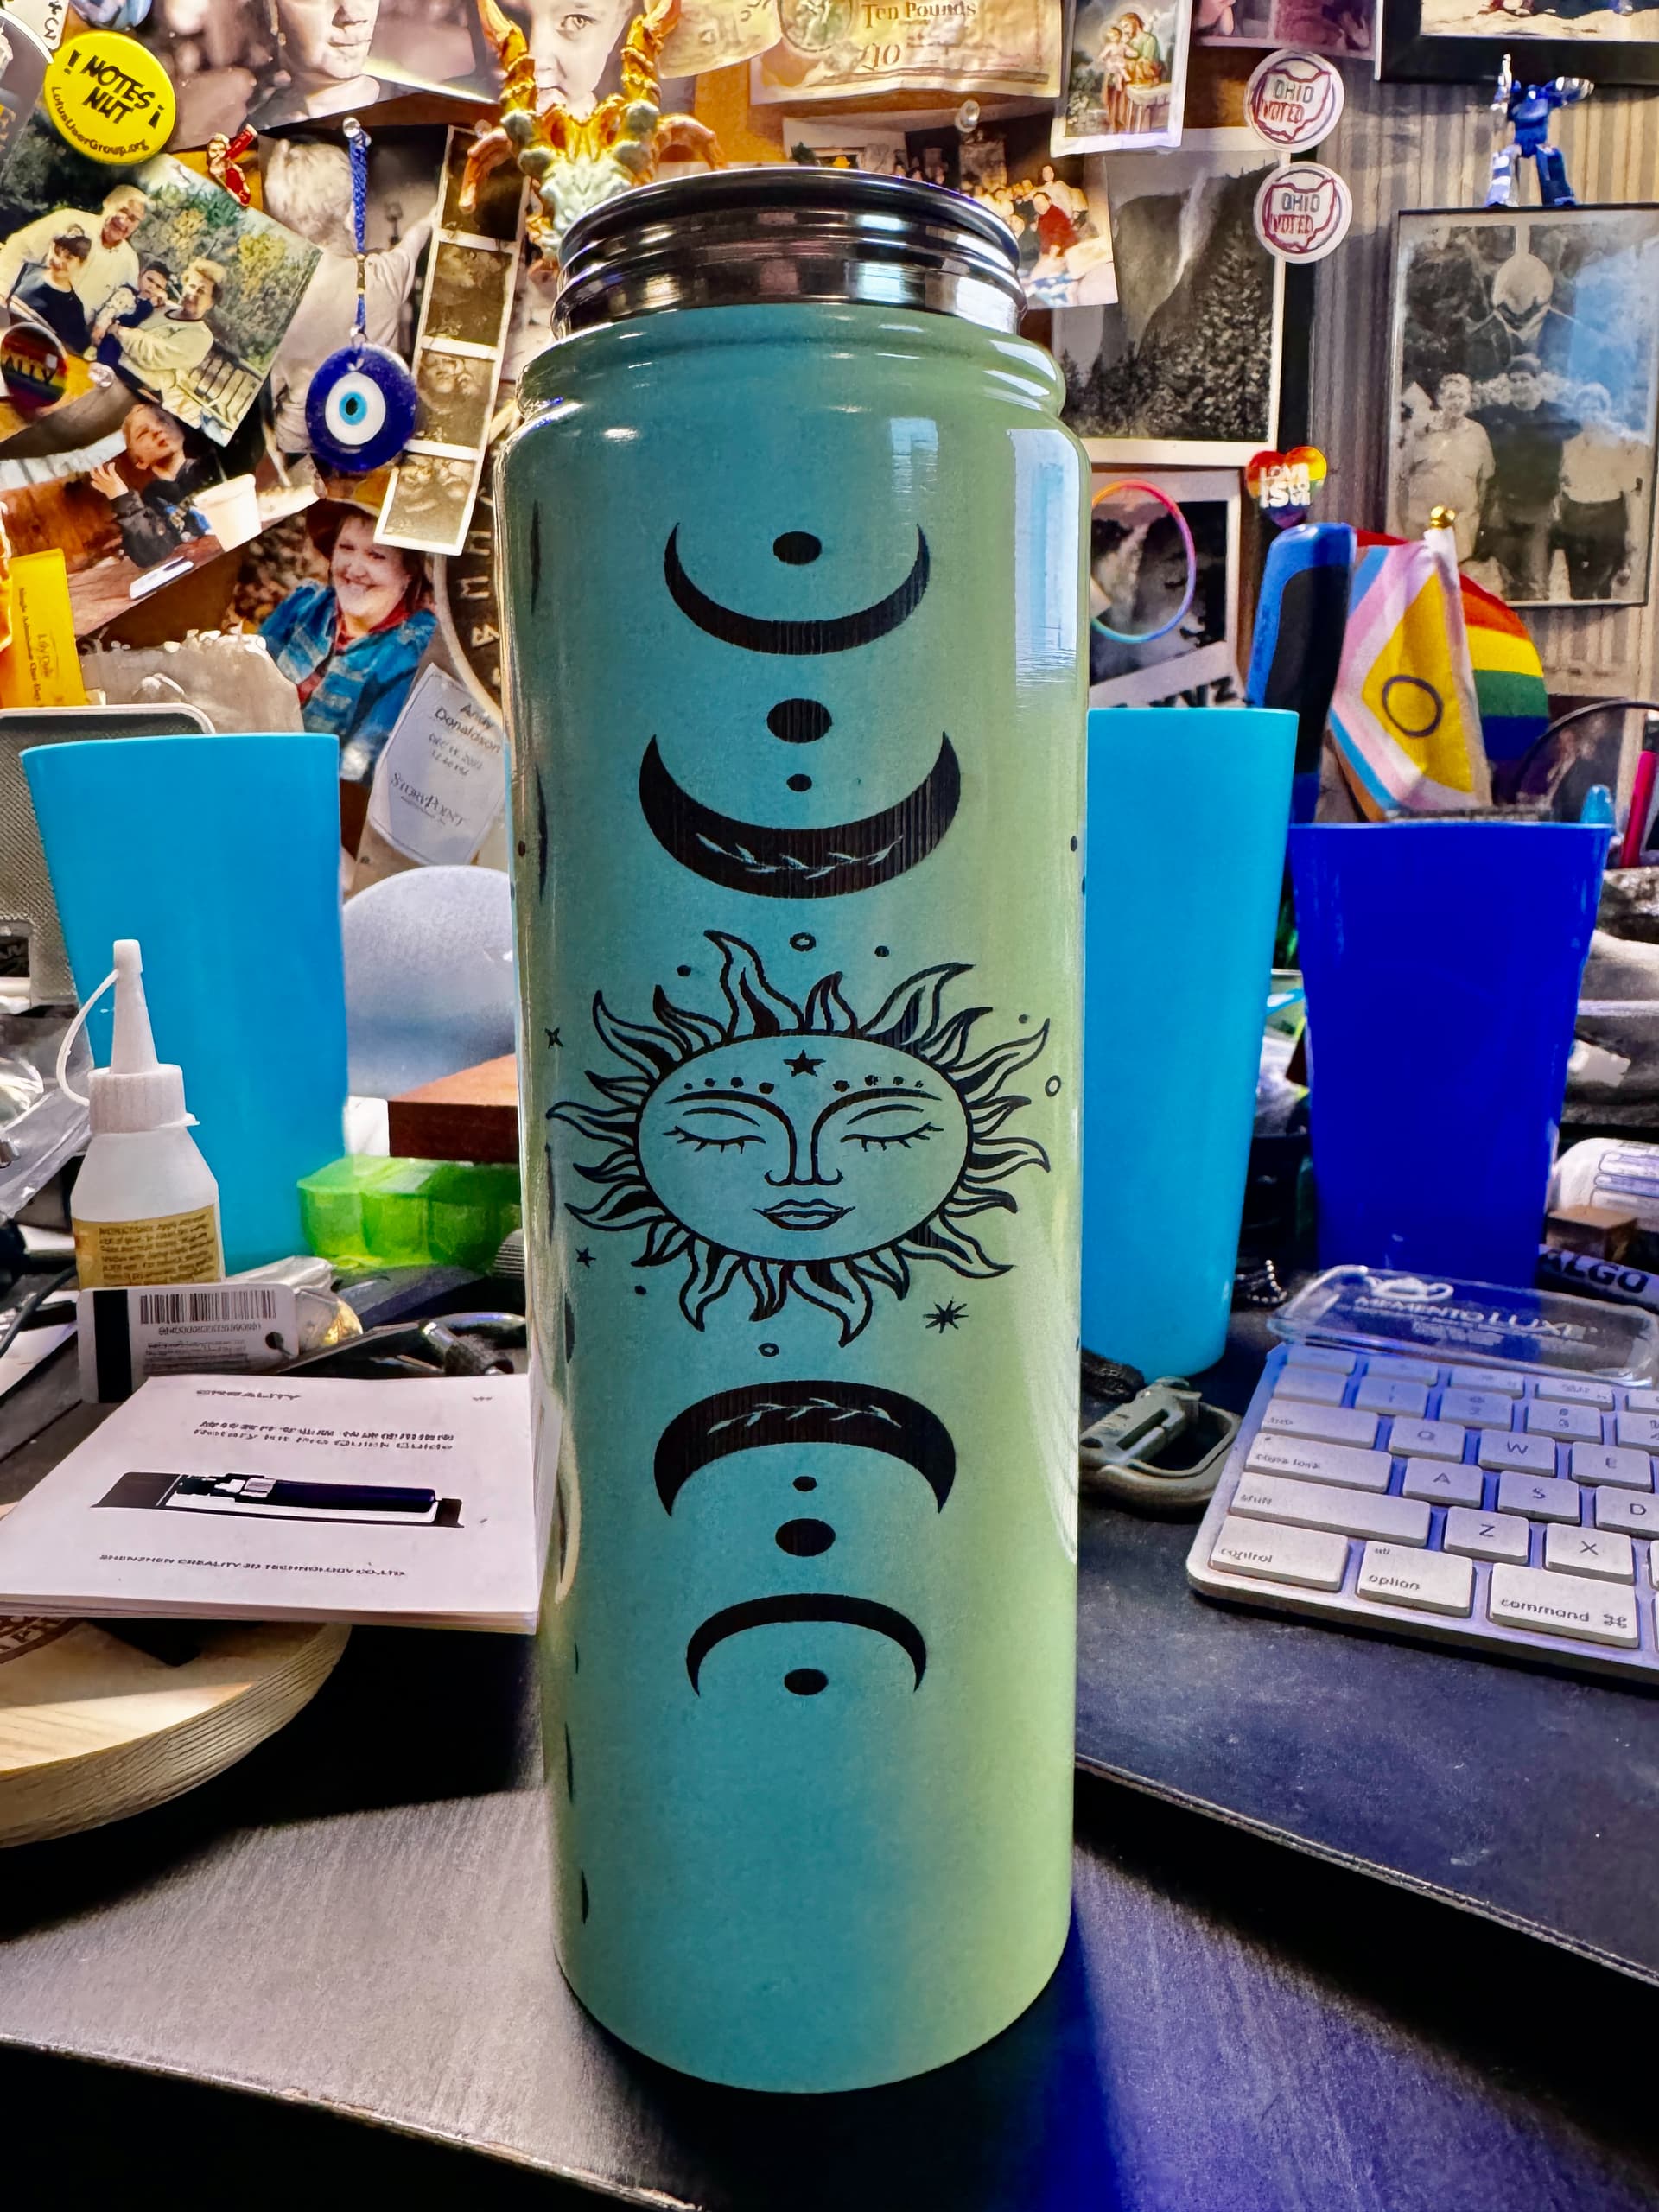
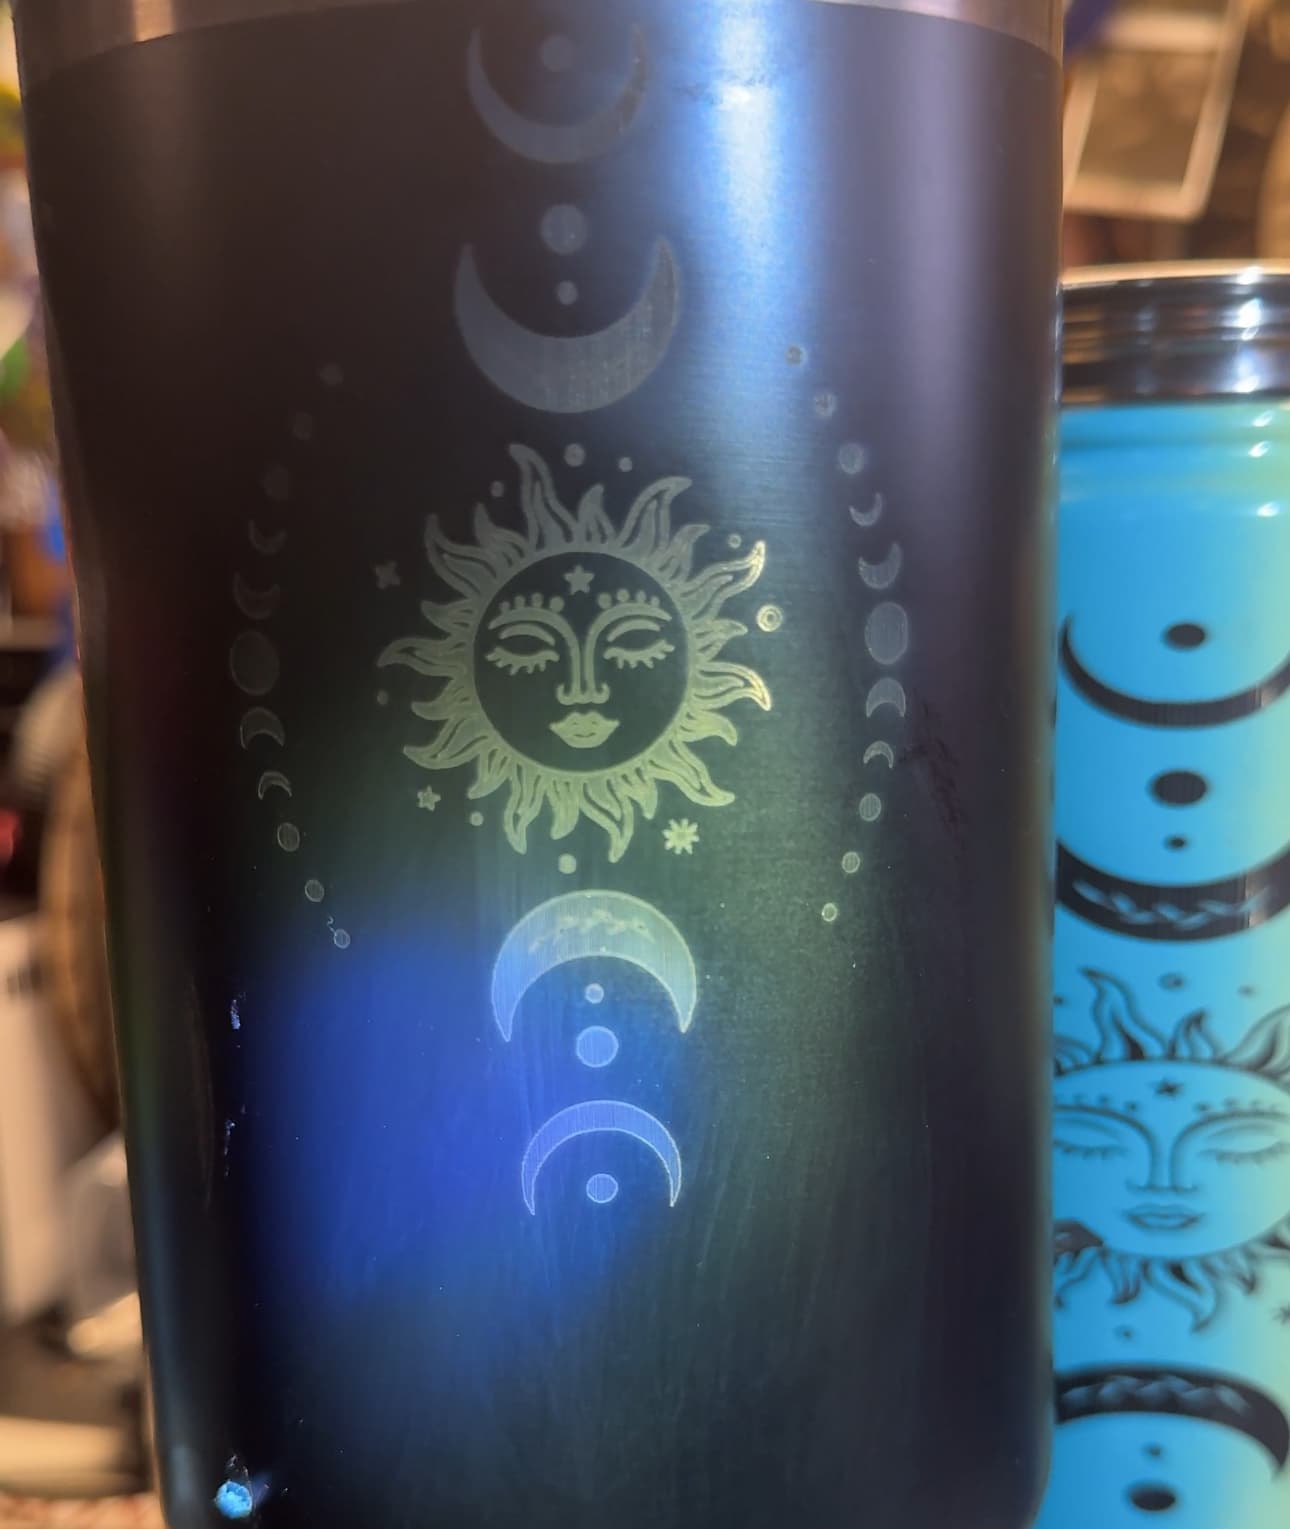
I’ve been using my Falcon 10w 300x300 SE MicroCenter purchase successfully for about a year now and I finally broke down and bought a Creality Rotary chuck. I read though the instructions and set the 40mm rotation as listed and measured the cicumfrance of the piece with the included tape measure. Everything looked right but when I printed, it elongated everything
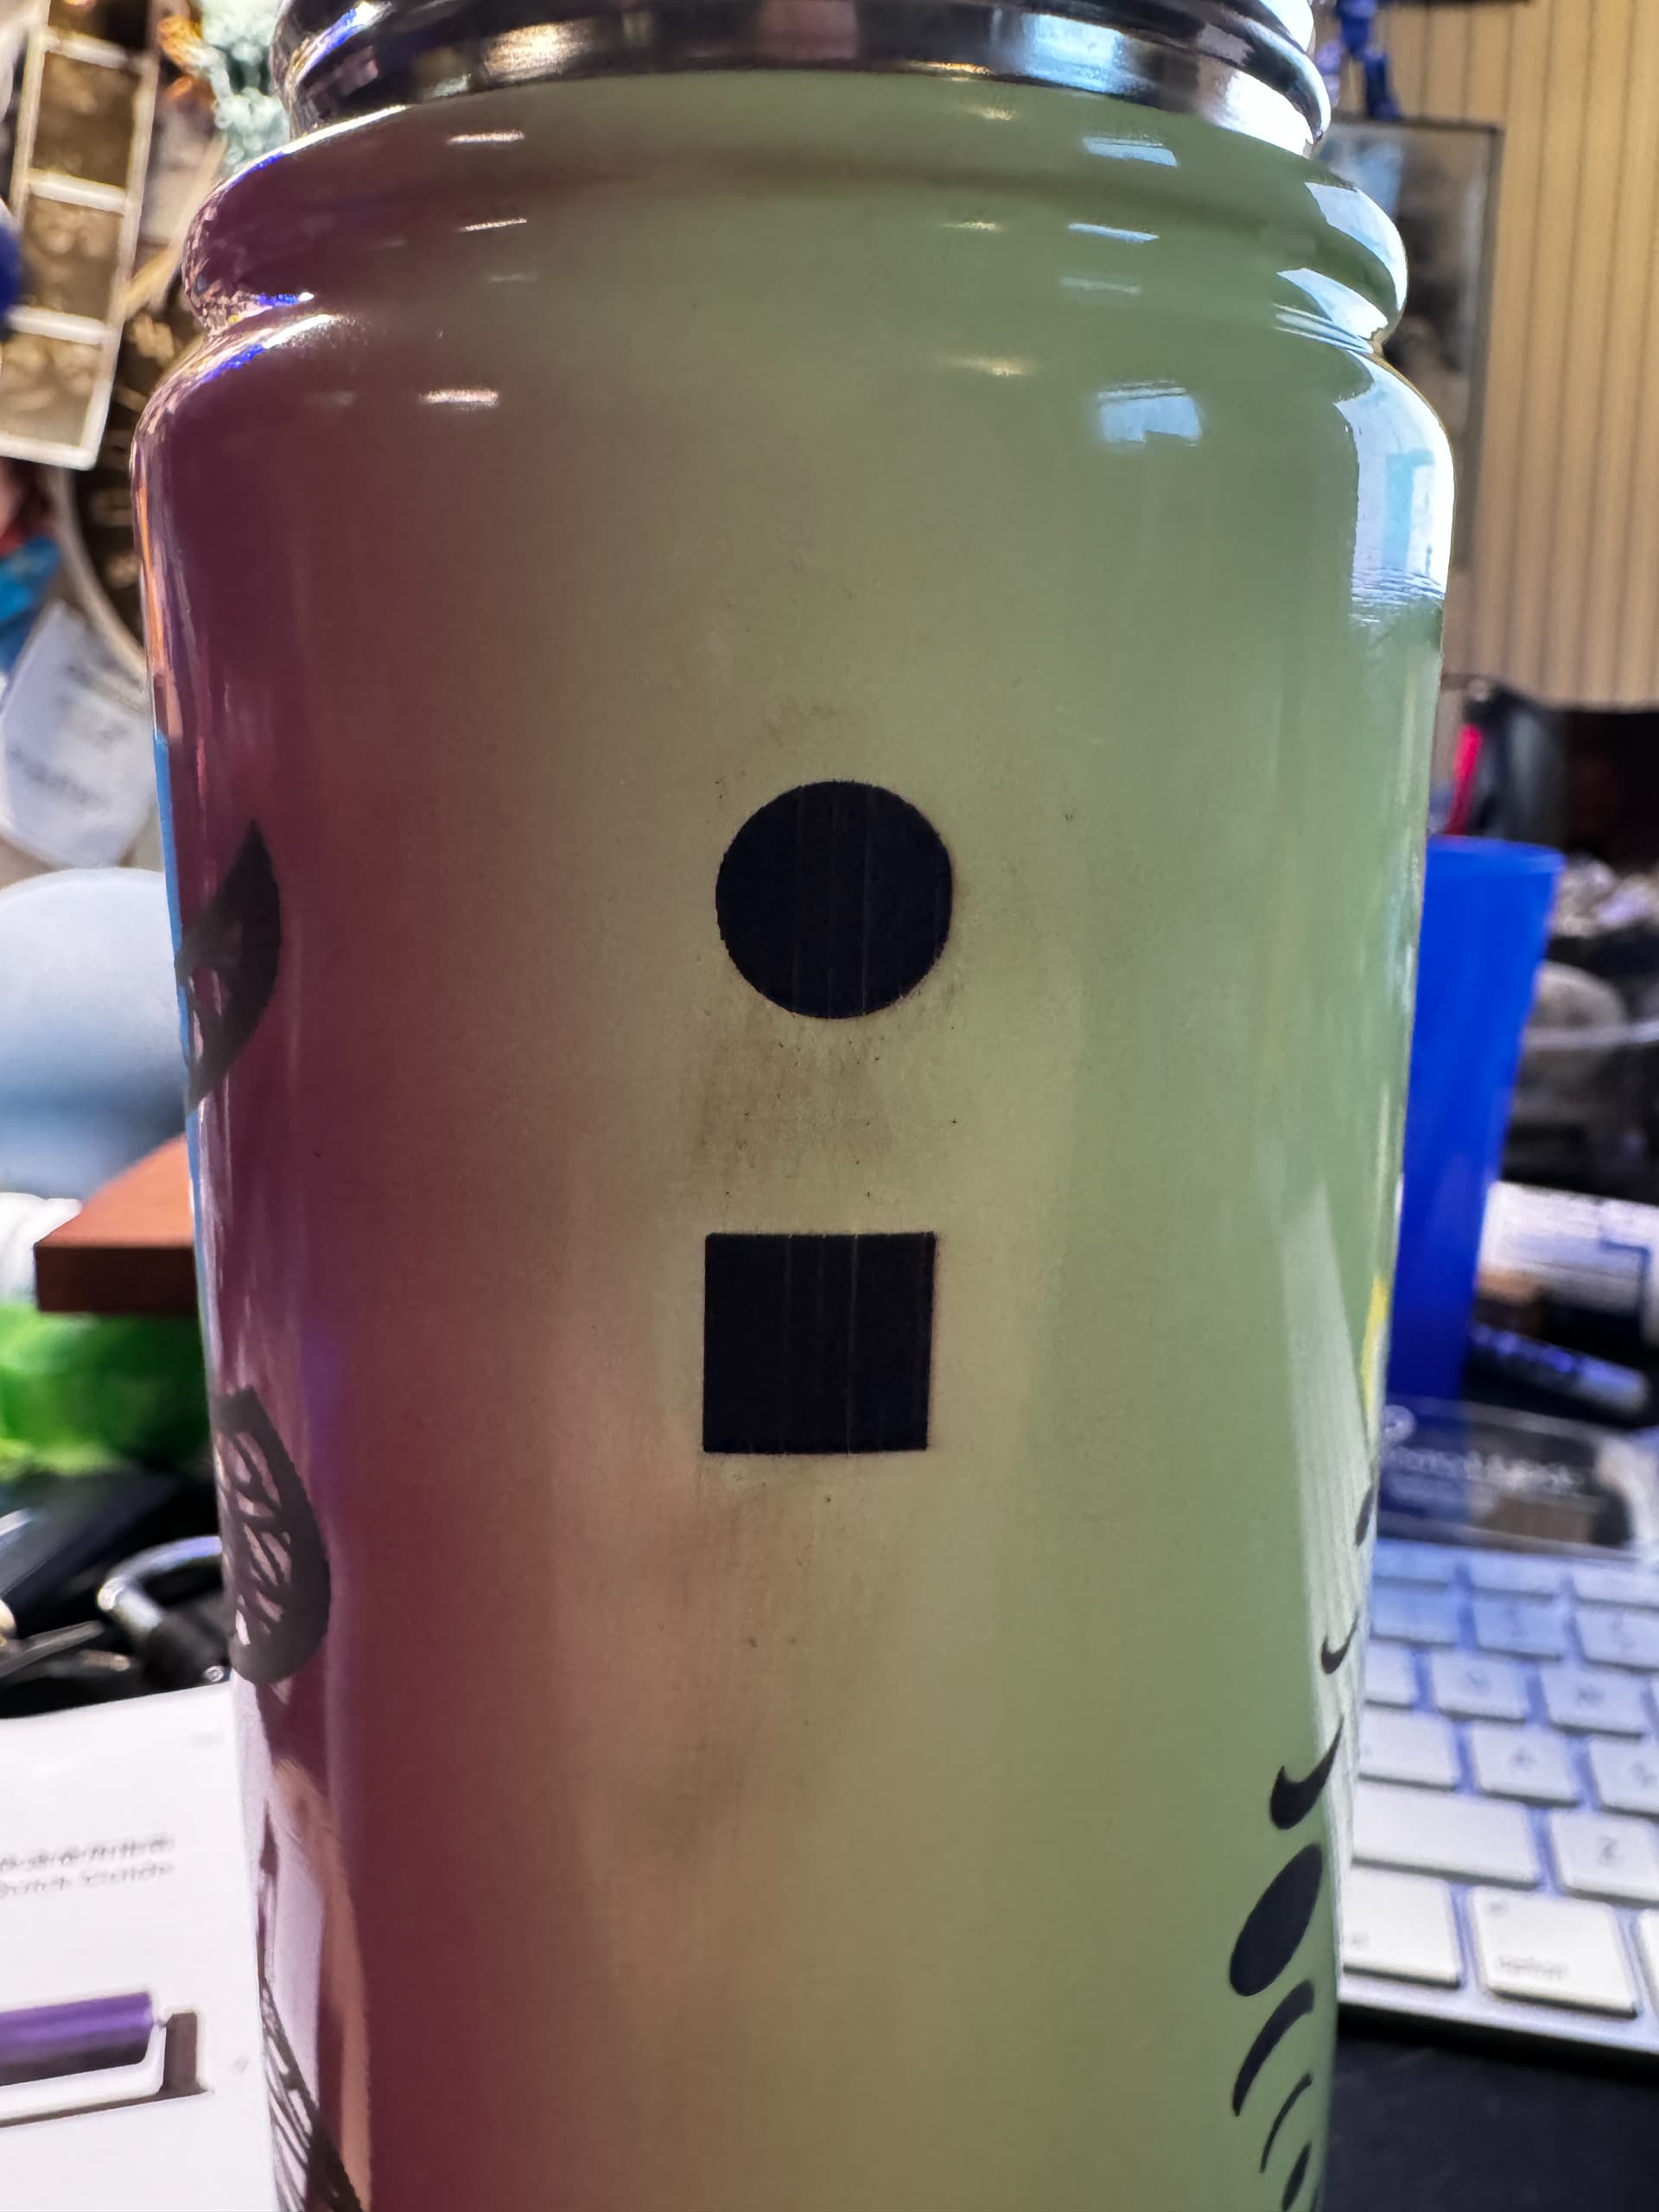
I double checked my measurements and they were the same, so I decided to follow up with printing a 10mmx10mm circle and square and those came out perfect!
I figured out my own probem. I’m so use to thinking flat X Y with engraving, I didn’t take a lot of things into account (rookie mistakes). What I did was:
Measure the circumference and area of the tumbler I wanted to engrave
Create a box for the frame and work relative to THAT. Yes, it may go outside of your print area, but that’s okay if your not engraving all the way around the item.
Place your graphic in the frame and adjust for size/power/etc
Now to figure out laser settings for my 10w. I thought I would have to go slow speed and high power, but I’m finding that to be incorrect as well. Getting much cleaner cutting in my case speed 1000 power 100! At least with these tumblers!