(Watching more Lightburn tutorial videos while waiting for an answer . . . will I be using the “T,” (Trim) “B,” (Break) and “E” (Extend) node functions . . . which may be a bit tedious for me since these are somewhat complex shapes?
I mean, there’s no way to select SEGMENTS from each of the other five shapes – and then join them together to create a new closed shape?
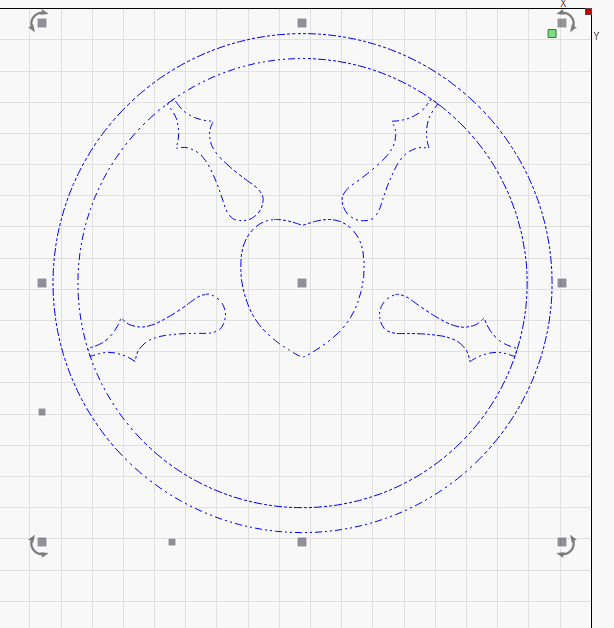
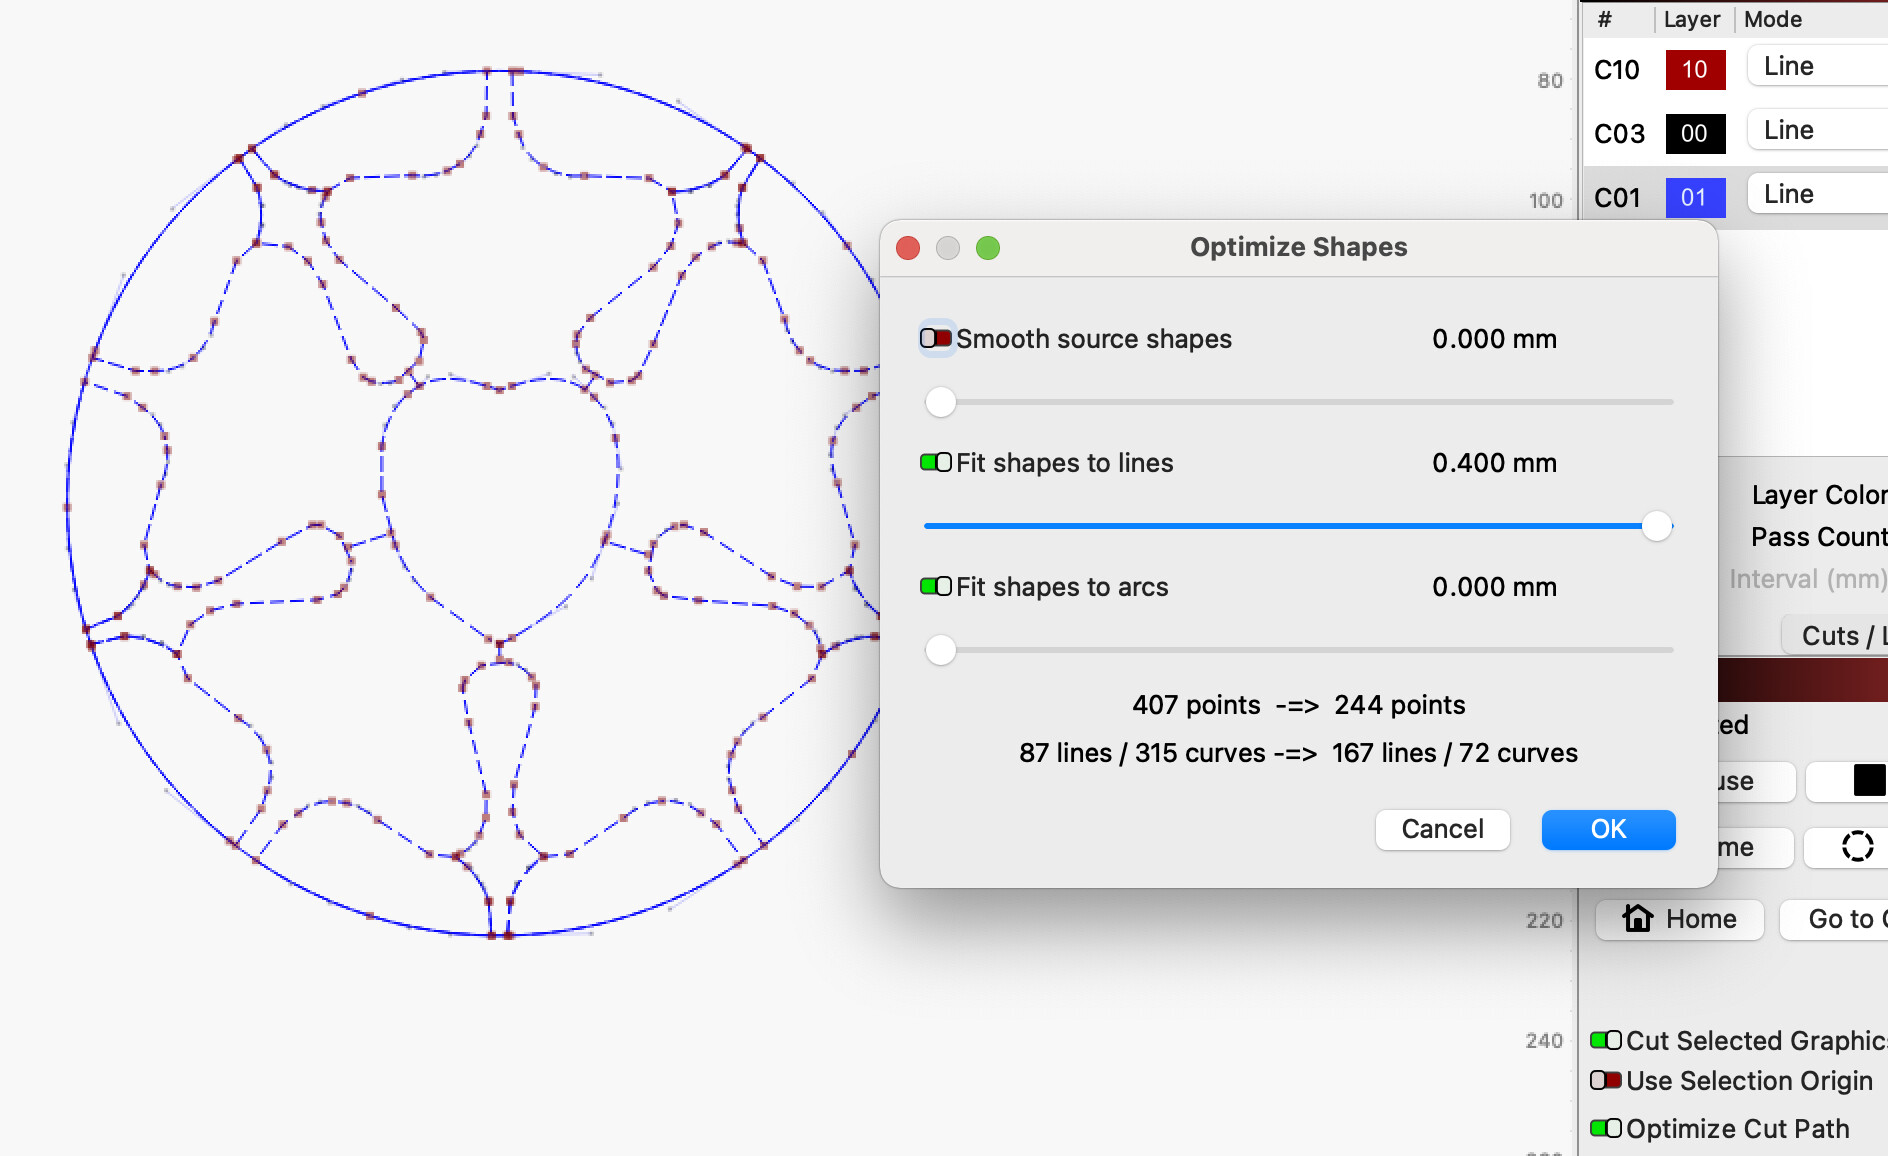
And when you see the lines in the file, you will see that they are more rough than they appear from the display – but I was hoping that could get away with the “tolerance” via kerning.
I have in mind to do some “marquetry” types of projects doing this sort of thing.
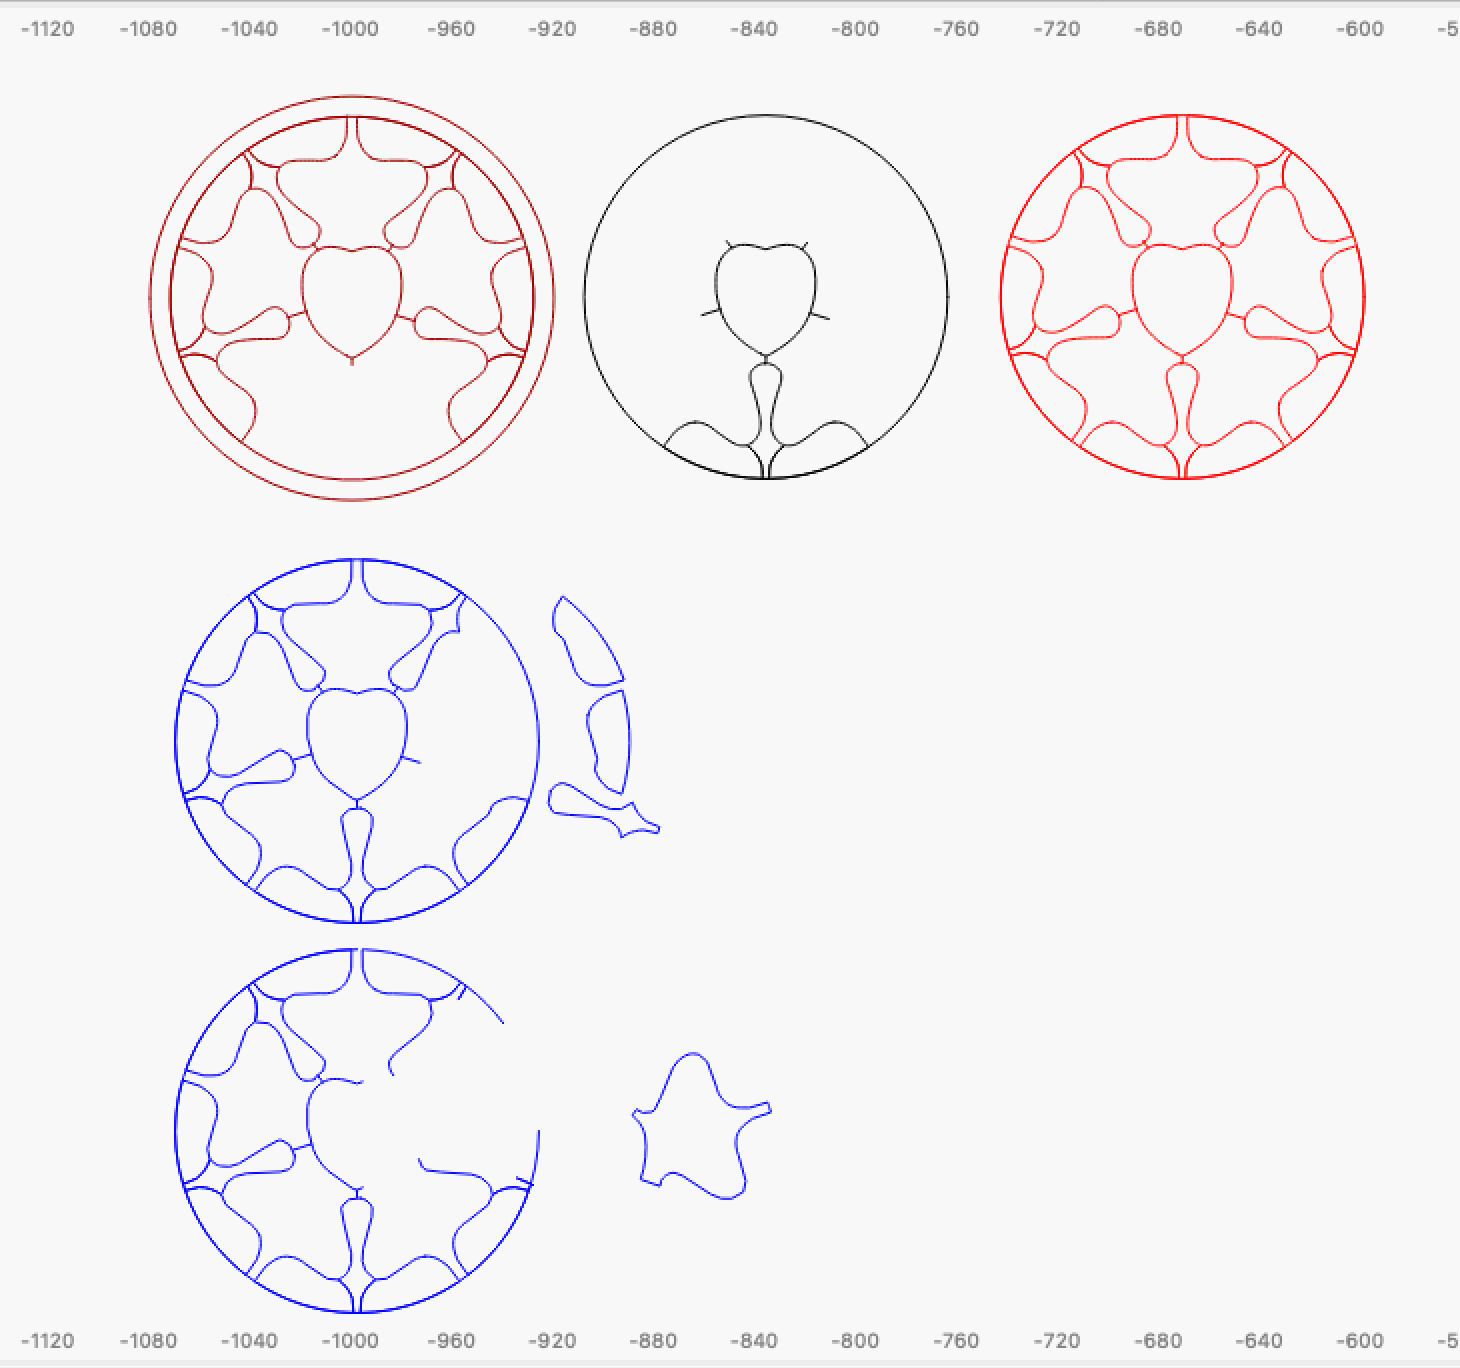
Try this. Select all, Offset Shapes Tool, 0 offset, make sure outer shapes only is off and select resulting objects is on and delete original object is off. Click OK. Change the selected result to a different layer and hide the original layer. You then have the shapes you’re looking ofr, although there is something amiss with the bottom, center shape that prevents it from offsetting.
You can then ungroup the resulting object and delete the items you don’t need.
It is possible to smooth out Shapes and separate them individually. But, when you want to use them for marquetry work, it is better in my opinion to construct them from the bottom yourself. When you do not have (preferably) symmetric, smooth shapes that have to fit into each other, it is difficult to work with. (I’ve been working a little with it)
@ Bernd.dk – Thanks. I enjoy tinkering with things even if I do it the hard way because I either learn how NOT to do it or I learn a BETTER way of doing things.
I agree that for marquetry, a clean design is much to be preferred. While I am getting better with design tools and node editing, I’m still rather a novice at it, so I was trying the next best thing to approximate “success.”
(My son is a graphic designer for a major logo branding company, but I can’t bug him all the time . . . and besides, I want to learn how to do it myself! I’ve been trying to watch some tutorials on Adobe’s pen and anchor vector path manipulation tools and apply what I learned there to node editing in Lightburn.)
It looks like you are succeeding at working on clean shapes – and I realize that can be time consuming. Viele dank! (Am I correct in thinking that the “.dk” extension has something to do with Deutschland?)
I opened the file as you have shared it. If I guess correctly, you did some minute pain-staking work to get to that point. When I opened it up, I converted a few of the nodes to “Smooth” and that worked nicely. I’d just have to work with the adjacent parts to make them match . . . and sometimes I have done that with a Boolean cut method.
Hmmm. A very interesting approach I hadn’t thought about. “0 offset.” That’s going into my list of oxymorons!
I will experiment more with this concept since Lightburn does not (yet) have a centerline trace feature. If I can use your method, I won’t have to drag the file in and out of Inkscape, Corel Draw, or Illustrator.
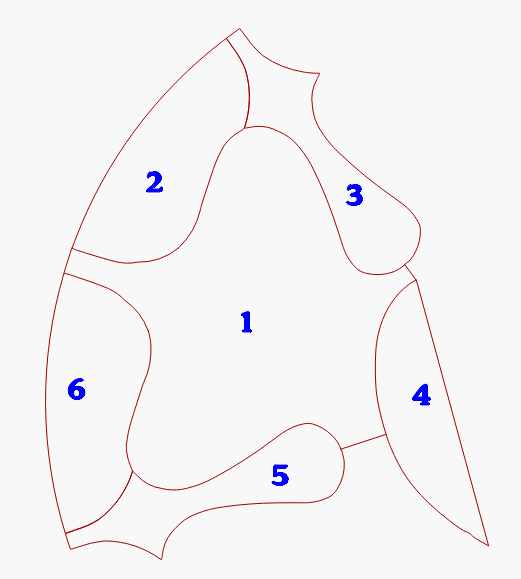
There are a couple of breaks in the line under circled part . . . and since the shapes aren’t closed, they don’t get selected in a way one would expect.
The five larger “petals” don’t get selected because they are only outlined by the other “open” shapes. Still, there might be a way through that mountain . . .
So, for example, I think I might have to clean up and join some of the nodes so that they form closed shapes . . . and THEN the offset method might work for the larger petals.
Ask him for a specific design that is family related and surprise him, he will be even more proud and surprised by what his old father can still present.
Thank you, that’s very nice of you, but DK stands for Denmark. (With only 5.5 million inhabitant, our little kingdom is often lost in the crowd.