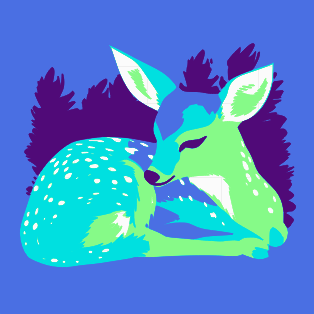
I split the image into 4 greys (excluding white) using image trace, stacked them and set them to fill with a 0.7mm line interval. Each progressively dark layer has a different scan angle which forms the pattern (-45, 45, 90, 0).
I split the image into 4 greys (excluding white) using image trace, stacked them and set them to fill with a 0.7mm line interval. Each progressively dark layer has a different scan angle which forms the pattern (-45, 45, 90, 0).
Me, being from the print world, I can identify with using different angles for different tones of CMYK!
It looks fine. I also like to use the 45 degree crosshatch a lot, it can be used for many effects. But with too much power, the “diamonds” can break off, a little experimentation is required.
Wow, that looks amazing! The use of different scan angles to form a pattern is really creative. Can you tell me more about the process you used to create this image?
Thank you!! Sure thing! Which bit would you like to know more about?
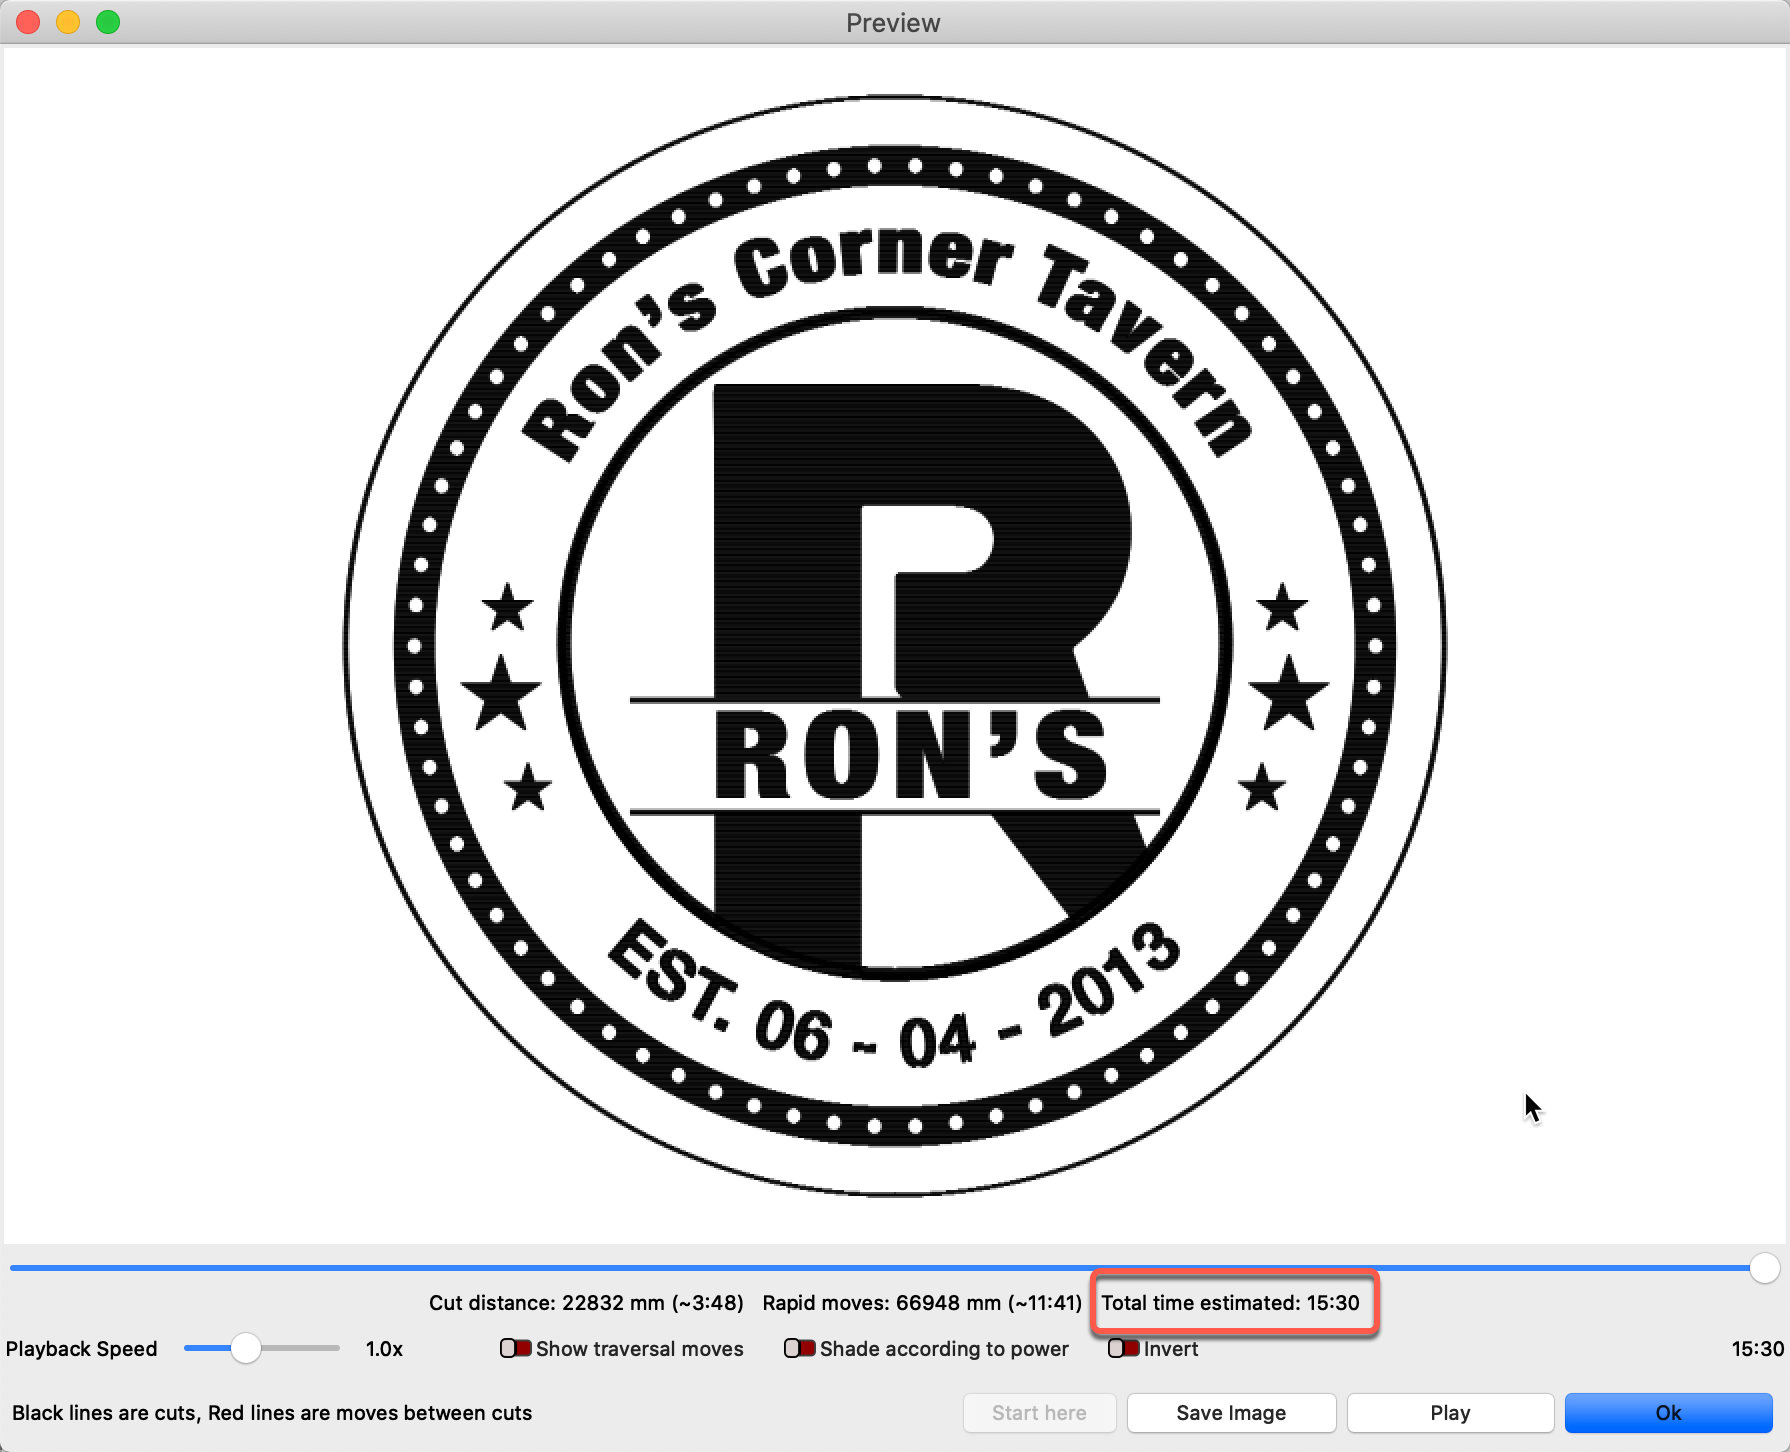
I am trying to figure out this software. I have created a file but it tells me that it will take 30 to burn. Can someone look at it and help me reduce the time it takes? I need to do 90 of these. Will the crosshatch help?
Ron’s Engraving LogoCOASTE.lbrn2 (255.7 KB)
Looking at this file, I see you have several layers set the same, which I moved to a single (black) layer. You may be able to collapse all art to a single layer, then set that layer to ‘Fill all shapes at once’, to bring the time down.
how do i do what you did. i am new at this.
thank you for your help!
In LightBurn, with something selected, you click a color from the bottom palette to assign that selection to that colored layer. To help in learning LightBurn, we have the following documentation worth review: