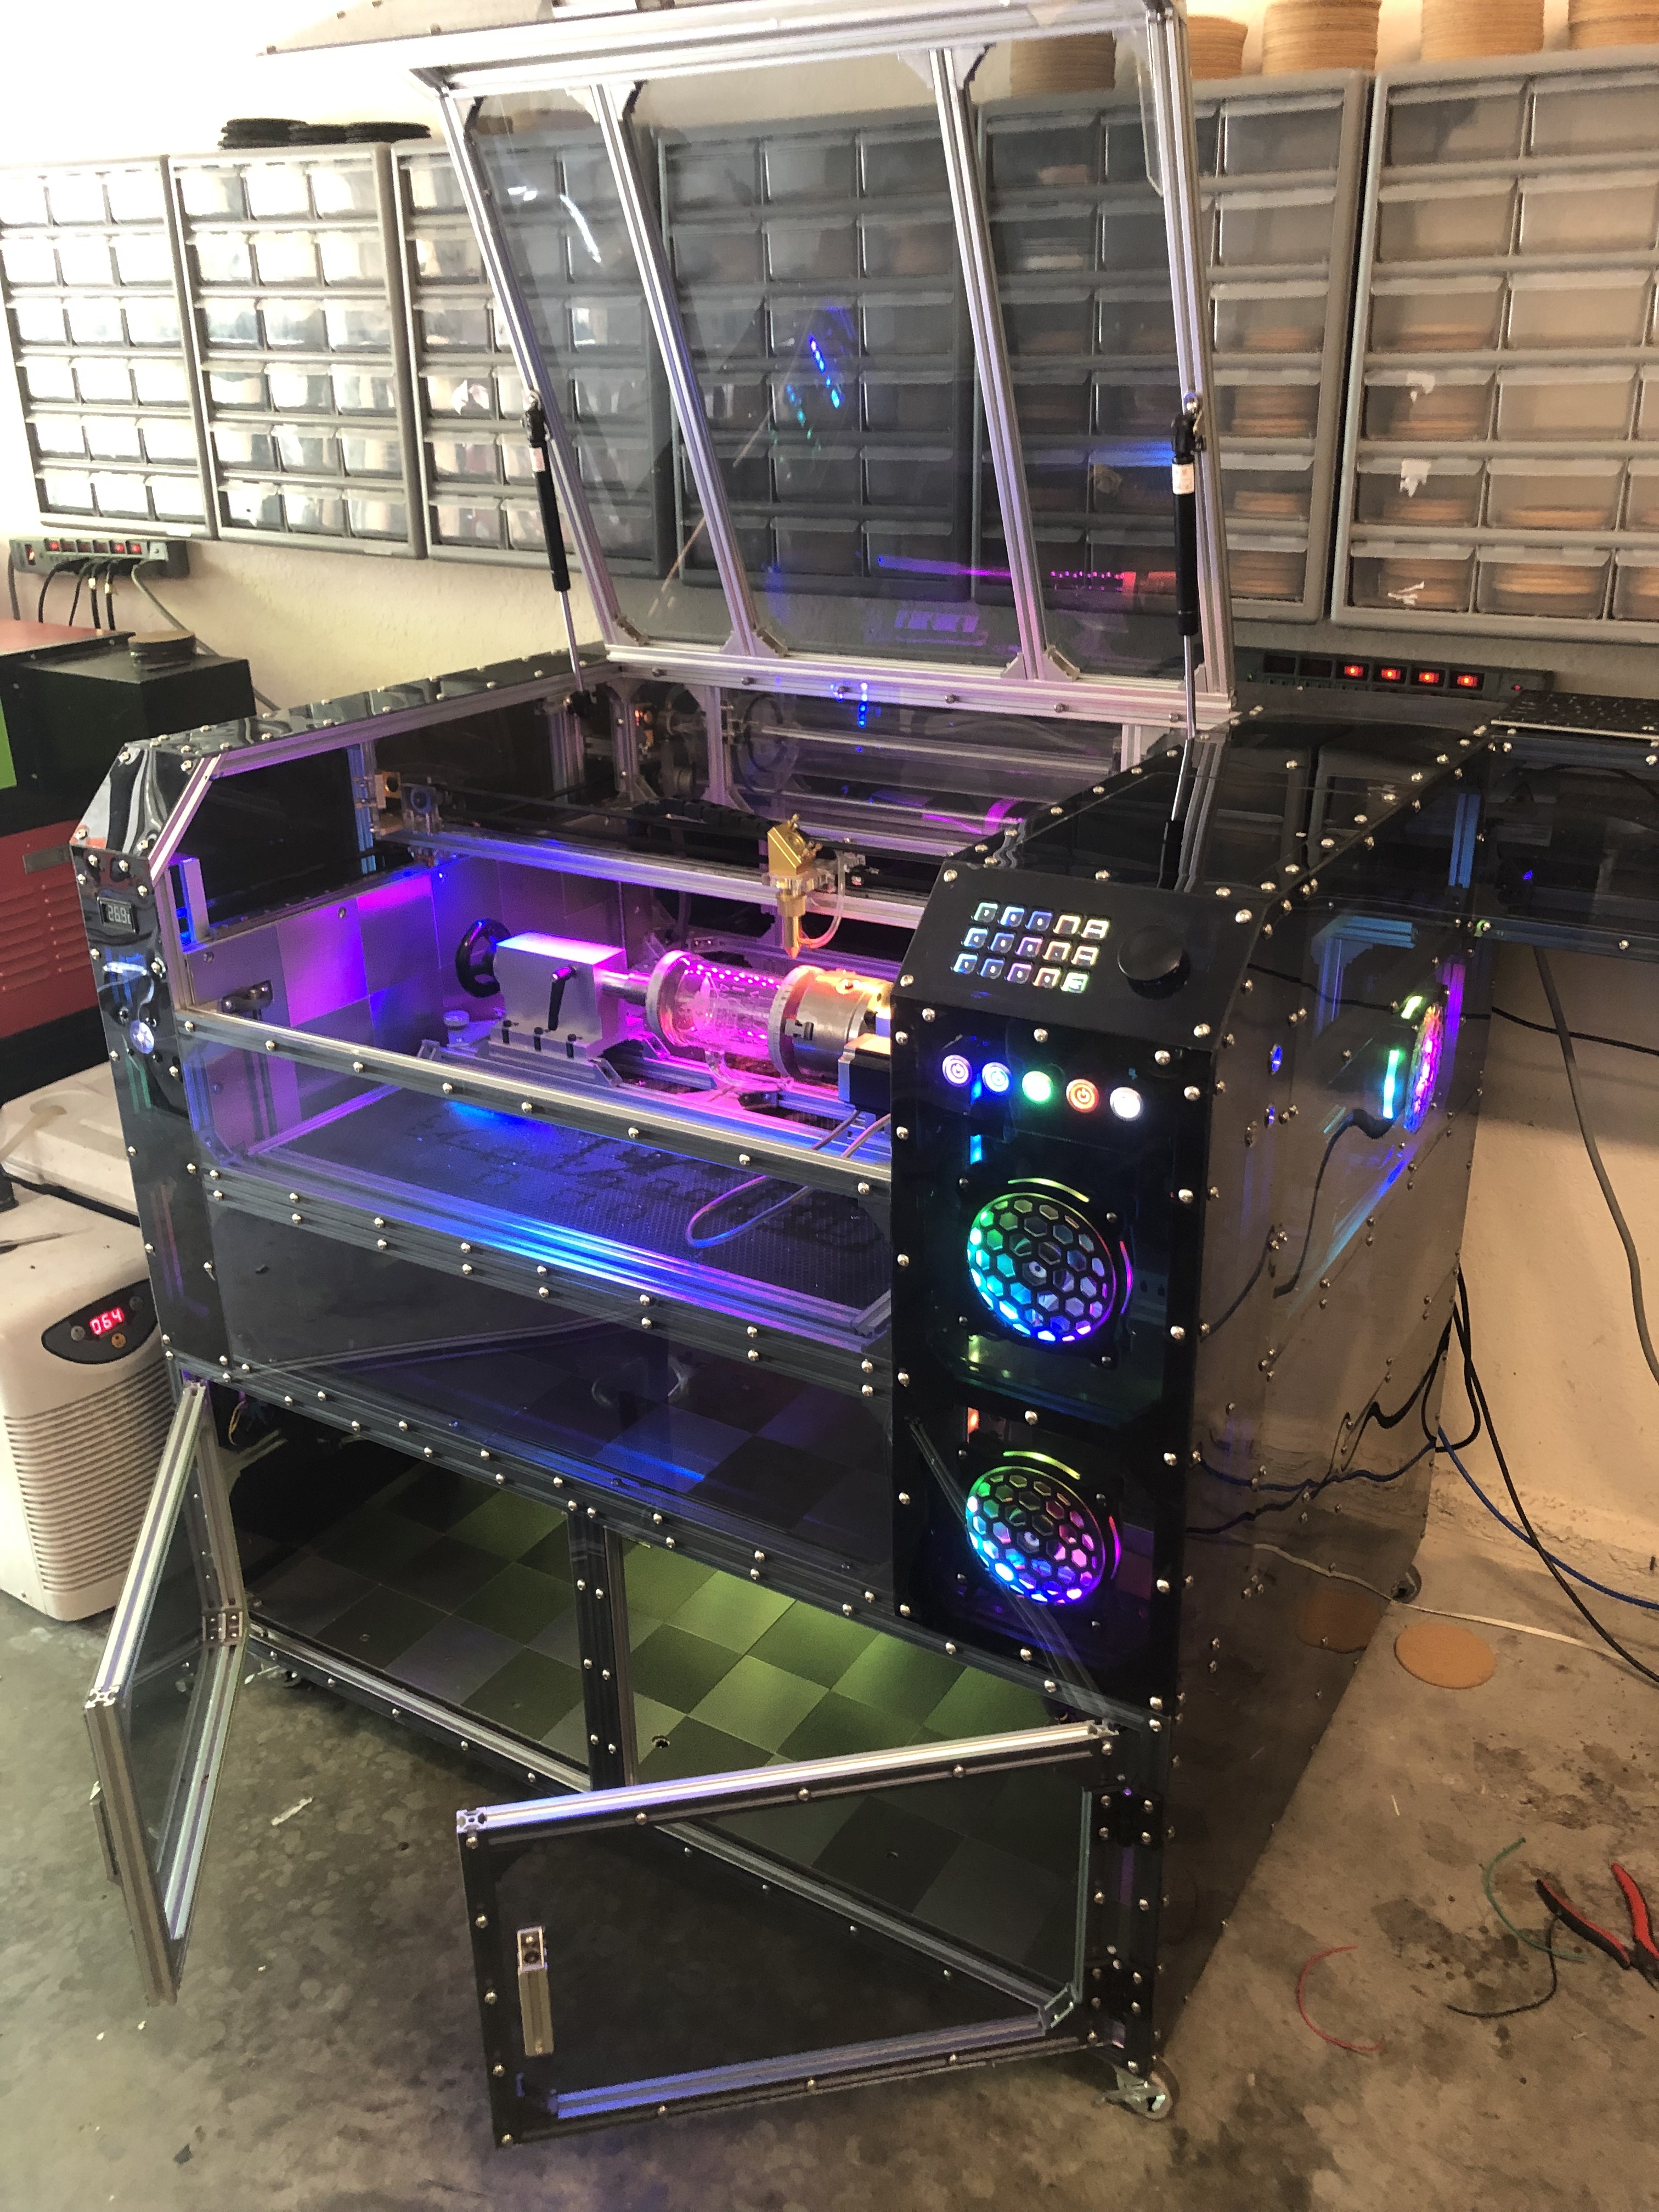
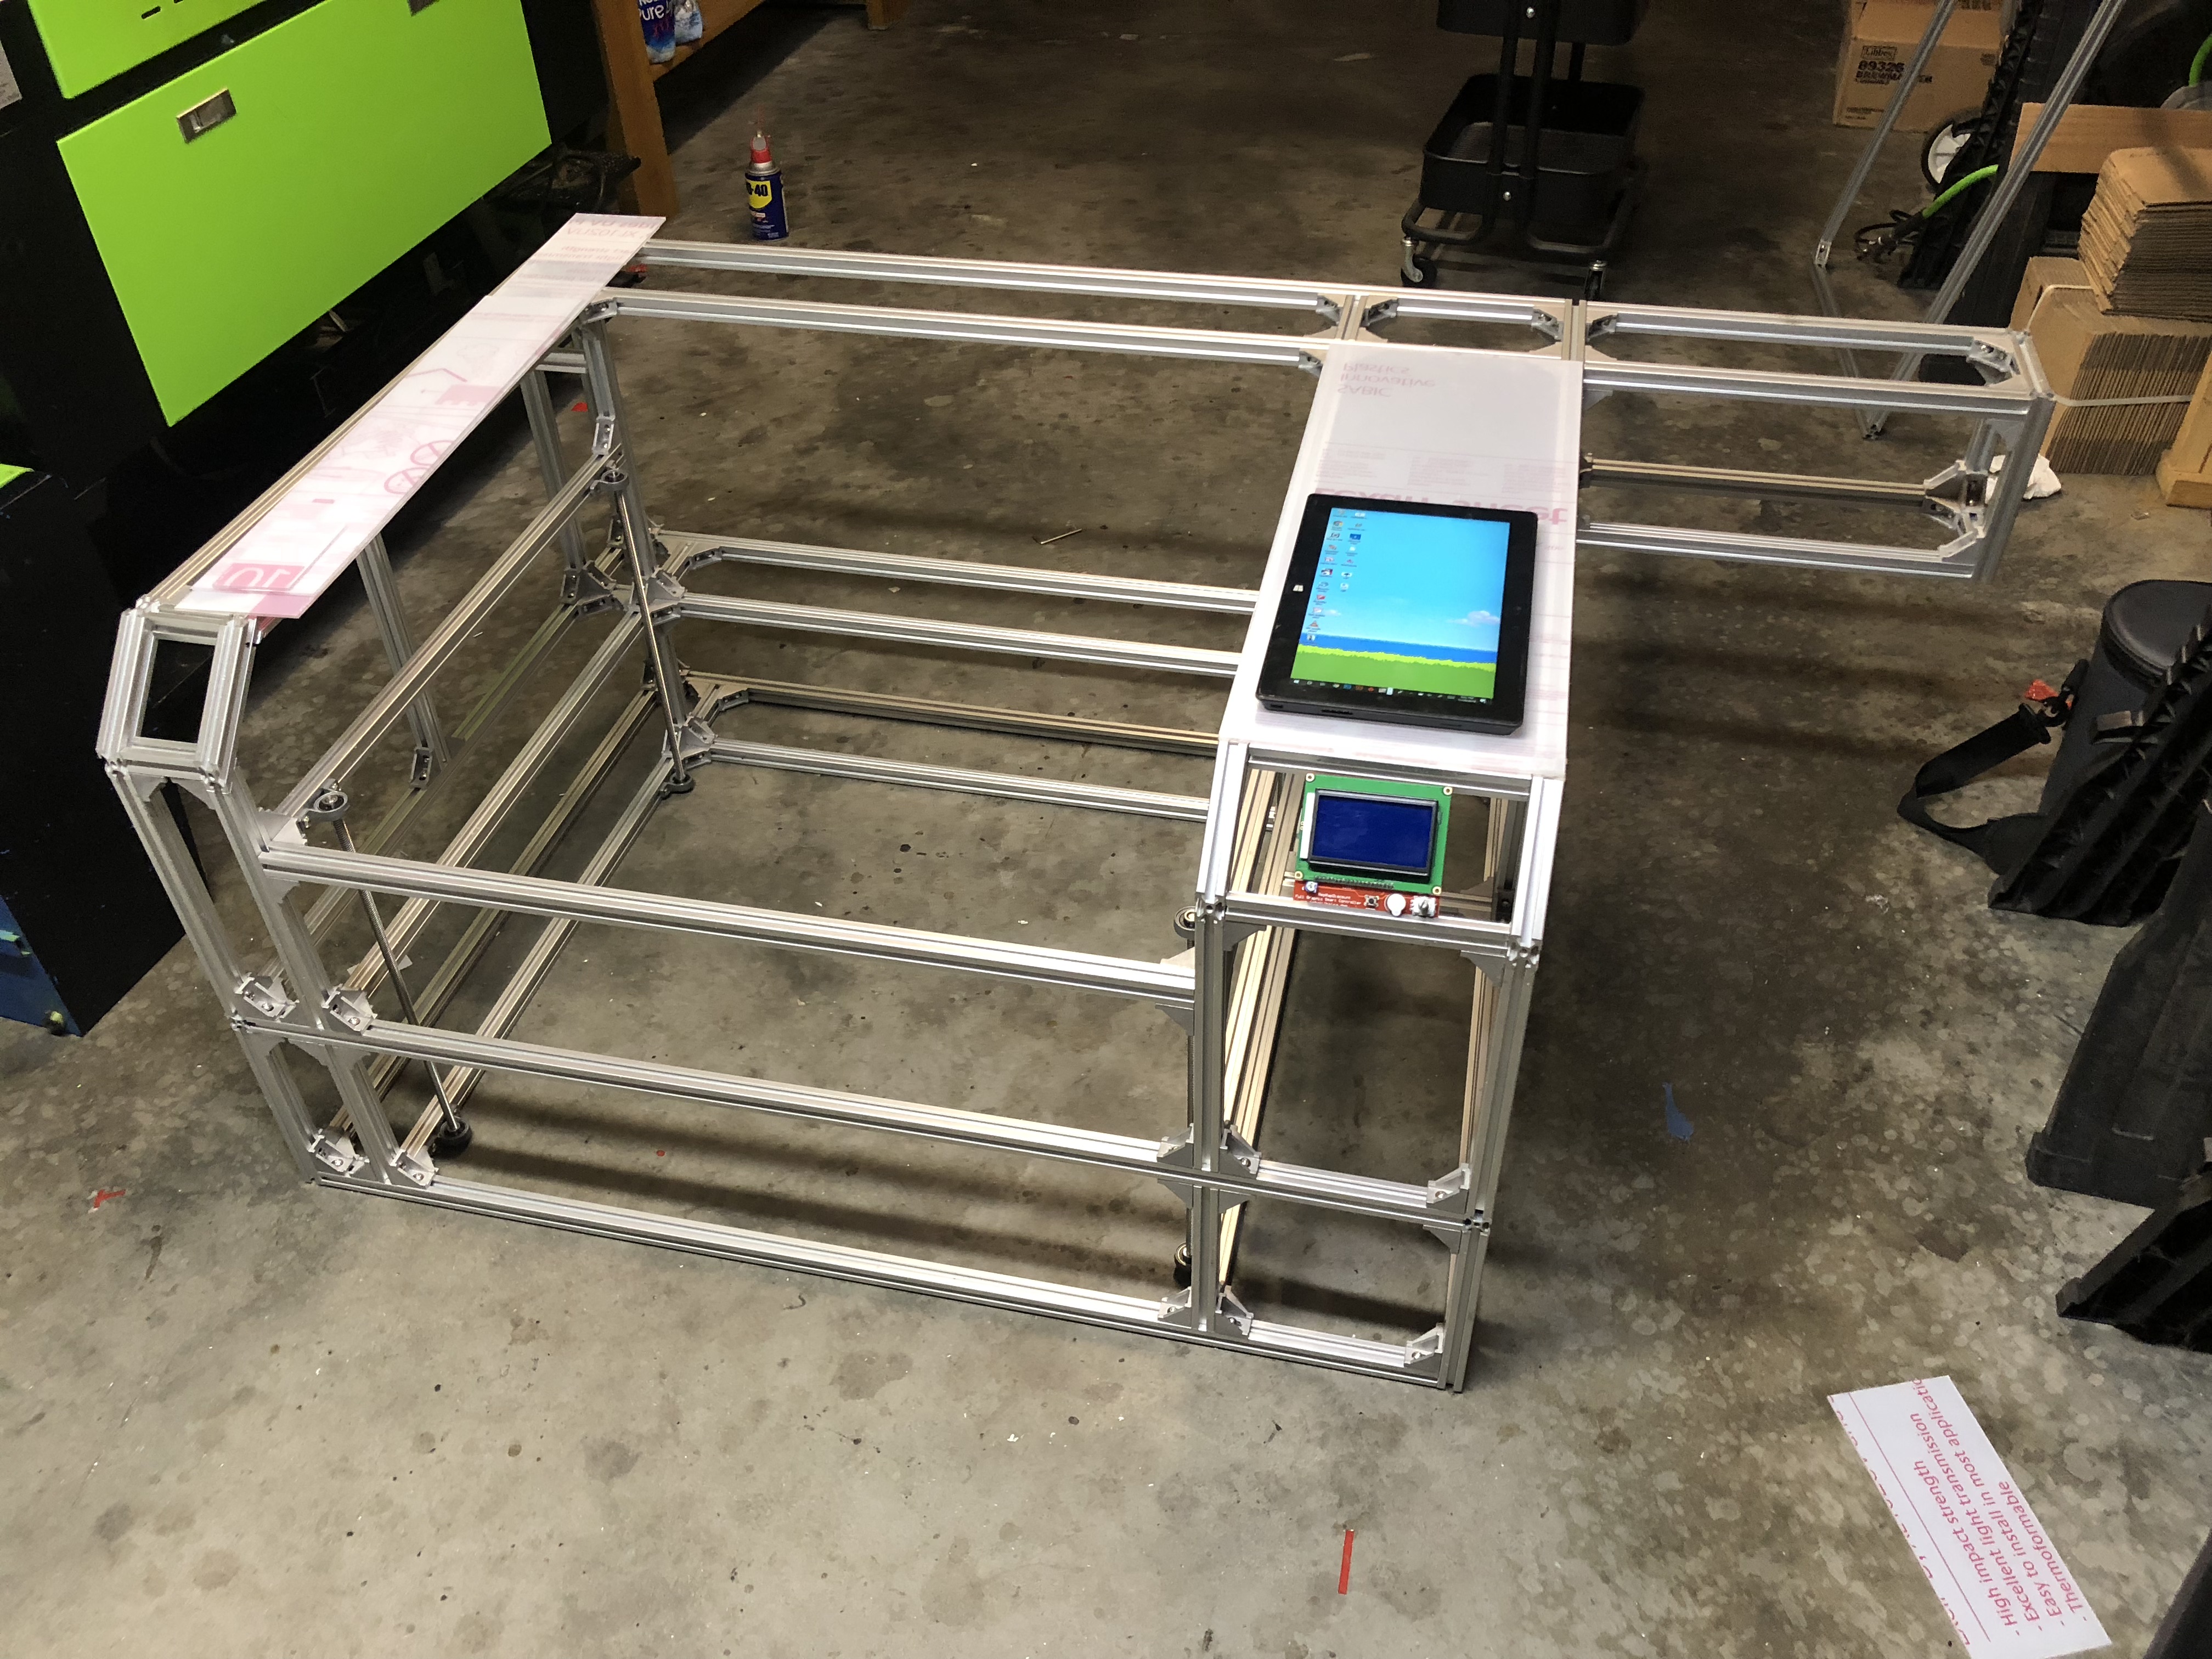
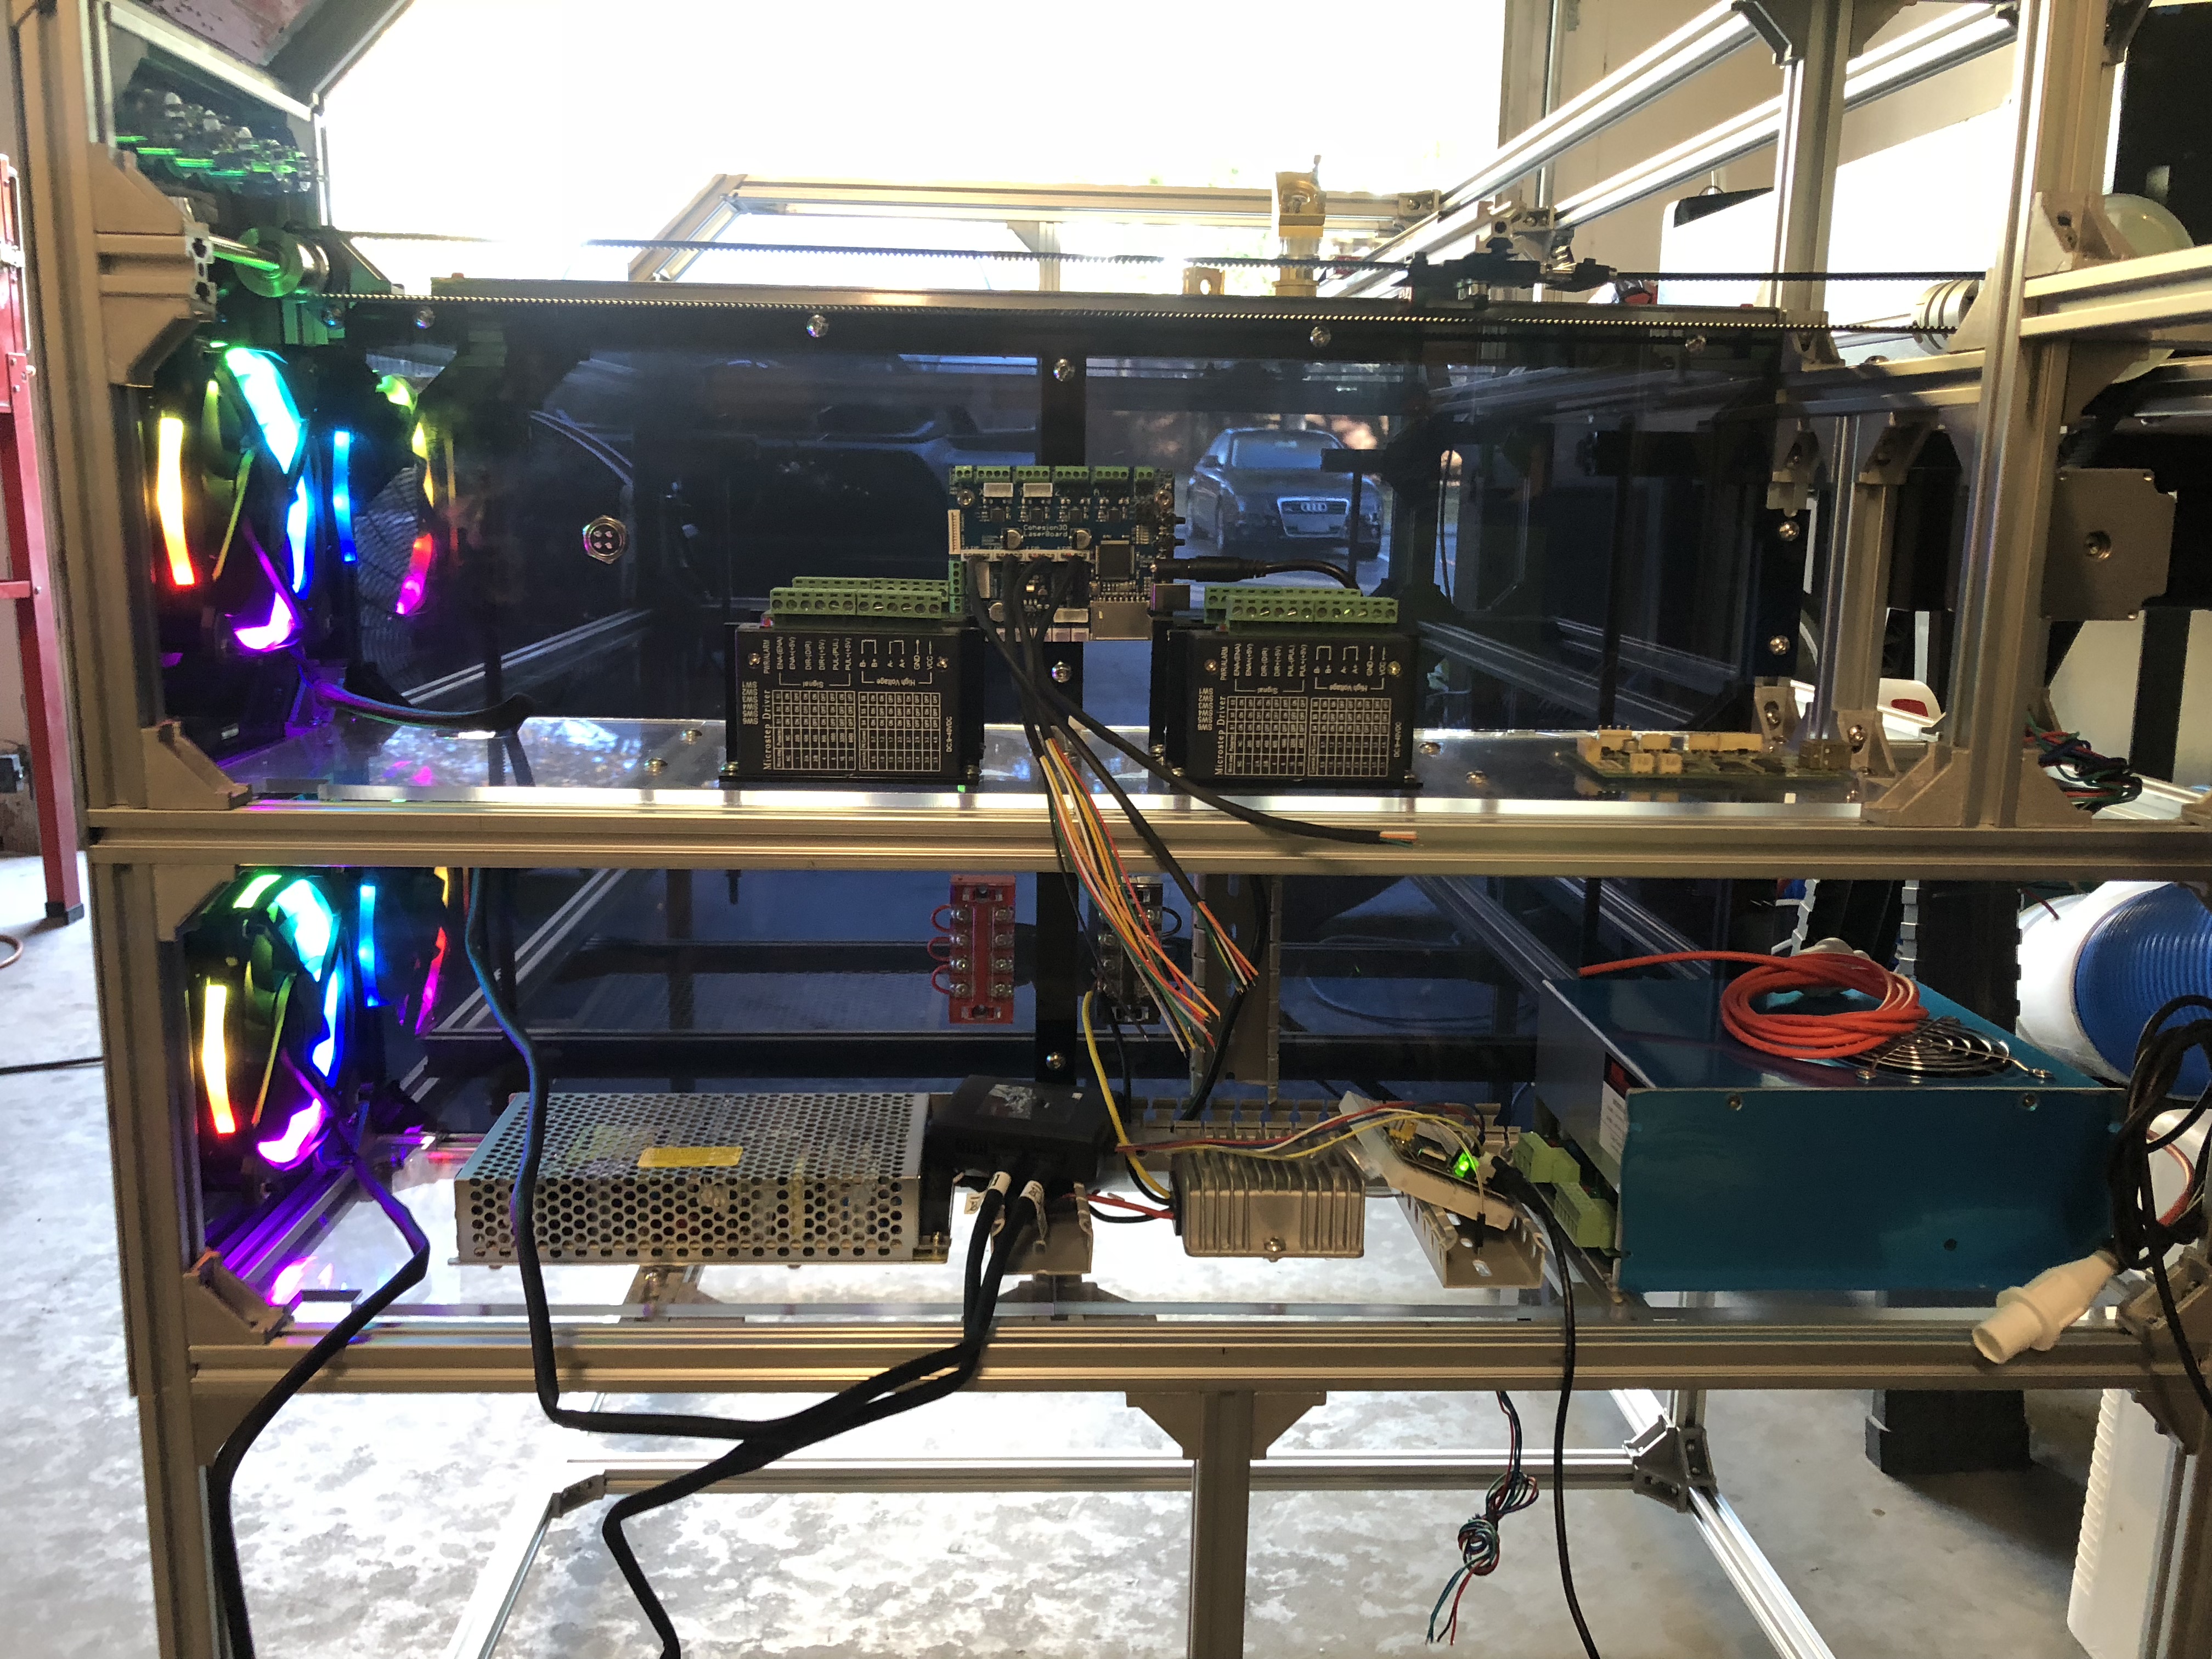
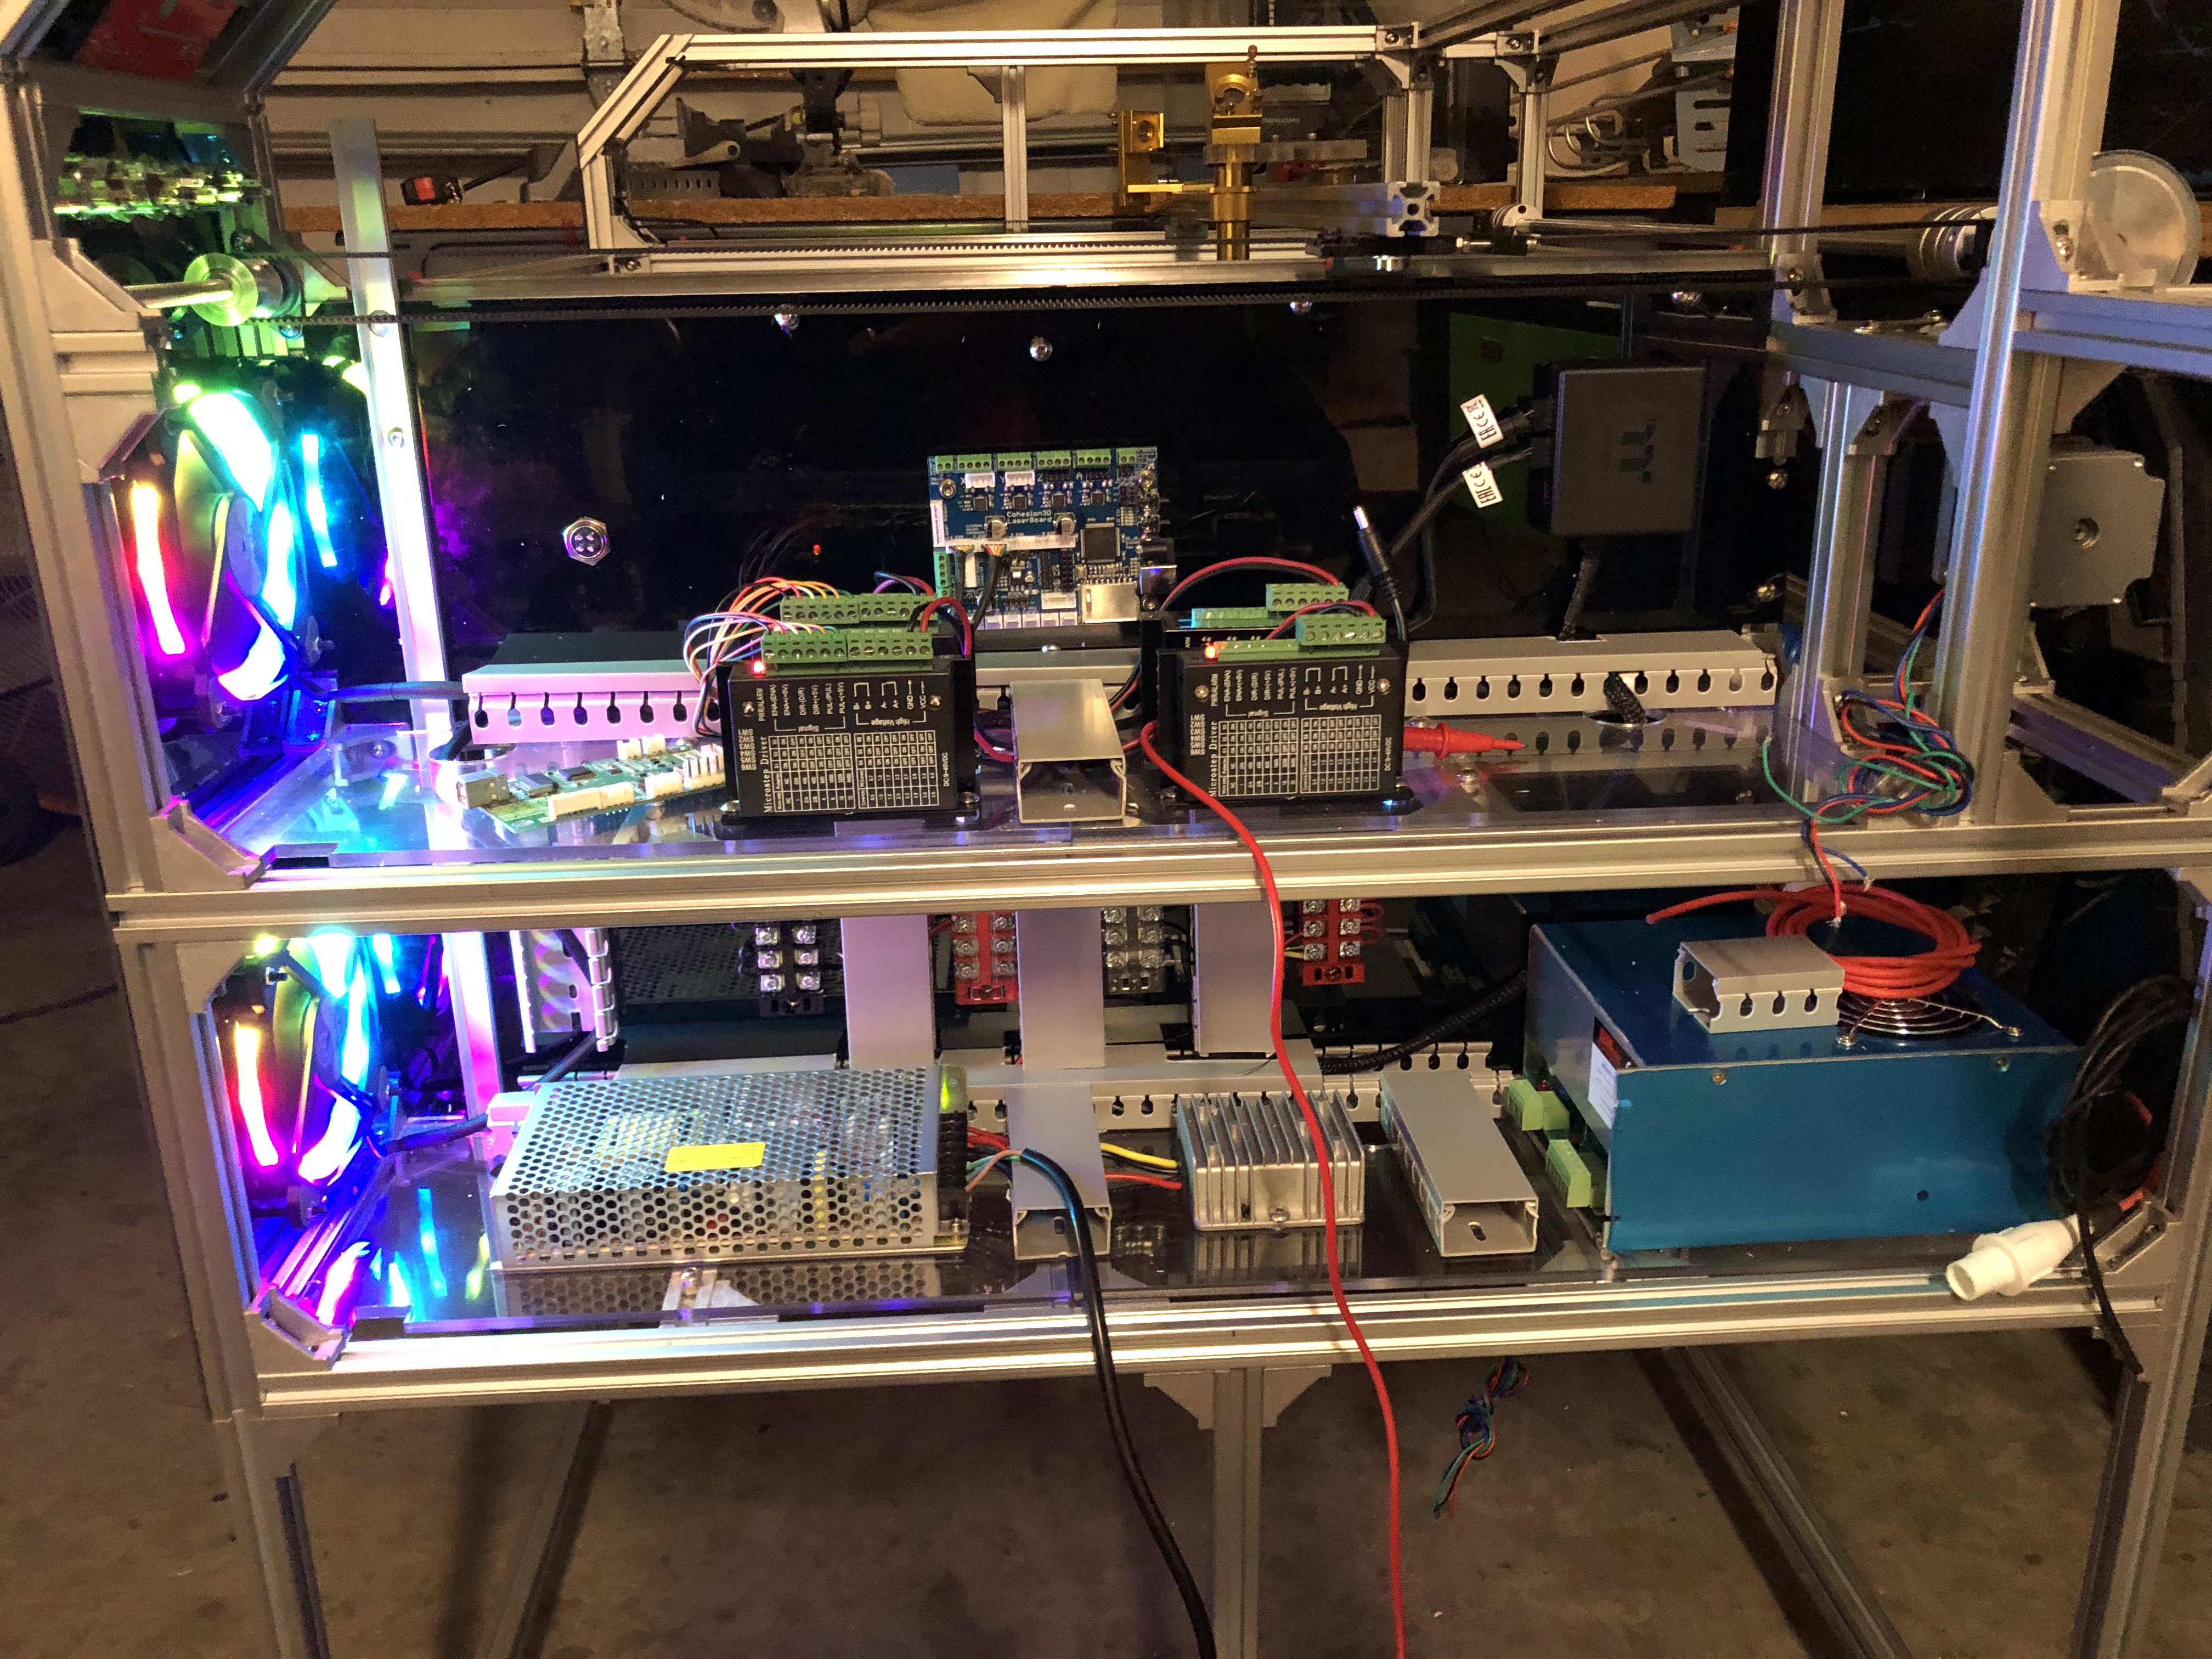
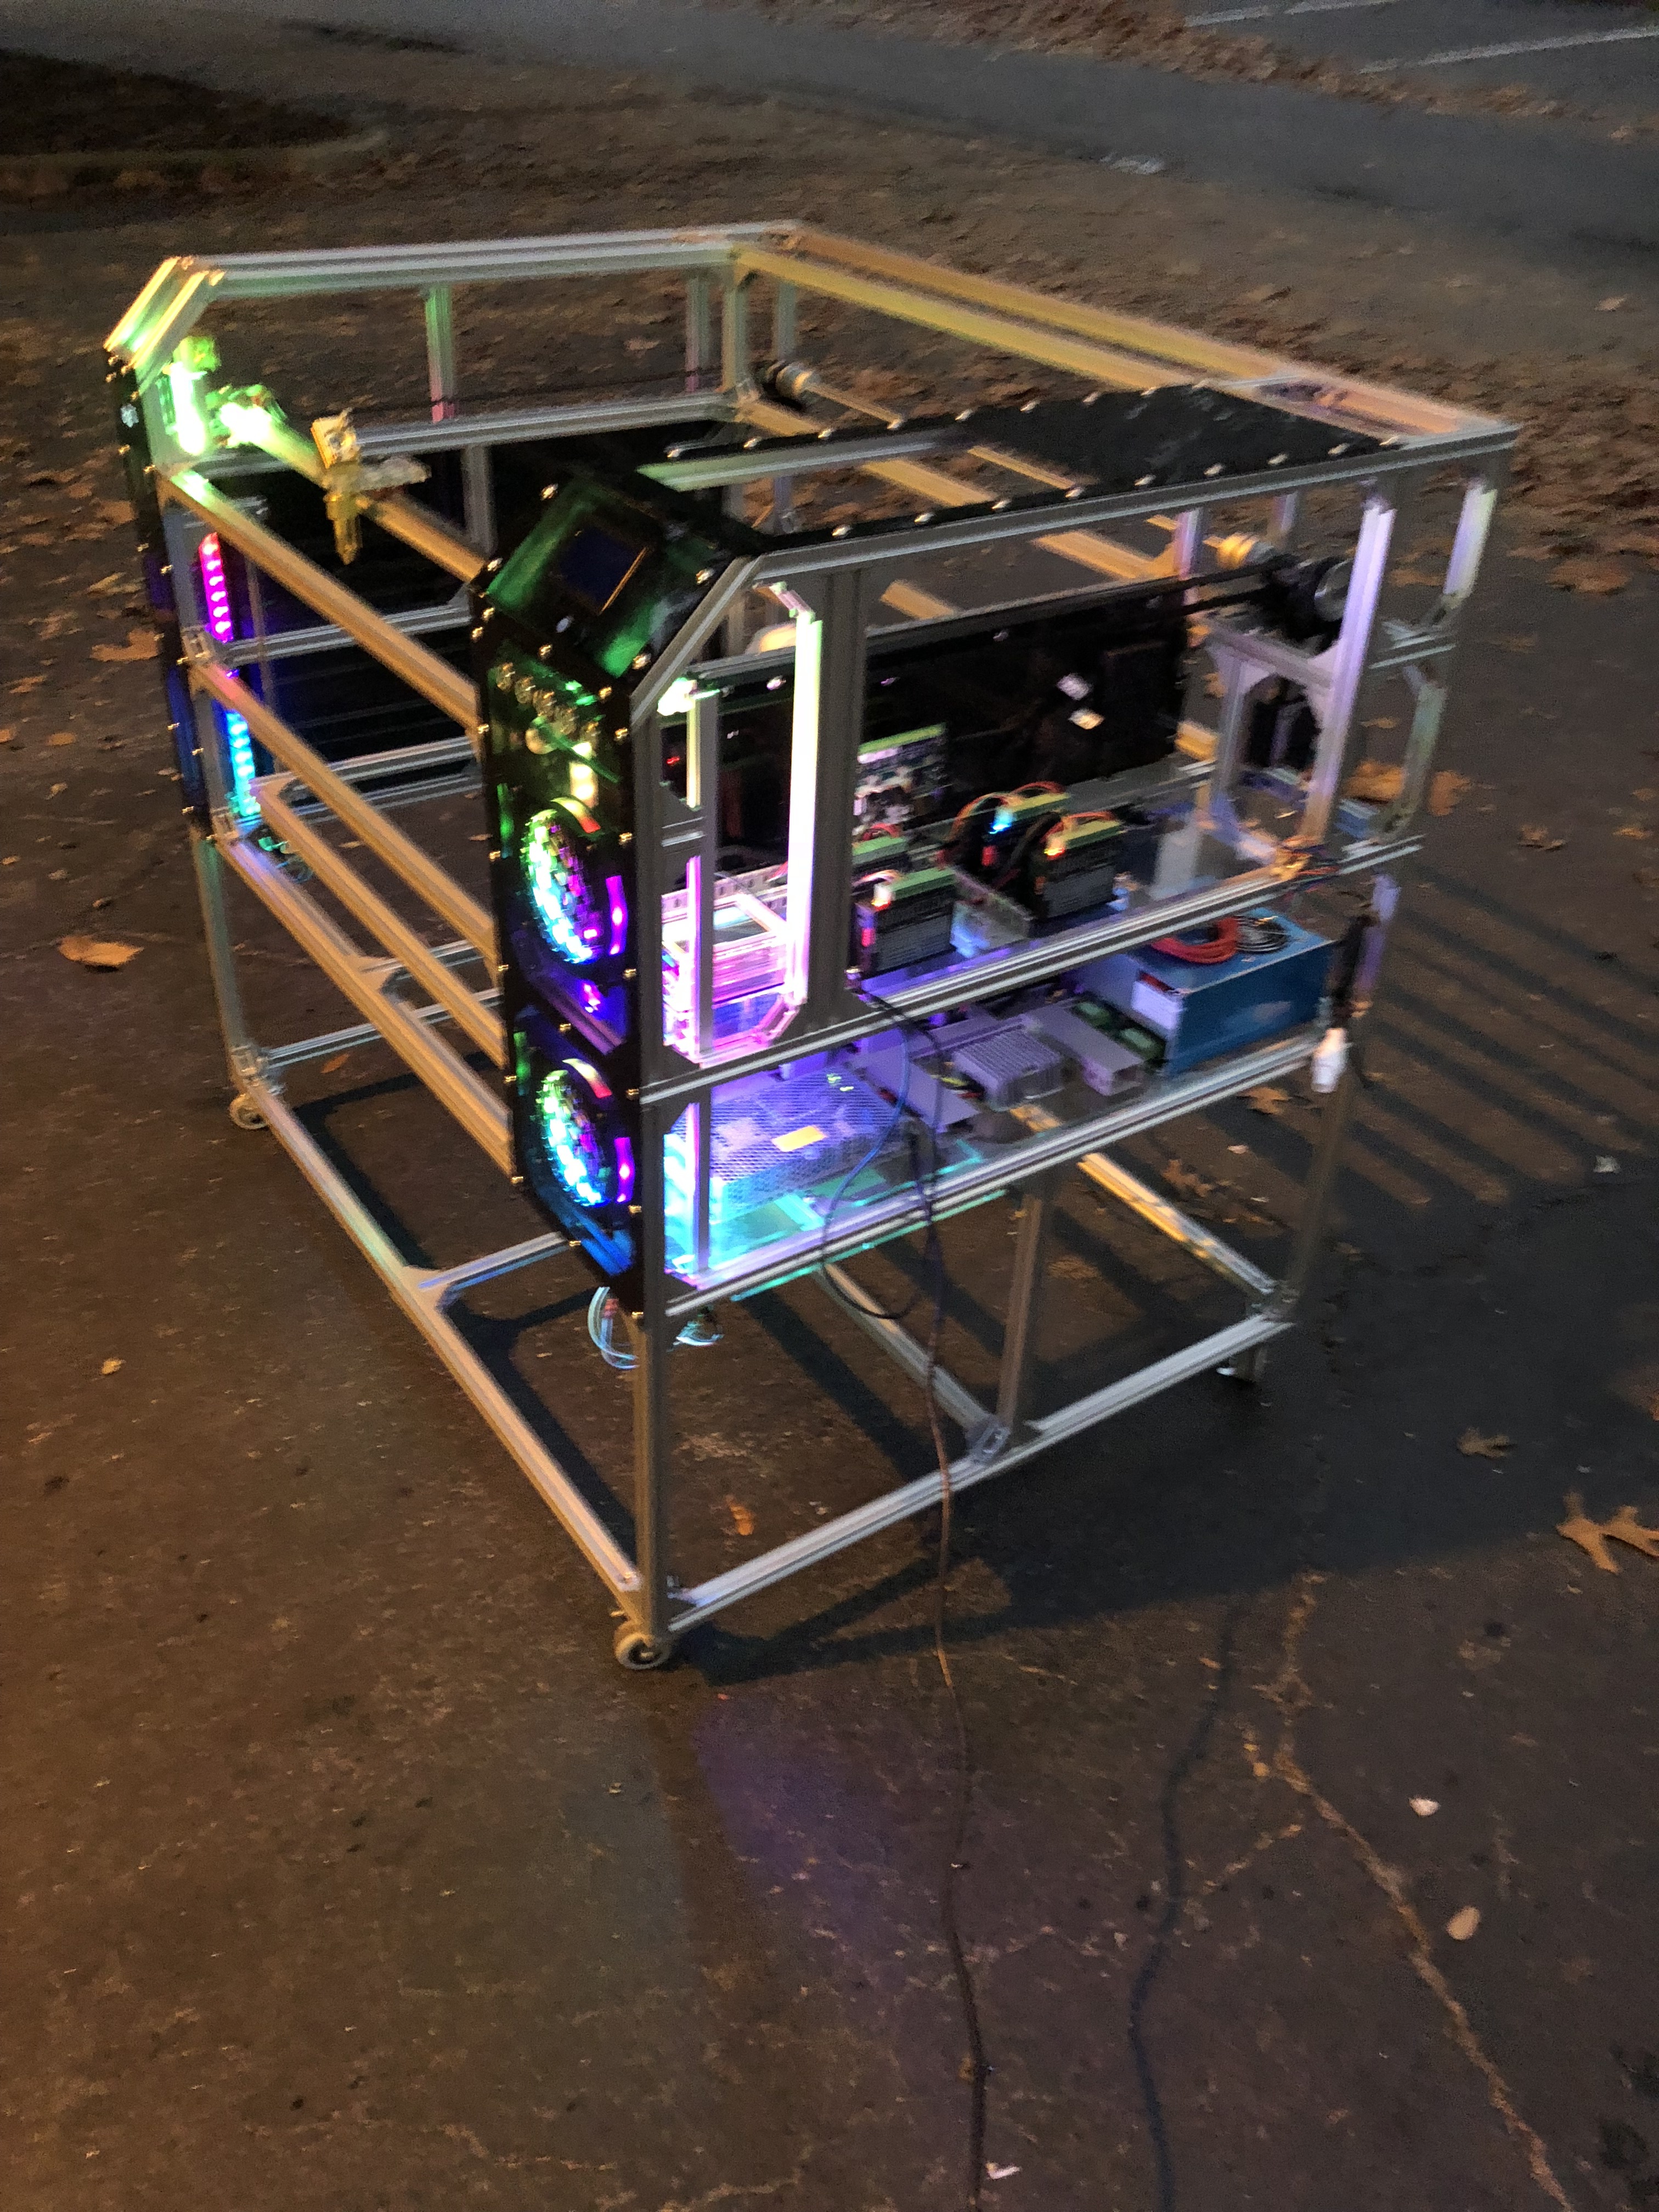
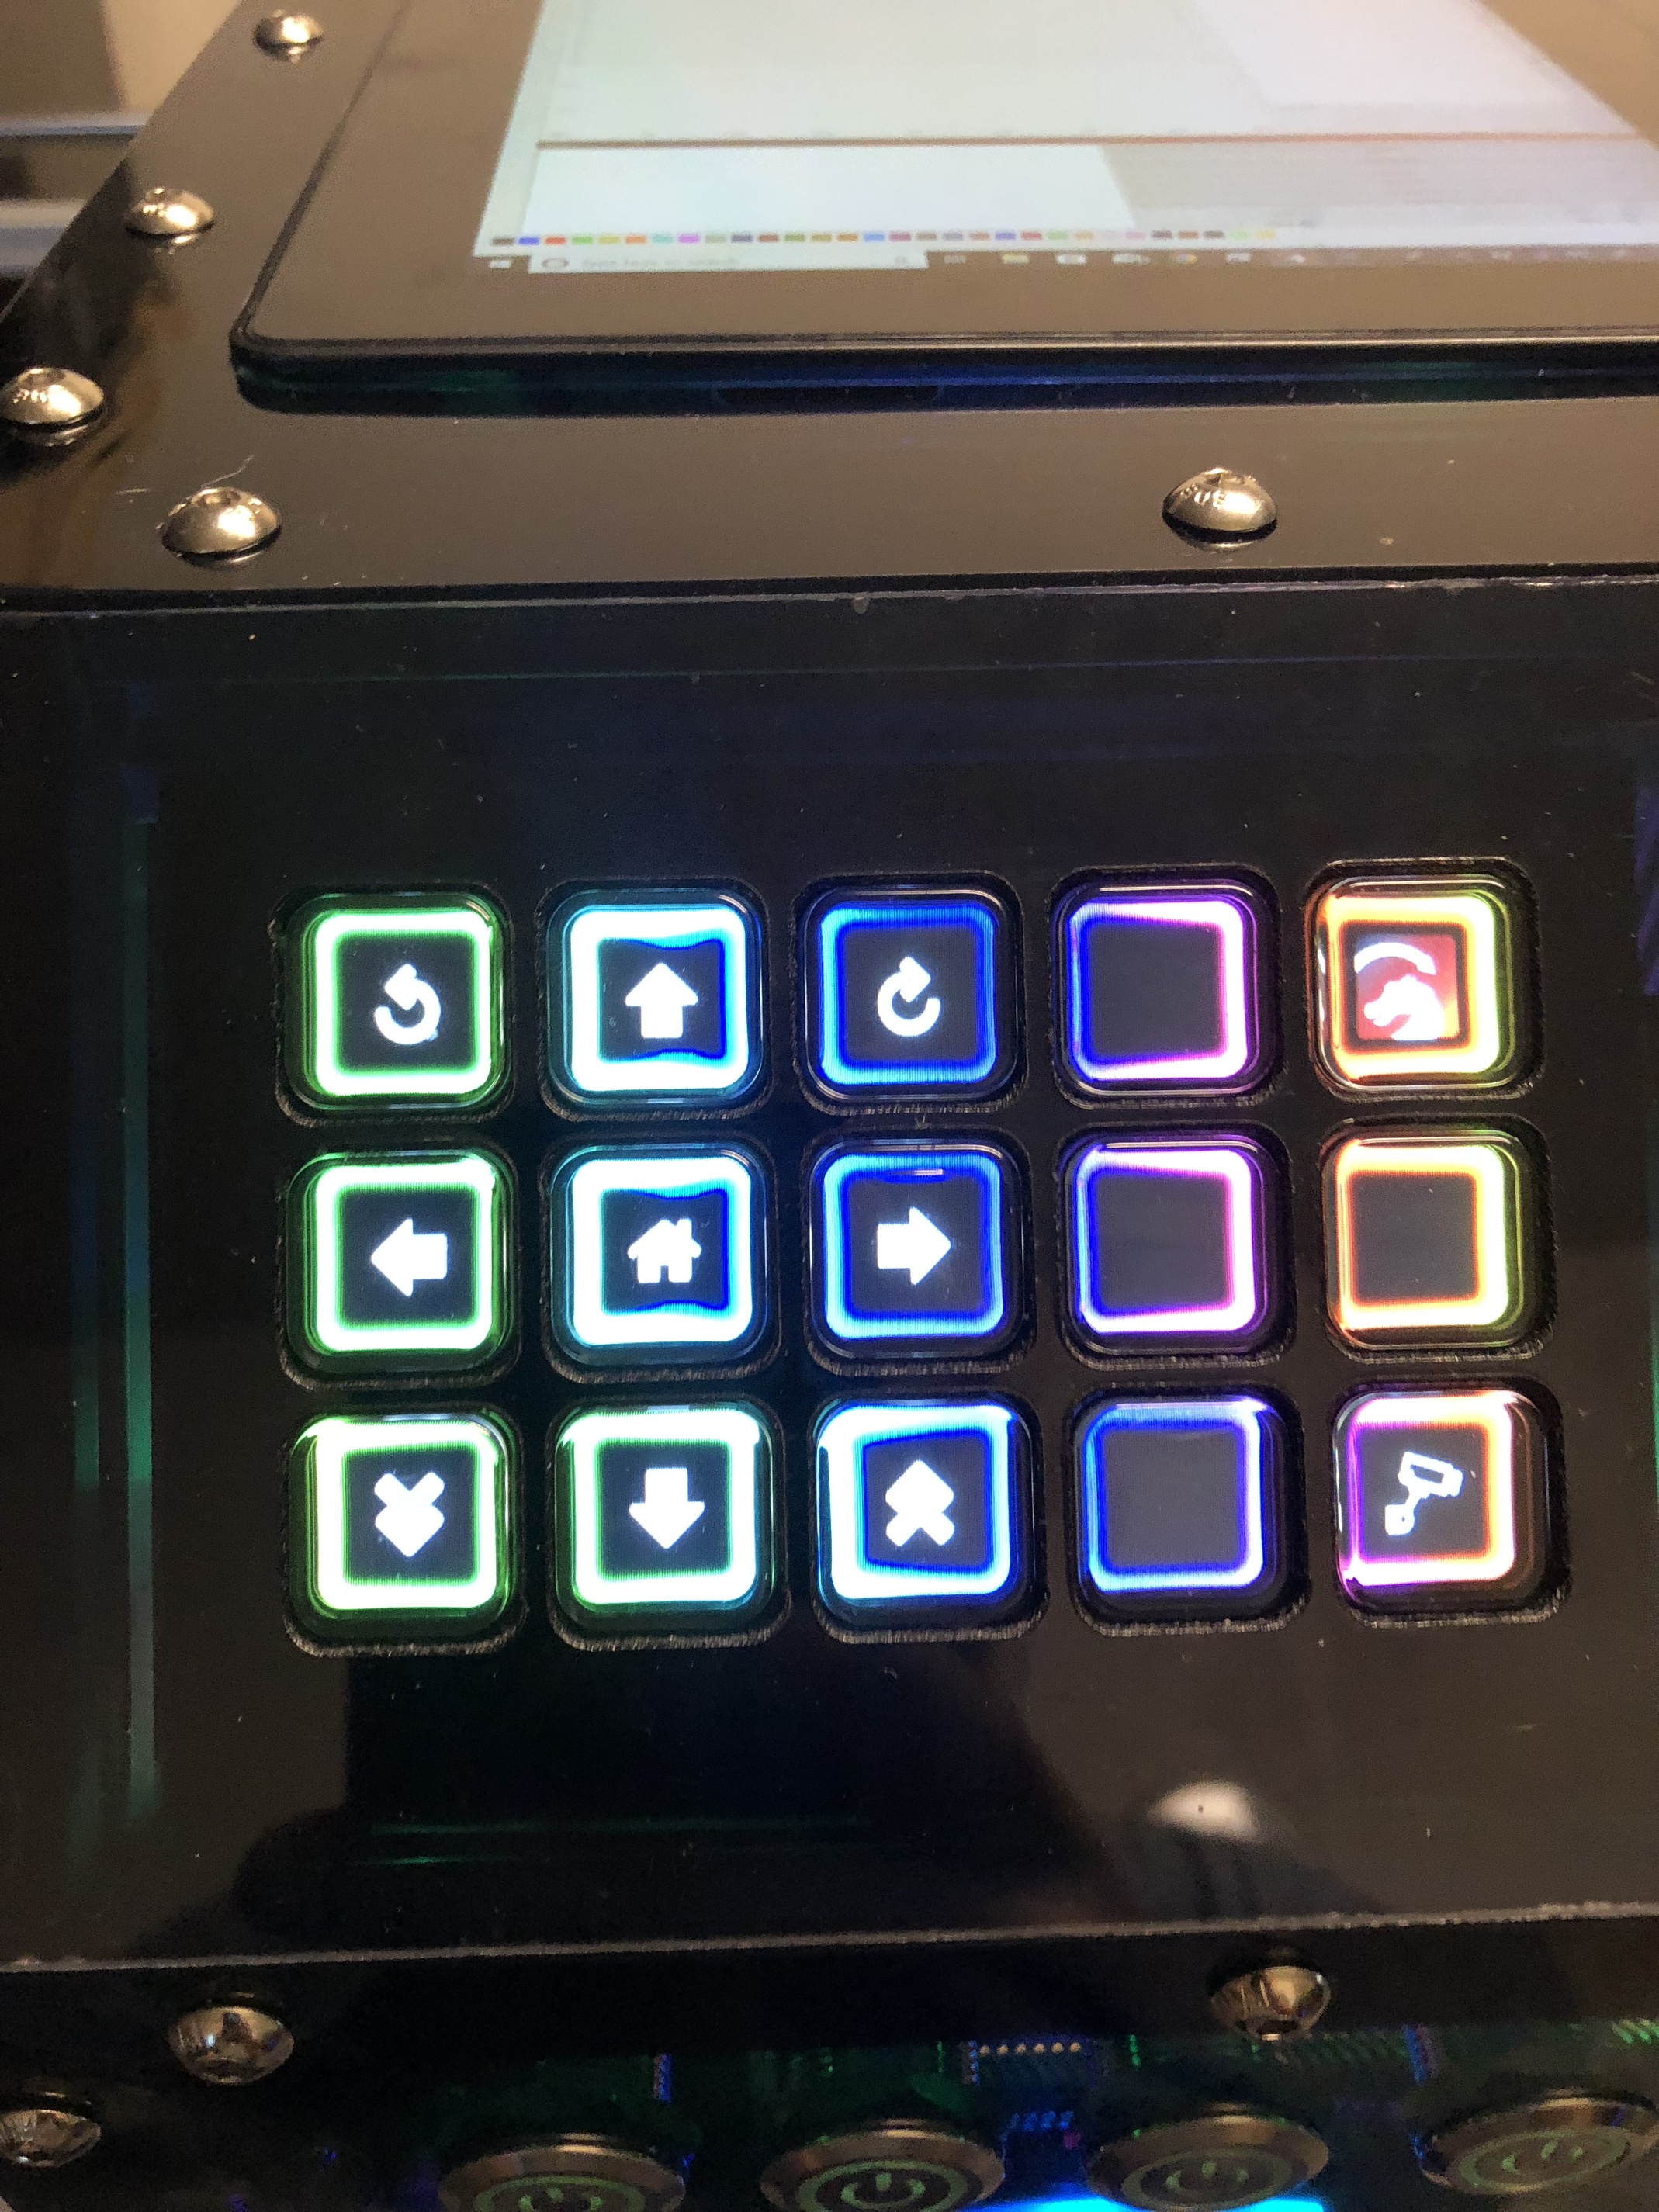
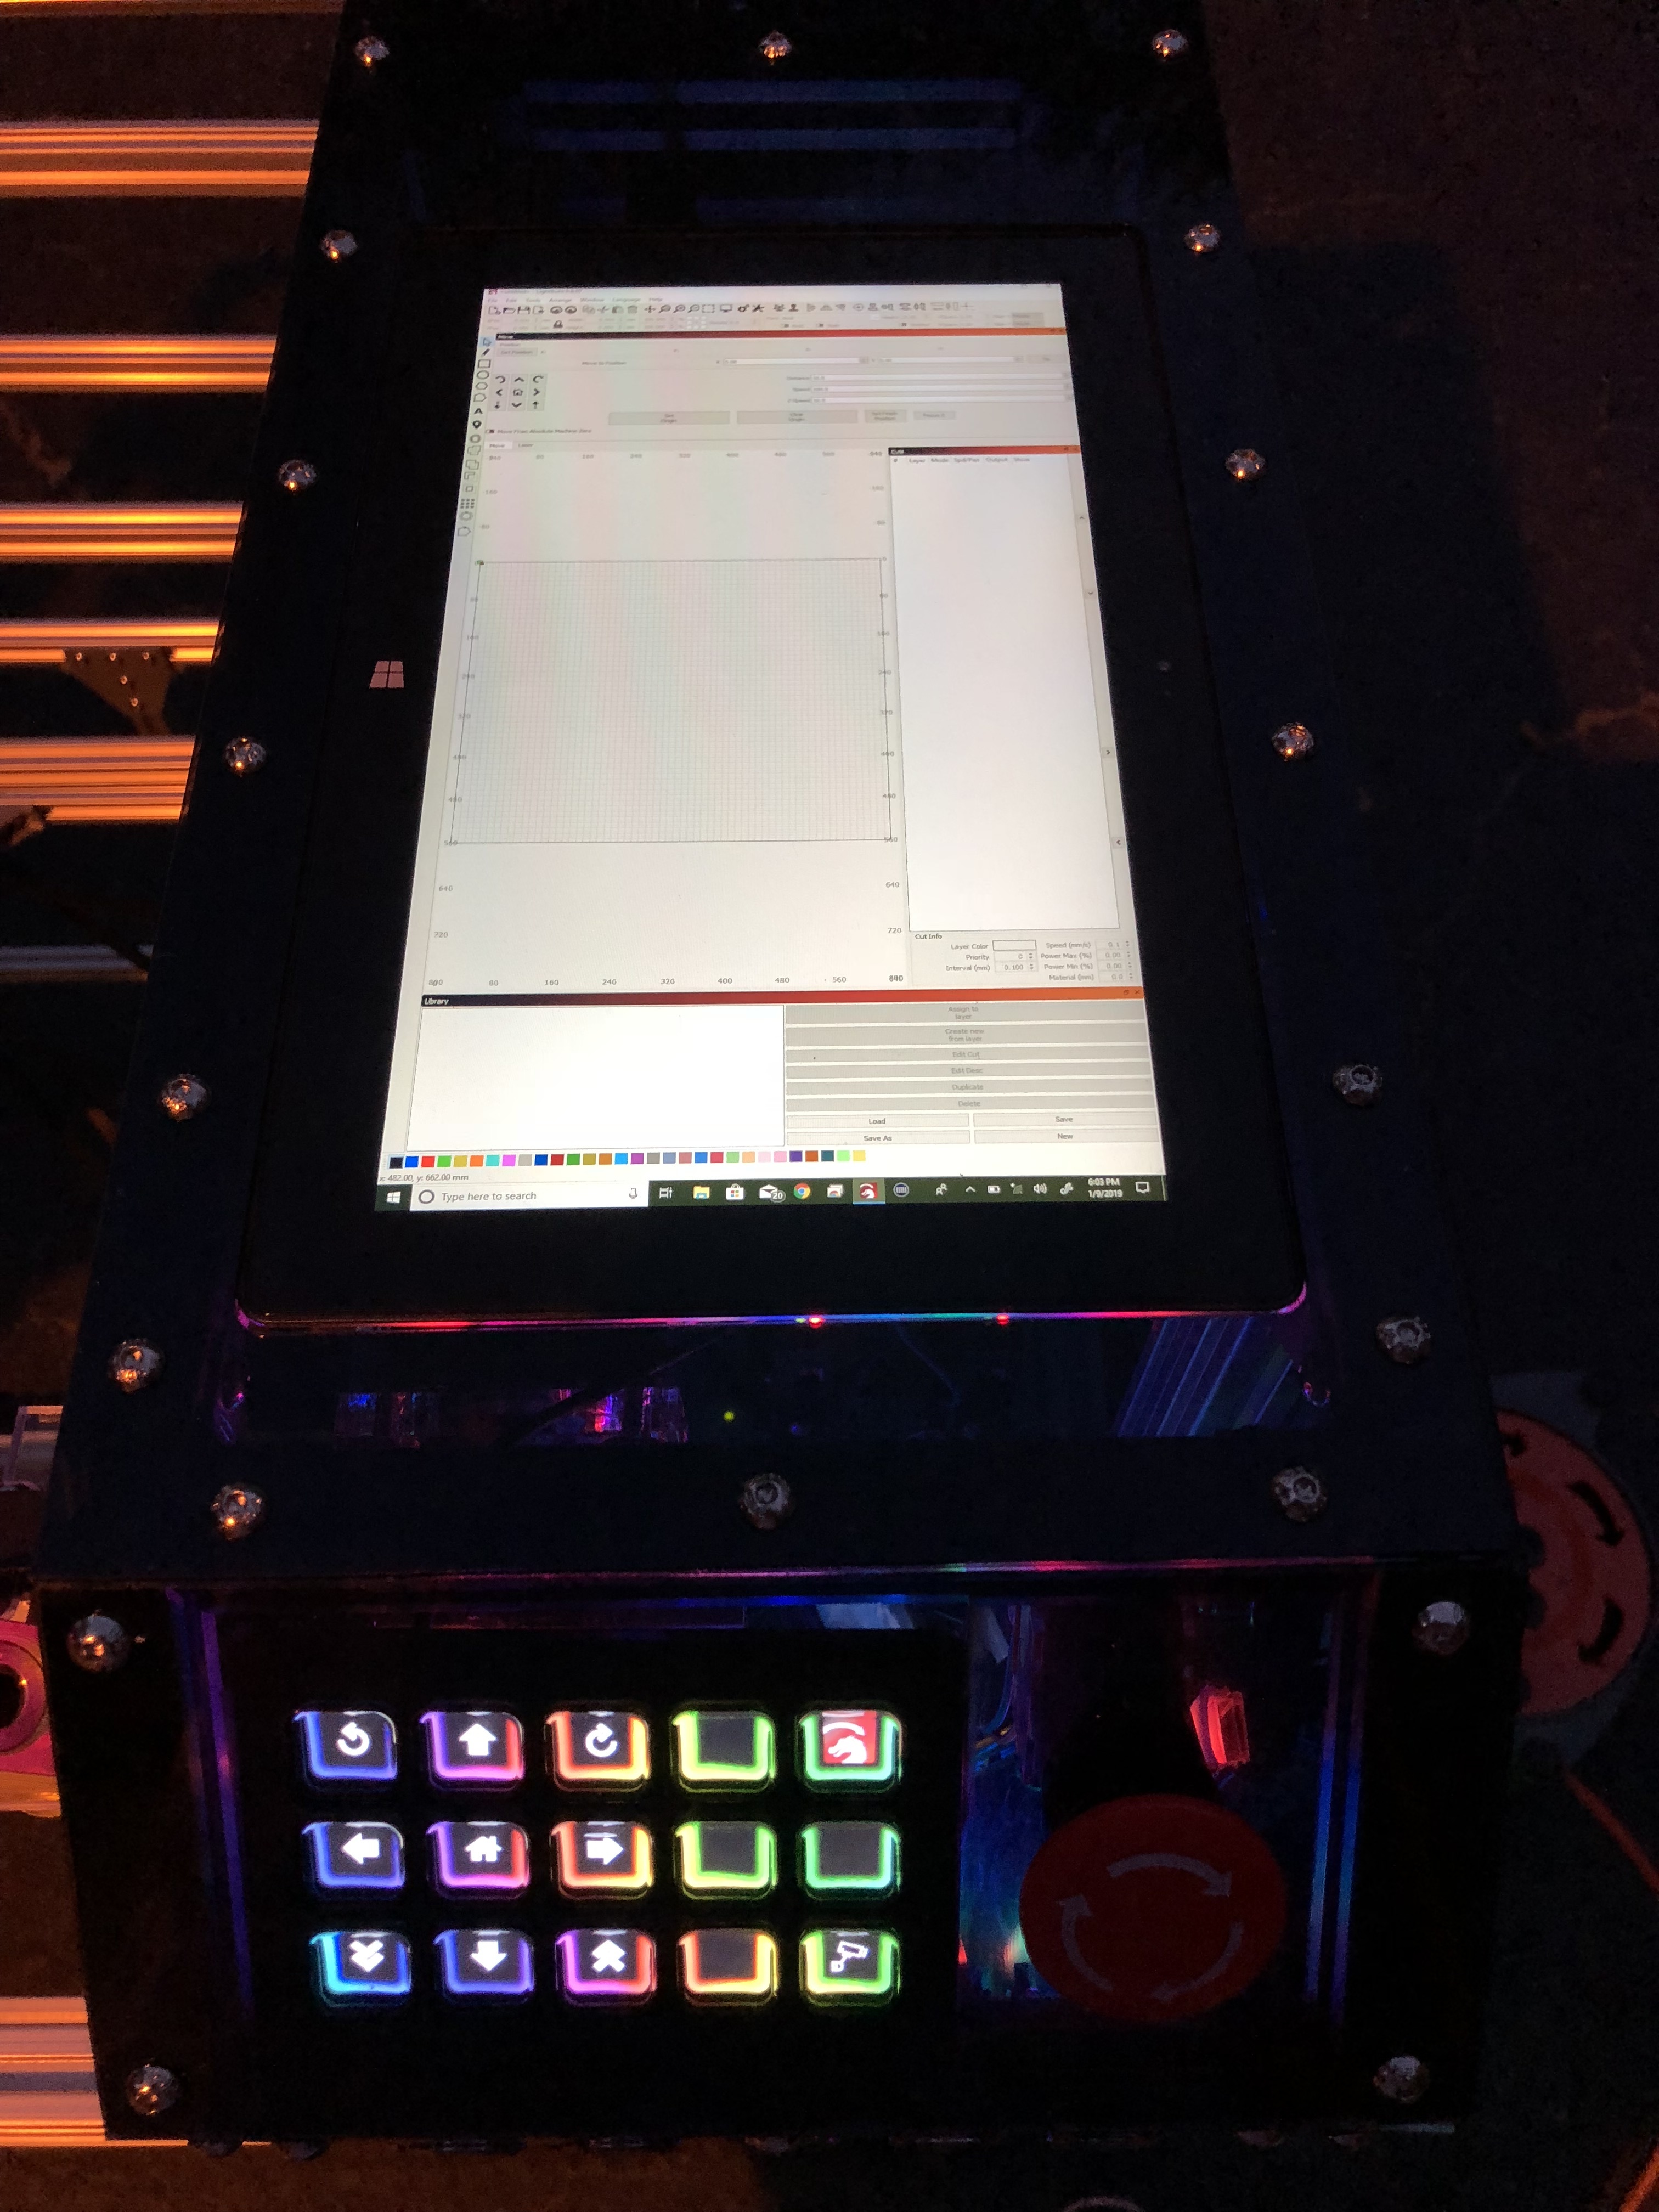
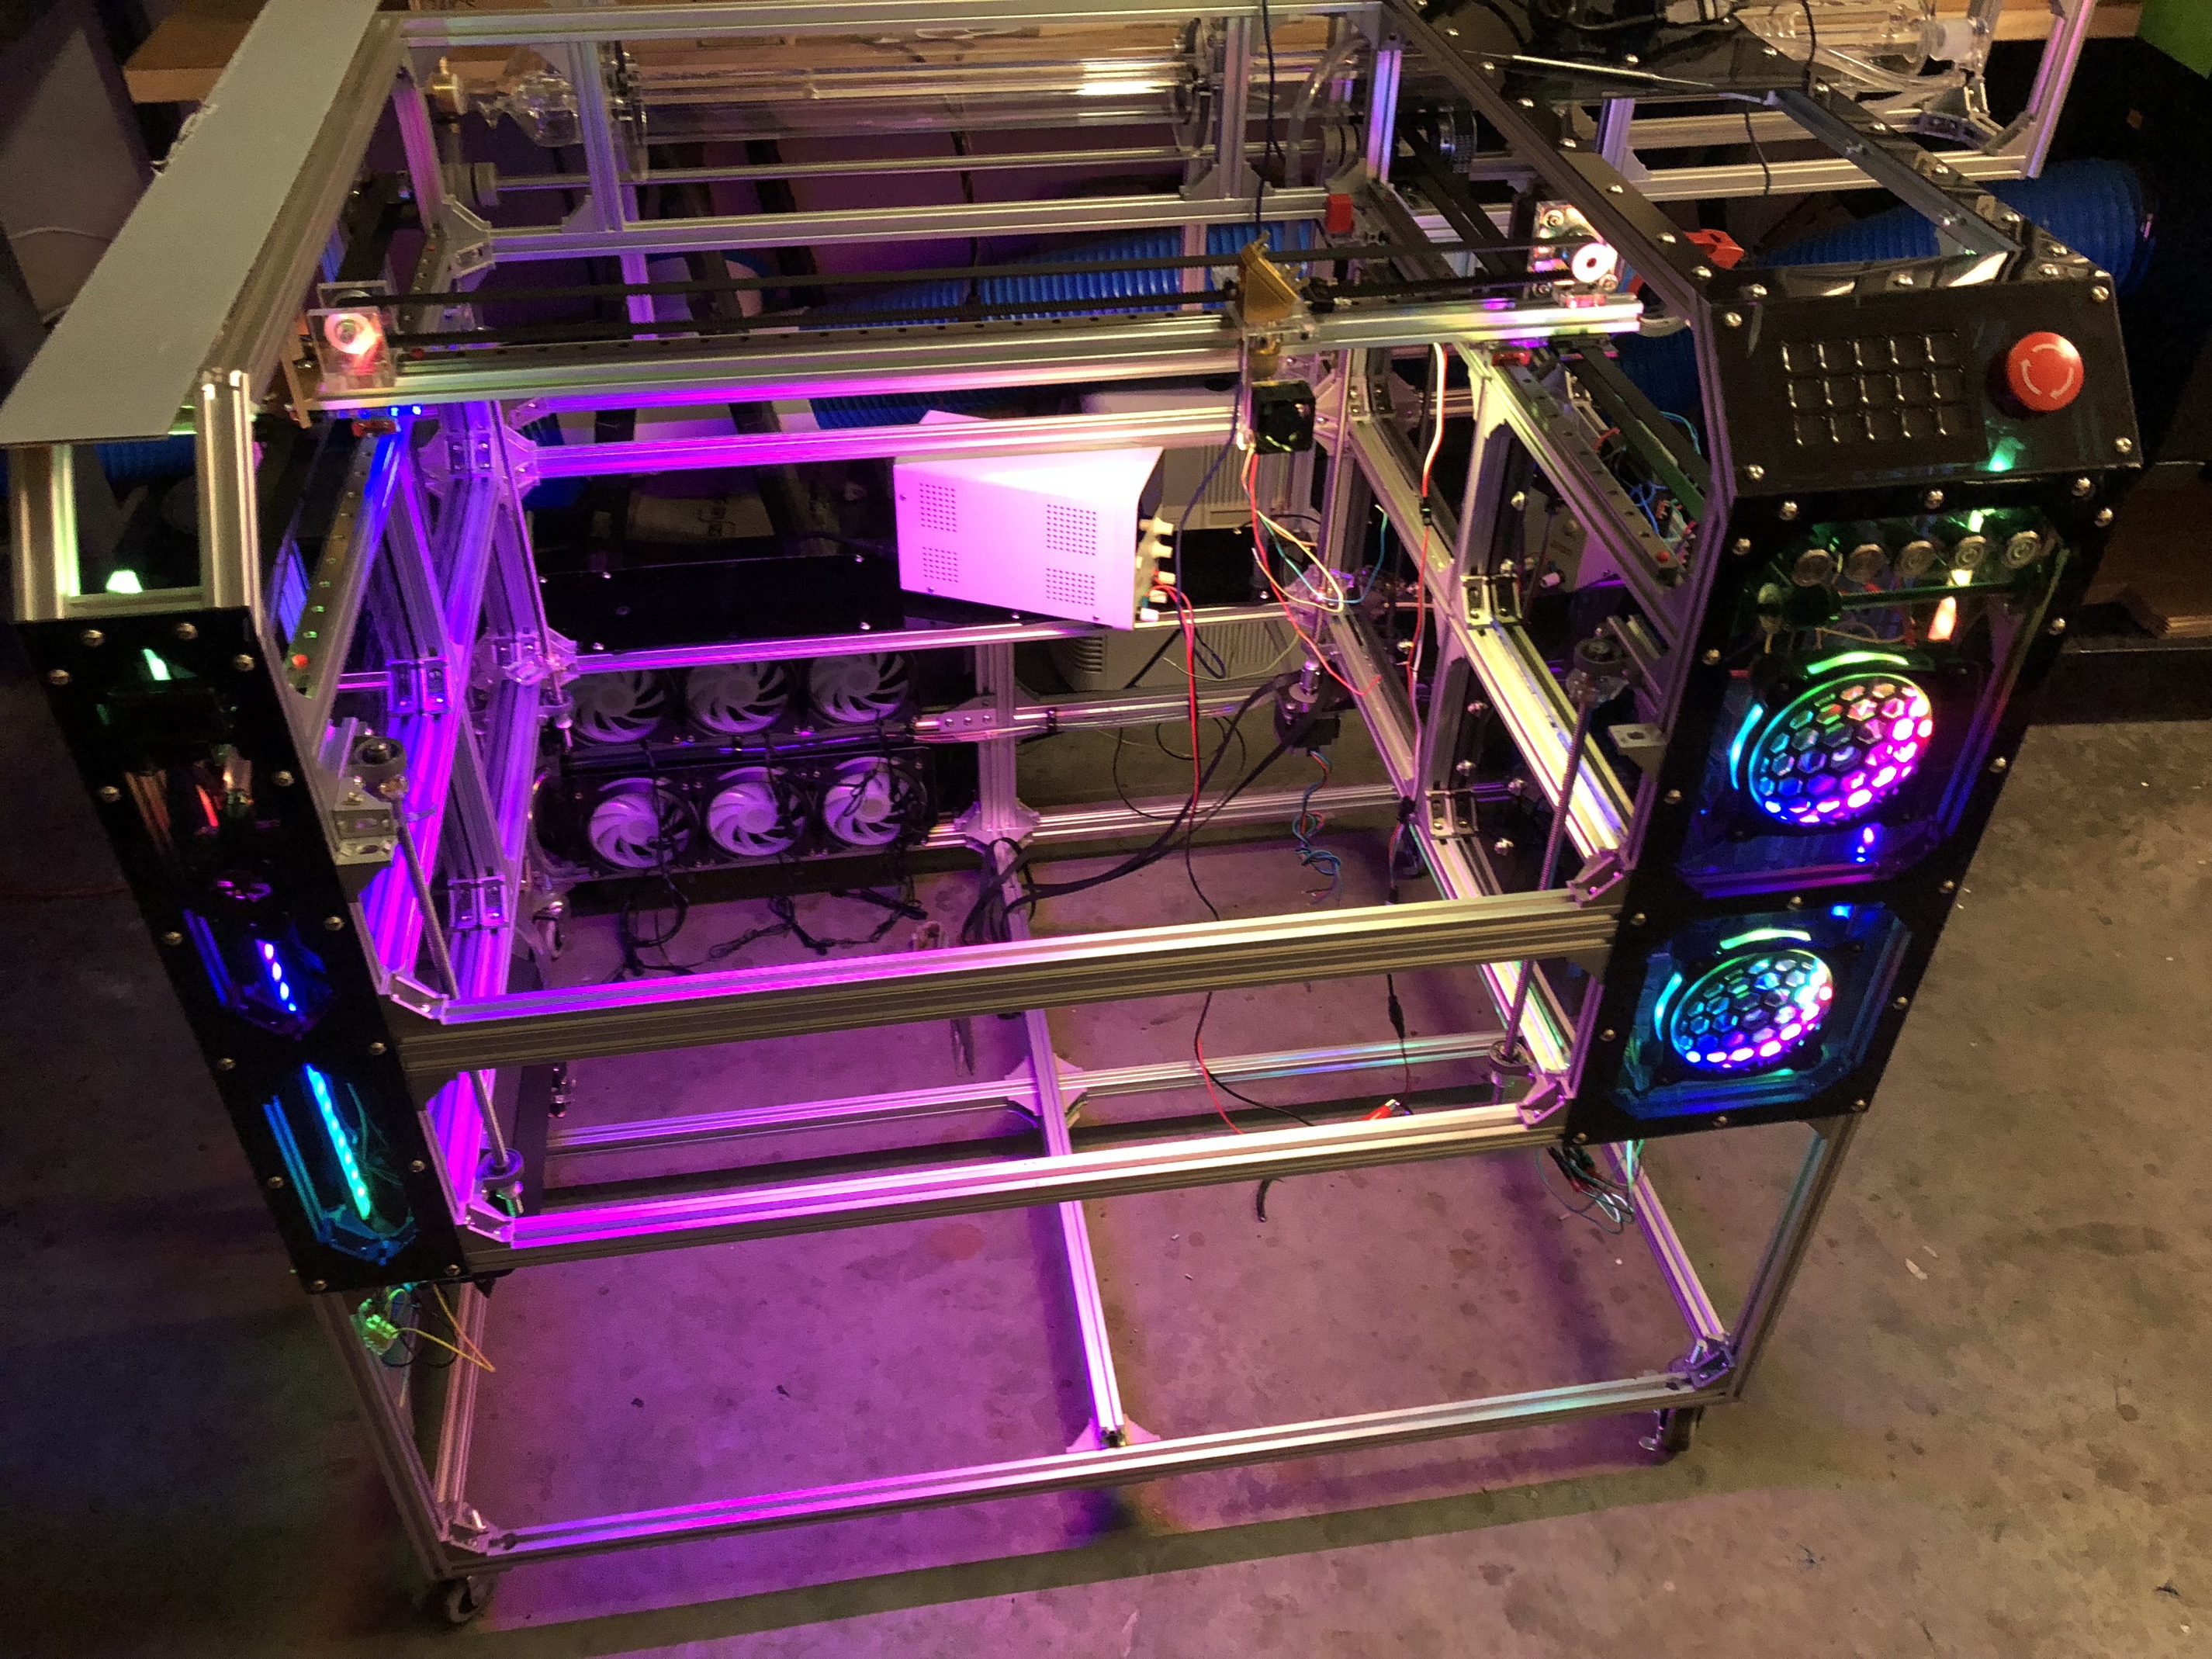
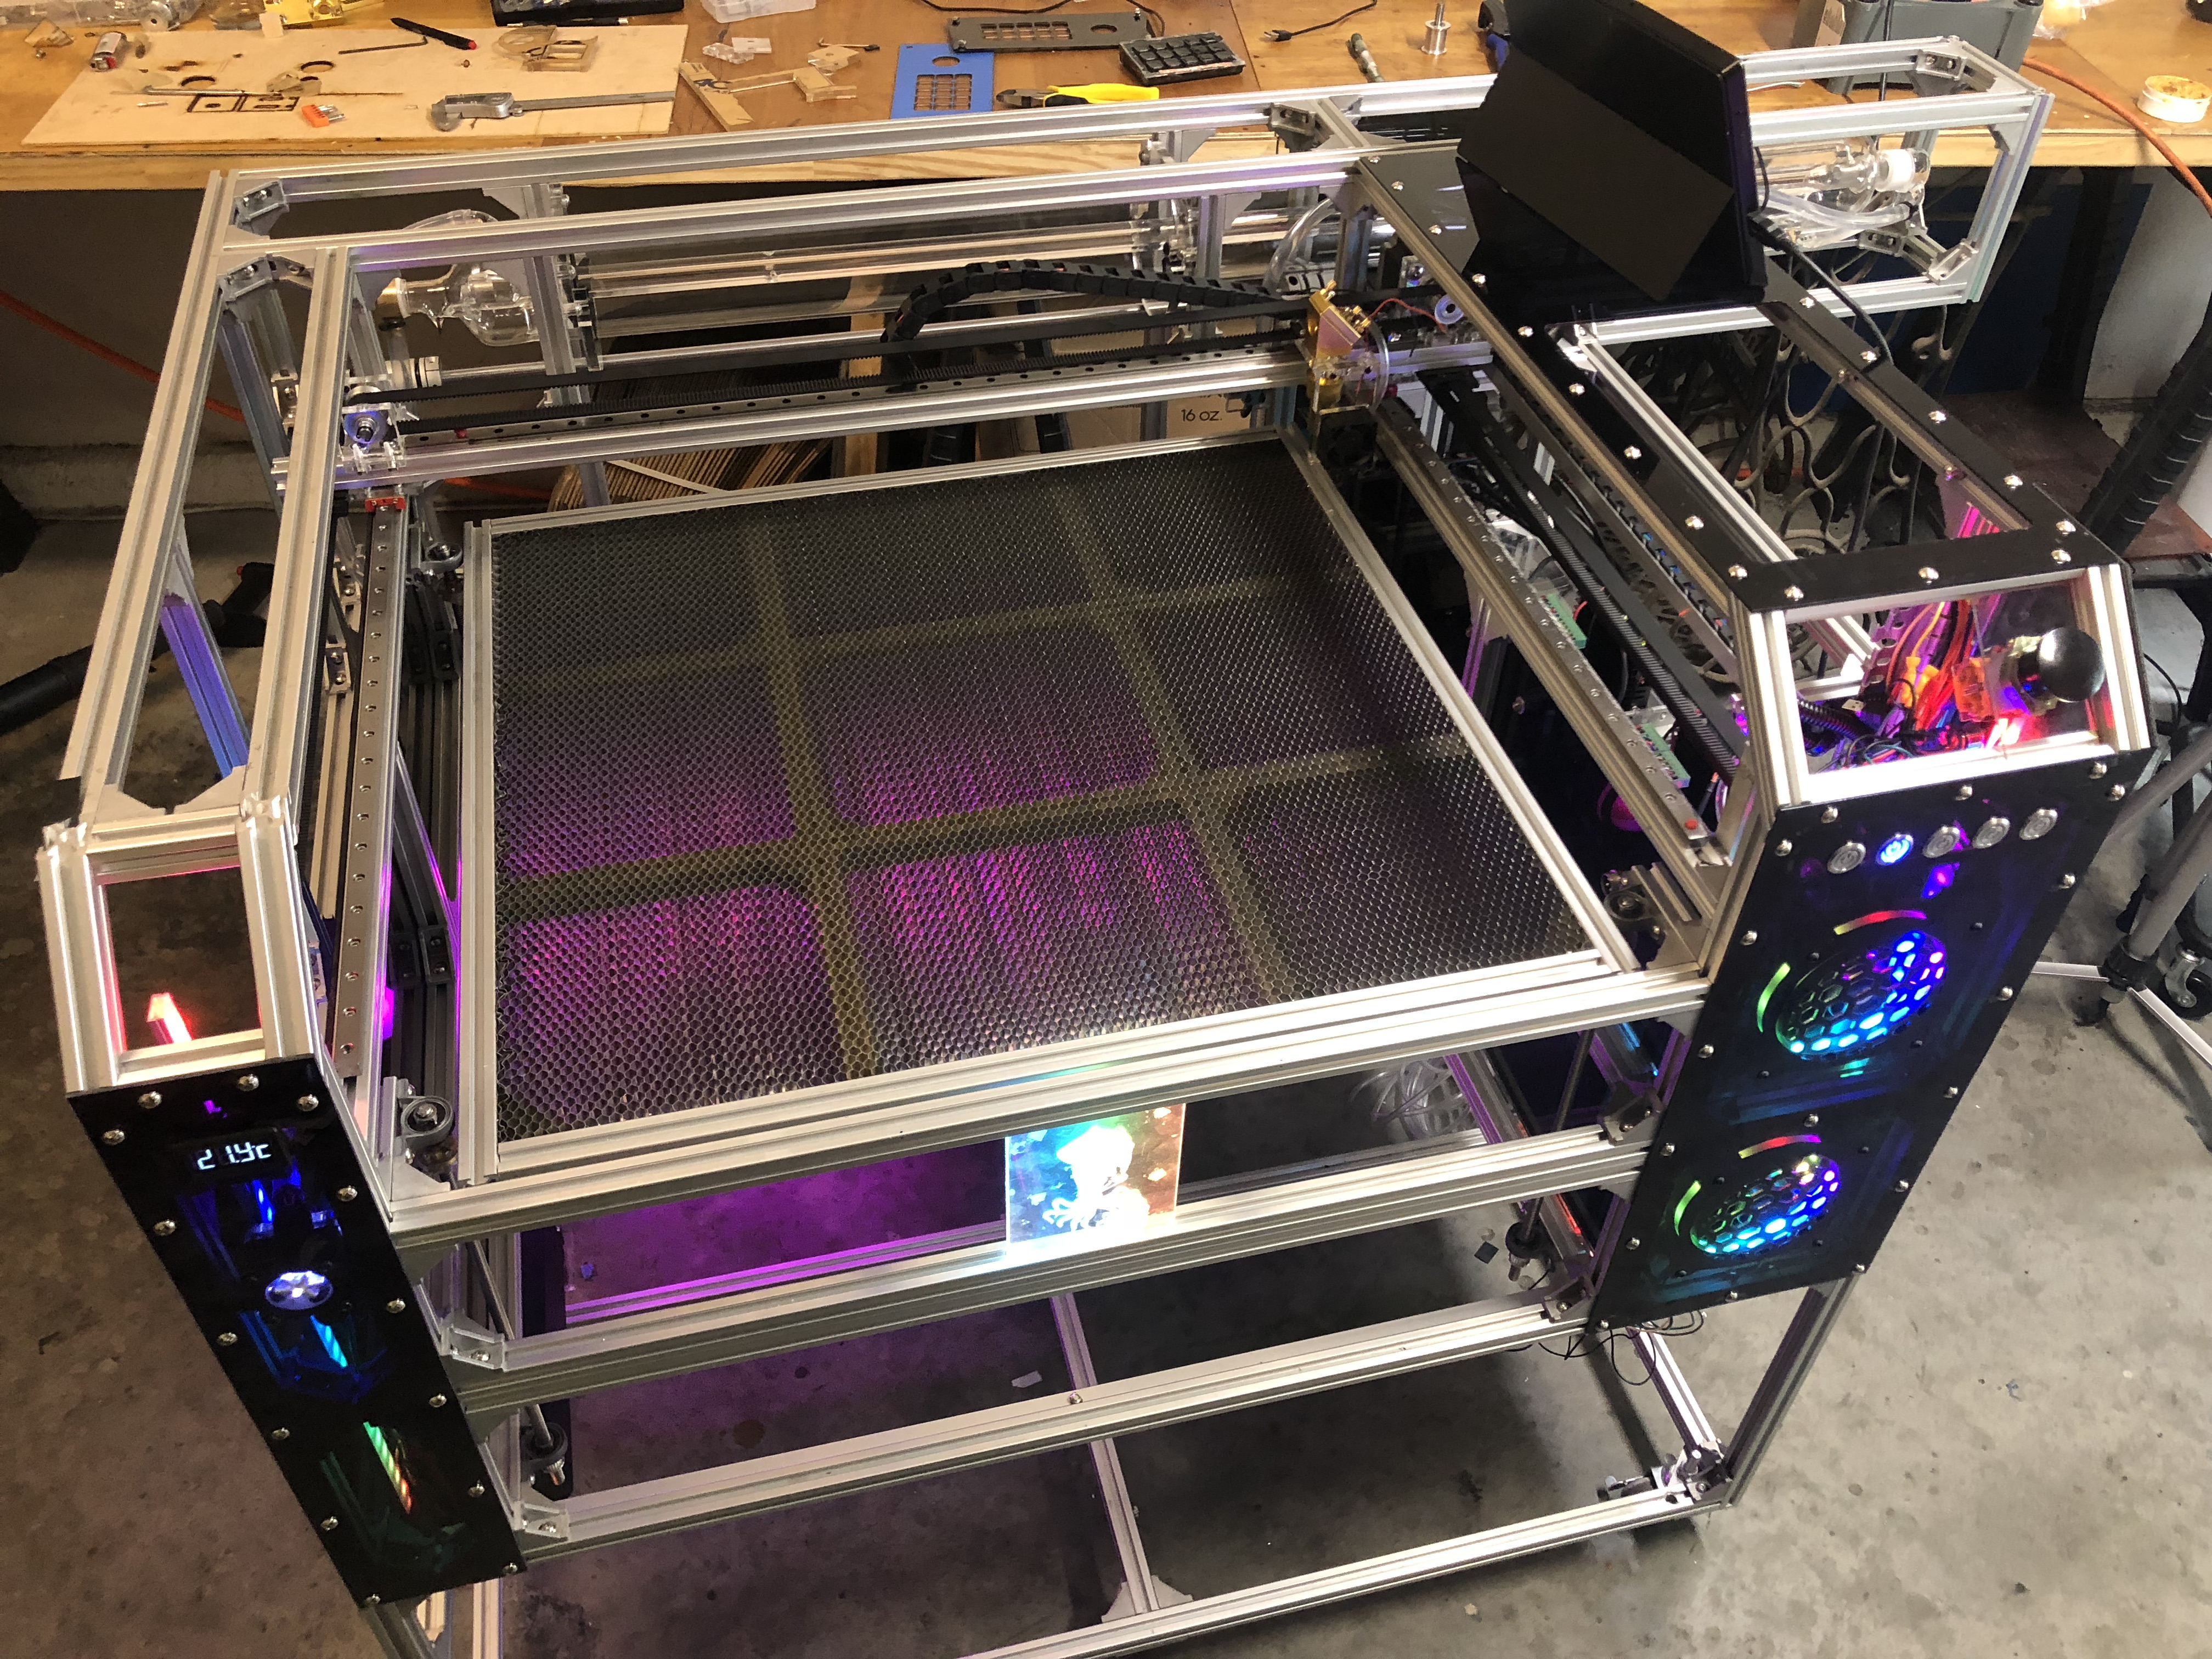
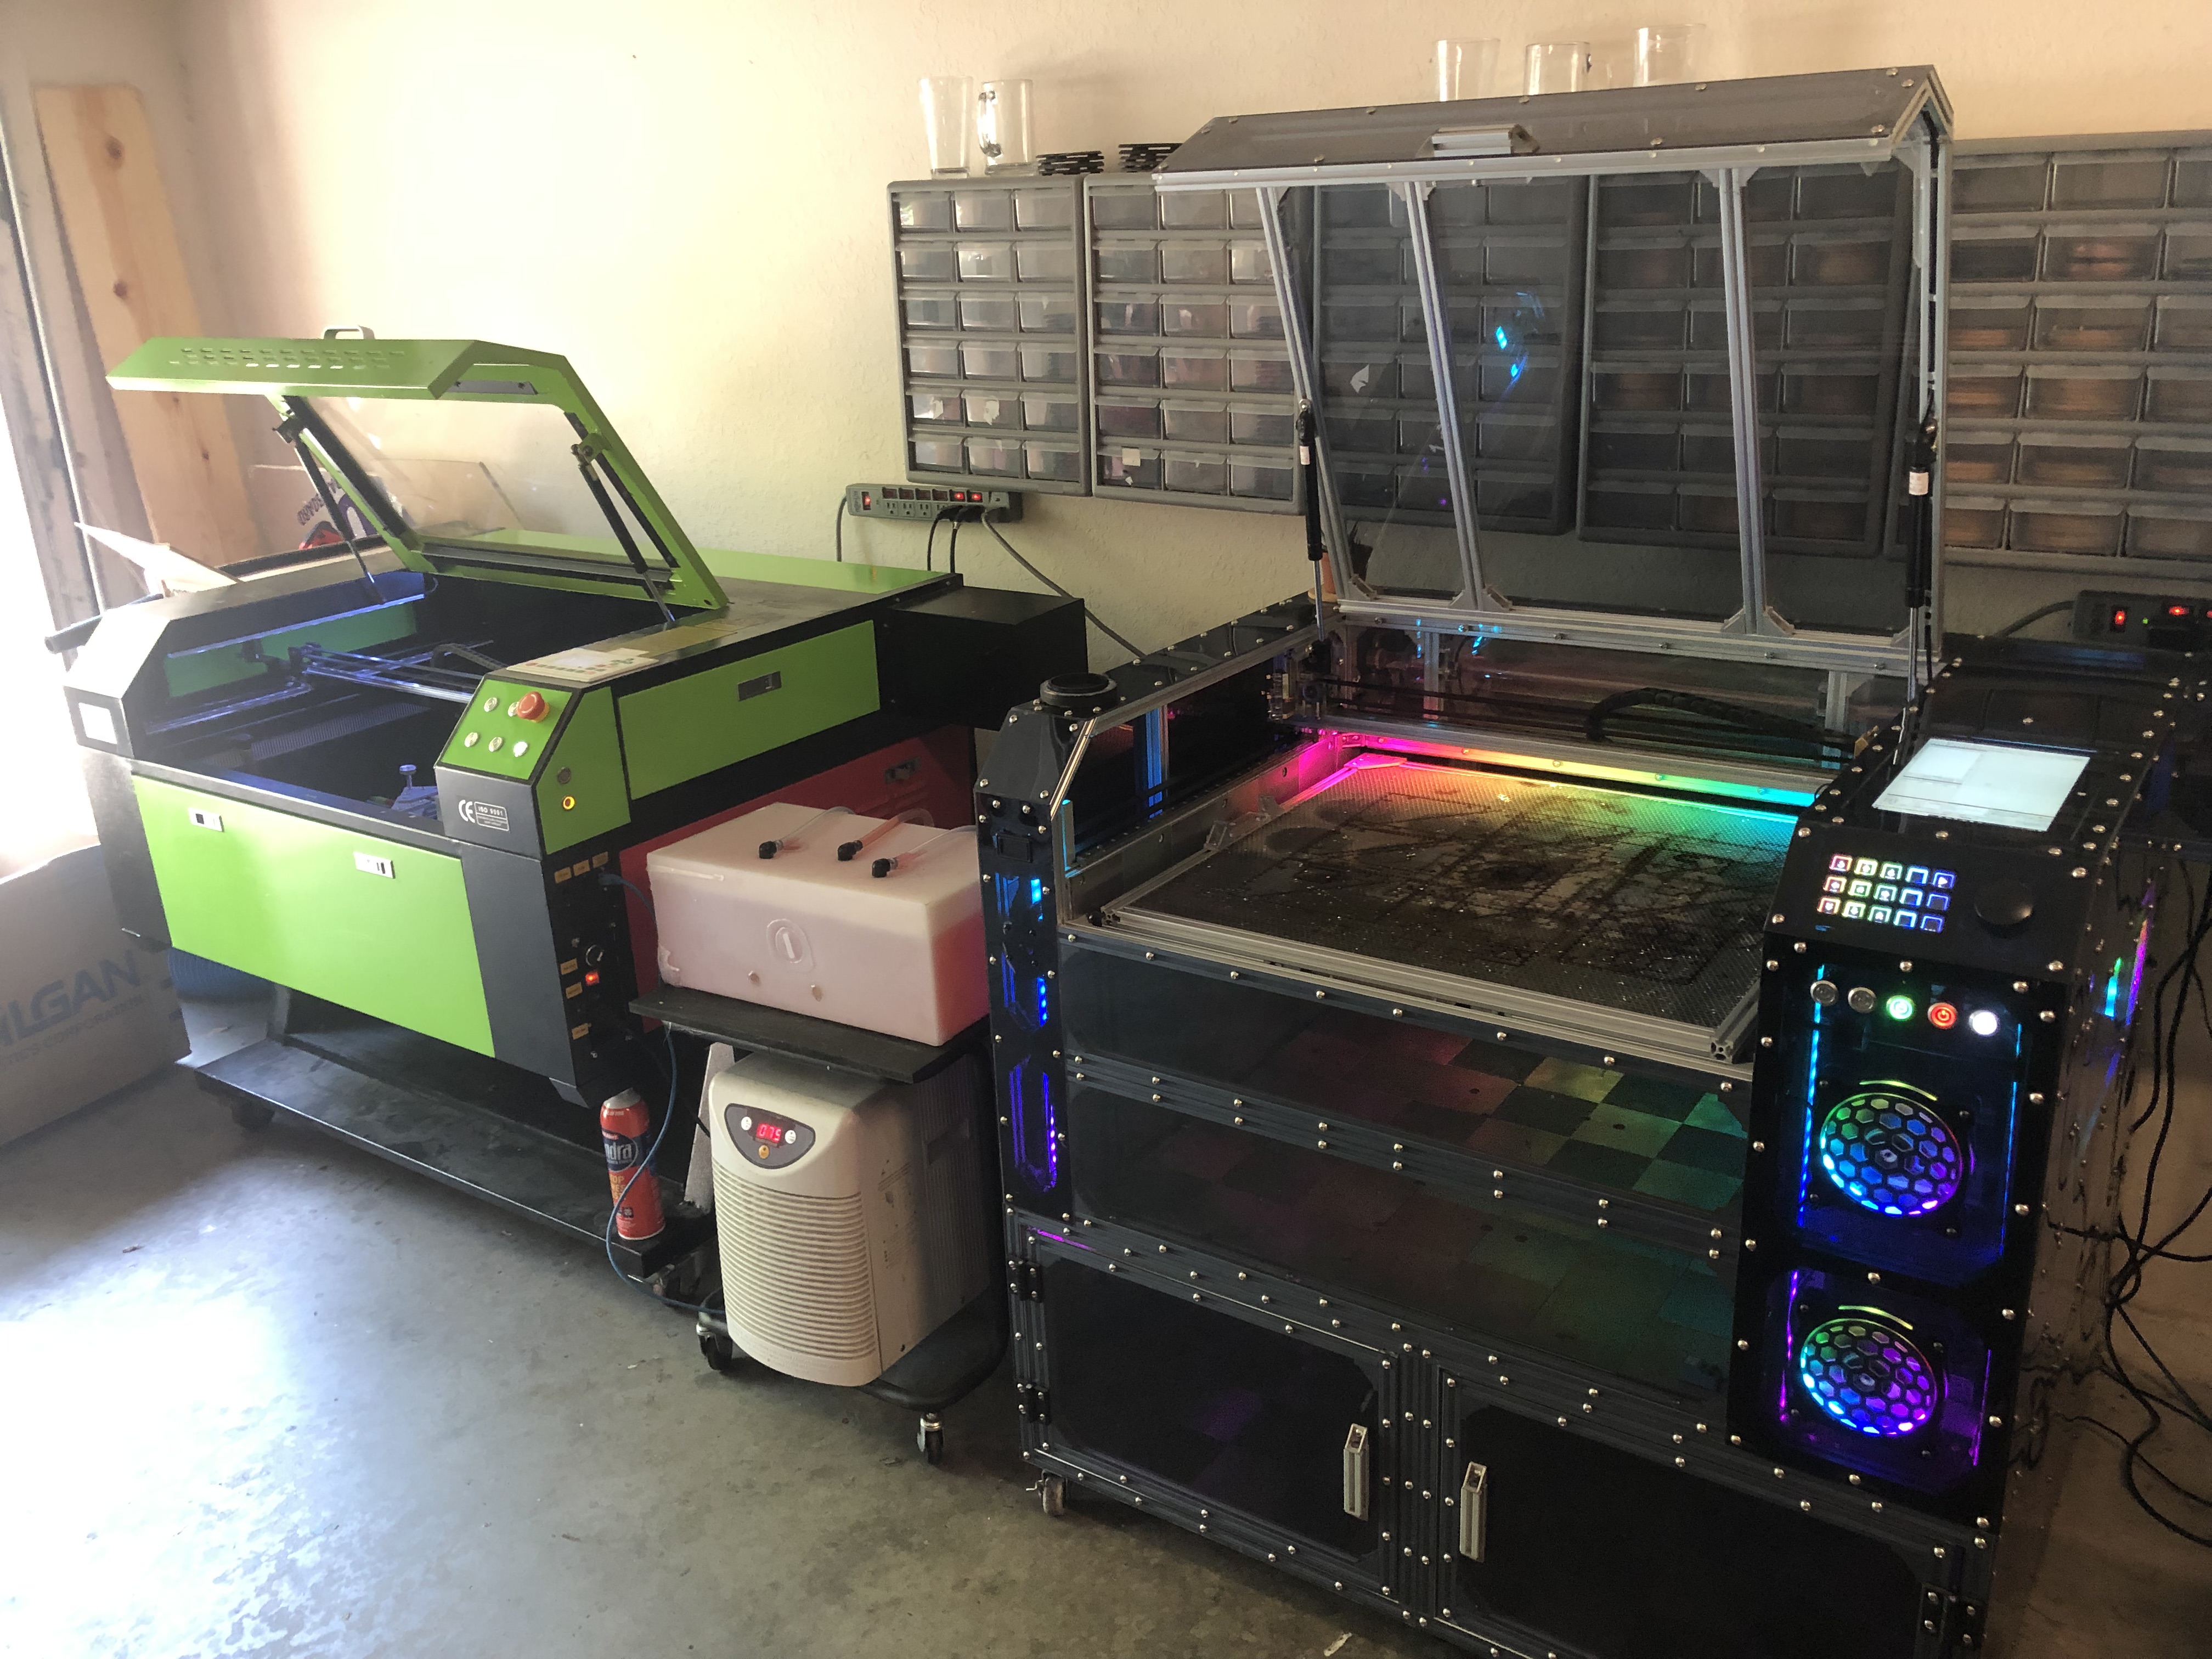
So I present you my custom build. 80W CO2 Cutter, using a Cohesion3D Laserboard for the controller, a Windows Surface Pro 2 tablet as the computer, Lightburn as the software, GRBL. I posted about this on the Cohesion forum and Openbuilds as well, in case you have seen it already.
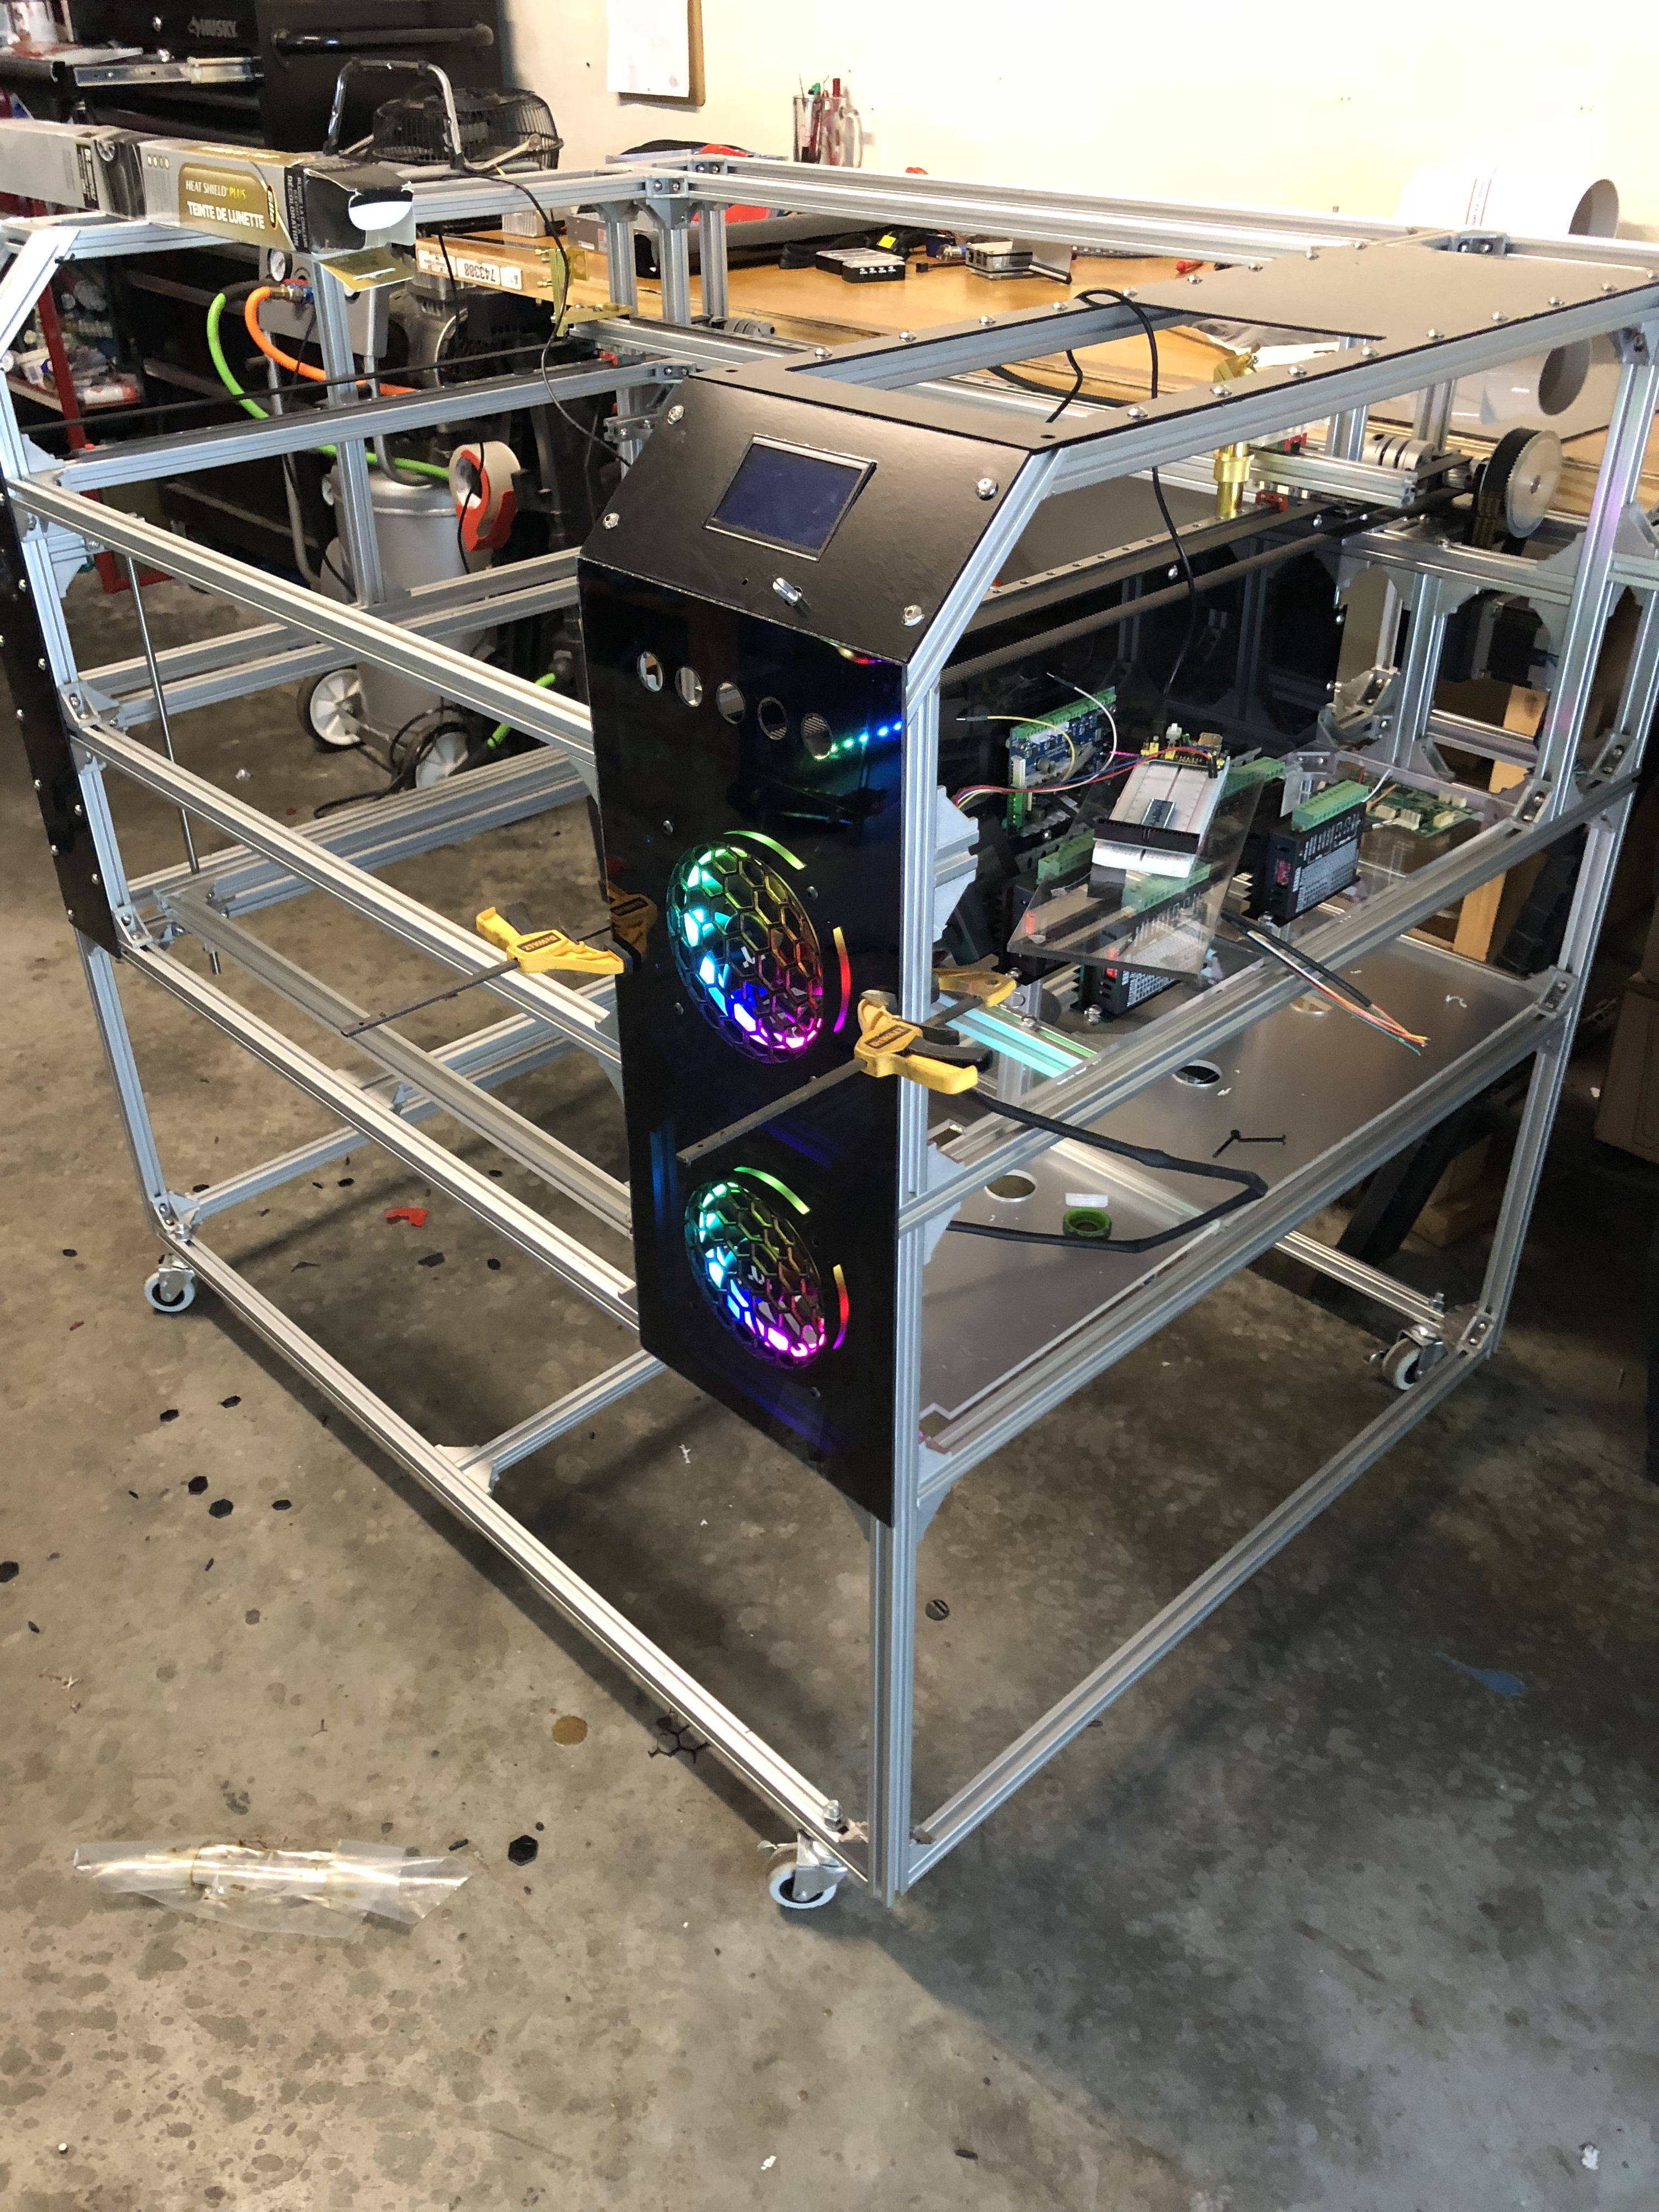
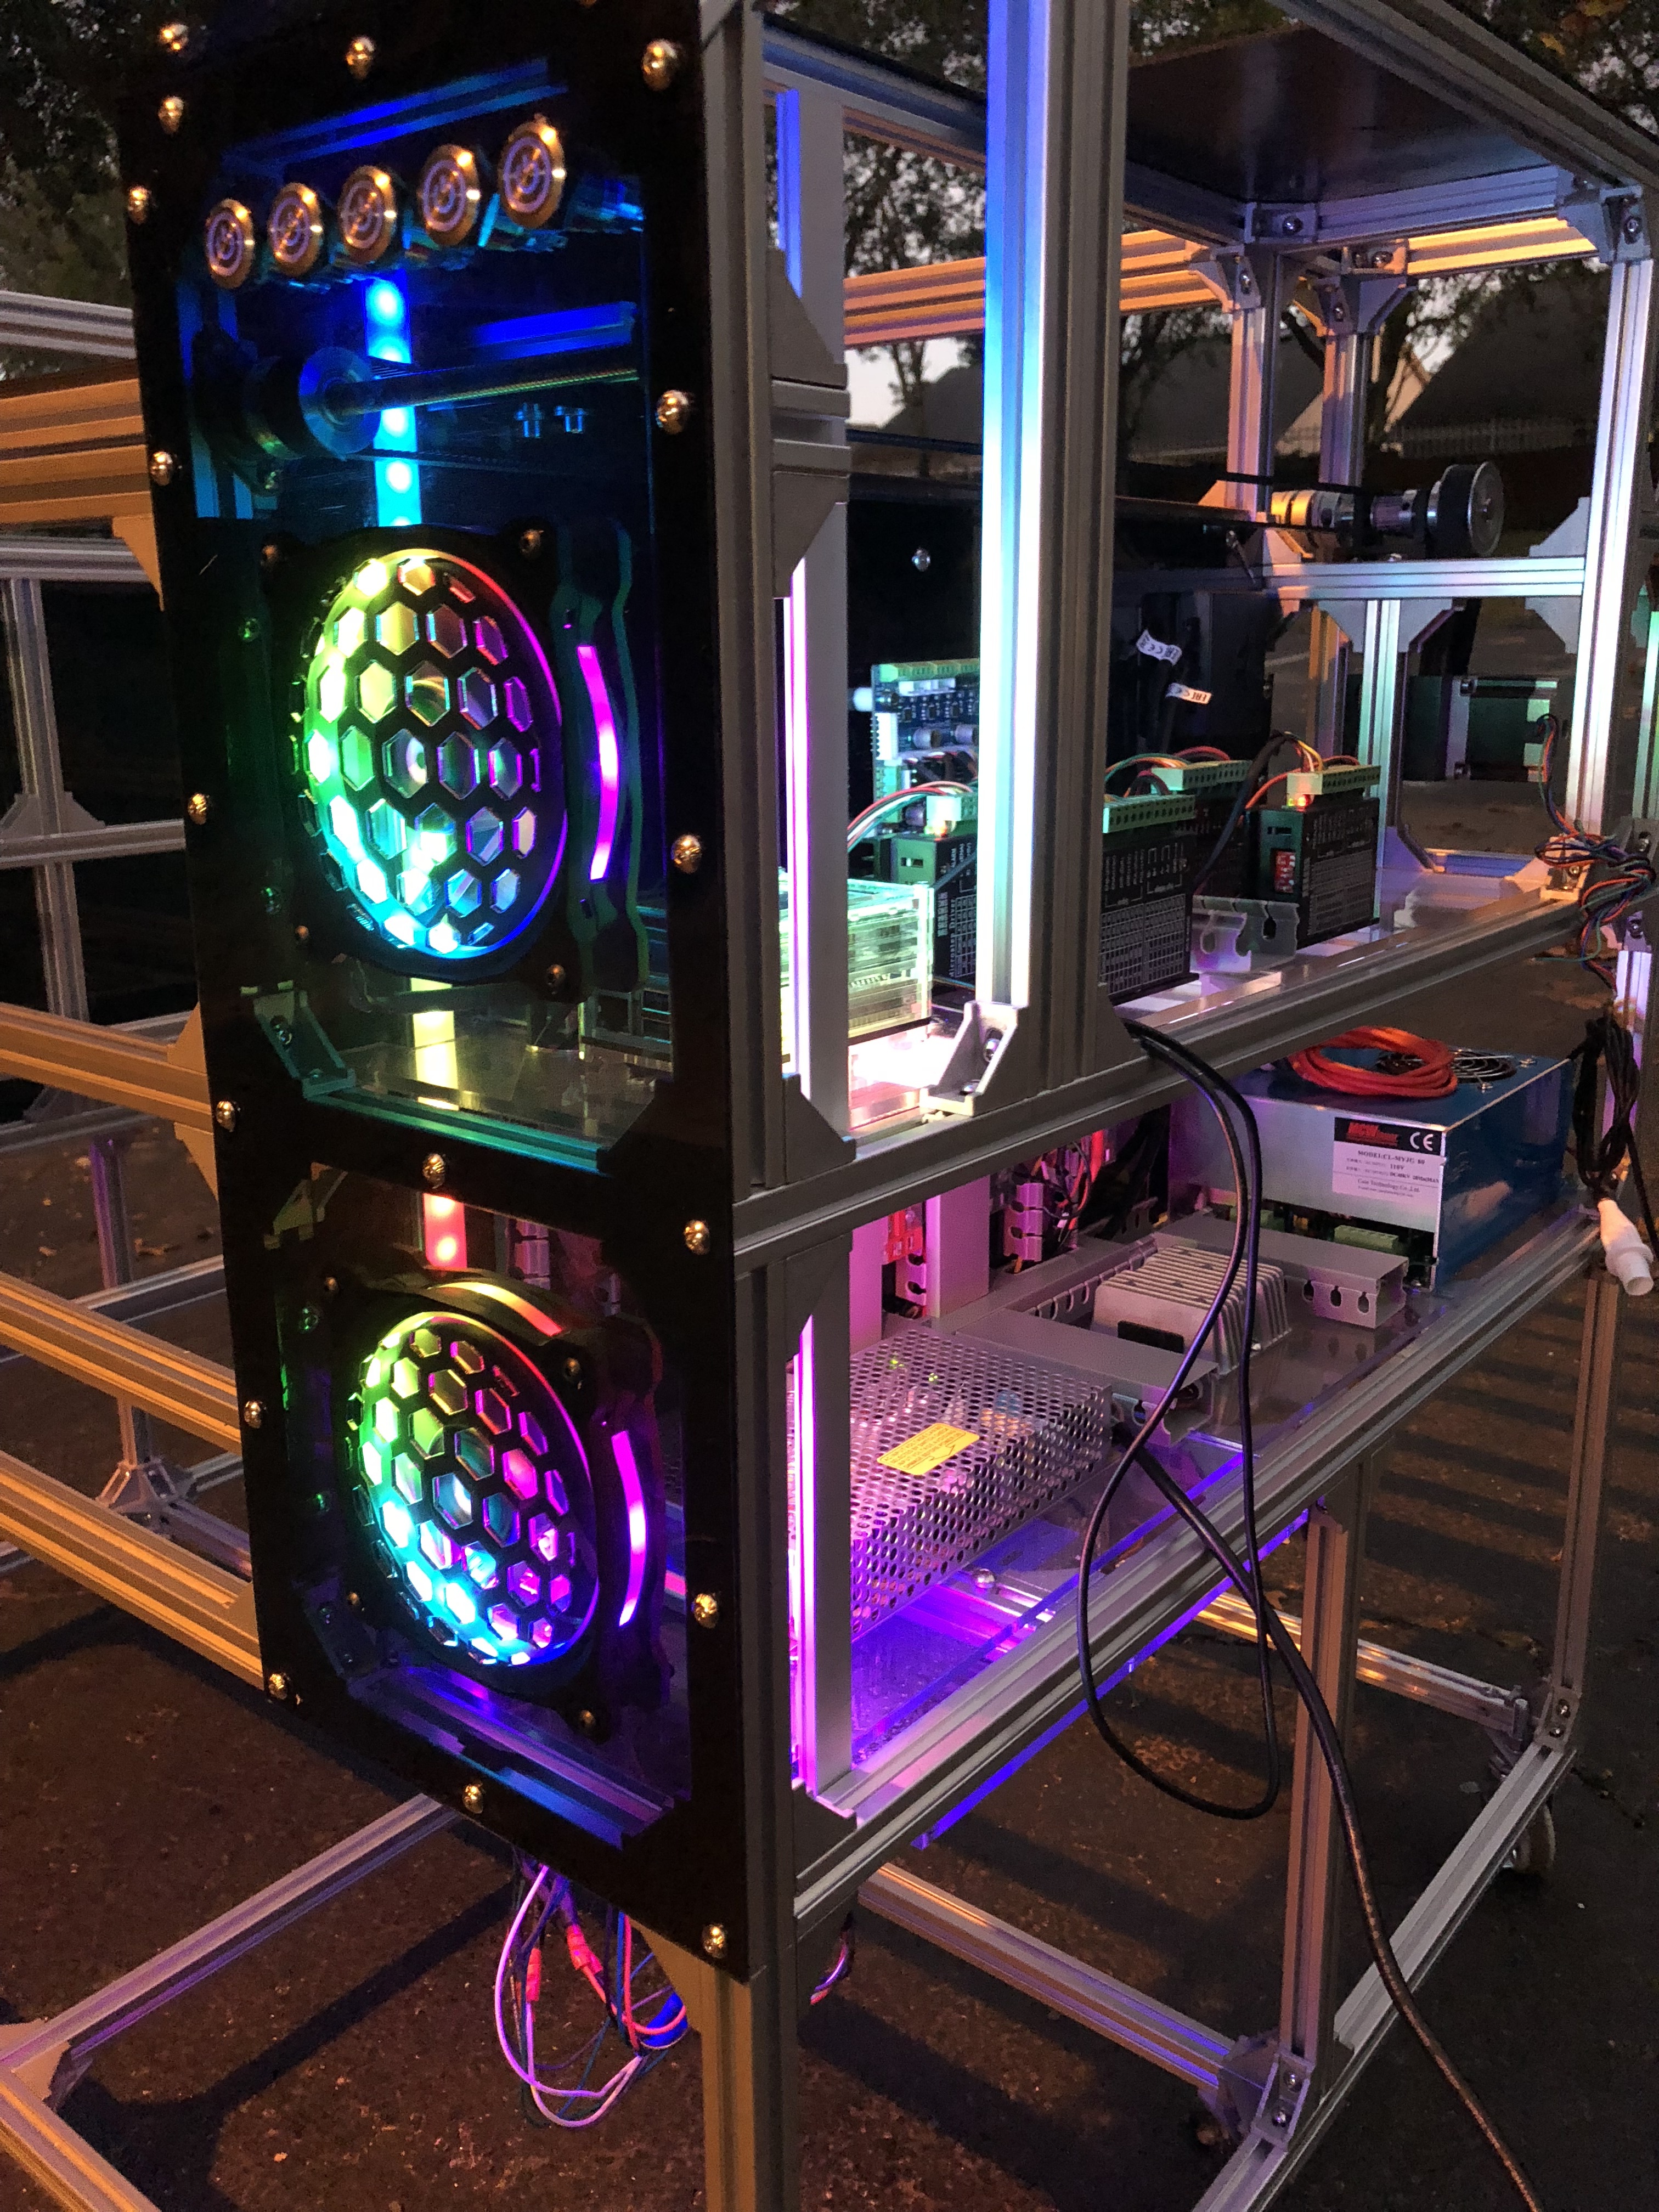
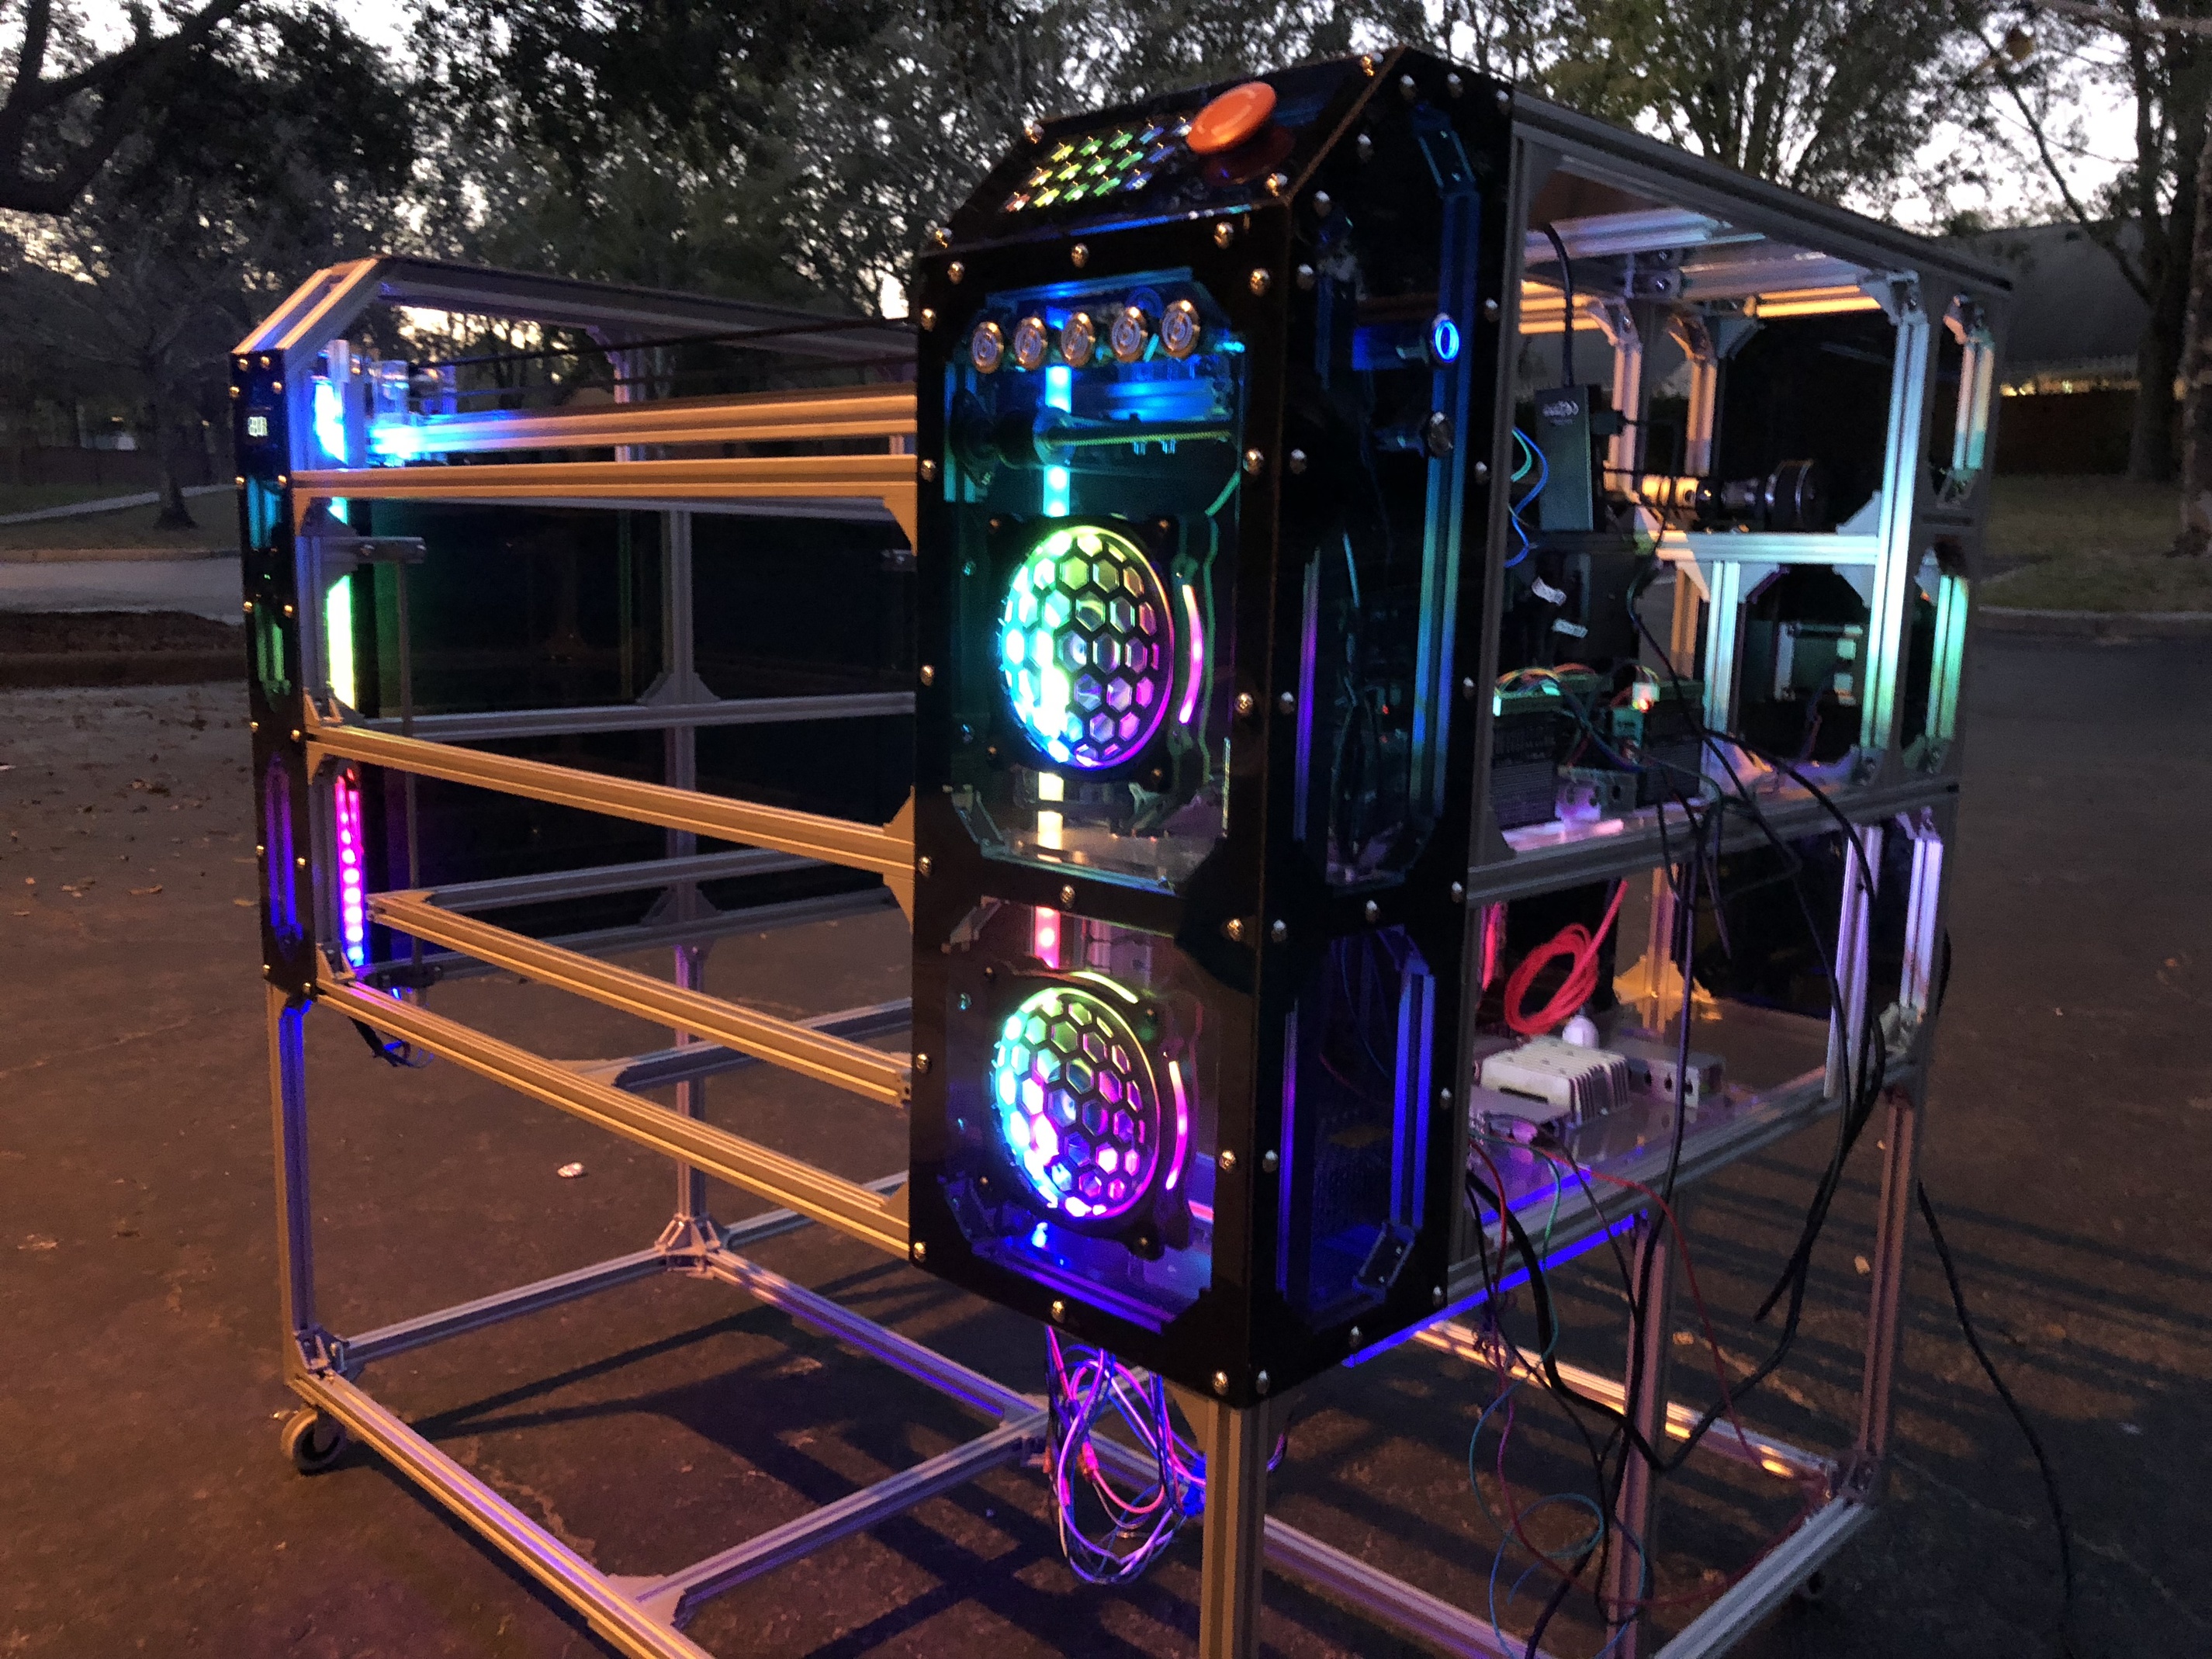
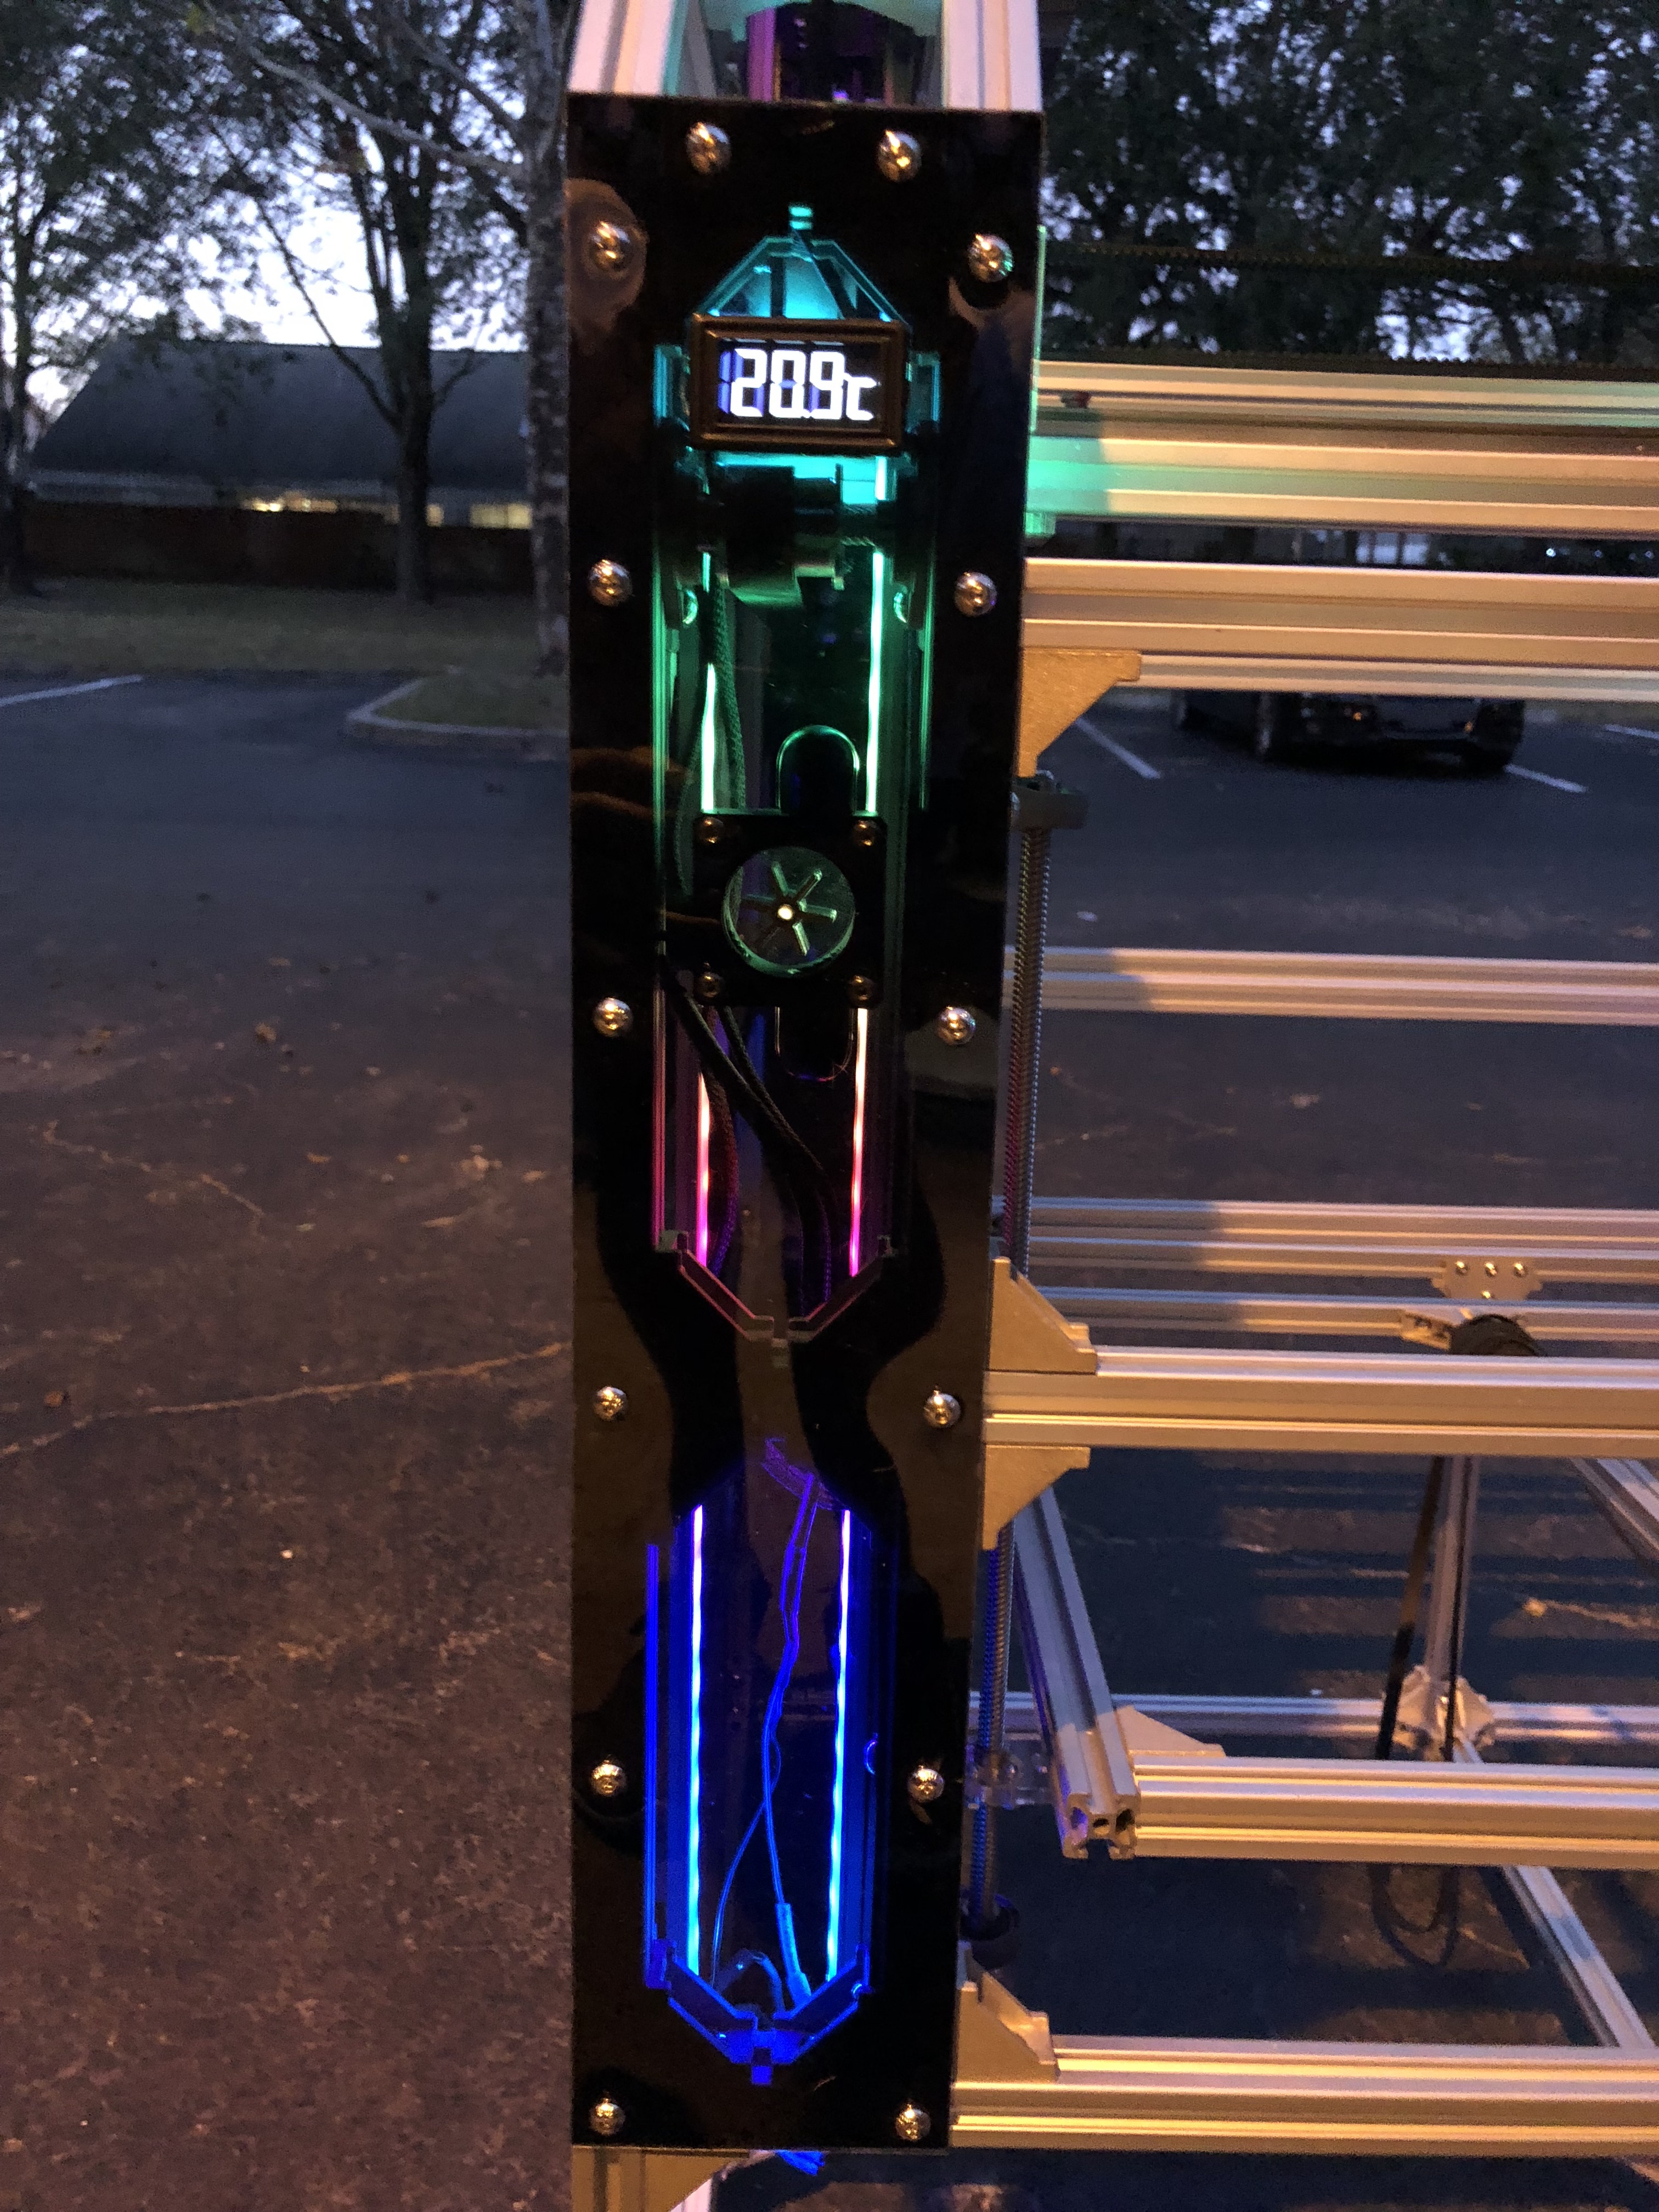
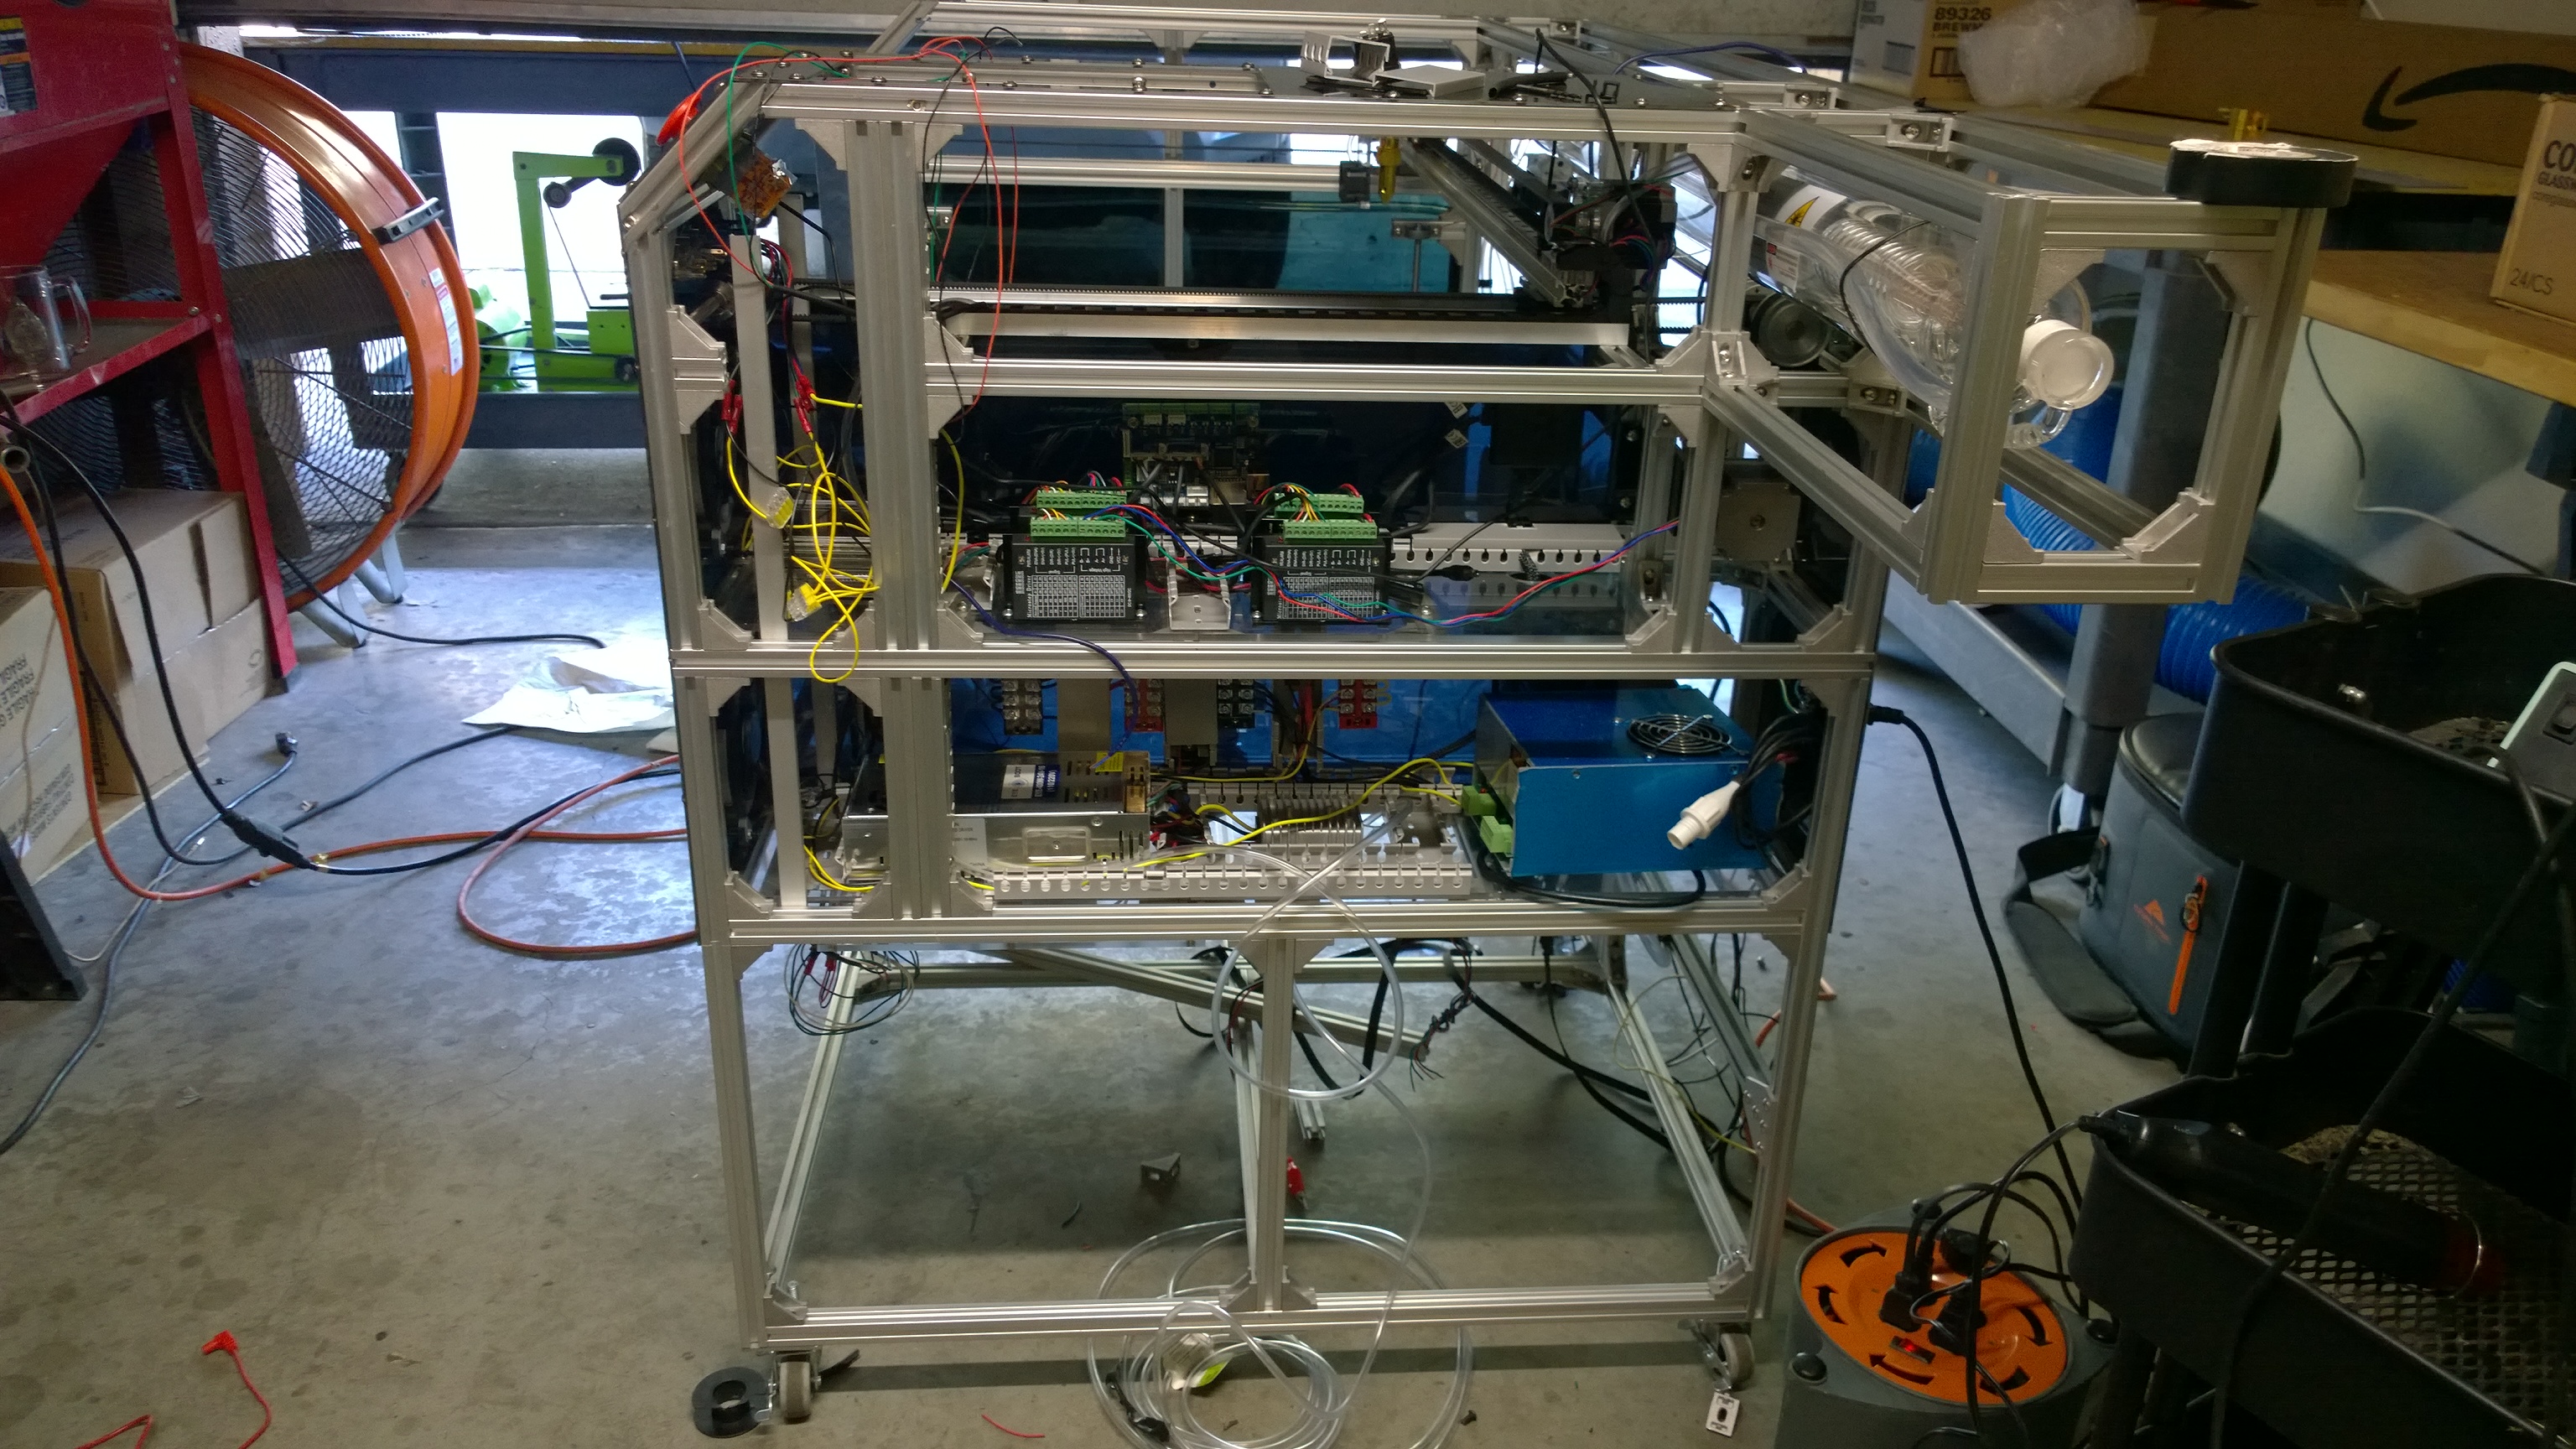
So near the end of 2018, I got the idea to build my own custom laser and this is the result. Overall I probably spent between $5,000 and $6,000 to build it for those of you that will be curious. There’s about $1,000 in extruded aluminum alone. A lot of money went into the looks of it, I could have cut a lot of costs if I hadn’t decided to make it see-through and RGB. The lights might be useless, but they sure look pretty.
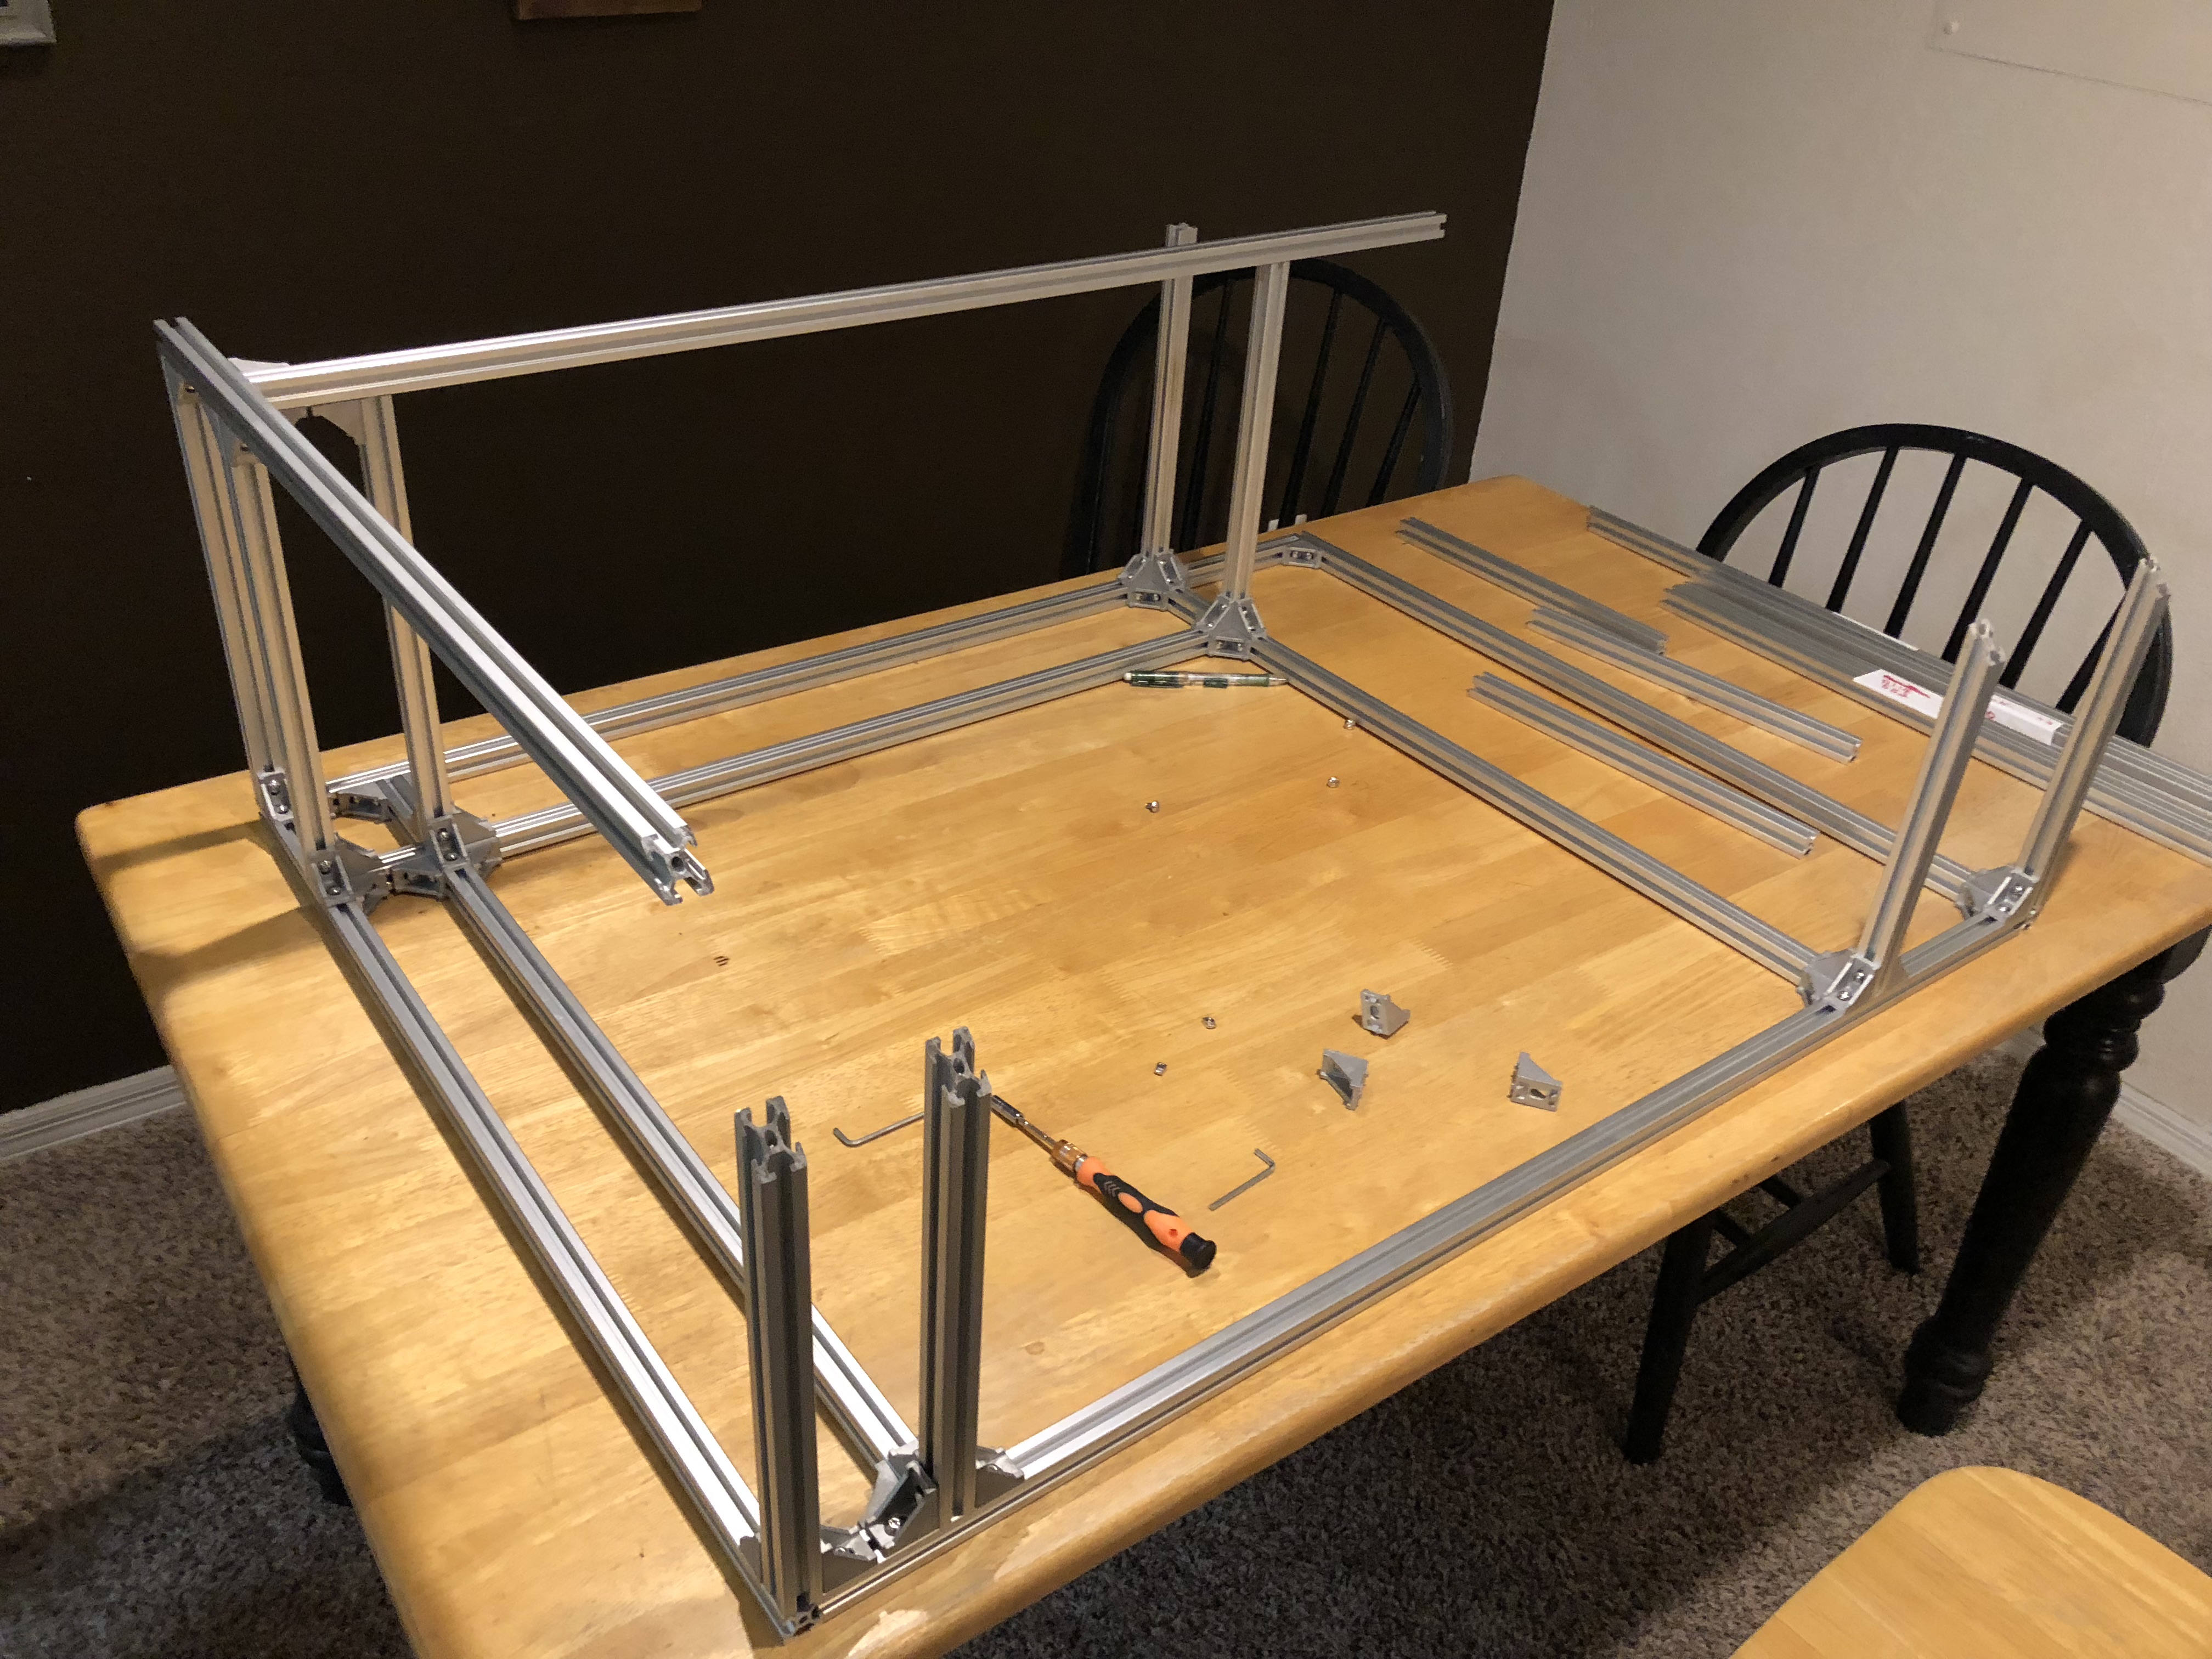
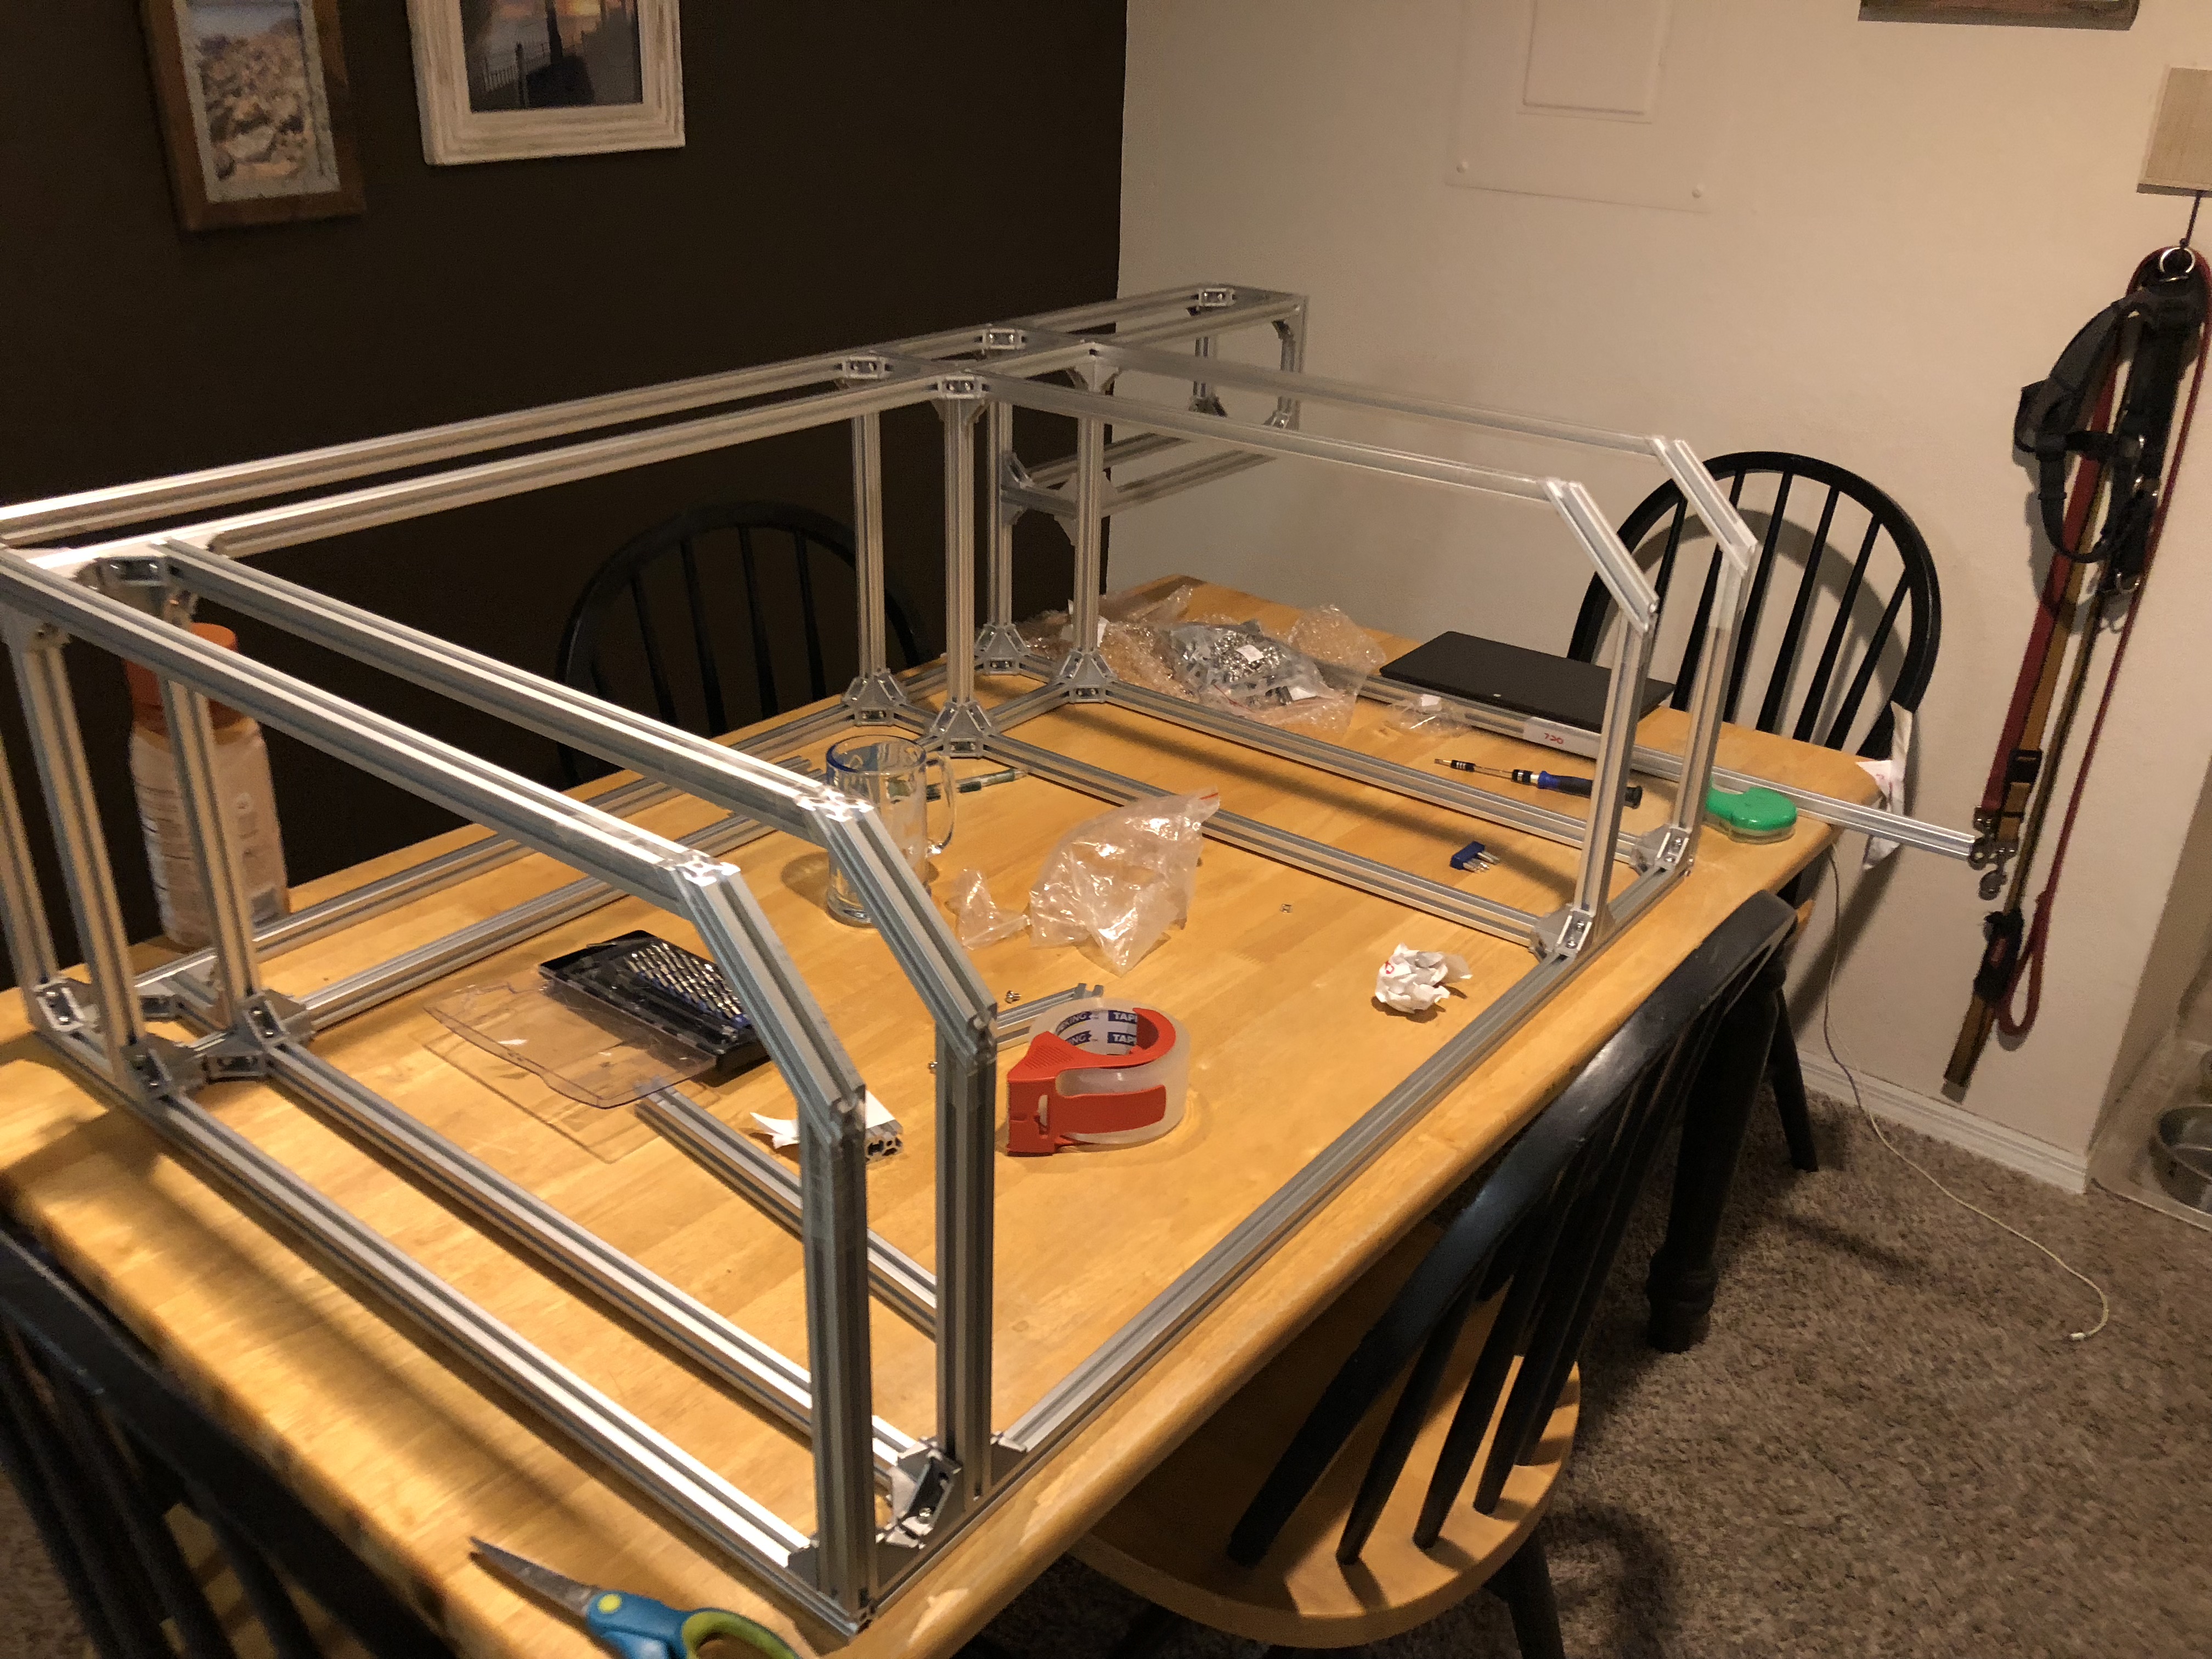
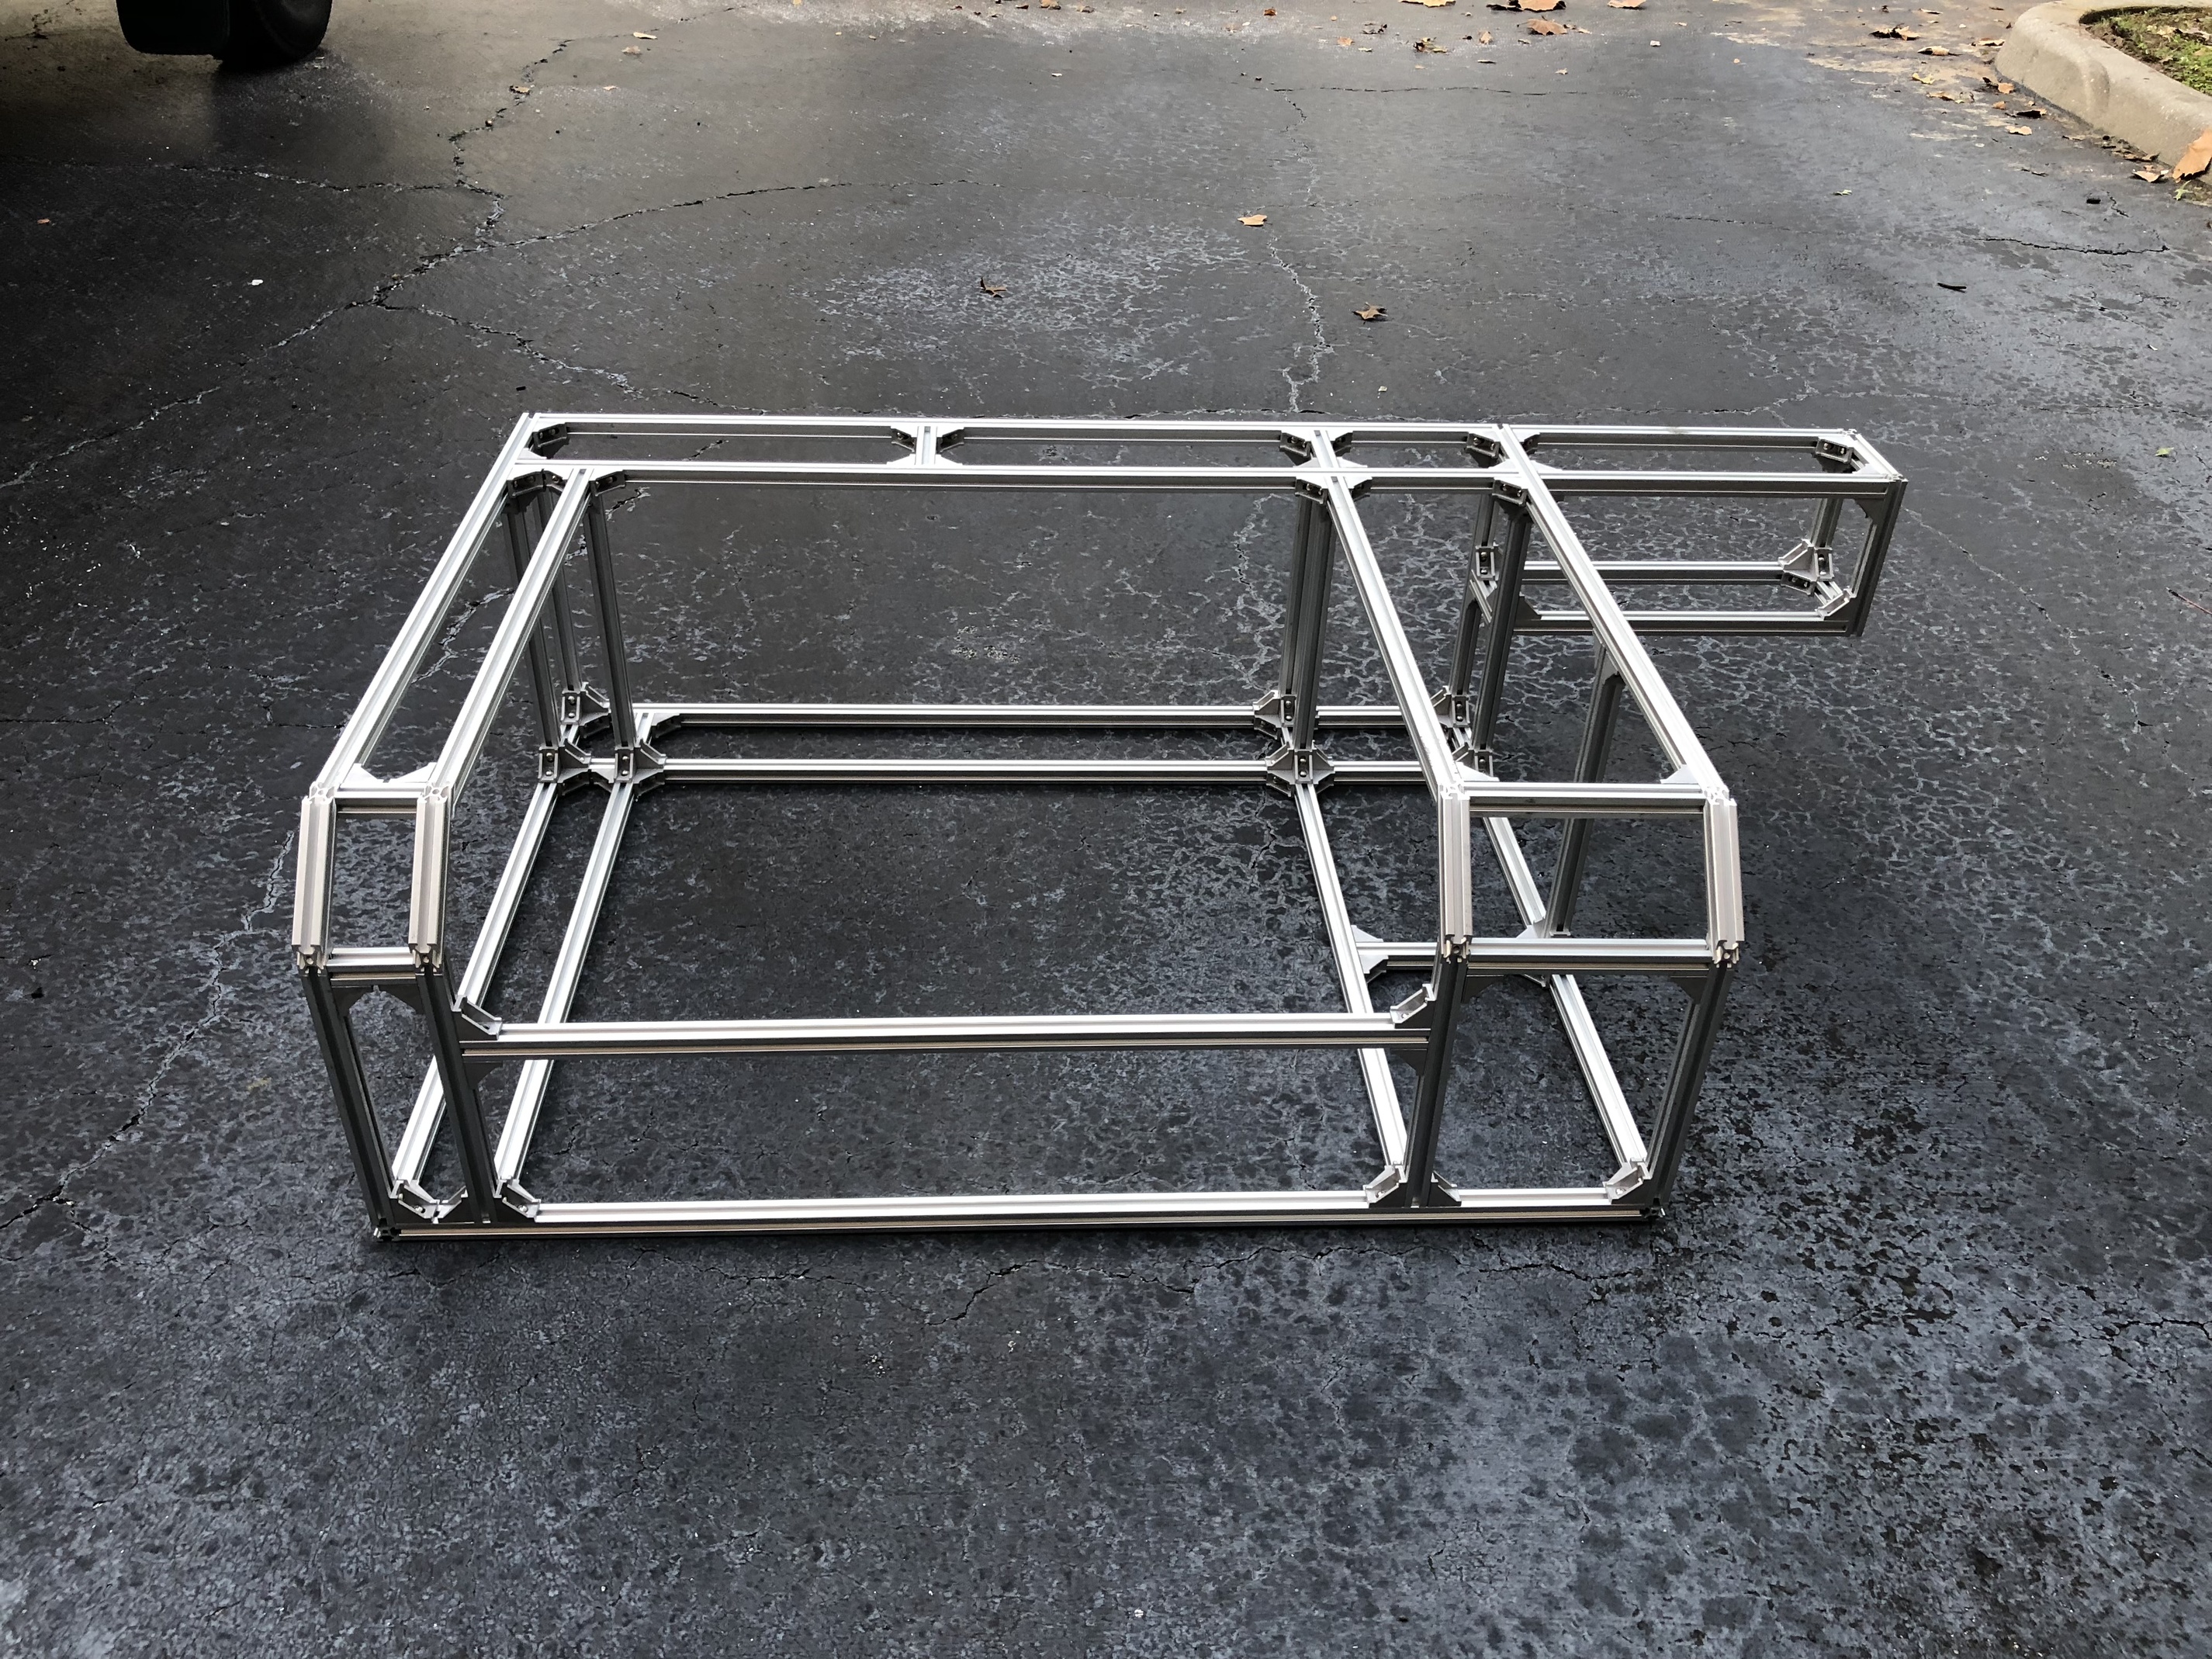
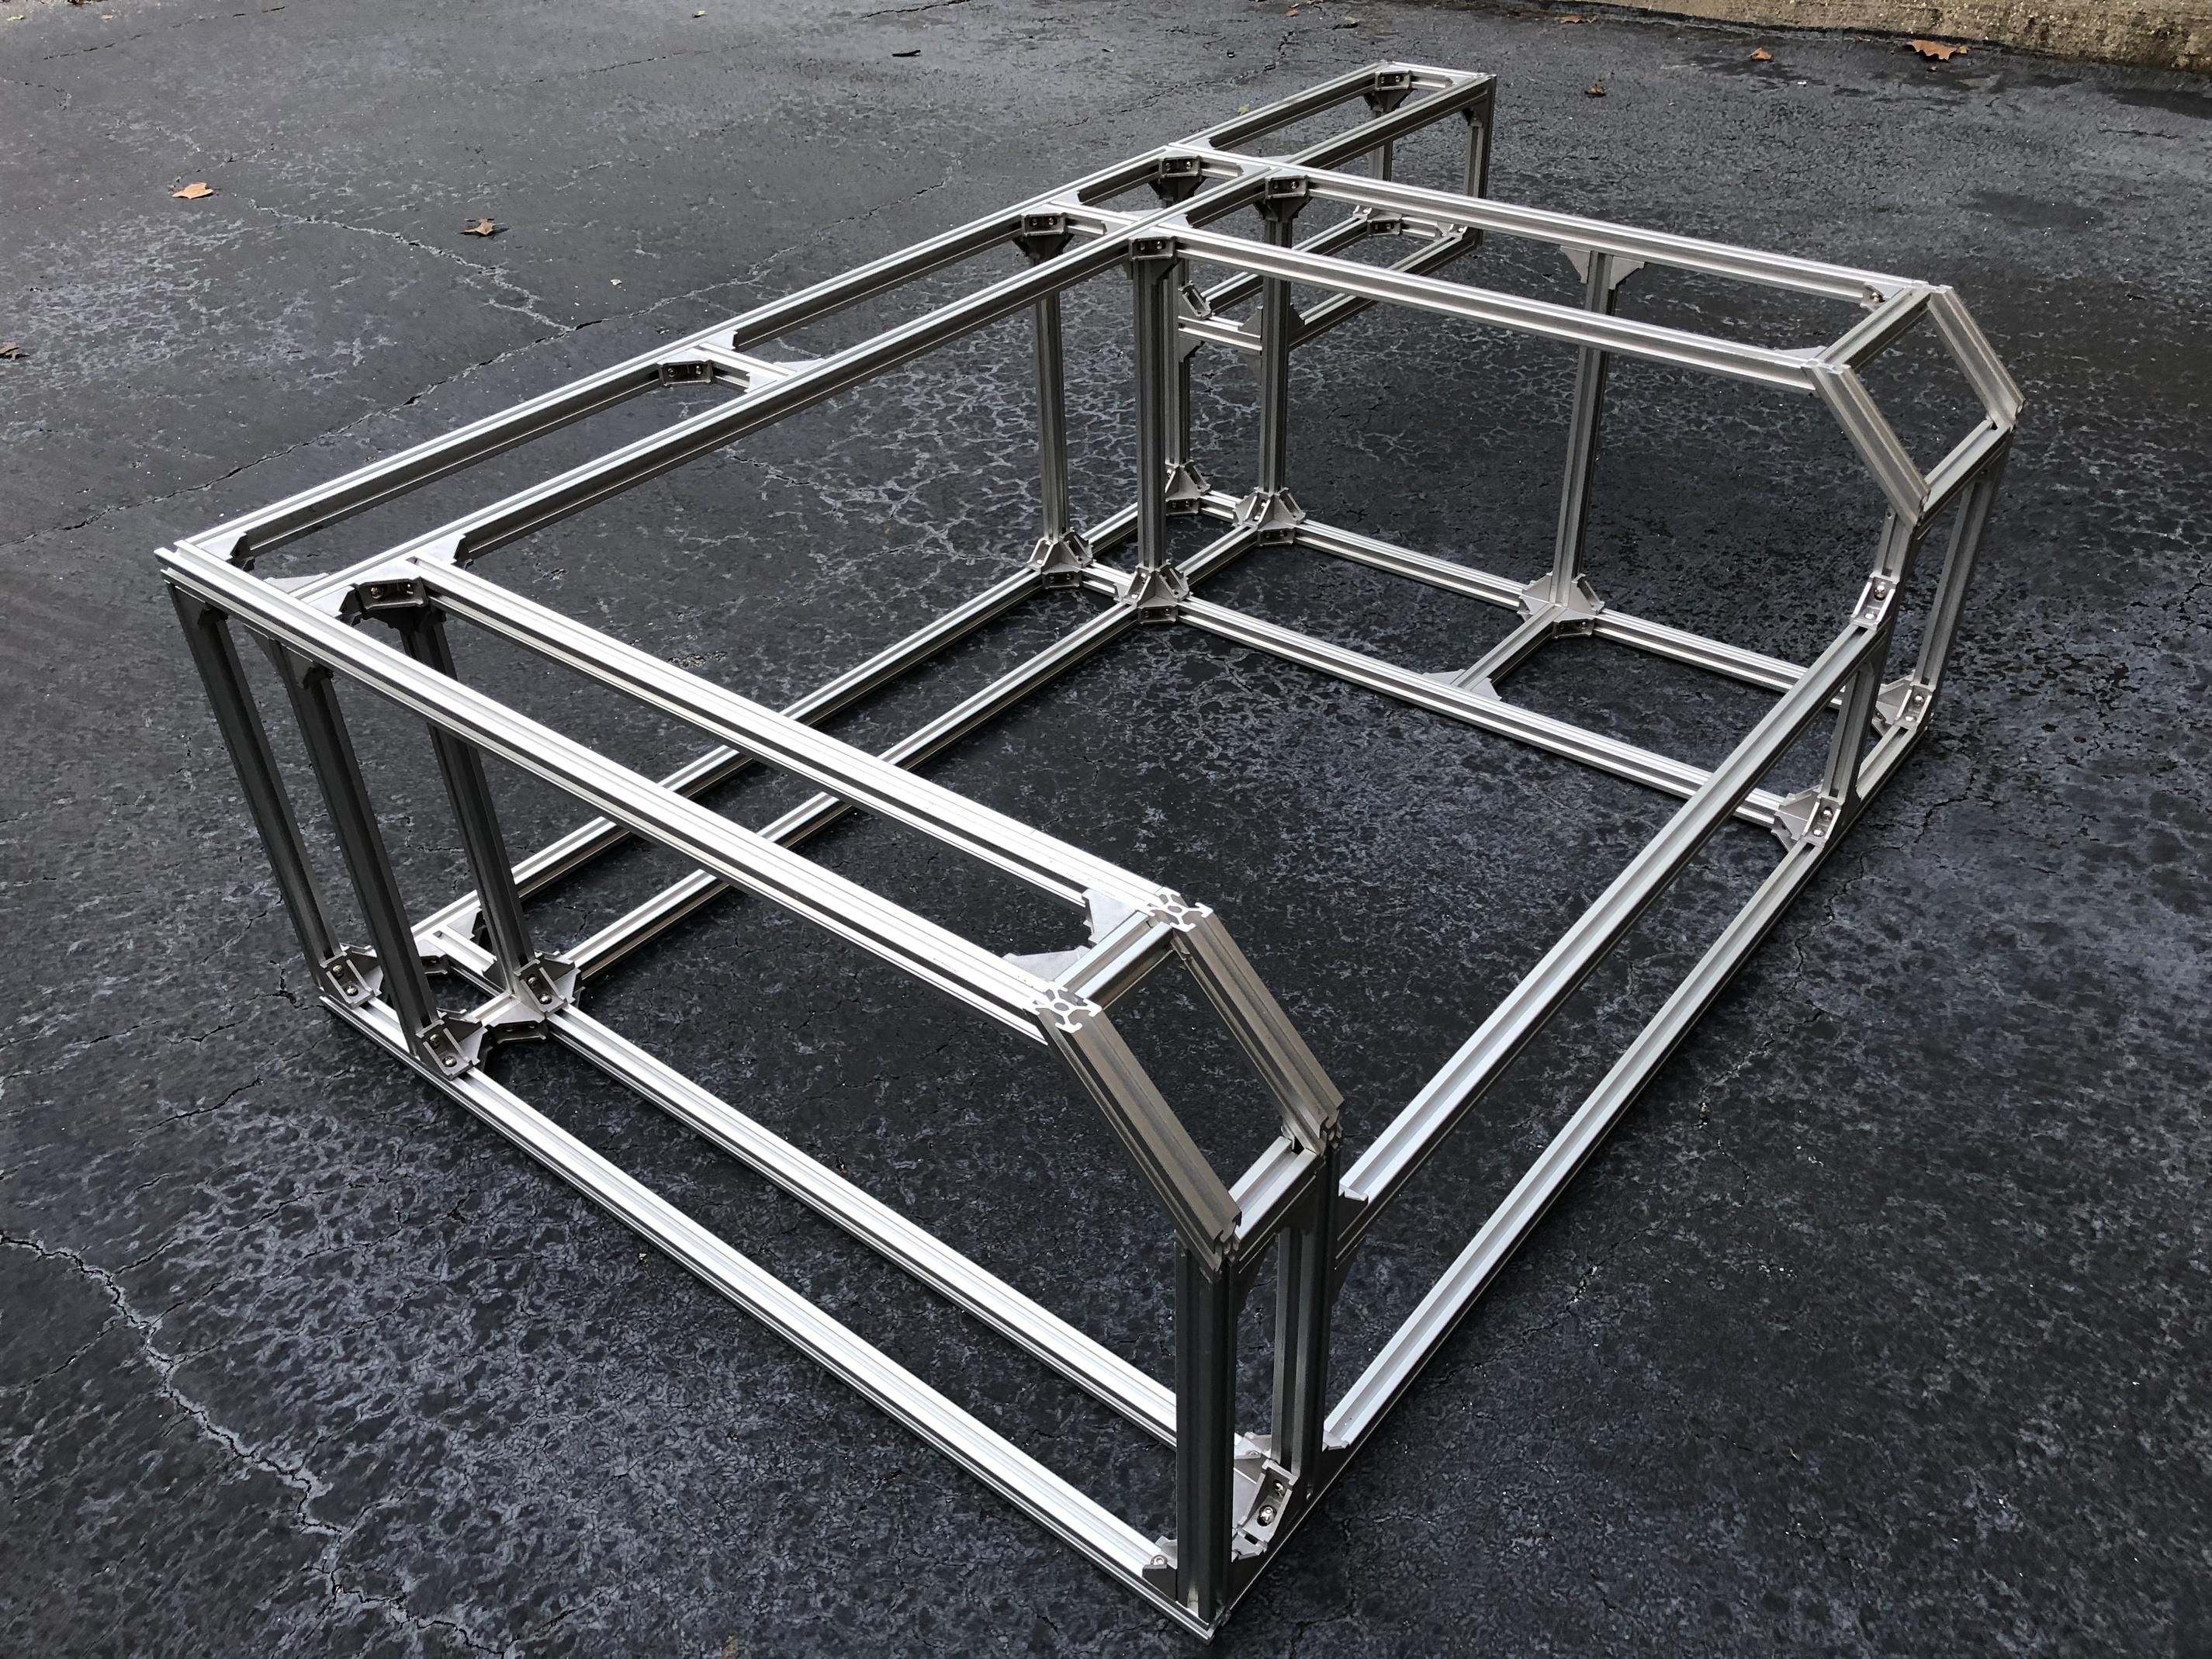
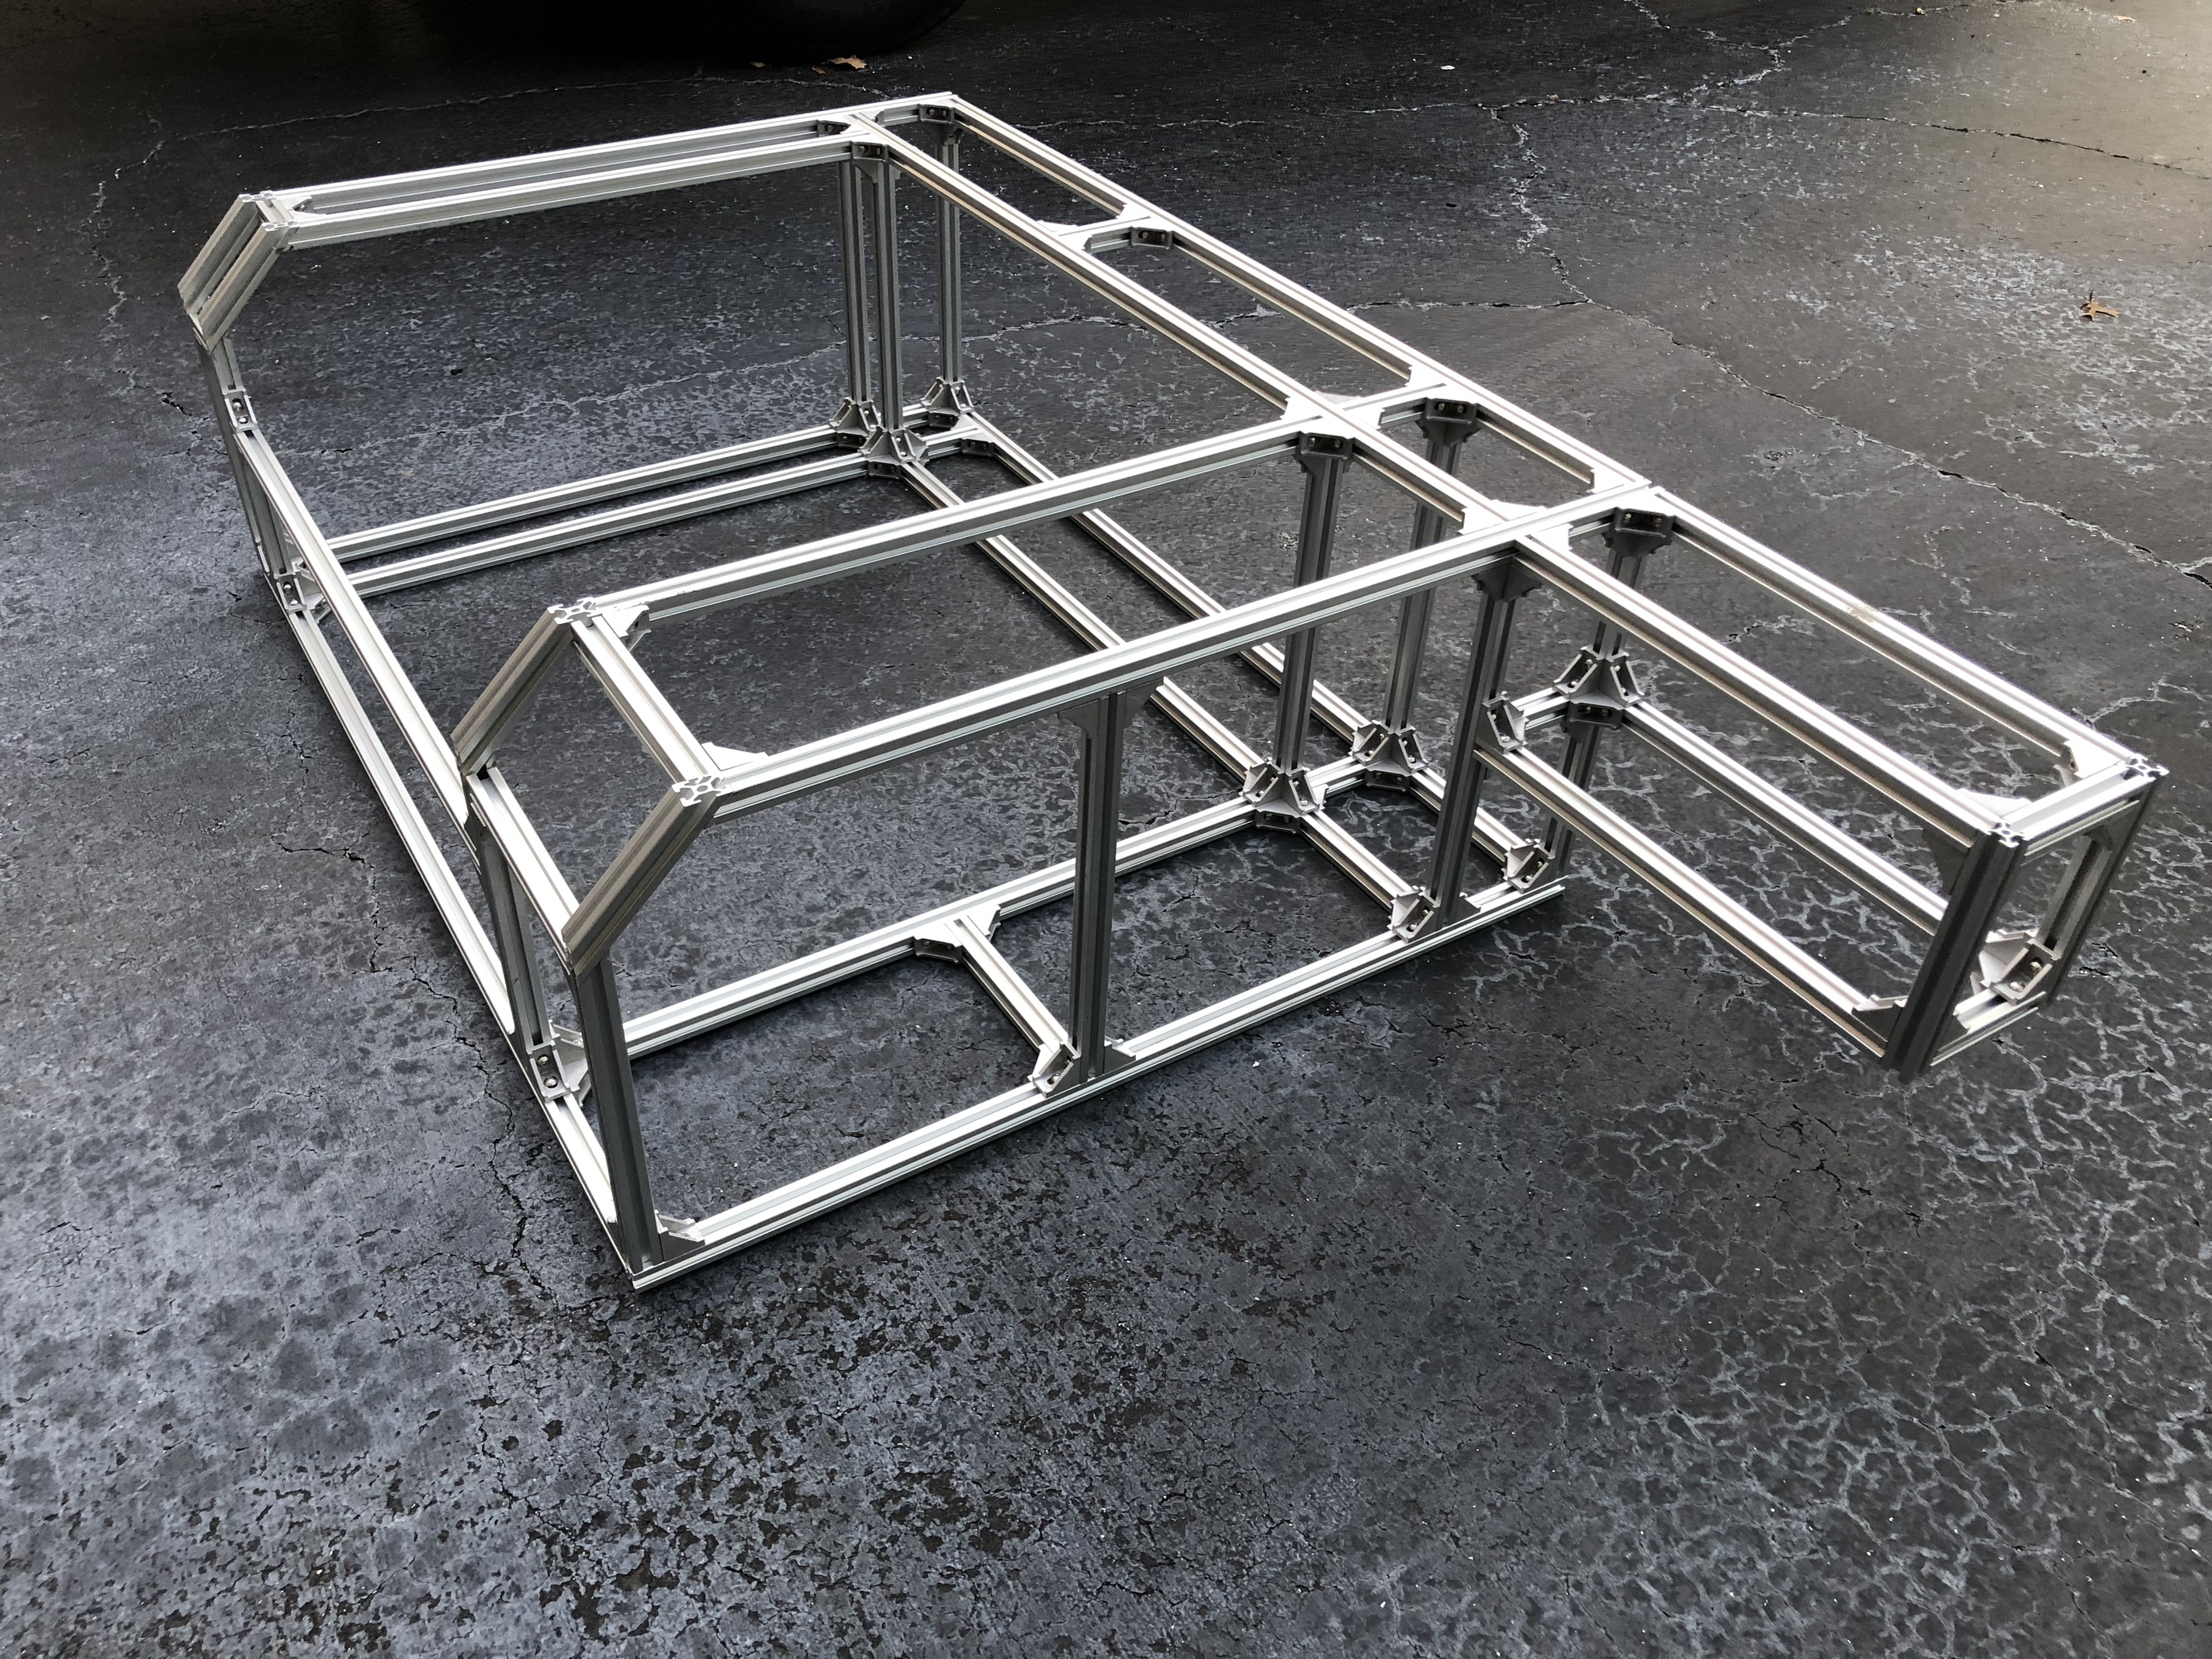
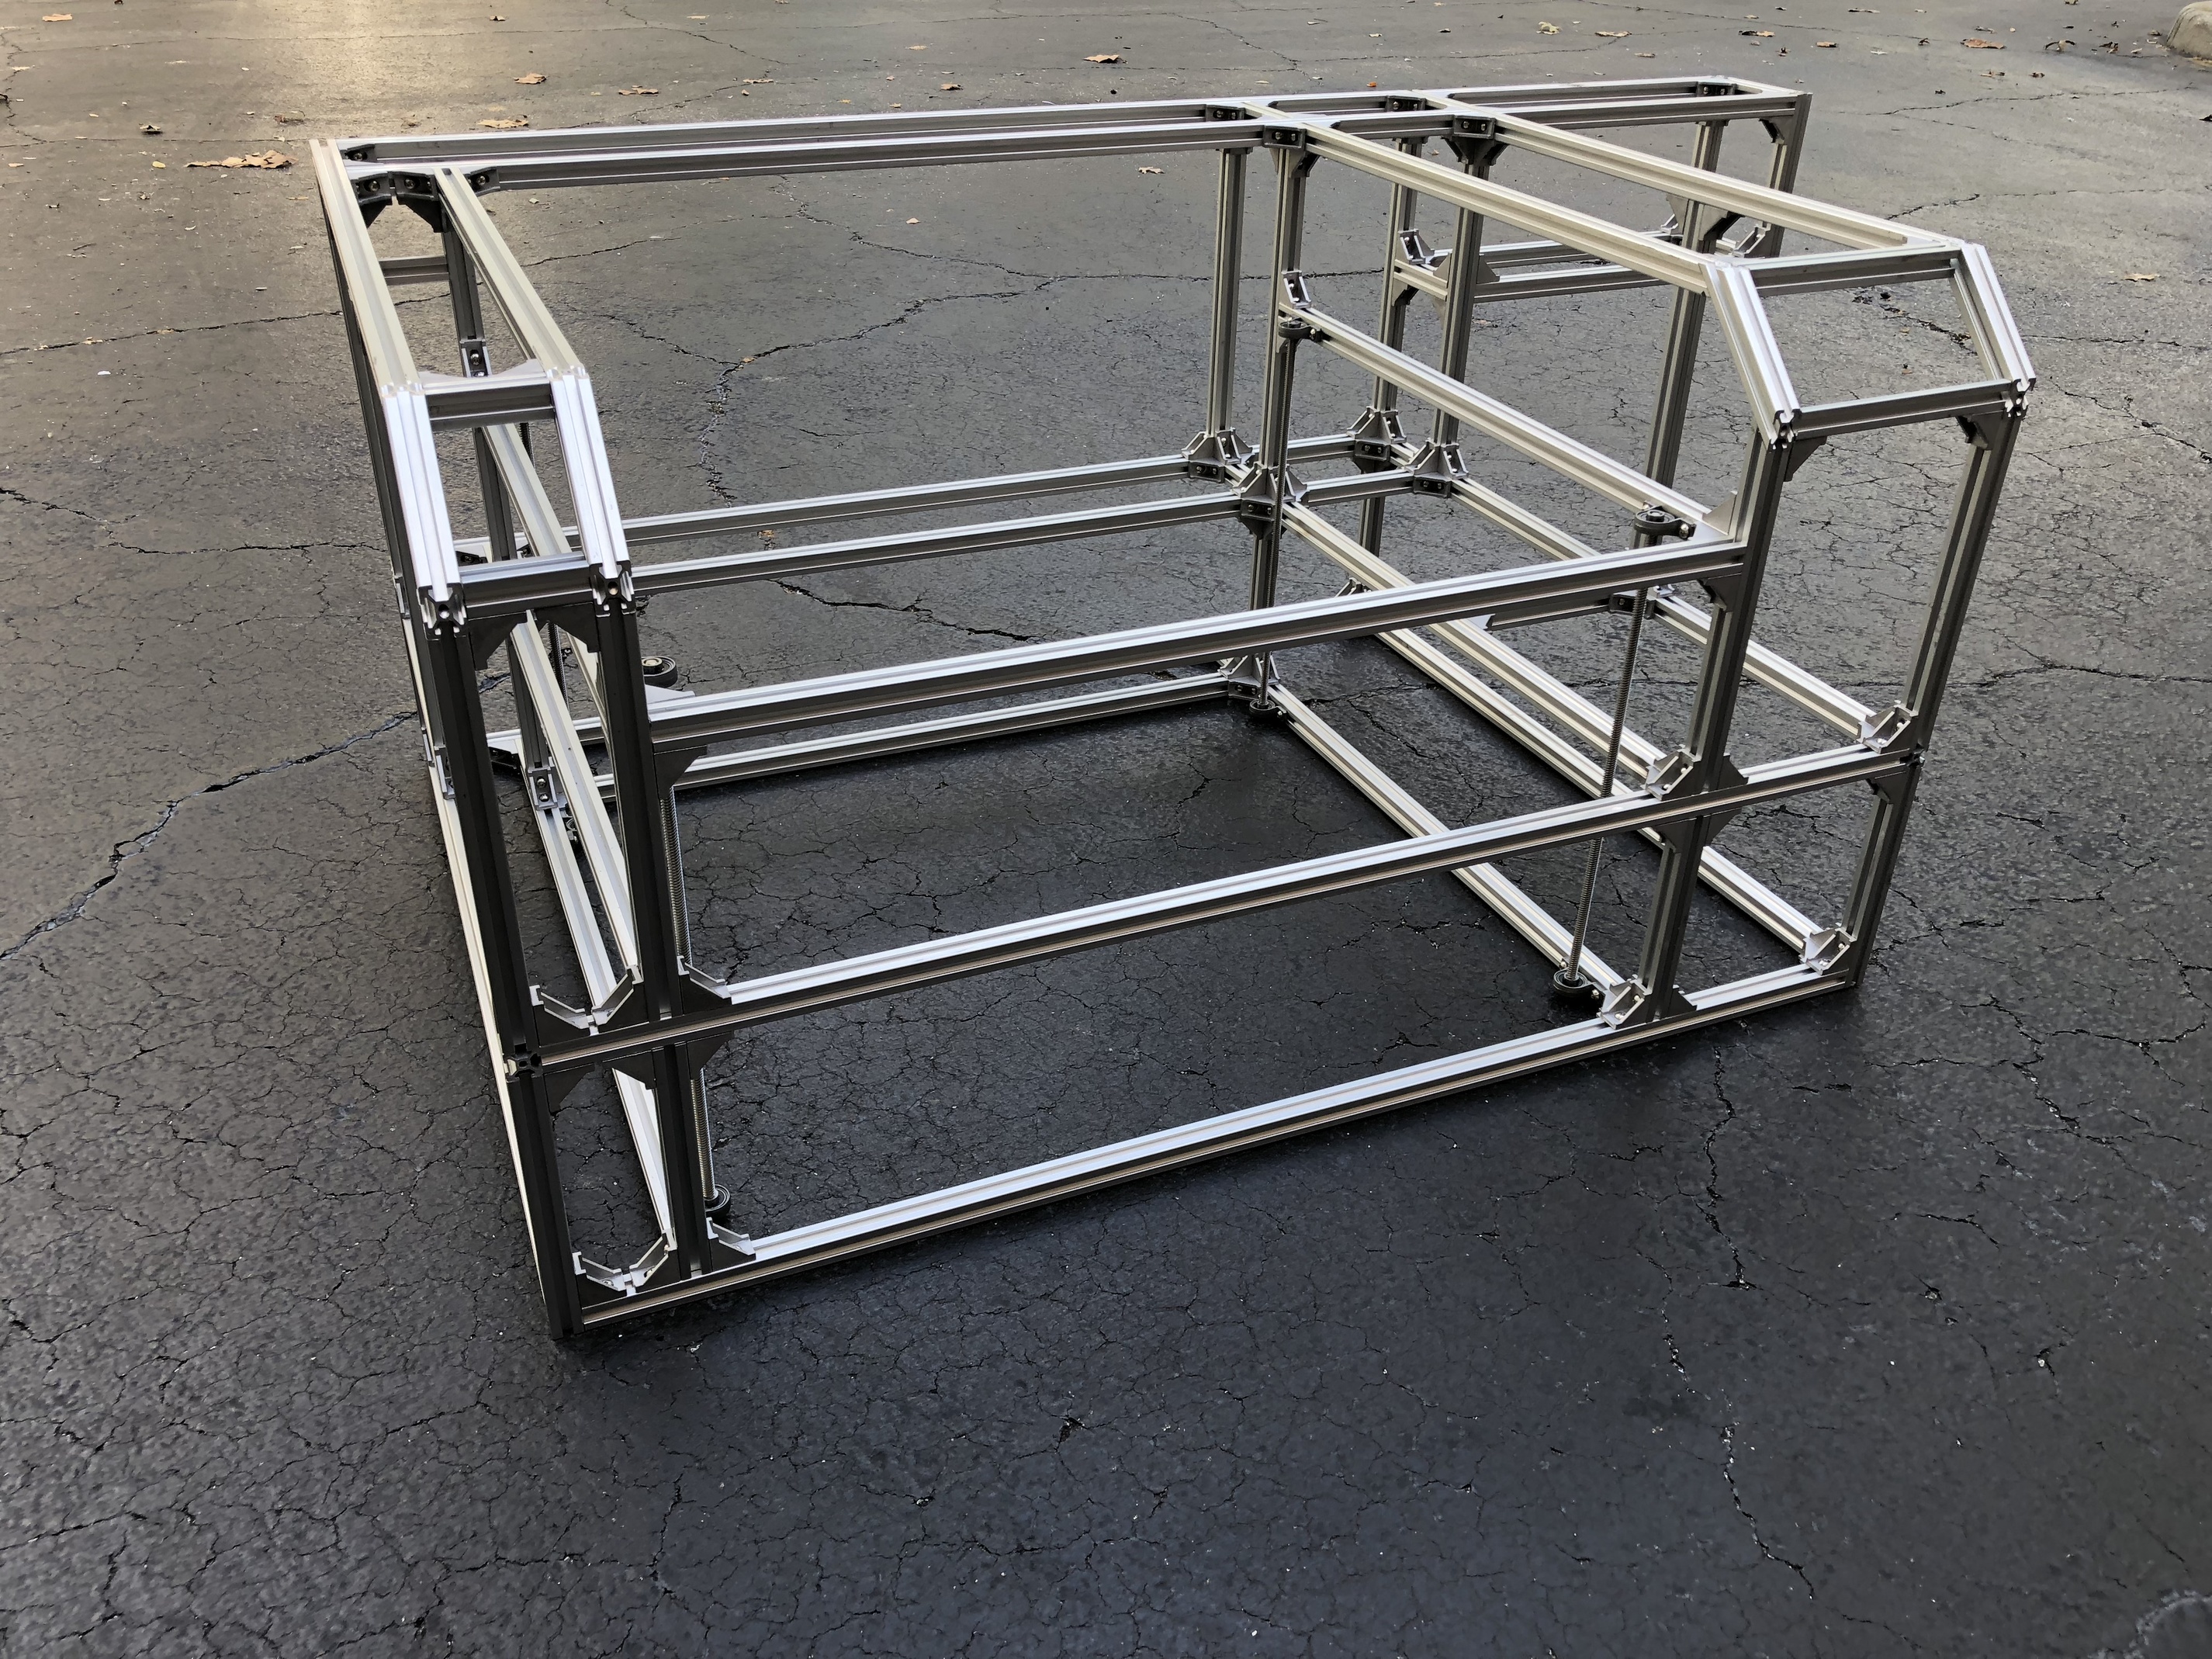
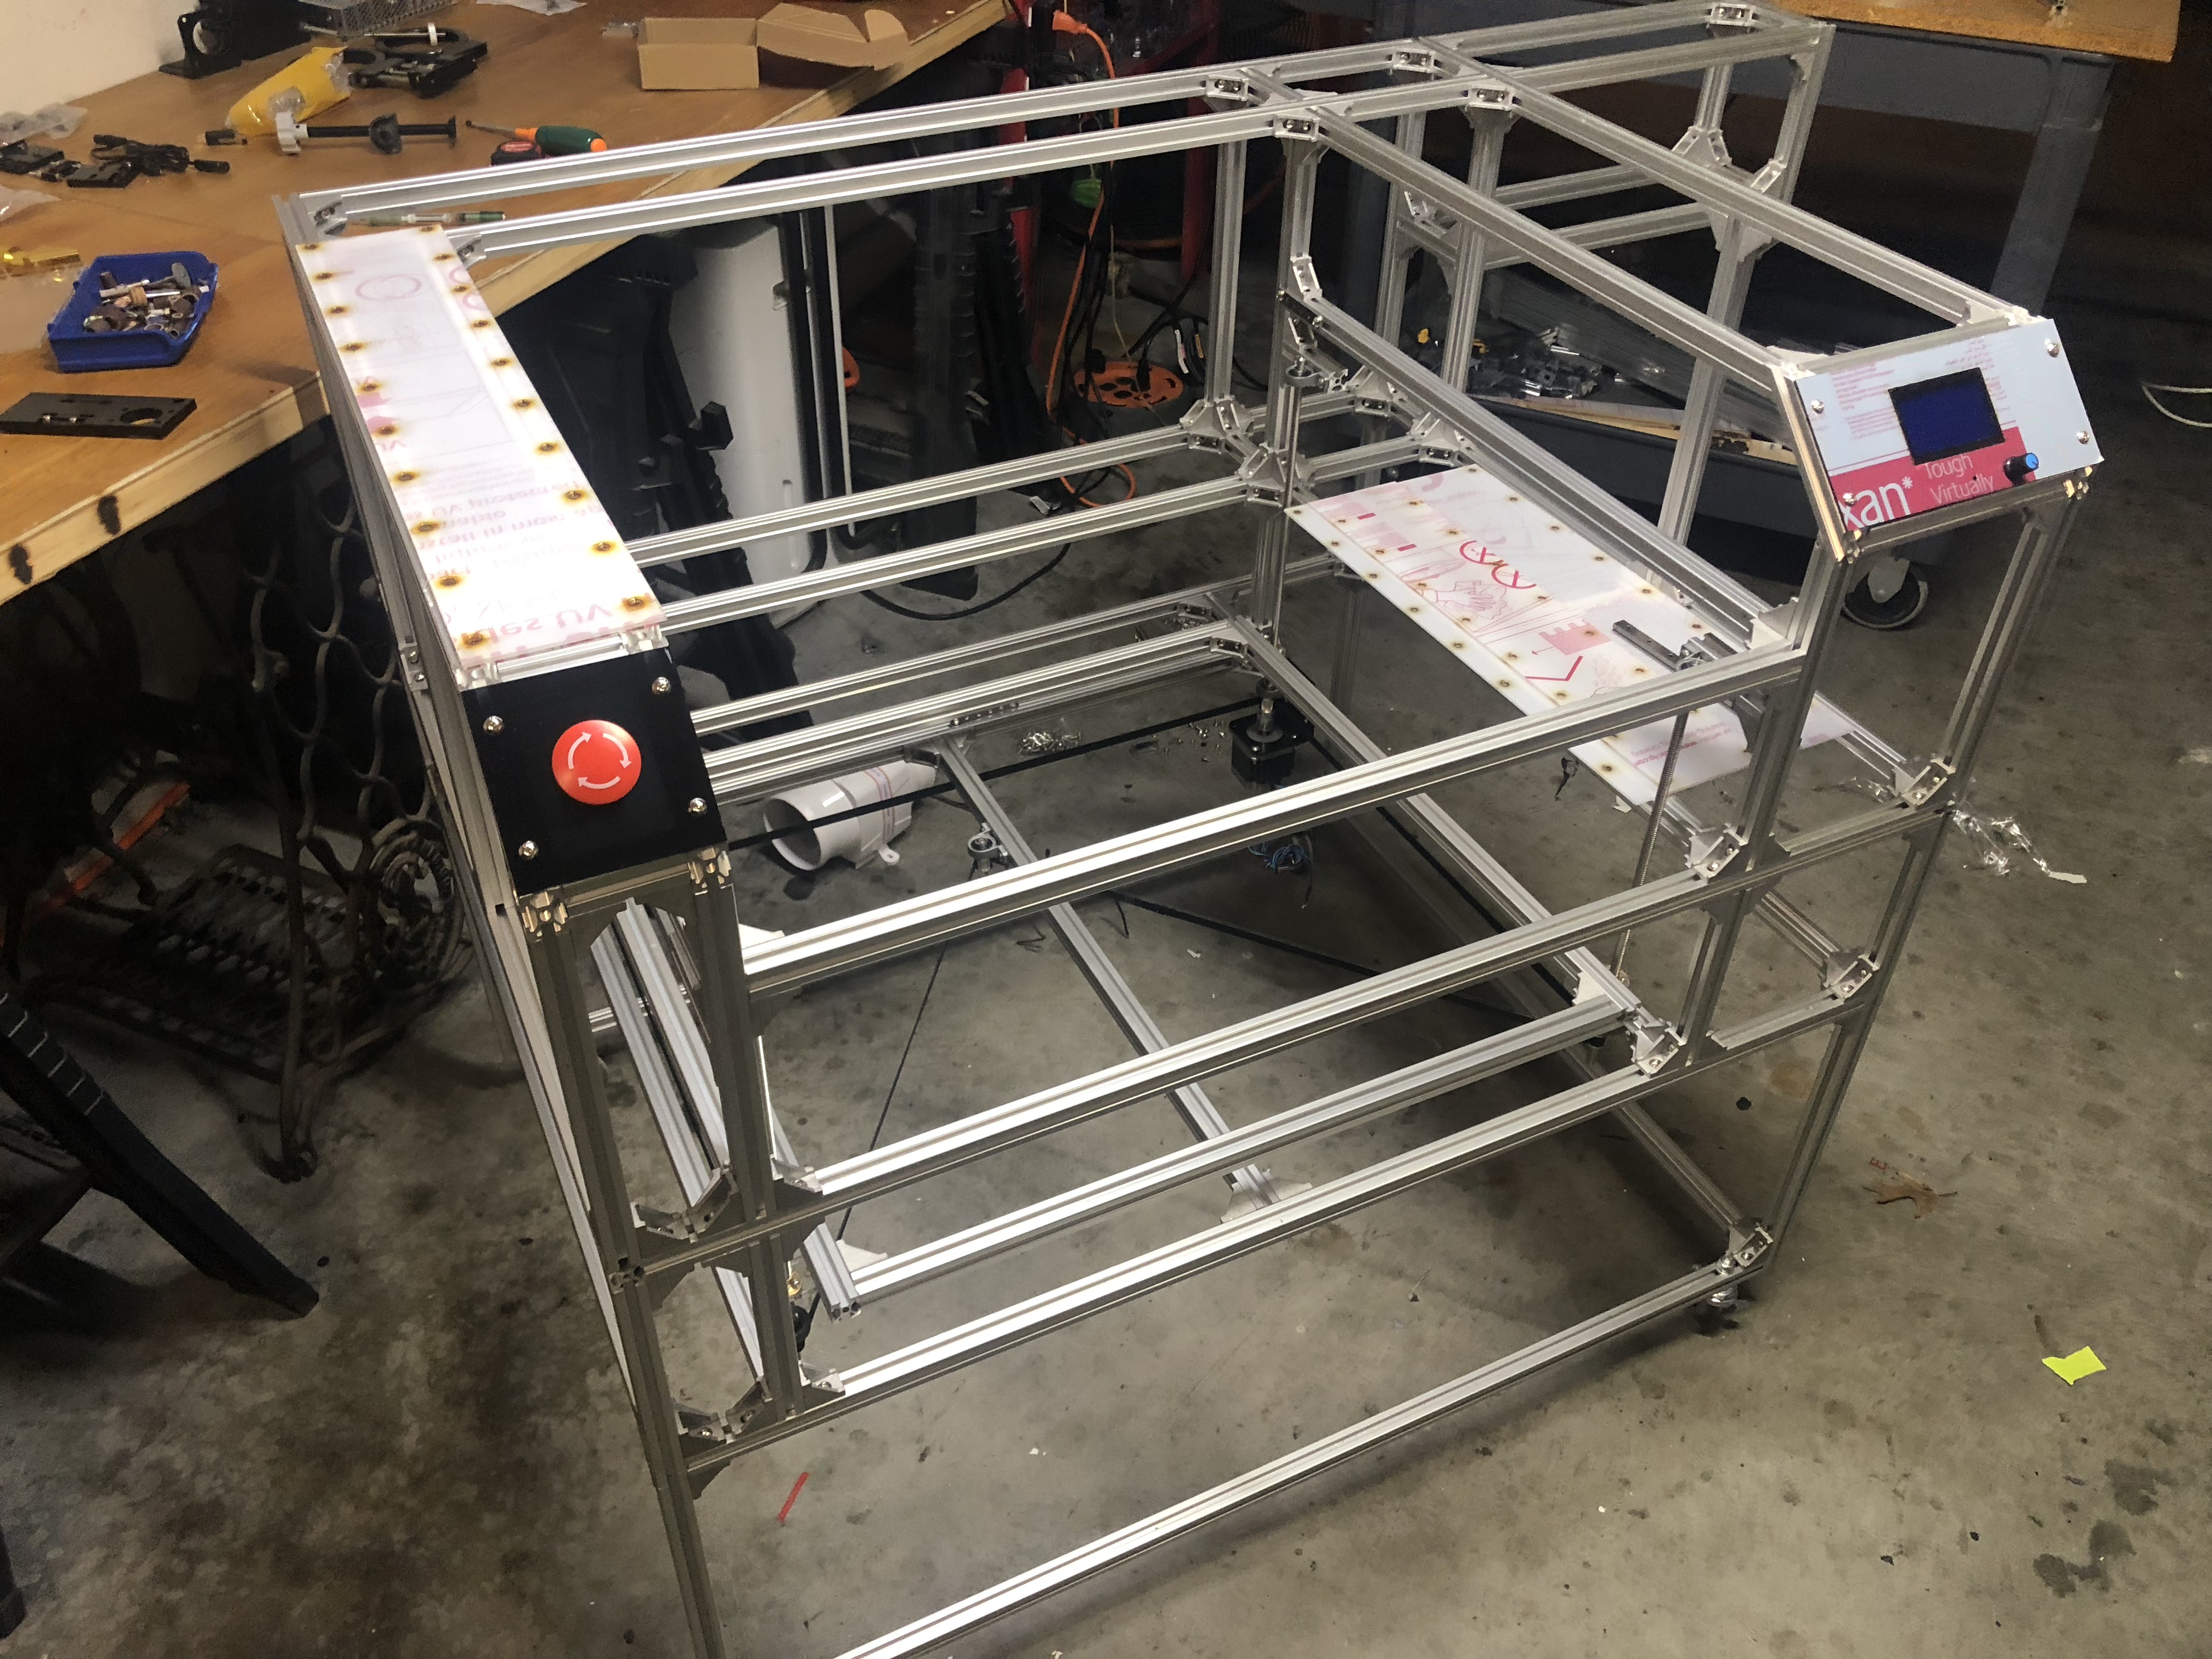
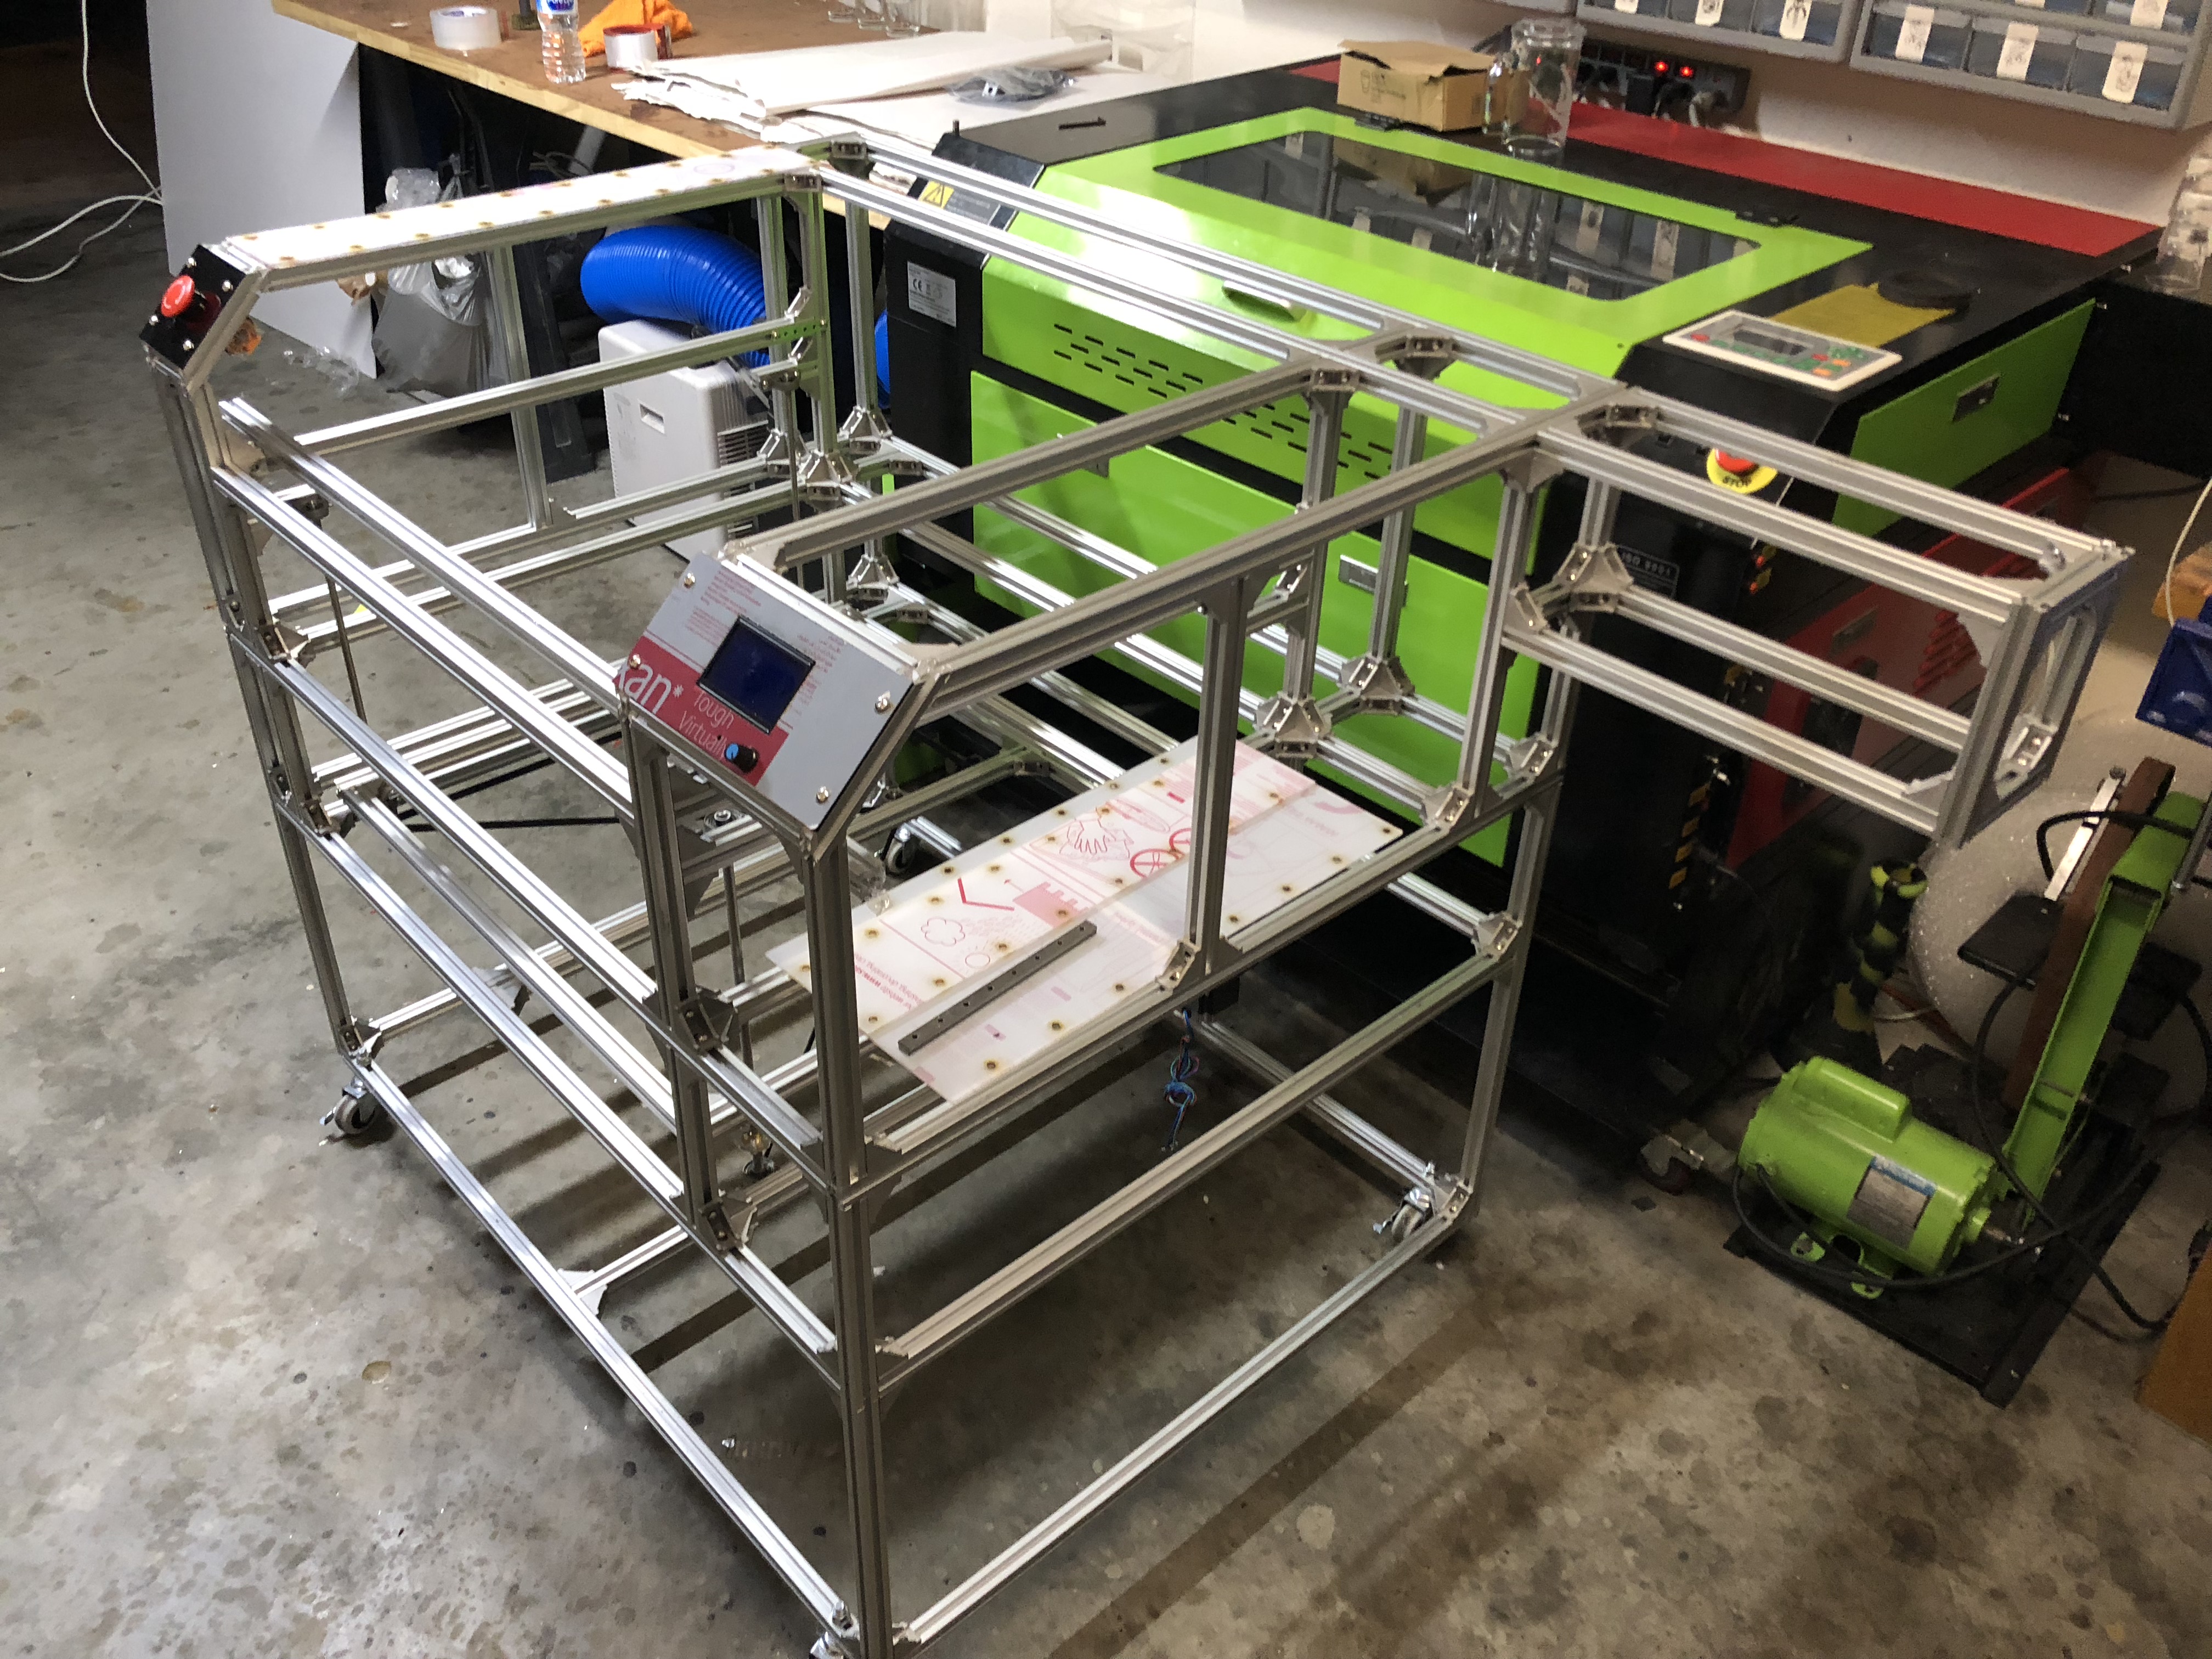
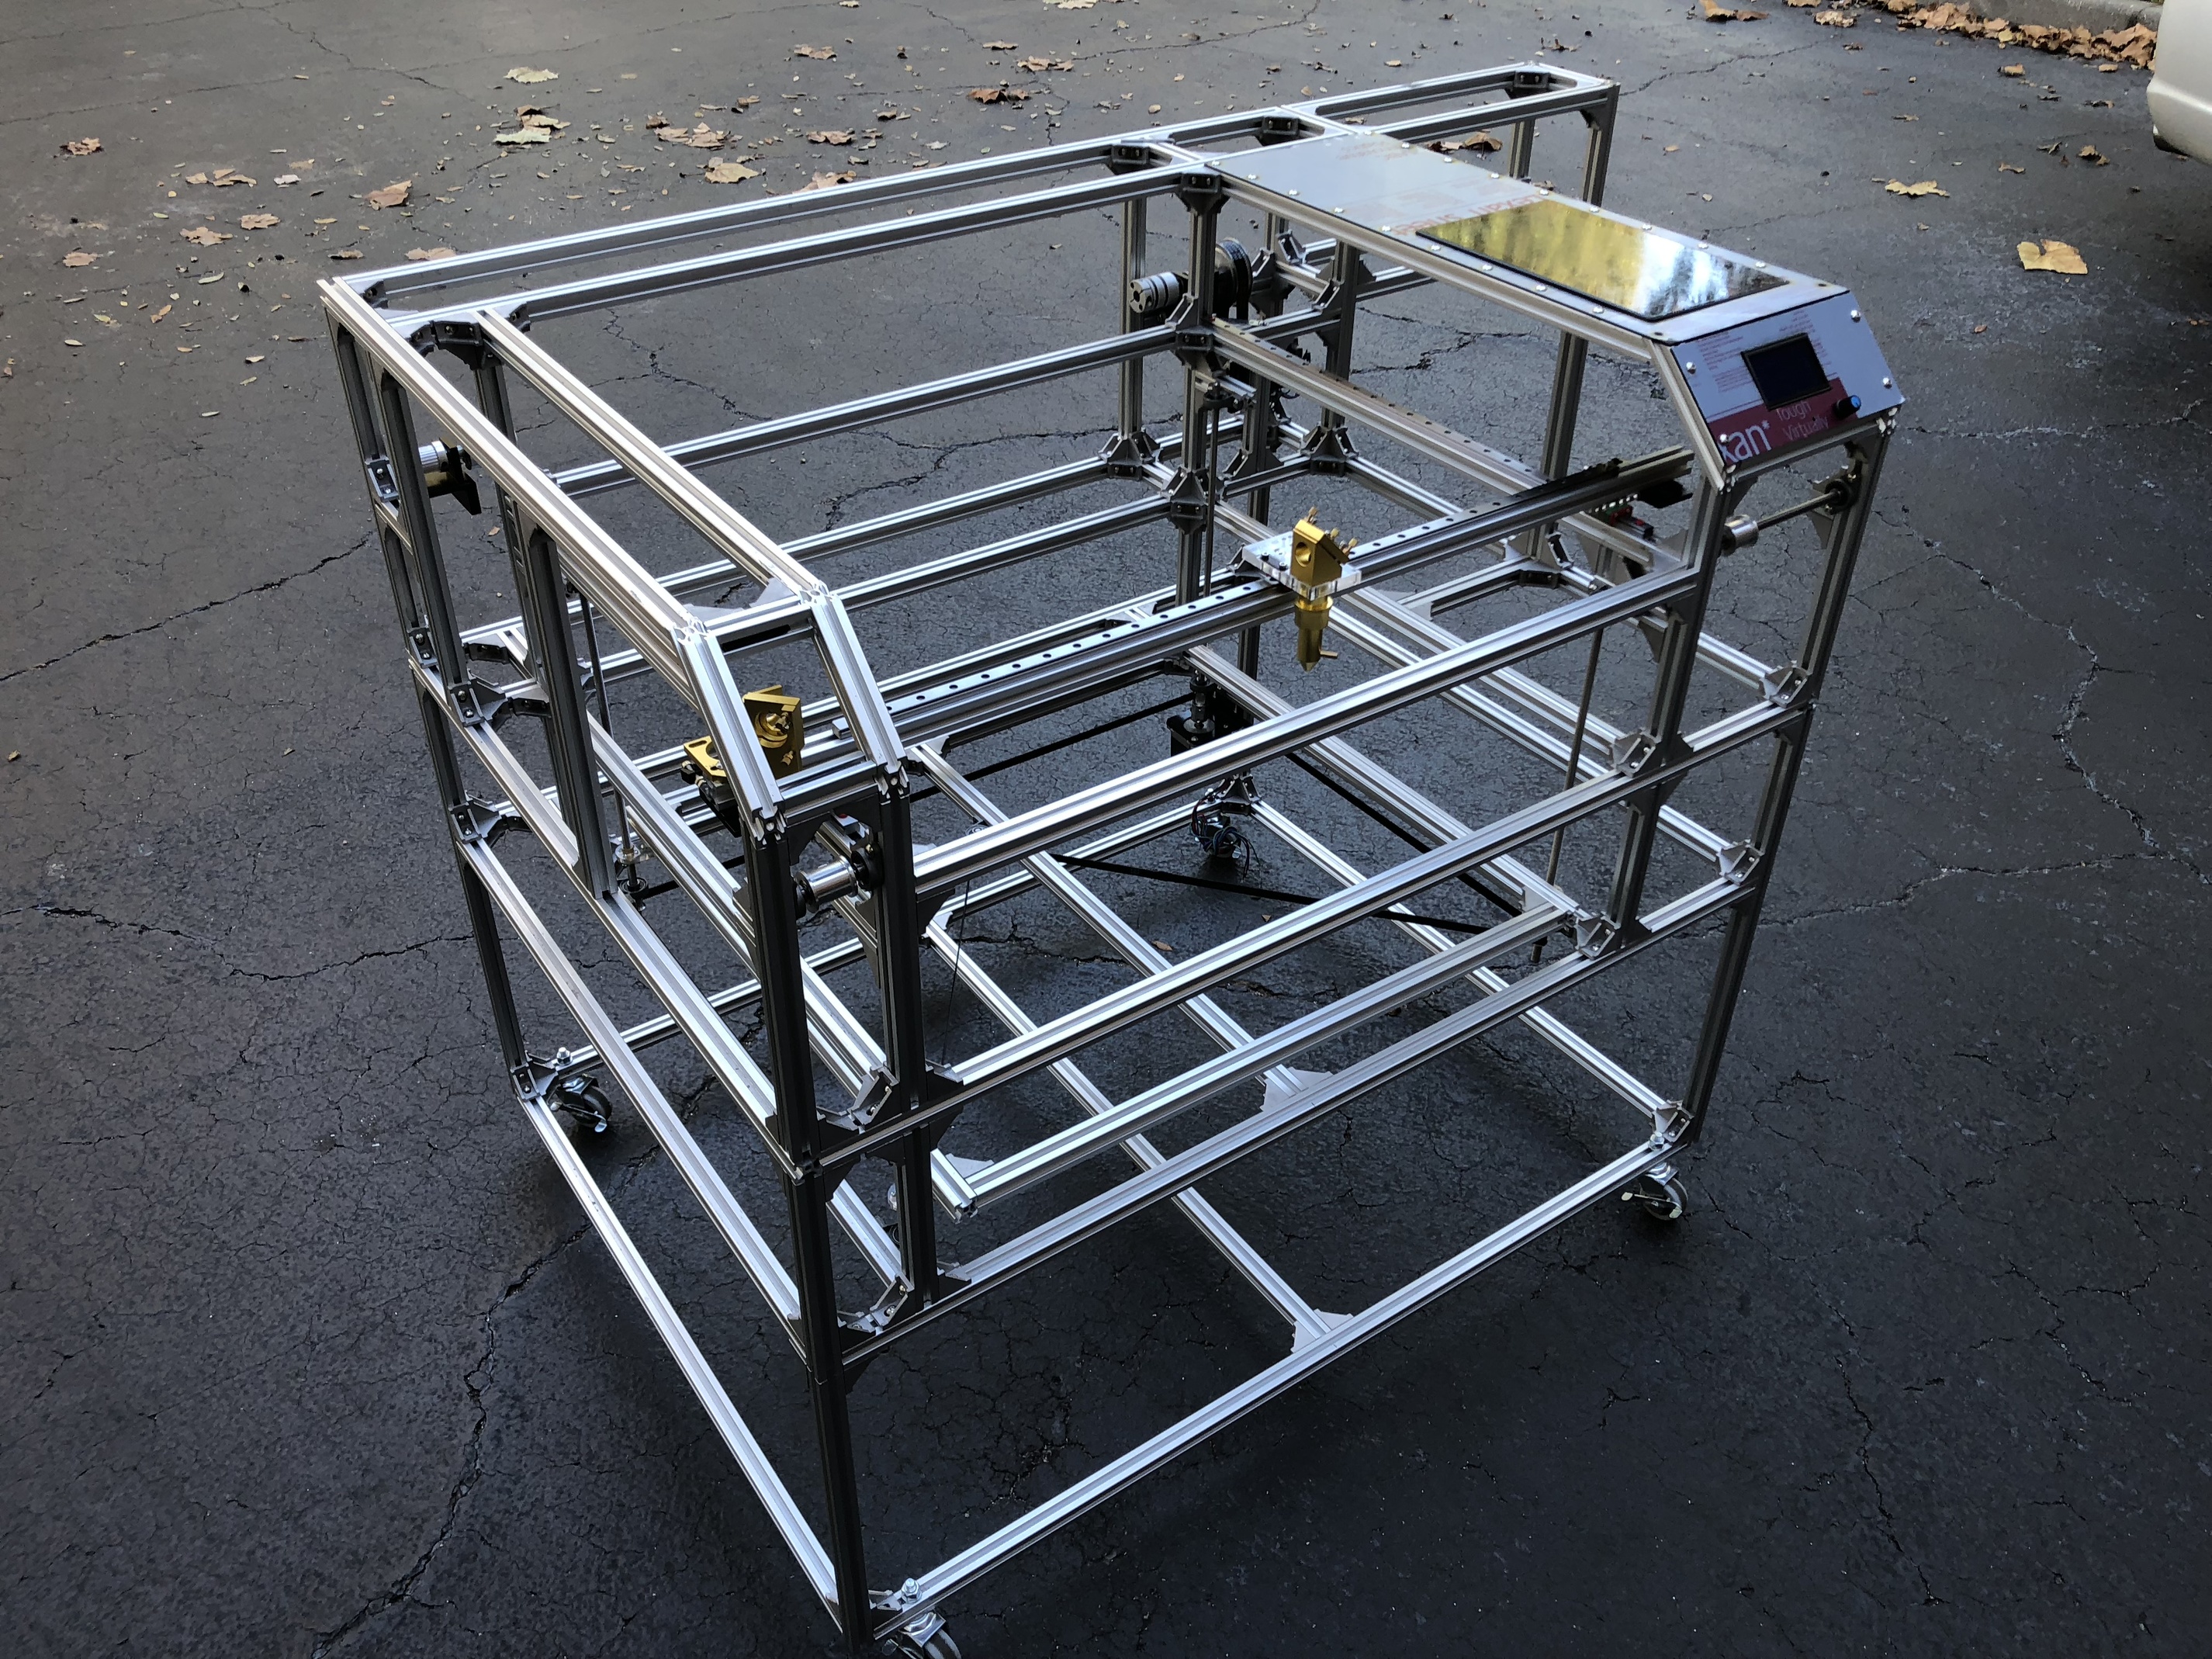
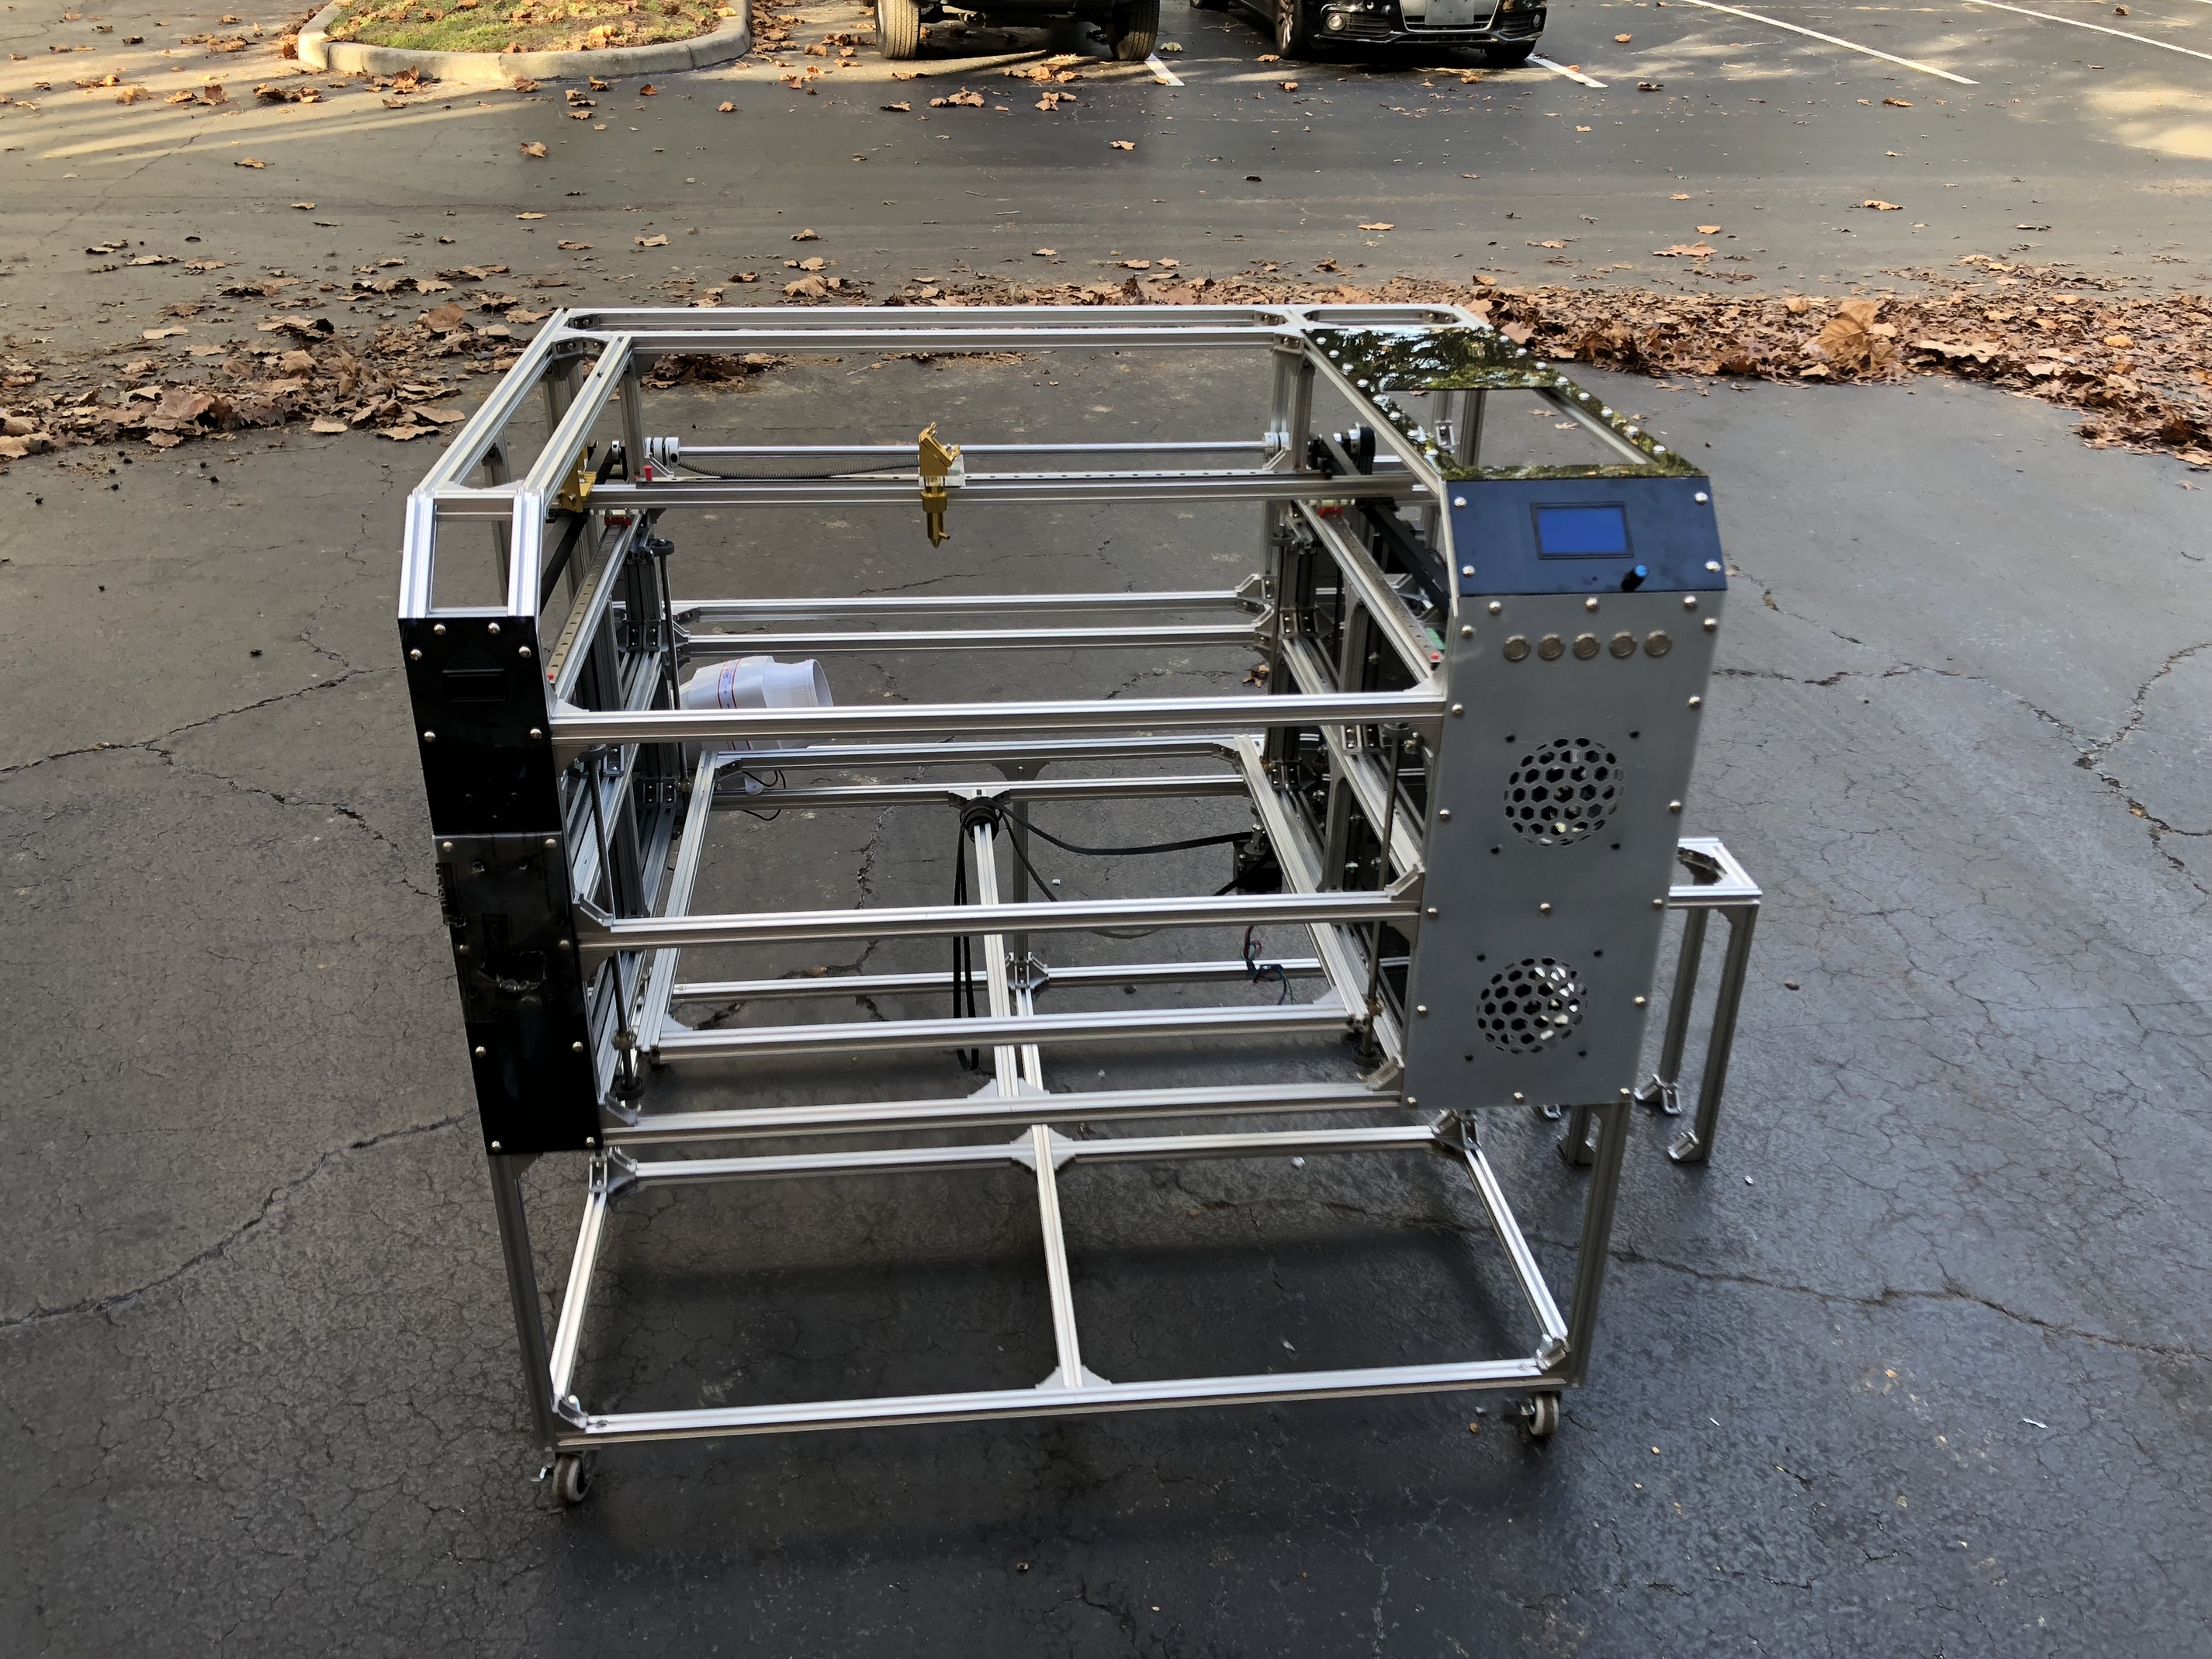
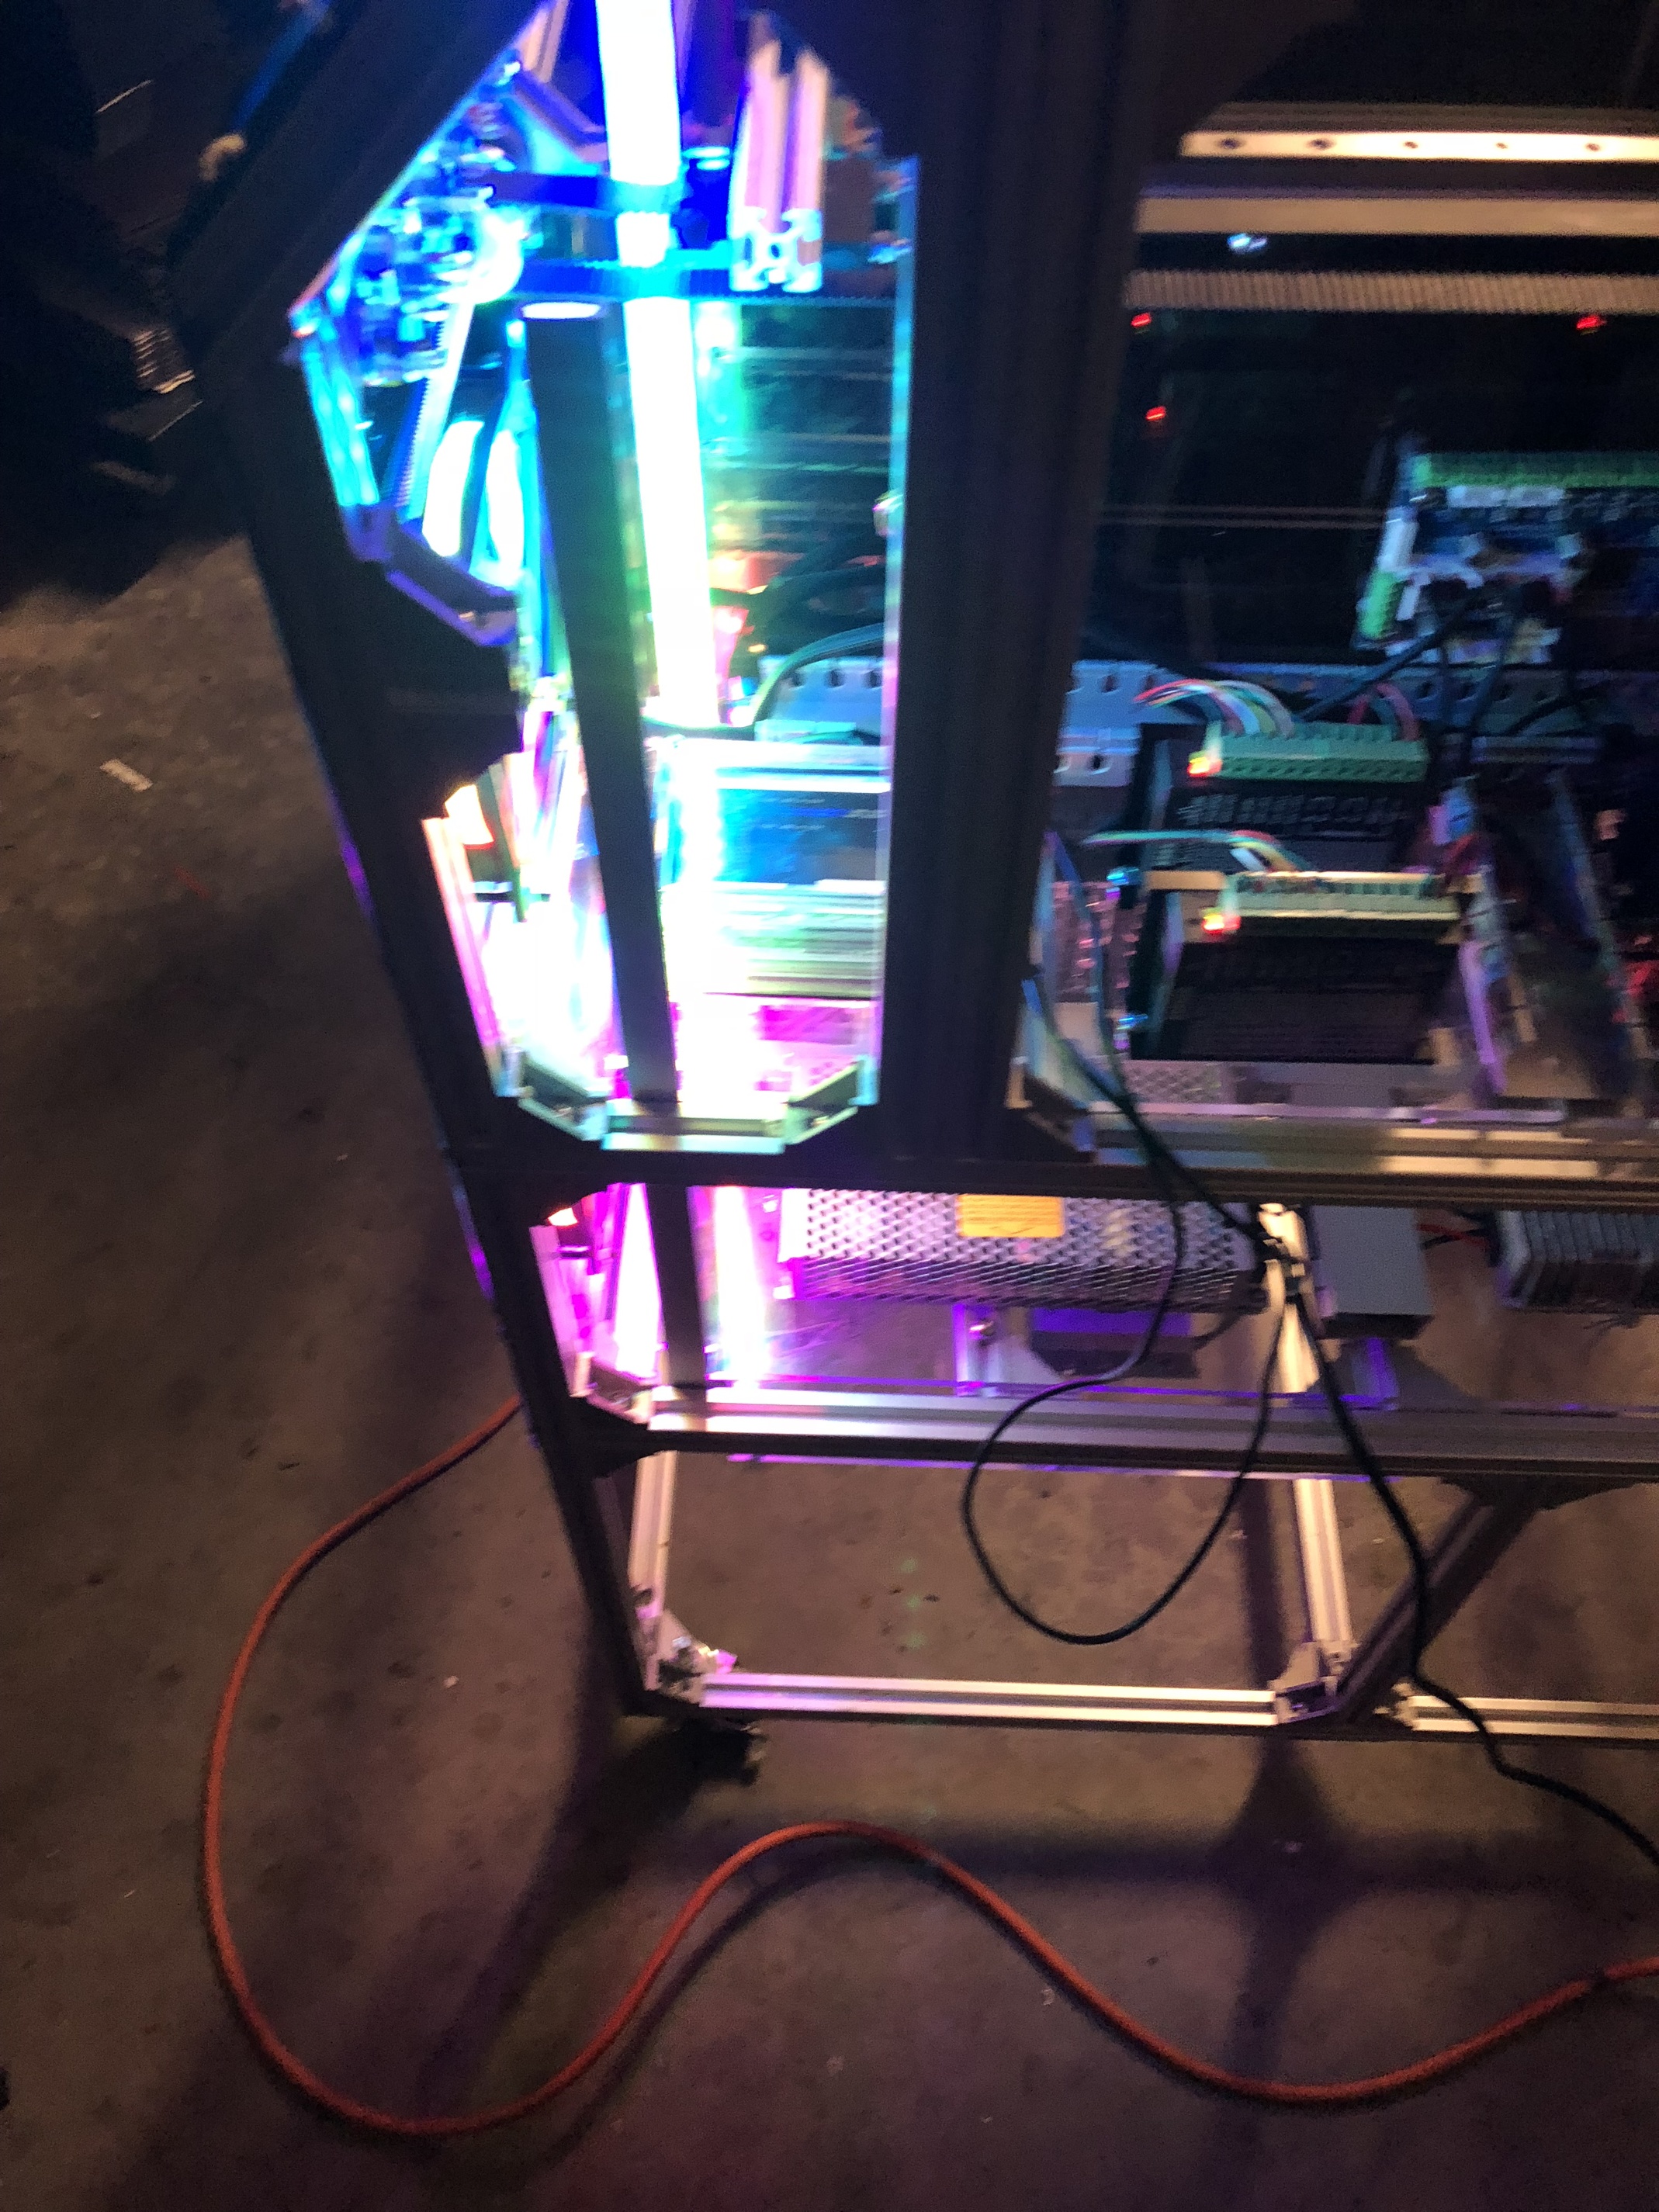
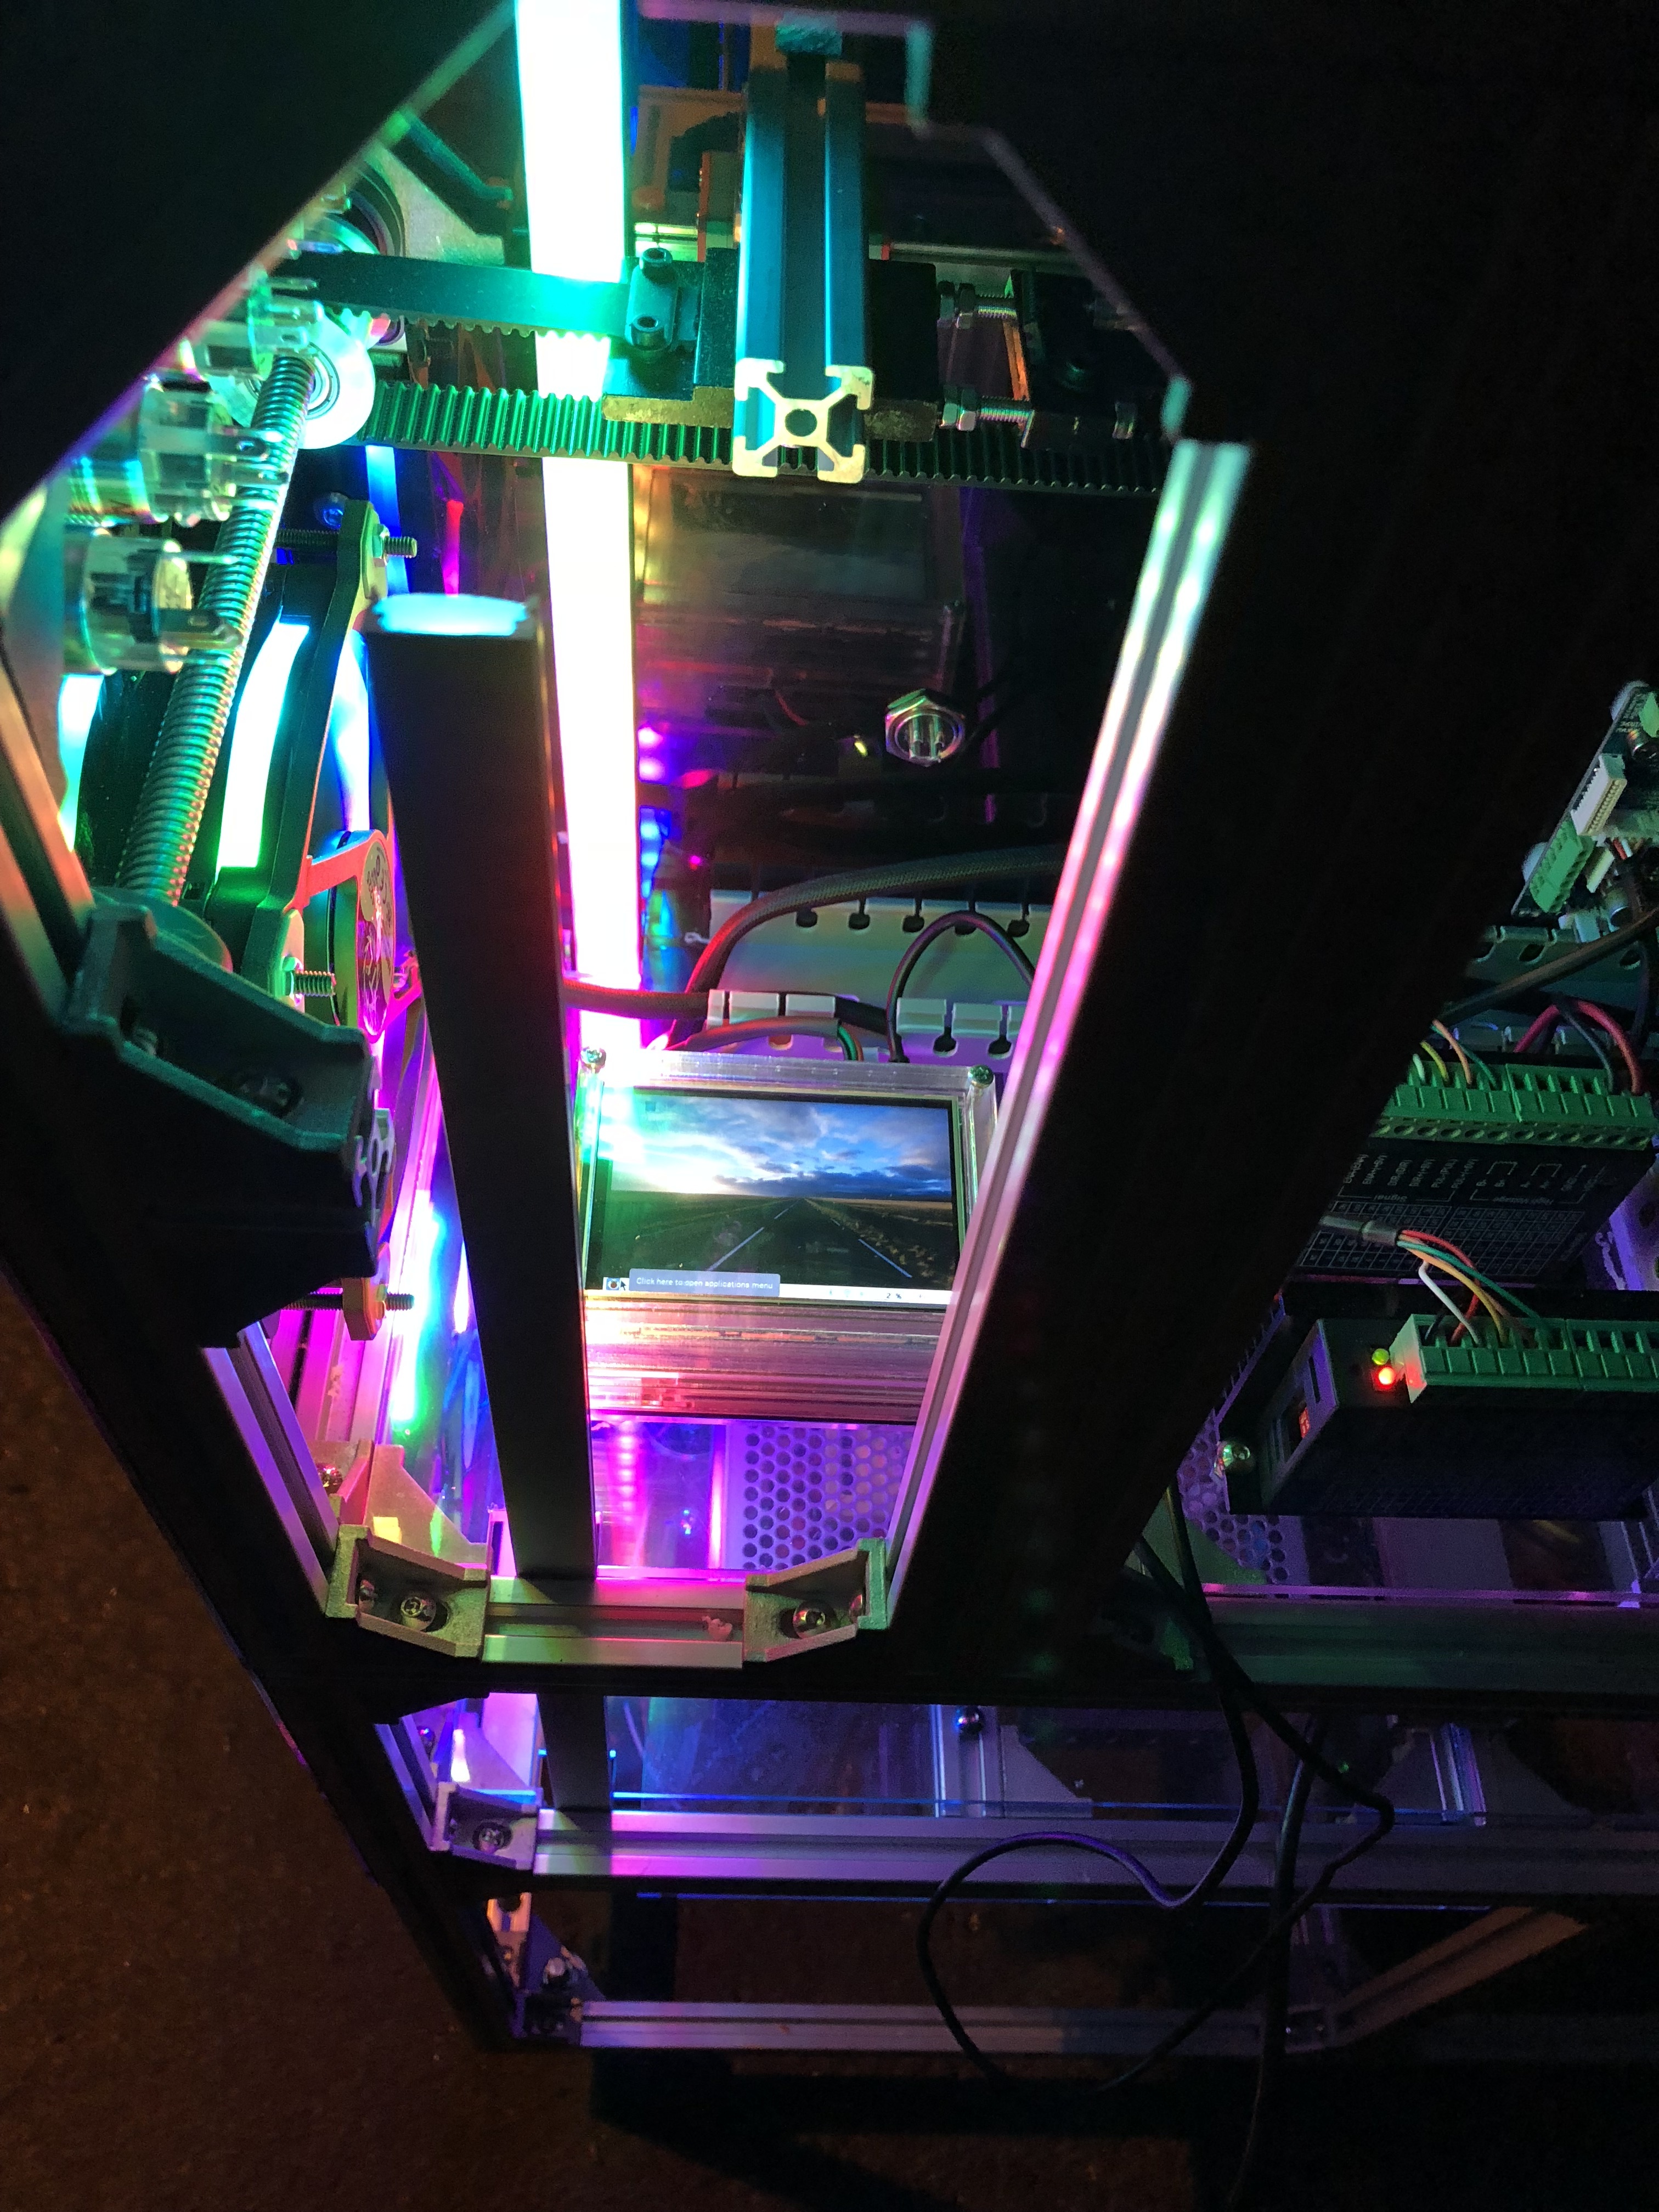
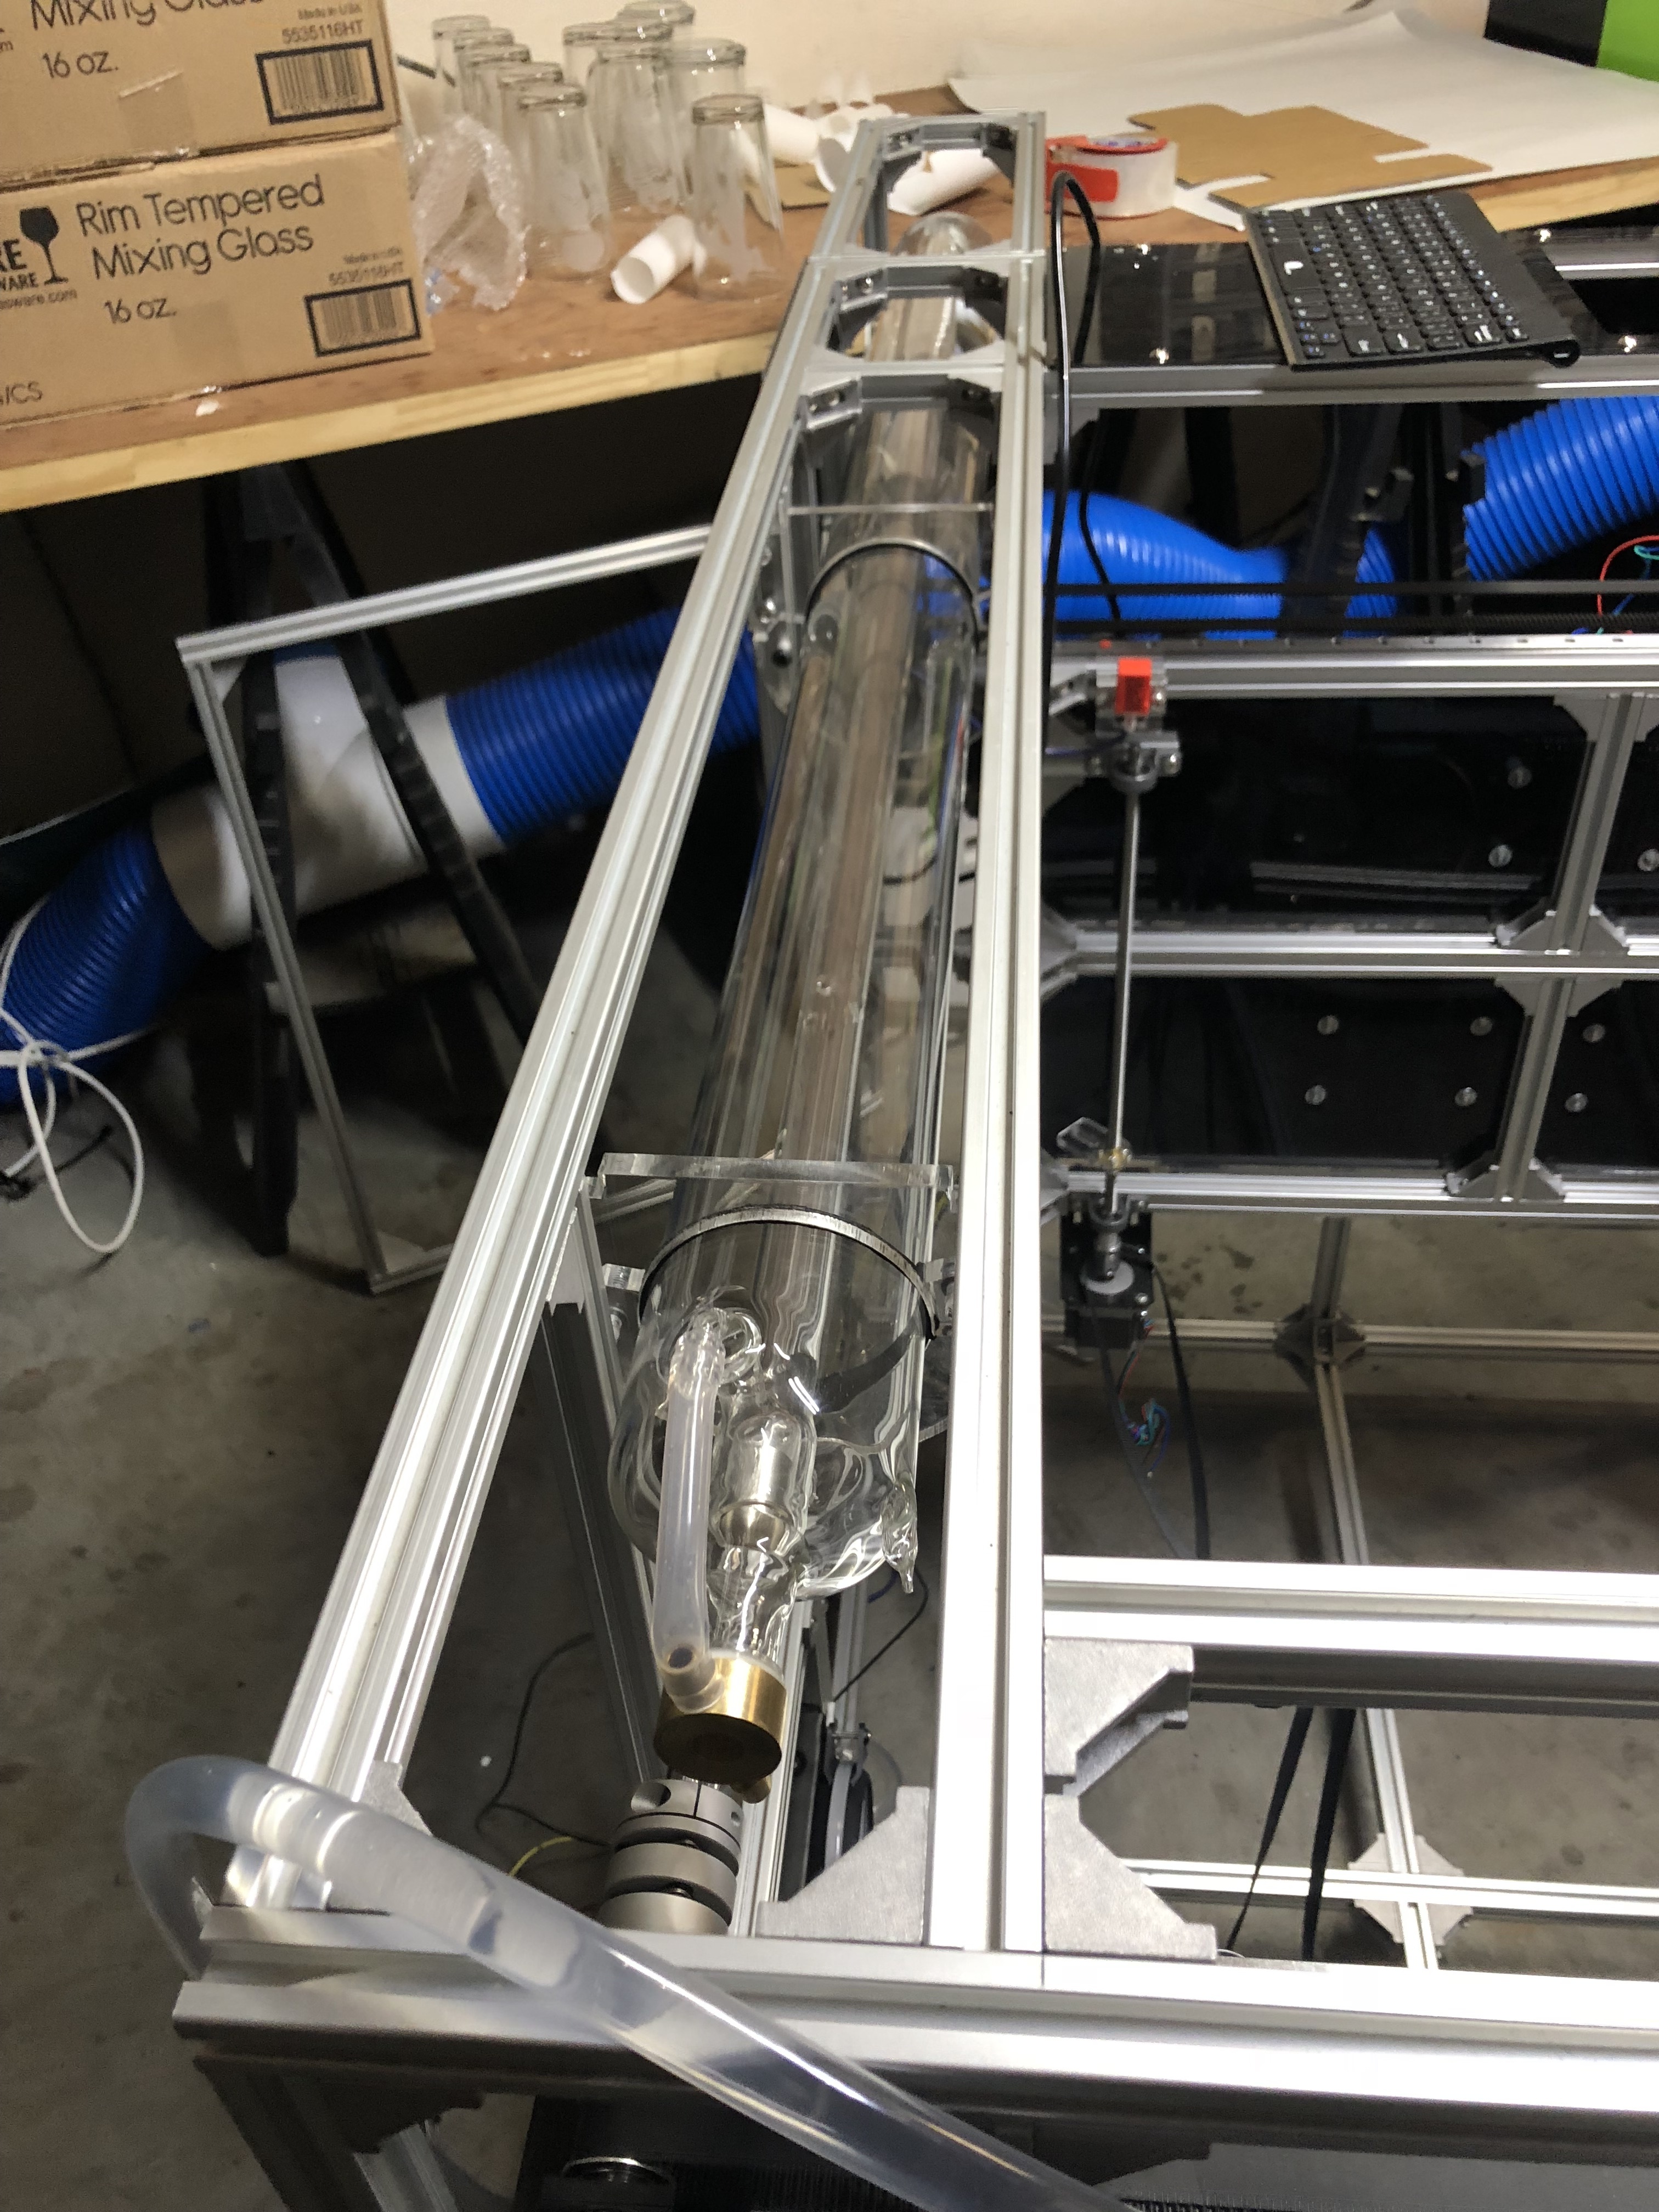
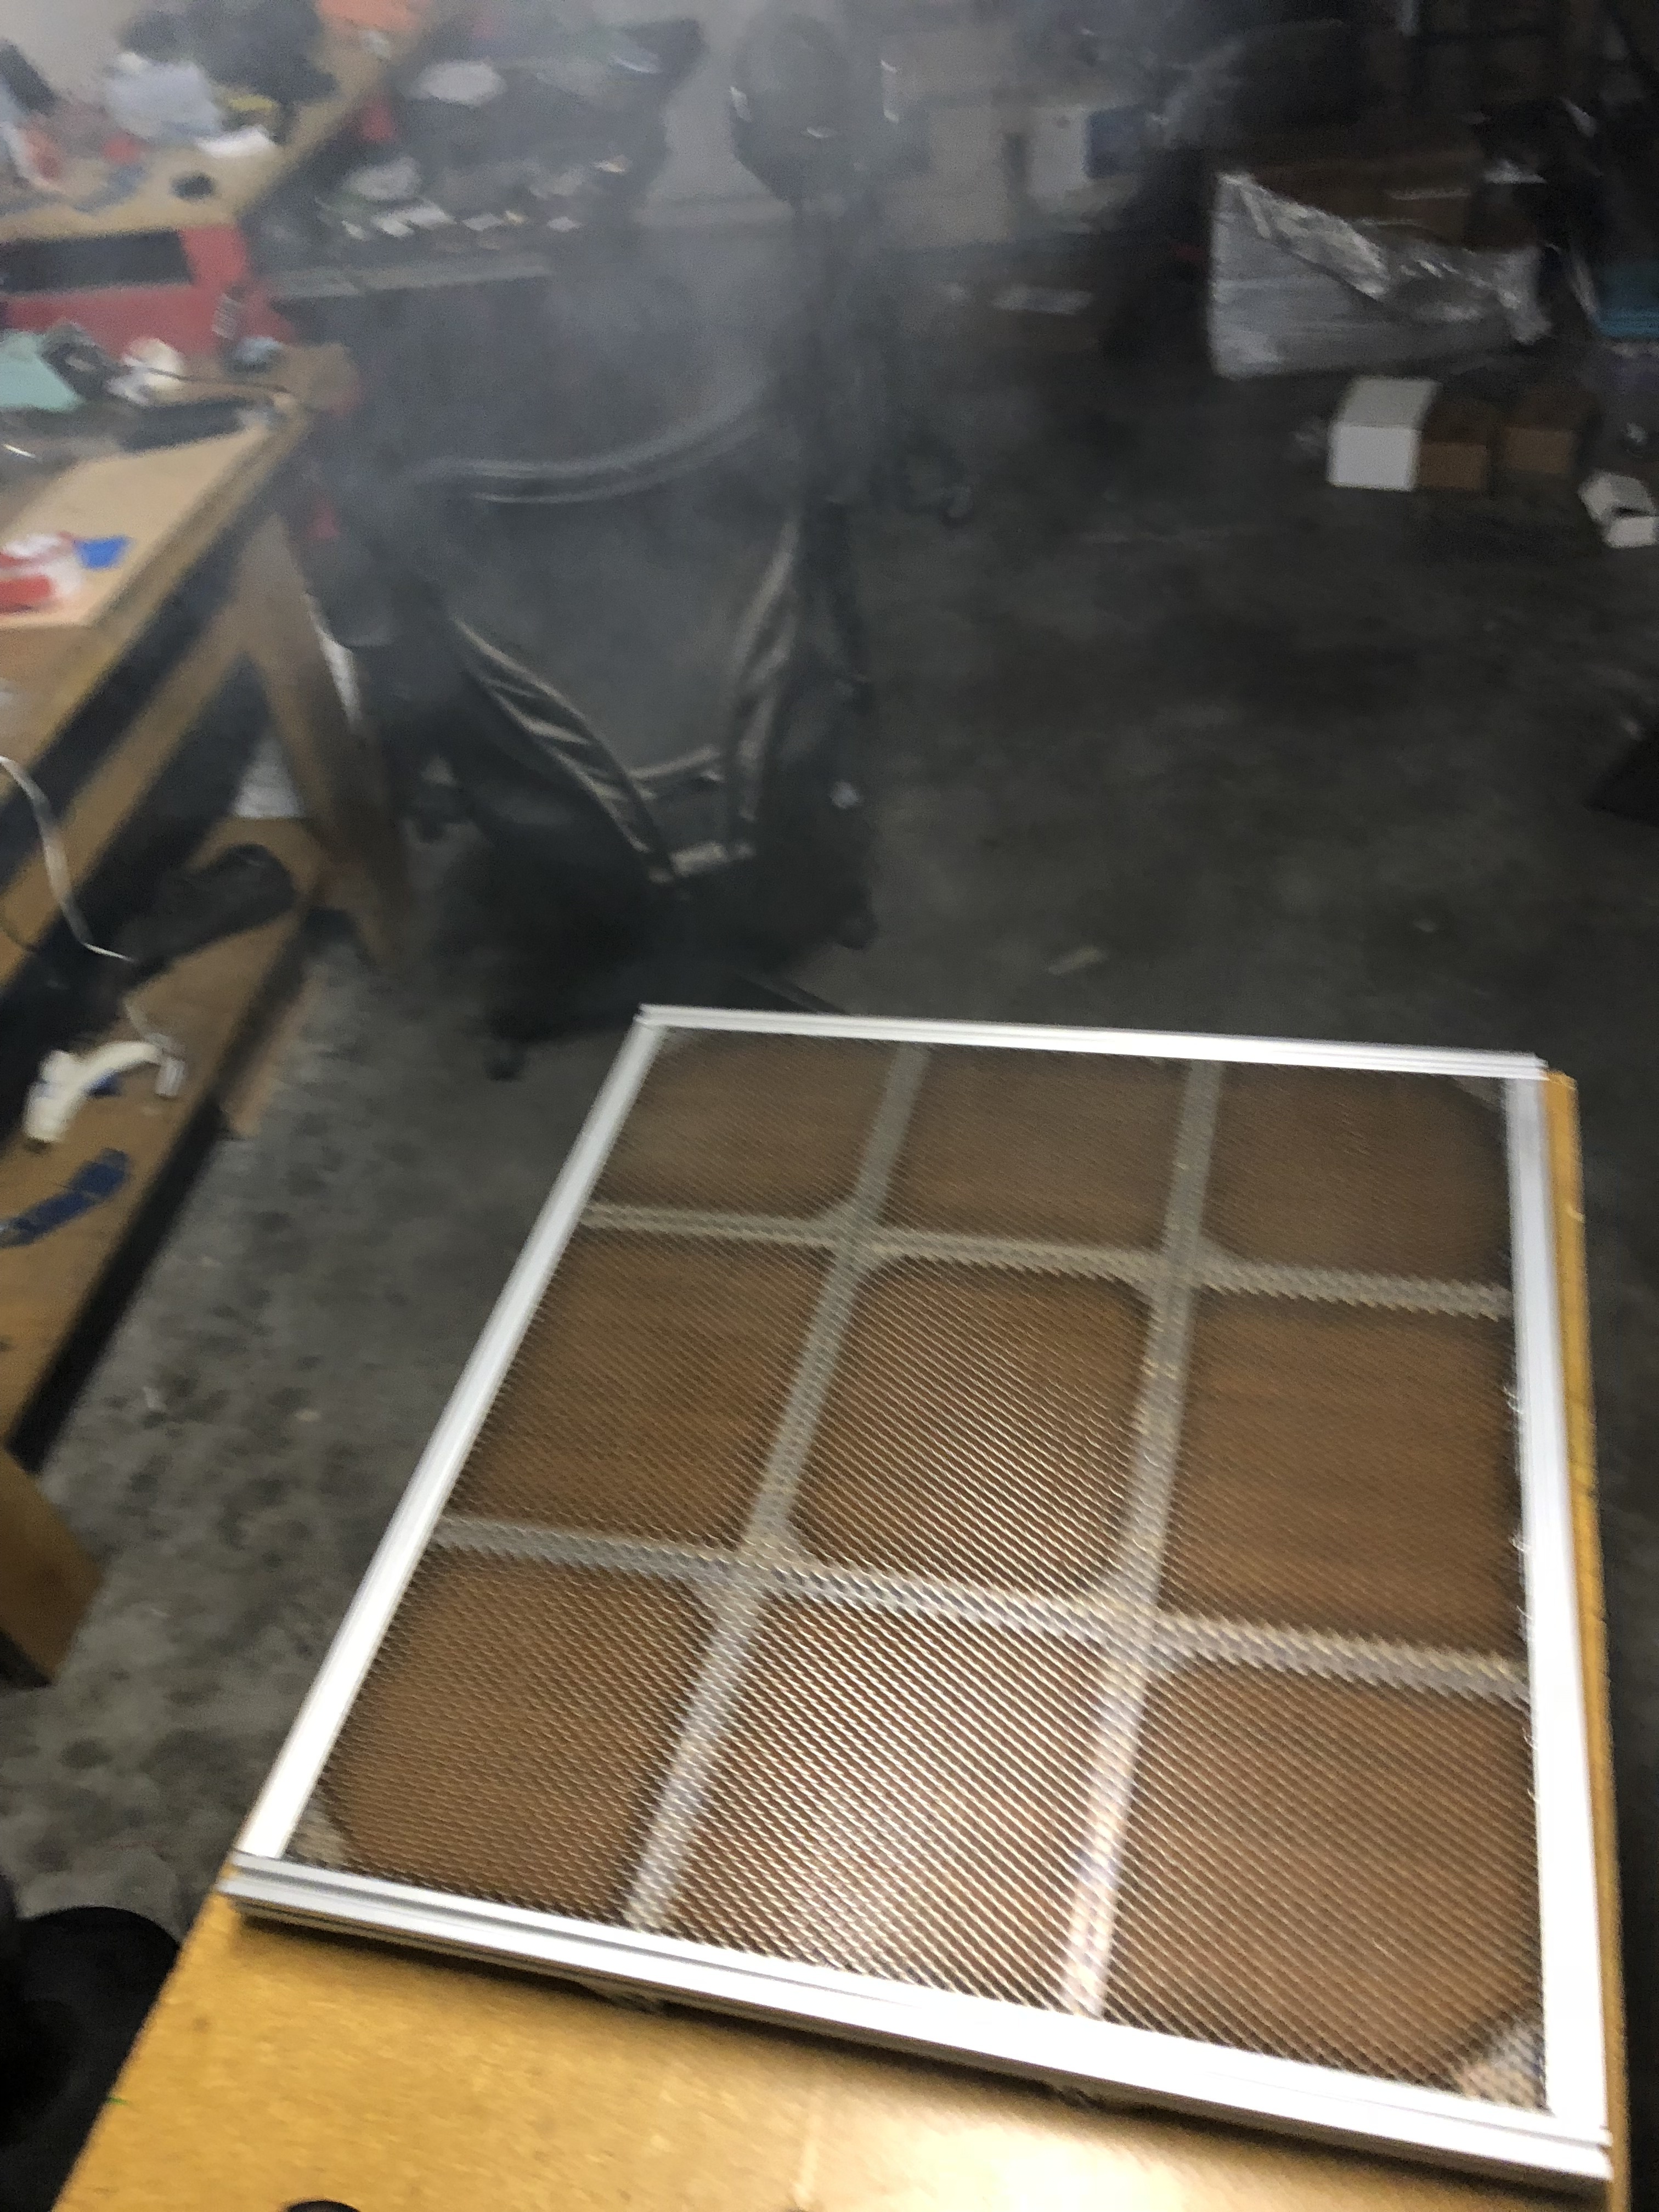
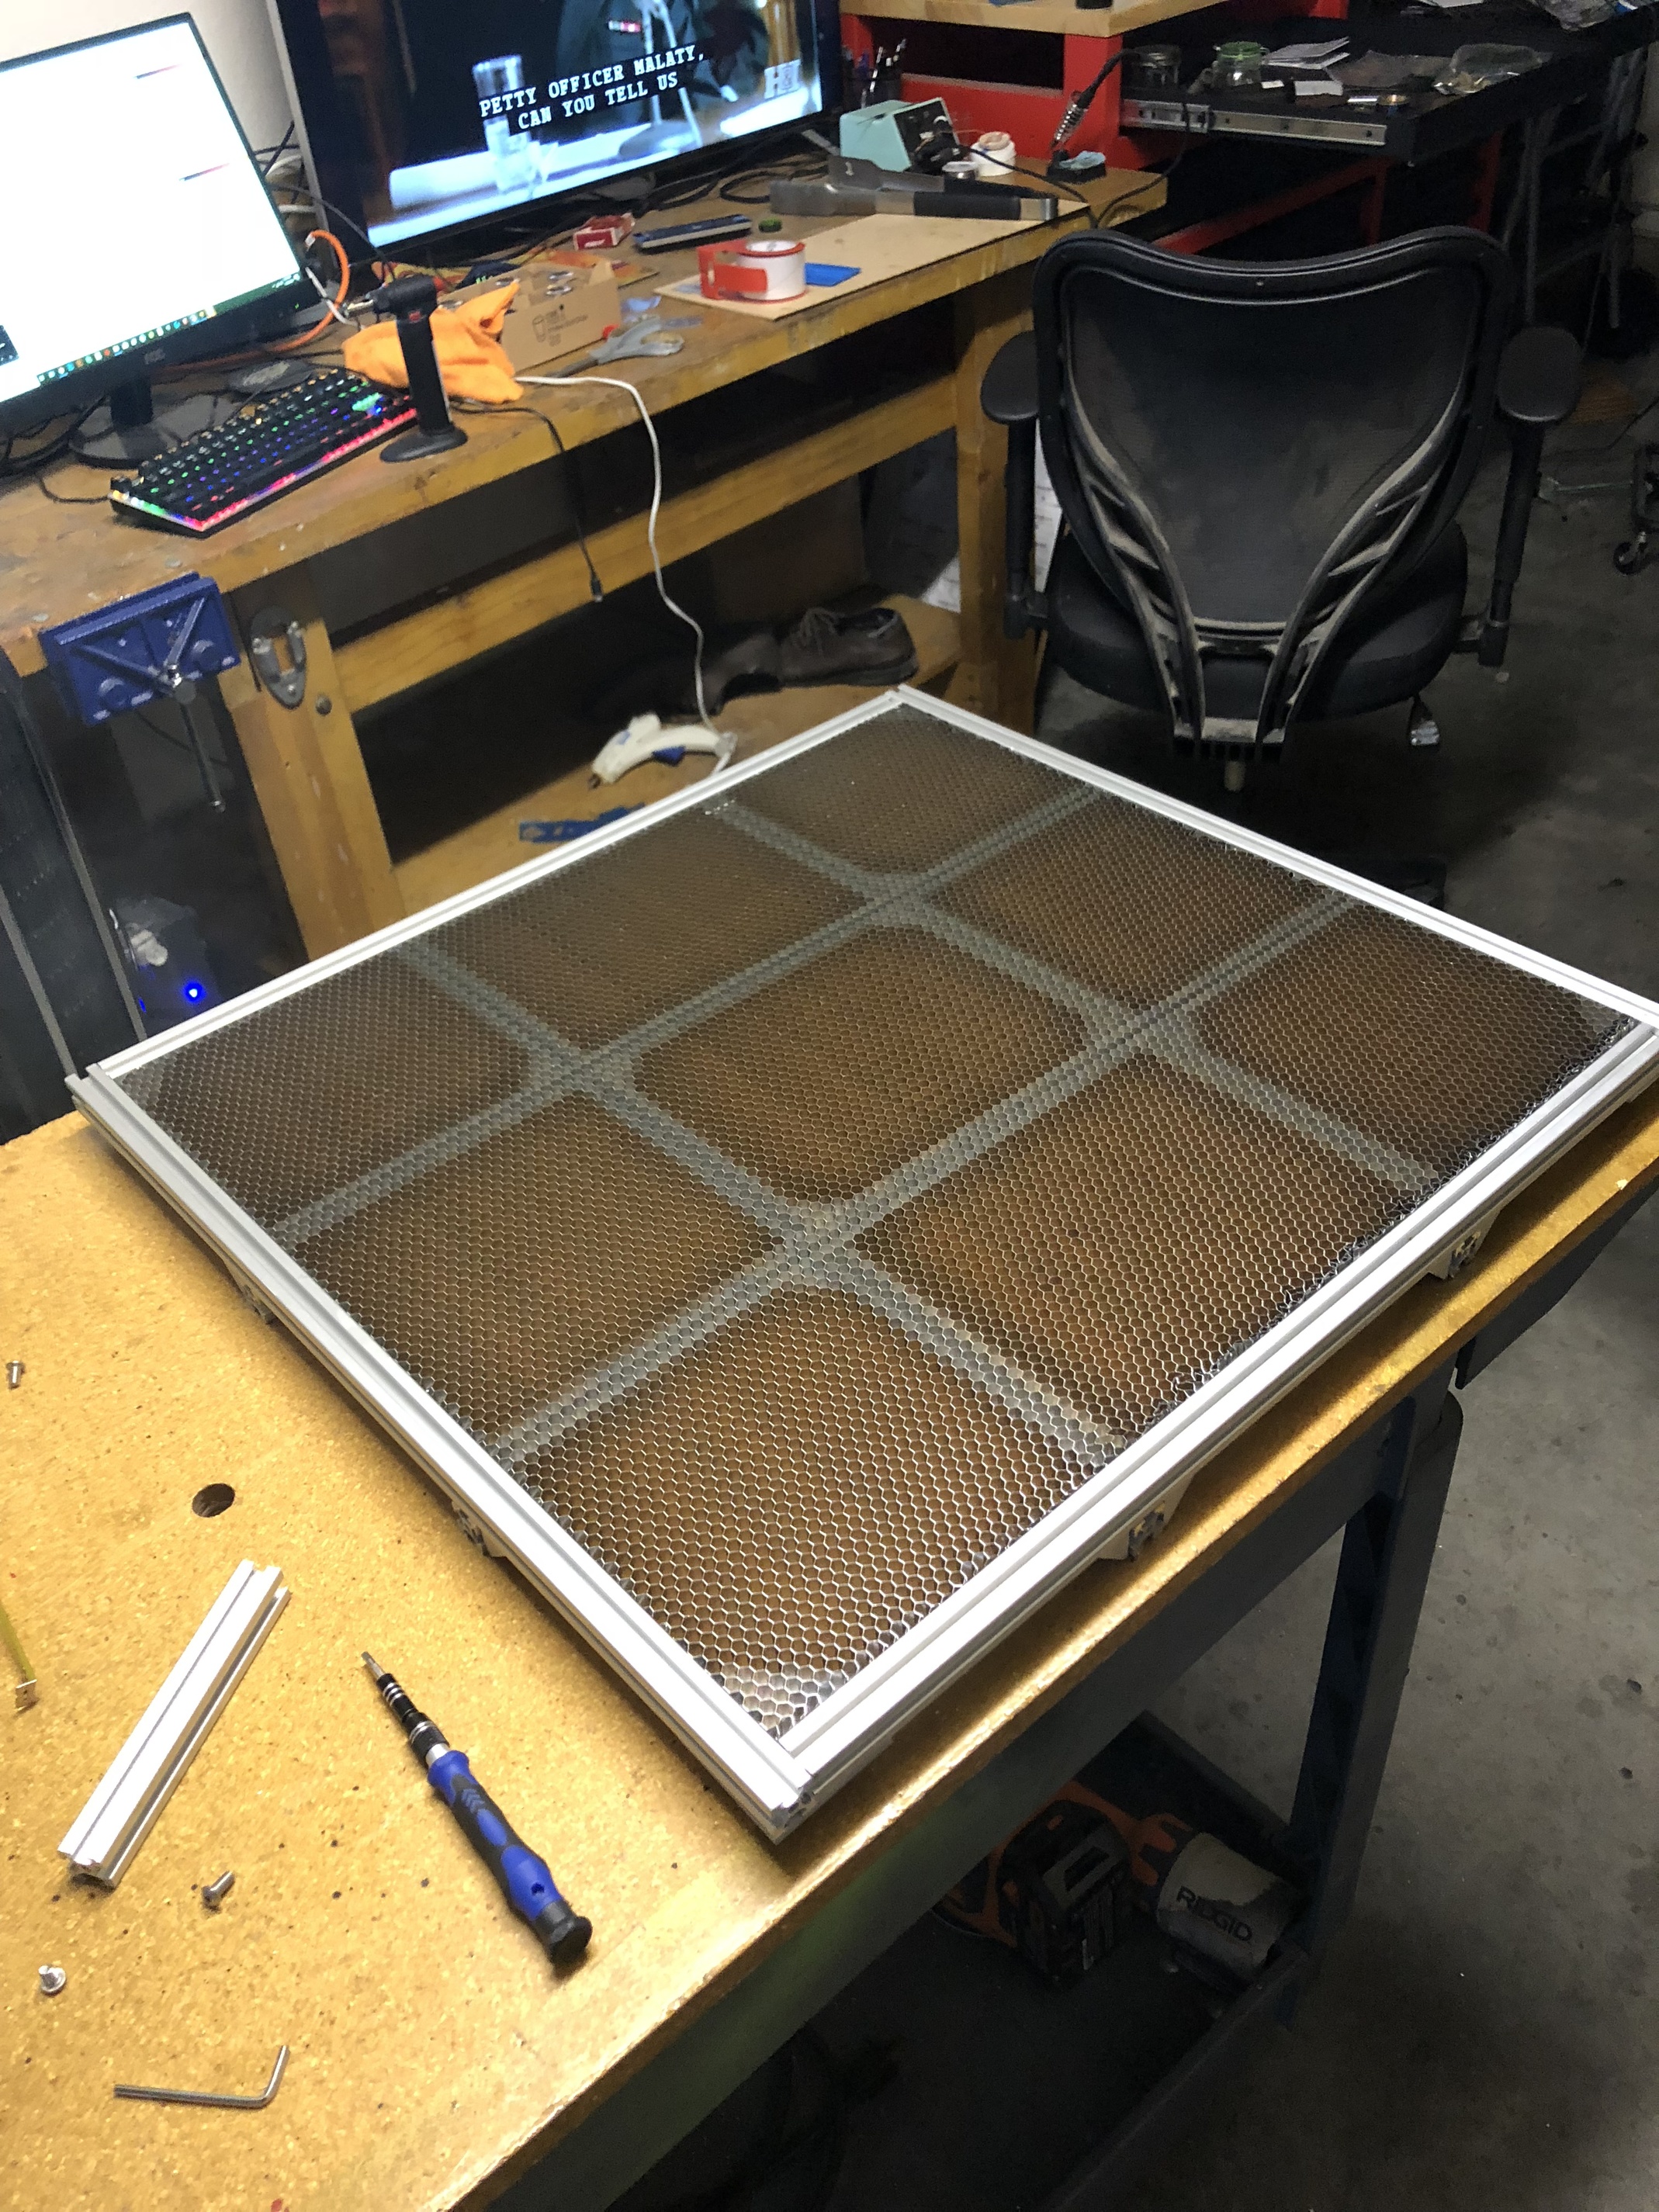
I took a bunch of pictures during the build, here are a few showing the progress.
@Chico - I always wonder when I see builds like this… how did you go about actually designing it? Did you CAD model it first or just dive in and start cutting aluminum extrusion?
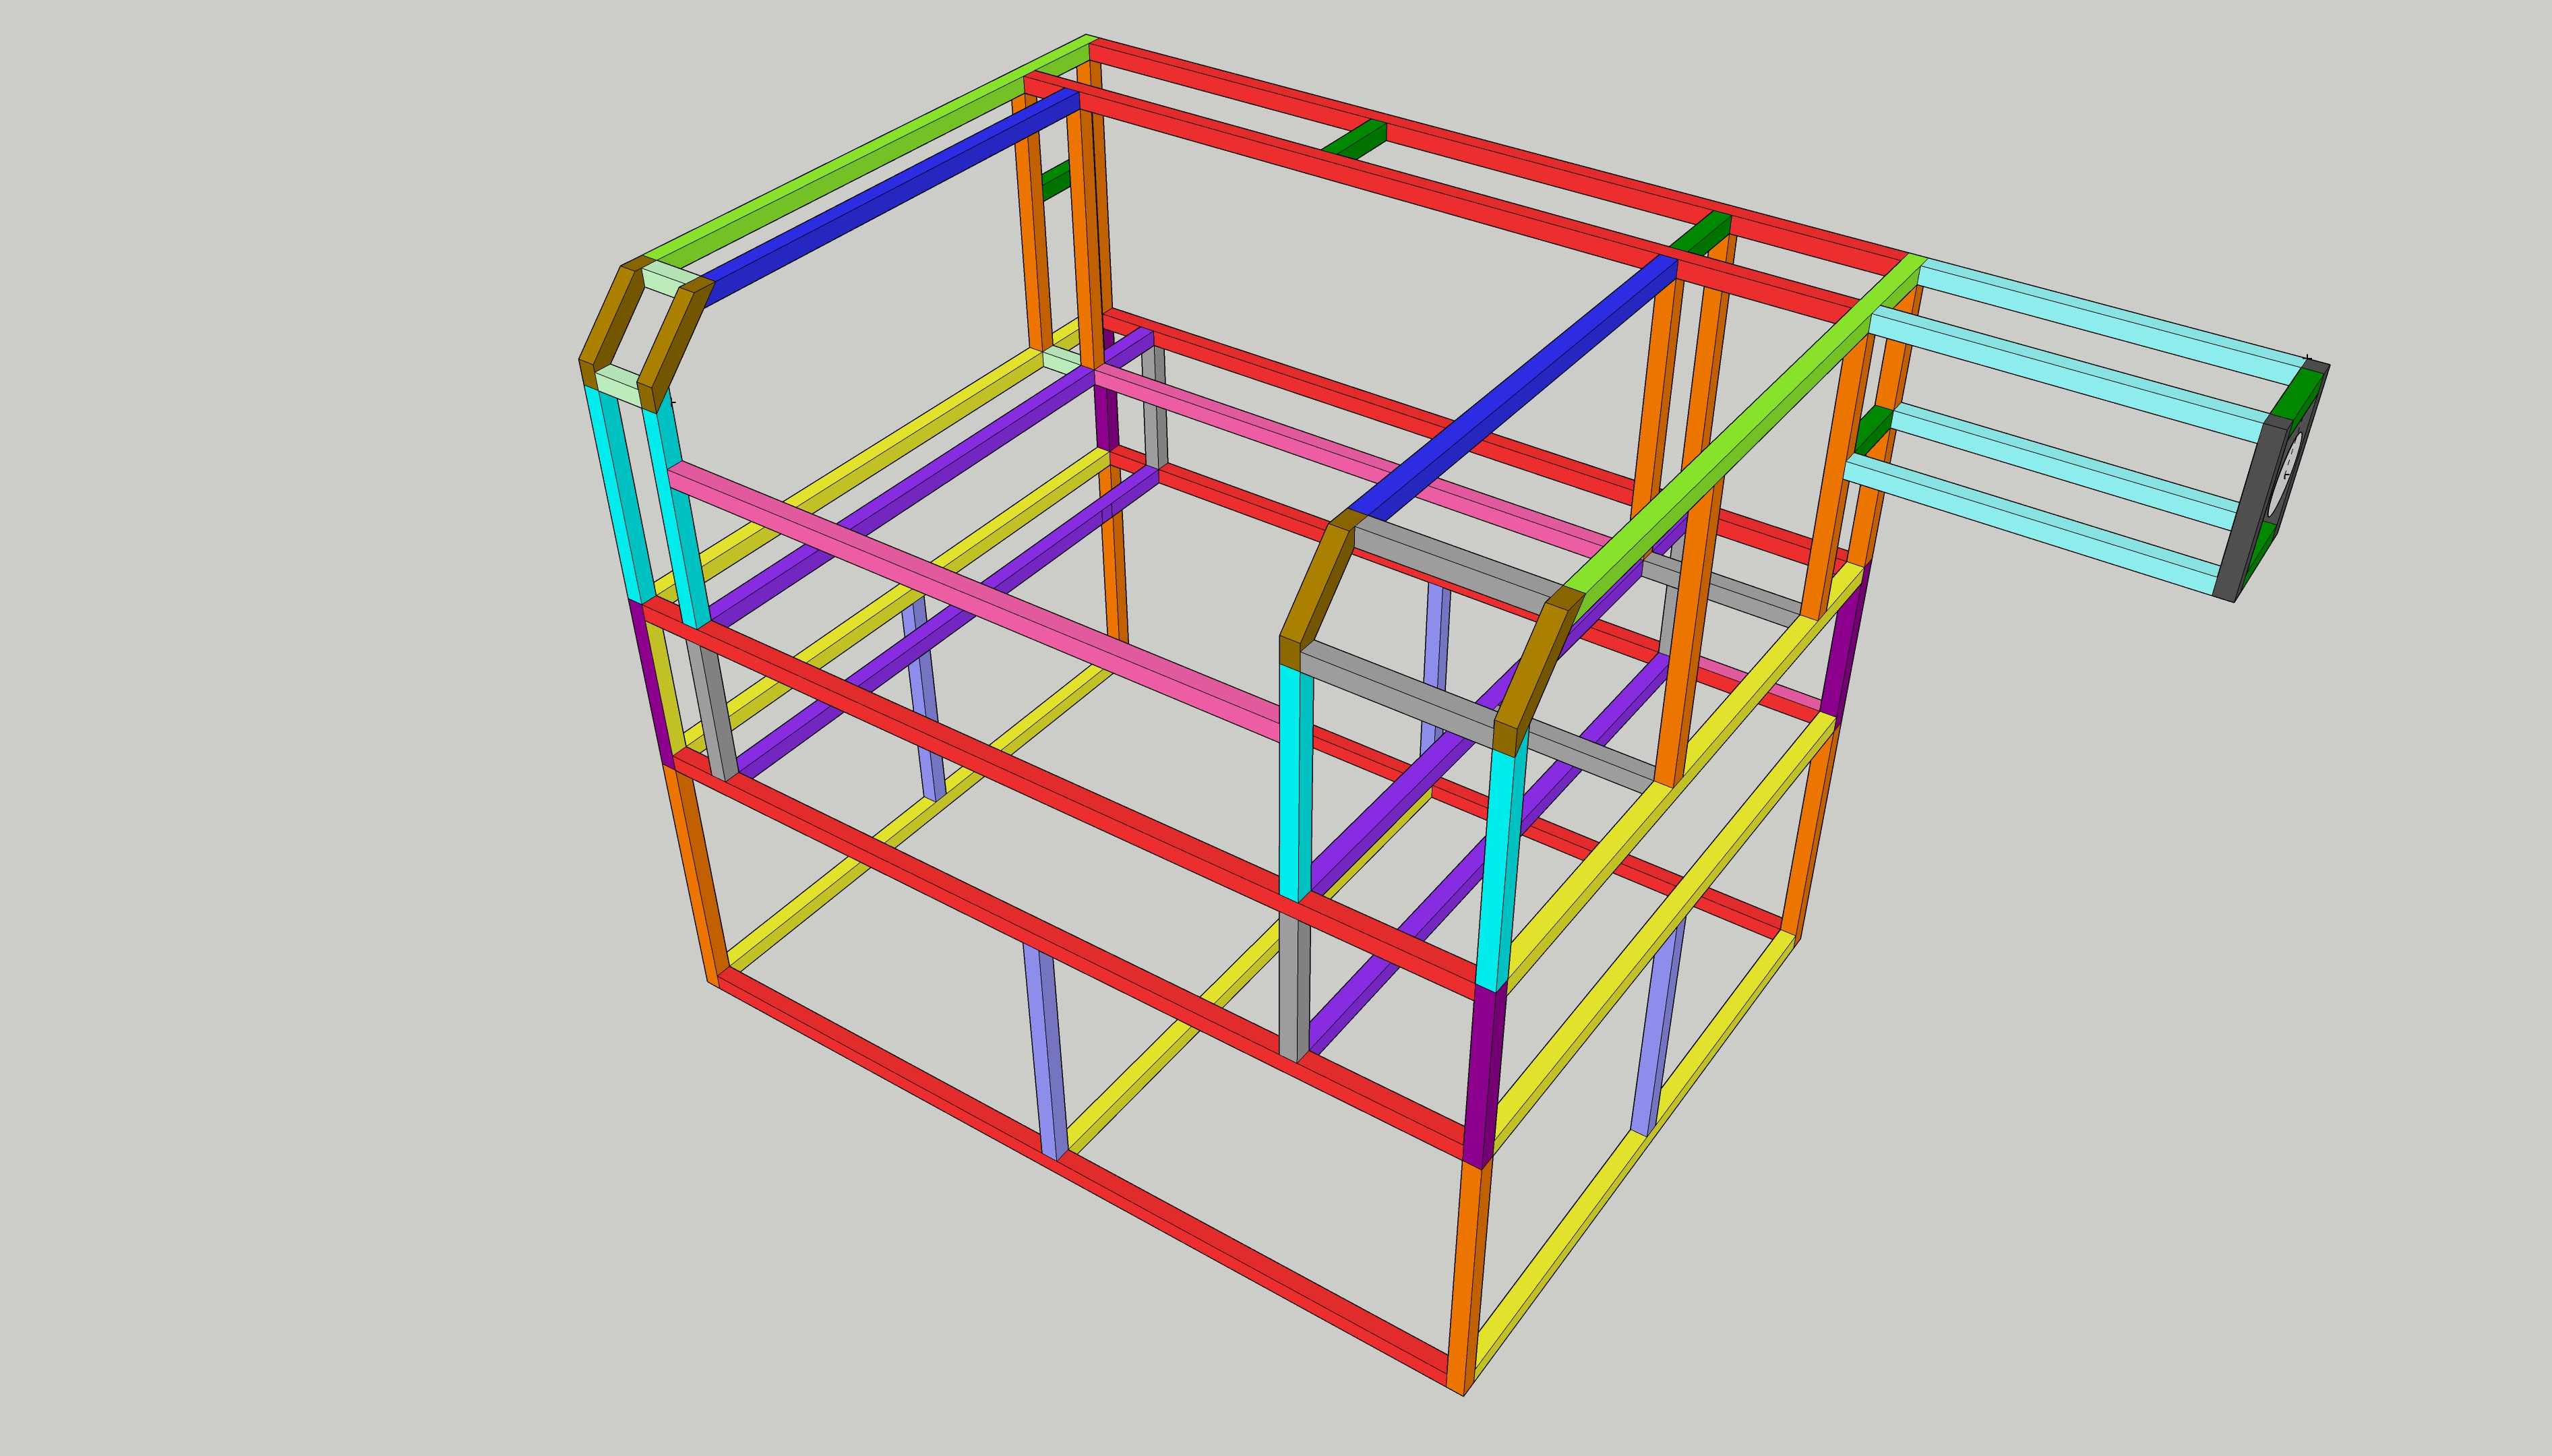
I did a little bit of this and a little bit of that. I first designed a frame on SketchUp and color-coded the model to help me get started. I cut the pieces, assembled the frame, and figured everything else out as I went which made it fun. I ended up adding a lot more pieces to the frame but I cut those as I went along.
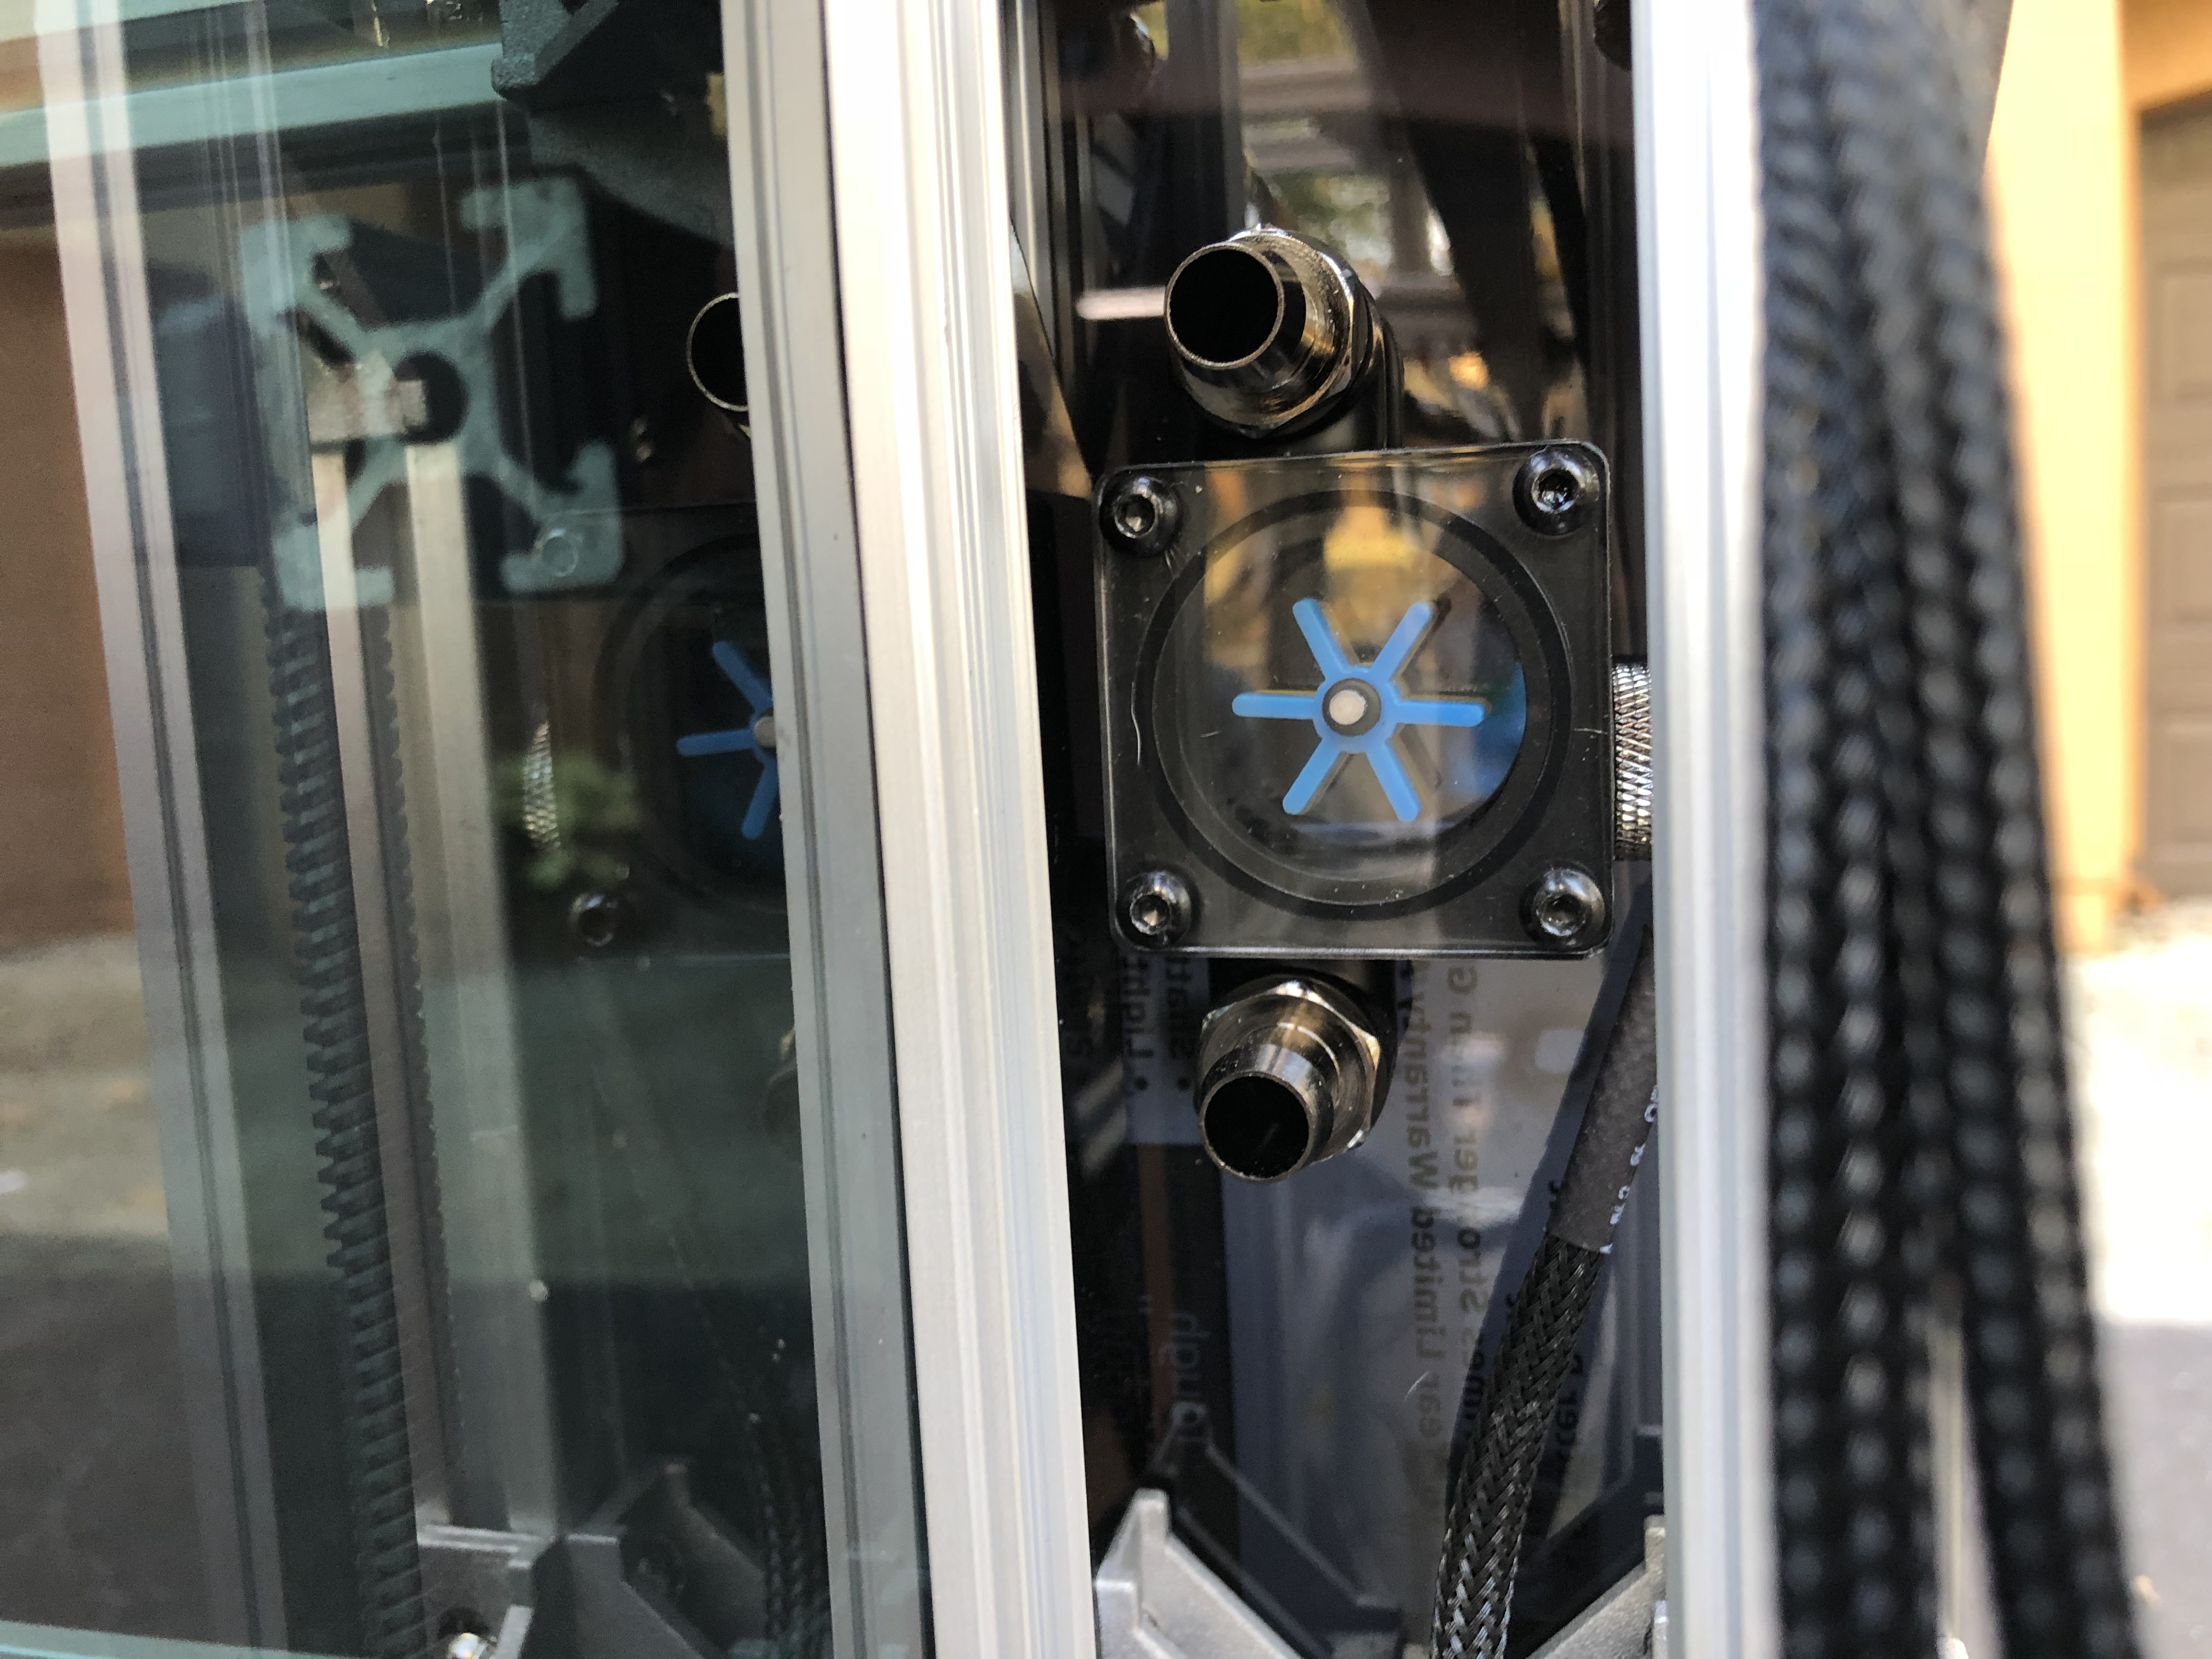
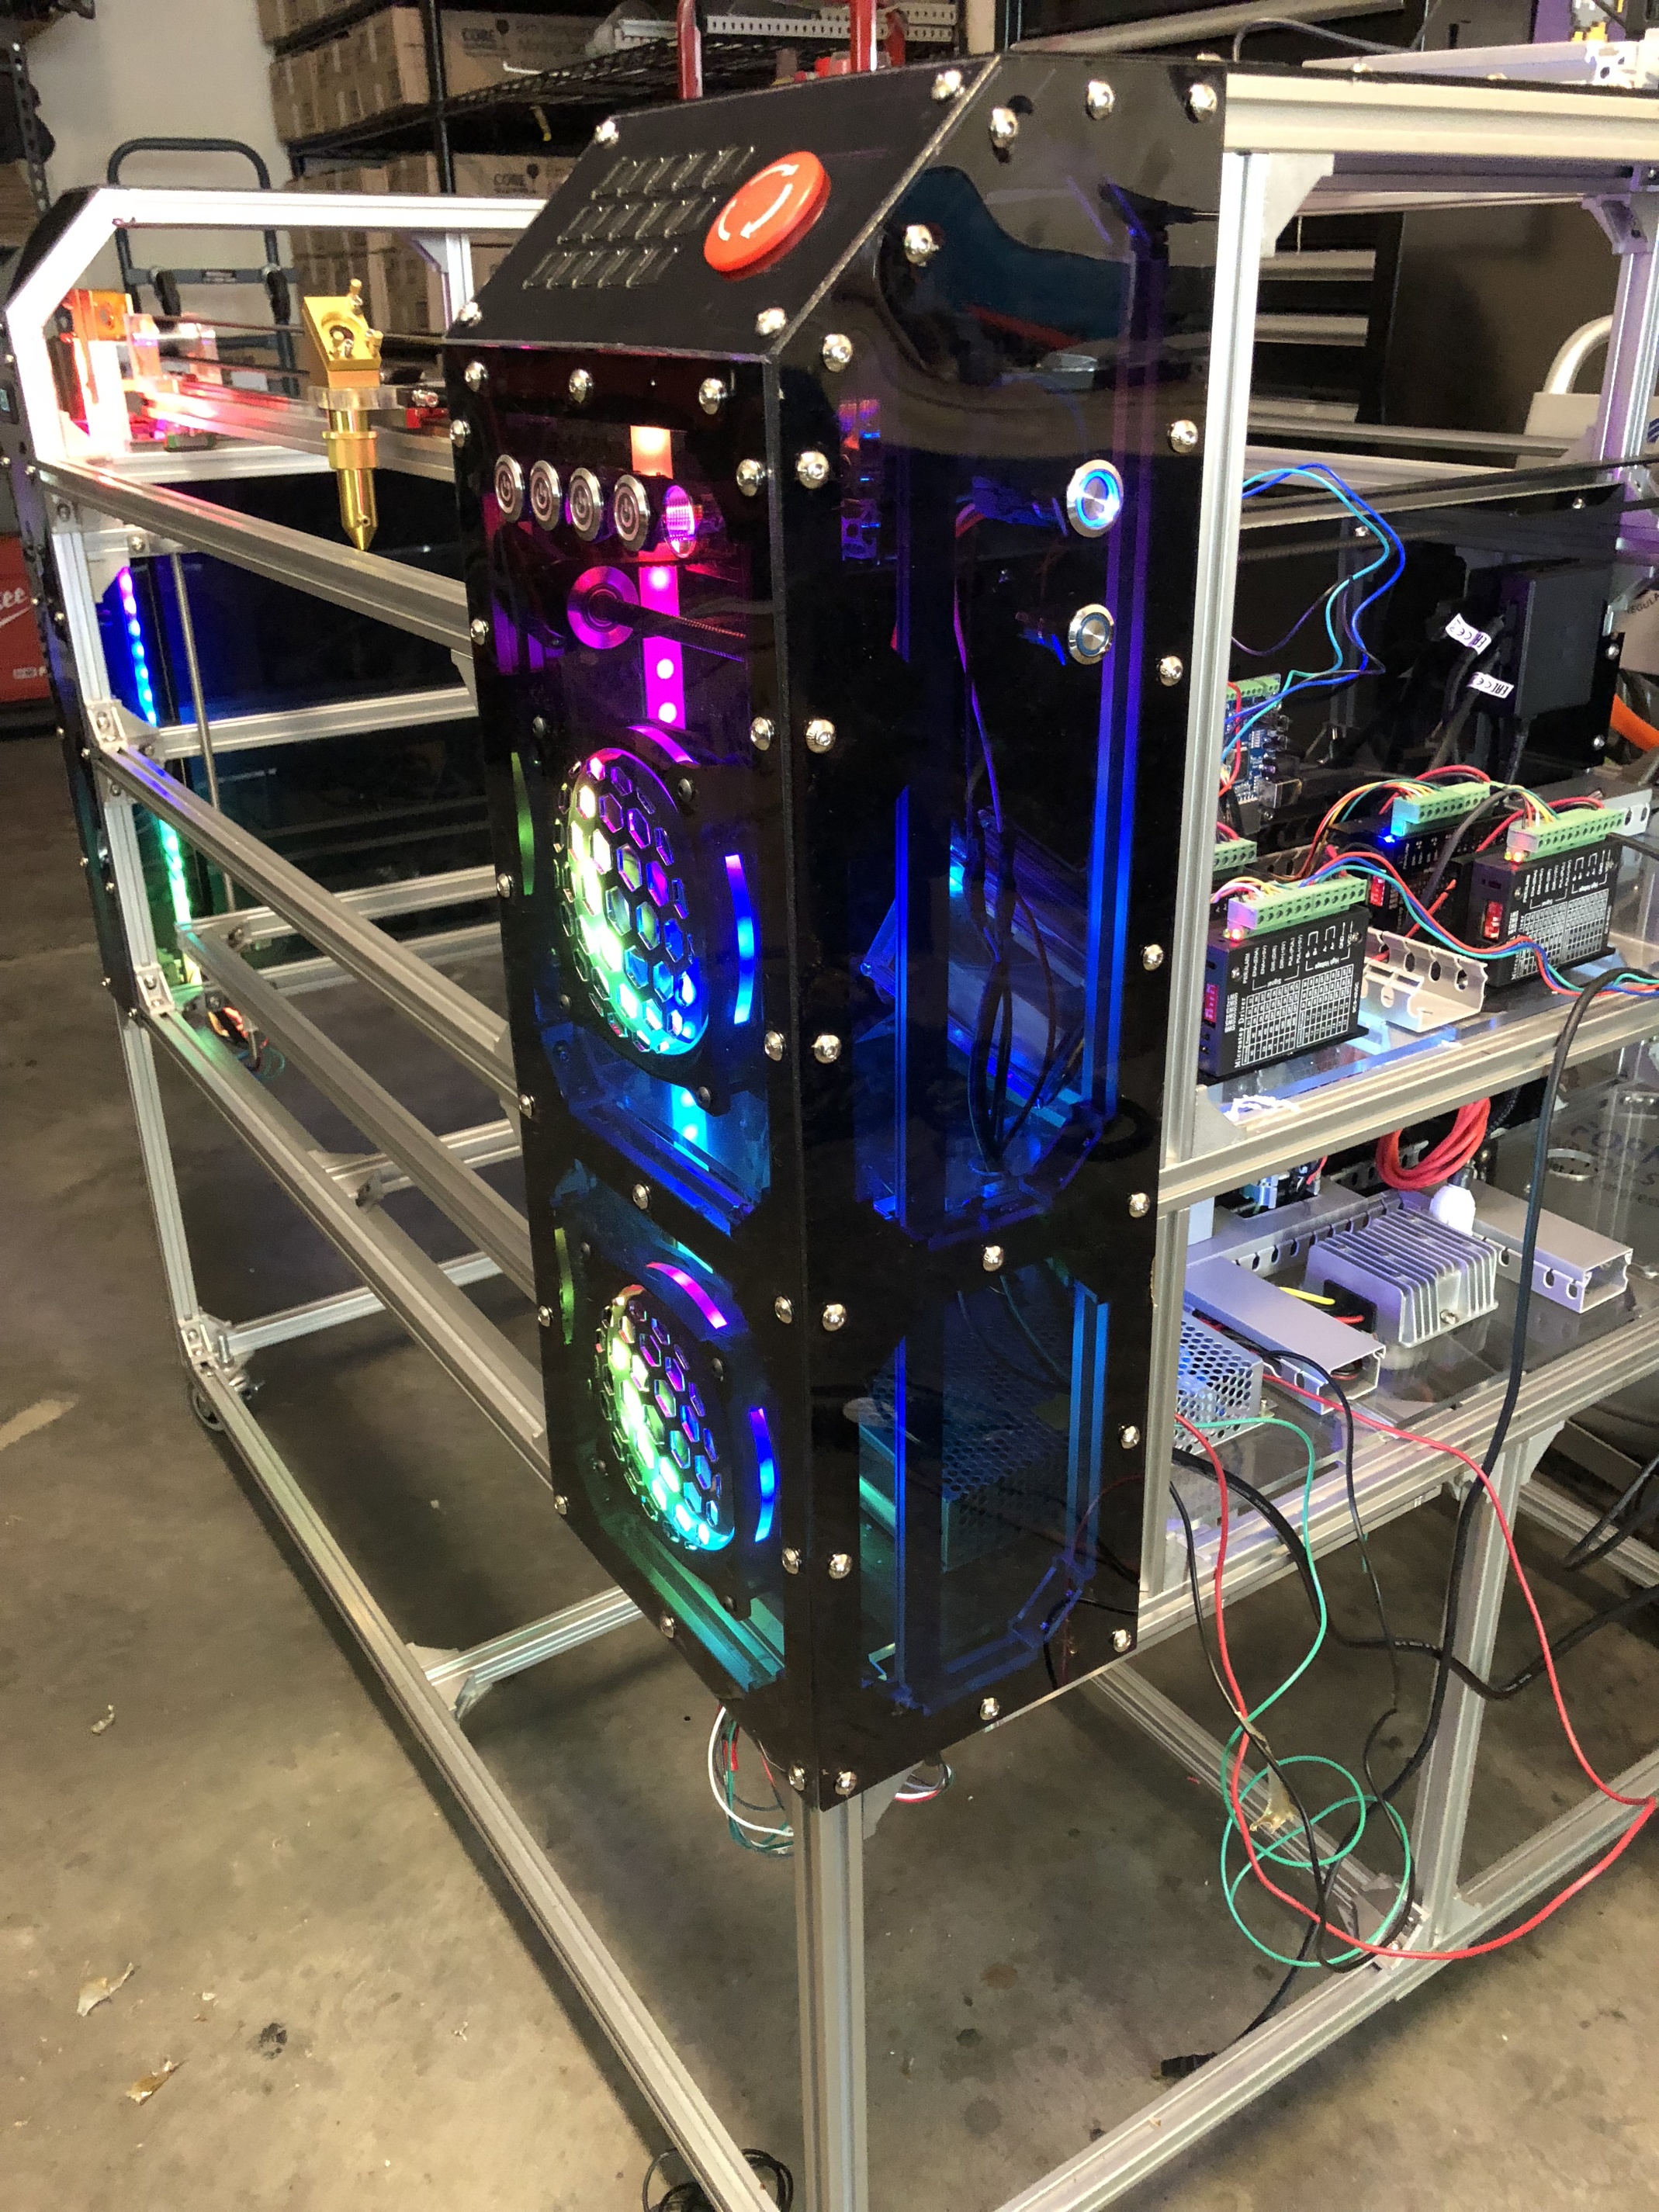
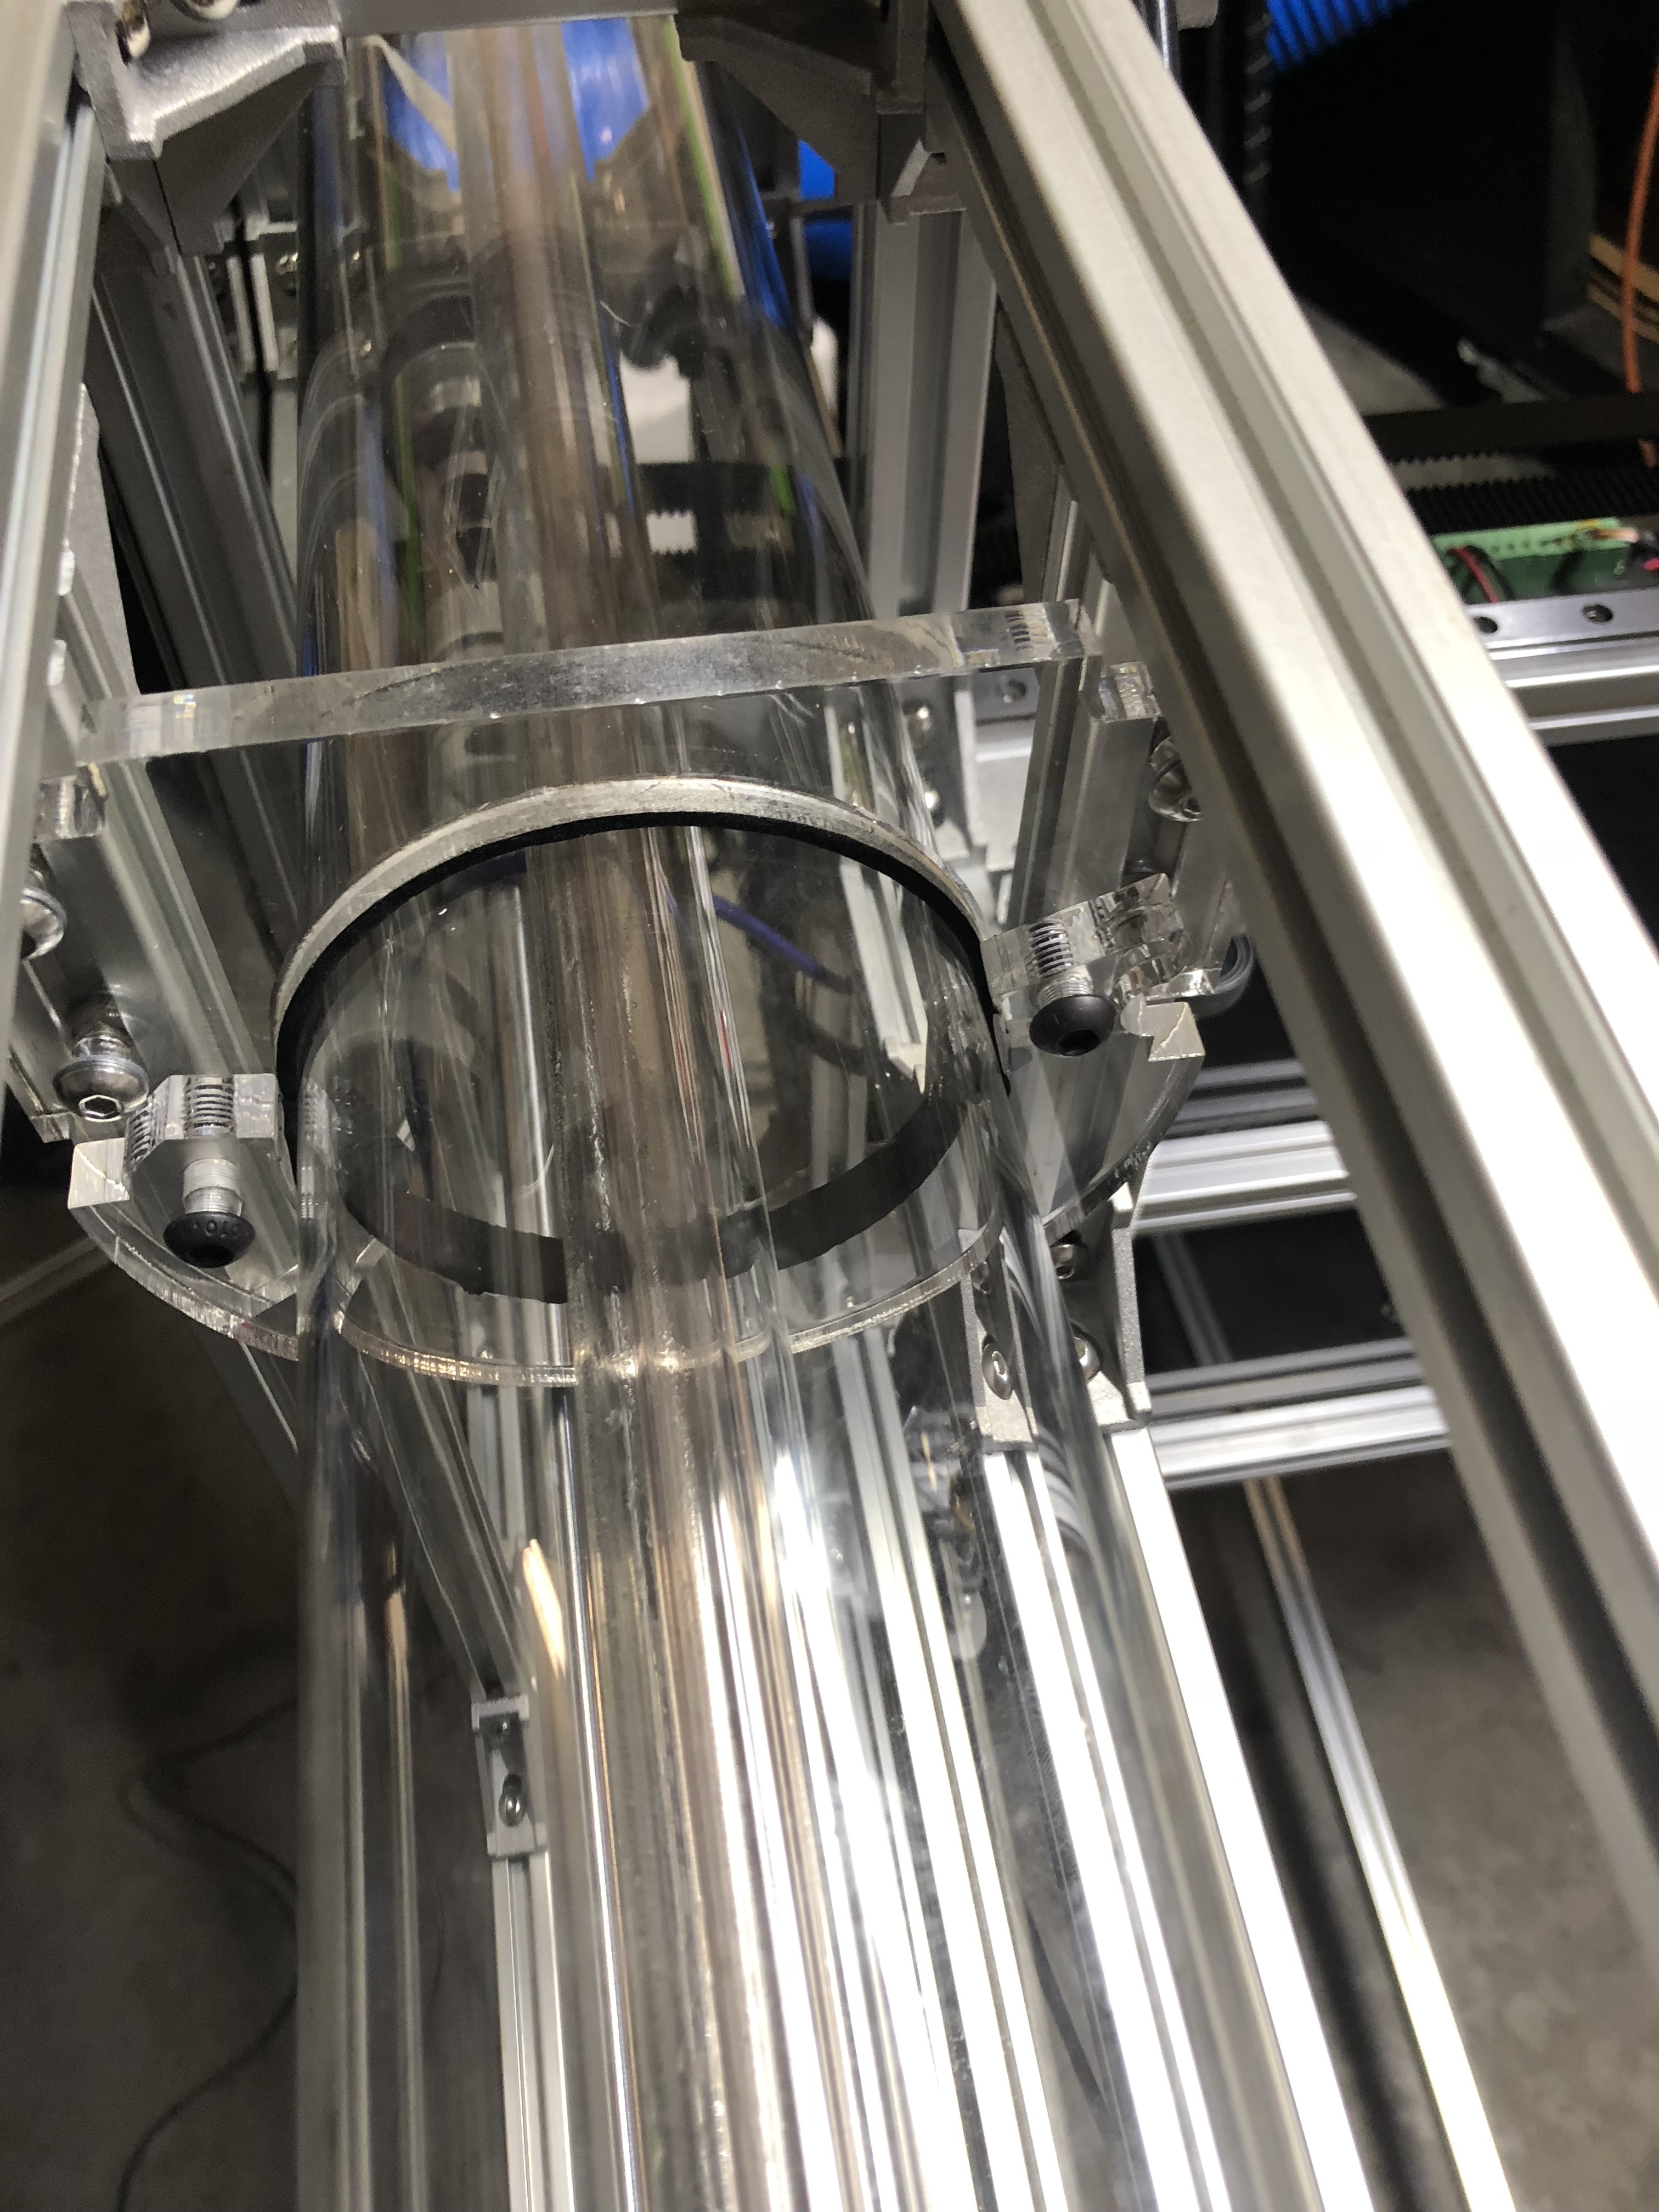
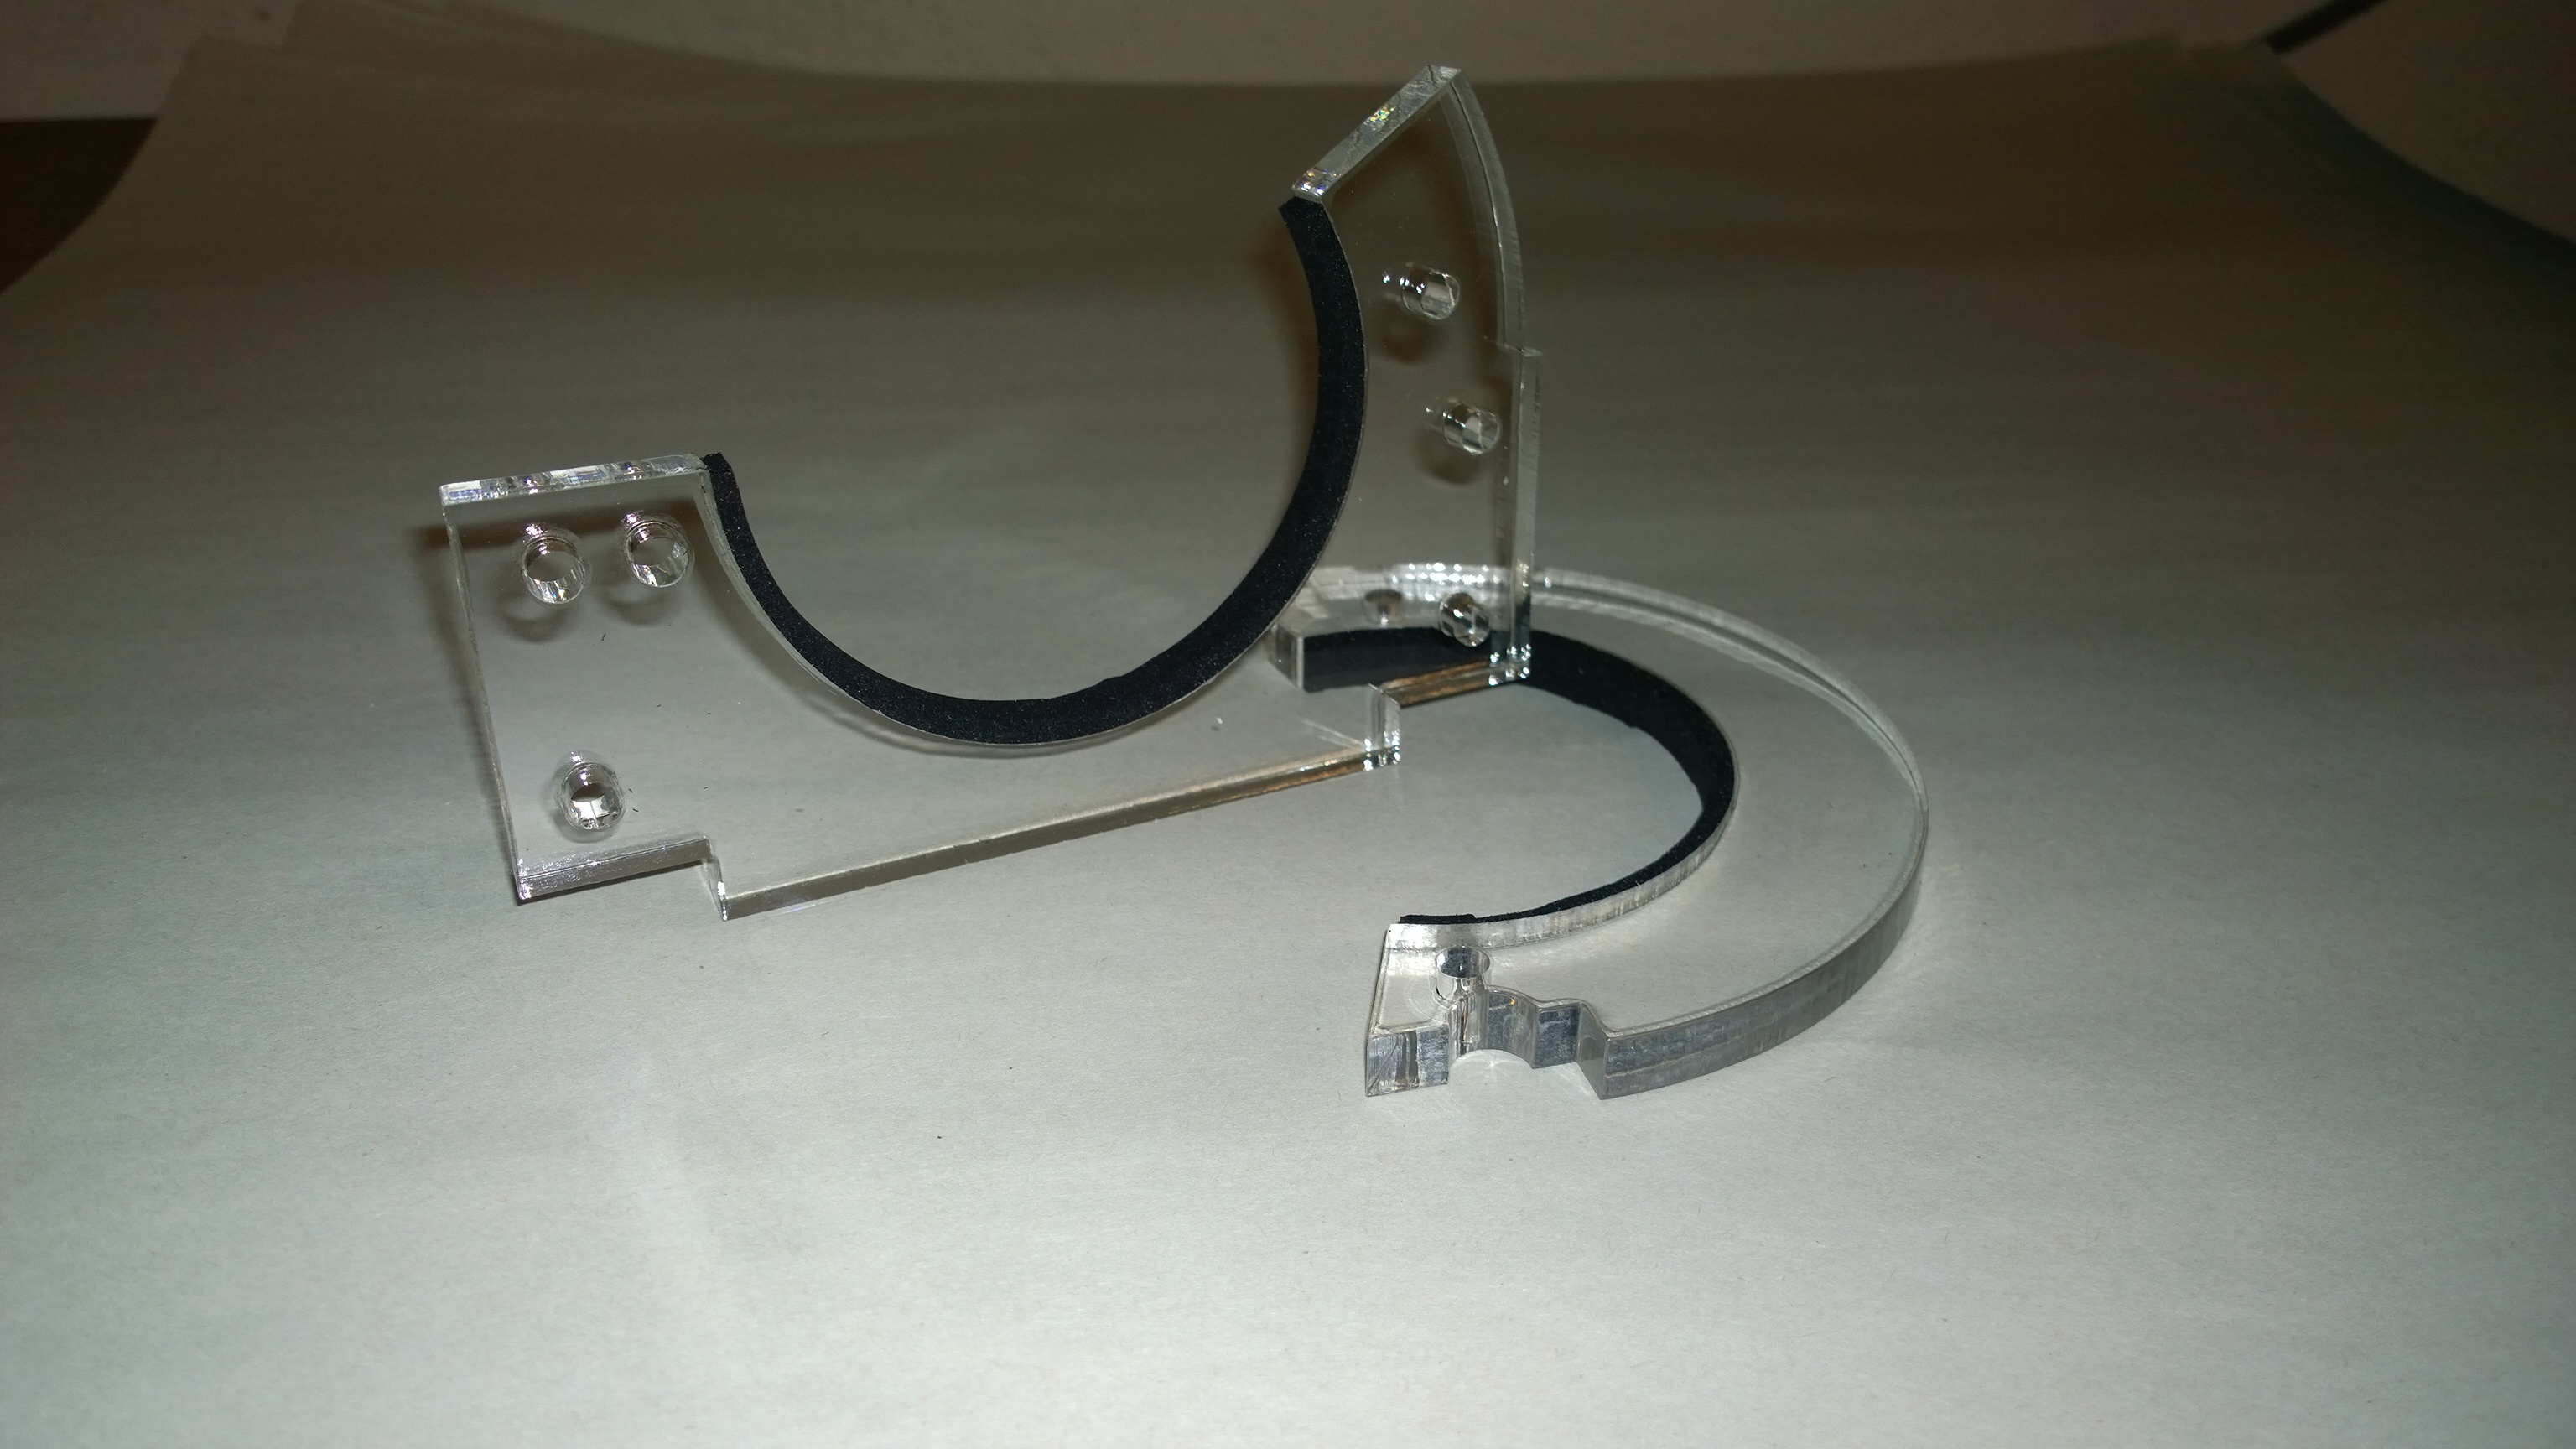
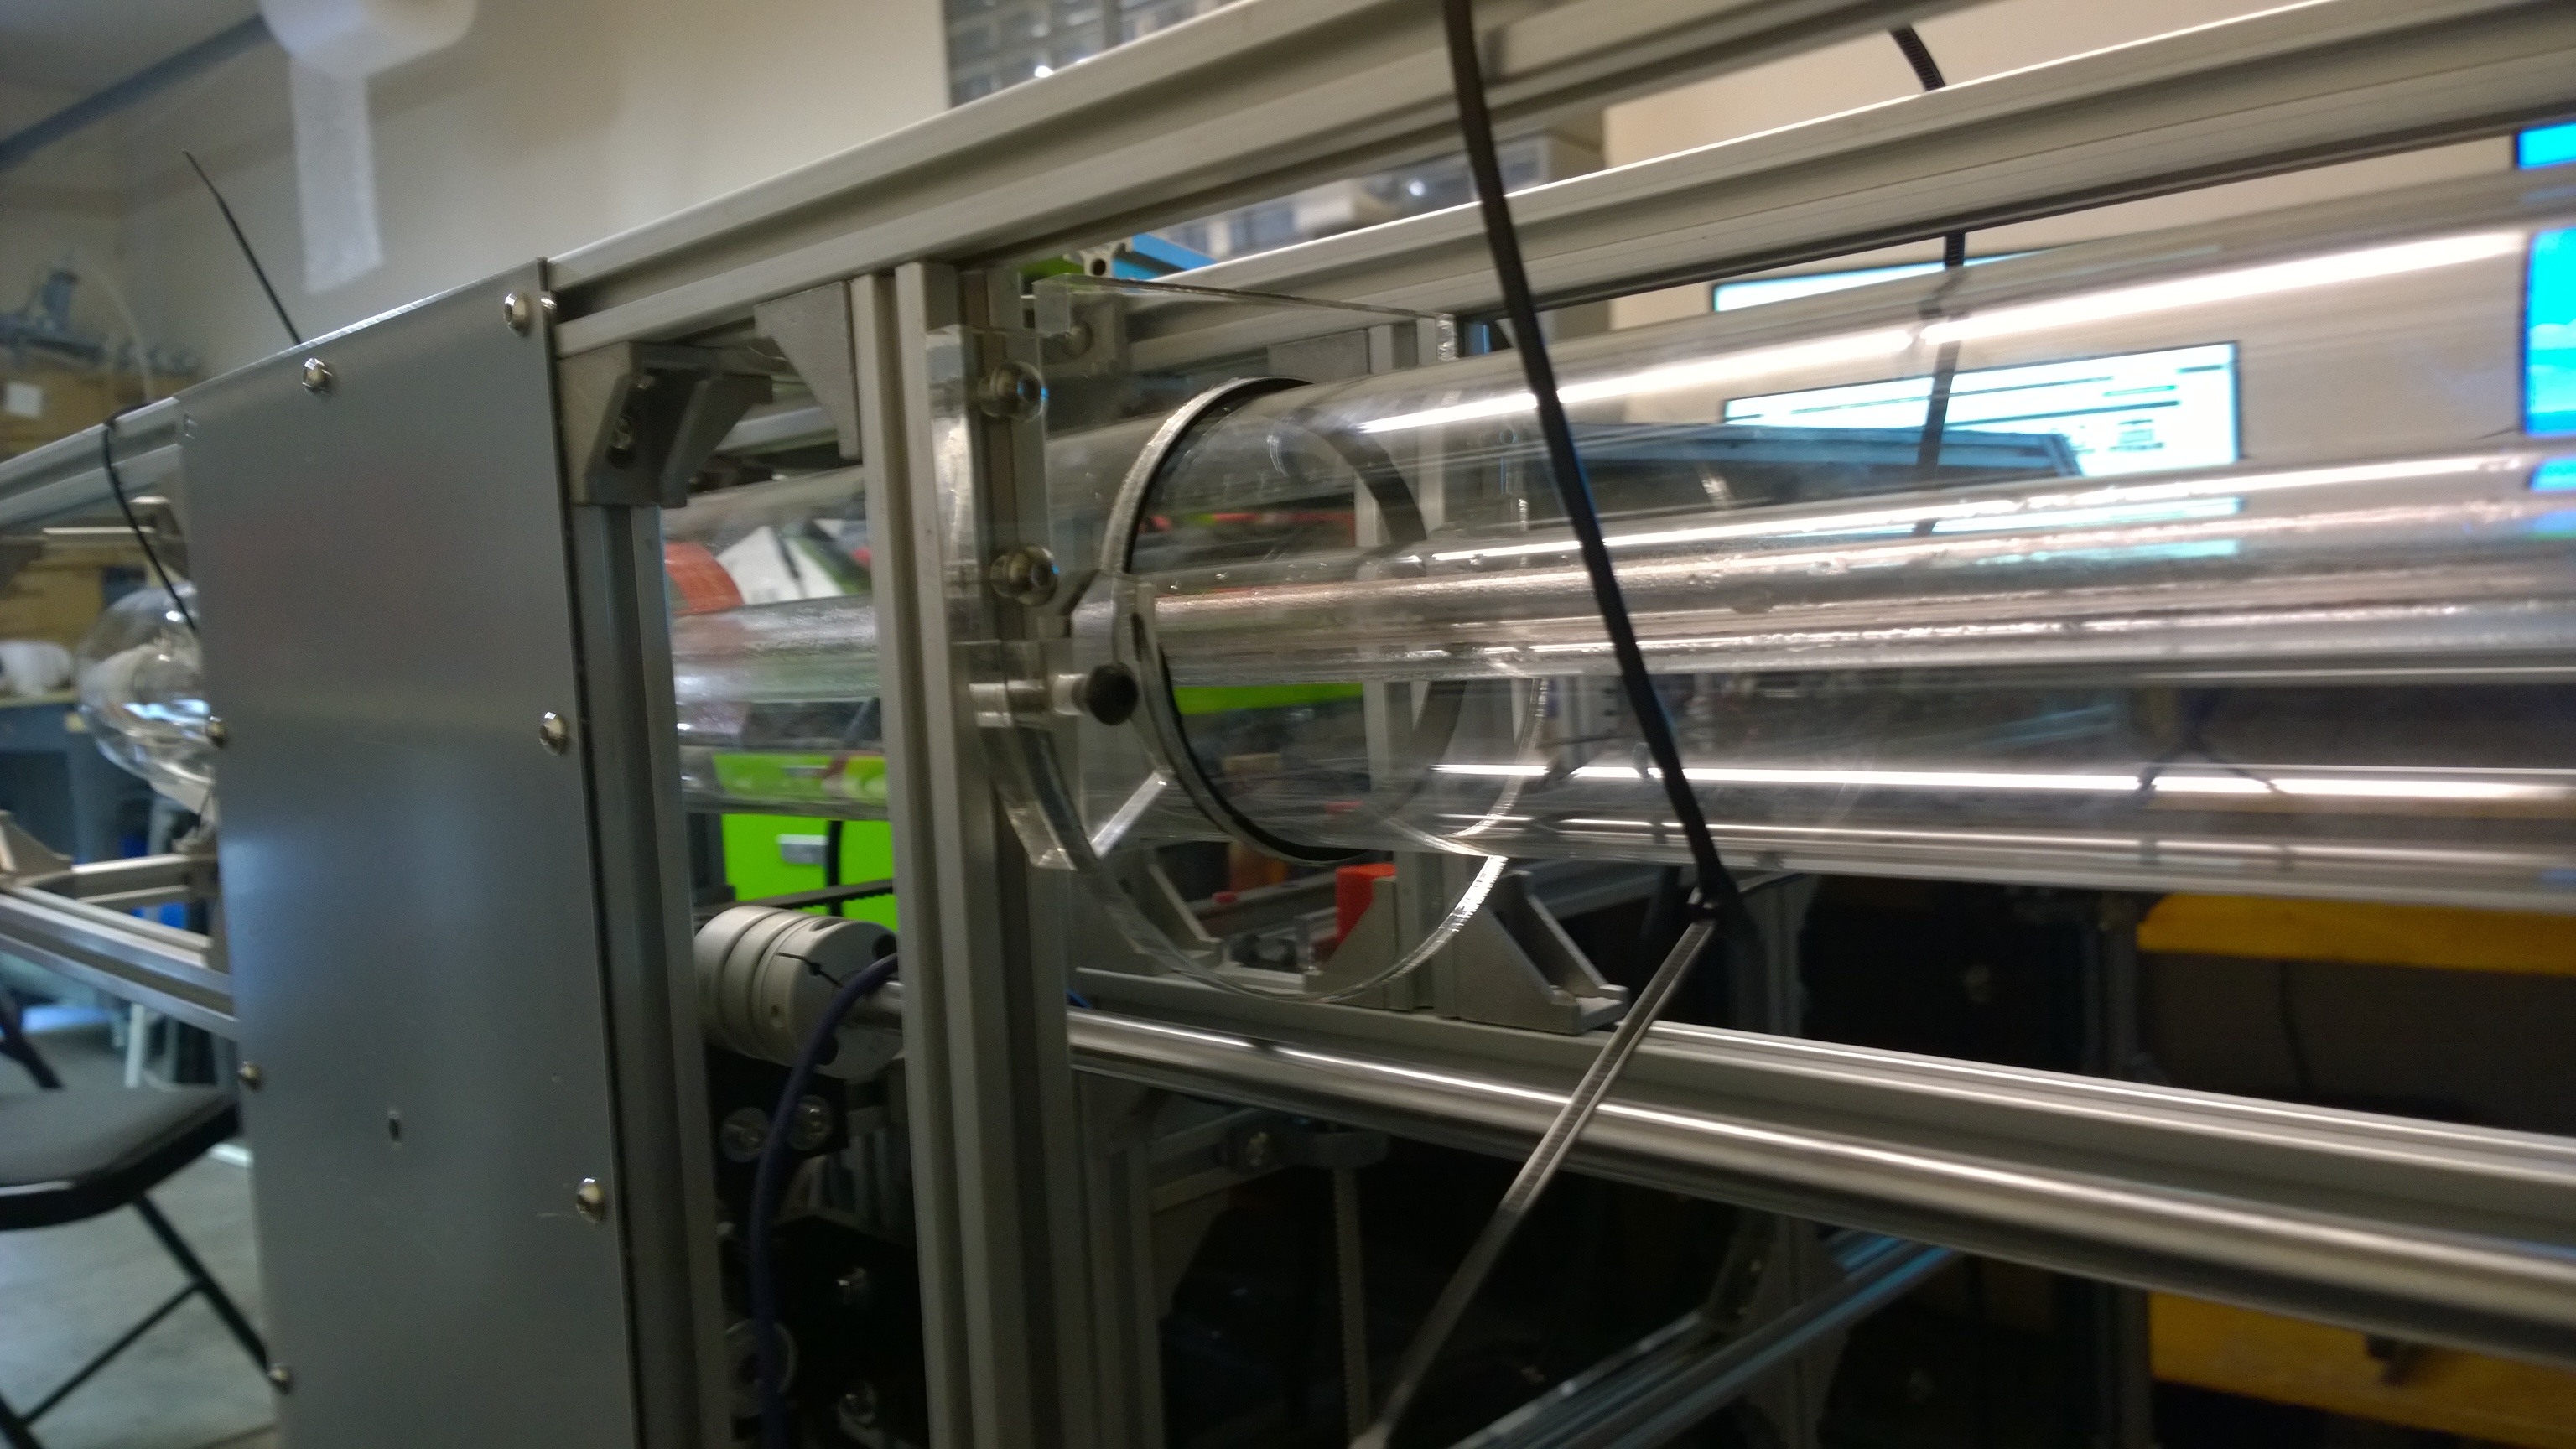
I honestly hadn’t even thought about how to attach the tube. When it came down to figuring that out I just held the tube in place with zip ties and figured everything else around that. Eventually, I came up with these. They grip around the tube, get bolted together, and then gets bolted to the frame.
Thanks. So near the end of last year I was in need of another laser and I had a k40 that was in pieces so I got curious and googled to see what my upgrade options were when I ran across your build. After drooling over the Layzor build for a few weeks, I decided to just do it and started buying the extruded aluminum. After a few revisions I realized that instead of upgrading the K40 I should probably just make something beefier and thus she was born.
This was my first build ever. Before I built this machine I wasn’t even sure where I could source replacement parts for my red black Chinese clone. If I hadn’t found your build online I would have never even thought about making something like this, it honestly would have never crossed my mind.
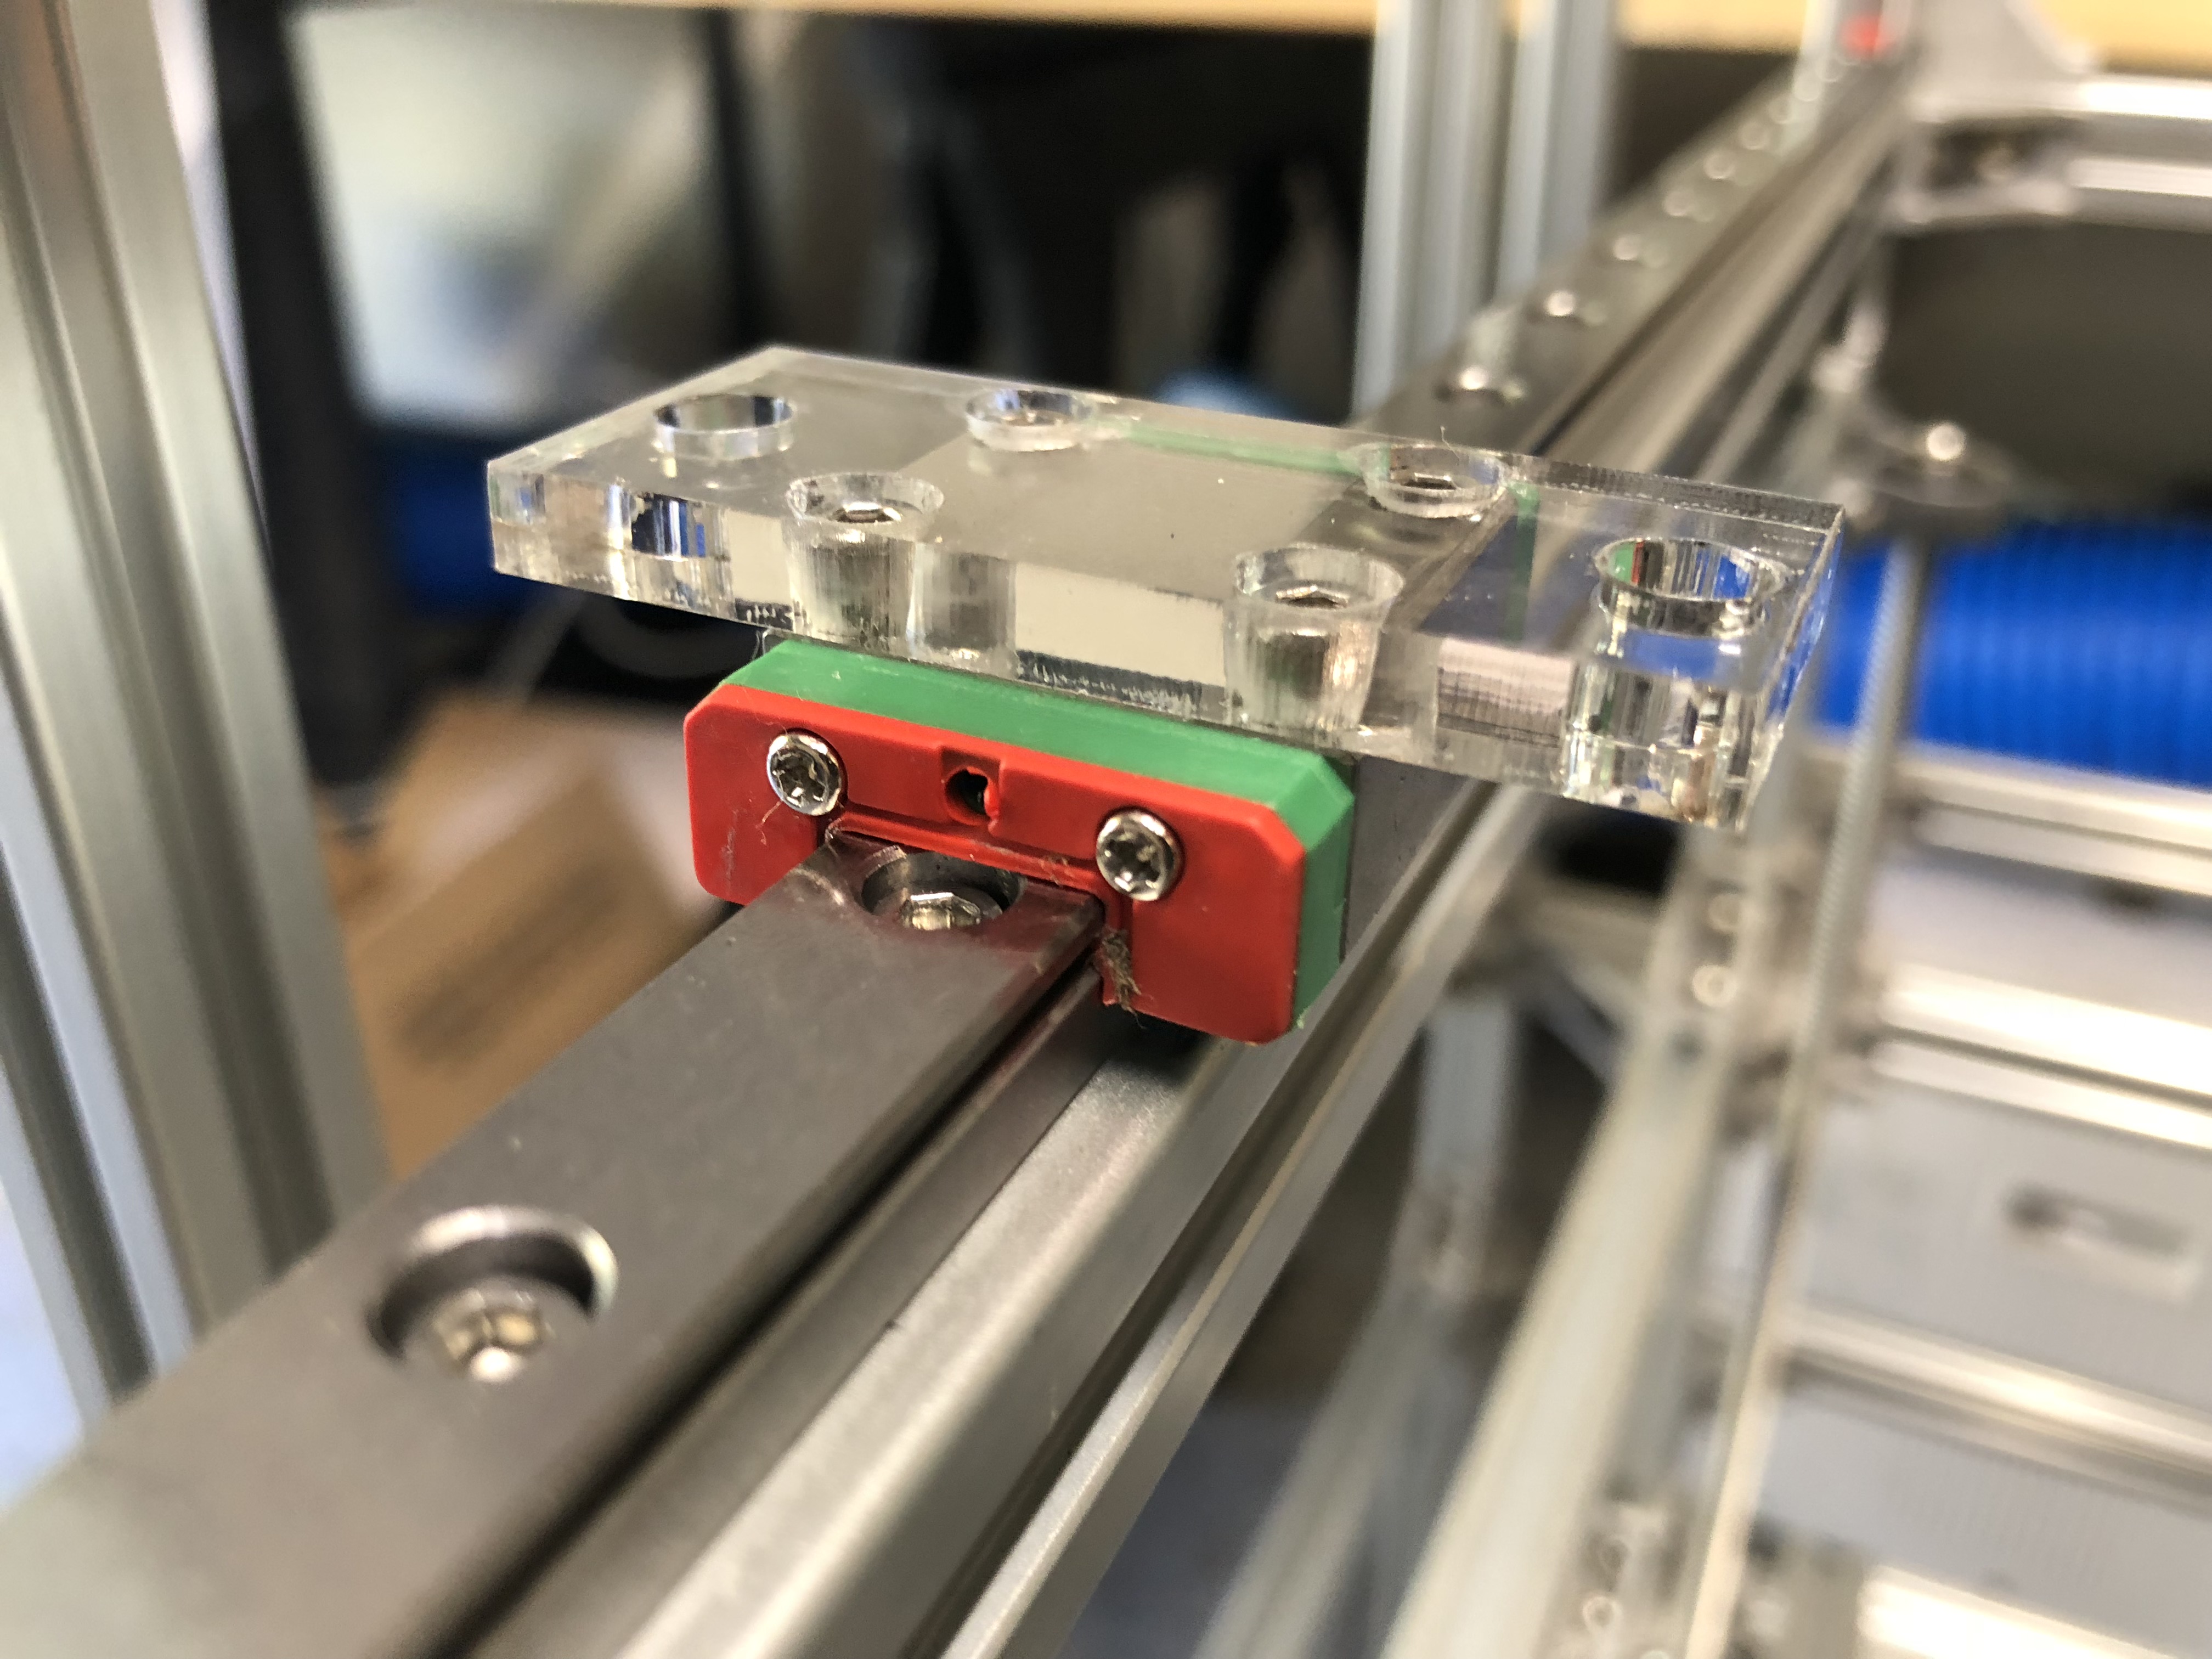
This may sound very random, but I’m impressed by the way you did the angled frame. My very first design iteration also featured this, but it turned out that the 135° corner brackets were relatively expensive and would needlessly drive up the conversion cost for me. You figured out an alternative cheap way I would never have come up with. Very clever
Really impressed, not a rgb fan but this was awsome!
Would you kindly tell me what kind of protection glass you have been using? I’m rebuilding from 6040 to 70130 myself and need some 10600nm protection glass or is it just shaded plexi?
Thanks
Standard plexiglass is opaque to the 10600nm wavelength. You do not need tinted, clear will do. (The tint WILL help with the bright visible light that is emmited as part of the vaporization process.)


 or is it just shaded plexi?