Hi
When I cut an outline in one layer then engrave using a different layer in the middle it all lines up.
When I just engrave in a diffent layer after a cut. It is moved 5mm to the left. Using selection origin and it is in the same right hand corner as the original cut. The screen looks fine
Hi
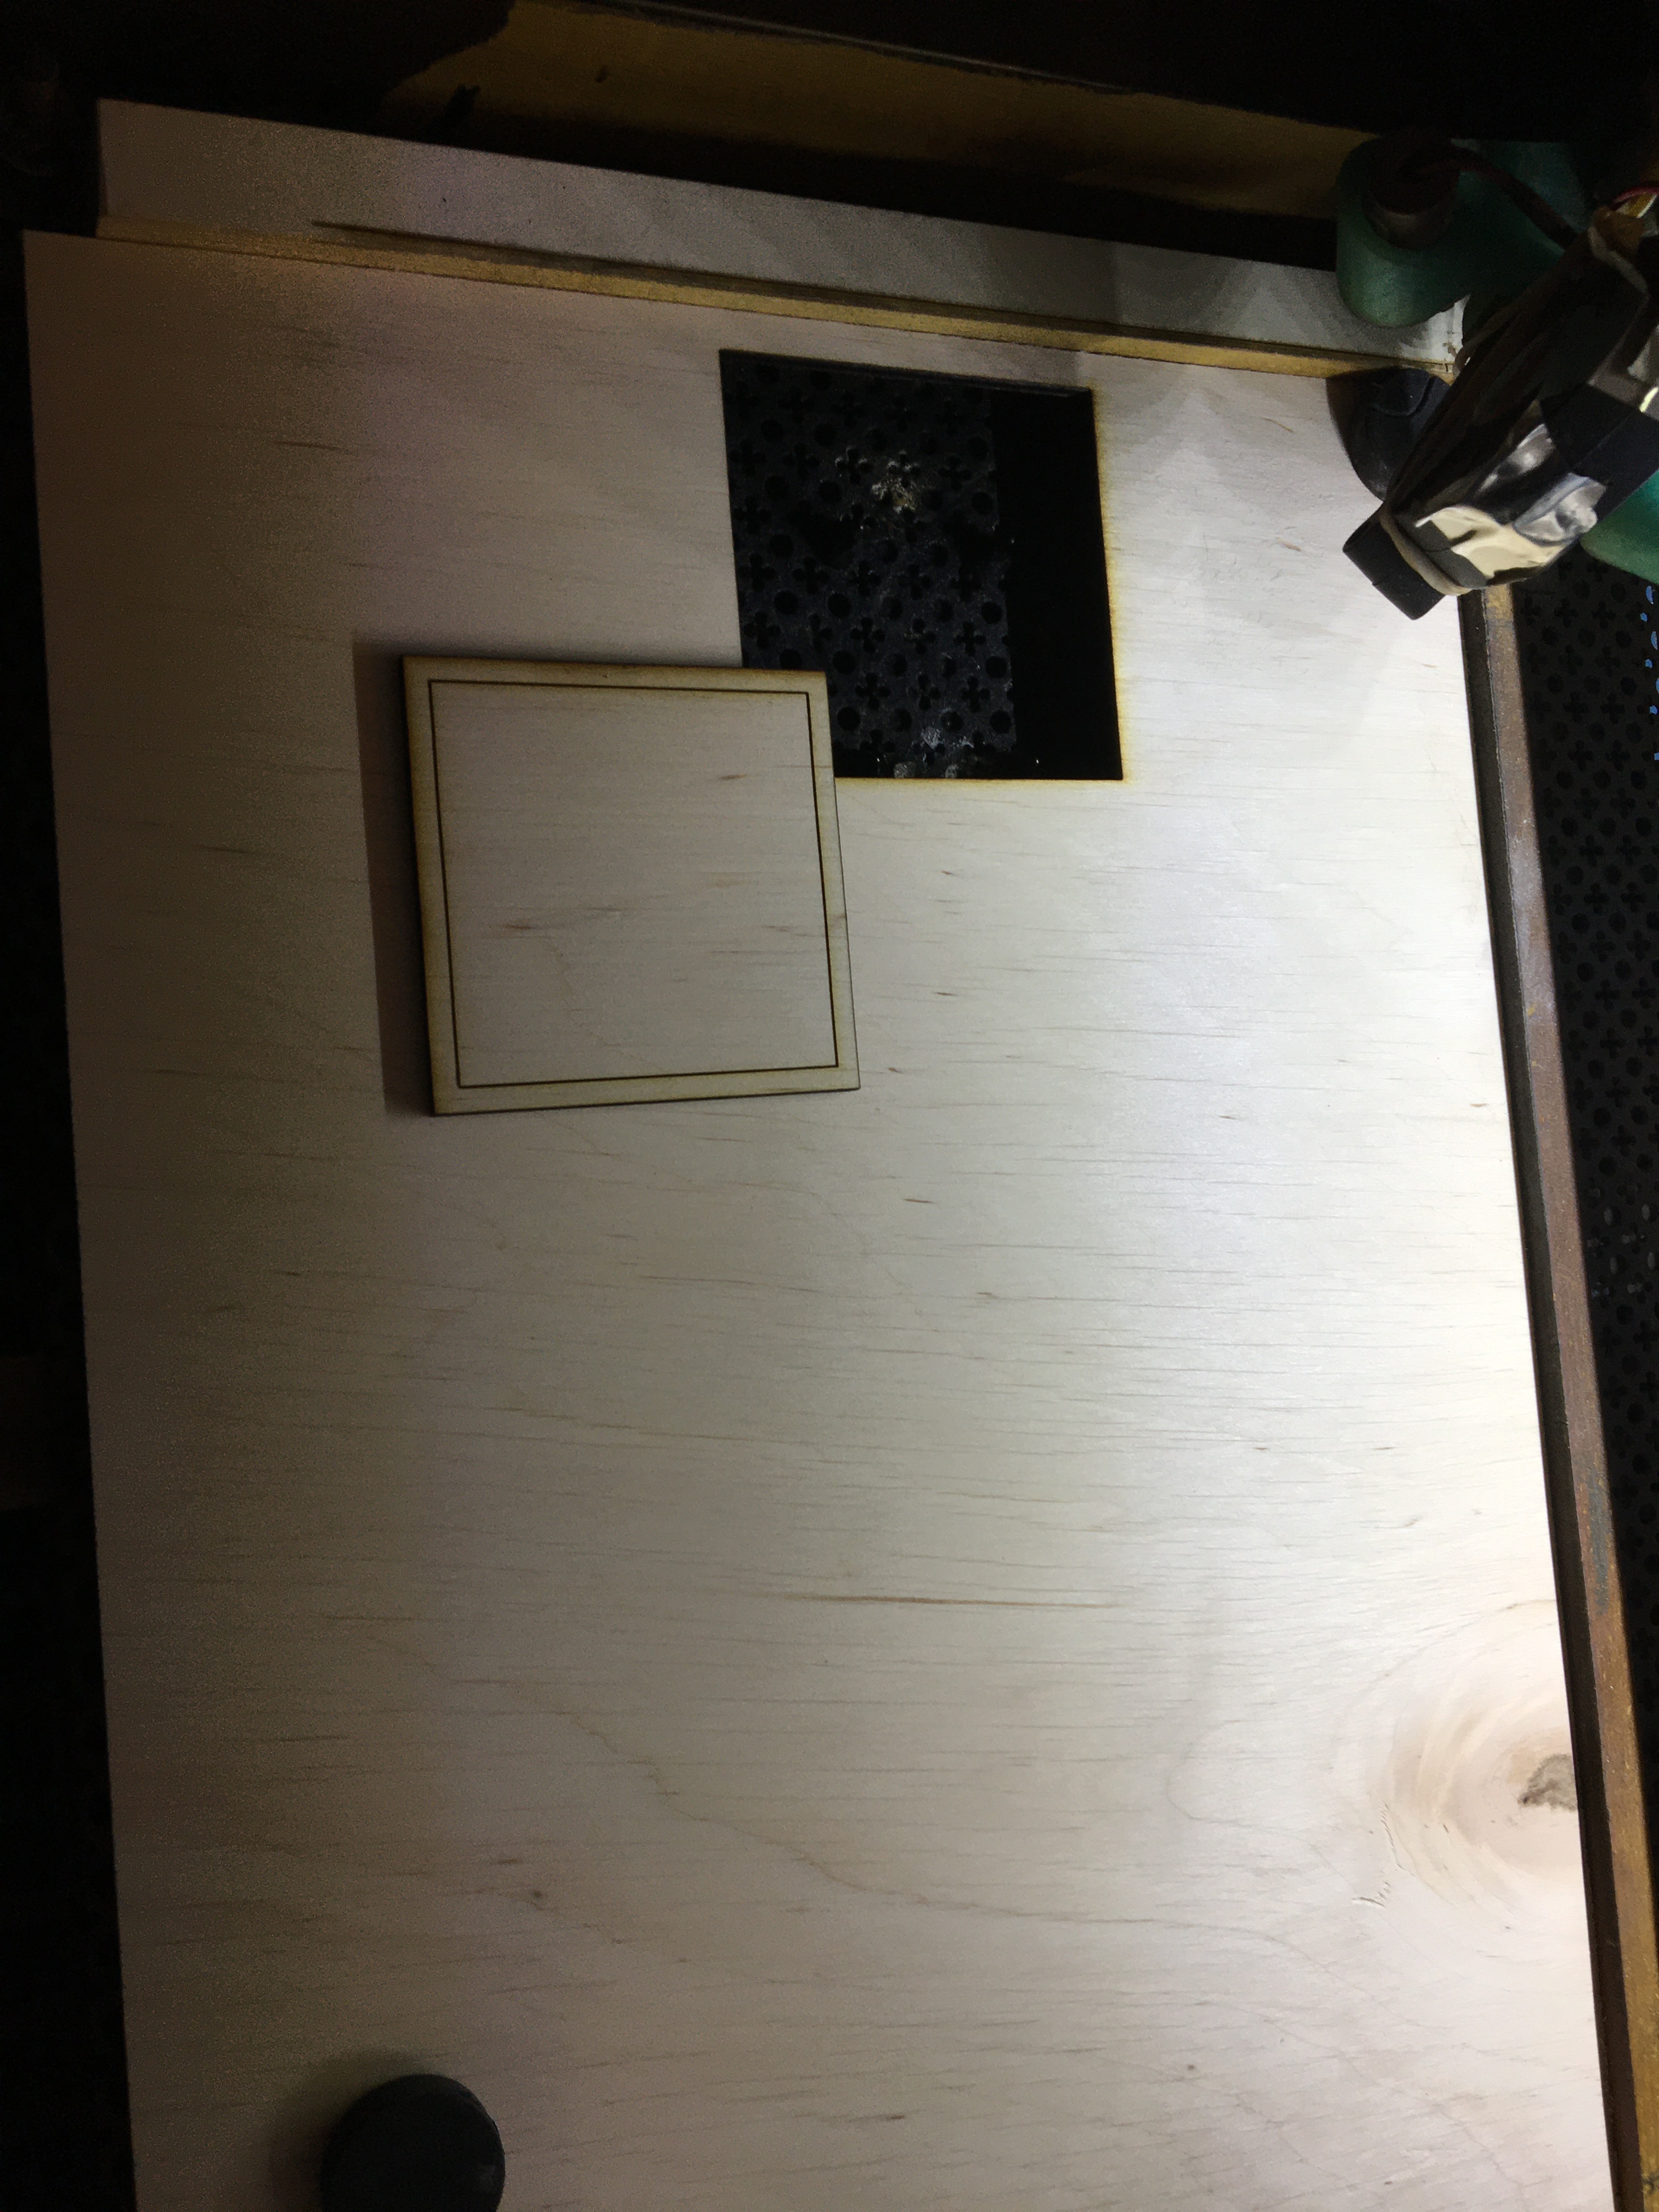
I attach a file, cut out the lid of the box with alignment SmallBox_62mm_Demo.lbrn (226.2 KB) rectangle for lid insert
Align laser and turn lid over.
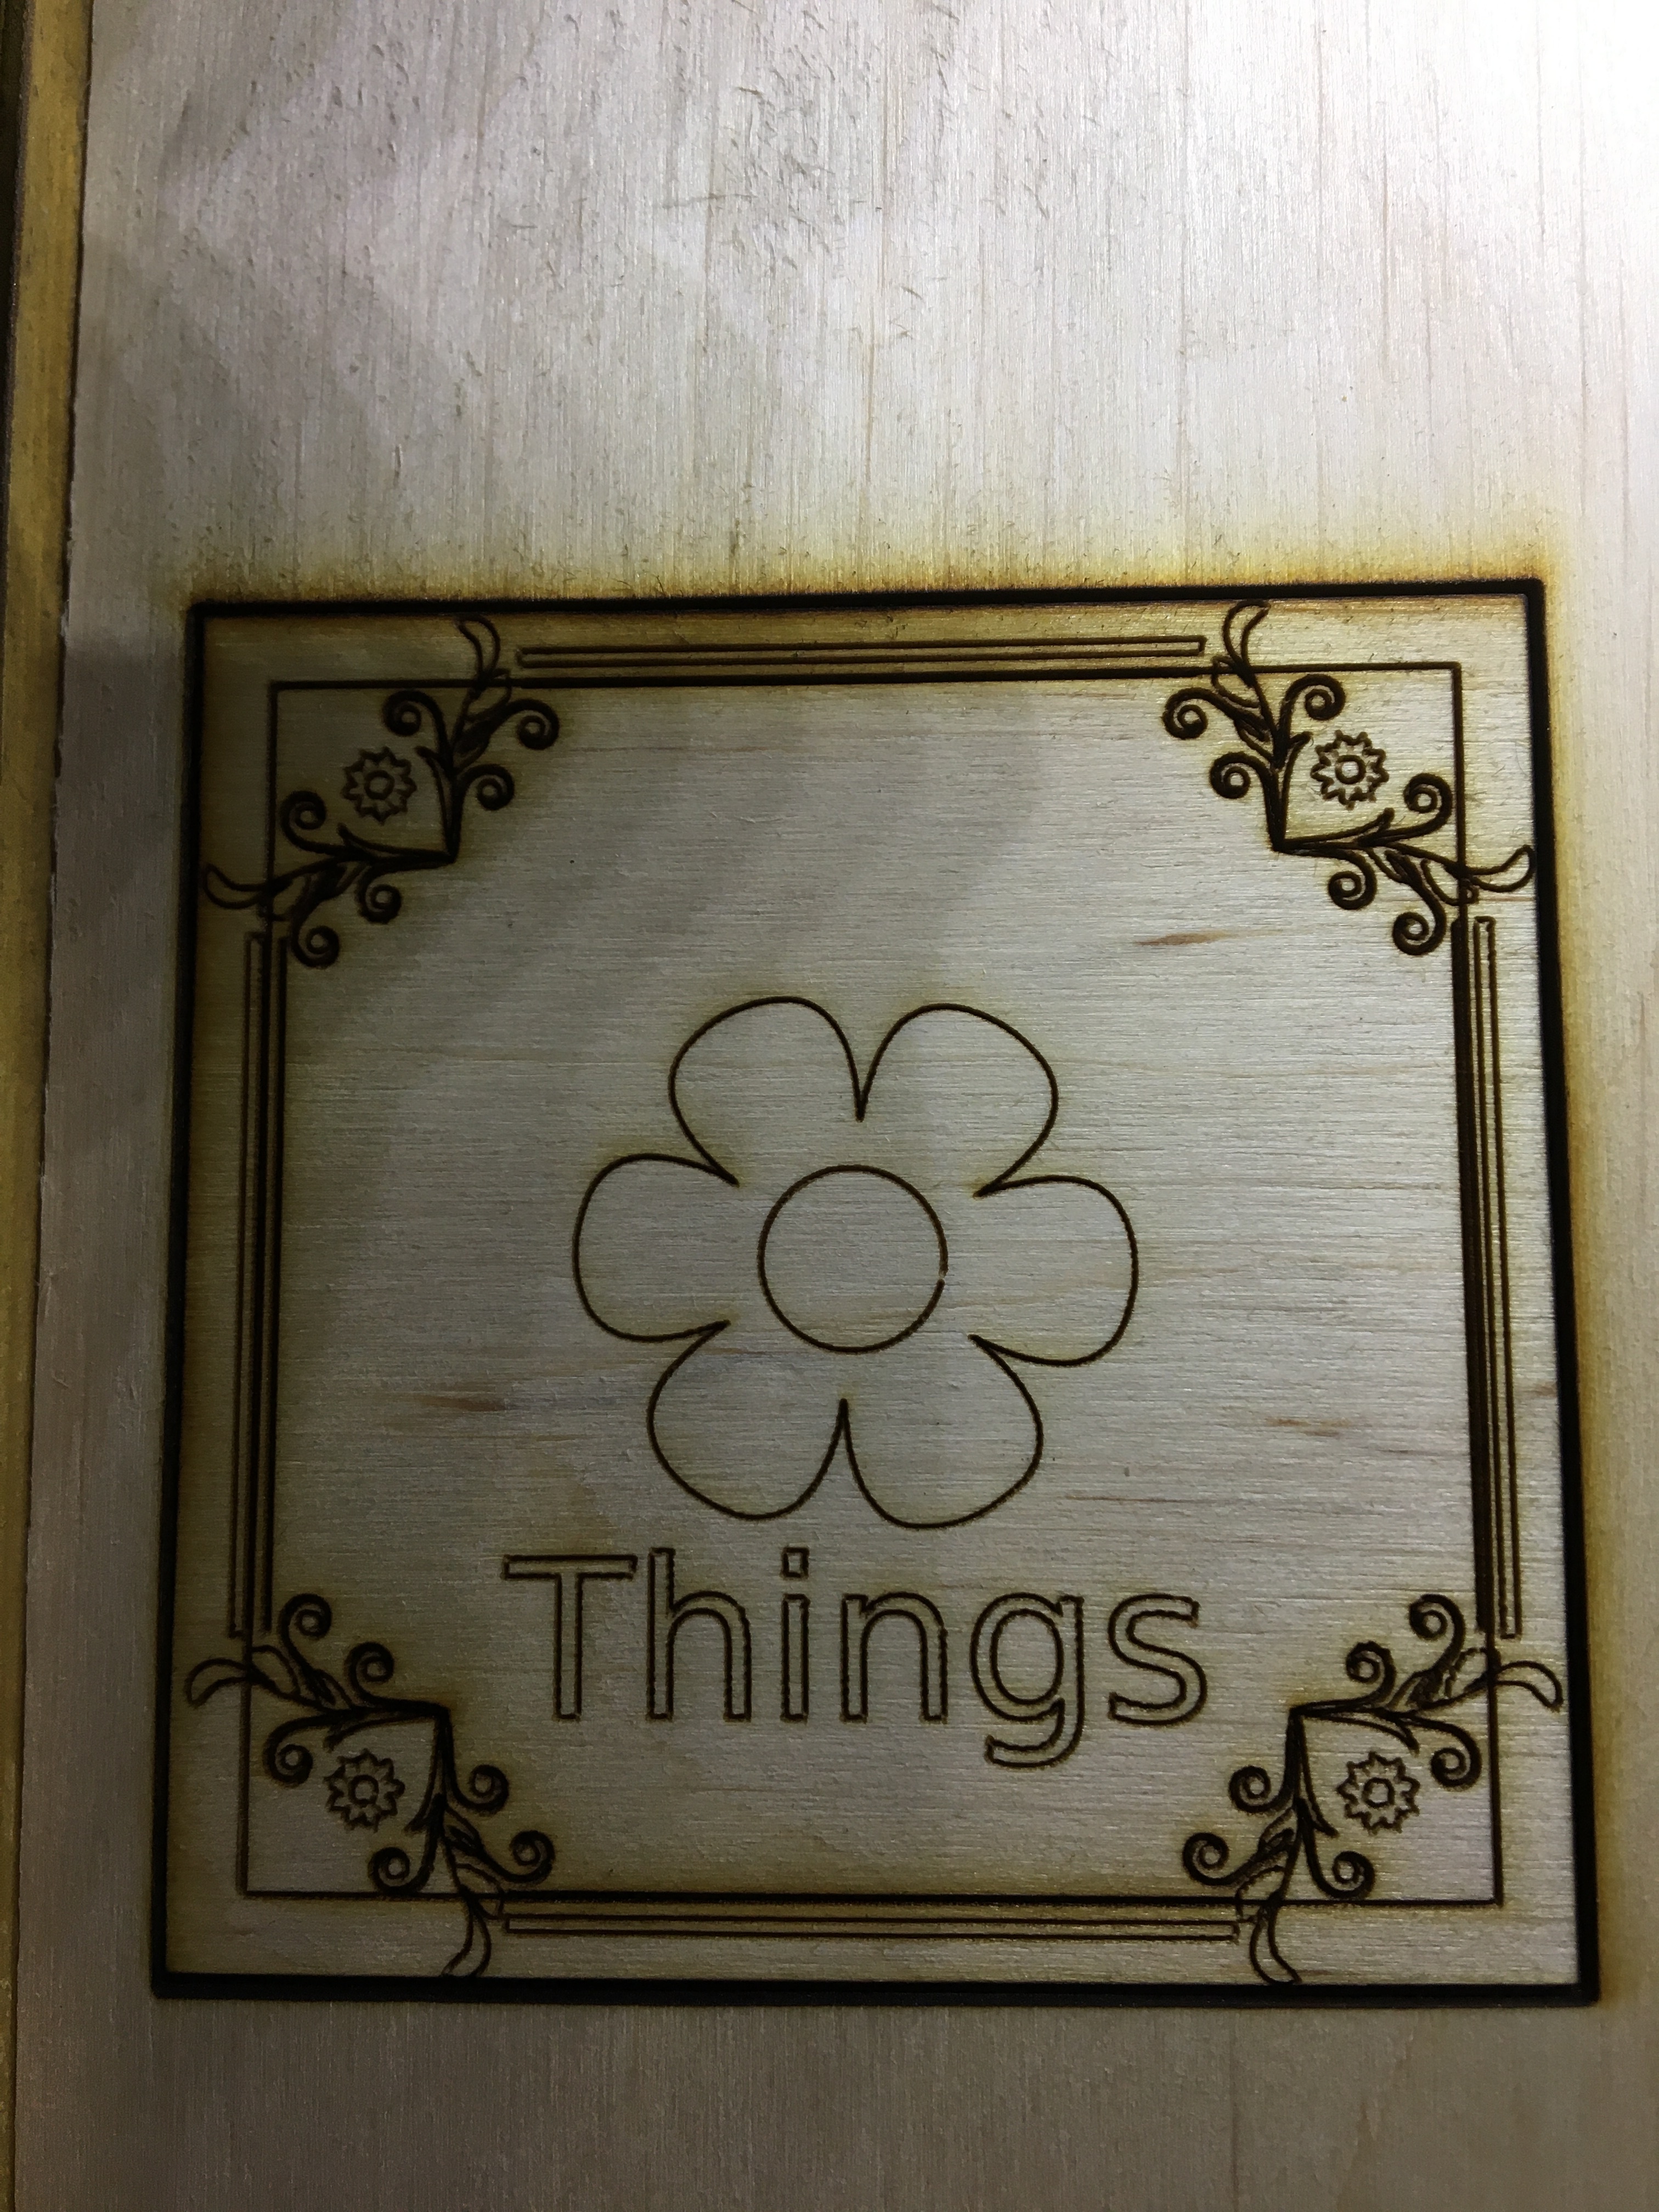
Engrave the design, the design moves by 5mm to the left
Sorry but I am not understanding this workflow. I think you are saying you flip the material at some point. Do you realign the material after doing this? This simple flip will change the registration or location unless you have some jig for placement.
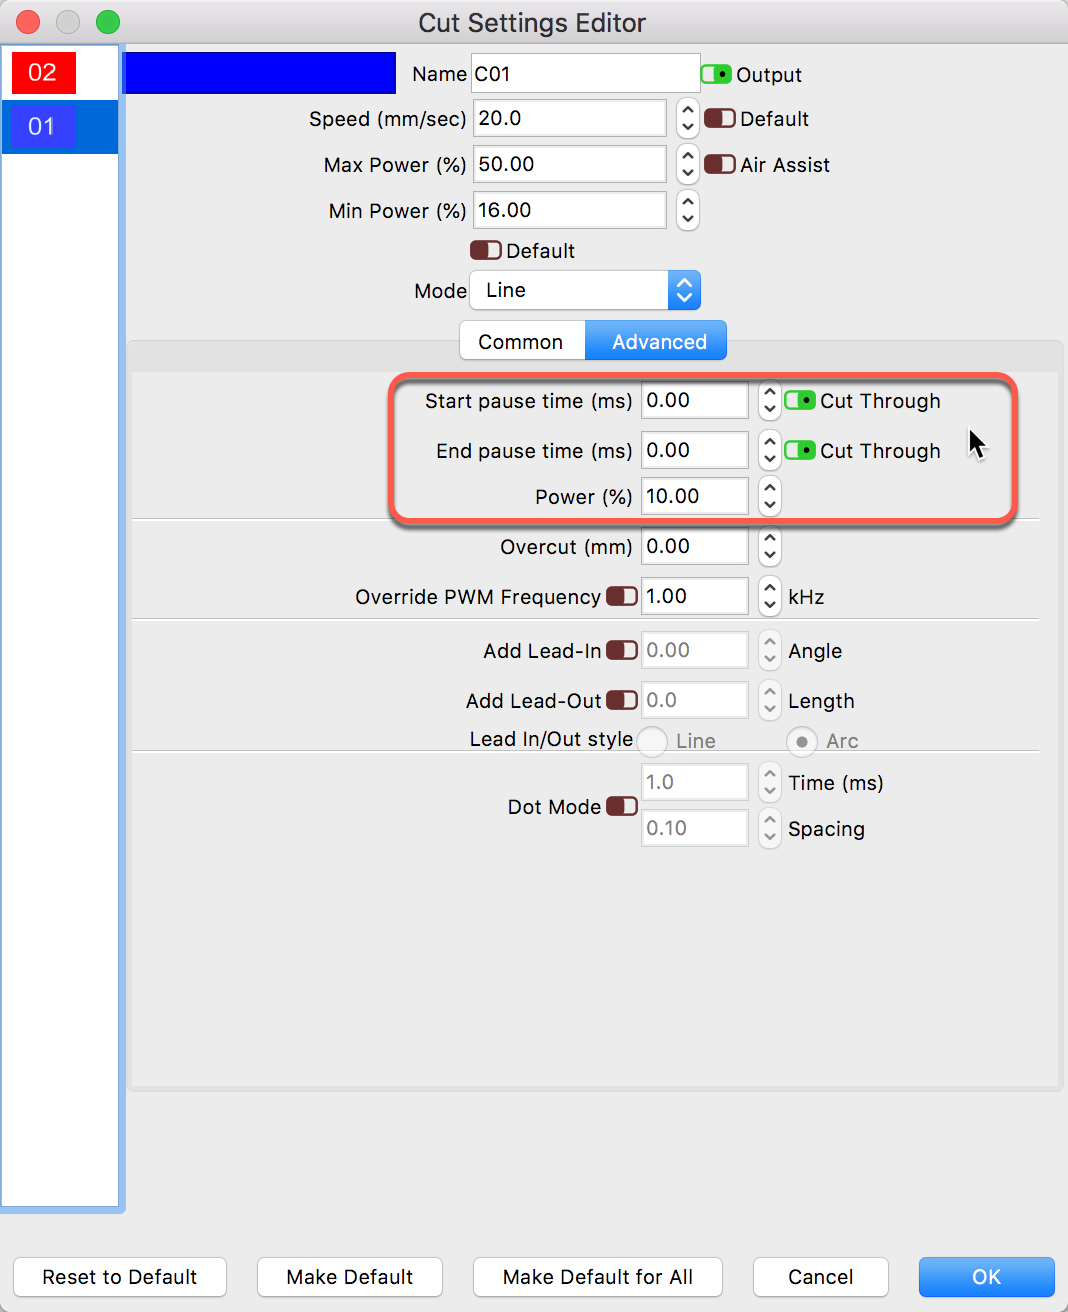
I do see that you have ‘Cut Through’ enabled on both layers, is this intentional?
Please show what you see, the shifted result, and what you are want this to produce. I am not understanding the goal - so hard to check the stated issue and provide suggested solutions.
Hi
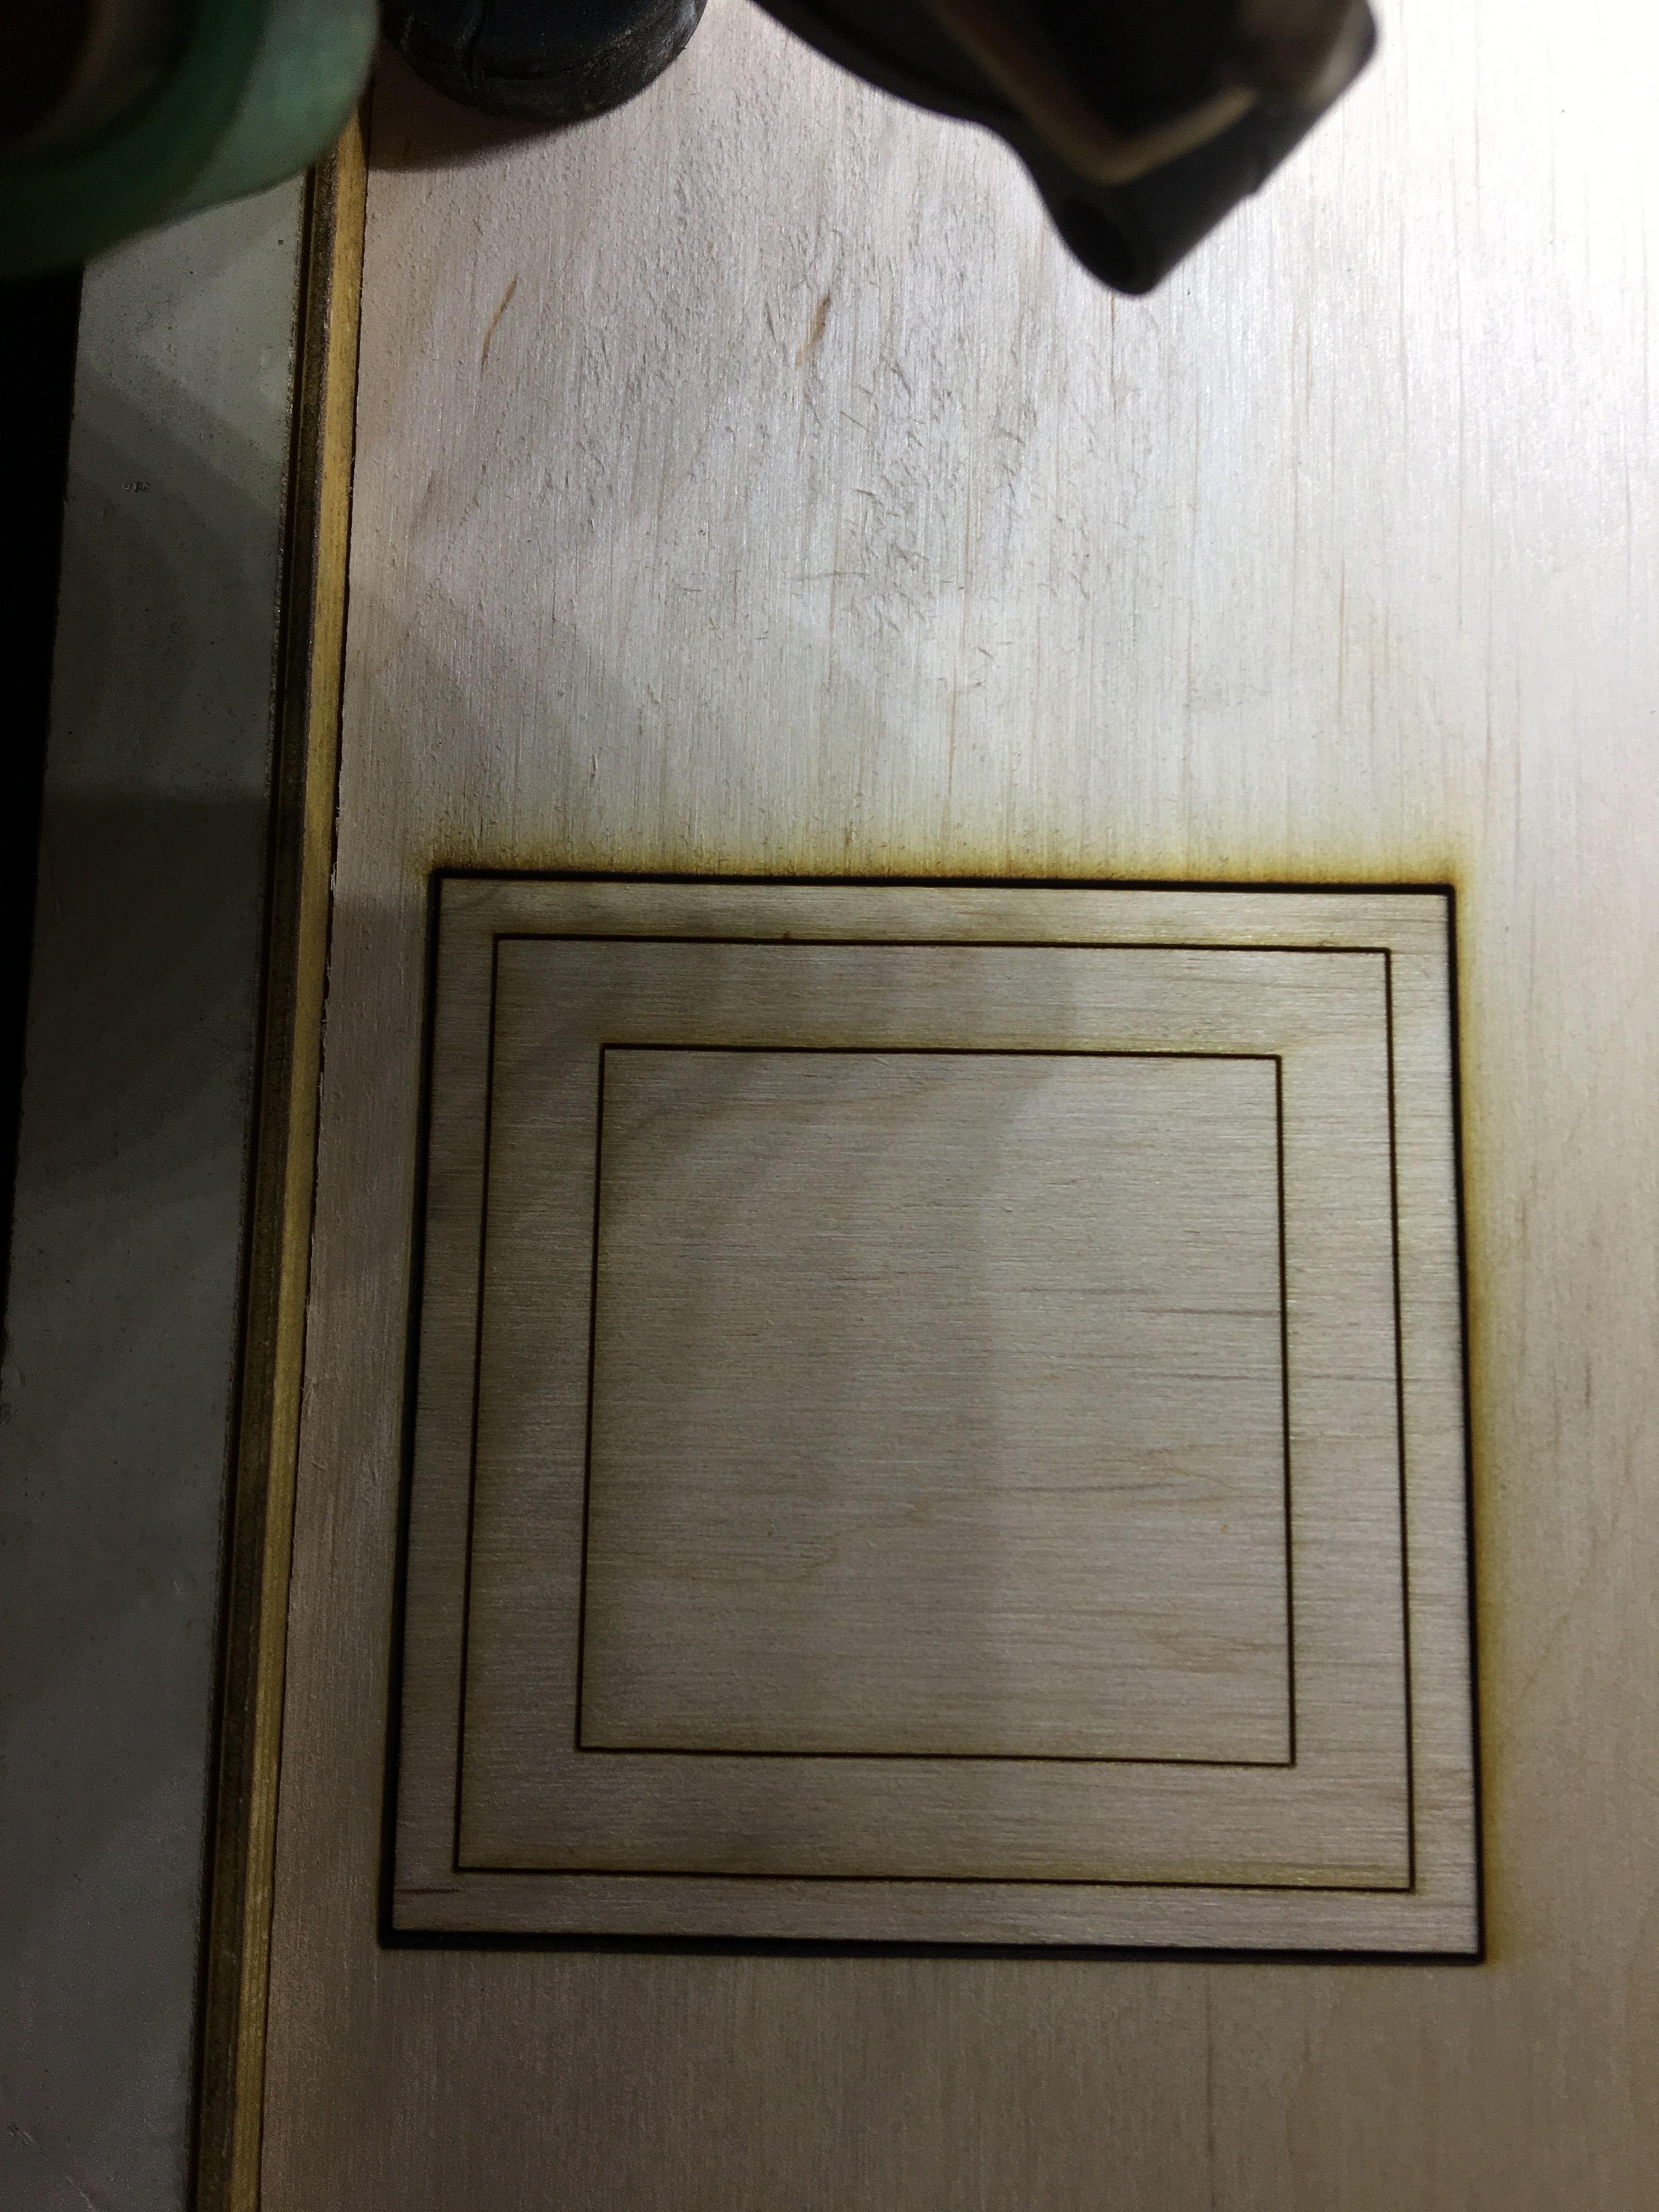
The problem is that after I cut the lid with the rectangle. This is the back of the lid.
I then flip the cut out wood and need to engrave the pattern on the other side of cut out.
So I flip the cut out wood over. Align with top right. The screen shows the border and text fit perfectly. When start engraving the whole engraving shifts by 5 mm on right hand side so no longer fits the cut out.
Using the same hole as you have cut your item out to flip it and engrave it on the back should not cause a problem. Not at all when everything is so fine and easily square.
I use this method very often, however, I use the same hole as a template, but it can easily be done with several items, the template just does not have to move.
Sorry for the delay, I executed your file and could not find anything special in it.
I have only adapted the layer properties to my machine and mirrored it all, I first cut out the No. 1, turn it over and engraved the page with your motif.
Possibly I did not fully understand it, even though you drew it down.
But the individual elements do not fail anything and I can easily center all parts with each other.
Feel free to correct me or your drawing if you want me to try it another way.
I’ll add a few pictures when I’m at my other computer in a few minutes.
You should not apologize for asking for good advice or help - that’s what the whole forum is about. Sometimes there are no right answers but we always learn something new anyway.
Stay healthy all together.
@Andrewh87 I use flat neodymium magnets to hold down my work parts(scrap and/or cutout) so they don’t move. If your honeycomb has iron in it they’ll work as is. Otherwise you might have to add some iron to your bed for the magnets to work.