I would like to cut fingers on a curved surface. Drawing each finger, or slot, one at a time and spacing them on a curved surface is very time consuming. Is there any way to take a straight line of fingers and place them on a curved surface?
For clarity, can you create a visual of what you’re trying to accomplish?
1 Like
How are you going to keep the machine in focus while it goes around the corner?
![]()
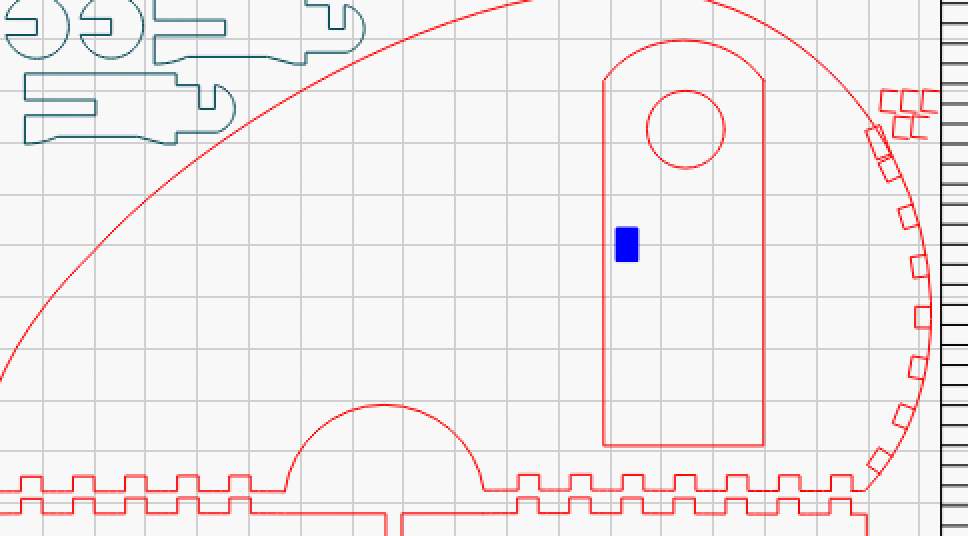
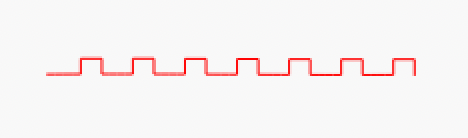
Just picture a piece of wood with fingers cut into it, into which fingers of an adjoining piece fit into it. We do this all the time building stuff like boxes with a laser machine. Finger-into-finger to join two pieces of wood. But what if the wood piece is curved instead of straight and you want to put fingers around the edge to attach a piece of flex that you’ve cut out. It’s easy to make fingers in a straight piece, but very difficult around a curve. Is there some tool that will allow you bend the fingers around a curve. I don’t know how to attach a picture here but if I figure it out I’ll attach and example
See my example above. It’s got nothing to with keeping the laser in focus.
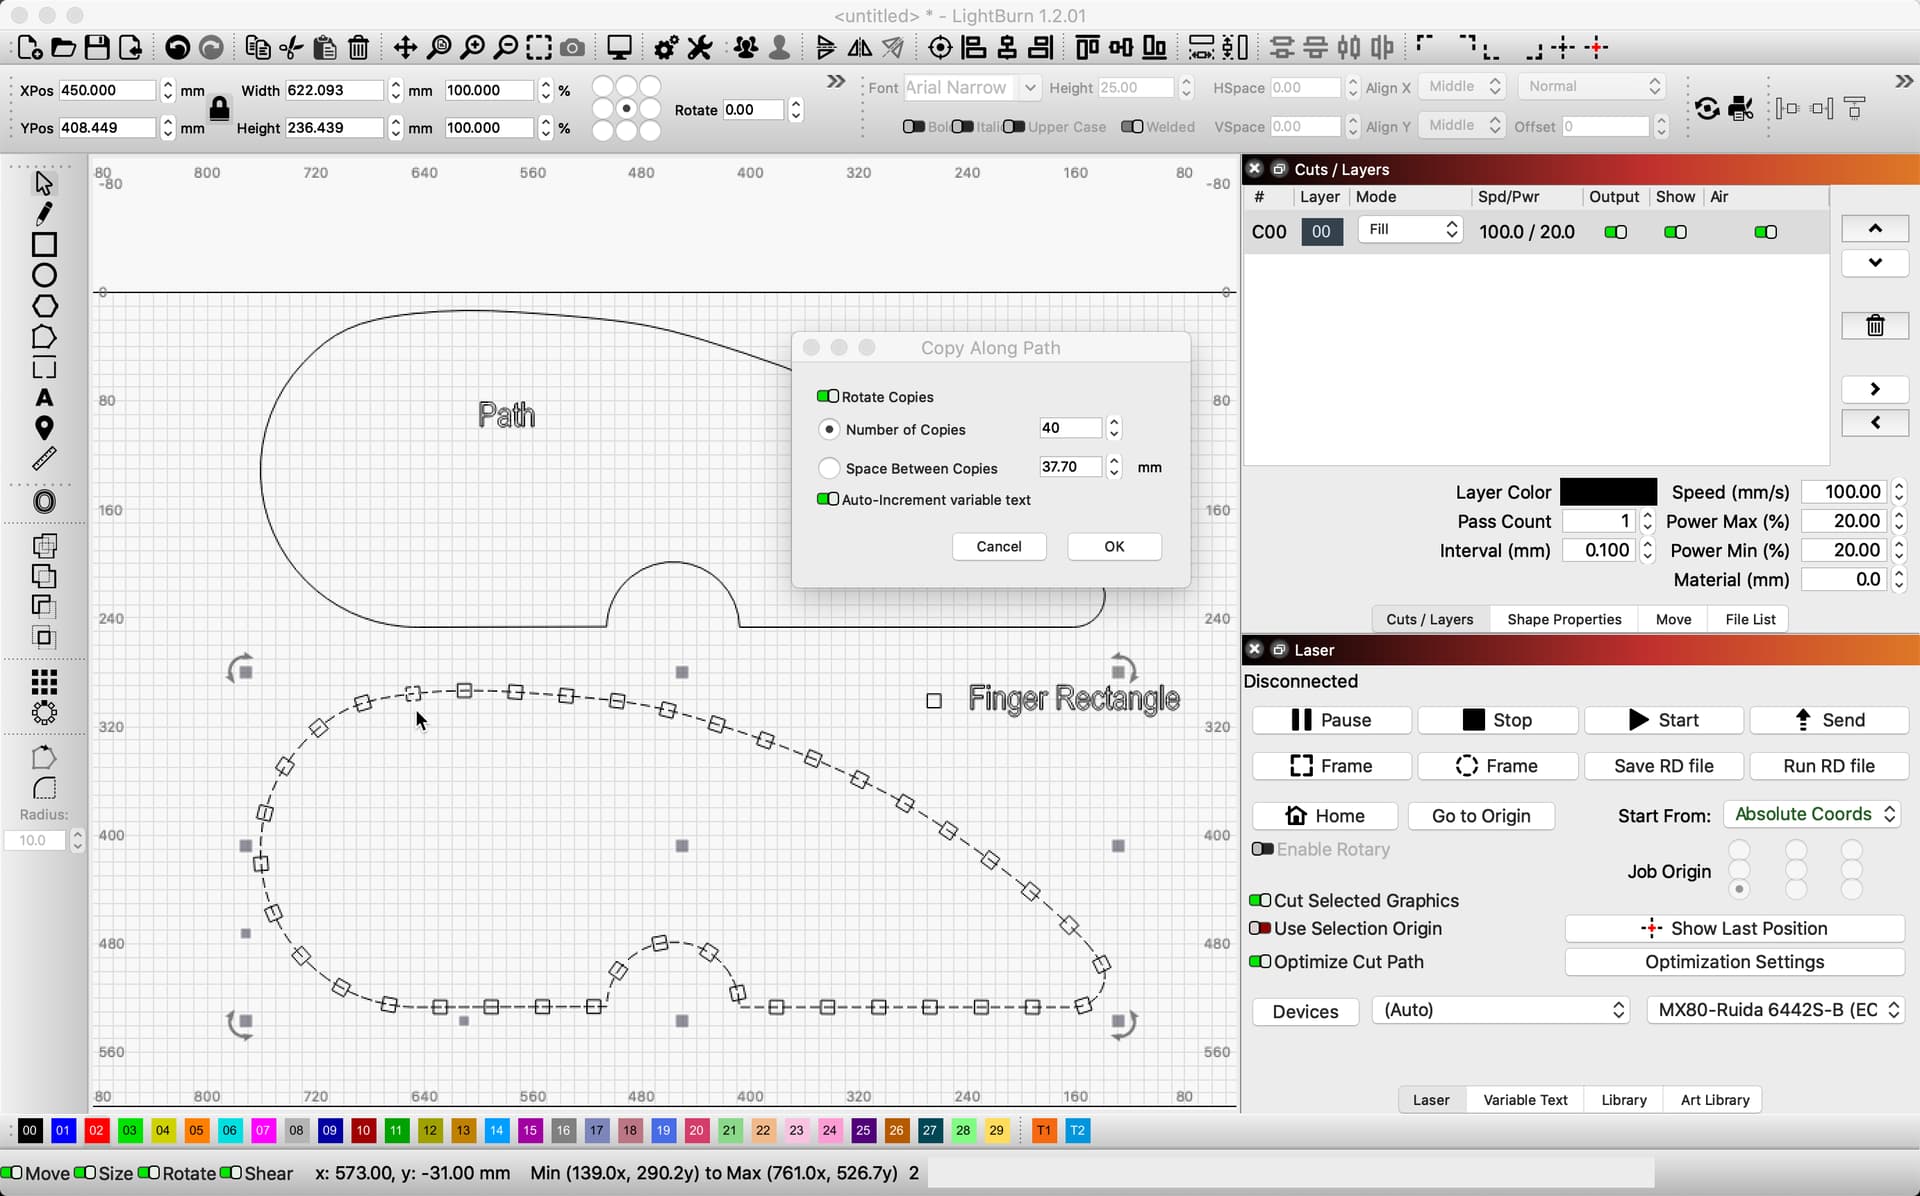
Ah, that image is helpful, thank you. Yes, have a look at the ‘Copy Along Path’ tool to assist you with this task.
Click on “Copy along Path” to create a set of copies of your selected shapes along a path. The path is the last object you select, and the shapes will be copied relative to the first point in the path object. Menus - LightBurn Software Documentation
1 Like
That copy along path does not apply that “sawtooth” line (fingers) to the rounded edges of the teardrop camper. It just creates a bunch of straight pieces and rotates in some kind of random circle. If you can take that sawtooth line and apply it to the large front edge of the camper, please tell me how to do it.
You wouldn’t be able to take the entire sawtooth shape as a reference. I think you’d have to take an individual tooth/rectangle and copy that along the path.
Then you would probably want to do a boolean subtraction of the teeth from the core model.
Yes, sorry, I could have offered a bit more clarity. As @berainlb offers, you need to build the saw tooth, one tooth or finger at a time. I agree, using a rectangle, which would be the thickness of the slotting material, and copy that along the path. This should allow this rectangle to be auto-rotated (when you tick that option On) and placed along your chosen path. Then select all resulting rectangles and group them. Now select the path, then hold Shift and add the rectangle group by clicking one in that group. You can now select the ‘Boolean Subtract’ to complete the creation of the saw tooth or fingered pattern following the path as you describe.

2 Likes
This topic was automatically closed 30 days after the last reply. New replies are no longer allowed.