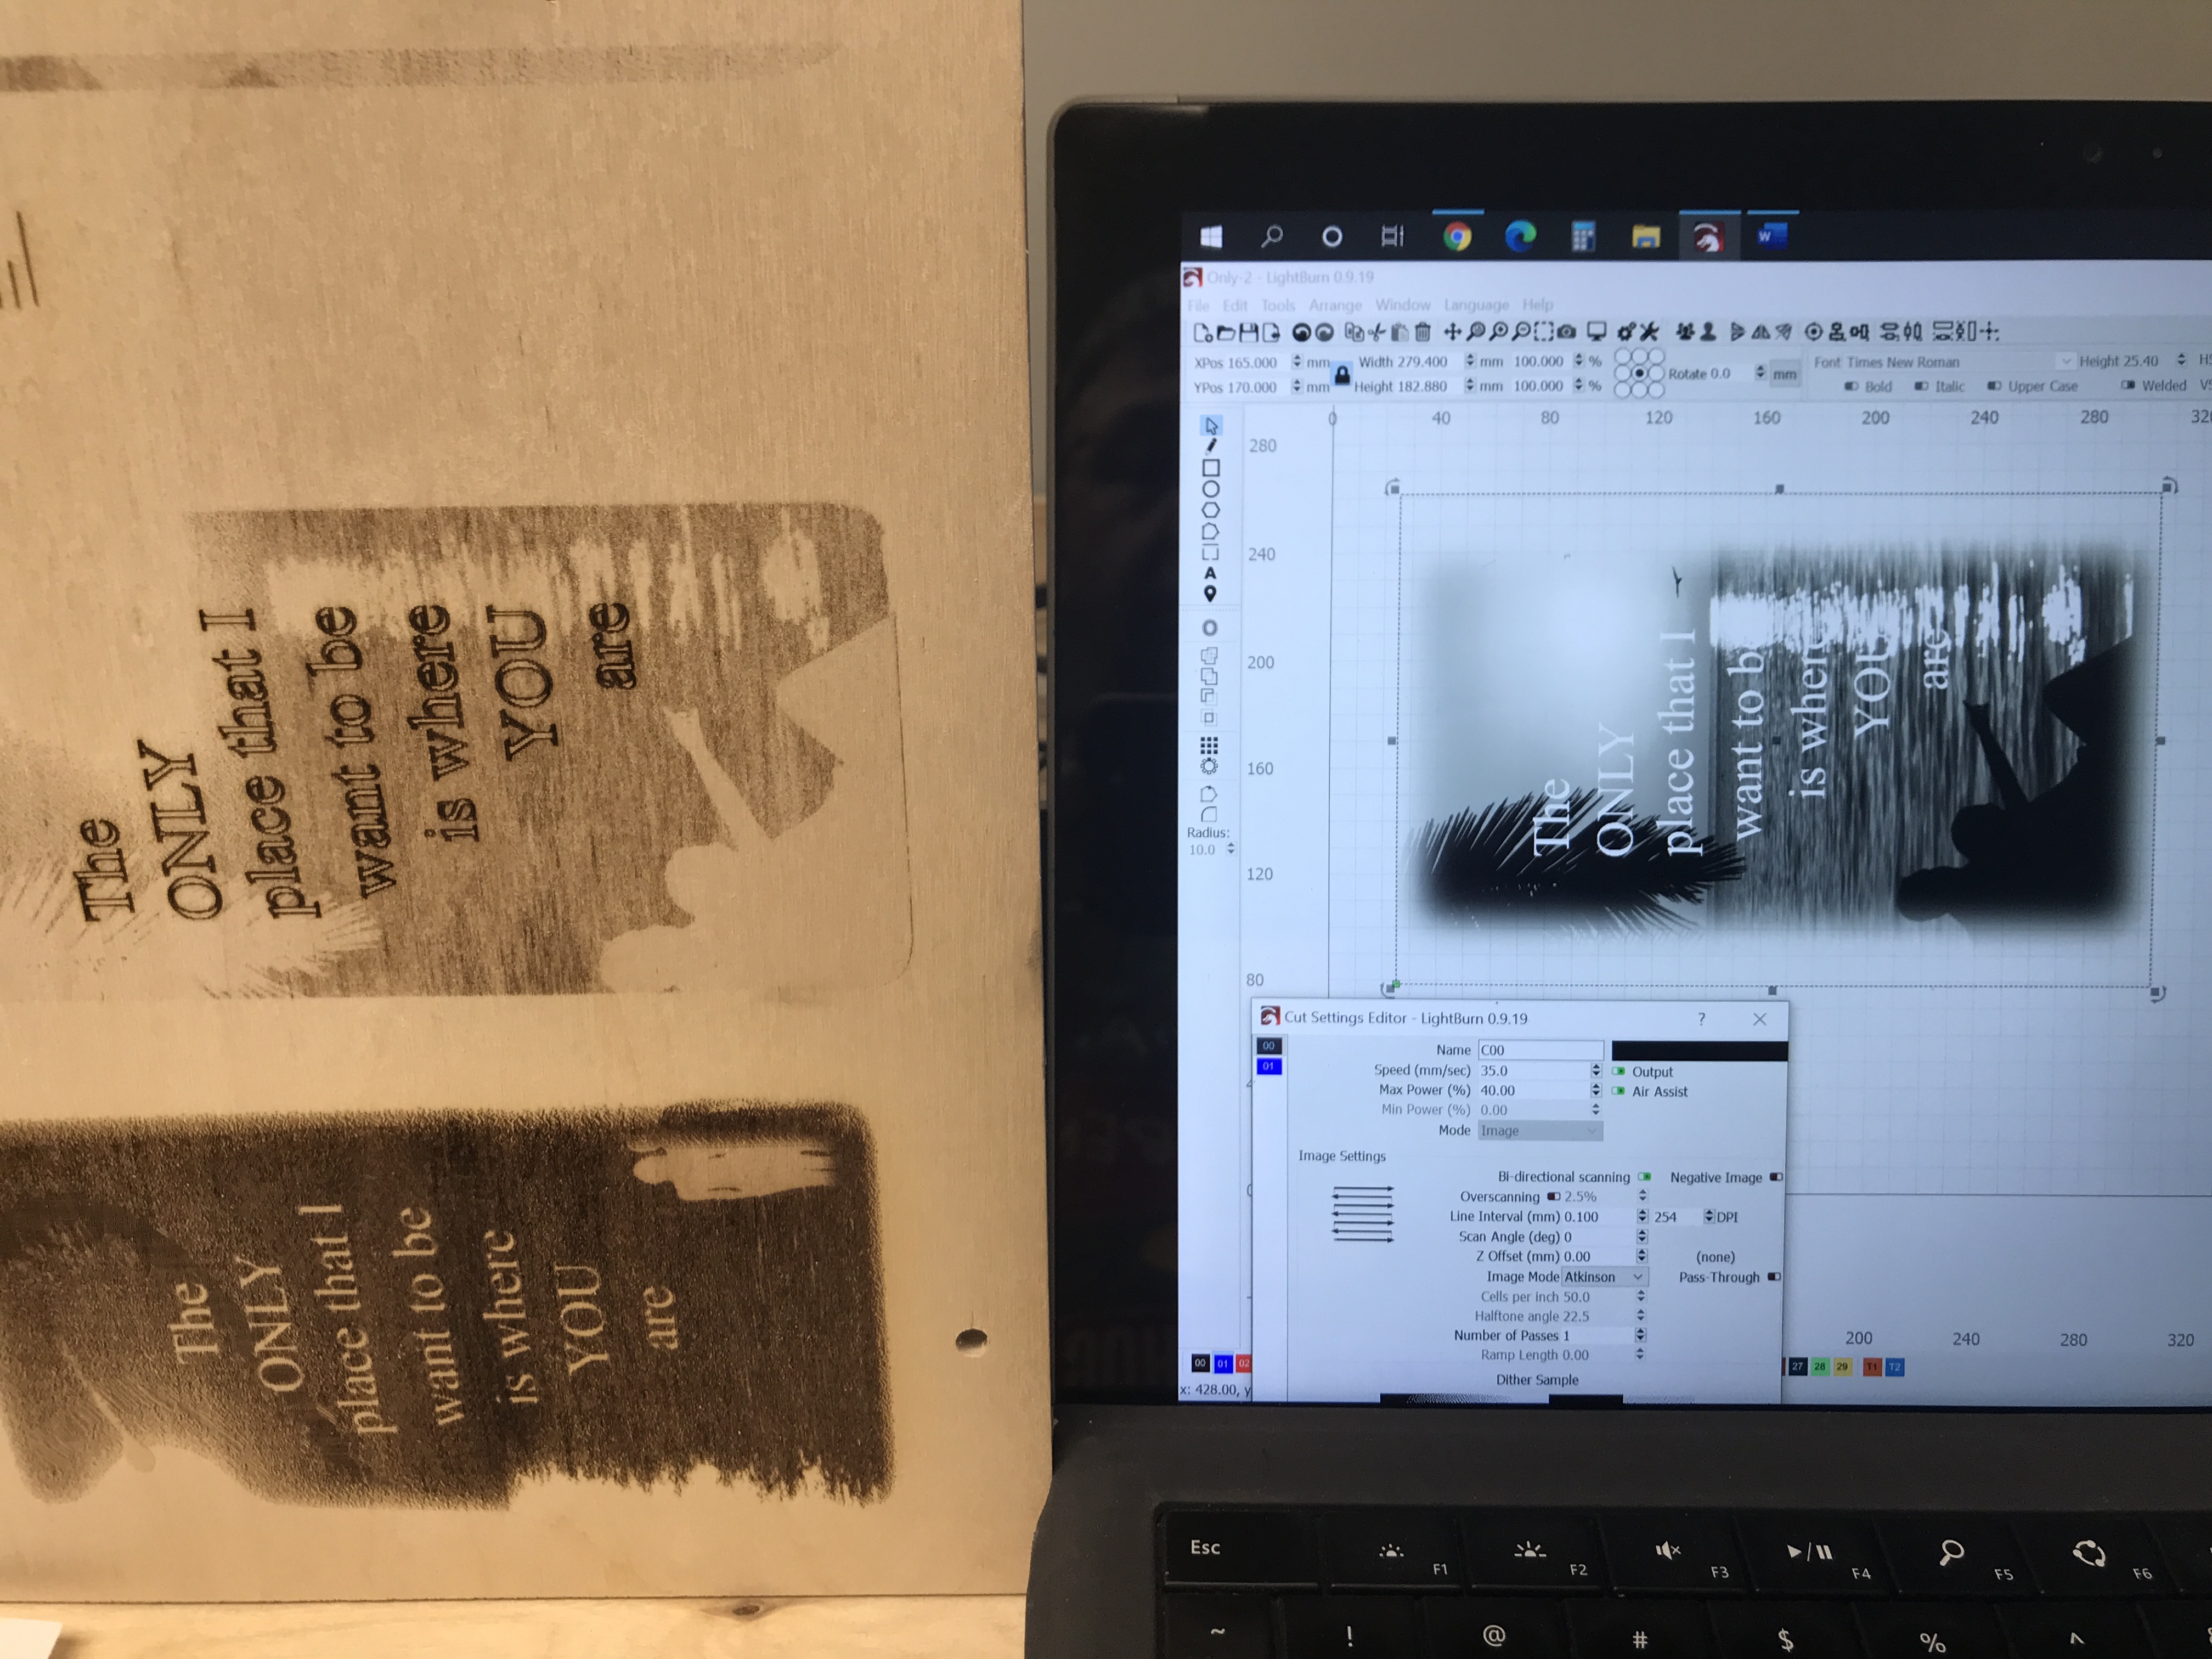
I am fairly new to laser engraving and just starting with the Lightburn software. So far I really like it. I am using the Snapmaker A350 and I have been trying to burn an image but the areas that are nearly black are not engraving at all. I have been searching but I can’t figure out what I’m doing wrong. Any suggestions?
Dithering means that the software emits either zero power, or the power level you choose (40% in your case), but there’s no in between, so this makes no sense. What does it look like if you engrave a simple gradient with the same settings? Like this image:
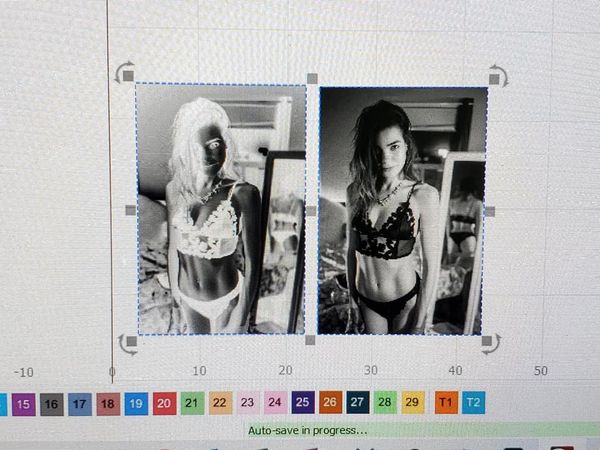
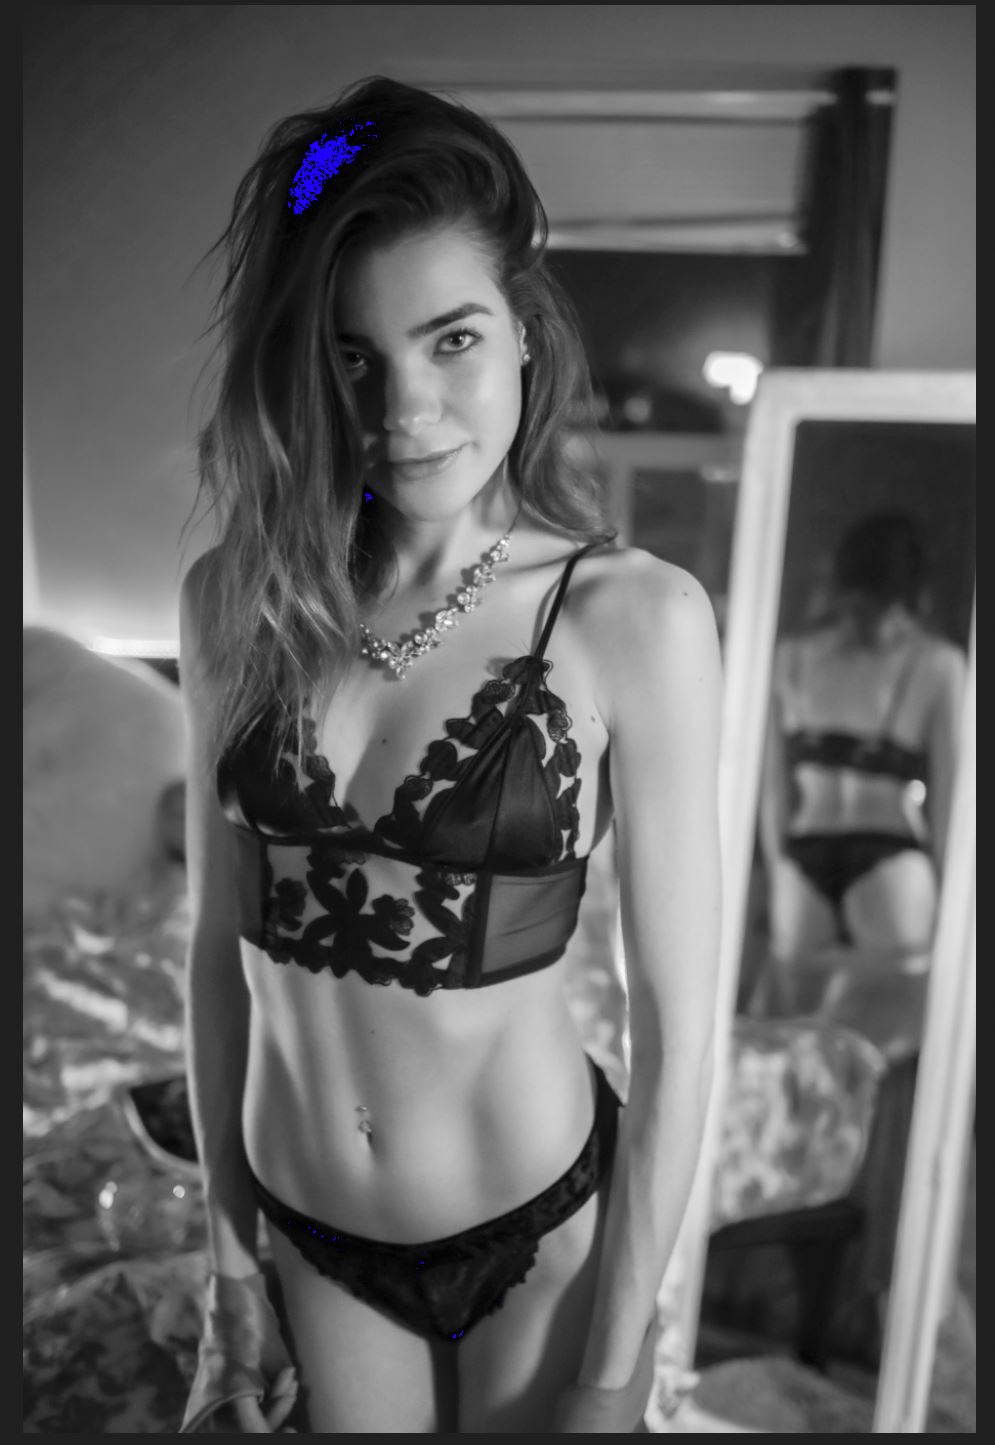
And finally here is the same image with Greyscale (notice the white highlight in her hair) as well as a the original photo with 255 Blacks (Shadow Clipping turned on) highlighted in blue… which matches with the omitted burn.
My current work around is to add use “curves” filter to limit blacks to 245 for “greyscale” mode; but “dither” seems to omit much lower than 245 in the algorithm.
Luban (their native stuff) doesn’t do it. But; their software is suuuuper bad. Only work around is making sure there is no 255 blacks for greyscale mode. Havn’t been able to figure out a fix for any of the other algorithms yet tho… Super weird problem.
Go to Edit > Device Settings and change the S-Value Max to 254 (or lower) and that will reduce the S parameter output. It’s possible that SnapMaker has a different range than expected.
Hello. I too own a Snapmaker 2.0 A250 and am also having an issue with the inverting when burning on white tile. I am using imag-r Norton white tile method which works pretty well and looks good in LightBurn but the burn is inverted as above. I changed my settings to 235 and 254 as suggested above but I am still getting the same results. Do you have any other suggestions?
I don’t - I would ask the SnapMaker folks if there’s anything special about how their hardware works that might be causing this. I haven’t seen anything like this before.
Will do. It’s such a bizarre issue and very frustrating. I guess I could also get out of my comfort zone and learn how to work with greyscale as well. Thank you.
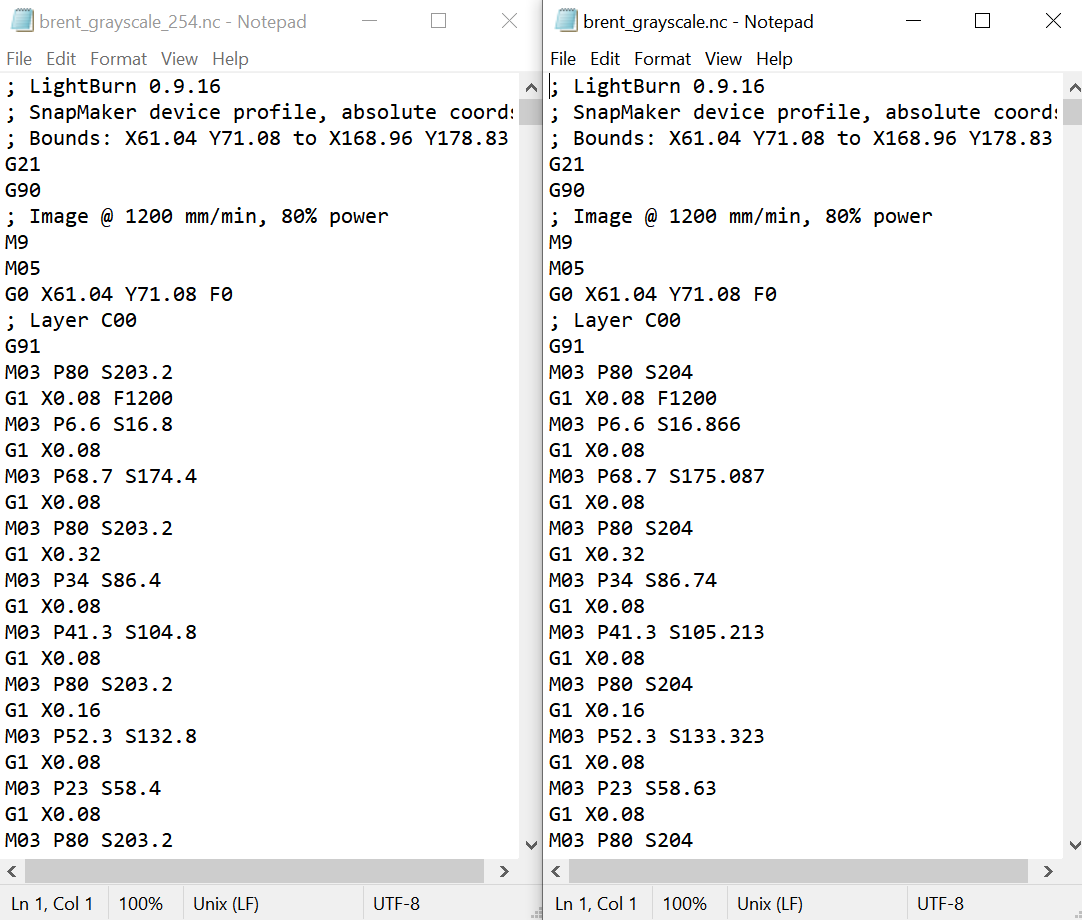
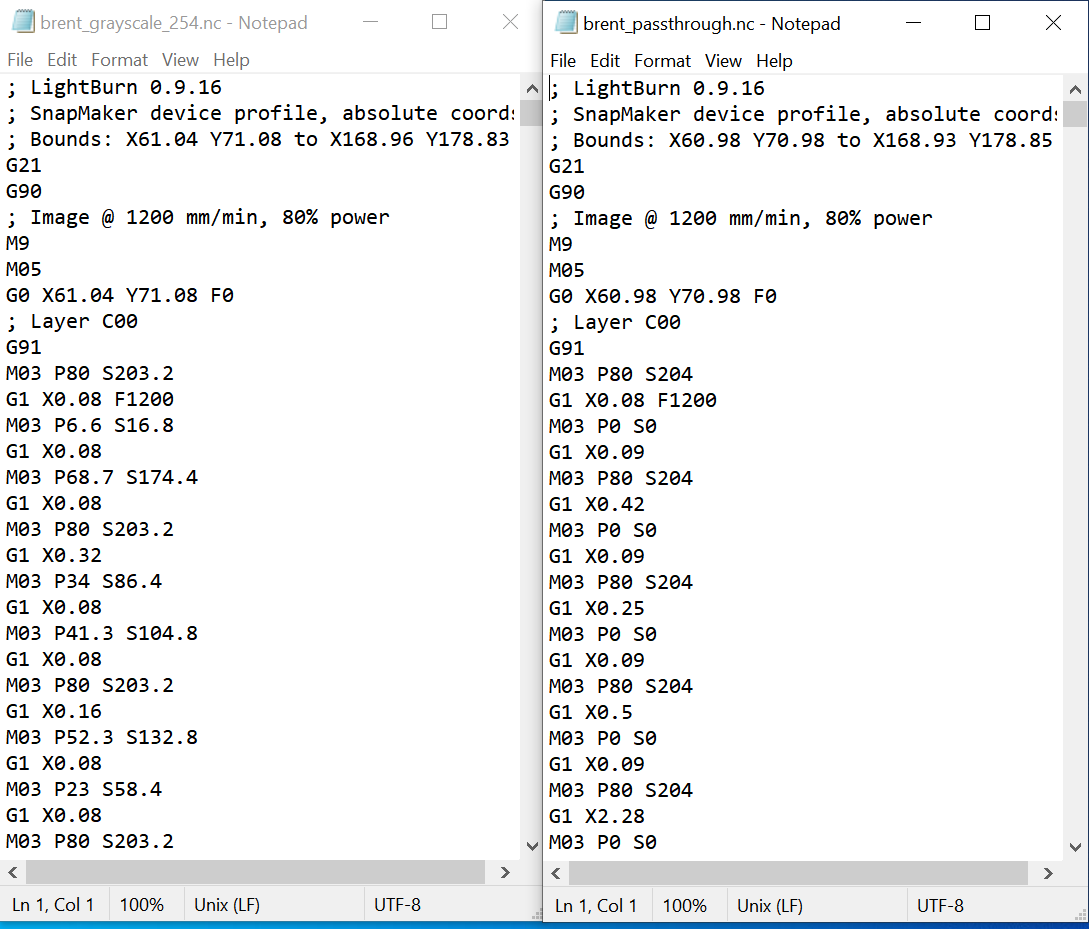
I’ve reached out to Snapmaker and am still awaiting a response but in the meantime, I am trying to figure out the difference between grayscale set at 254 which works and the other dither modes. I have attached a couple of png files of some of the code. I noticed that in grayscale at 255 mode there are extra digits after the decimal point that are not in the grayscale_254. In the dither modes there are extra lines that are not in grayscale. Can you tell me what those lines do? I think I know but am not sure and also not sure if I can comment them out for testing. I know I’m going down a rabbit hole but I would love to get this working with SM because I have seen what your software ca do. Thank you.
I still have my SM1 so I decided to test on that and it engraves exactly as it should barring the fact that I need to get better on editing photos but at least it is not inverting. There must be a subtle difference in modified Marlin commands that the SM2 is using versus the SM1. I’m so happy that I did not sell the SM1. When I have more time, I will try and figure out the difference.
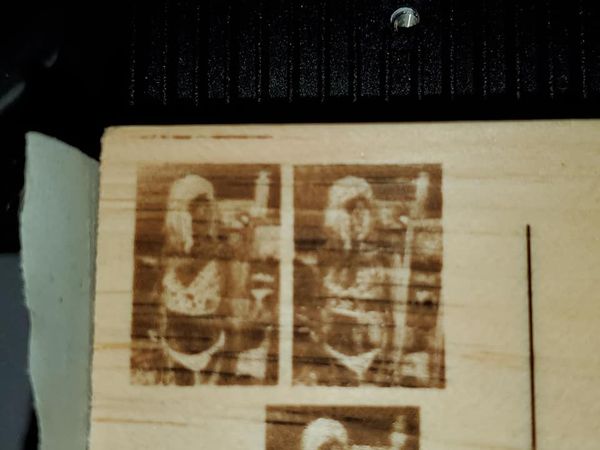
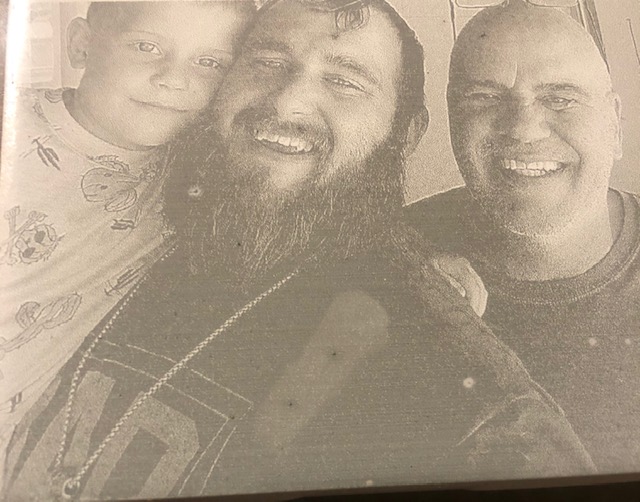
Finally finding some success with LB 0.9.16. I imported a jpg file, did a little photo editing within LB and used Jarvis algorithm. Not perfect and that is on me but at least darks are dark and lights are light where they should be without the inverted look.
As soon as I did that picture, I was able to engrave again and got it darker but then I got greedy and tried to use imagr and passthrough and I was back to square one. I think the SM2 either does not like the imagr process or doesn’t know what to do with passthrough. Once it starts engraving inverted, then everything engraves that way. The only way I have found to clear any cached settings is to reinstall firmware update on machine and completely uninstall (deleting all traces and folders) and reinstall LB 0.9.16.
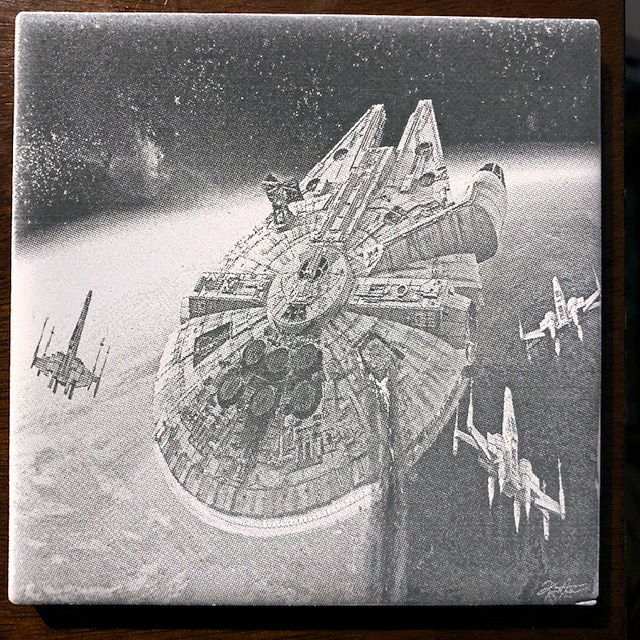
I am playing around with the shape properties to do my editing and I am impressed with the final product. I just need to figure out how to get consistent dark prints but maybe I have to try different paints???