Hey guys… so everything I’ve tried so far has a burr I can feel with my fingernail.
I found the following info on another forum but I admit I don’t understand it all since I’m still super new to laser engraving.
do you think this would work
how do I use the offset feature in lightburn to accomplish this?
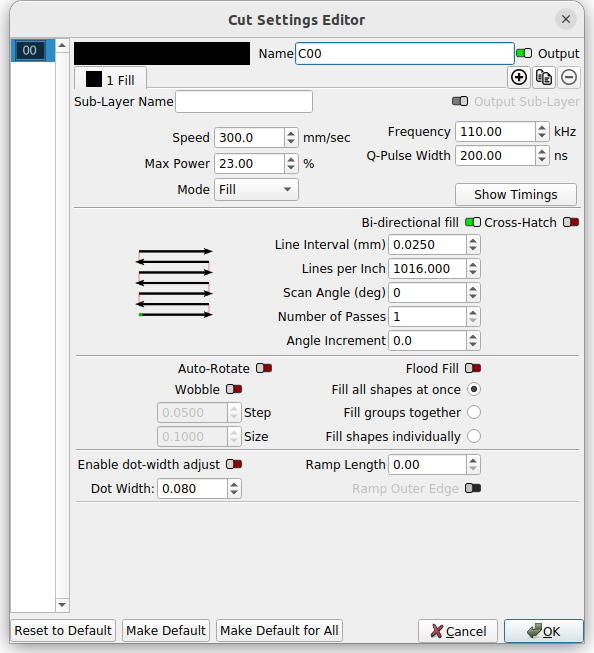
" hatch 1 10° angle .05 spacing .05 offset in RED 100% power 800 speed 35 frequency 1 loop
hatch 2 160° angle .04 spacing .02 offset in BLUE 80% power 1200 speed 45 frequency 1 loop
hatch 3 310° angle .025 spacing .007 offset in GREEN 50% power 1500 speed 50 frequency 3 loops
use the ‘disconnected’ hatch, NOT the connected hatch…do NOT ‘follow edge once’ on any of these hatches.
DO set the “mark contour” to mark AFTER engraving…
NOTE- marking the contour is done in BLACK, which is why I didn’t use it in the hatches, it provides a needed 4th color …
Set the black color for 3000 speed, 30% power and 60 frequency. THEN, hit ‘advanced’ and turn the WOBBLE on.
Set the wobble for .015 diameter and distance
The idea is this:
The RED hatch digs deep, but keeps away from the edges-
The BLUE hatch digs a bit less, and gets a little closer to the edges, AND cleans up the RED pass-
The GREEN hatch is faster and enough less power to about half the work of the RED pass, but DOES add depth, and cleans up the RED and BLUE passes…
The GREEN hatch is still not quite to the edge, but is close enough-- the BLACK mark-contour pass runs ON the edge, cutting a fast, low power .015mm wide circular swath, which in a perfect world will essentially polish the outlines and remove any edge burrs while doing it…"
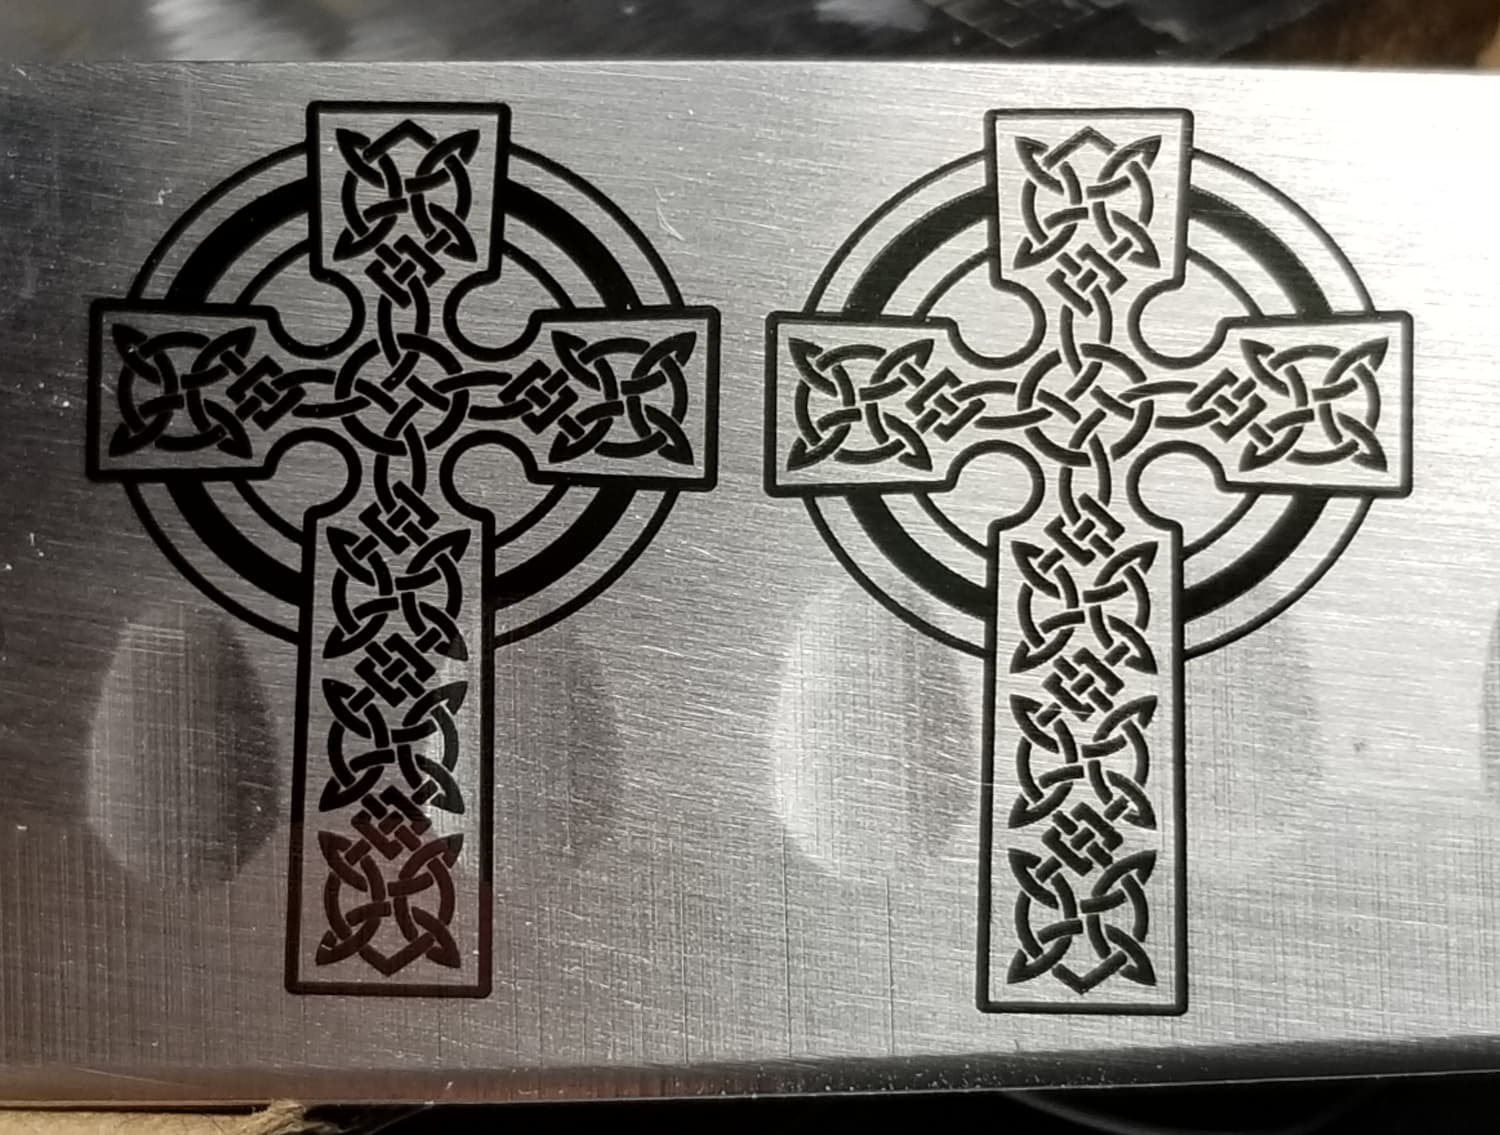
I’m wanting some depth though… I have figured out how to do an out of focus anneal with some depth (shiny though) but now I’m going for more of a matte finish with depth and crisp on the edges. I keep running into a burr though.
I tried doing the settings above and it seemed to actually work! Have to play around with it more though.
My issue is - I don’t understand the offset function very well, even after watching a video or two. I select my logo then click the offset tool and set it for .01mm outside only, and then it creates a new item (a second logo on top of the first) that I can assign to be a second layer. The problem is that even though I’m offsetting outside only it’s like the logo is getting smaller or something. I’ll play around with it more tomorrow.
Also, is there anyway to go back edit the offset parameters on the logo after I initially set them?
What are you using as your auxiliary gas? While I don’t have experience with hardened steel, I understand from theory that nitrogen is used to get a clean cut.
I guess I’m not following you… Other than annealing I always have places you can feel the engraving…
I’d think if you’re getting a burr of some type, you’d be pushing metal out of the engraving… The tool (laser) is going to give you a sharp drop of the edge… just like a co2 would do with wood when you engrave…
We’d have to see the artwork to make any suggestions… if you wish to post it I’m sure someone where can help you with the offset issue…
You can use ^Z to back out of edits… once you save/change the project and exit Lightburn or go for file → new, these edit undo queue is not available anymore…
When I do this, I save some parts in the art library partially done …
@GingerKarma most of us have little to no air assist on the fiber machines. Some people have suggested it to help stop any debris from building up in the engraved area, but I’ve never heard reference to any type of gas that would be beneficial…
Always with an open mind, so sing out if you have idea…
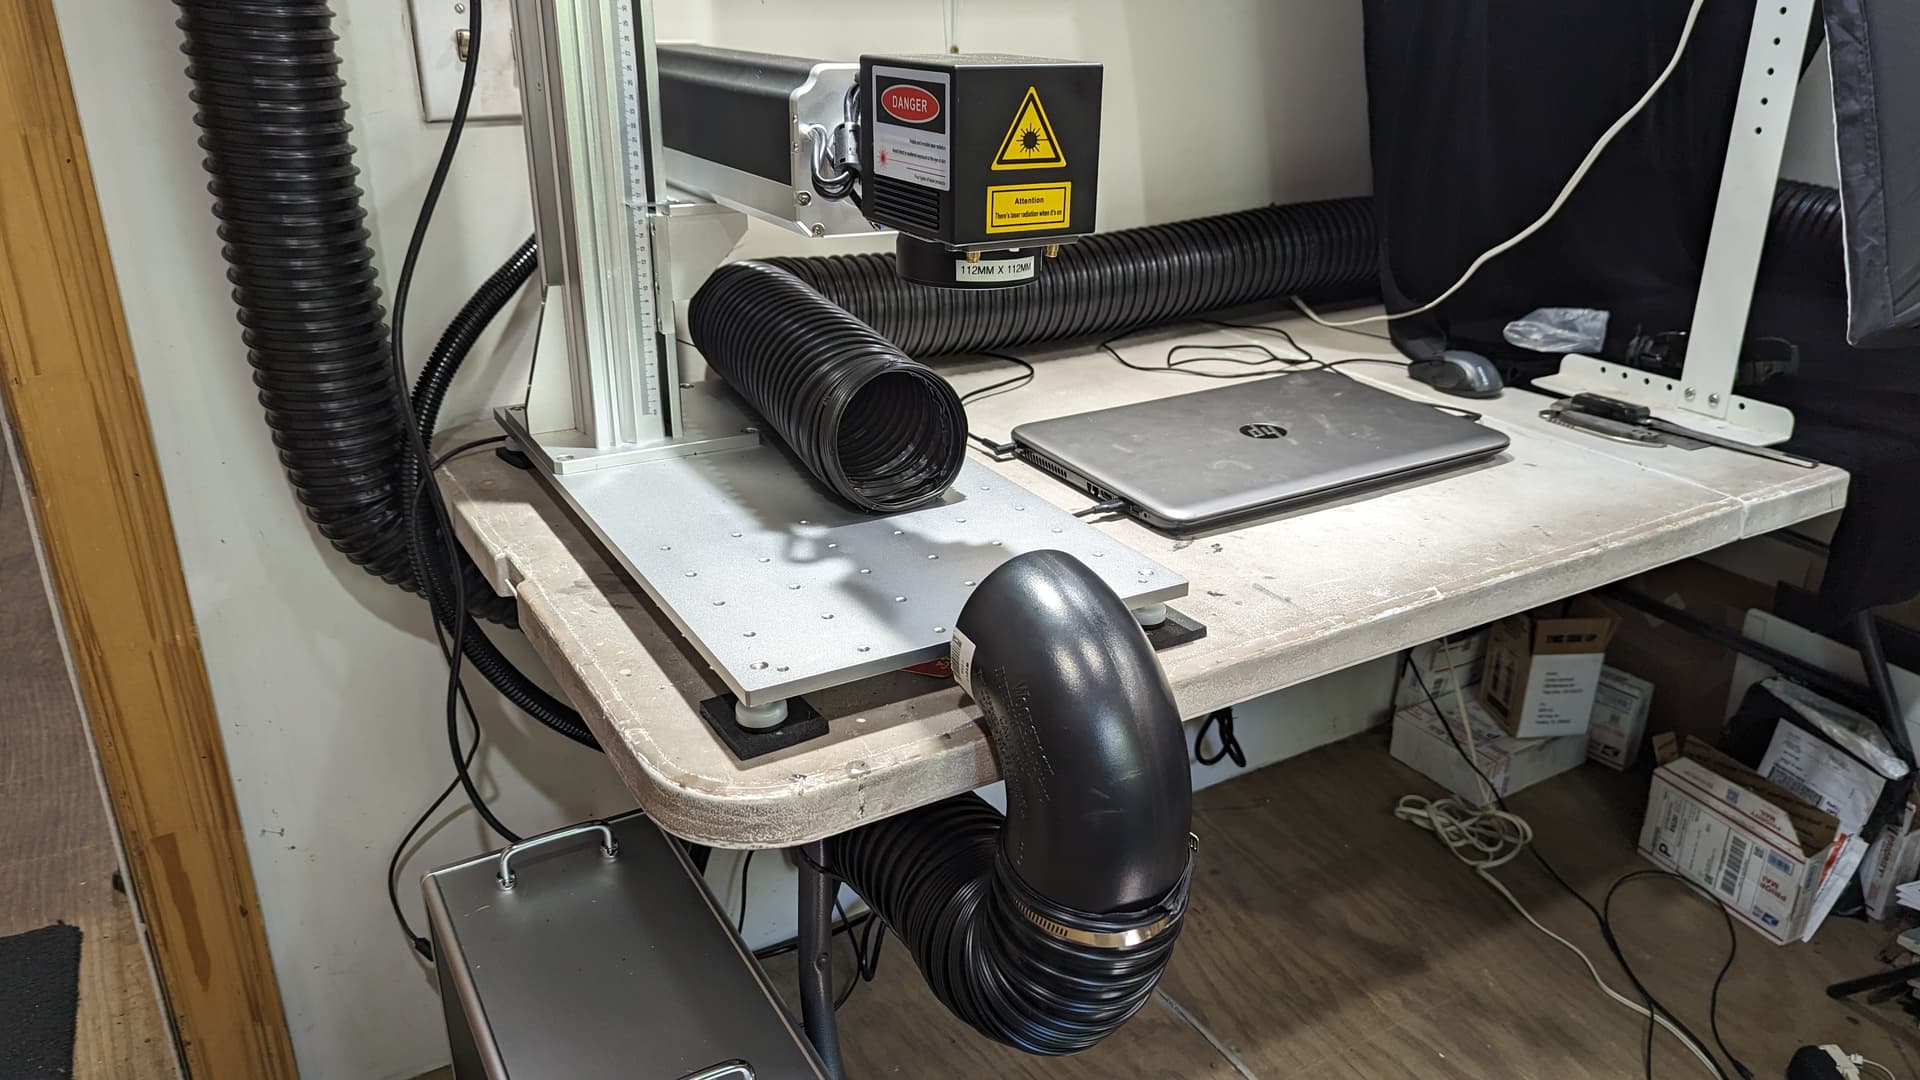
In situations where you are deep engraving the debris will stack up in the crevices and effect how well the laser performs… Just enough air to keep the debris from collecting…
I don’t do that many deep engravings to make it worth the effort… I can see the streak of brass going towards the ventilation that was debris from the coin.
I’ve got good ventilation, I just wasn’t sure about the nitrogen thing… In some videos I watched they made reference to a clean up pass (to remove the junk from the deep engraving pass). I’m still trying to figure it all out though lol
I watched this guy video and it might help you with how he does it…
I’ve found from my limited experience trying to come up with cleaning passes, that an increase in frequency and lower power level seems to clean up a lot of metals…
If you do a 60% power at 40kHz, then start values to figure out a good cleaning pass might be 20% power at 80 or 100kHz.
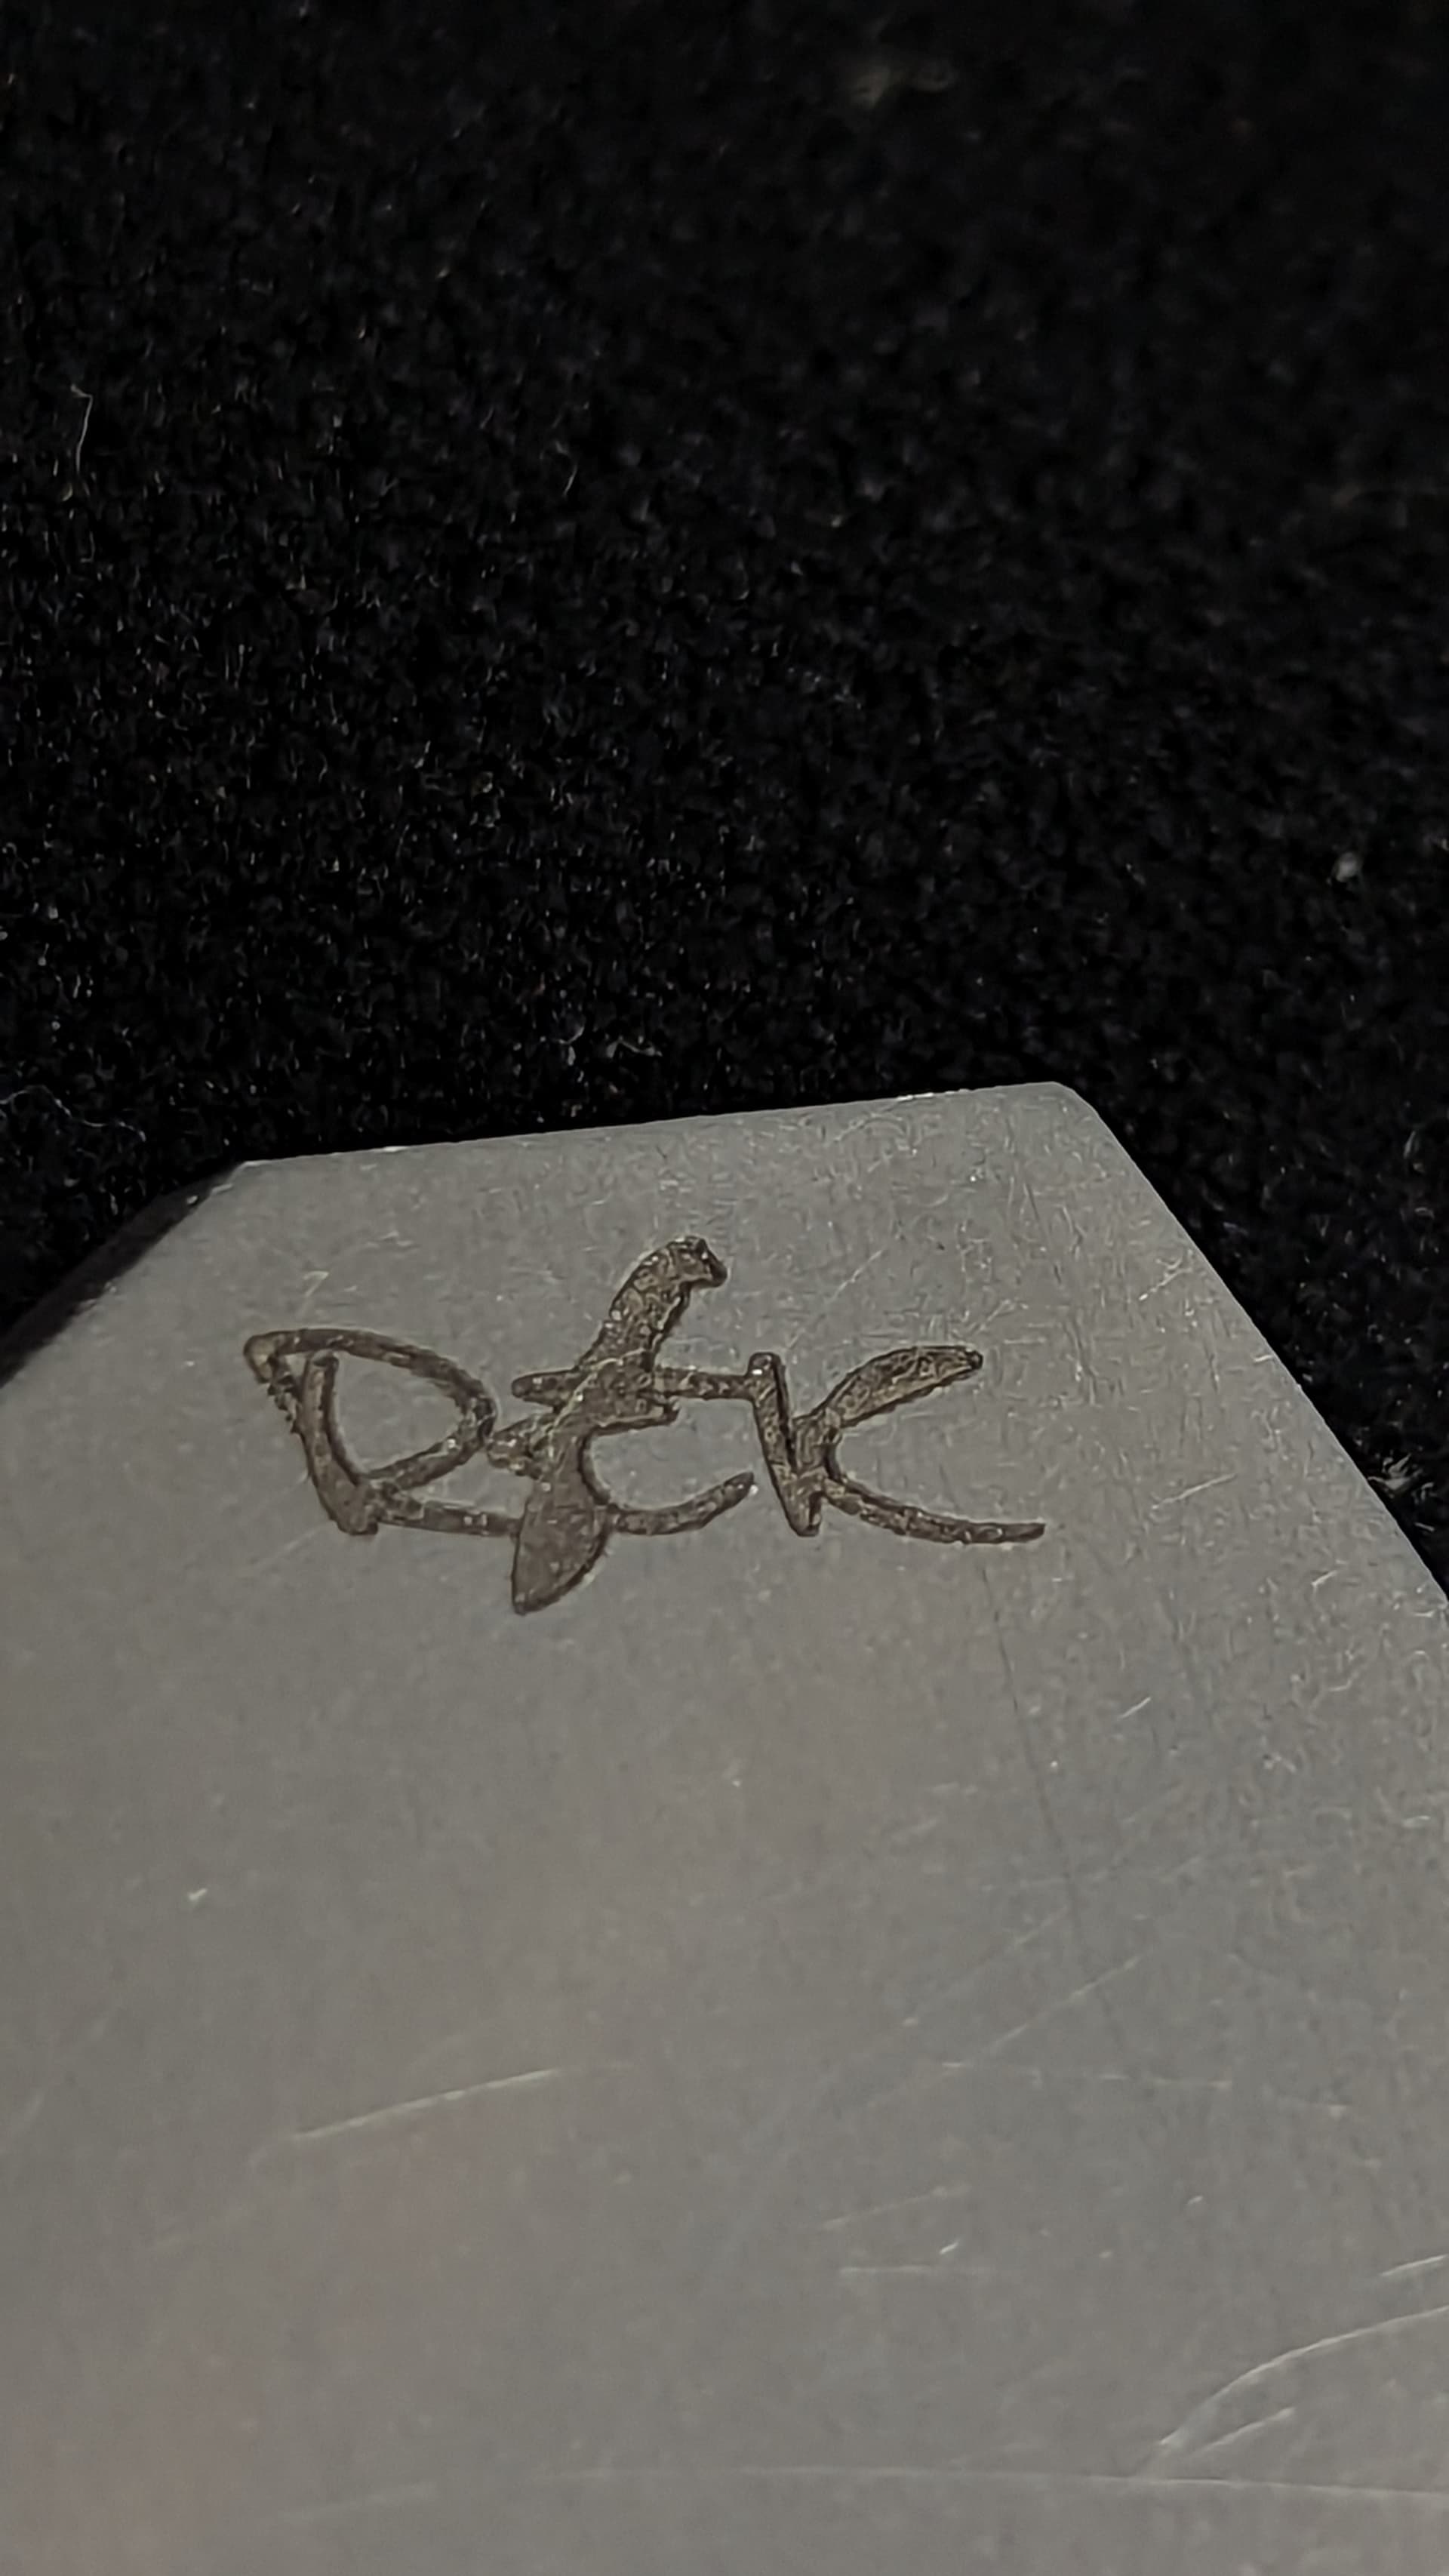
I’ve wasted so many coins. So I try different frequencies and pulse width. Look at them under the microscope to see how they damaged the material…
Keep track of your settings… nothing is more frustrating than to have the perfect settings and outsmart yourself and lose them…