Diode vs CO2 for better paper cutting?

Hello! I recently got the Ortur Pro Master S2 (maybe wrong name) and its a diode laser.

My goal was to stack up 3-4 A4 papers (160g/m2 ) and cut shapes through them.

I quickly learned a few problems with using the ortur diode laser:

  1. I needed more power;
  2. There was a terrible after (burn, charry, fishy) smell around the edges of the cut.

Would a CO2 laser be more effective with cutting through and would leave less burn smell?

I use my co2 to cut paper all the time when needed.
I run it at 22 speed 9% power. Very low air .
I dont know much about diode lasers except for what i read.
Of course the laser is 150 watts. And poster paper is mainly cut for my use as a template before cutting the main item. Which is 3/8" white maple.

How many layers of paper can you cut without a problem?

Suggest you cut single sheets… Stacking them can create other issues.

People cut mdf with those (ssl) laser diode … for what you are doing, I’d think a diode to be about perfect.


Keep in mind with any machining operation there are lots of speed/power settings that will do the work… However there is a small area, the sweet spot, where the operation will work at it’s best or better than 95% of the other settings. This effects not only the cut, but how much smoke and debris is left on/around the material.

This is relatively easy to figure out for metal or other materials in normal machining operation, since all of these tool bits and materials have known characteristics. Not so with paper/wood products.


It’s nice @gatlin63 can lase at 9%, I cannot consistently lase below about 9.8%. I have a 40W tube, so I can guesstimate that it’s about 4W… doing the computation for a 150W tube would mean using 15W of power…

Make sure there is enough room for the head to get to speed… that can be an issue… You can command it do something it can’t, it’ll do the best it can…

I’d suggest running with less material, but finding the speed/power sweet spot might be enough for your application.

:smile_cat:

I just tried i noticed that if its not real tightly compacted
The ones underneath start to burn.
I would guess if they were compressed i should be able to cut something as thick as 3/8". Maybe i will try it later in the day. Of course higher power its going to be a lot of guess work.

The gaps do funny things to laser beams with multiple layers… gaps are small, but so is the laser kerf.


This is why I suggested he use a single sheet…

Engineering something that will hold a stack of paper compressed, while allowing you to cut various designs isn’t very practical.

:smile_cat:

Diode lasers are not very happy with white paper or glass and acrylic. It is related to the wavelength of this laser type.

That is why i cut colored papers that do not absorb the wavelenght. Also, I need to cut 3-4 at a time.

You are correct on the gaps i really never cut more then
One sheet. For a test template.

Perhaps “want” or “expect” would be a better verb.

The results will be a tradeoff among the overall cut quality / soot deposition / speed / power: you cannot optimize all at once.

As a rule of thumb, a laser can cut through a homogeneous material, but has difficulty with separated layers.

Assist air (if your machine has it) will dislodge the topmost paper pieces, with damage to those shapes and everything below wherever they land; tabs will hold them in place, at the cost of manual post-processing. Without assist air, the kerf through the bottom layers will char.

Cutting thicker material requires more power and slower speeds, with the former causing more soot and the latter reducing whatever productivity you expected to gain by stacking.

Running a Material Test will let you select the best combination of parameters for the material you’re using.

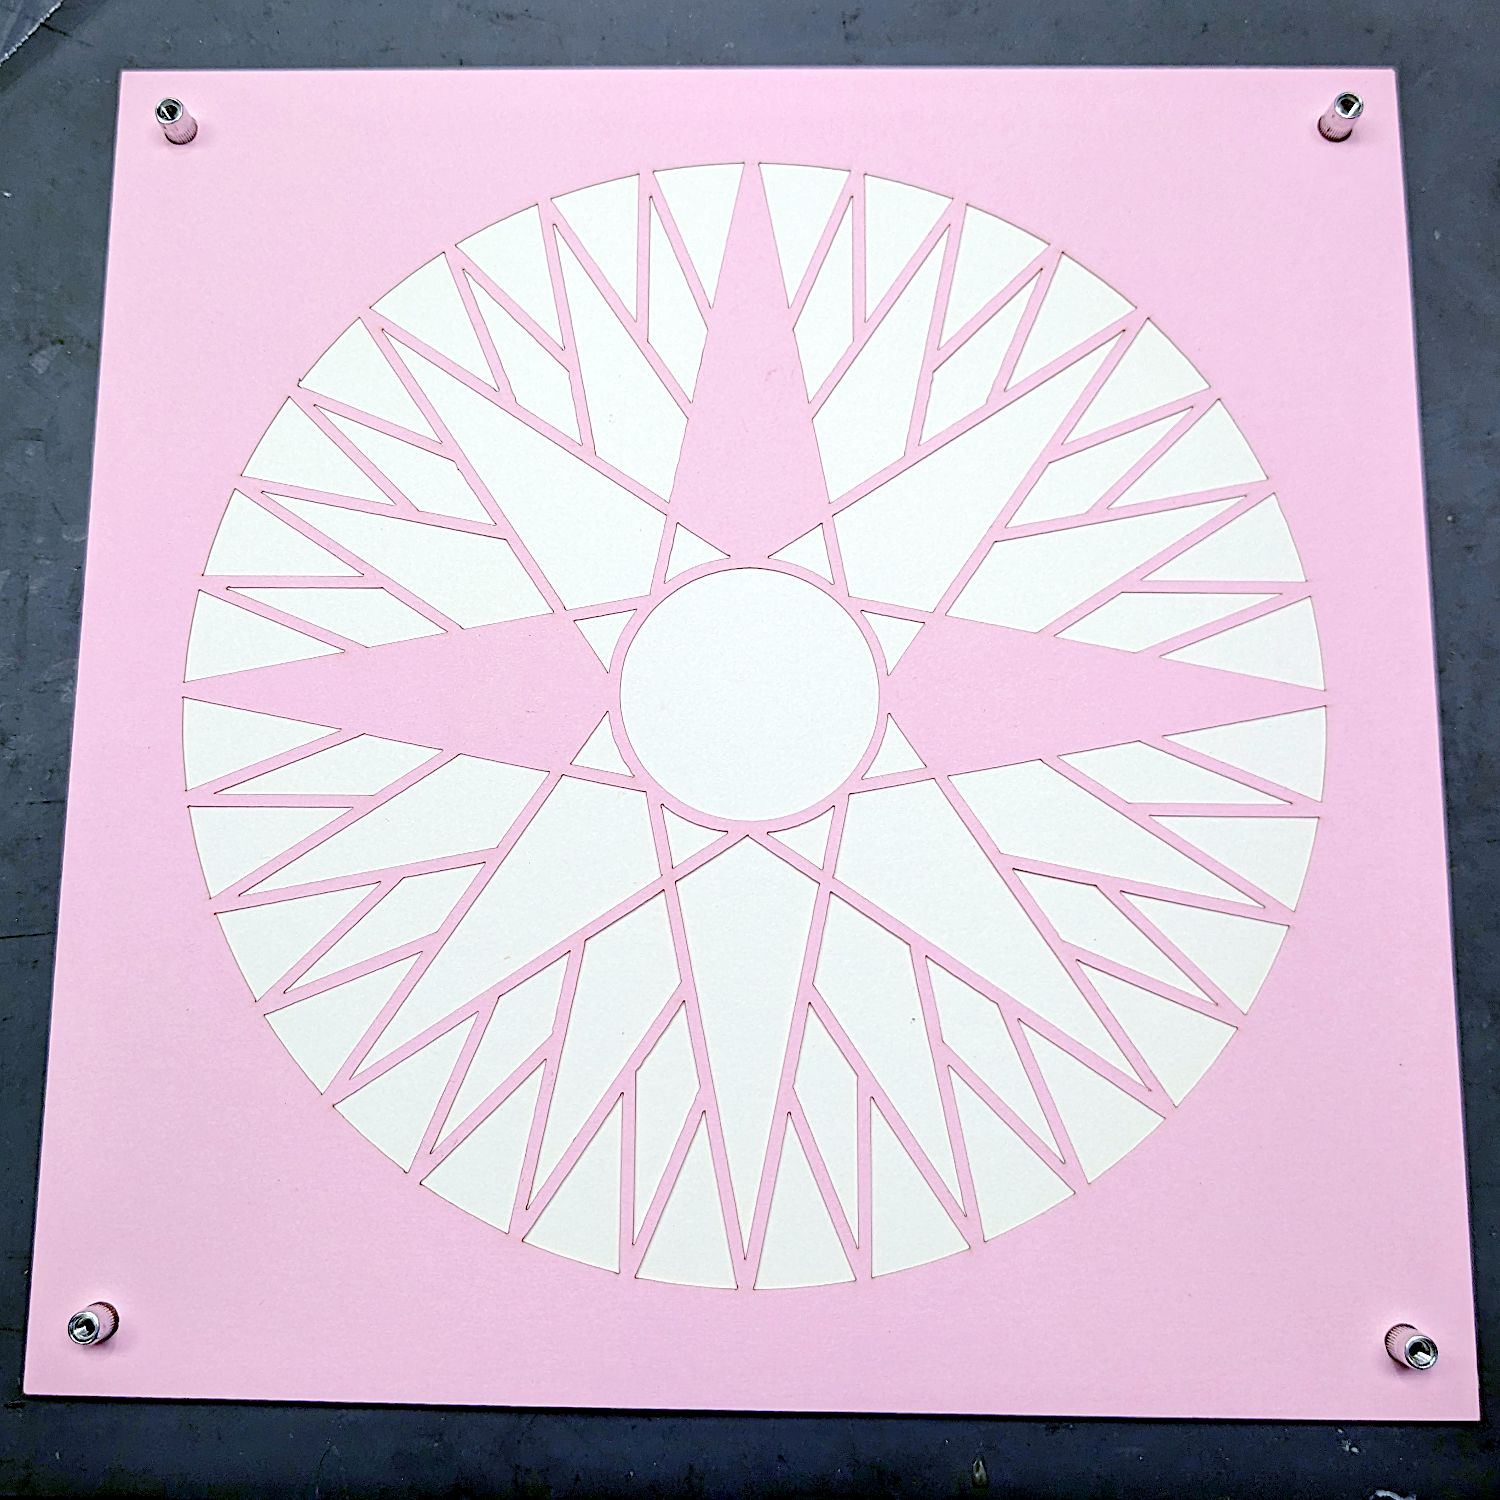
Cutting just a single sheet requires a fixture, as I discovered the hard way while making layered paper quilt blocks:

When all my mistakes cancel out, the results look great!

One nice thing with laser is that you can easily reproduce the same design on different sheets (given tight belts etc.). So stacking isn’t really necessary, except to save time (but as said, at the cost of lower quality).

I cut paper and cardboard (white is OK) with my 10 W laser, can be done with relatively high speed and low power (compared to wood). Useful to test a design at scale before doing it on a more expensive material. A downside is that the laser fan can blow away small pieces, blocking the laser for further cutting. Paper / cardboard can also bend, the laser head moved the board when crossing a rising part…


I did that for this designs (and similar), it helped me to spot where to thicken the lines…

For keeping everything flat, or perhaps stacking, I thought about lasering through a sheet of glass: the laser traverses it without affecting it and it would keep everything down and tight.
Downside: fumes can’t escape, it might have more charring? I haven’t tried yet…
And if too thick, might have issues with head distance / focus.

I’d like to hear how this works out… I’ve never tried it, but from my nosing around, it seems to work like indirect method onto the glass. So the glass gets shattered on the paper side enough to cause optical issues, lowering available resolution.

So … I’d love to hear from someone that has actually implemented the operation.

Good luck

:smile_cat:

Hi.

I tried that (keeping Gestetner stencil stack flat) briefly, but just as a proof of consept with simple lines, not for an actual cut.
It did work rather well -at least compared with cutting paper without the glass- but for large scale intricate cutting, the method is not quite as straightforward as one may think.
In my case, magnets on a ferromagnetic honeycomb bed worked better.
And because we tried to make actual Gestetner stencils to print with, the goal was not to actually cut the paper, but to evaporate the wax and leave the strenghtening matrix fibers uncut.
The results were somewhat promising (=not a complete failure), but we do still have a loooong way to go before we can actually use laser to make the stencils.

A honeycomb with fume extraction from the chamber below takes care of that.
I didn’t notice any difference on charring with or without the glass.

Less obviously without the carbon paper, with or without the glass :wink: .
While the carbon paper is esential in typewriter or matrix-printer methods as it allows instant proofreading and more importantly leaves an original archieve copy, it doesn’t quite work with laser.

As always with (hobby) lasers, the biggest obstacle IMO is the fact that there’s neither such material as glass nor paper for that matter, when it comes down to what will pass the laser beam cleanly through and what will absorb the said beam so the material more or less evaporates -rather than burns/melts- to produce a clean cut.

There’s literally a gazillion different ways to make amorphous transparent materials out of sand, and while most ways will produce perfectly passable see-through material for our windows and such, absolutely nothing guarantees that the same ways produce material that a specific wavelength laser beam can pass through unobstructed.
Because 99,999% of the time that’s not even a passing thought when choosing the most economic and profitable manufacturing method.

I’m pretty sure there’s such special glass material available to laser through, and I’m also pretty sure it’s darn expensive.

Obviously, anything hardened/tempered, surface treated or laminated for that matter can be left straight out, but that still leaves plenty to choose -or more precisely to try- from.
To try, because it’s very unlikely that one can dig up the wavelength specific material data for an ordinary sheet of glass, even if it’s straight from the manufacturer.

Same goes for the group of materials we have dubbed as “paper”, again a gazillion ways to press natural or synthetic (or both) fibers to form a thin and flat rectangular surface to write or print onto.

Put those two highly variable materials together and point a business end of the laser towards them, and it’s pretty much just a guessing game what will actually happen.

On the positive side, both materials are rather cheap and readily available, so all it takes is a lot of trial and error.
And lots and lots of time if a perfect, repeatable cutting is the goal.

Good luck :grinning: .

Regards,
Sam

:finland: