DIY Rock Tumbler - Acrylic Pulleys

These are Acrylic Pulleys I made with lighrburn and cut with a 40W laser. no other cad system was used. I have designed the actual Tumbler using Fusion360 and cut with lightburn but i needed bigger and interchangeable pulleys so i made these in lightburn cause there is no better way to get tips and to learn tricks. the more you use a software the more you understand it and work faster (and wish for some simple cad tools to make our LB lives a bit easier and more intuitive).

I started by nesting all parts using DeepNest but ended up nesting it by myself cause i felt like i needed better solution to suit my needs - tighter, better fit to my scraps collected from factory bins, and grouped these cause i cut, test, then continue cutting.

started with DeepNest

Then redesigned the outer shell of the pulleys and then manually nested inside lightburn

All pieces

Gluing the outer parts of the pulleys together with temp (not needed) bolts to tighten the layers for better adhesion.

Test fit

Next would be gluing the pulleys cores together and assemble everything together.
More will follow. Stay tuned.

What am I missing? Why are you doing split halves on the pulleys instead of one piece. That would be significantly weaker?


And to be honest - I wanted to strengthen my lightburn design skills, and the allegory would be:

2 Likes

Blockquote https://forum.lightburnsoftware.com/uploads/default/original/2X/c/cd2eab469293653af21a9a0765ed227efc84a583.jpeg

Tumbler looks great

Now here’s someone that could use a 3d printer.

1 Like

Necessity is the mother of invention. Uses things on hand to create a solution to a challenge.

Definition of a maker artist.

Cheers :beers:

Sasquatch

I Have two of those alongside with my laser cutter. Just finished first run of my DIY 3D printed Shaker made completely from scratch out of what i had in hand at home: 3D printer’s spare parts and 20mm aluminum broom’s handle tube. this is stage one. In next step I will order in a NEMA23 (what you see is nema17 which is not powerful enough for the load i want it to handle) and a TFT screen so i can use my old printer controller to run pre-configured gcode macros for specific shake profiles like speeds, accelerations, timers, etc…
So far looking really good.

ezgif-7-c734bfc6011d

:heart: :+1:

1 Like

I had a feeling you would take great advantage of a 3d printer. That design is awesome and very unique. Love the gears.

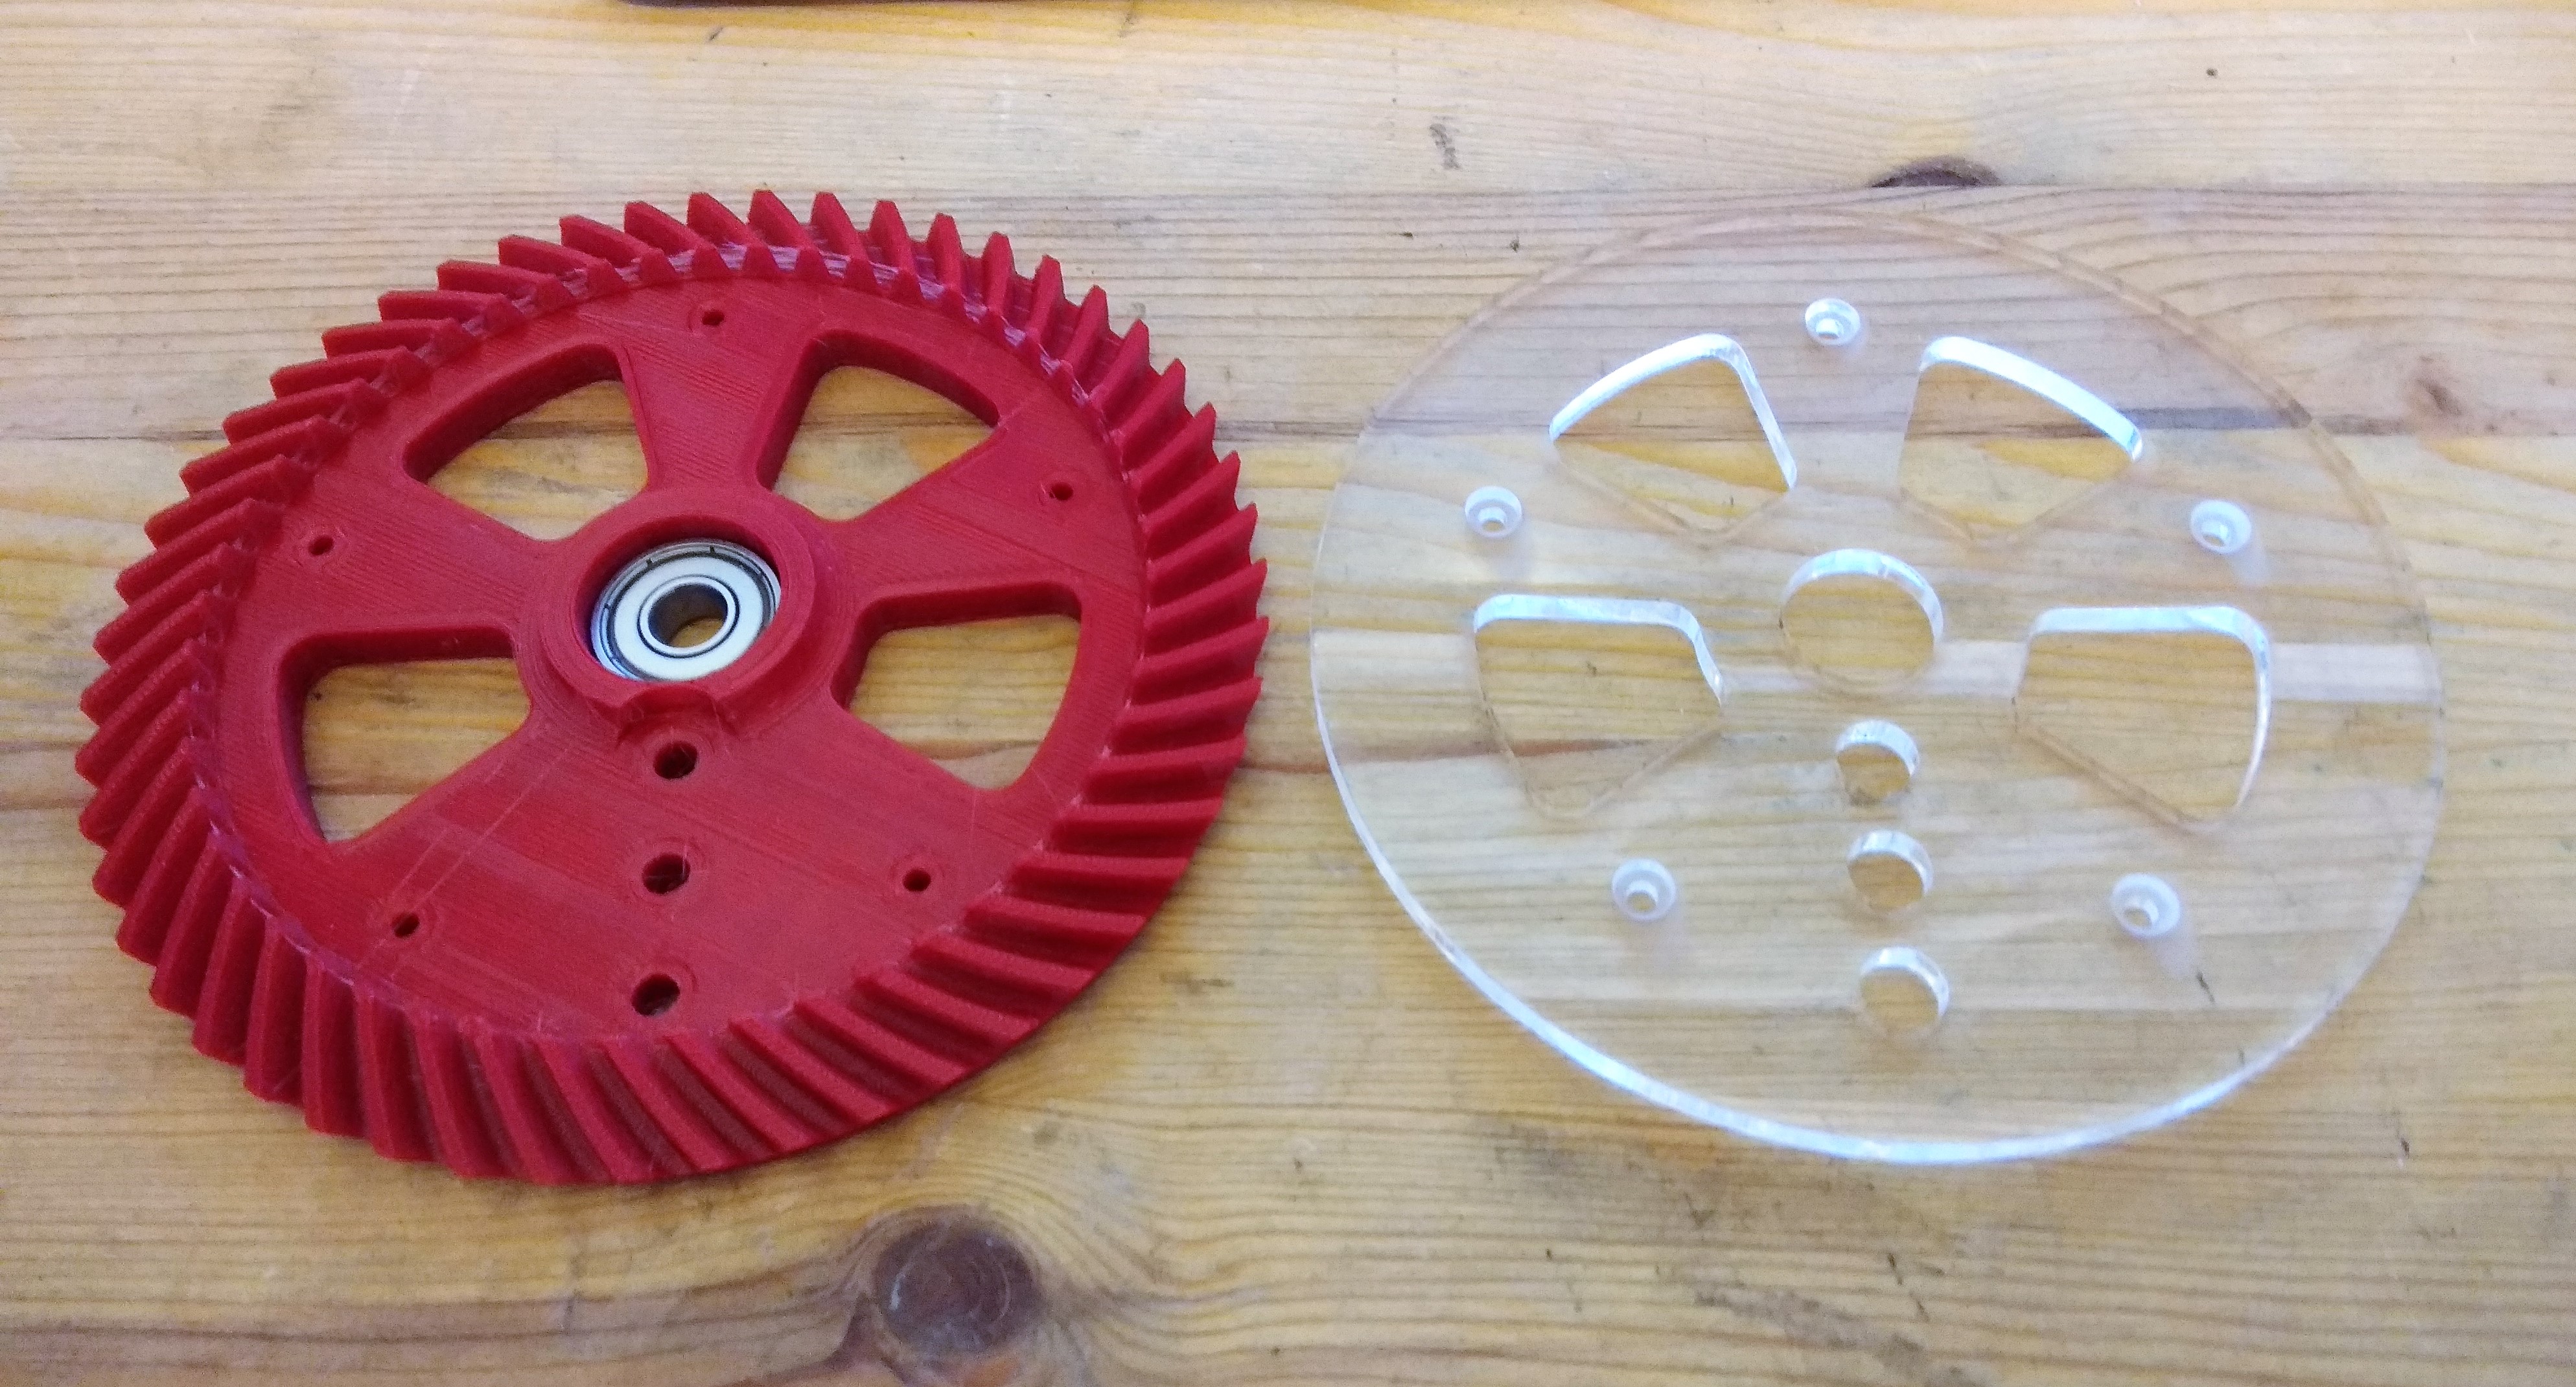
Gears are indeed cool. If you’ll look closely i have reinforced it with a laser cut acrylic flat bottom for making sure the connecting rod pin wont bent it (and if you look even closer you will see I have lasered recessed drill holes for the bolts nuts - so cool) and also for having it rotate on another acrylic rim bolted to the wood base for as friction-less operation as possible. laser cutters and 3D printers goes together like… Arts & Crafts.

1 Like

Hi Squid, just reviewed your post again and with more attention than at the first time. You are absolutely right, it’s great with this fill option.