Offset-Fill Acrylic

Today I made myself a new base plate for my mini router. The plan was to only mark the screw holes and drill and submerge them to the screw heads with my drill and the rest I will manage with my K40. As always, I do some tests before I get started on the topic itself. I thought it’s a bit annoying that I have to use 2 machines to do the task, so I tried something completely new - for me - Offset-Fill!
At 1000mm / min and 4 mA and with 170 LPI, the Acrylic is “powdered” and I get the finest cylindrical cavities for my bolt heads. (3-5 laps, all depending on the desired depth) Of course I could now also cut the holes for the thread itself. At the same time I used the cut-out hole from the front as a template for the back, here I also had to make two recesses to be able to operate the router from the top when it is integrated in my work table. I am very happy with the result and fascinated by the options I have with my little K40 / Mini-Gerbil and of course LigthBurn - love it!

The only thing that could be missing is, with offset fill, the laser always stops burning for a very short time, when it reaches the top, it results in a small thin fin that I manually remove. I do not know why it interrupts the laser even though it continues to run, but it does not ruin my excitement.

The Acrylic itself is 8mm thick and I cut it very slowly at 250mm / min and 12.5mA.

3 Likes

Nicely done.
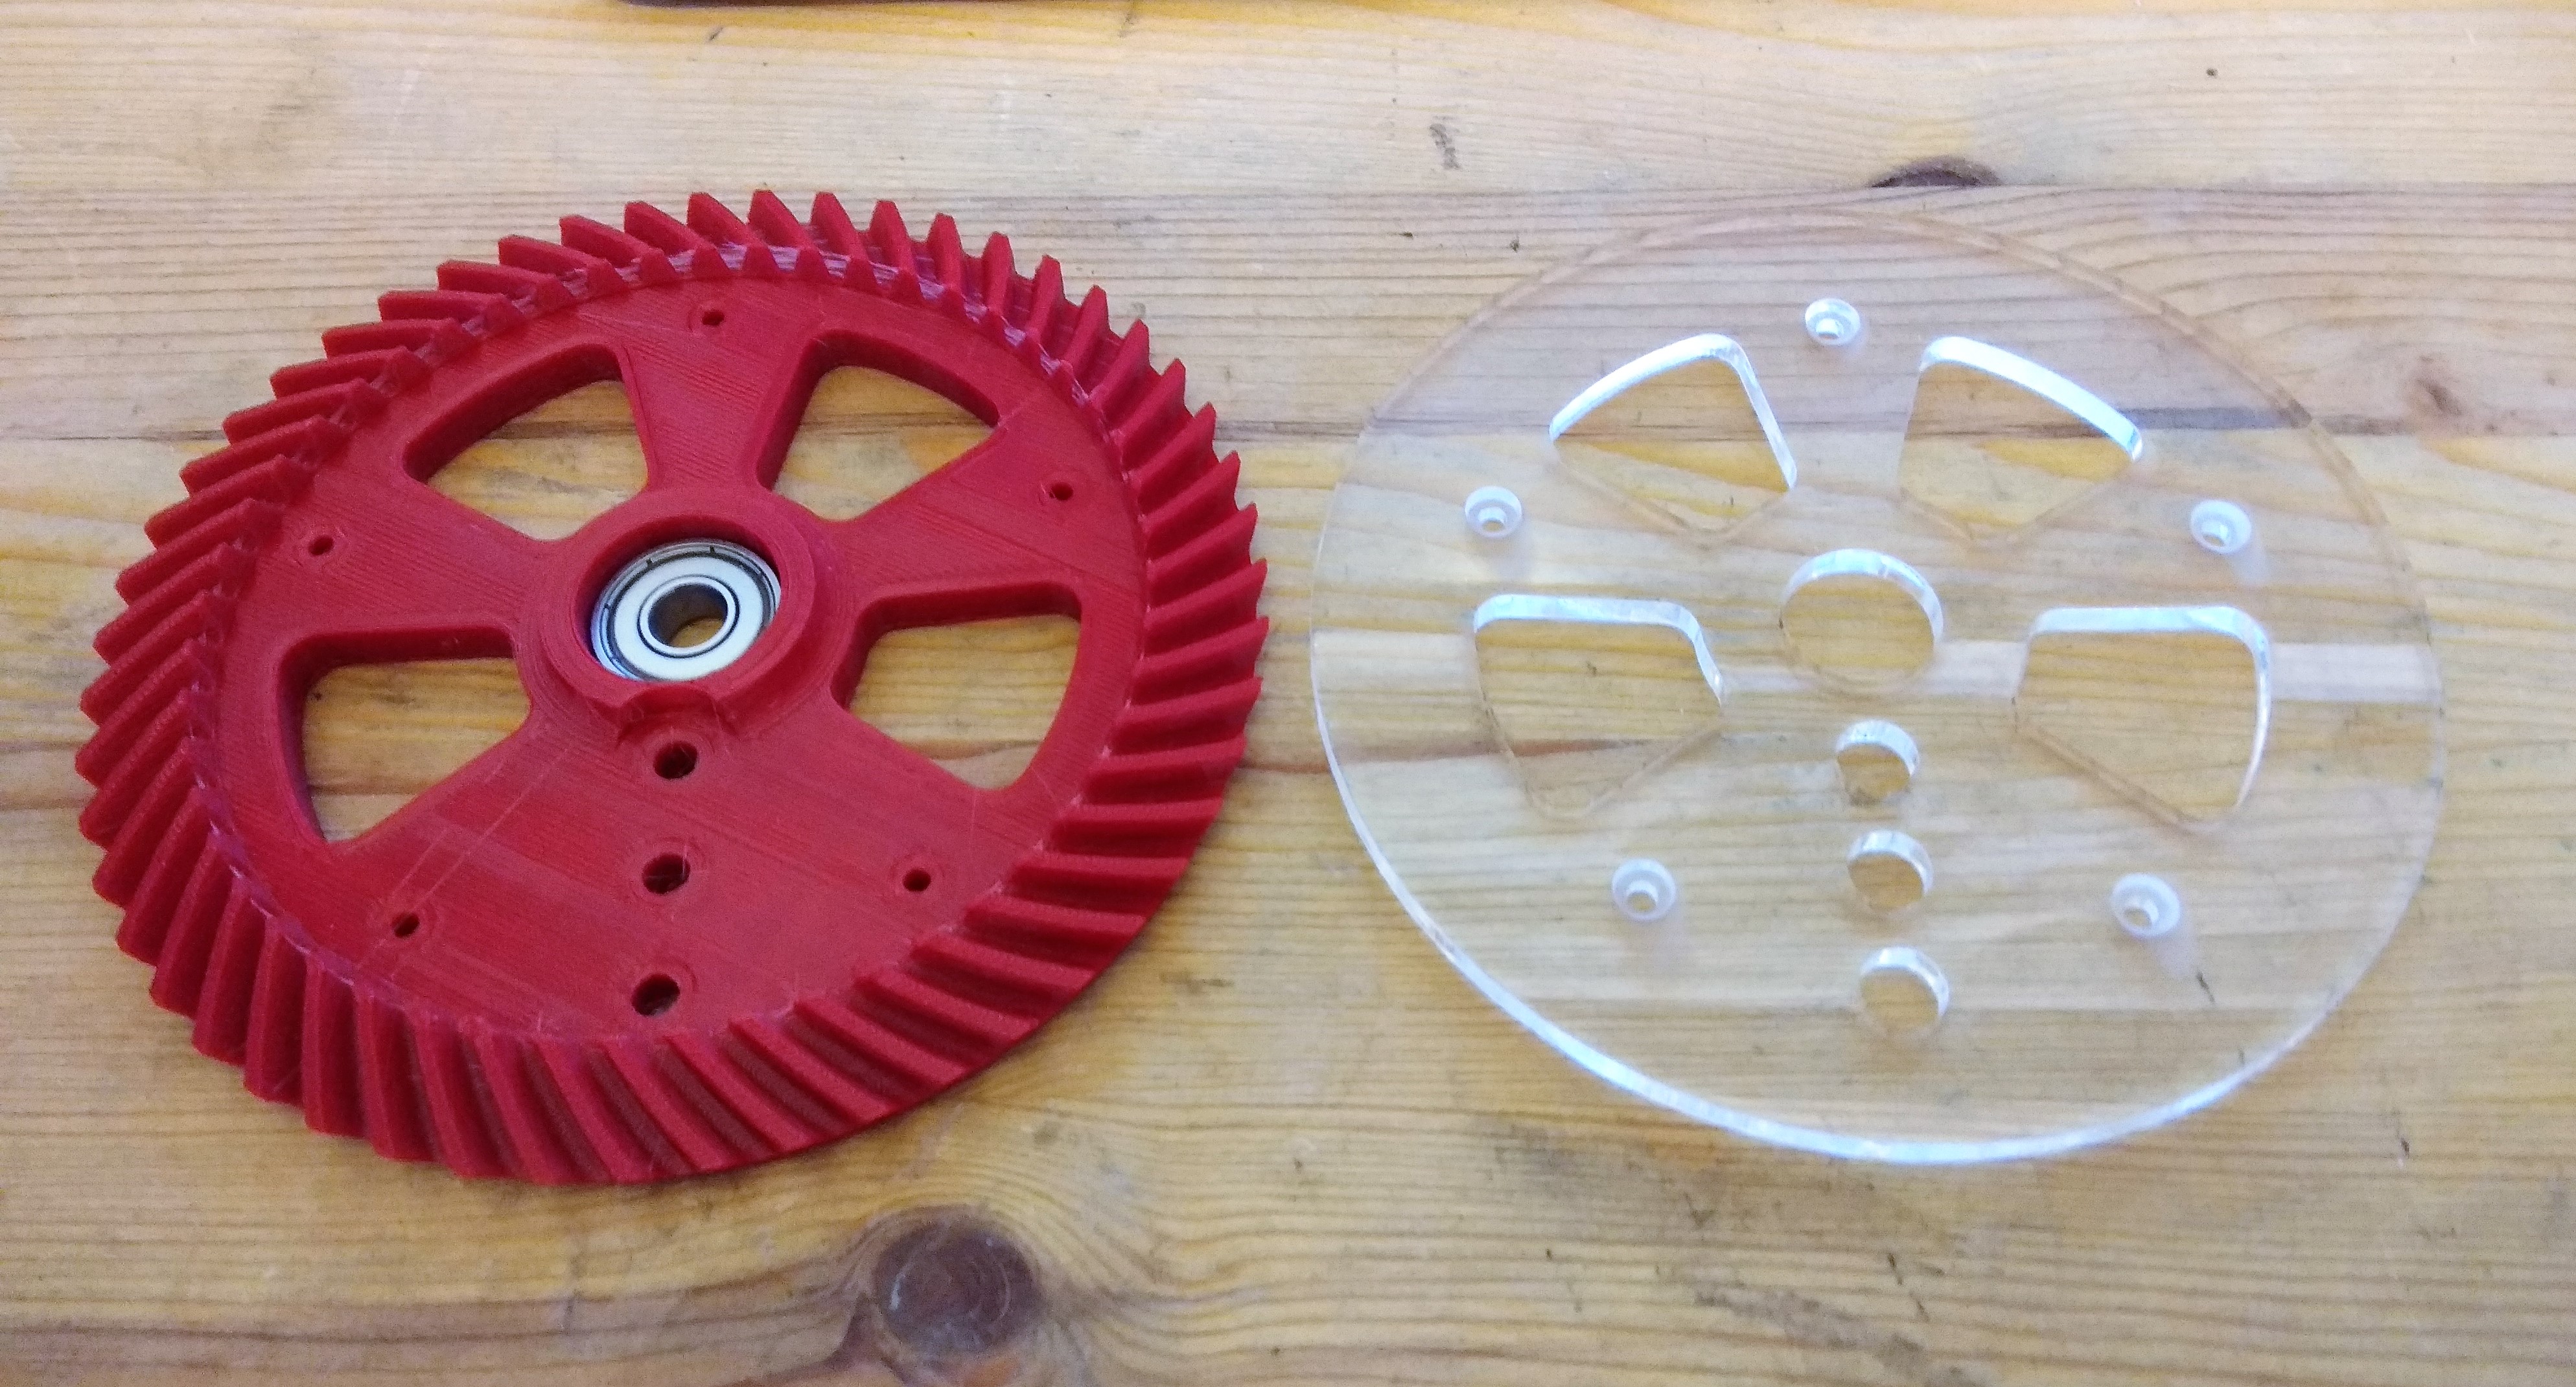
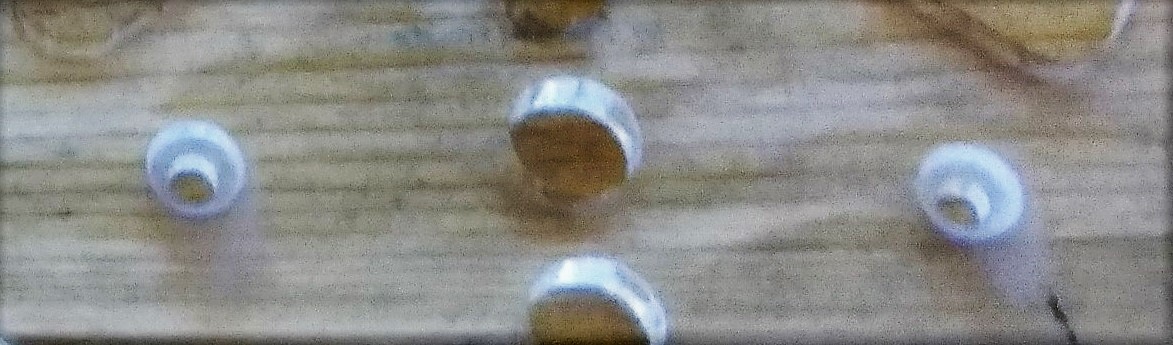
In this project of mine I made recessed drill holes using fill. works like a charm.

This is because you’re using GRBL with a CO2 tube, and GRBL, when it ramps down to a stop, also lowers the power of the laser (when using M4 / variable power mode). If you use ‘Constant Power’ in the cut settings, that may help, though it will cause a slight hot-spot at the starting point, because the laser will turn on at full power, instead of varying by speed.

The Gerbil version of GRBL might have a setting to control the minimum PWM value, and if so, you could raise that slightly to just below the firing threshold of the tube, which would allow you to use Variable Power mode, but might eliminate that thin sliver at the starting point of each pass.

1 Like

Yes, I saw your original post, but did not notice that you also used fill - just amazing with the options it gives us.

Thank you very much for the tip, I will definitely try it.

This is an awesome tip and something I’m definitely going to test out. As for the laser stopping at the top, would it be an option to finish with a cut in Line mode at the same speed / power as the fill, but add a small overcut to remove the fin?

Thanks for your suggestion and interest, it might also be an option. I will just start with what Oz has mentioned and also look at your proposal as an alternative.

For a couple of years, I have used the normal fill for the same type of work (to create a void in material for counter sinking fasteners). I have even been successful in making inlay voids.

1 Like

I might be able to shift the start / end points of successive ‘rings’ so they’re in-line instead of introducing a sharp corner. If I do that, the laser would not need to stop to move to the next ring, and that would likely prevent this gap. It will take a little work to find good candidate points, but we already code like this in the main cut planner, so I should be able to just re-use that.

1 Like

Nice job! That’s proper lasering, right there!

I really want to start doing inlays. Too little time…

Is 90 ° countersink possible?
Layers from the outer circle to the inner circle.
Next outer circle to inner circle is a layer.
20 circles means 20 layers to engrave.

I do not really know if we are talking about the same thing, but if I make a submersion for a screw head I have used offset fill on a single separate layer. Speed and power must be defined so that the material does not melt but is “powdered”. With the number of passes you determine the depth itself, I mean I used 3-4 pass to evaporate the material to the bolt heads.

… and yes they are 90 degrees, very fine

What you describe is a counterbored hole.
What I mean is a countersunk hole.

grafik

It was lost in the translation, what I mean is counterbored hole. Countersunk hole we also have to play with, it will be interesting if it will be just as nice.

I never used ramp feature before. could this do the trick?

Just tried CounterSink - Yes, You can (I just did) :wink:
Needs a bit more tweaking but looks promising. It’s very hard for me to take a picture of the result. I will try to post some shortly. Might try Grayscale for better results but grayscale is tricky with Co2 lasers.

Maybe it works without picture.
Just set a ramp.

1 Like

Yes, Ramp should work but i never tried it before and I am not sure how my gcode controller will handle it. i made a small test and i do get the funnel shape but not as a perfect circle.

I just made a very nice countersink using ramp.
Bottom line is that this is doable.

1 Like