Download a working profile for neje master 2s

after lots of teething issues, i am pleased to share a file that you can import as a machine profile that should help you get up and running; please confirm this works if you use it, as i have no easy way to re-check it on my machine that is already using the same profile

https://drive.google.com/file/d/1Vgjt95I4WaoVb7xotgiqiYDn8Y5ac7rM/view?usp=sharing

in the “laser” window, click “import” and use the file above

IMPORTANT ! after the import, you will need to completely close and re-start lightburn for this to write to the grbl initiation file i believe (that bit took me a long while to finally grok)

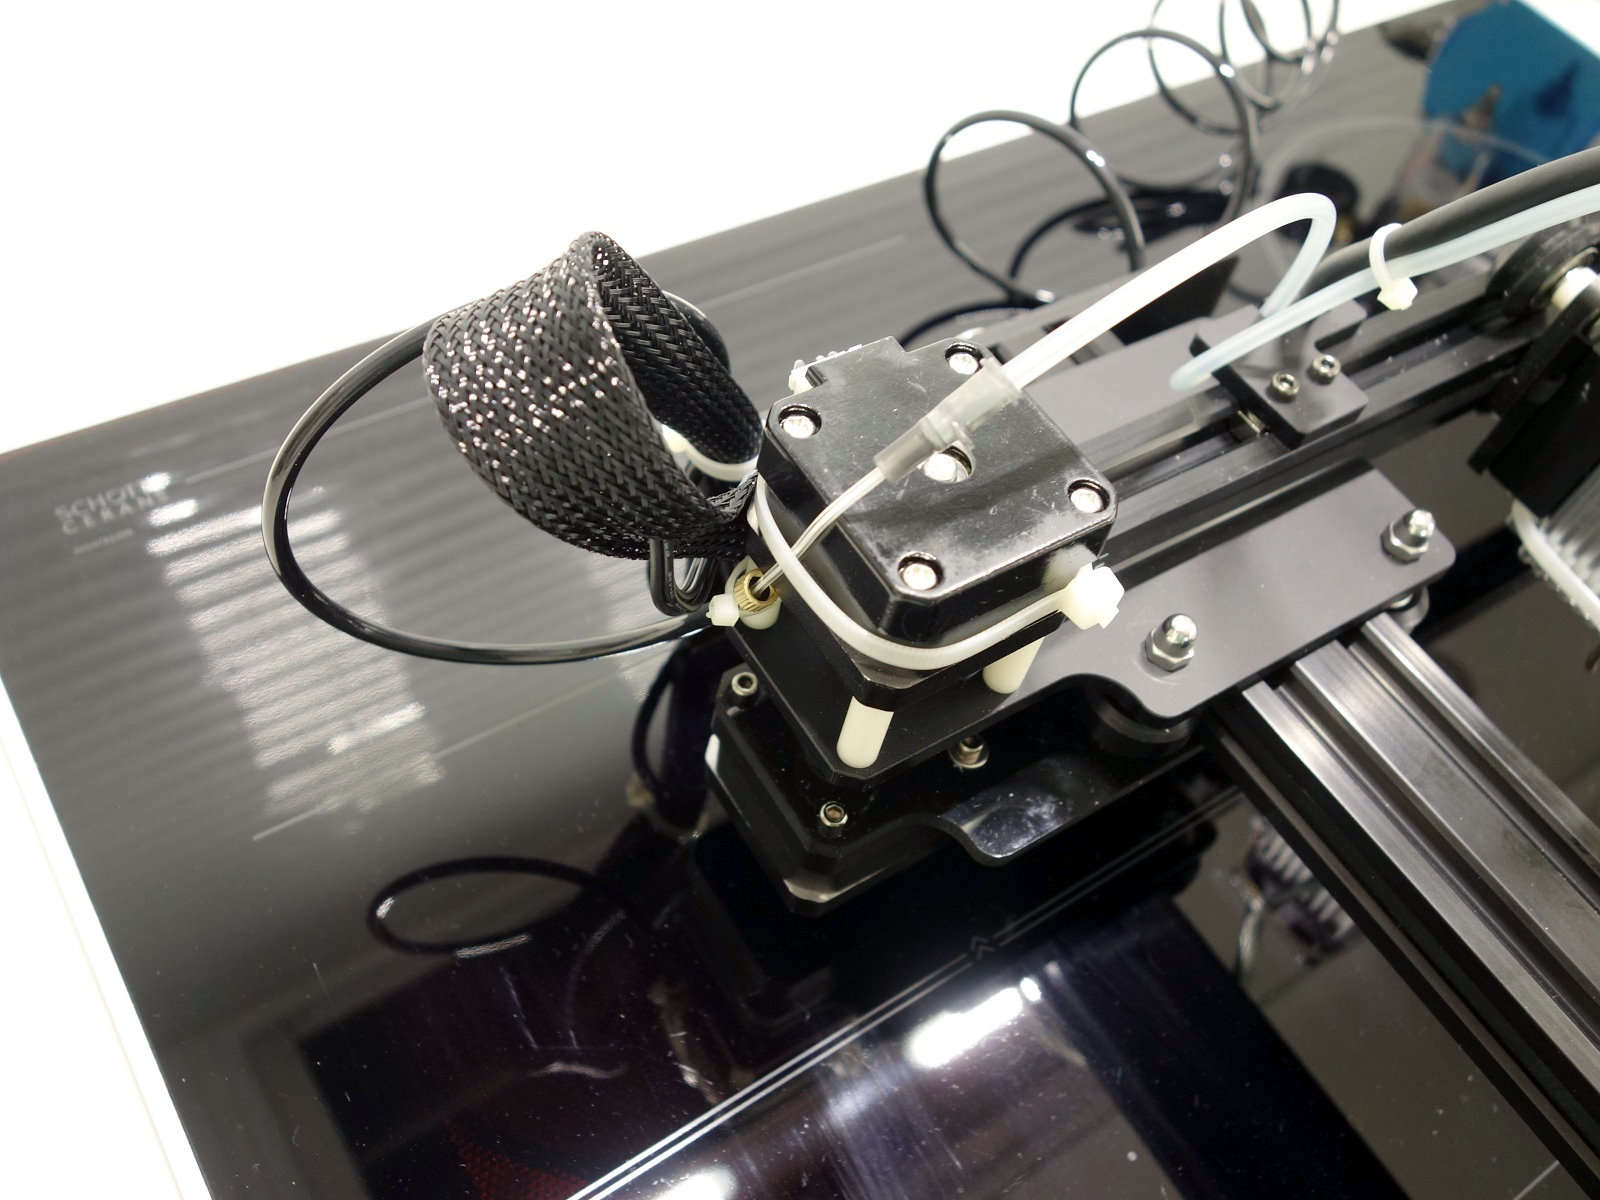
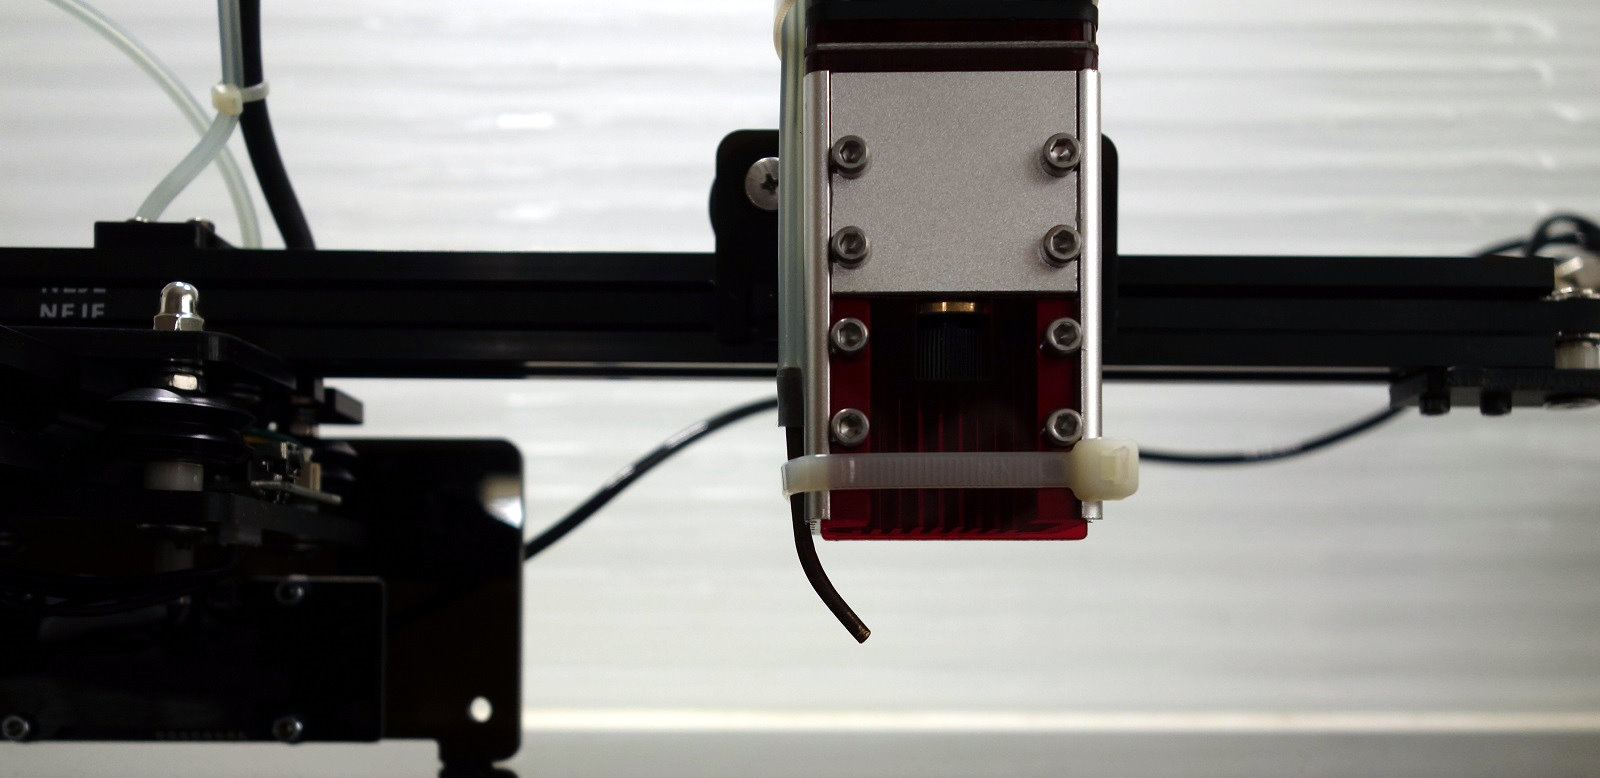
the laser work area defined by this profile is not the full 170x170 mm that the gantry traverses; it is 170mm in the x-axis and 155mm in the y-axis, as i have a newer laser module ( NEJE N40630 Laser engraver/cutter Module kits - 7.5W output)
if you are interested in that module : NEJE N40630 Laser engraver/cutter Module kits - 7.5W output – NEJE.SHOP

the dimensions of that module are deeper and broader than the original model, and the full movement of the gantry in the y axis will result in it hitting the support which is seen at the bottom of the attached photo

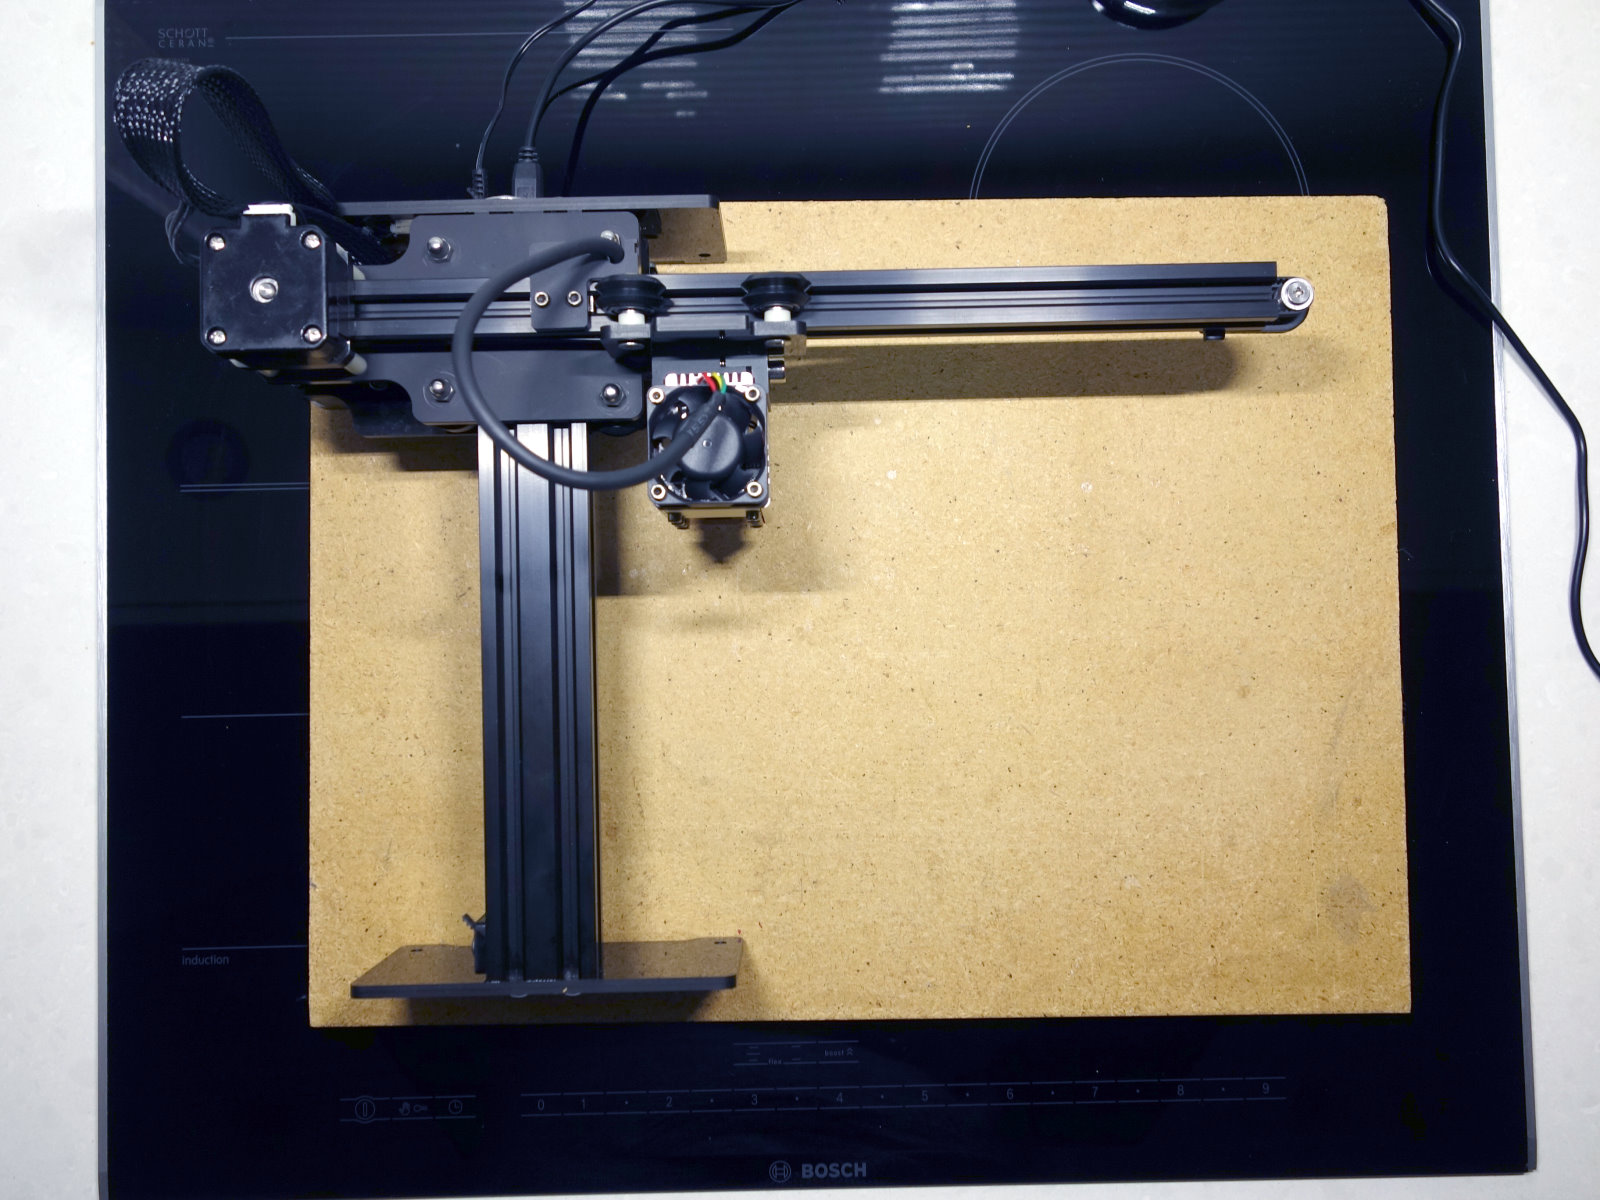
with the included profile, the gantry stops just short of the frame, and is slightly onto the edge of the sculpfun honeycomb base that i use, which is perfect for this machine

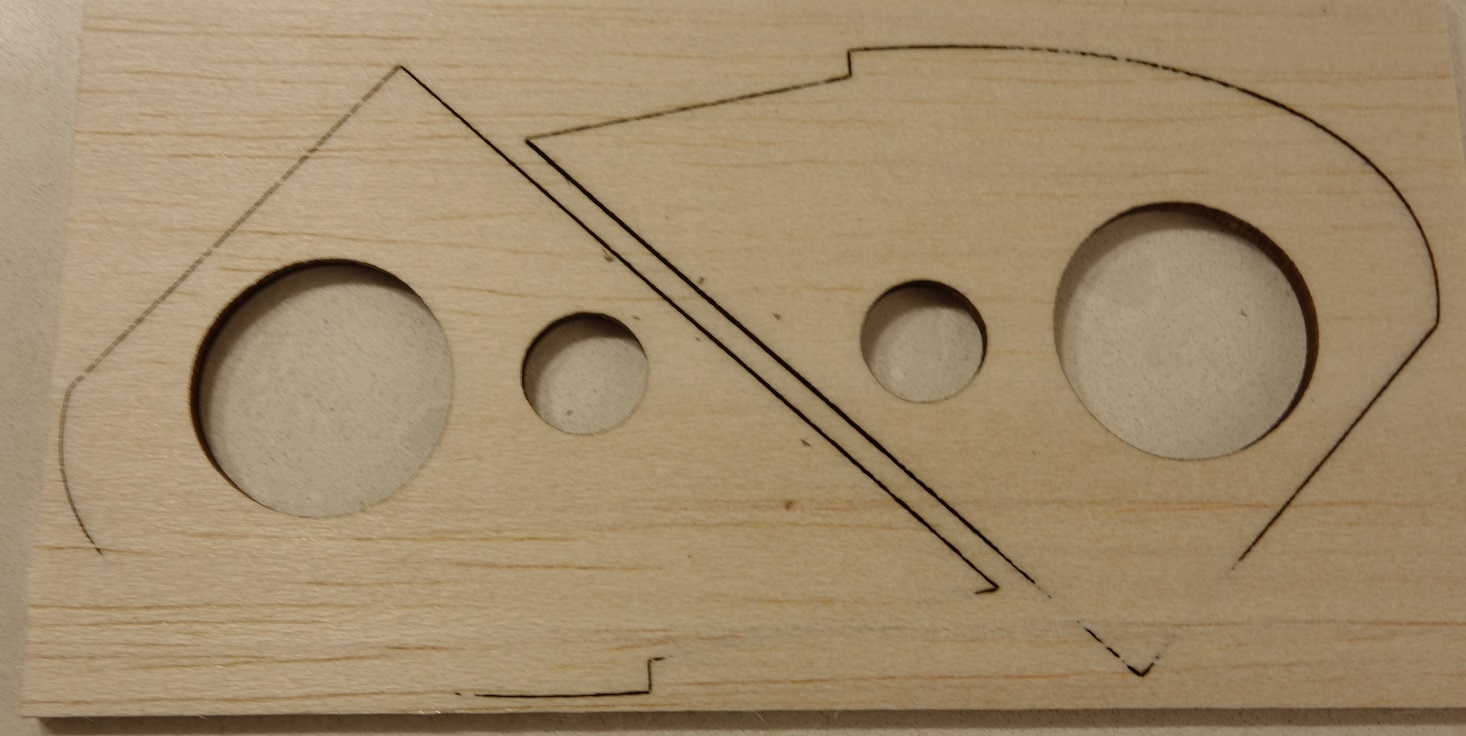
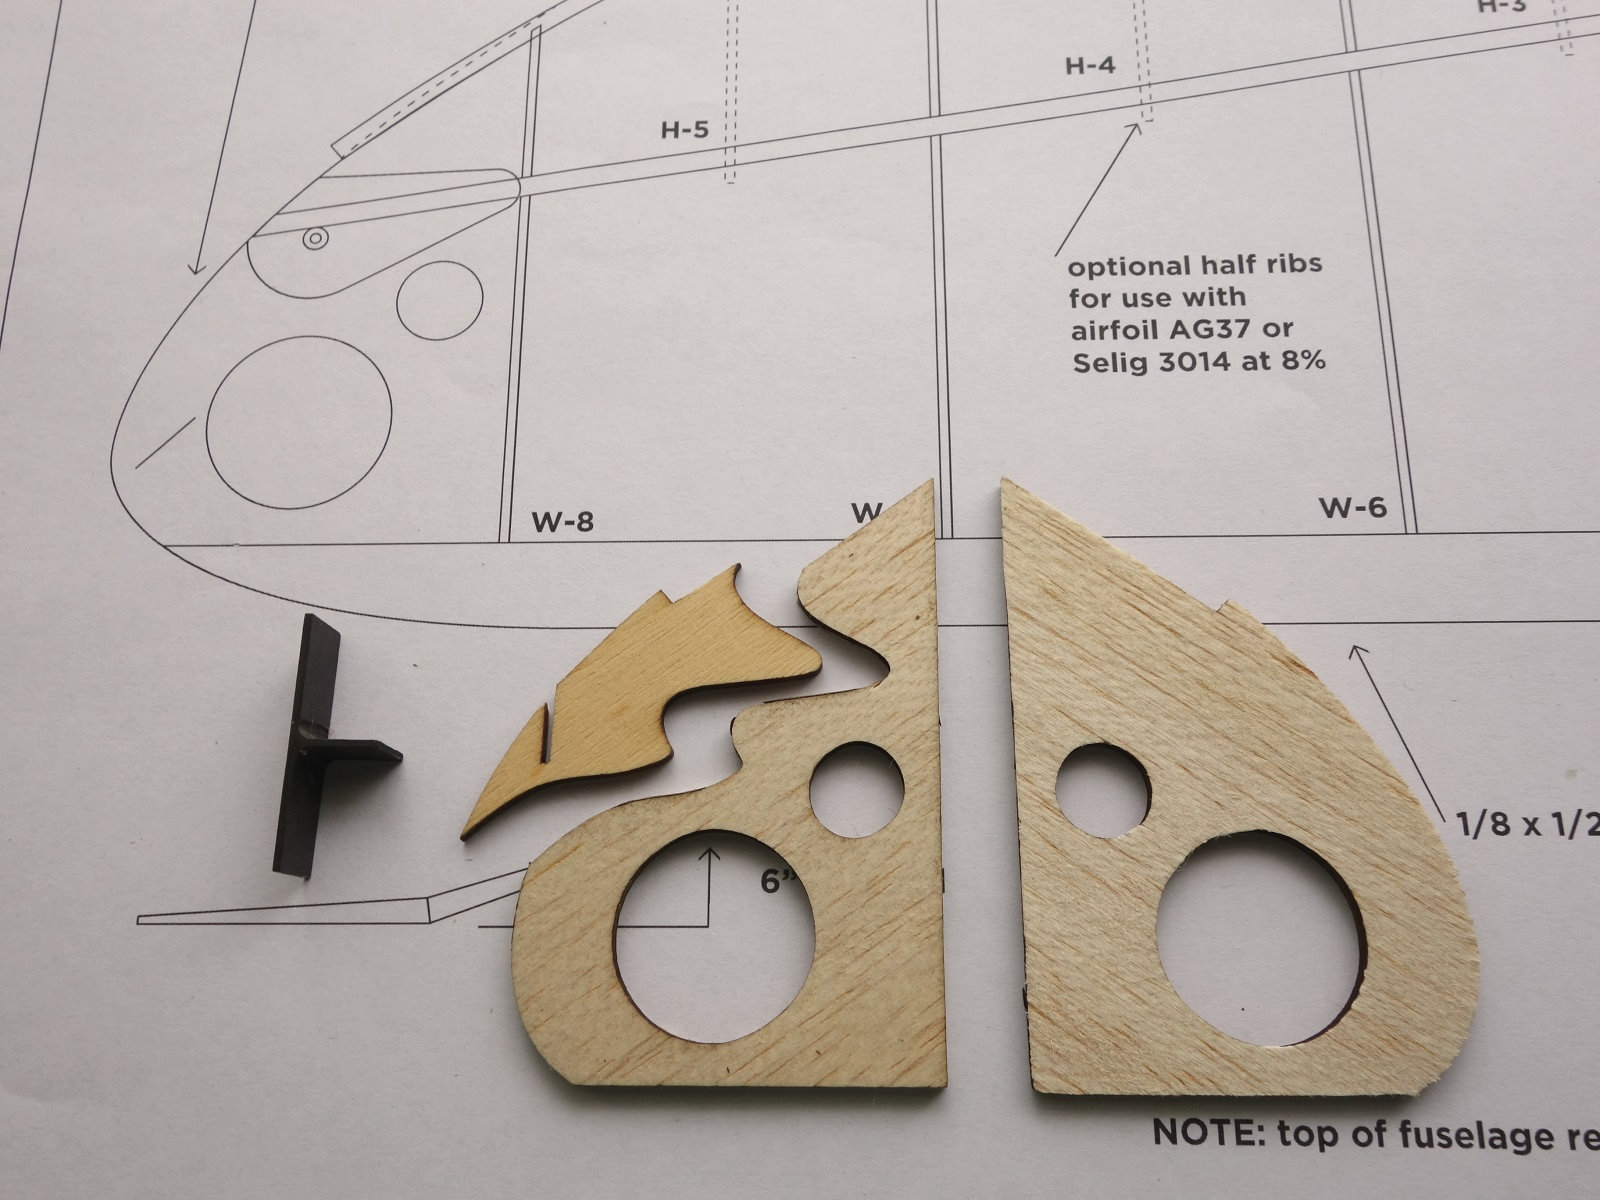
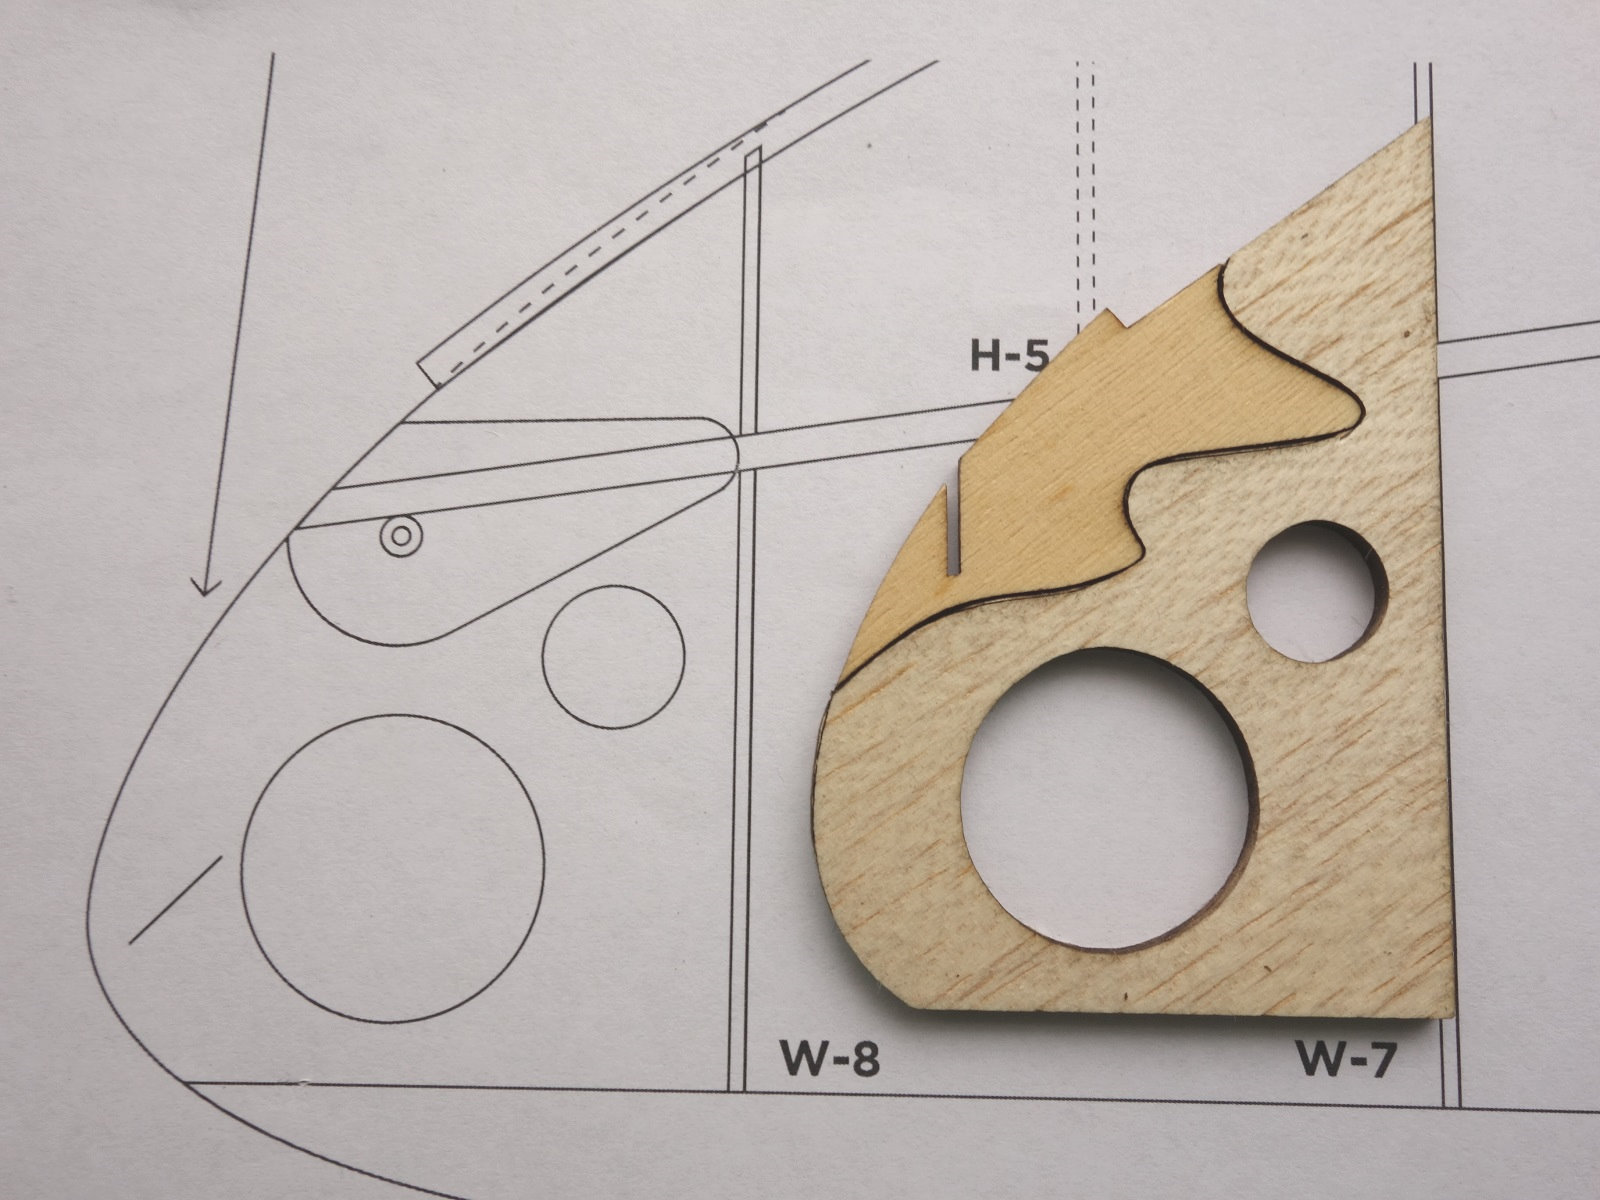
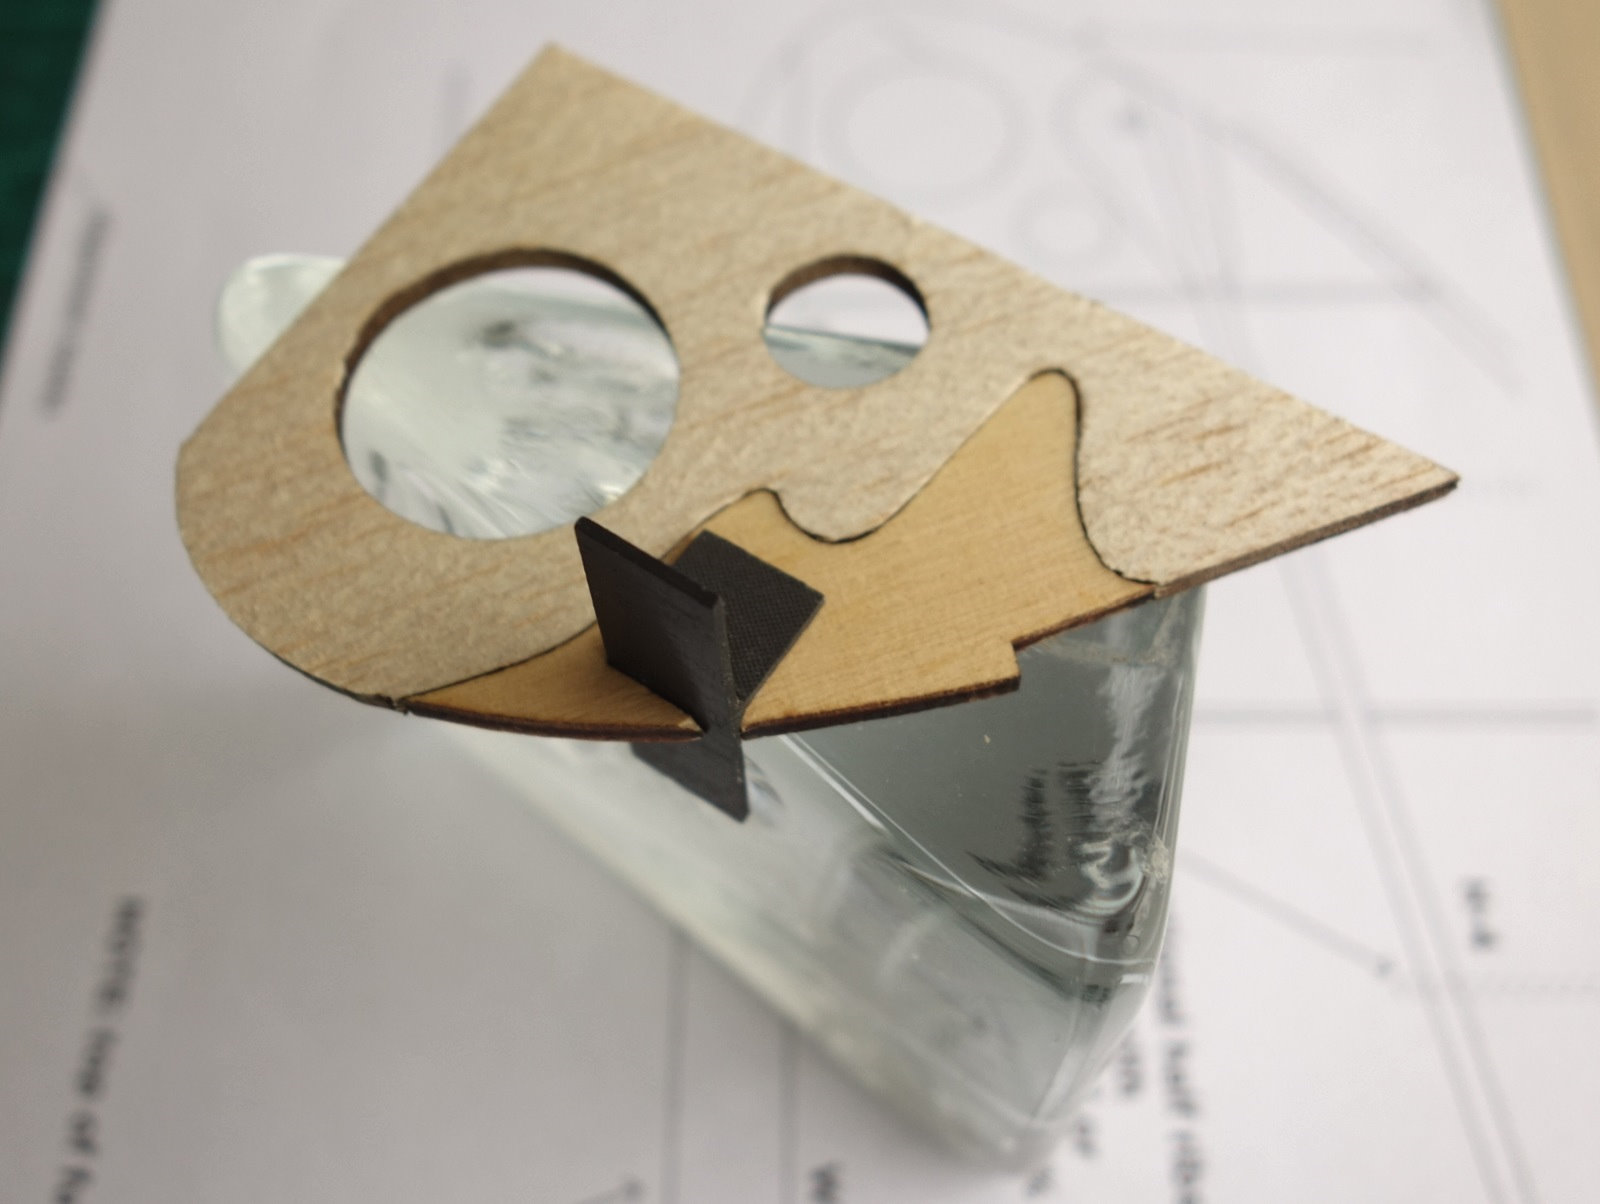
as my primary task for this machine is cutting balsa for flying models, the loss of height is fine, as balsa sheets are at most 6", but usually 4" or 3" wide

any parts larger than the available 17cm will be cut by old school x-acto blade :wink:

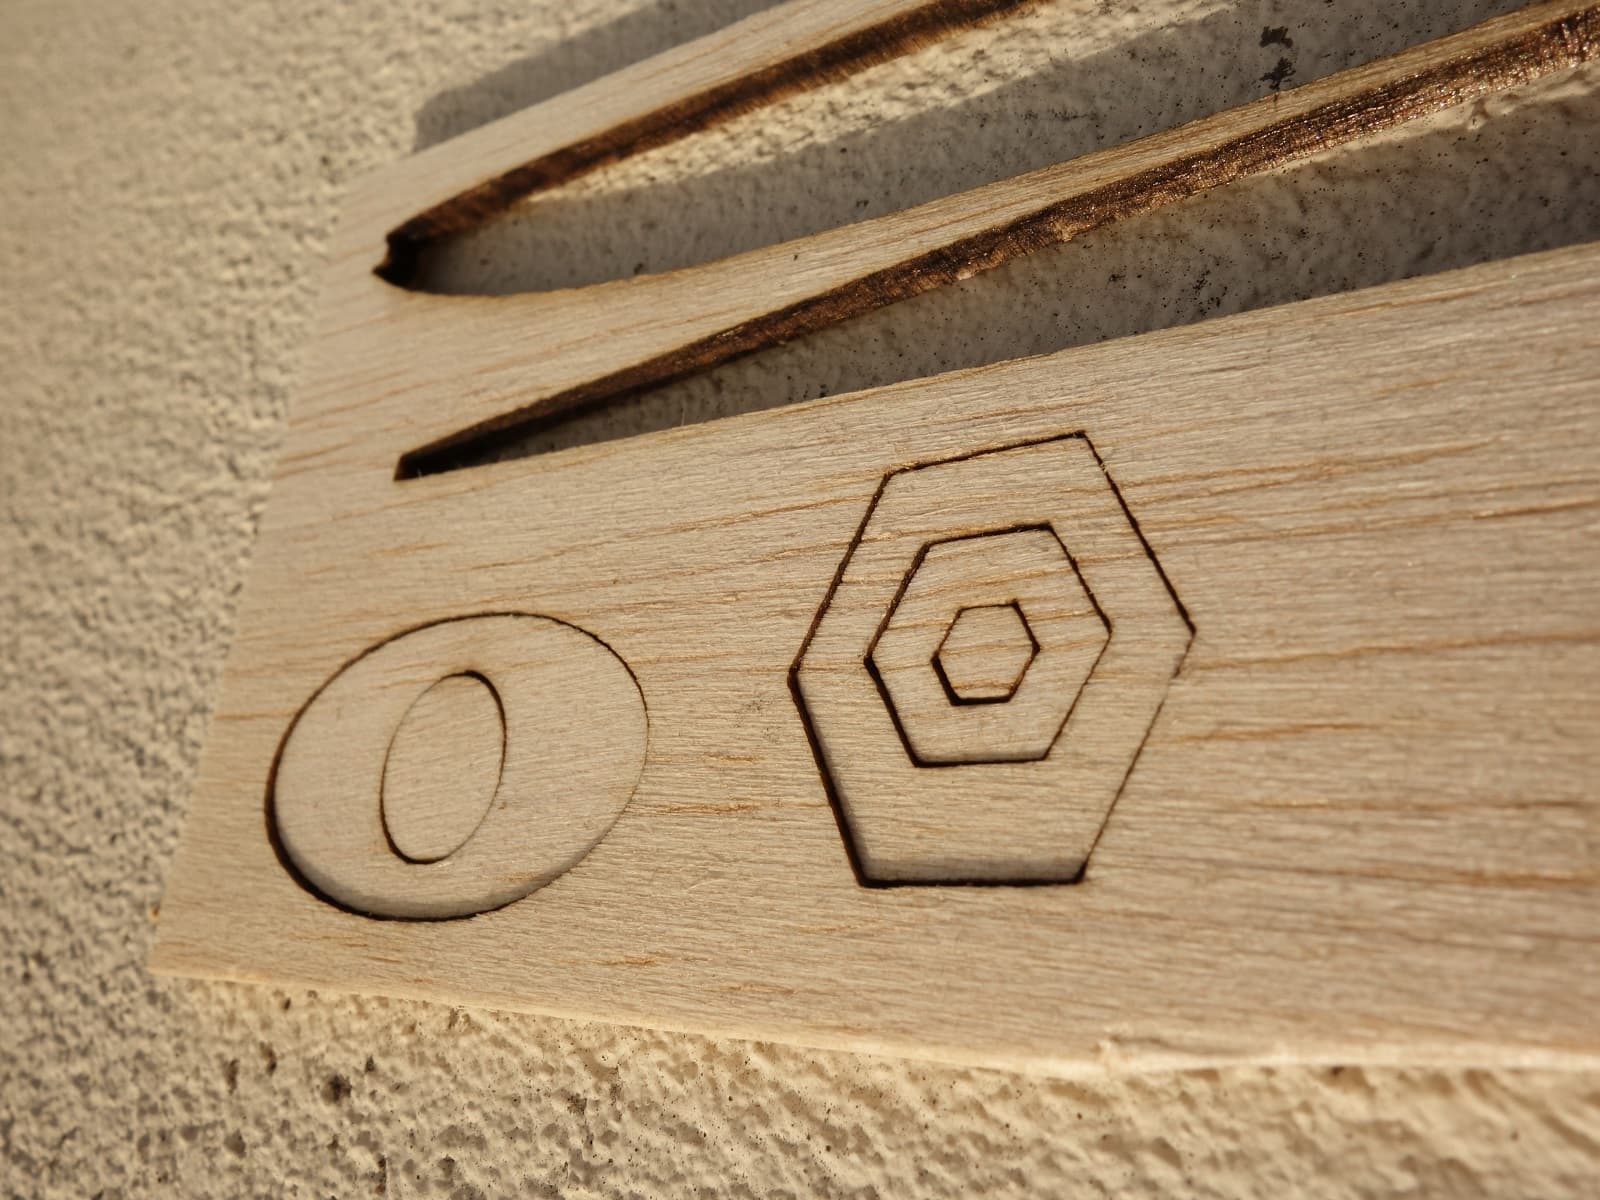
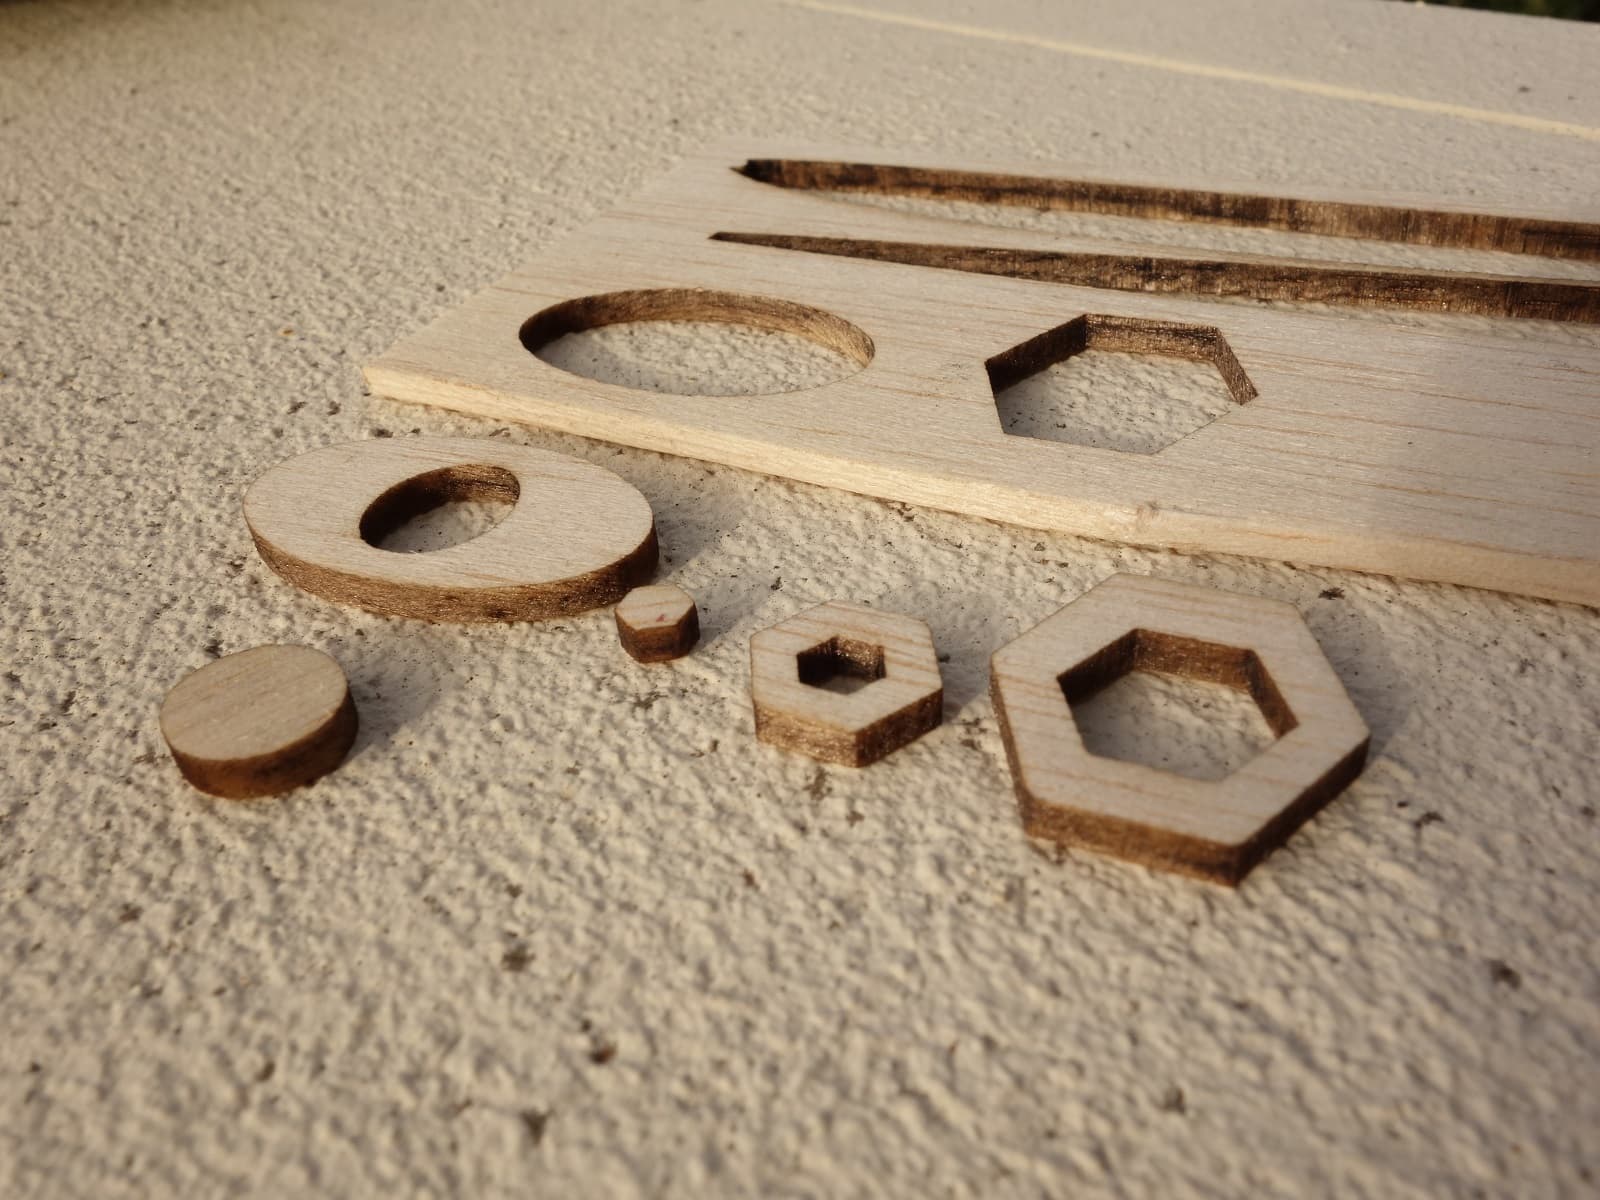
this is the perfect tool for ribs, and light ply (and heavier ply) formers - it easily does 1/8" hard balsa (7 passes at 80% at 35mm/sec) with barely any scorch on the edges, and will be even better with air assist

hope this helps other people just starting on the journey

2 Likes

The wing parts, do not seem to show burn marks, are you using Air Assist?

not at all on those cuts

i macguyvered one with the “20w” (5 watt) laser module i used before i killed that module (that’s a sad story) and it indeed cut even more nicely. but the 7.5w module at 80% and 35mm/sec speed is amazingly clean - helped no doubt by the honeycomb base i cut over, and an extraction hood above (the kitchen induction top is under a very good vented model)

the initial cut is this clean in hard 1/8" balsa stock

the recovered parts either fall out, or press out cleanly as shown

the edges are excellent; the scorch visible in the rib cuts is due to the line being not defined as a single line, and the laser oscillates in small sections, heating it too much but still doing a pretty slick job - this was the setting common to both sessions; the better trace demonstrates the improved outcome in char minimisation - there was no air assist- selecting the box can’t magically create a part that i don’t have currently, and is for more upmarket devices with built in switchabe air i would think

that problem will doubtless disappear once i get better at importing the trace as a smooth centre trace, and will be even better again with air assist (waiting the necessary 3d printed part in the new year)

this combination is seriously capable for aeromodelling duties

1 Like

few more pics to add to the display - wingtips

i have been trying my hand using inkspace to import drawings, but this effort was a freehand trace of the wingtips from an imported image using line drawing and editing nodes with that as the template

apart from some miscalculation on scaling due to relying on windoze clipboard to make a pdf into a jpg, the process was good - i resolved the size problem by simply scaling the vector map i had created freehand, till the measuring tool showed that my part was effectively “correct”

same 7 passes in (a different piece of) 1/8" at 80%

initial cut finished :

after lifting the sheet, the inset cuts fell through spontaneously

back of the blank shows incomplete “cuts” which are easily sorted with a sharp blade

this thing is just magic for my requirements

couldn’t wait for the printed part for air assist, and i’ve gone the full macguyver as an interim measure

it does surprisingly well given the air flow is quite restricted by the current connection i have had to fashion, but hey ! it works, although i think the non-lite ply will be much better off with more vigorous nozzle pressure

anyway, pics worth 1k words below with brief captions

the works - self explanatory really

the compressor to gantry connection - the chokepoint for air flow currently, but still manages an audible hiss at the outlet

tethering and distal supports

the business end - silicon fuel tubing (from stock for a 0.5cc diesel from my youth, and a 1/8" brass tube with bespoke bend, rammed in the end; the zip ties seem quite adequate for the task

the results :
1/8" light ply and medium balsa composite wingtip for ~1m discus launch glider, my own mods on the less aesthetic simple doubler and carbon tube - the throwing peg (to be shaped) is carbon fibre composite


1 Like

This topic was automatically closed 30 days after the last reply. New replies are no longer allowed.