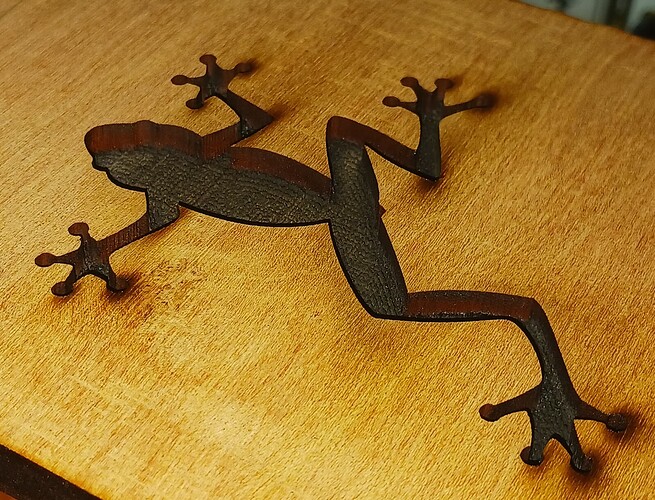
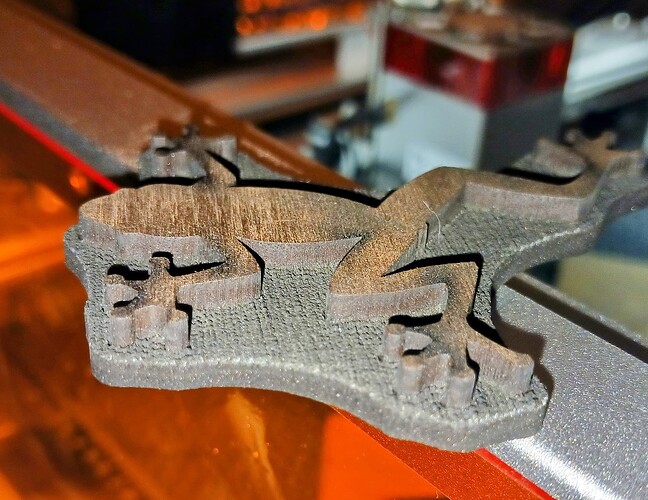
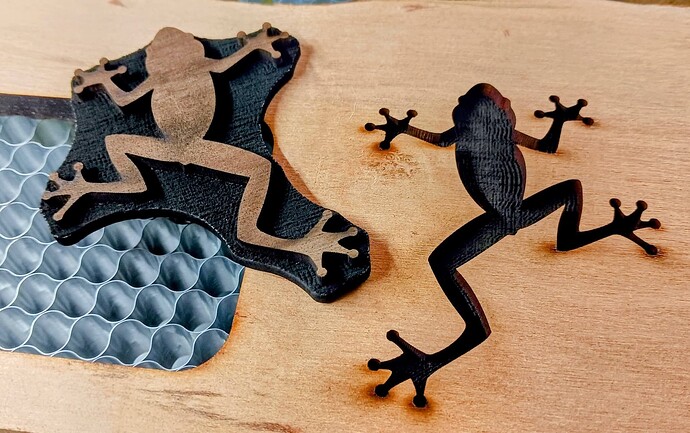
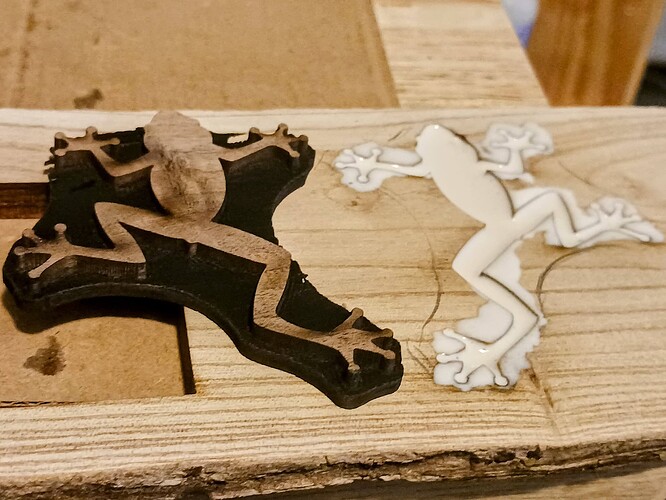
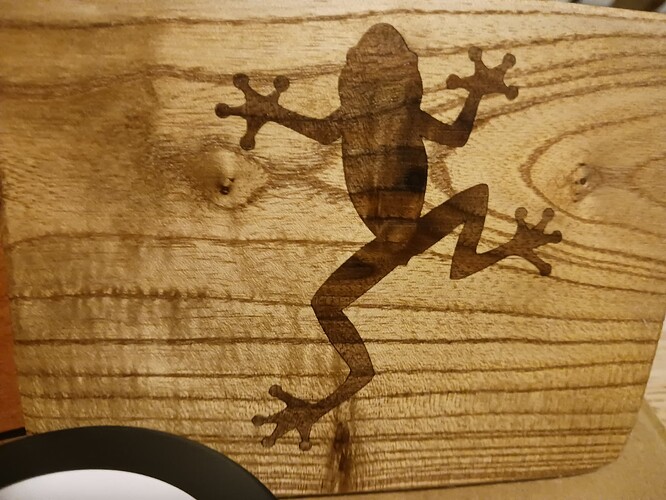
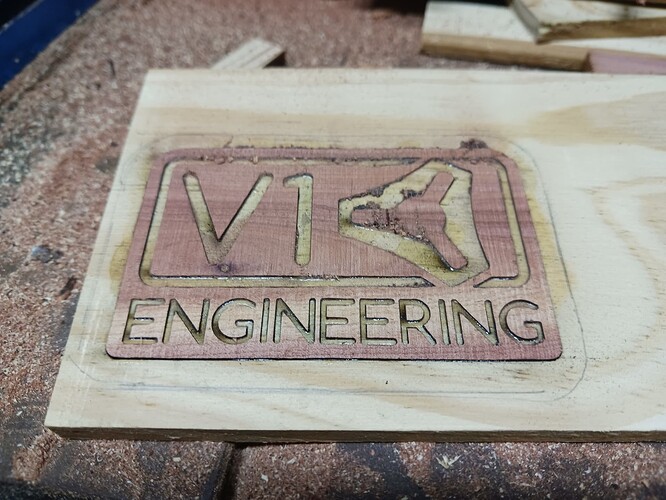
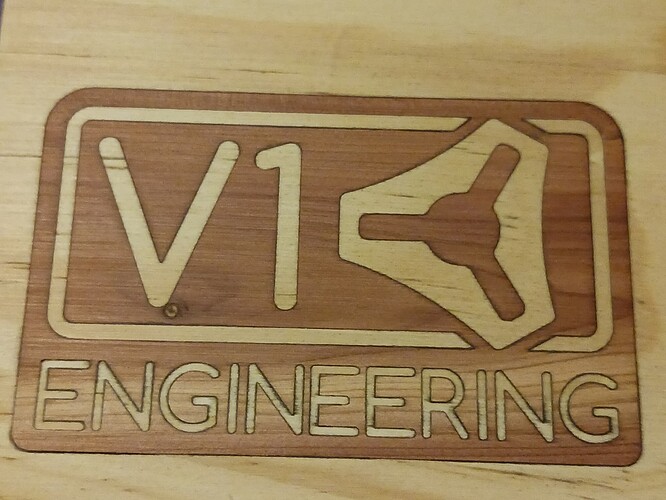
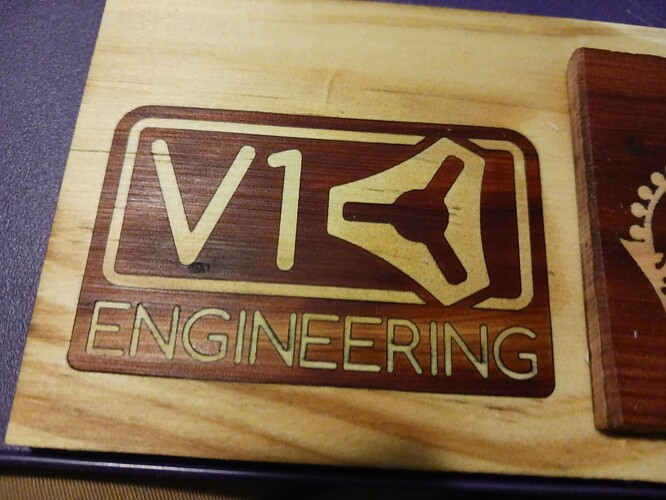
Thanks! I was amazed it could be done in 38 minutes, until I saw the Cuts window has your speeds instead of mine. ![]()
This is really amazing and helpful, do you mind sharing the process / test method you used to determine the engrave depth? This is where I’m really struggling. I see a lot for diode but not co2. Thank you!
Thanks for the kind words. TBH I don’t really worry about the depth of my engraves as long as they are at least a few millimeters deep. With the close fit and relatively straight sides of the pocket and inlay piece, it takes a good amount of clamp pressure to get them to engage more than a couple of millimeters during glue-up. If it should bottom out that’s fine but as long as I’ve got a couple of millimeters engaged, that’s okay, too.
I can’t speak for a CO2 laser as the easy inlay method was developed with a 30W to 35W diode laser. If you can measure and compensate for the kerf of the CO2, I suppose the method should still work. The woods that I commonly use (walnut, maple, catalpa, pine, cedar, etc) consistently engrave 3mm to 4mm deep at 2000 mm/min and 100% power with my Atezr 36W and LaserMATIC 30W diode machines.
Hope this helps.
– David
Seeing all of your beautiful inlays is very inspiring! Keep up all the great work!
Can be quite humbling… ![]()
![]()
I used to have a CNC router and liked to make inlays with it. One thing I would do is apply a coat or two of sealer or varnish to the female piece before cutting it. This made it much easier to remove the glue squeeze–out when removing the excess male part.
Question: What happens if I do the same with a laser cut inlay? How does applying the finish first effect the female cut?
Edit: I am going to see what happens with two coats of Minwax Polycrylic on the 3mm plywoood sample that came with my LaserMATIC. I’ll report back after it dries and I make the laser cut.
I’m not sure I understand your workflow… but it appears that you are prefinishing your pocket (female) piece and then trying to preserve it during follow-on operations? Is that because your pocket (female) piece is plywood?
The following is my basic easy inlay workflow. I use solid wood exclusively so can stand several extra sanding steps as required. Nothing is prefinished…
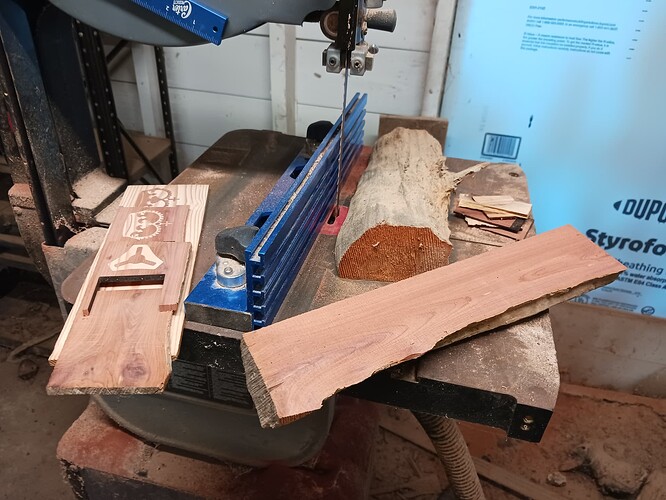
I first bandsaw small planks from raw stock to rough thickess…
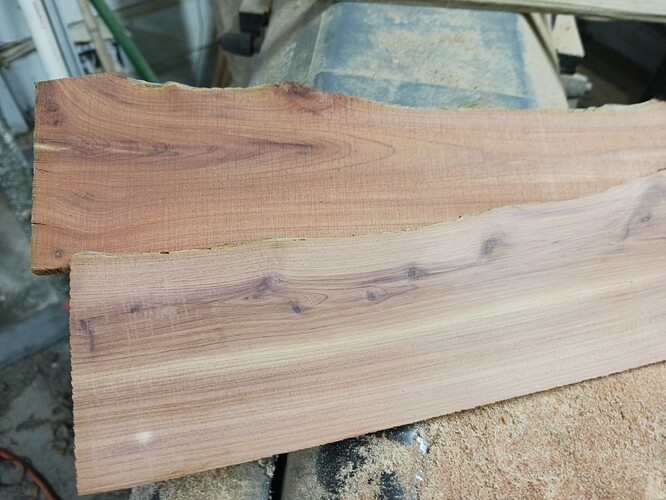
and then belt-sand to remove most of the saw marks. Bottom piece ready to laser…
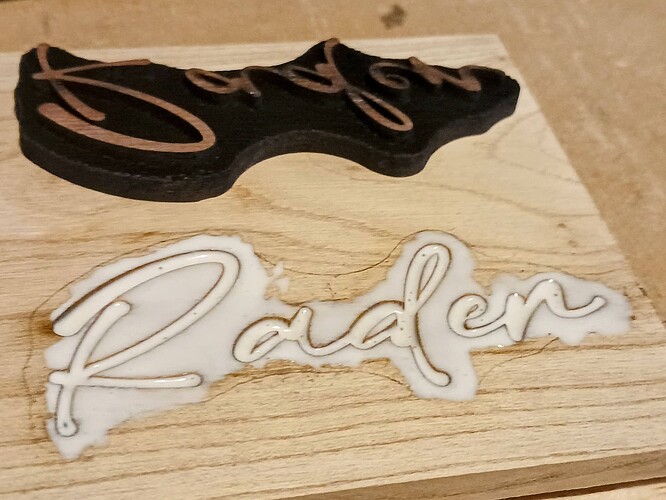
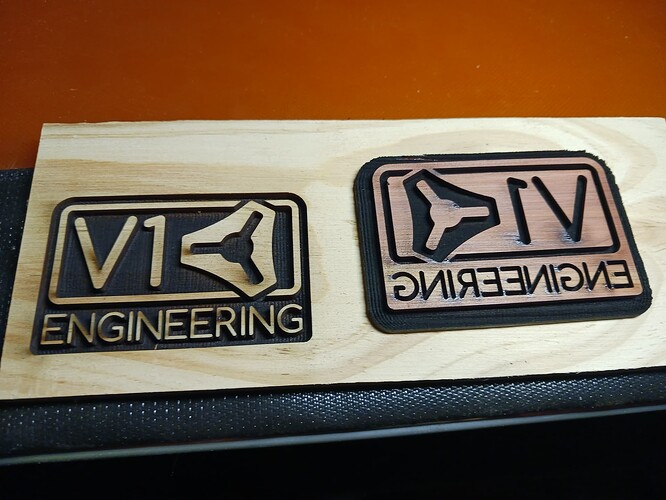
Laser the pocket (female) and inlay (male) pieces – left and right, respectively…
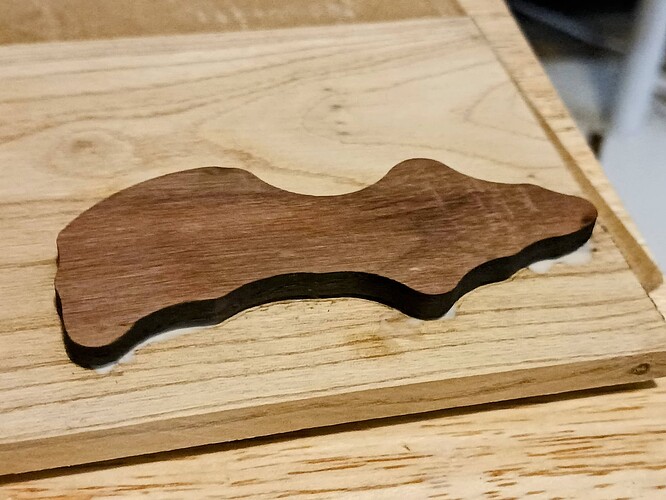
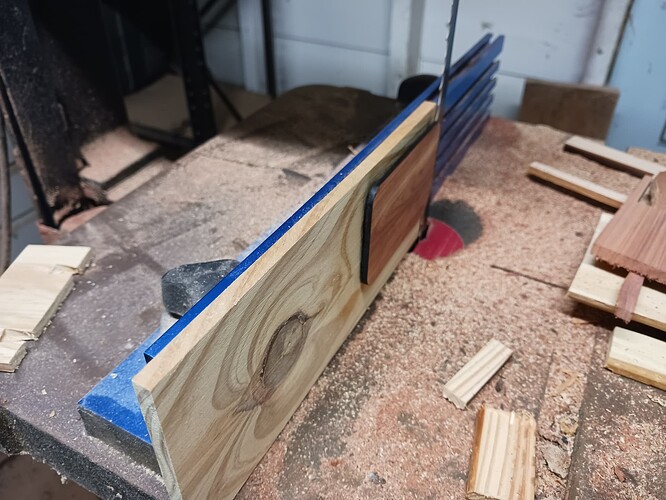
Glue up and cut away the excess inlay (male) part, staying in the waste…
Remaining inlay and glue squeezeout get belt-sanded away together…
Now ready for finish sanding…
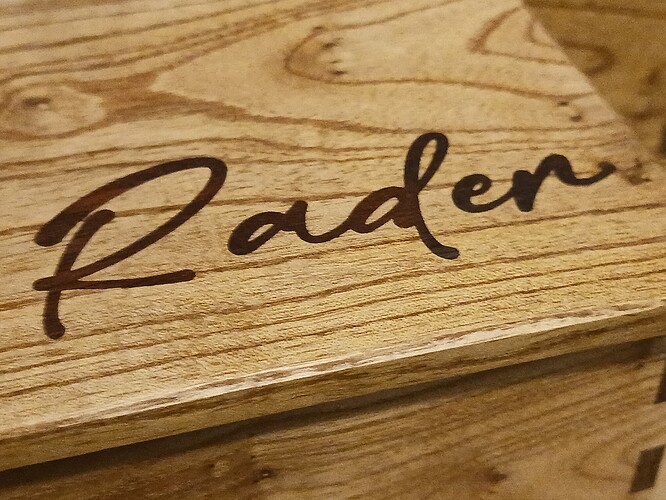
And a simple Danish oil finish…
This was just a demo inlay so is still pretty rough. My previous posts show a few small Christmas boxes that finished up a bit better.
Hope this answers your question?
– David
