I’ve been really inspired by Broinwood’s magnificent cutting boards such as this one…
Hattori Hanzo cutting board #1 / butcher block. Cnc inlay. Wood inlay 4k video. - YouTube
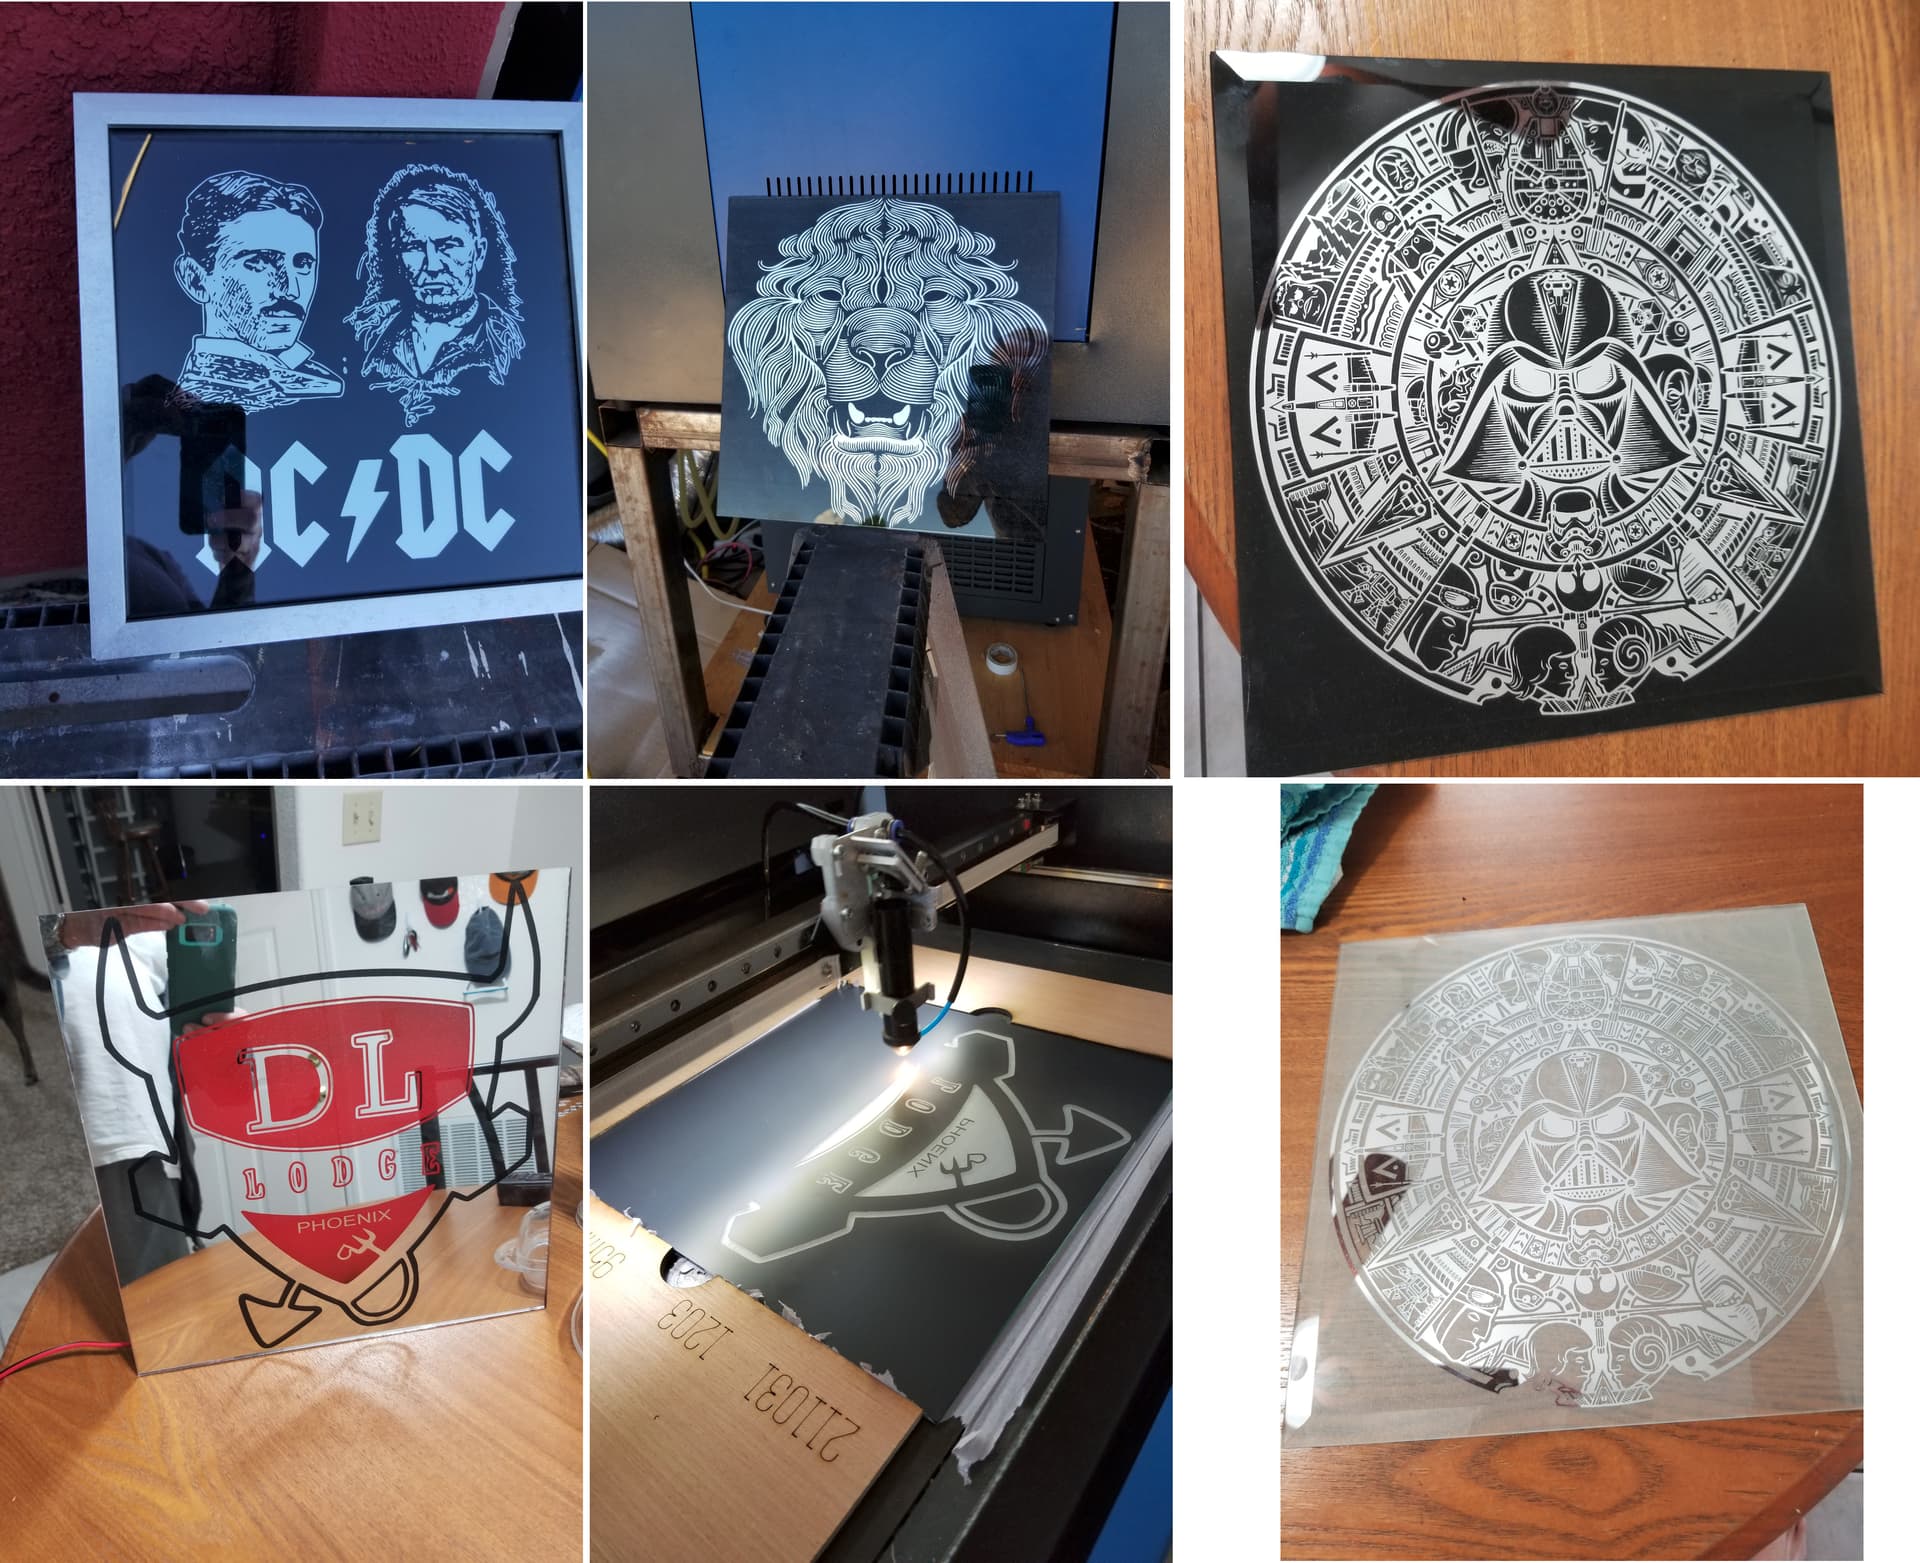
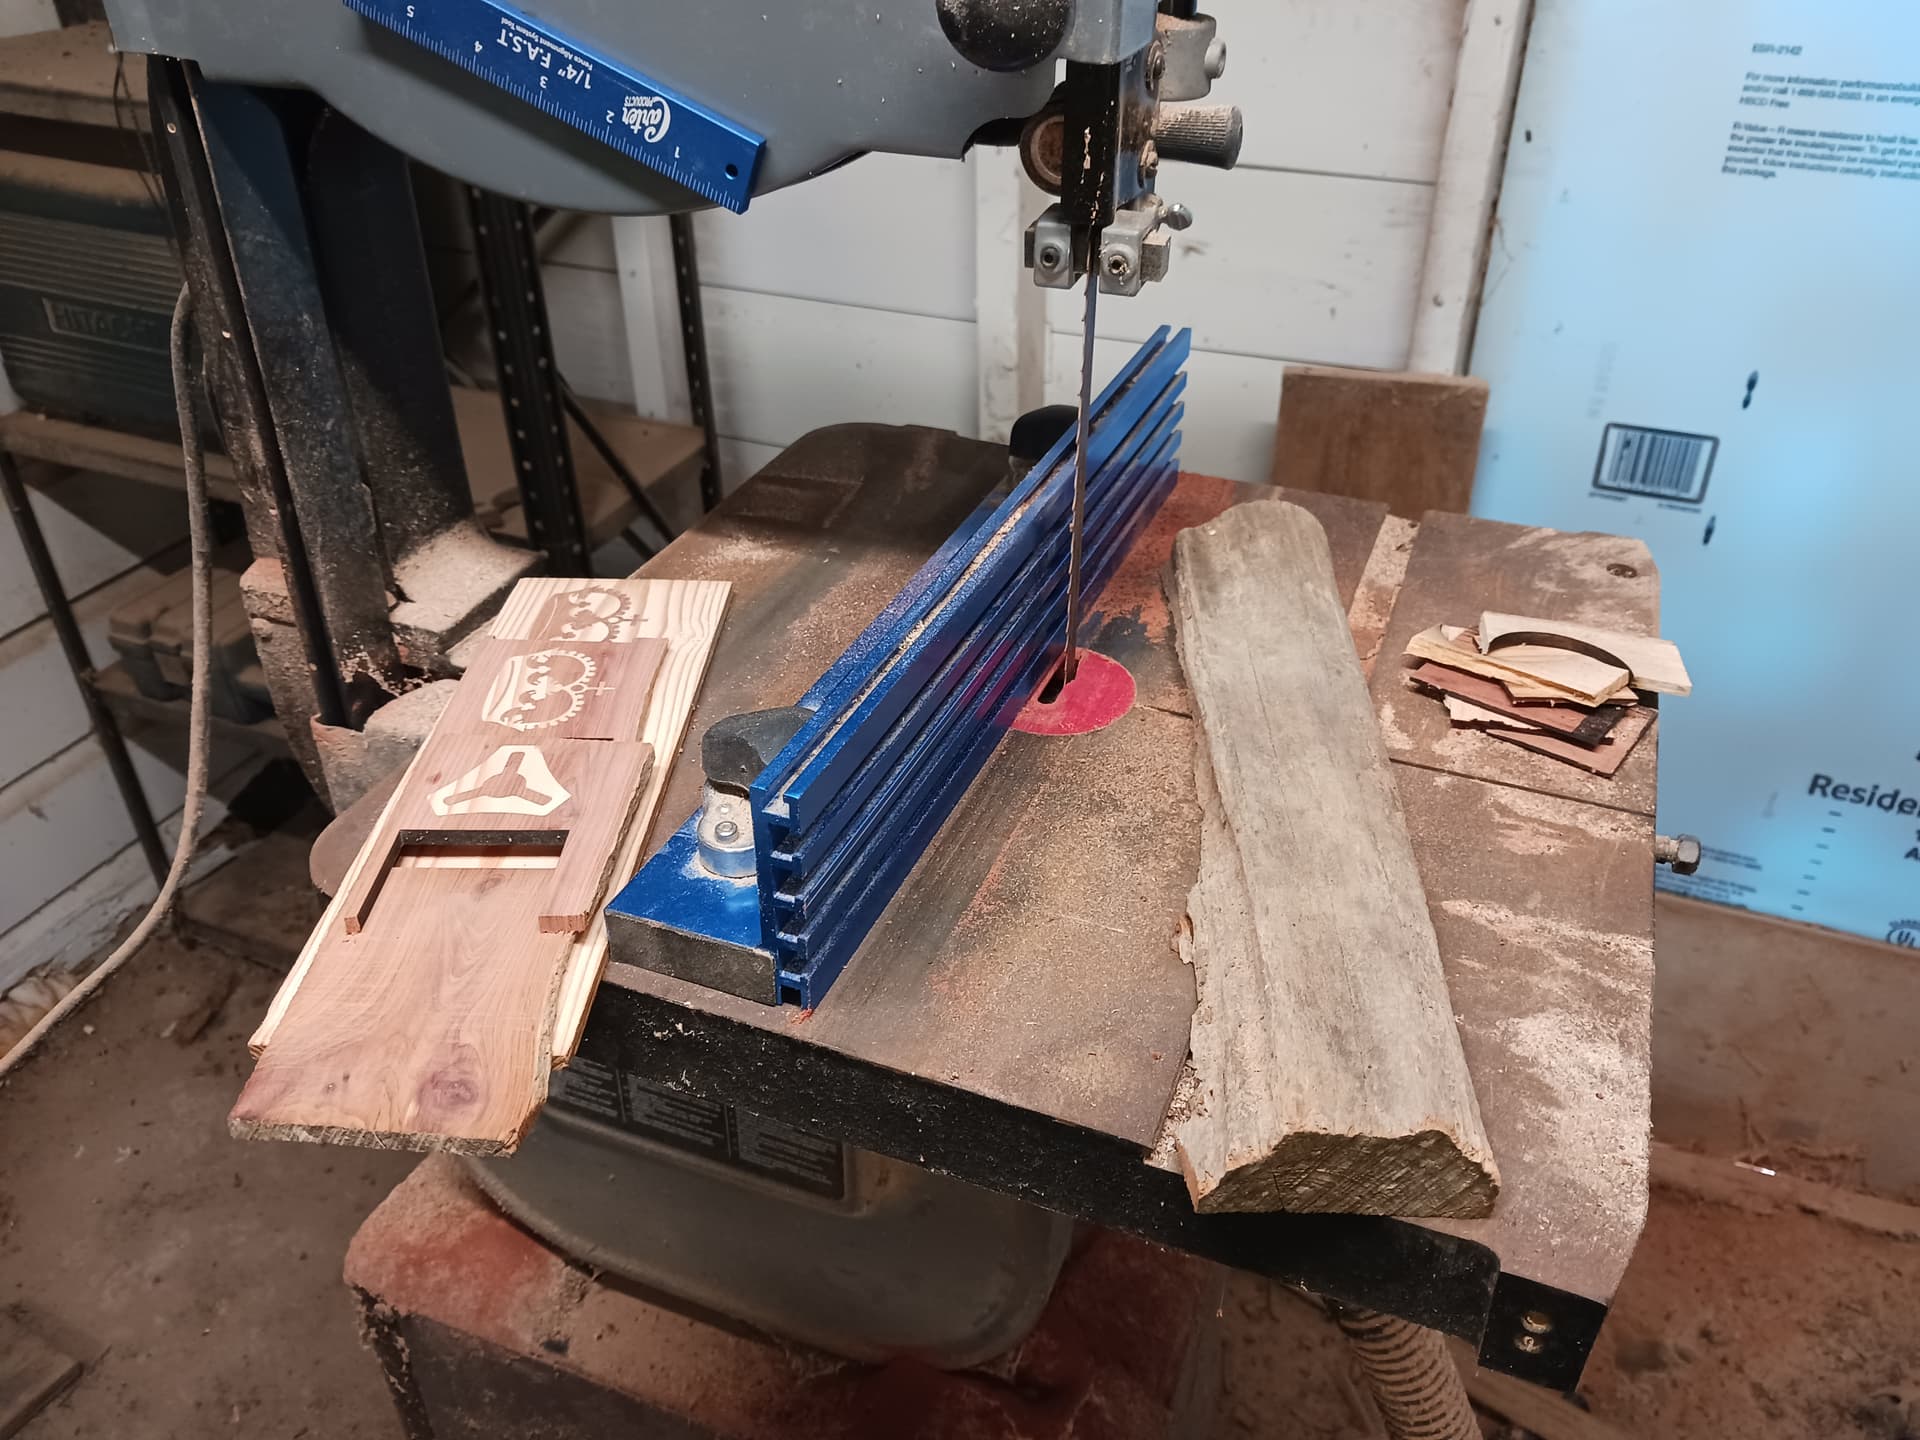
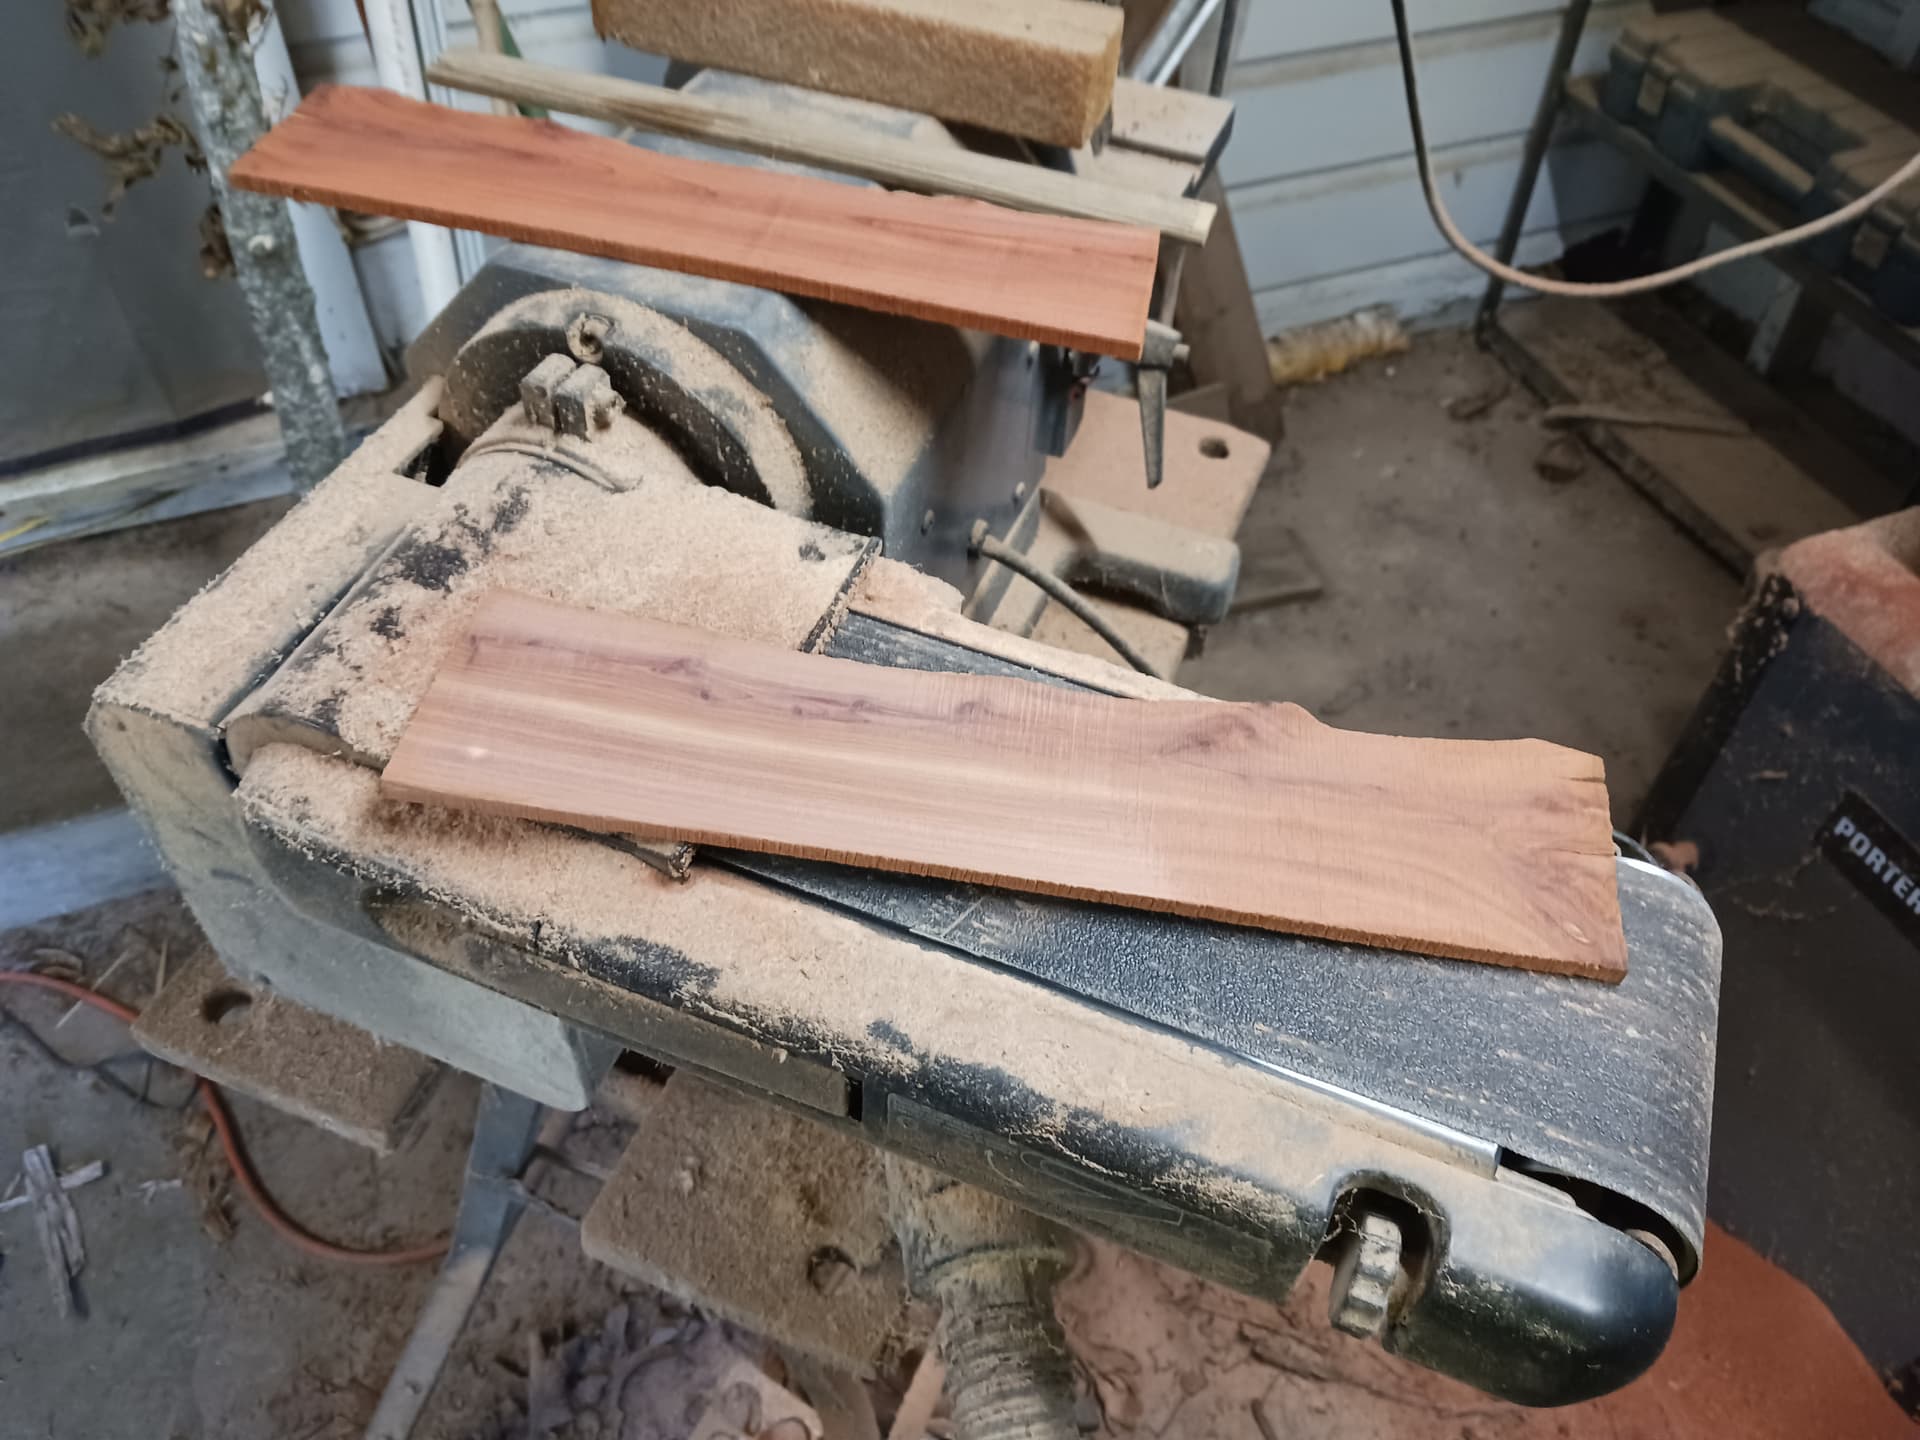
While he’s using CNC router methods to create pockets and the contrasting inlay pieces, I wanted to see if I could reasonably mimic those operations with a laser. Using my recently purchased Atezr 36W laser, I can now create reasonably clean and quick 2mm to 3mm deep pockets and inlays in a single pass in the red cedar, oak, and pine from the abundant downed tree limbs and lumber scraps that I can easily “plank out” (here, ~6mm thickness) with my bandsaw and belt sander.
After a few rather frustrating days trying to use the kerf offset settings in Lightburn to make consistently nice-fitting inlays, I finally came up with a workflow that produces inlays that are quite accurately fit and quick to do. The method I describe here sounds (reads) worse than it actually is… Lightburn makes it easy, once you’ve done it a few times.
First, it’s crucial to know your laser’s kerf-width. Here, I used a popular method of cutting out 19 segments using 20 cuts.
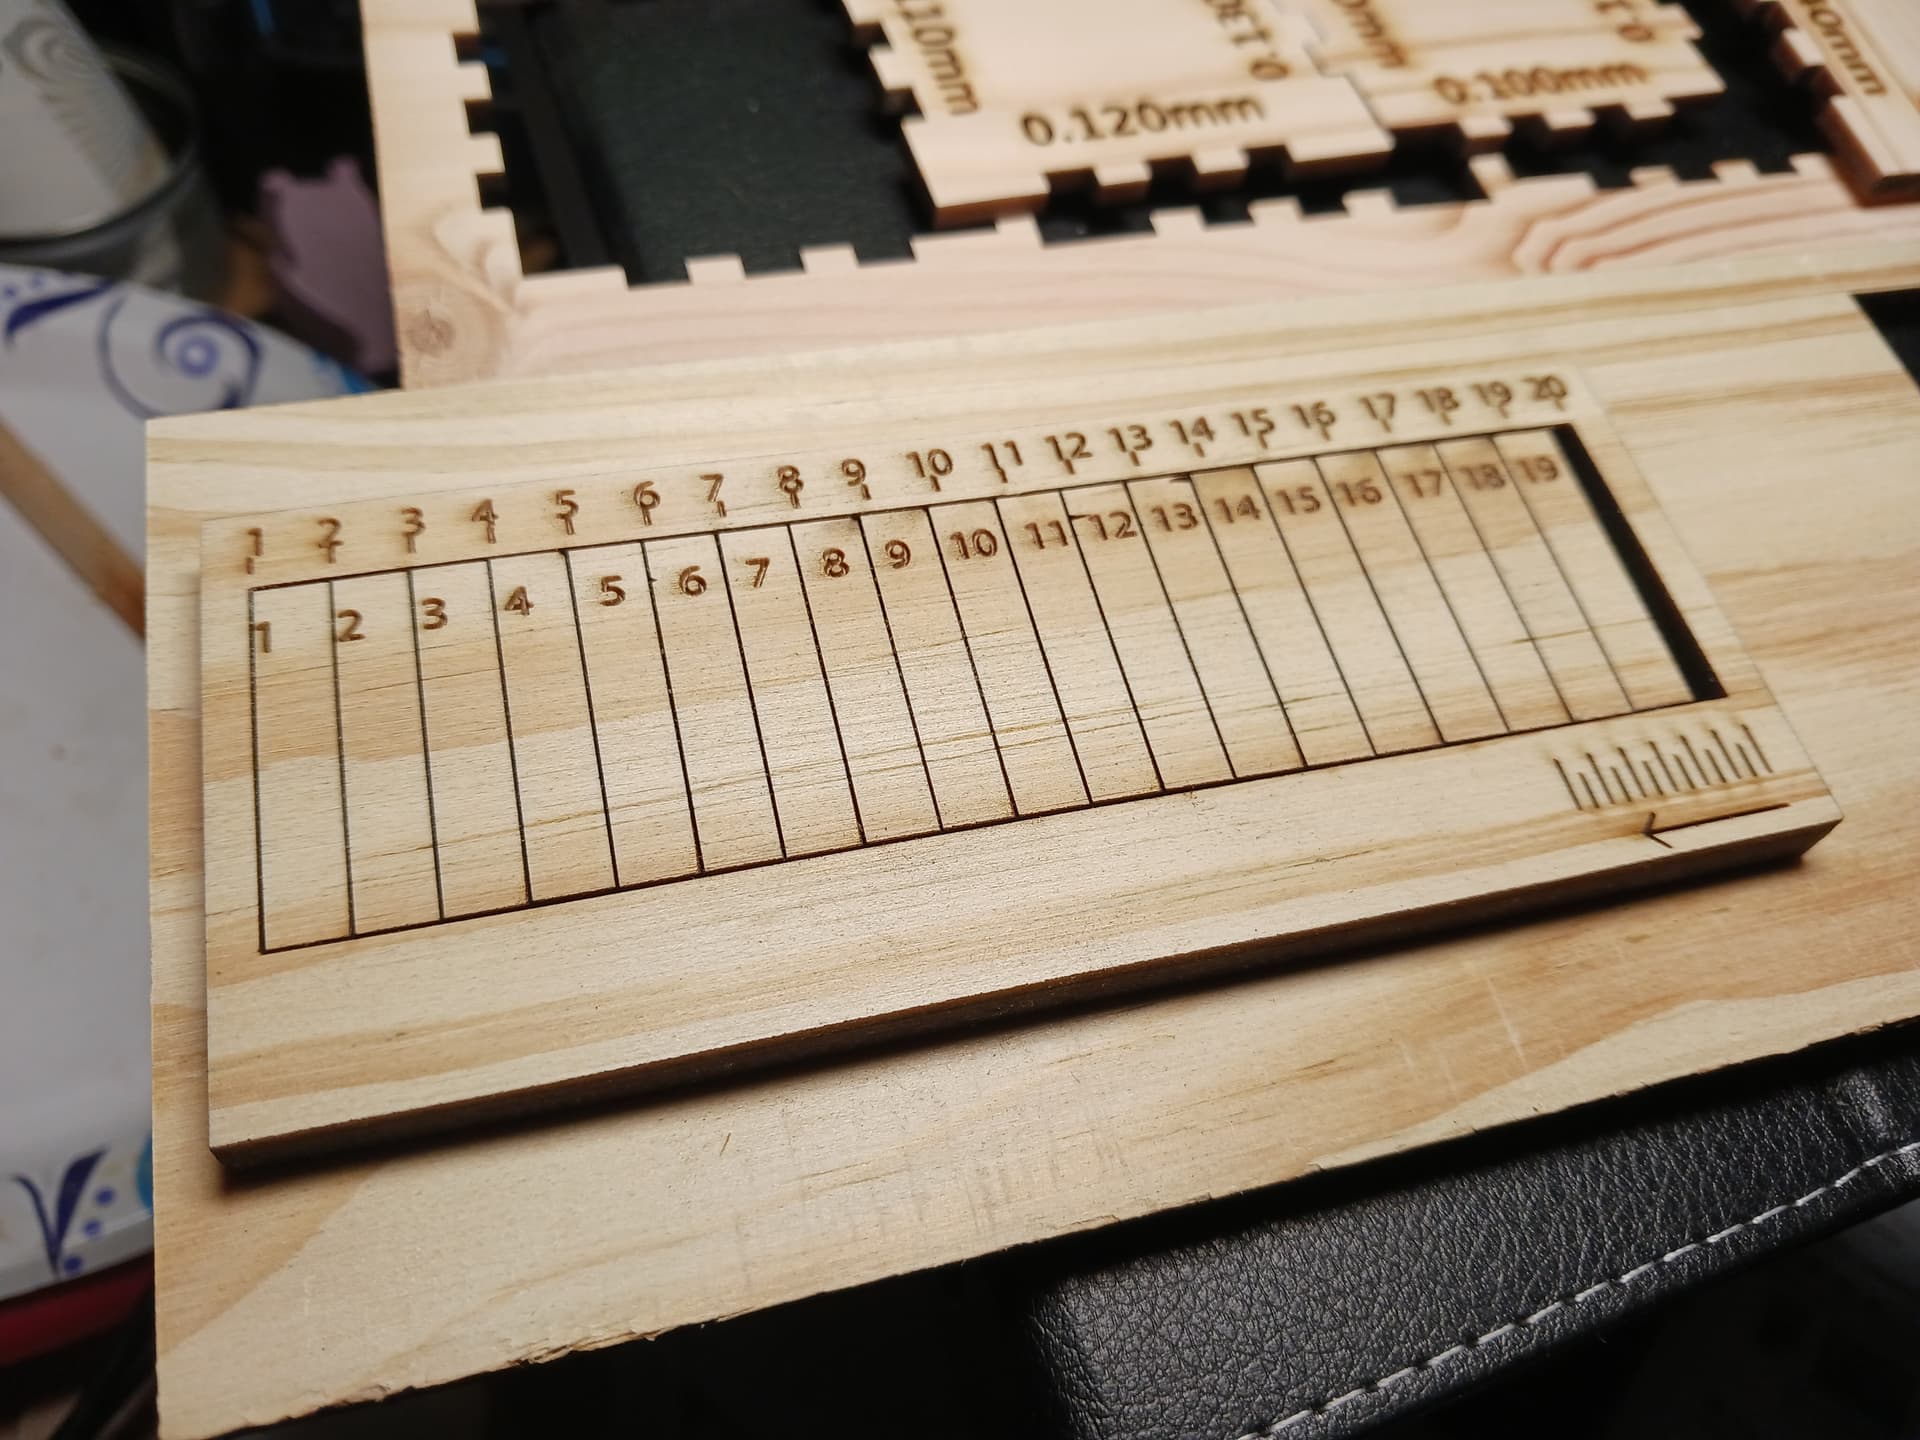
Pushing all the segments to one end and carefully measuring the gap with digital calipers, I measured a 3.37 mm gap. Divide that by 20 to come up with 0.169 mm for your laser’s full kerf-width… and use half that for kerf offset in Lightburn, when needed.
Normally “kerf offset”, as used in woodworking, is applied to the “waste” side of the cut… adjusted outward for outside shapes and inward for inside shapes. But when you start dealing with irregular male and female parts (pockets and inlay)… what’s “waste” and where is the “kerf” applied? It got confusing quickly and I kept getting worse and worse results.
So, then I started playing with the Offset Shapes tool in Lightburn. I started with my inlay shape in outline mode and then offset all lines, BOTH inward and outward by 0.08 mm, about half of the 0.169 mm above… much like a 2-lane highway’s centerline and the adjacent lanes’ edge lines. Deleting the unneeded original “centerline” during the offset operation, you’re left with double lines, each one-half a kerf-width on either side of the original line.
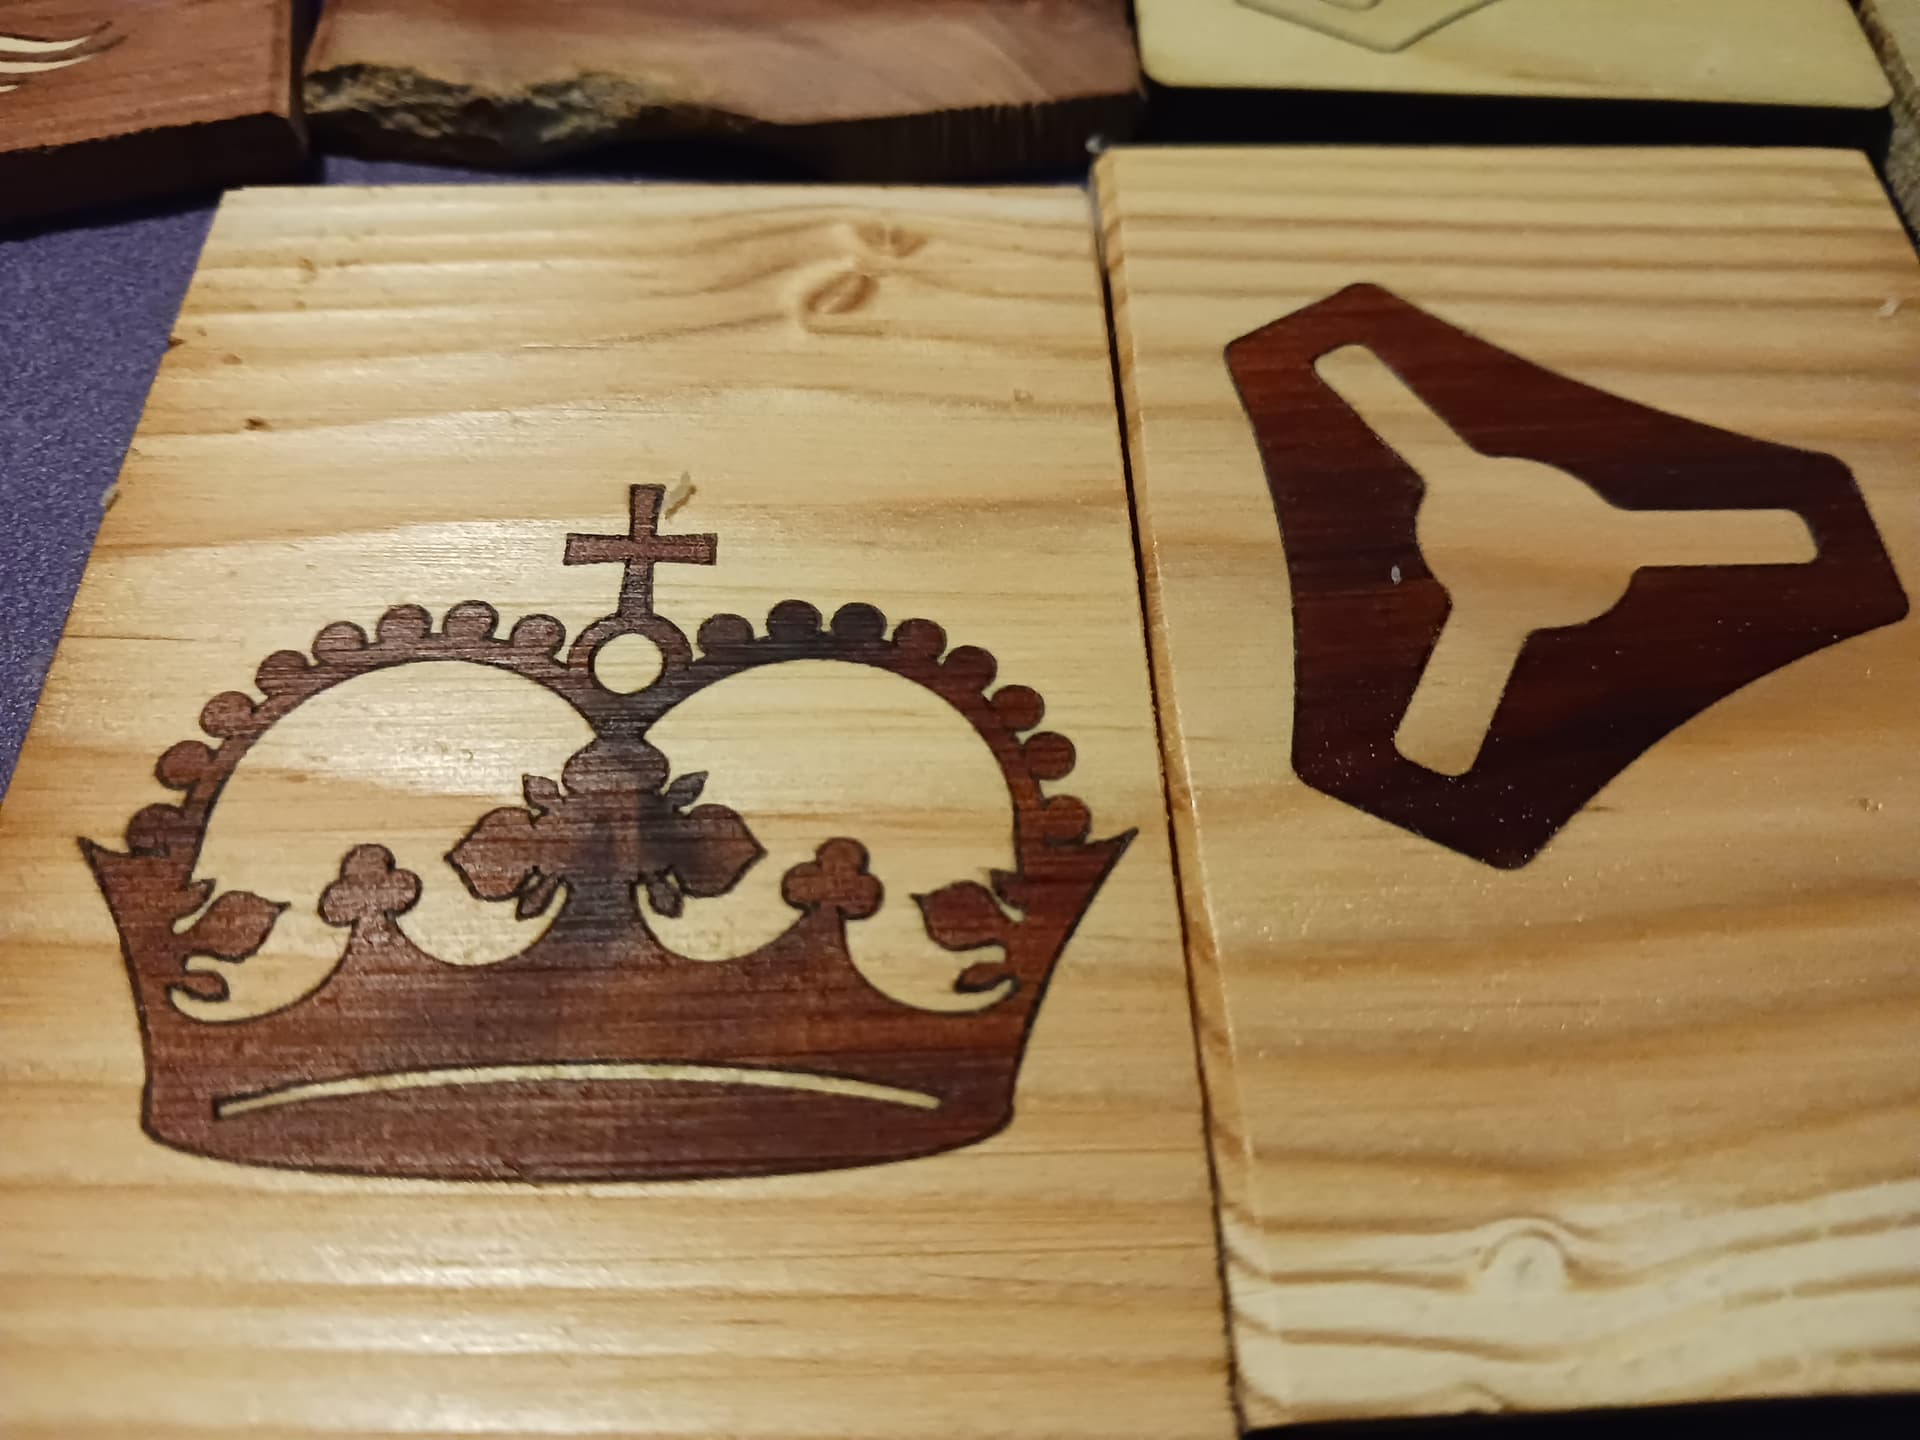
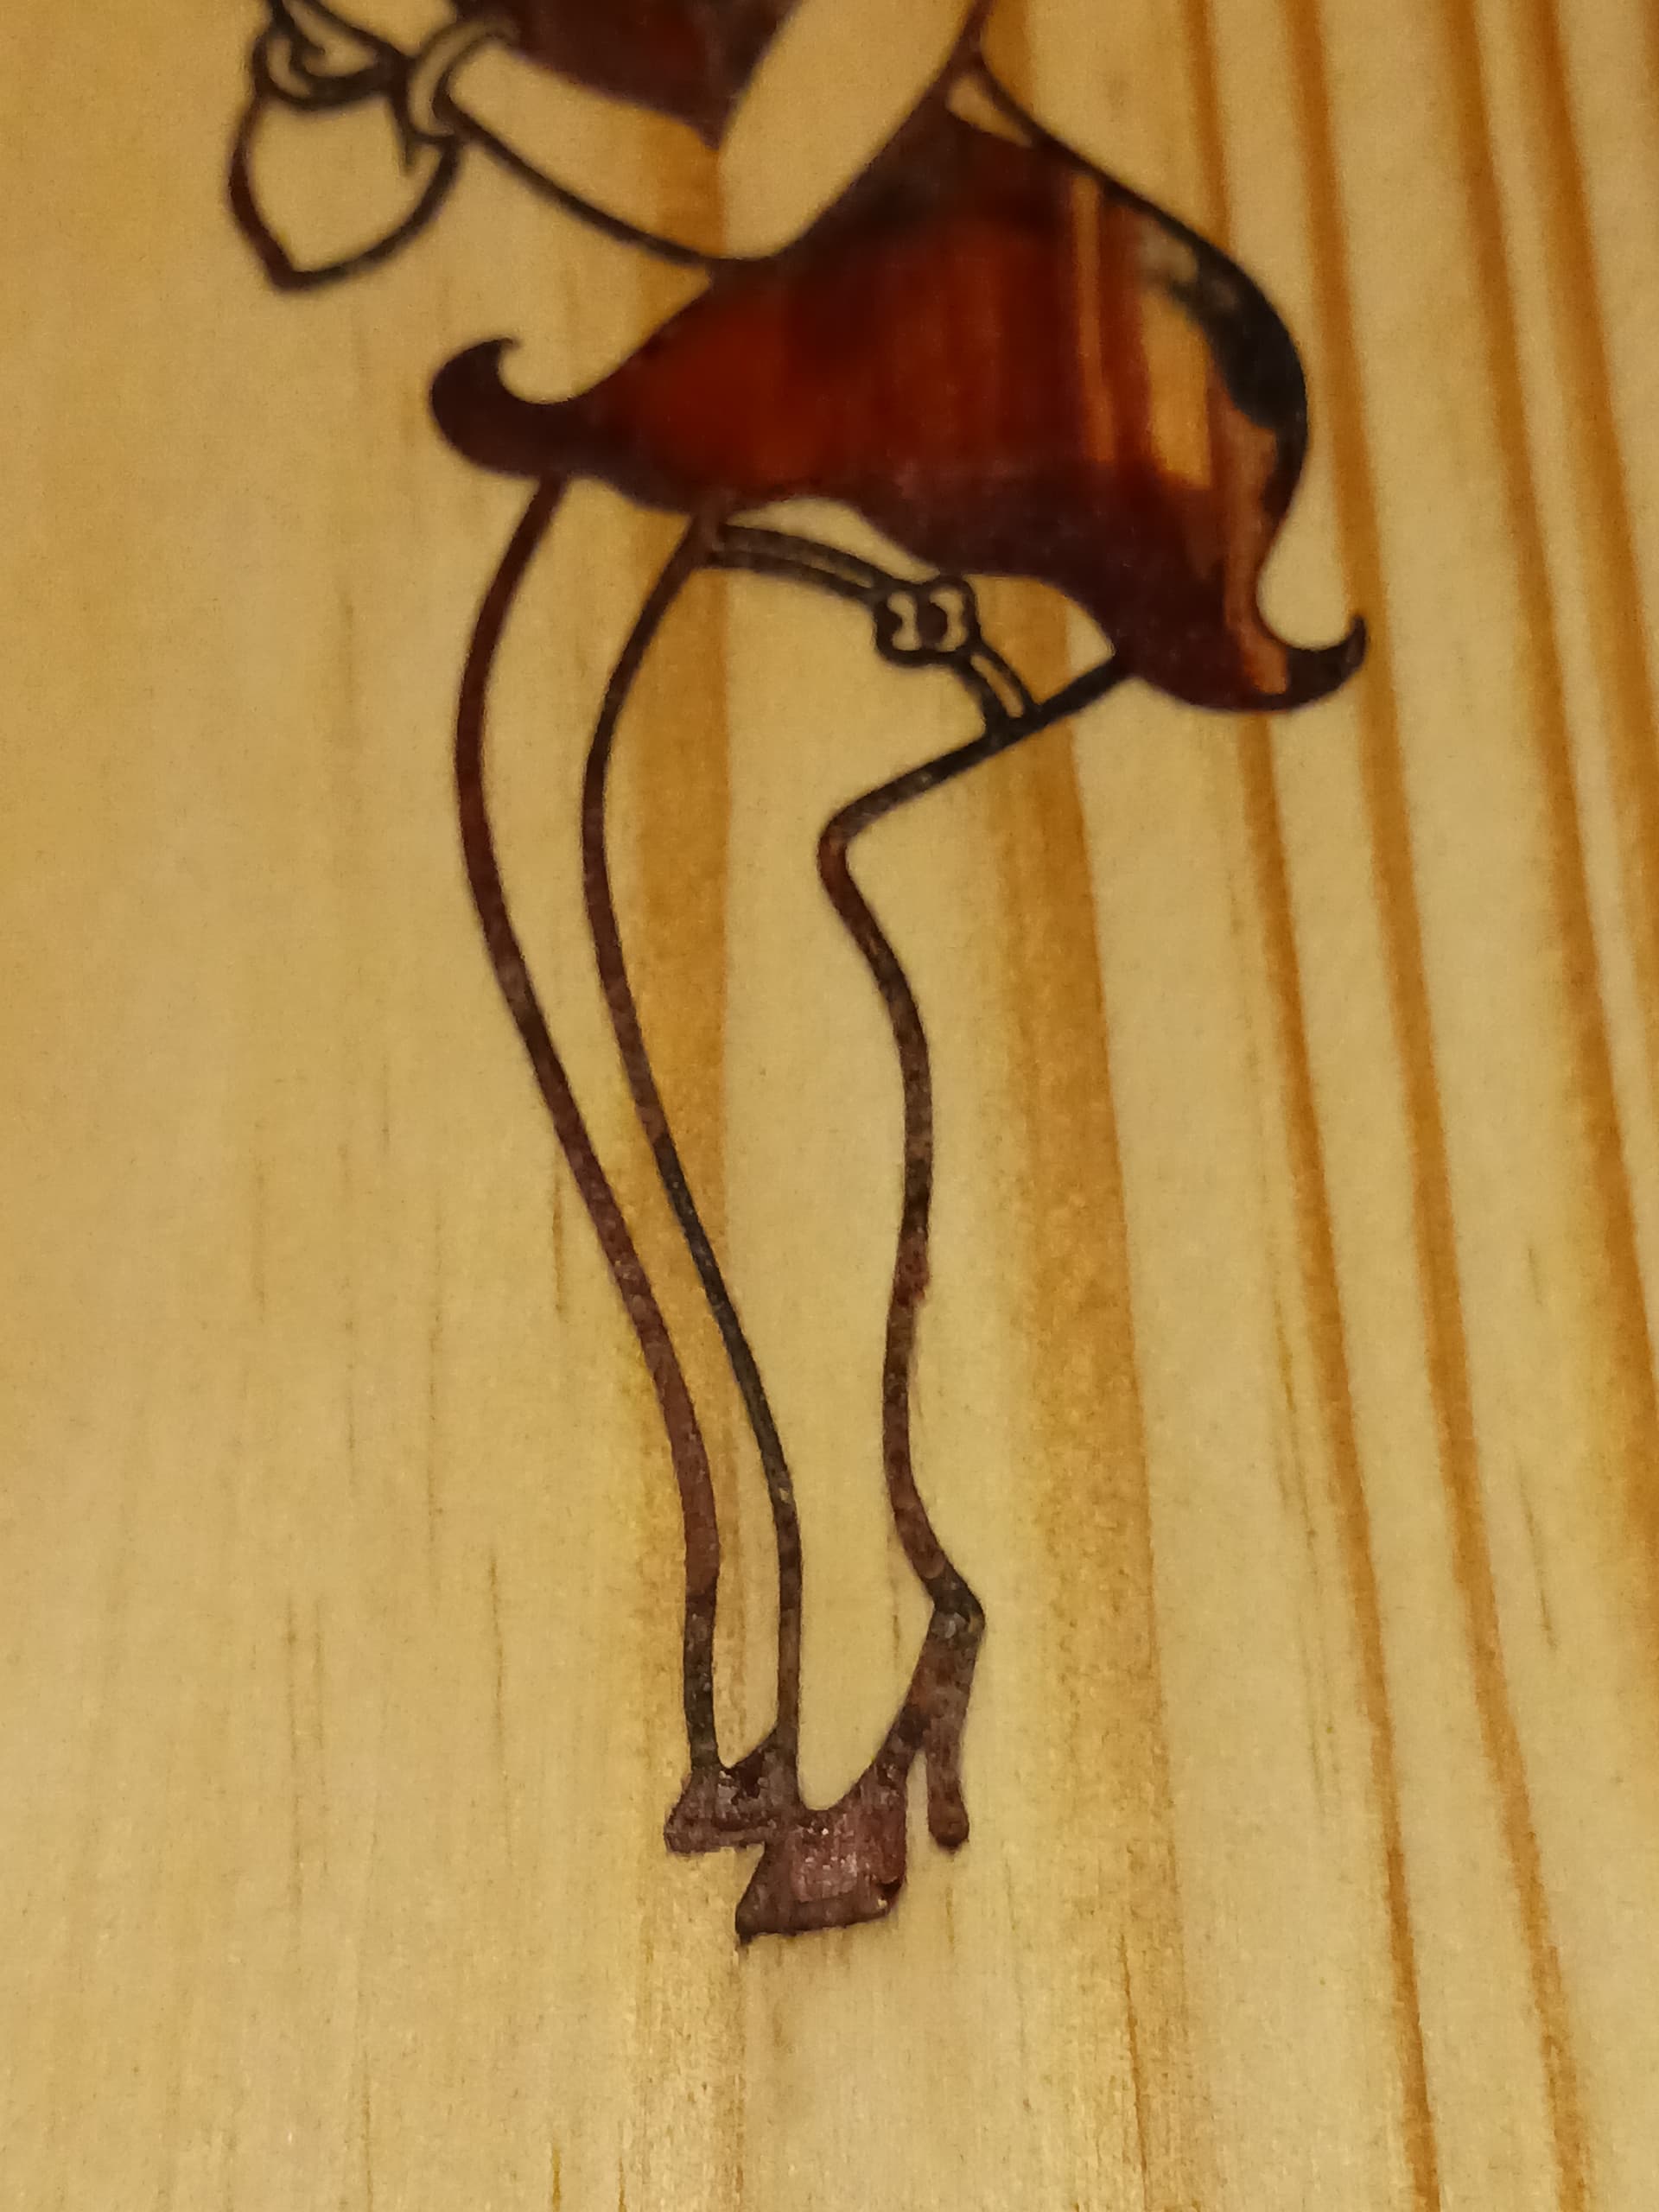
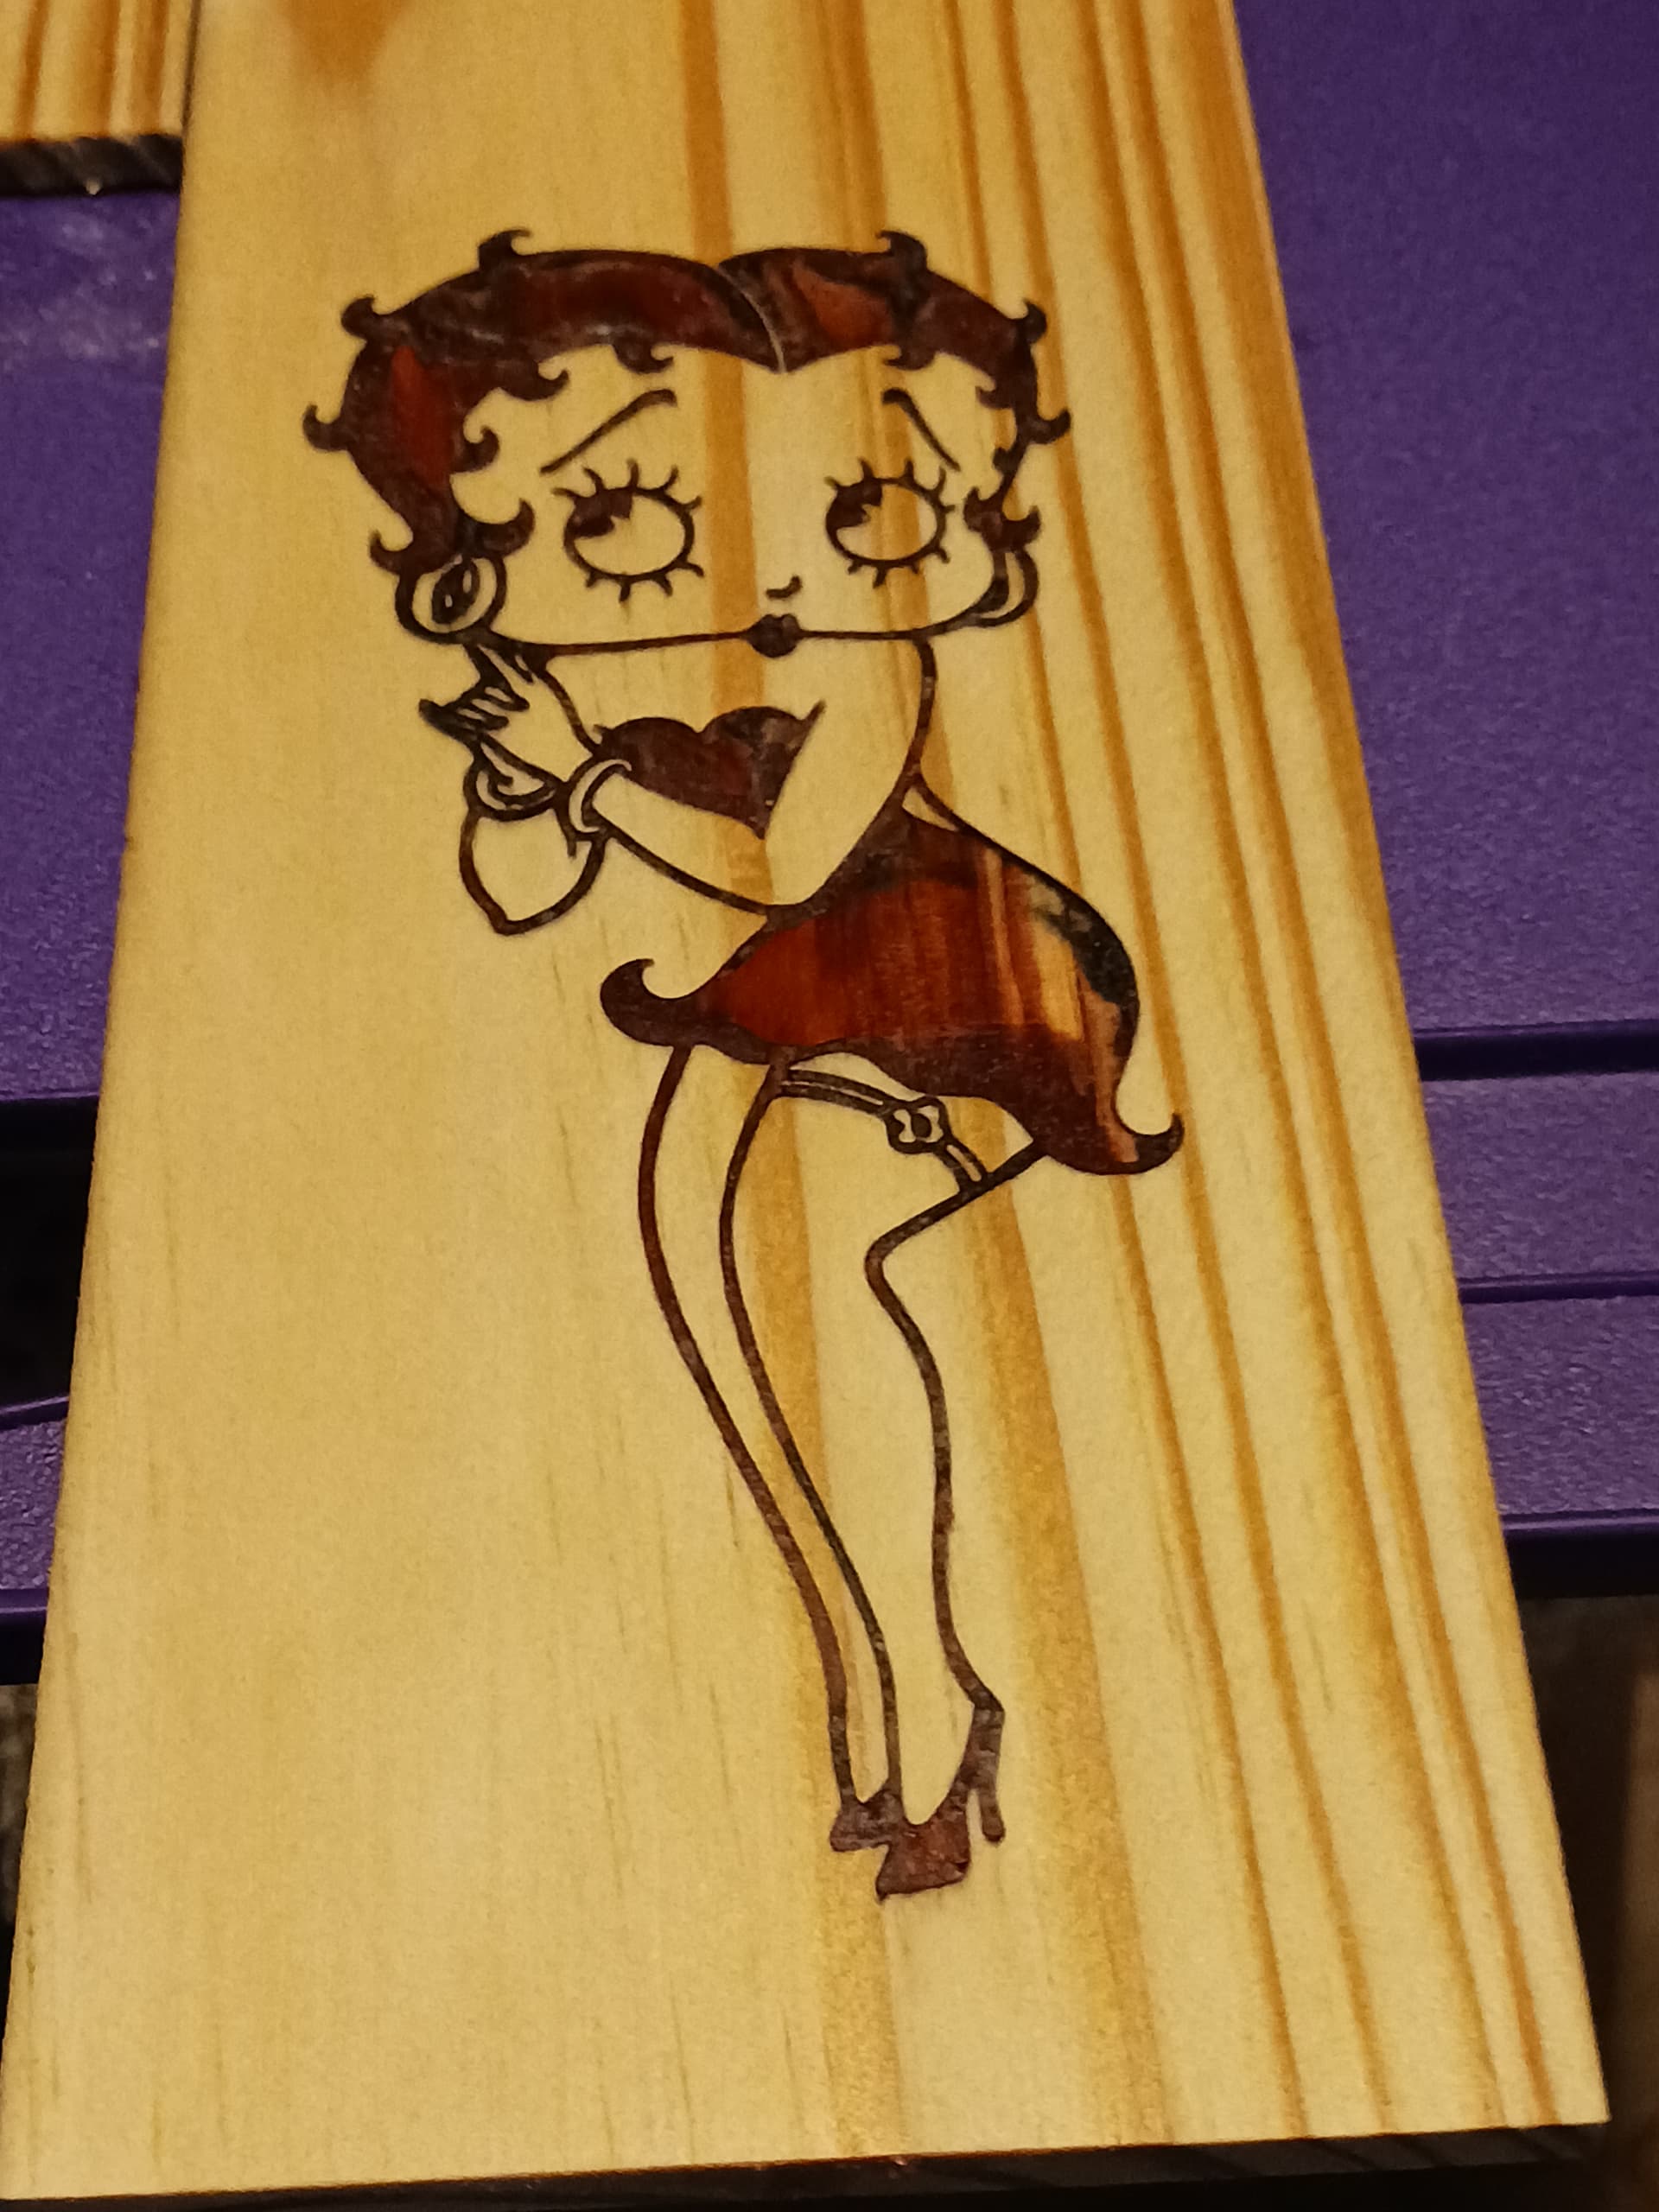
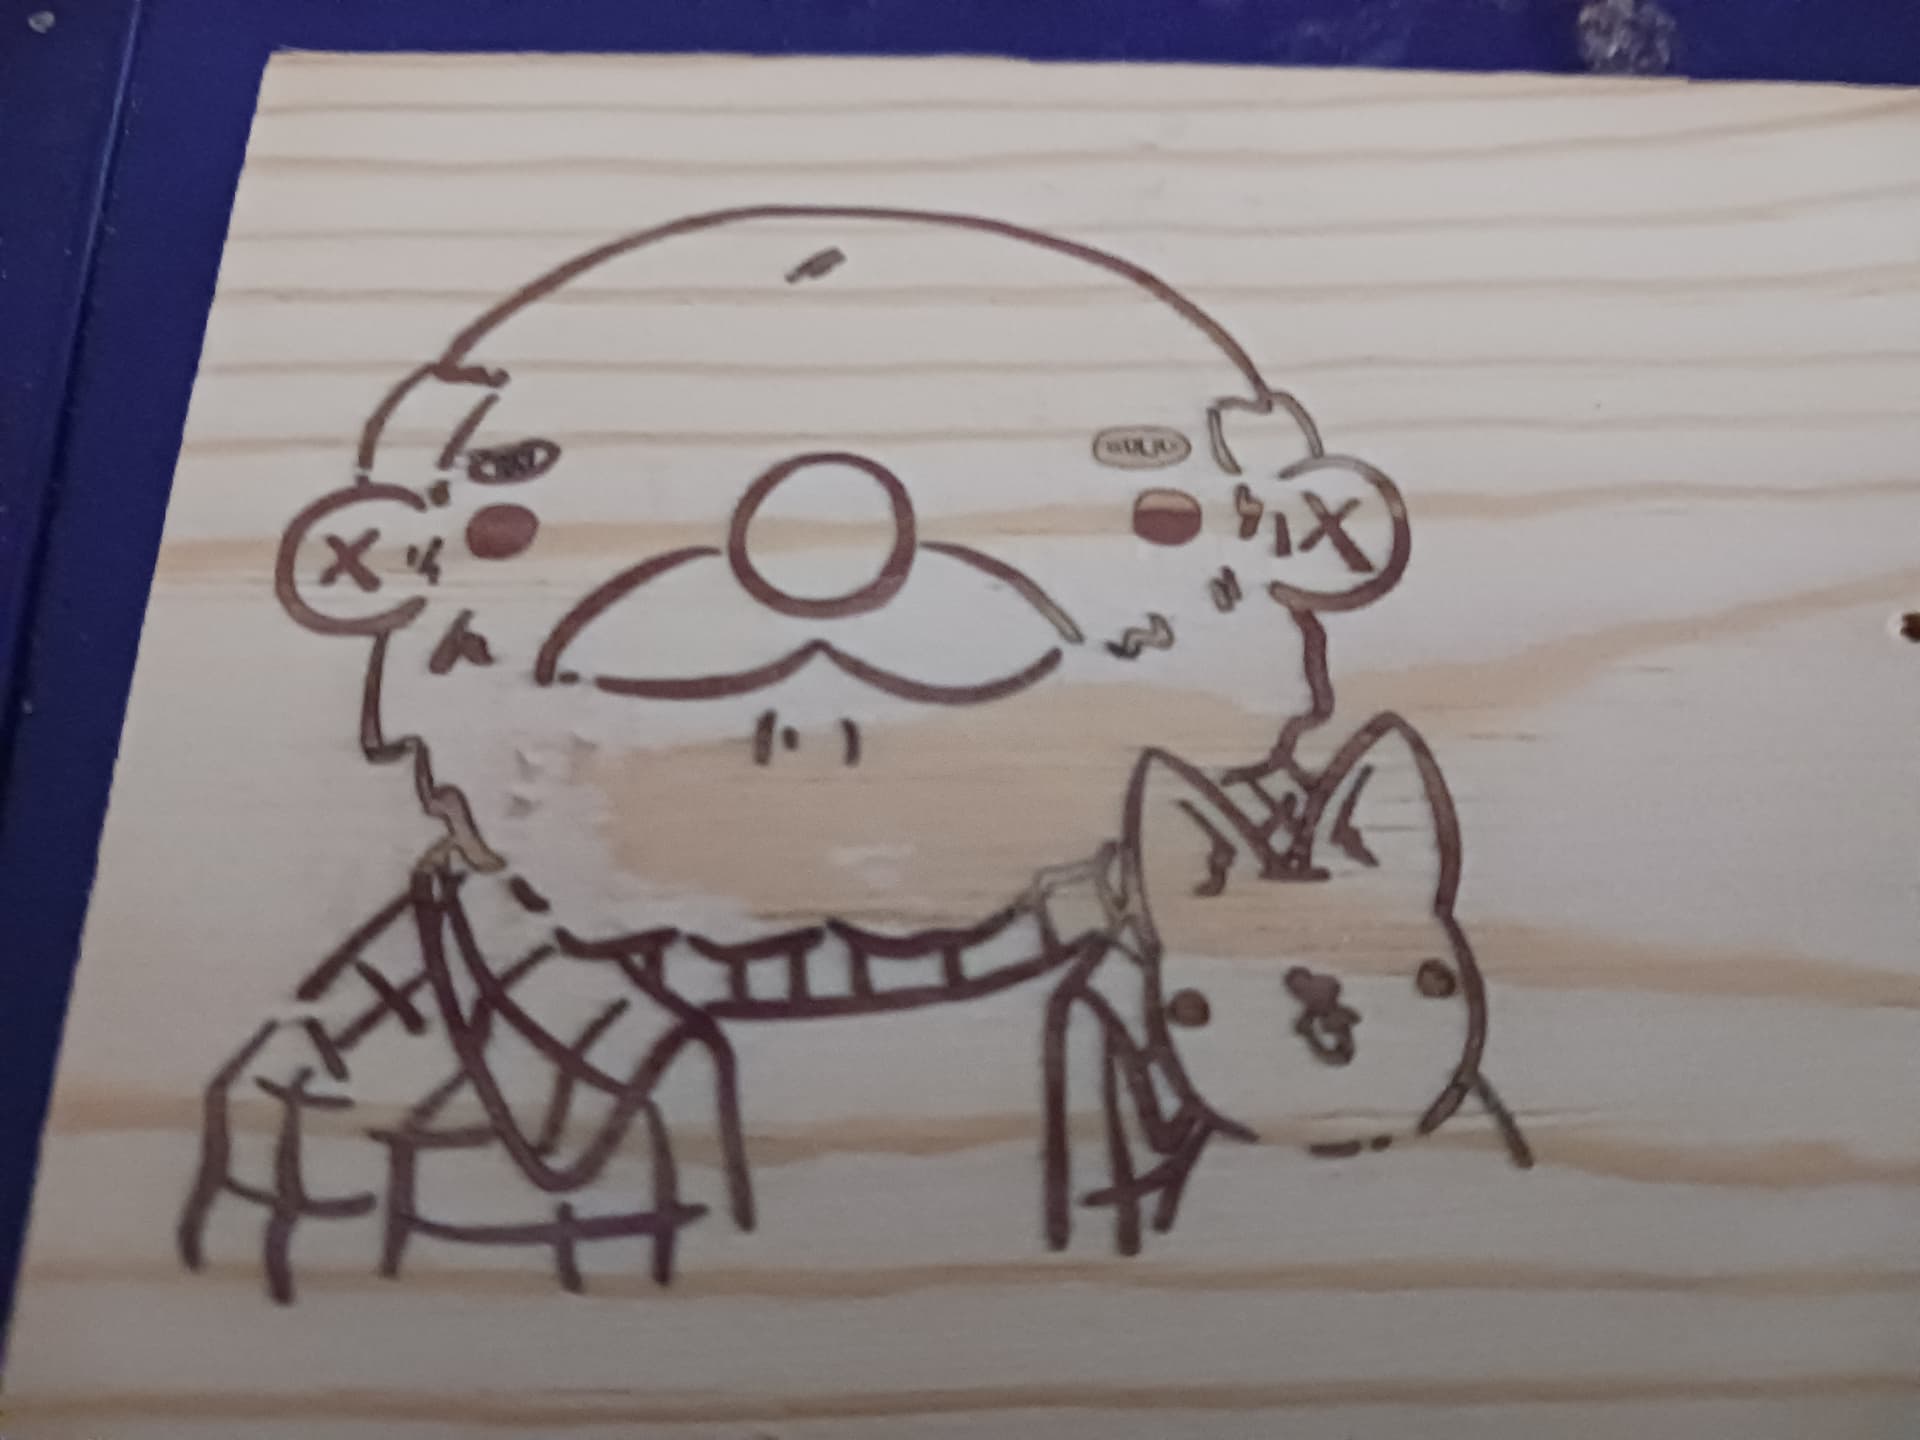
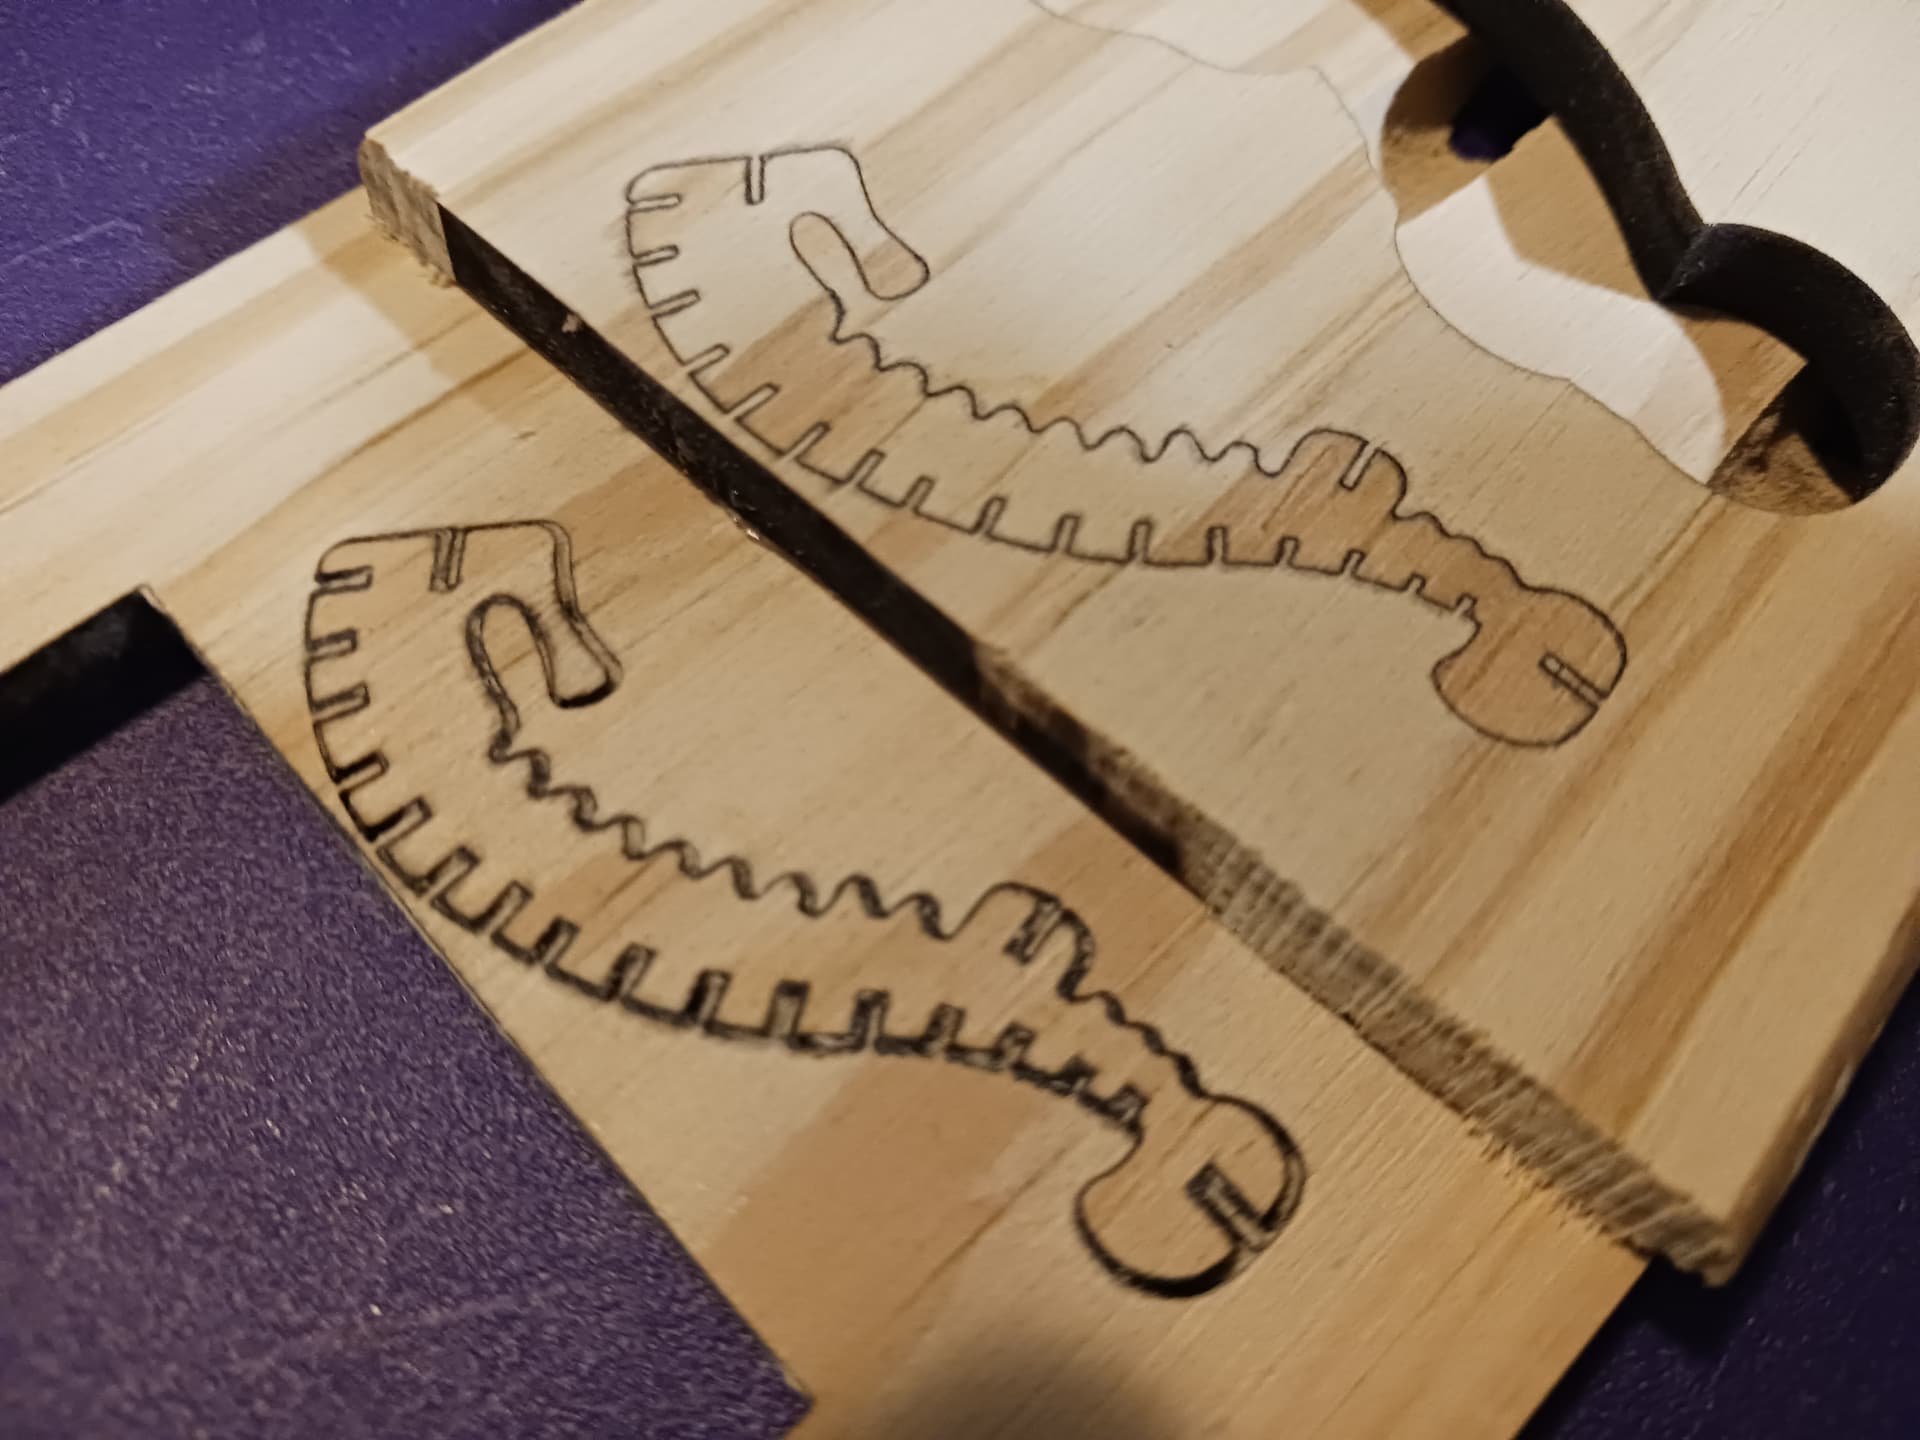
From there, select all the inward edges and put them on the “pocket” layer. Then select all the outward edges and move them to the “inlay layer”… and, while still selected, move them to the right. These relationships are important… if reversed, you’ll have ill-fitting parts, like the bottom-most inlay shown below…
Side-by-side in Lightburn, you now have two images, "pocket’ on the left, “inlay” on the right… differing by one full kerf-width. The left image, “pocket”, is essentially done. Also, it’ll speed things up to pay particular attention to what’s selected when finishing an Offset Shapes operation.… most often it’s exactly what’s needed for the next operation and saves confusion should you click elsewhere and deselect it.
The right image, still selected from the move to the right, must now be mirrored horizontally. Using the Offset Shapes tool once again, create a 5mm or so “clearance” area, (outward, outer shapes only) around the actual inlay, which will remove any material that will prevent the inlay and pocket from mating together. Still selected, now create another offset 1mm outward and then put it onto a third layer, the “inlay_profile” layer, with power and speed settings sufficient to cut completely through the material. Still selected, this profile cutline is currently 1mm proud of the “clearance edge”, so move it back, using the Offset Shapes tool once again… inward 1mm to coincide with the edge of the clearance area. It should now look like this…

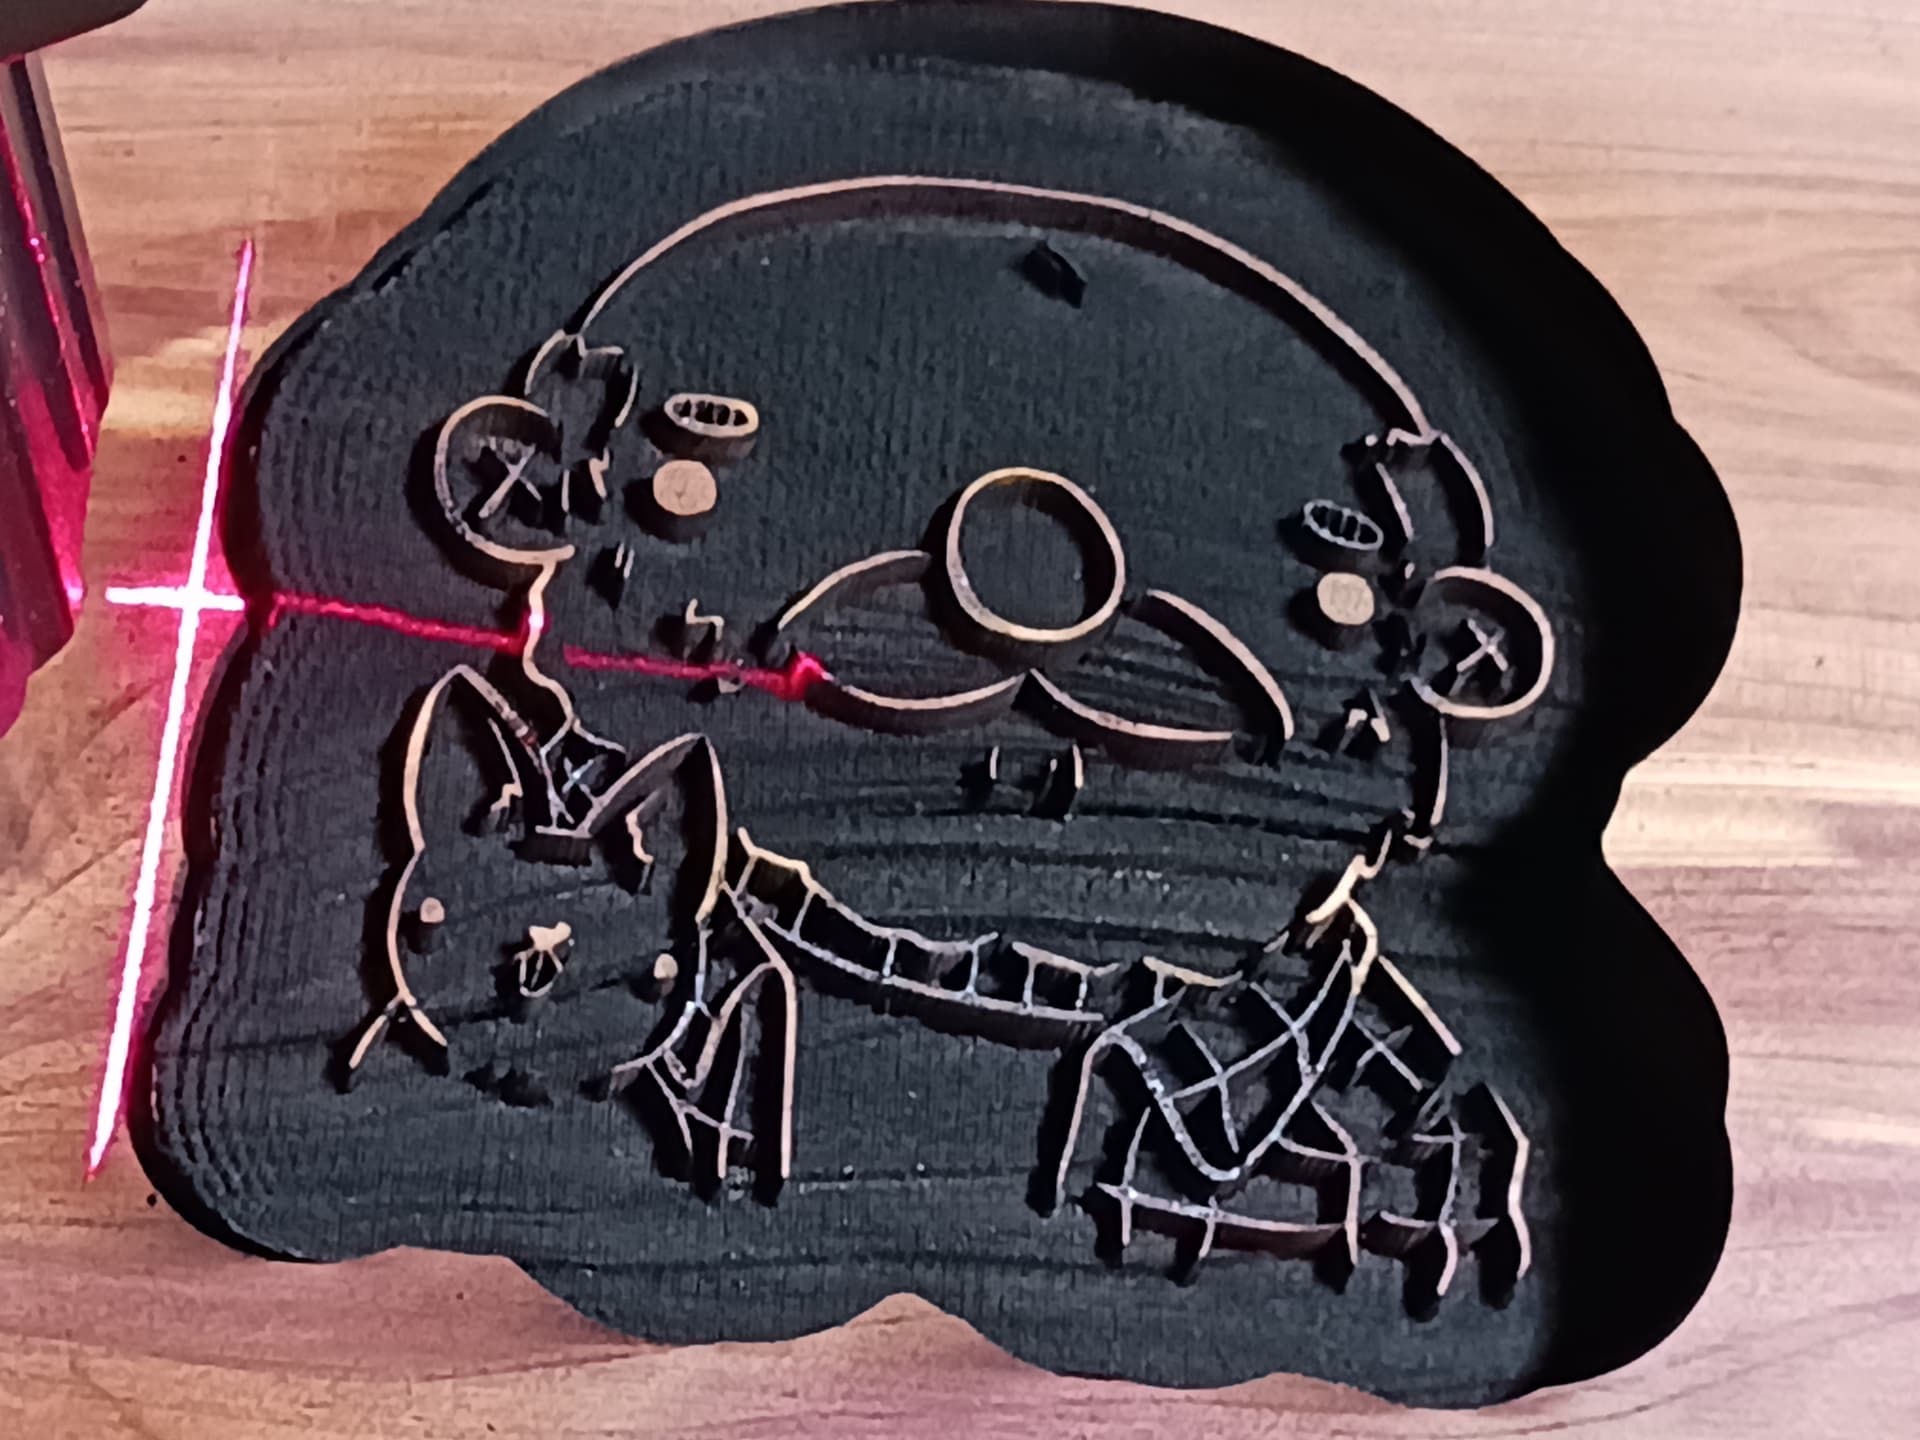
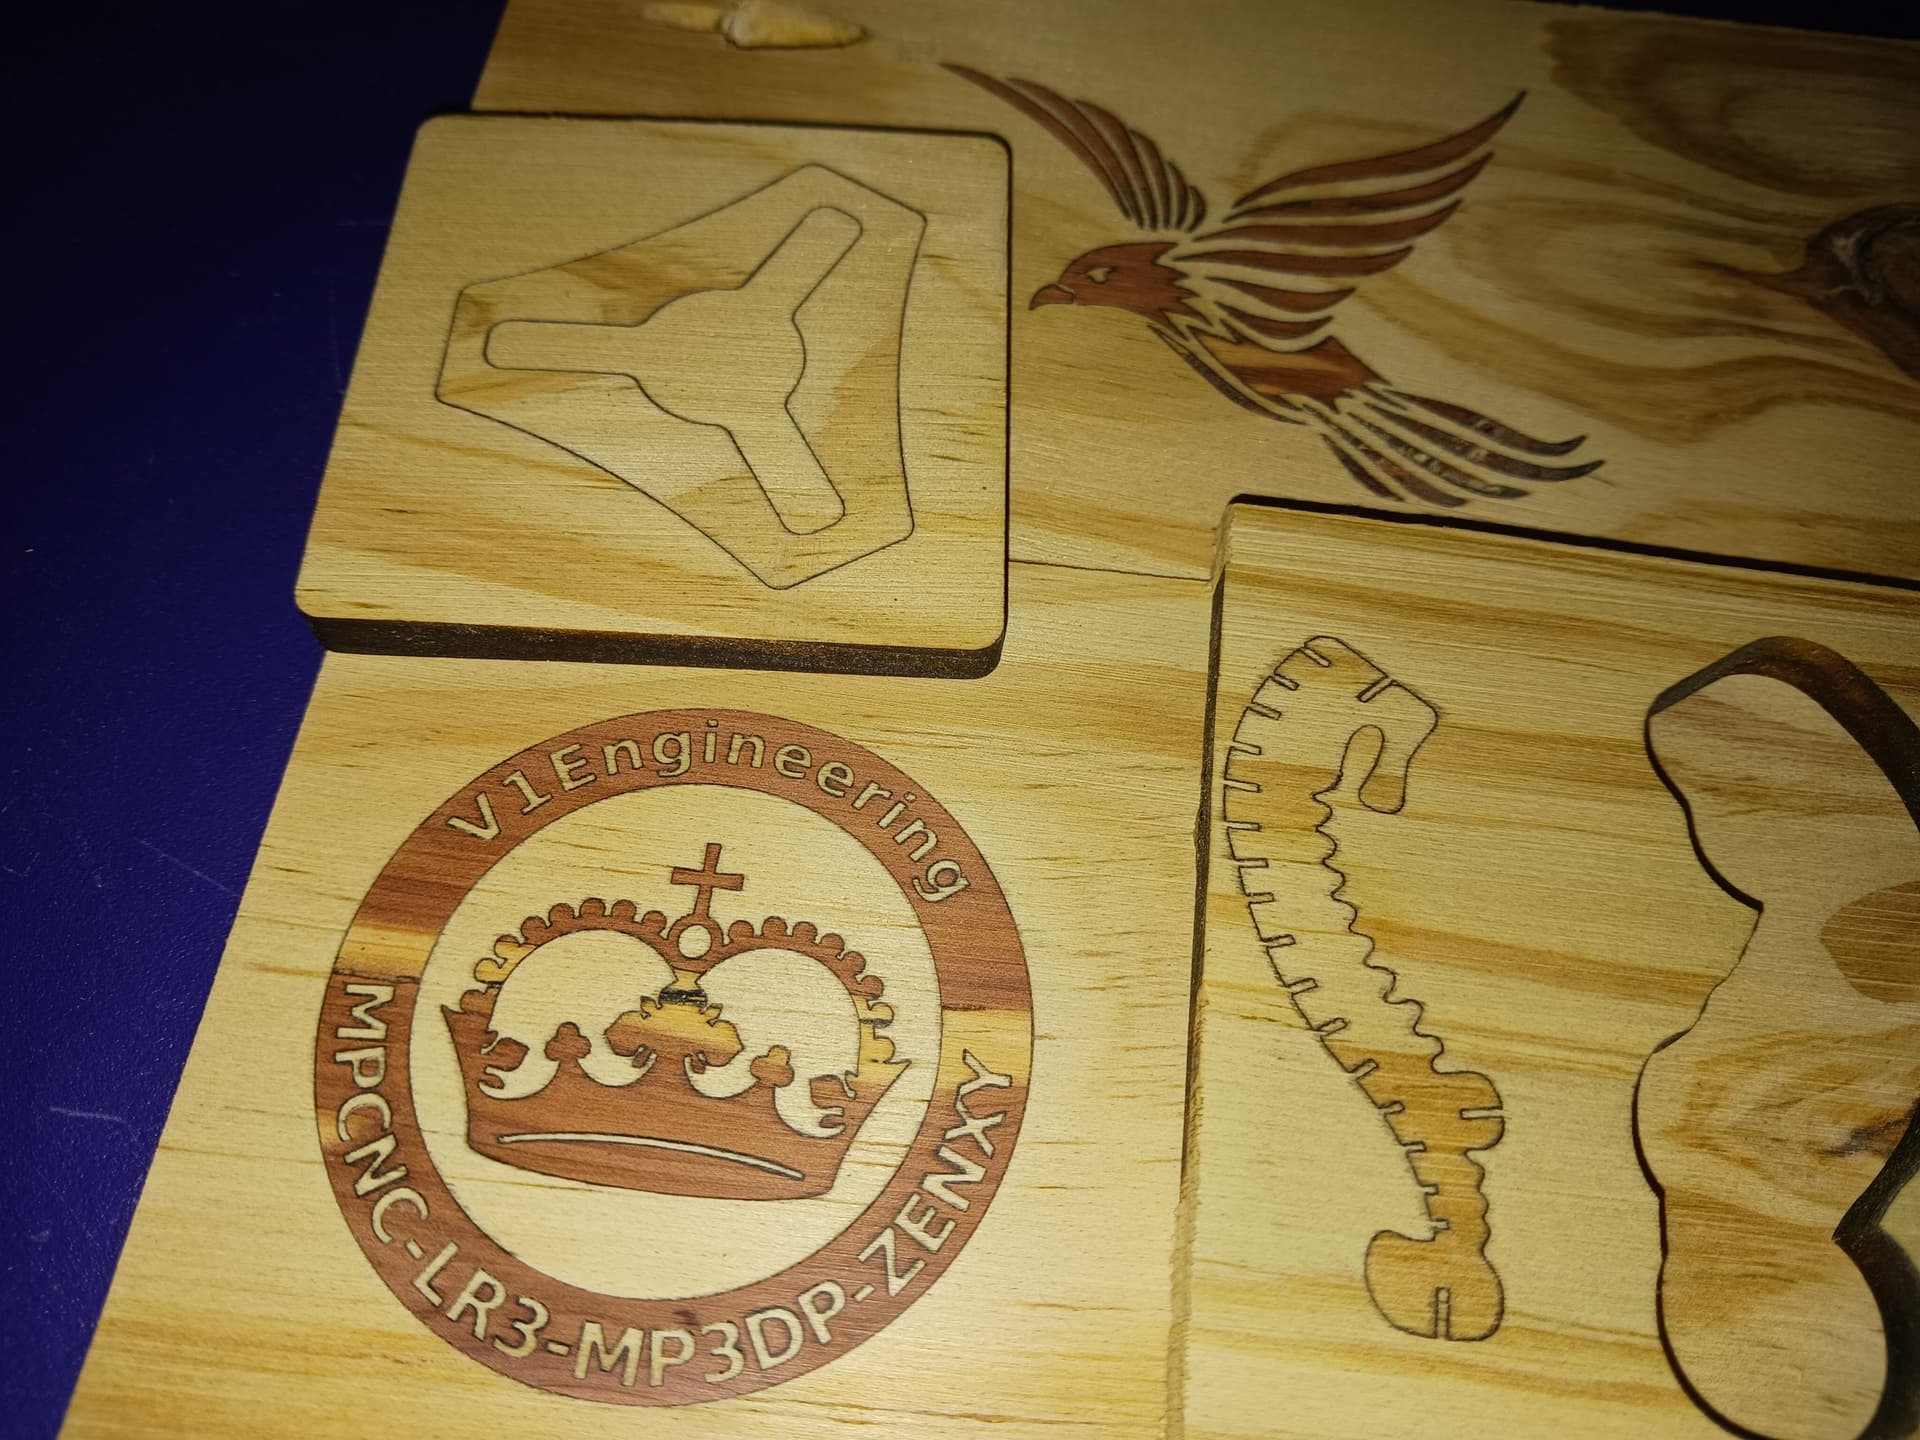
This actually completes the process of creating side-by-side “pocket” and “inlay” pieces. All that remains is to set the “Cuts/layers” setting for the three layers. Use “fill” on the “pocket” and “inlay” layers to deeply engrave (here, 2-3mm depth)… and add a “line” sub-layer to each – with no kerf allowance – to cleanly outline each shape to full depth. The third layer, “inlay_profile”, settings should be set to complete cut through the material. And, finally, insure the layers are in the following order… “pocket”, “inlay”, and “inlay_profile”.
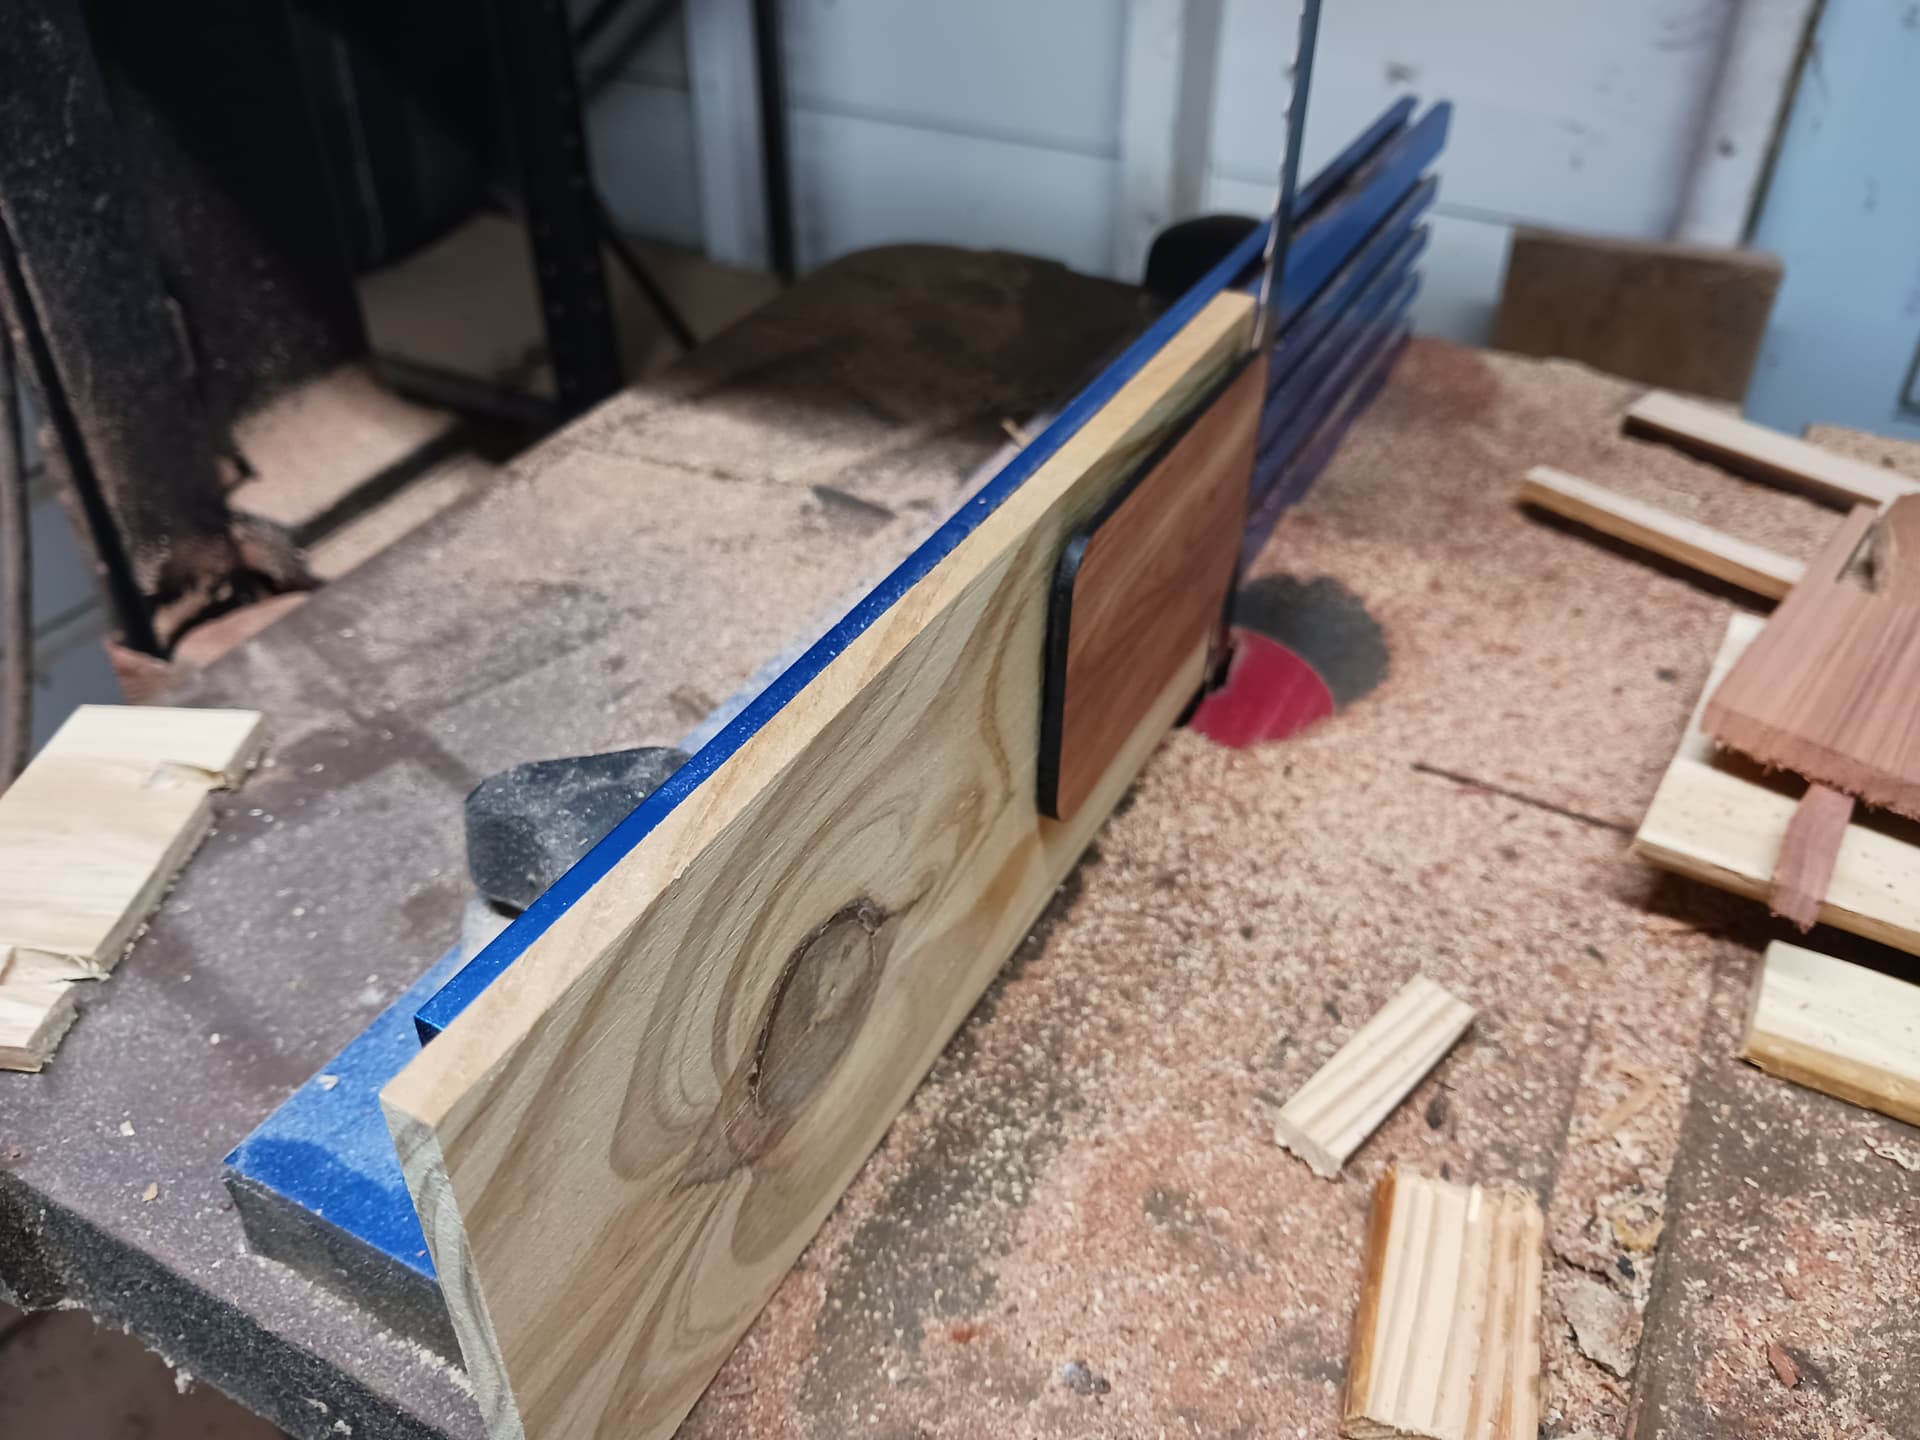
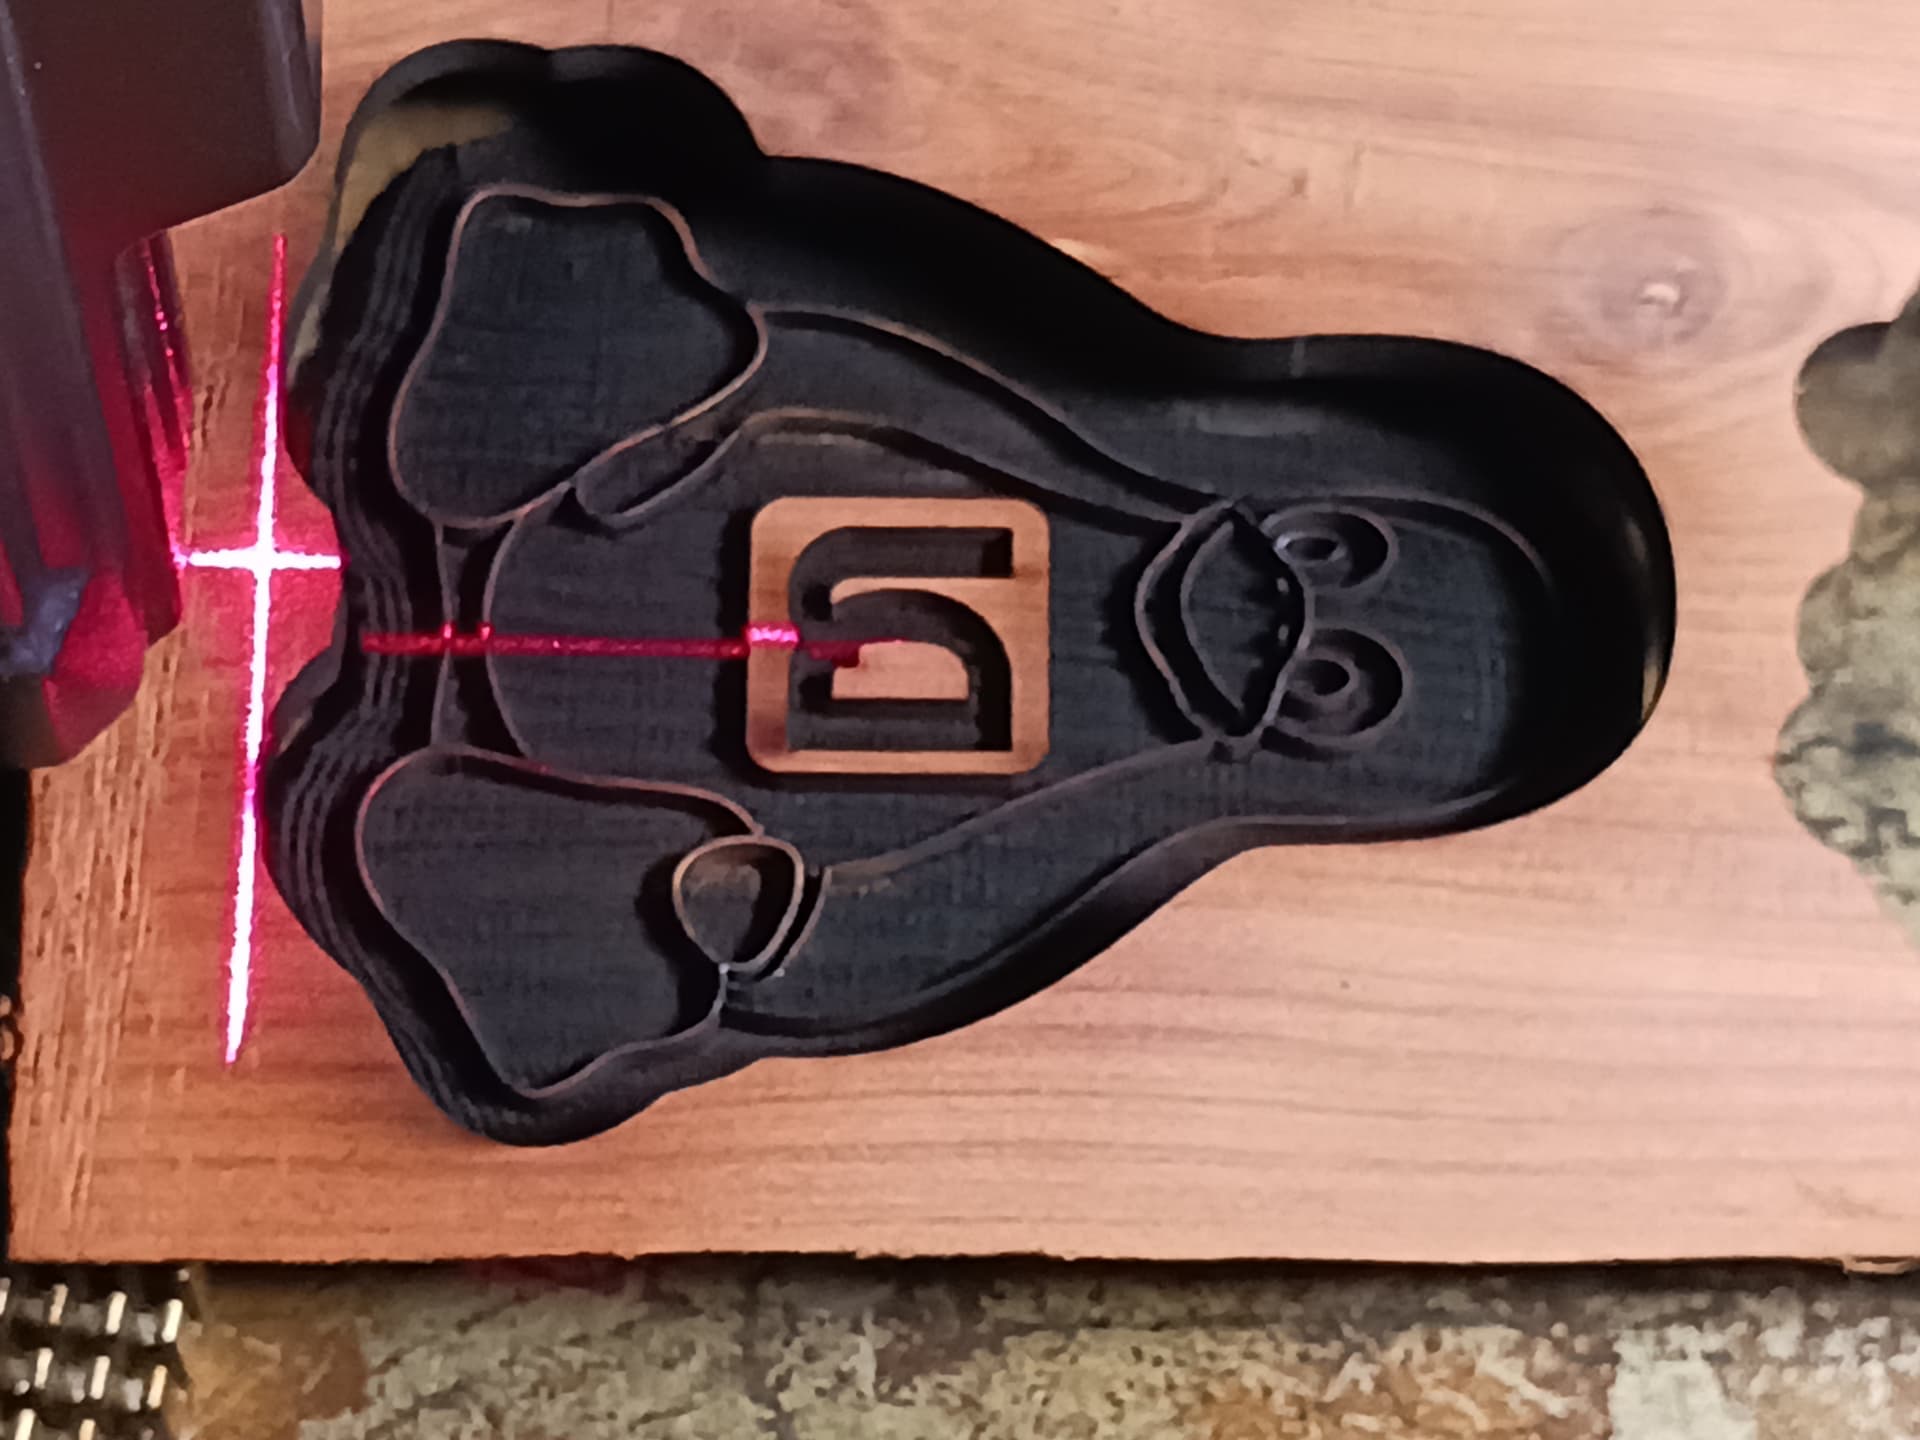
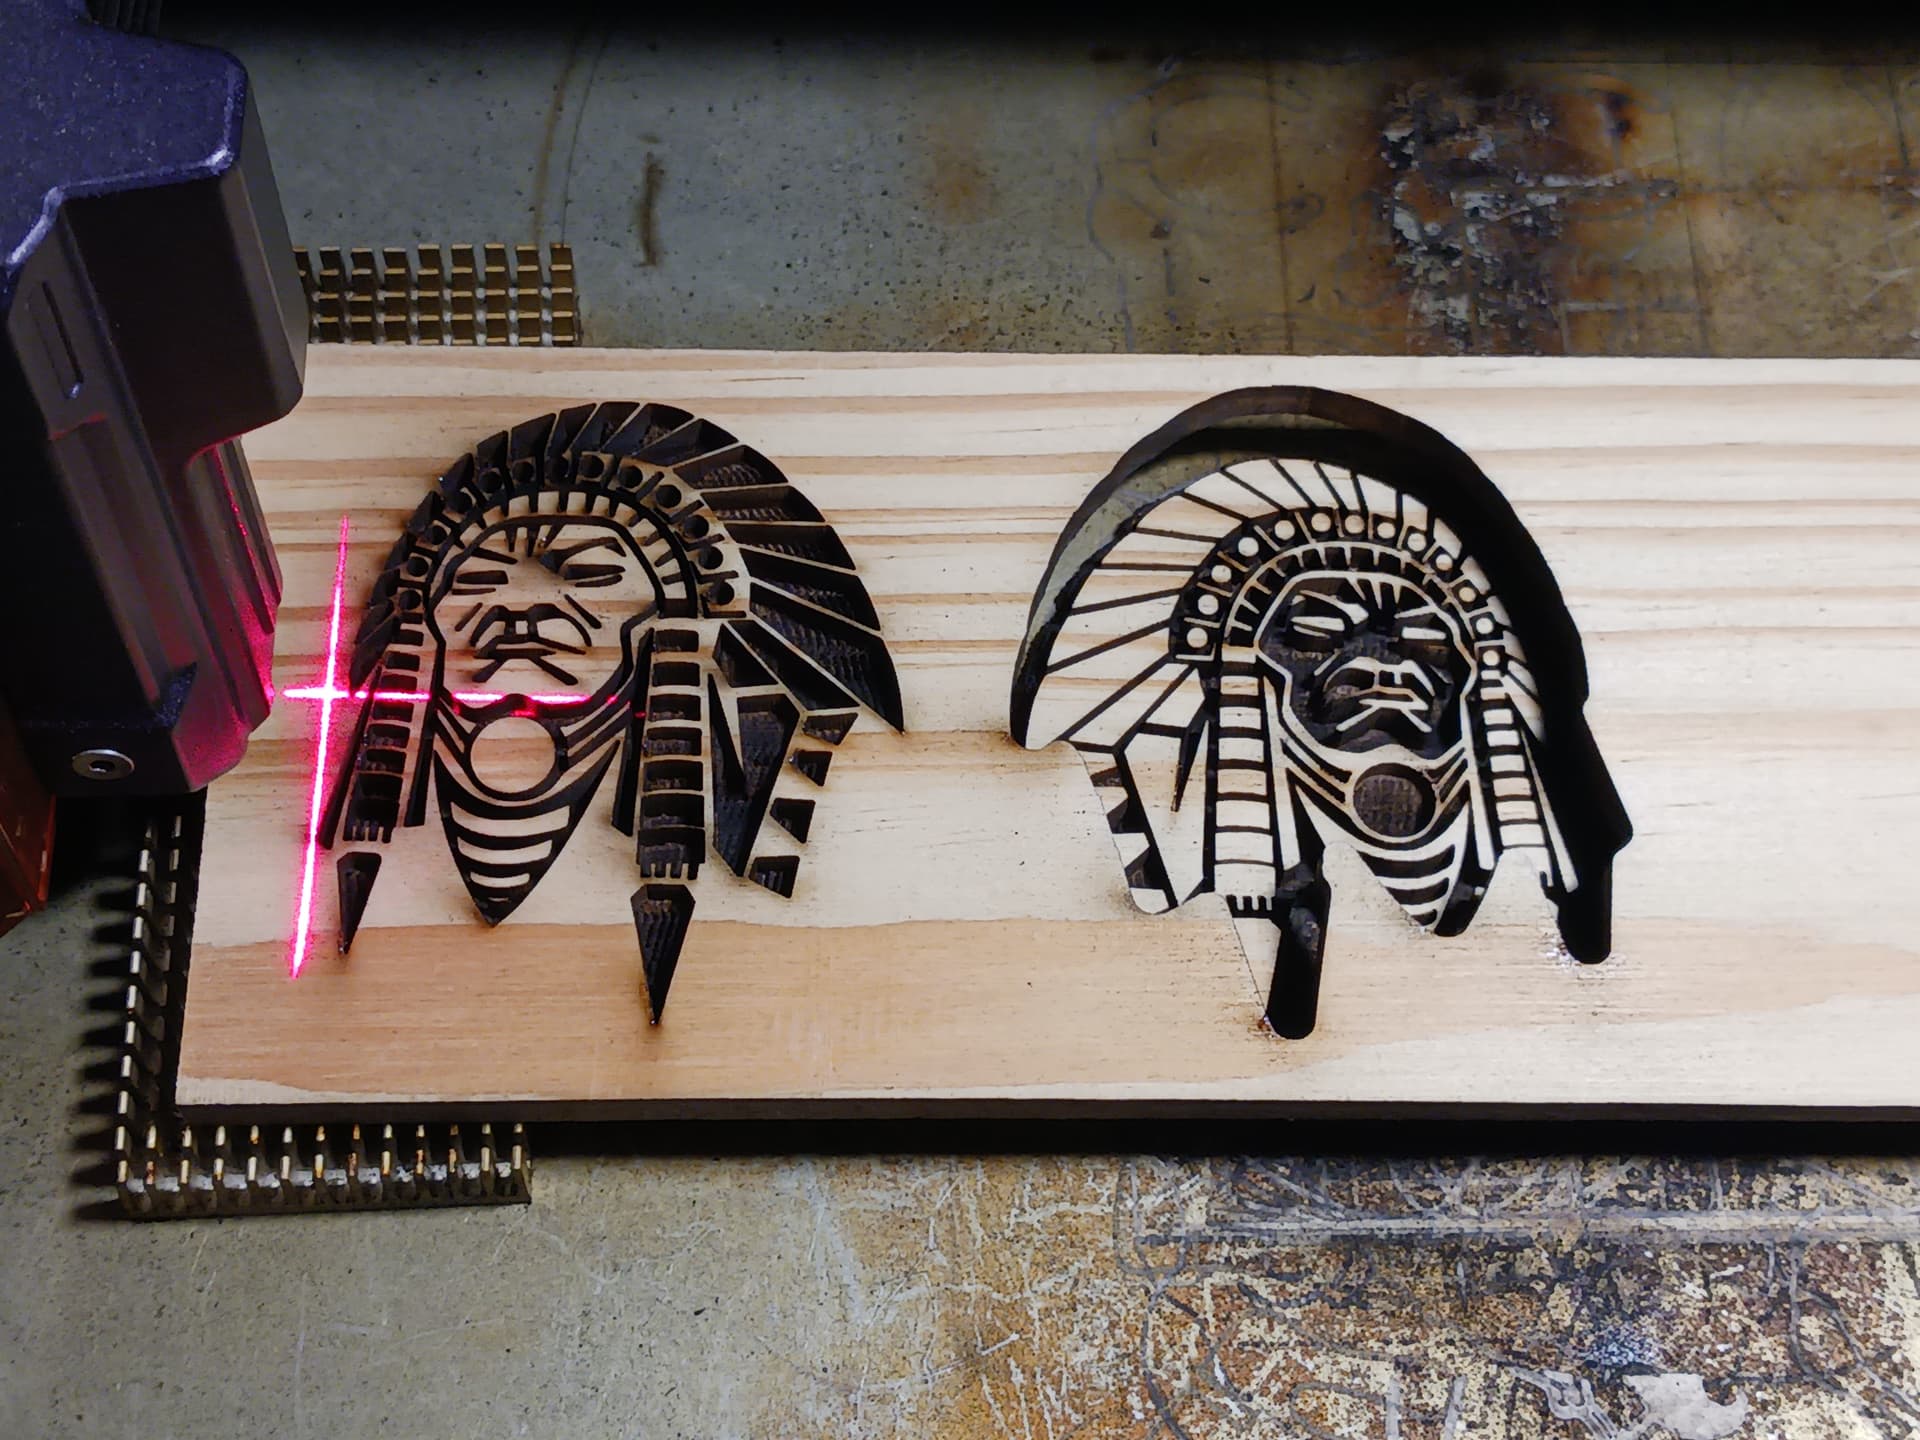
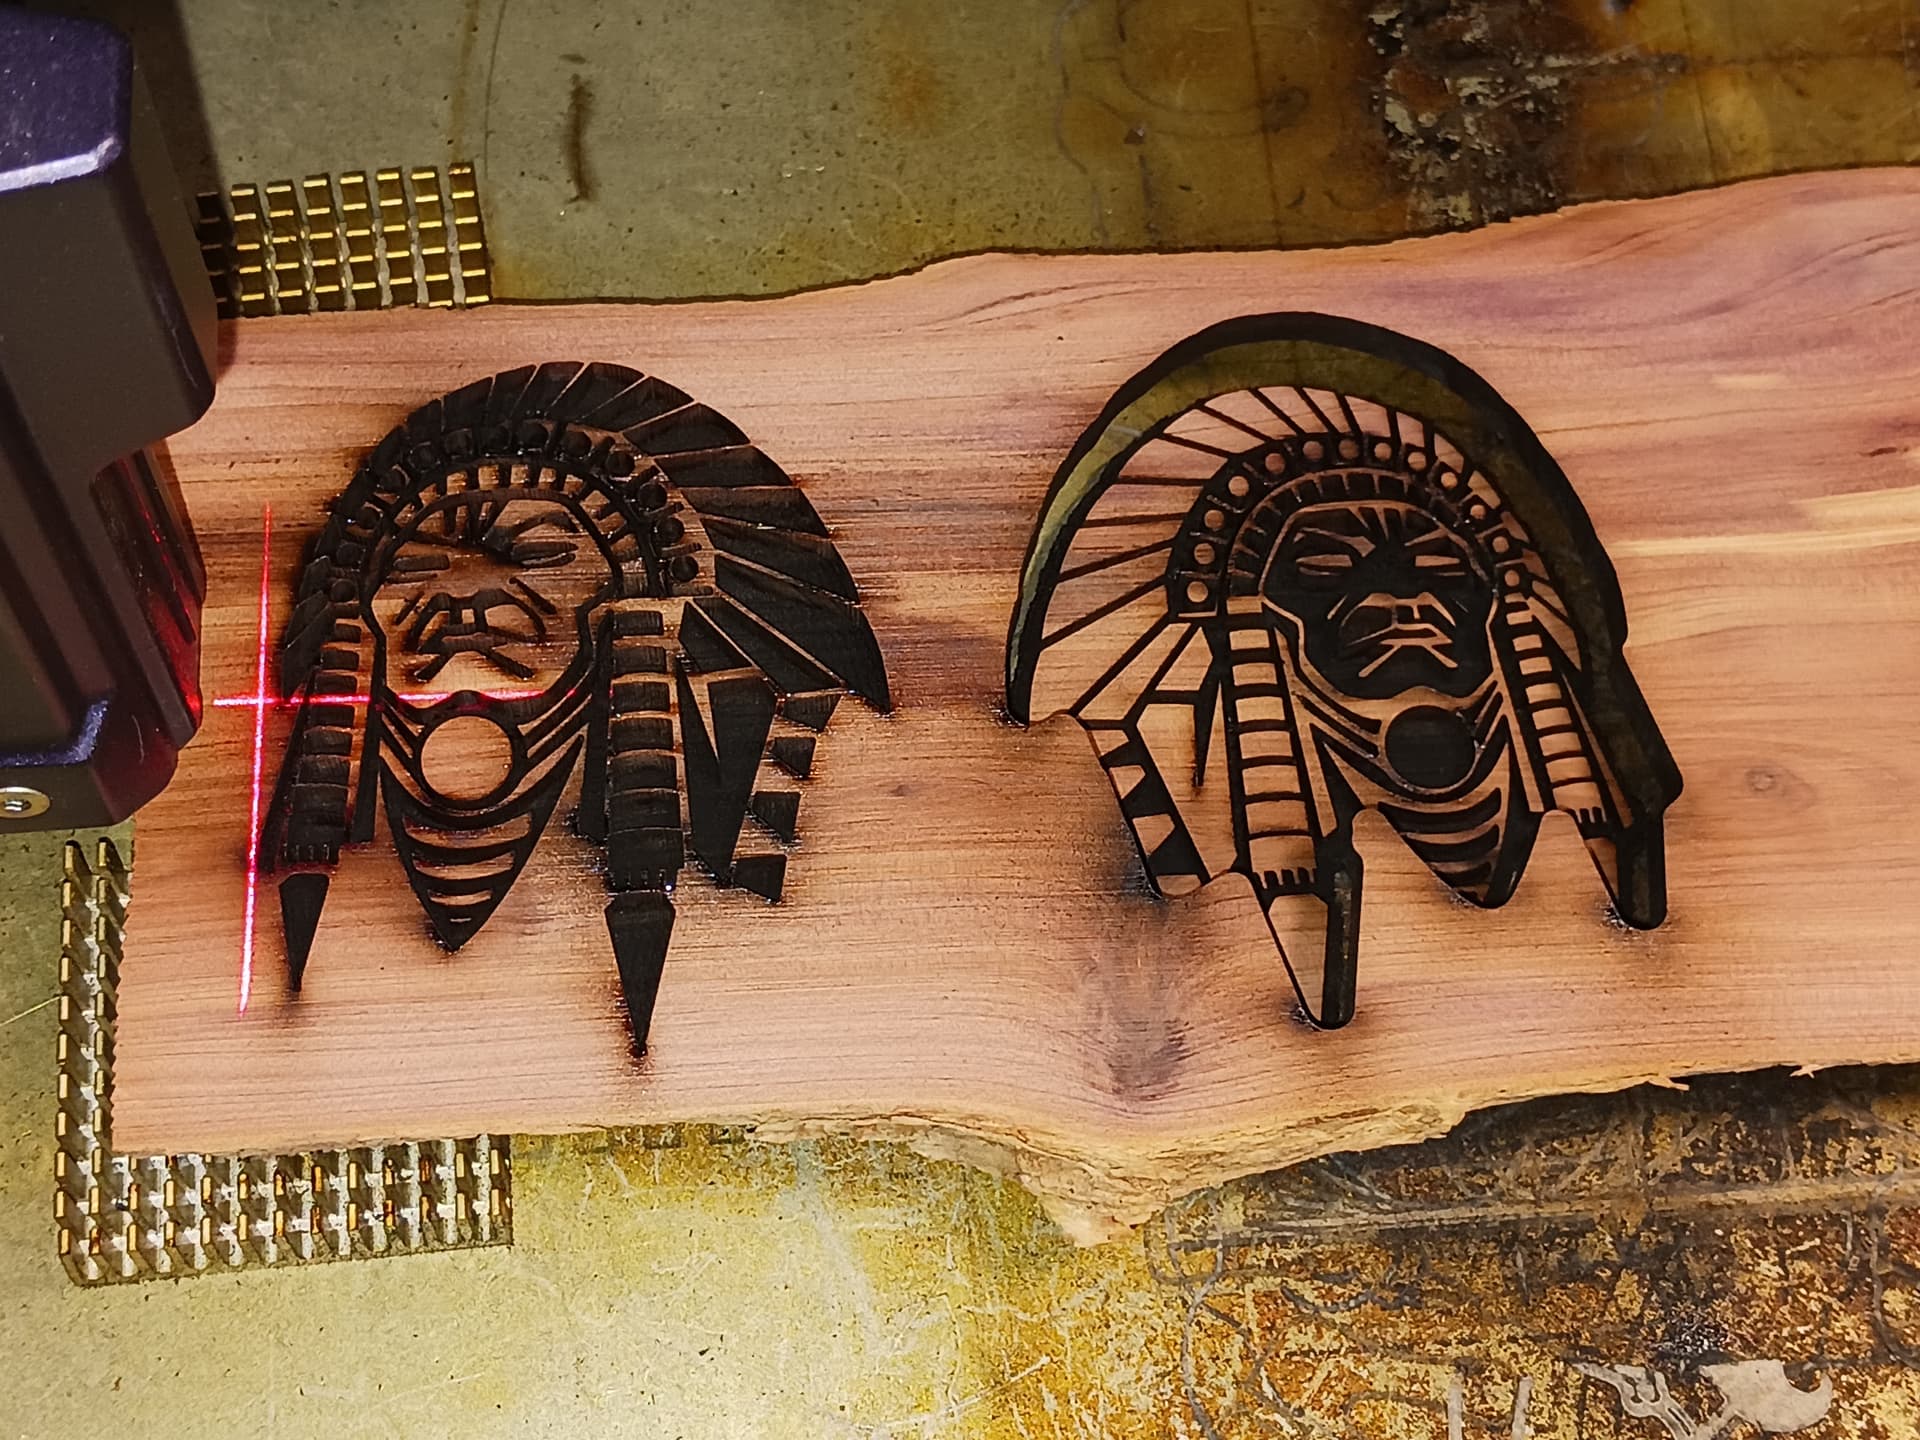
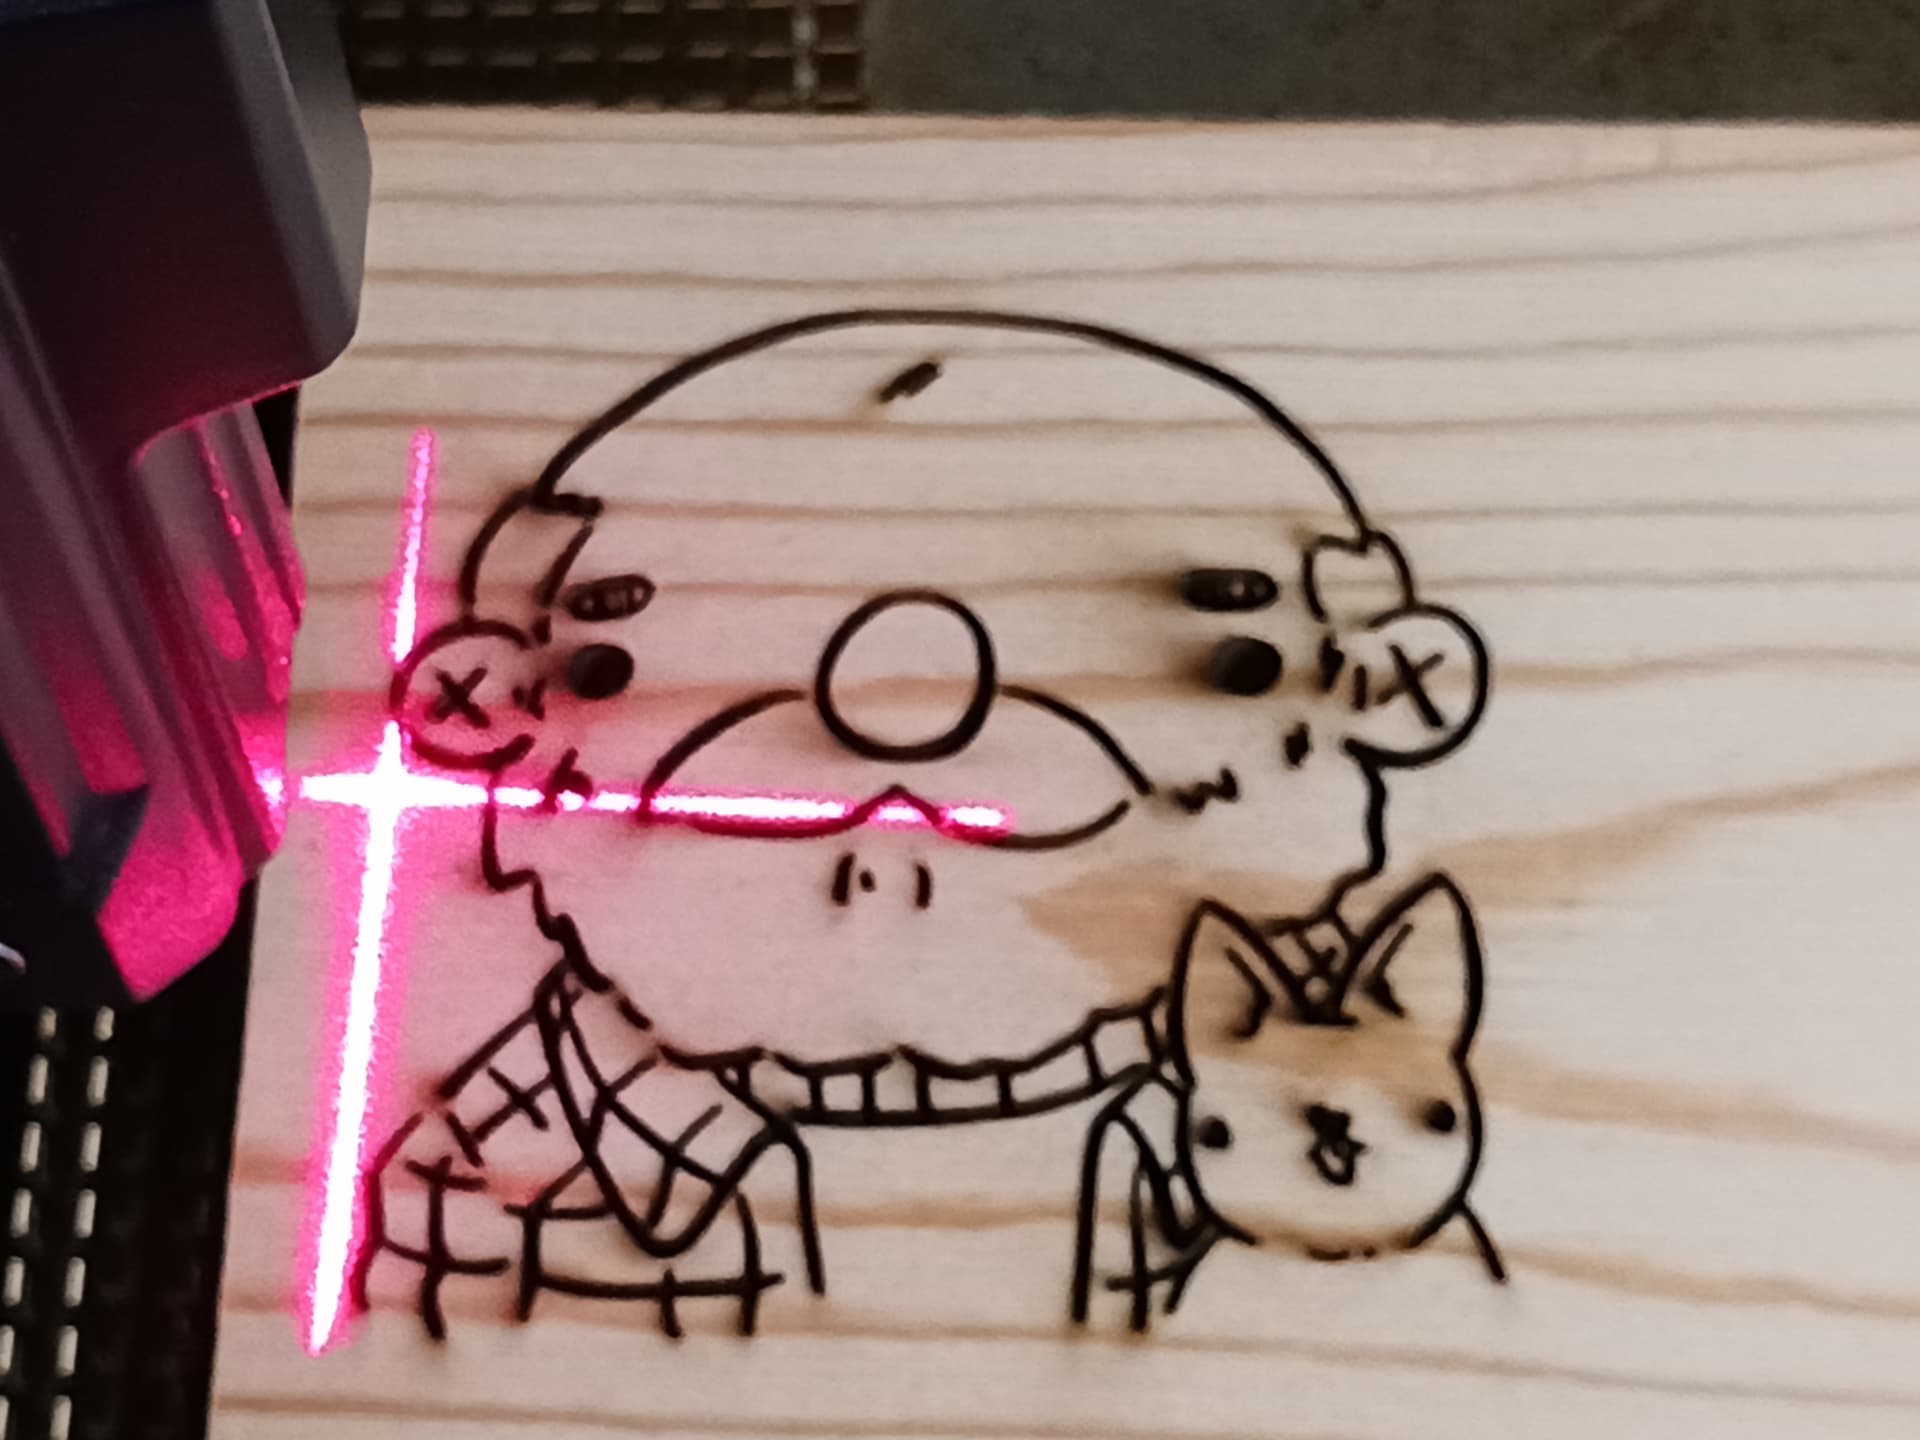
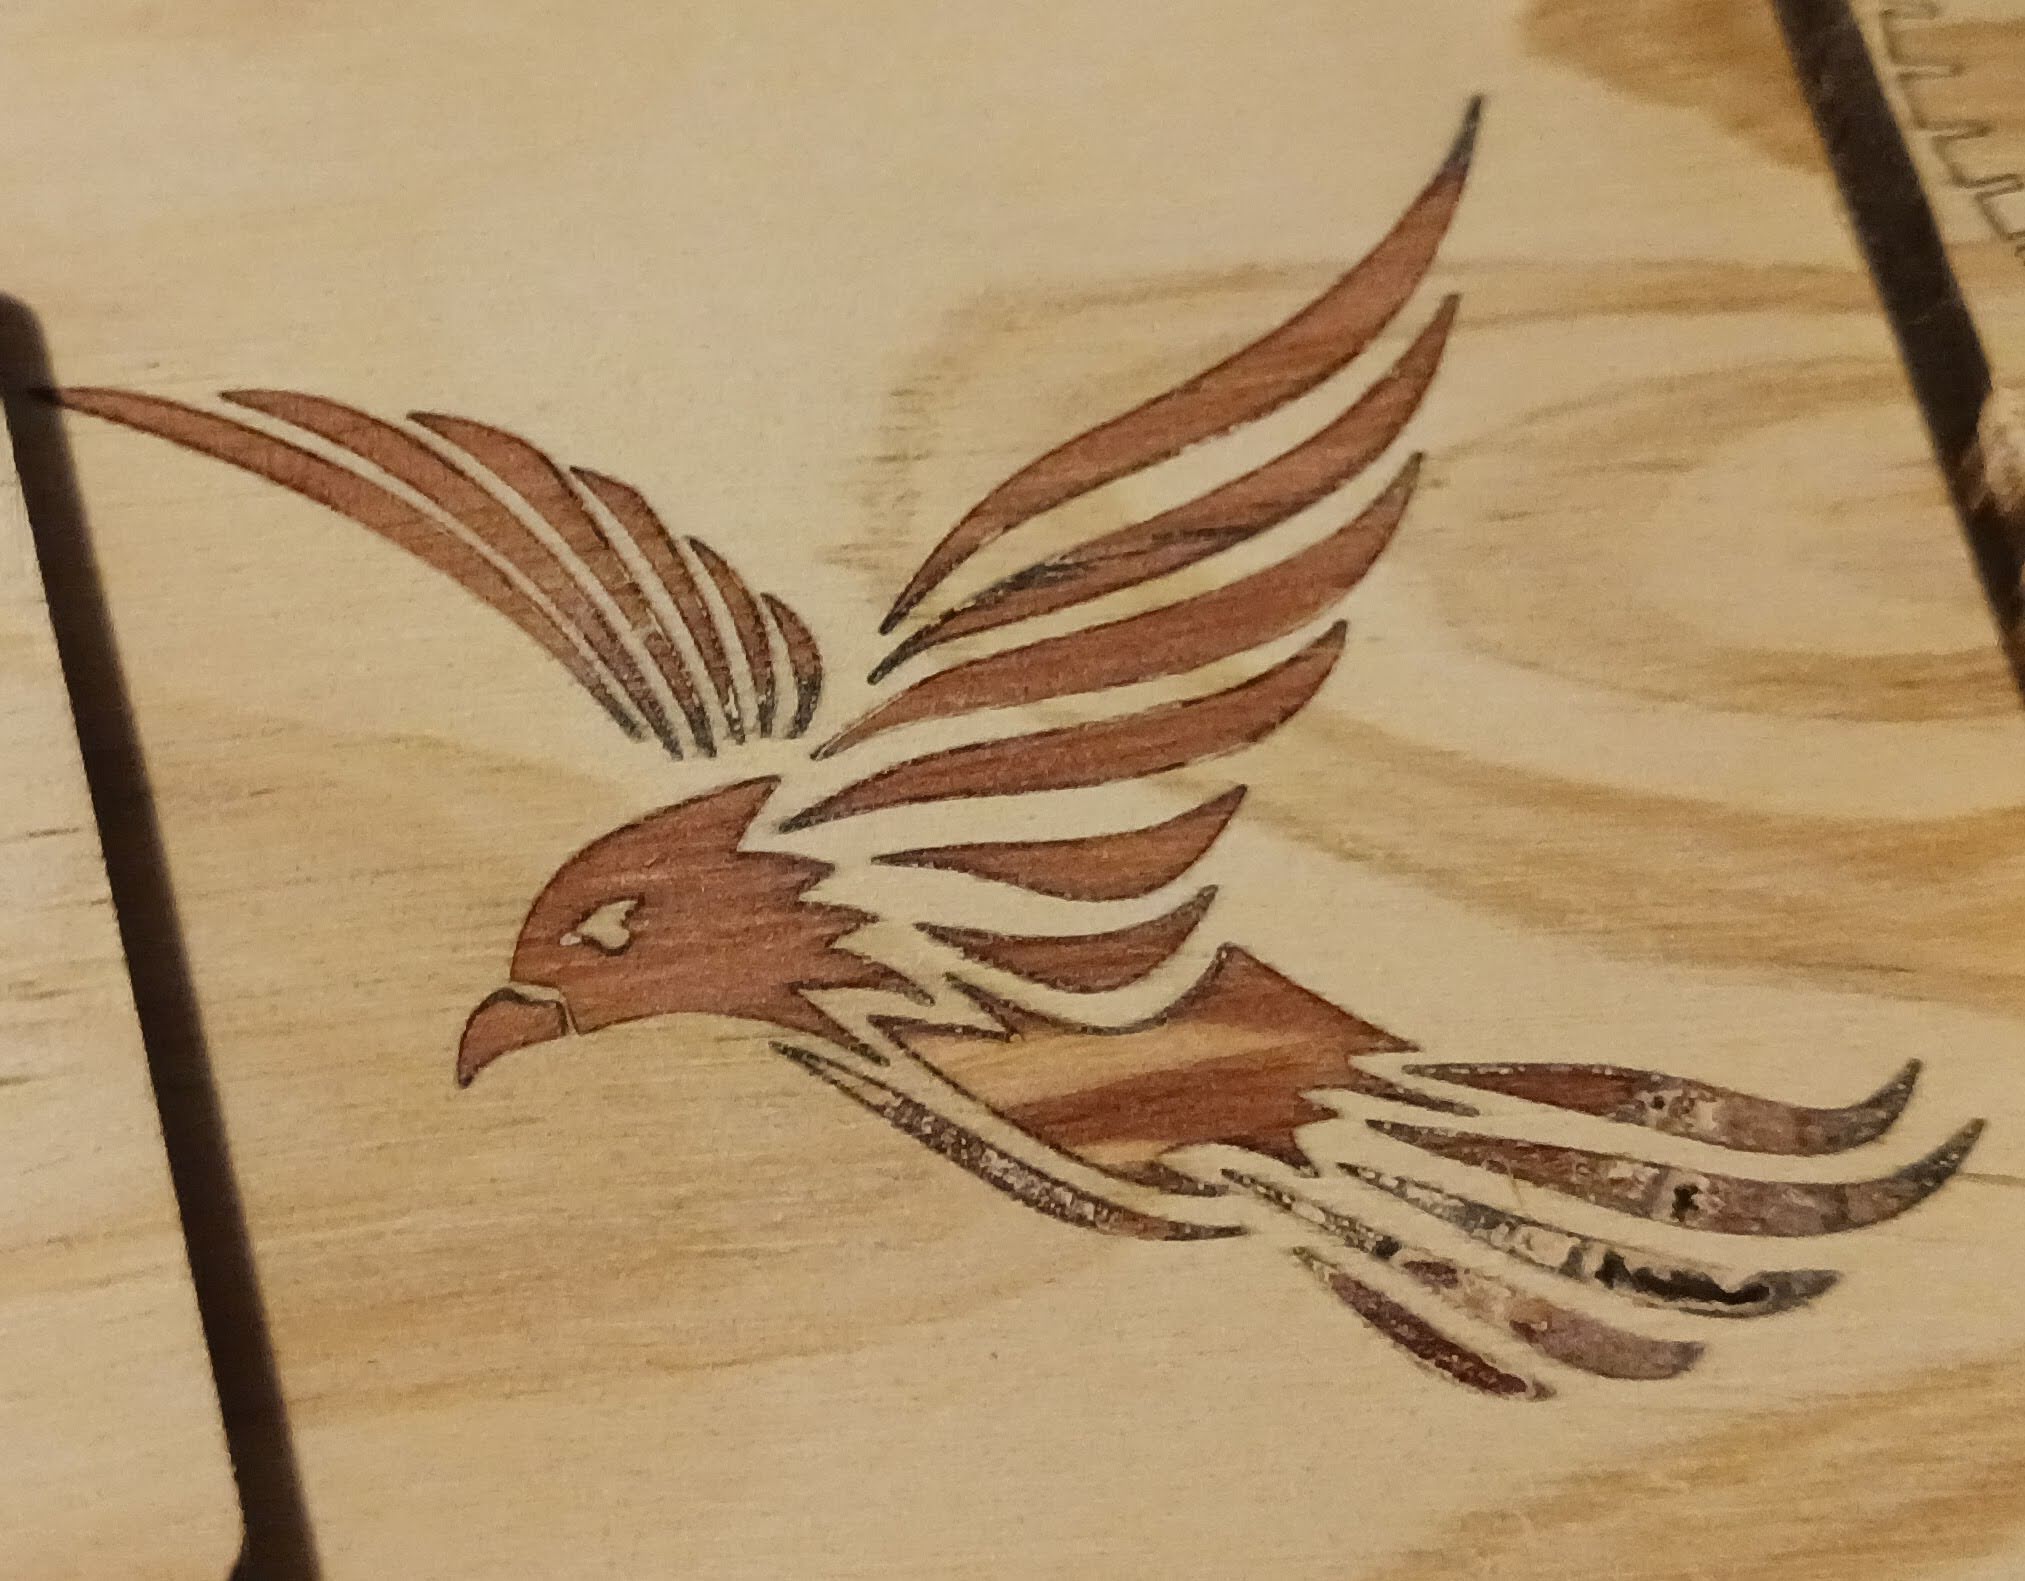
You can now export the gcode (if not using direct LB control) to process just one, or both, of the “pocket” and “inlay” images. I show here both to the same plank of material…
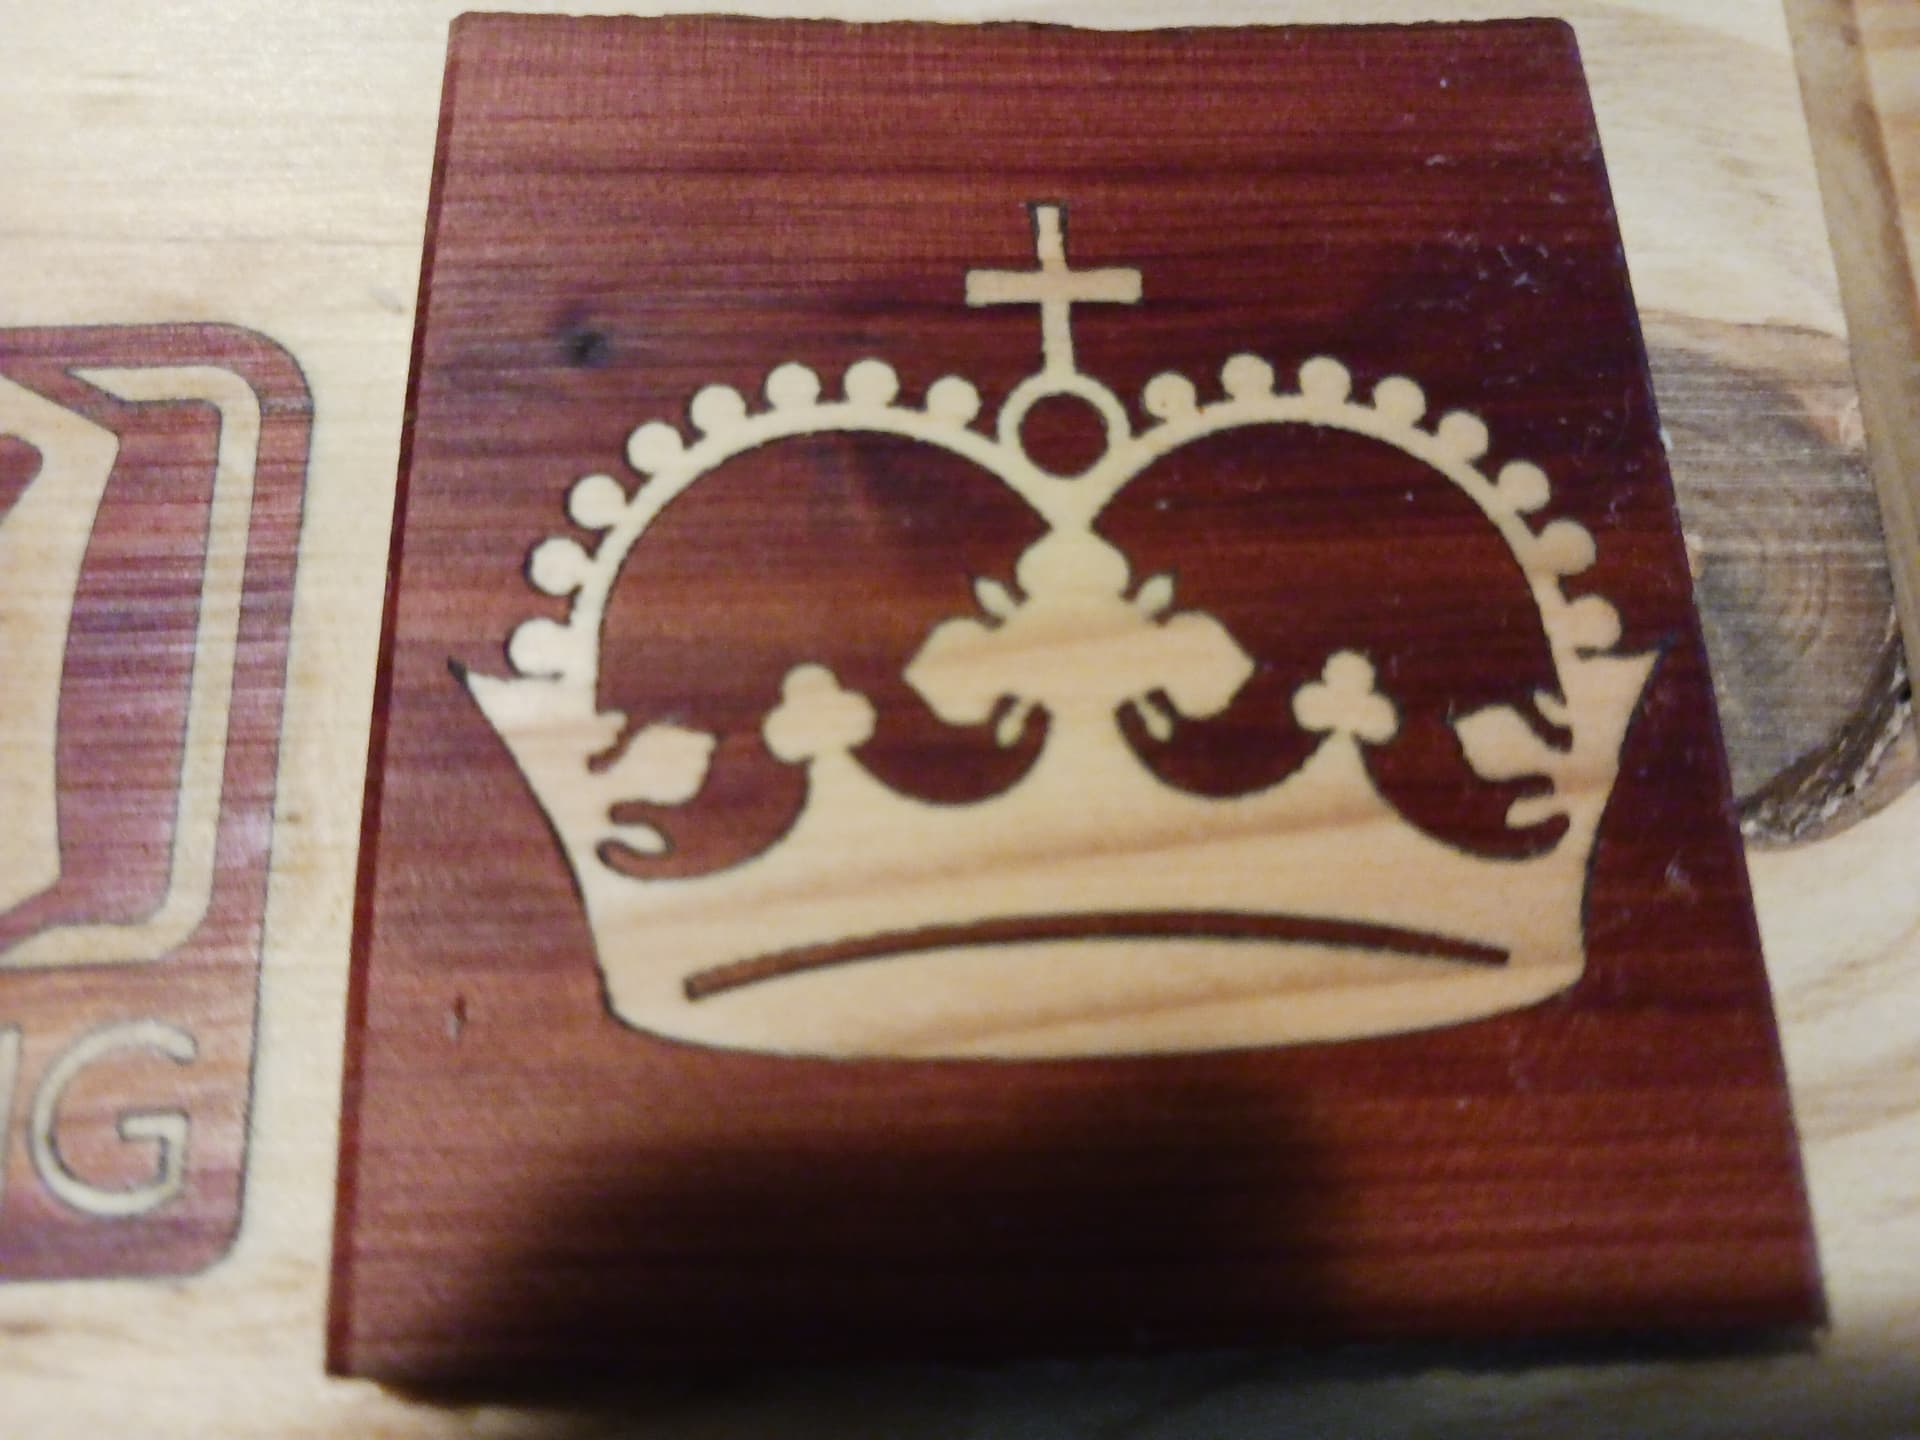
The upper-most image was done using the method just described…
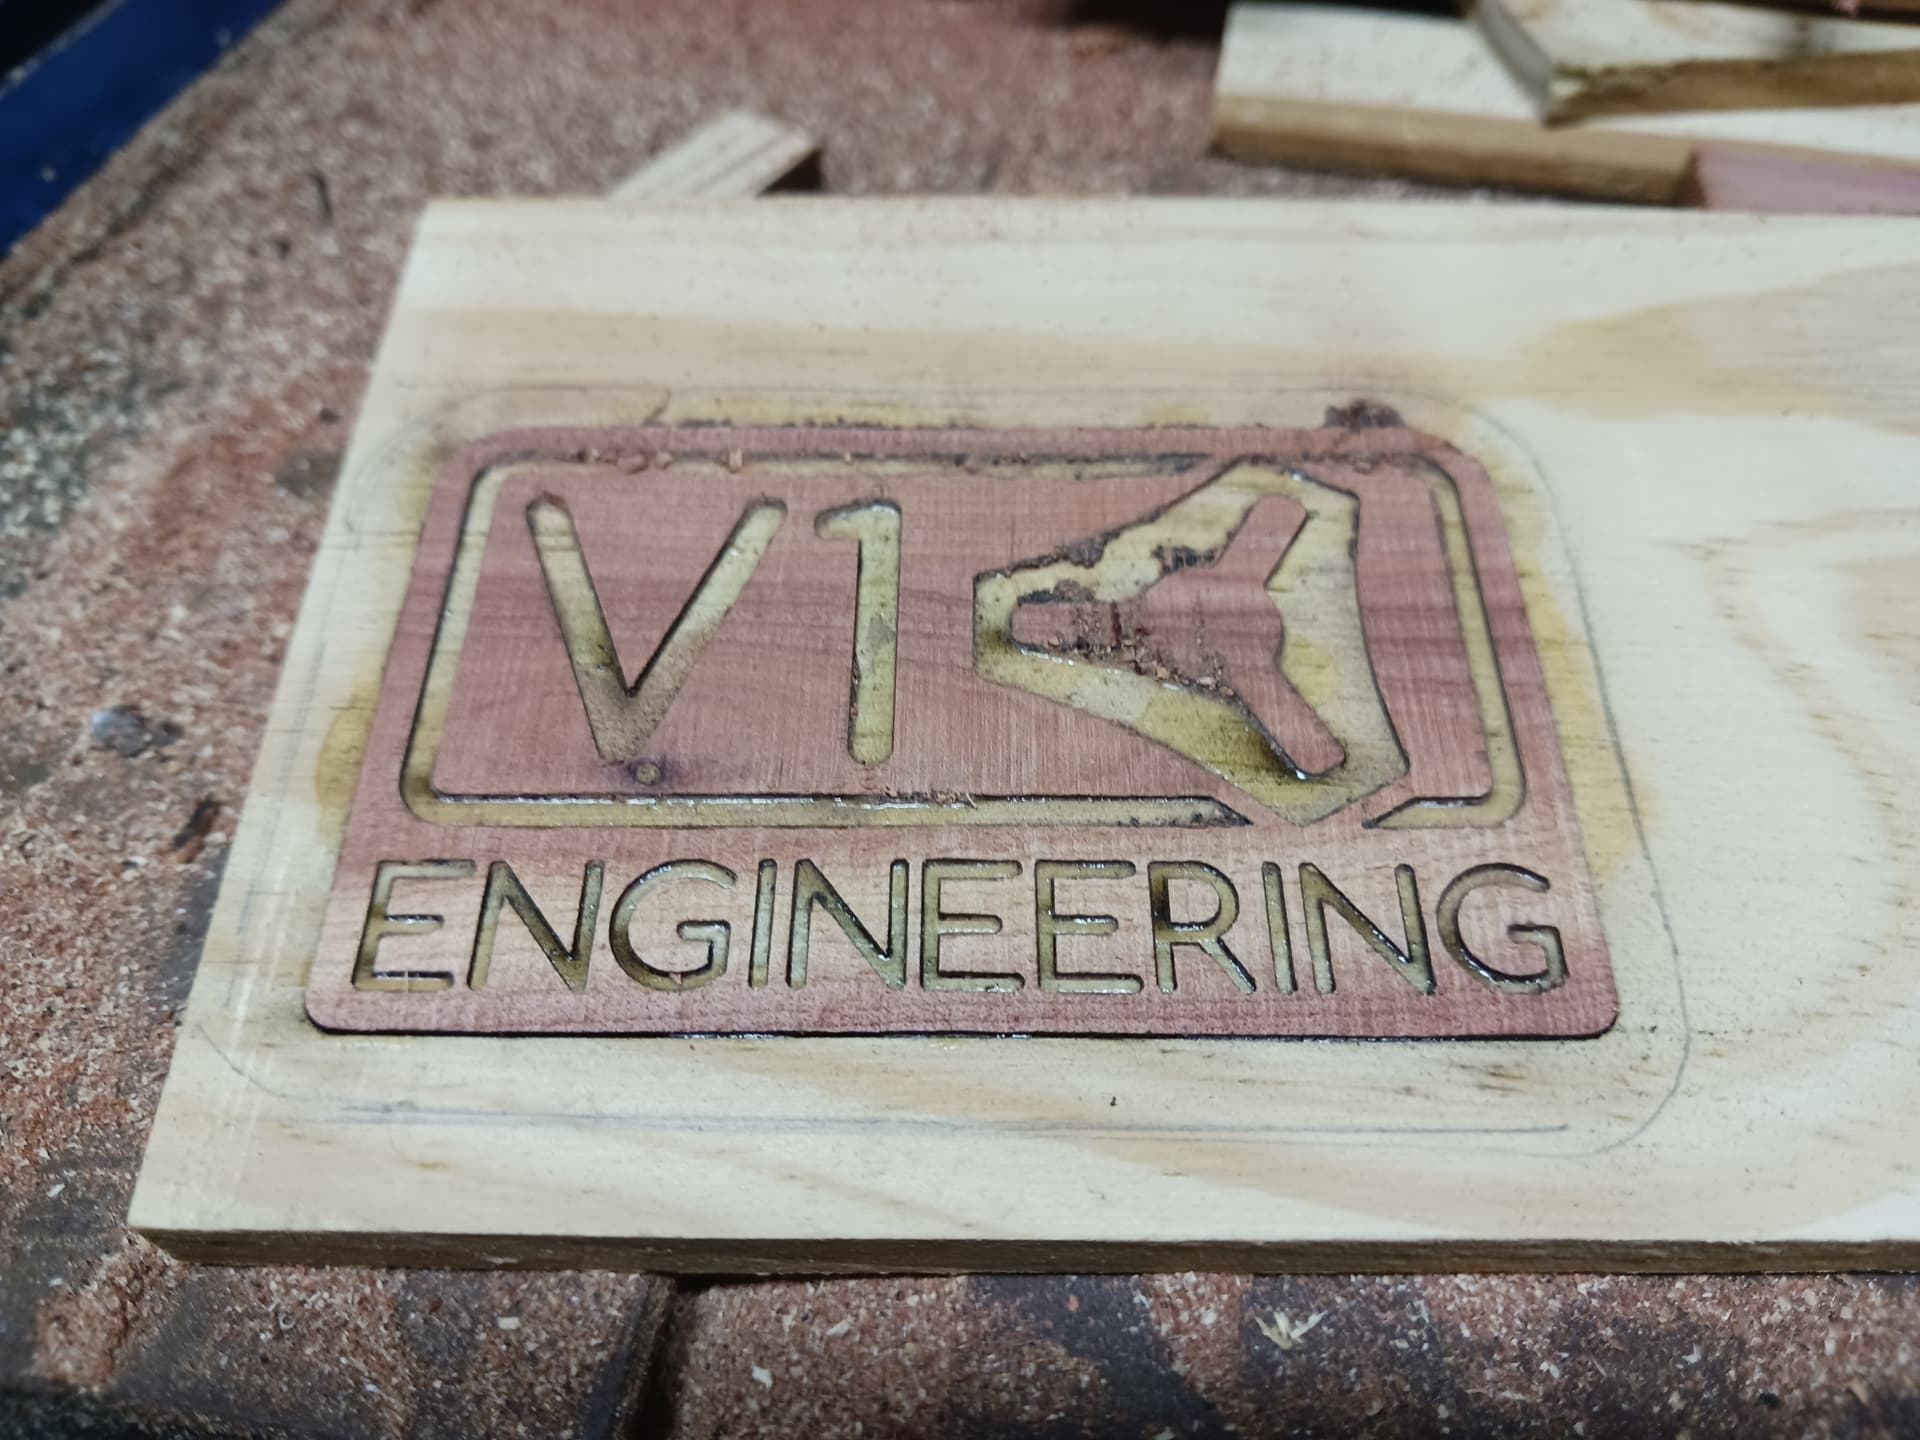
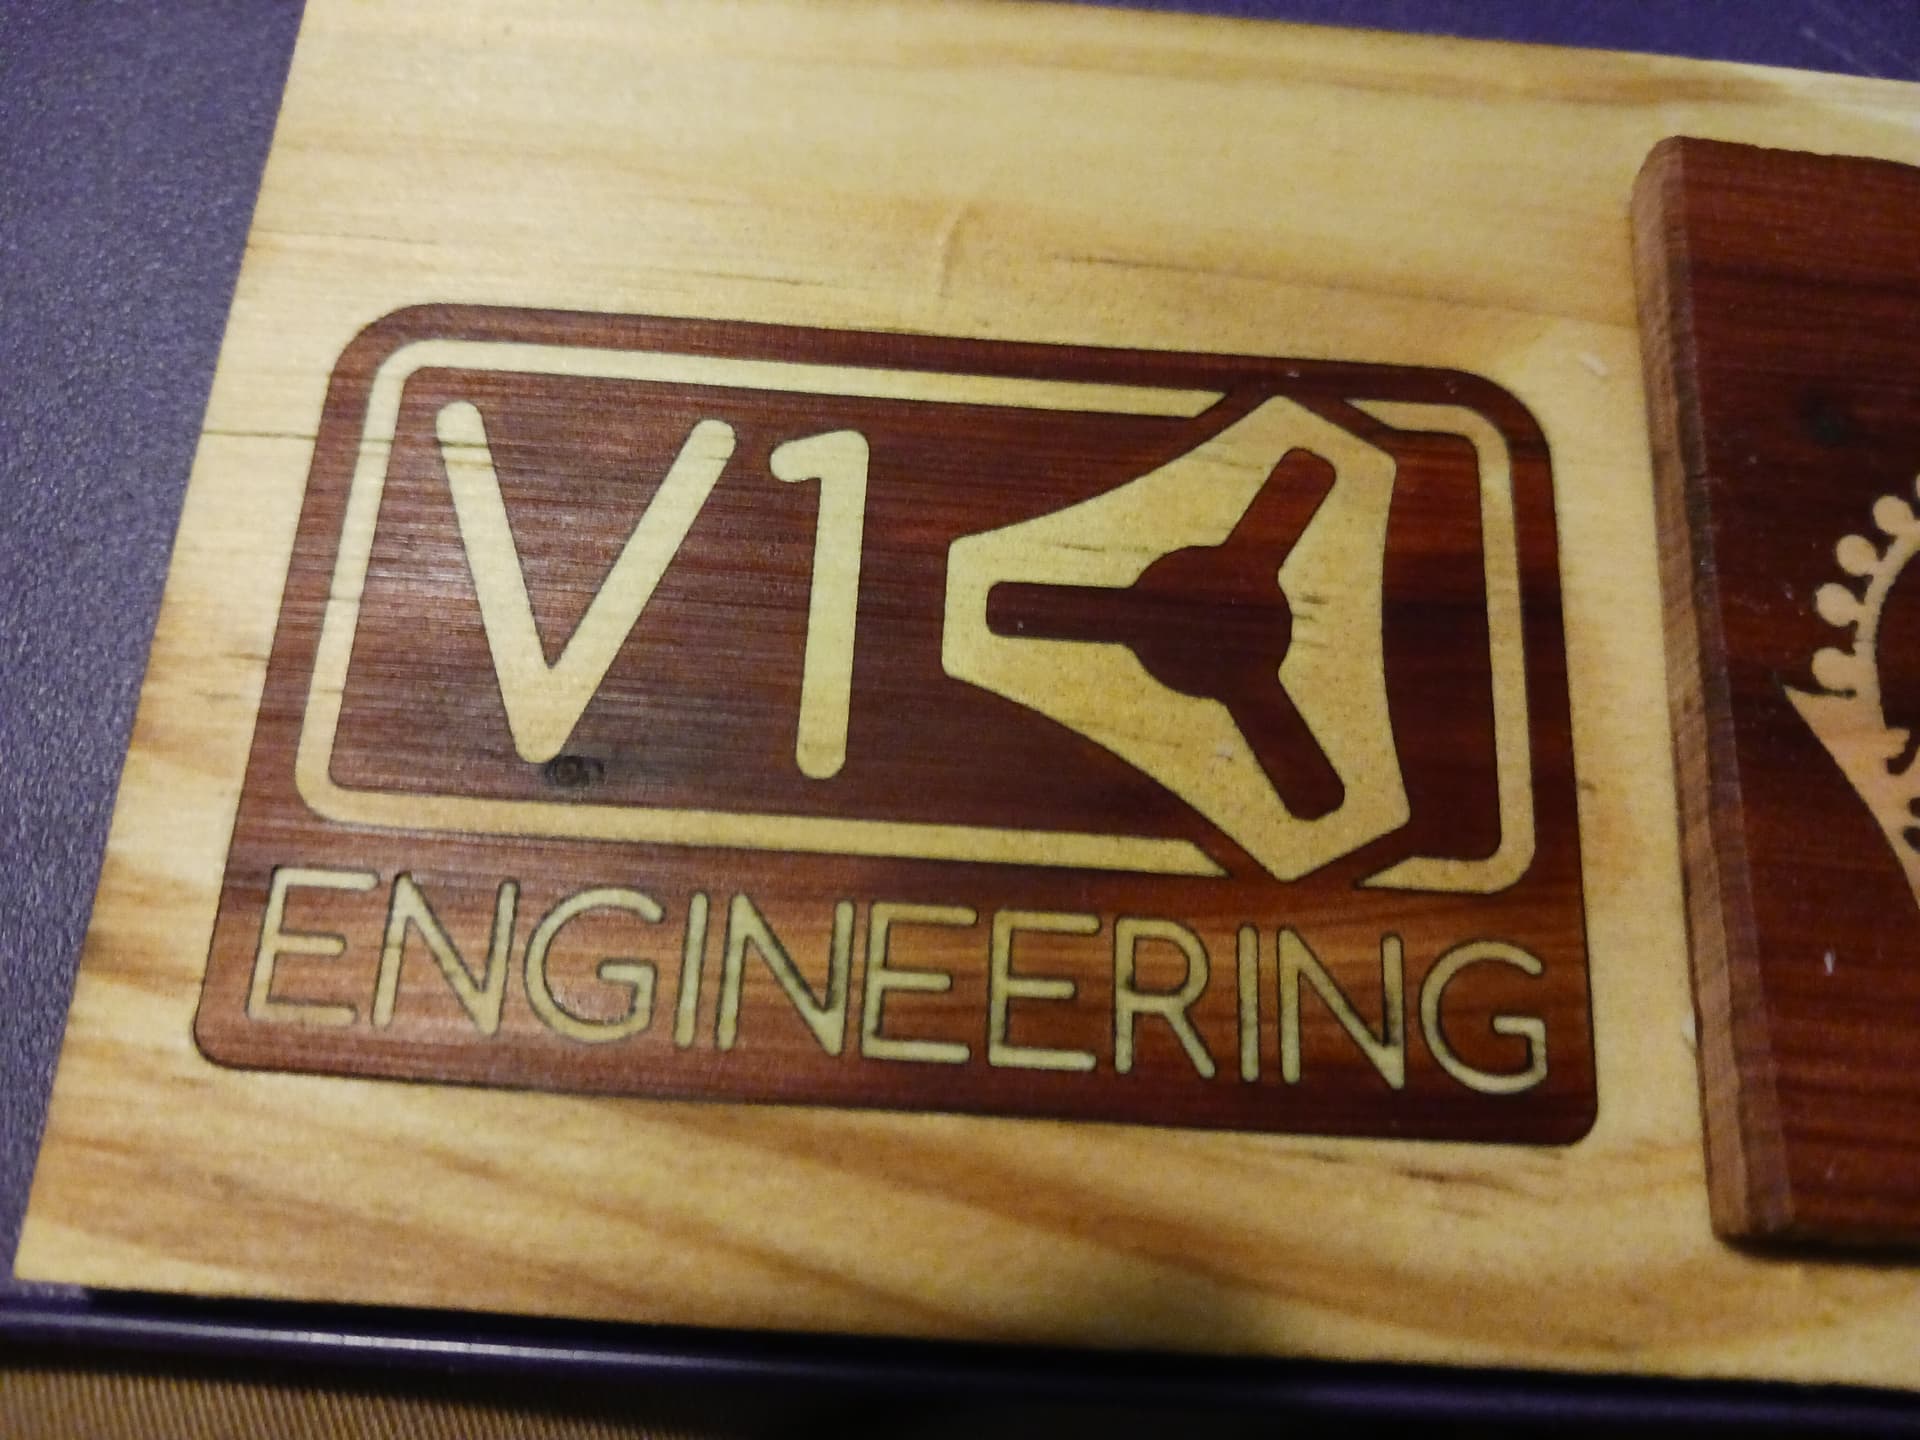
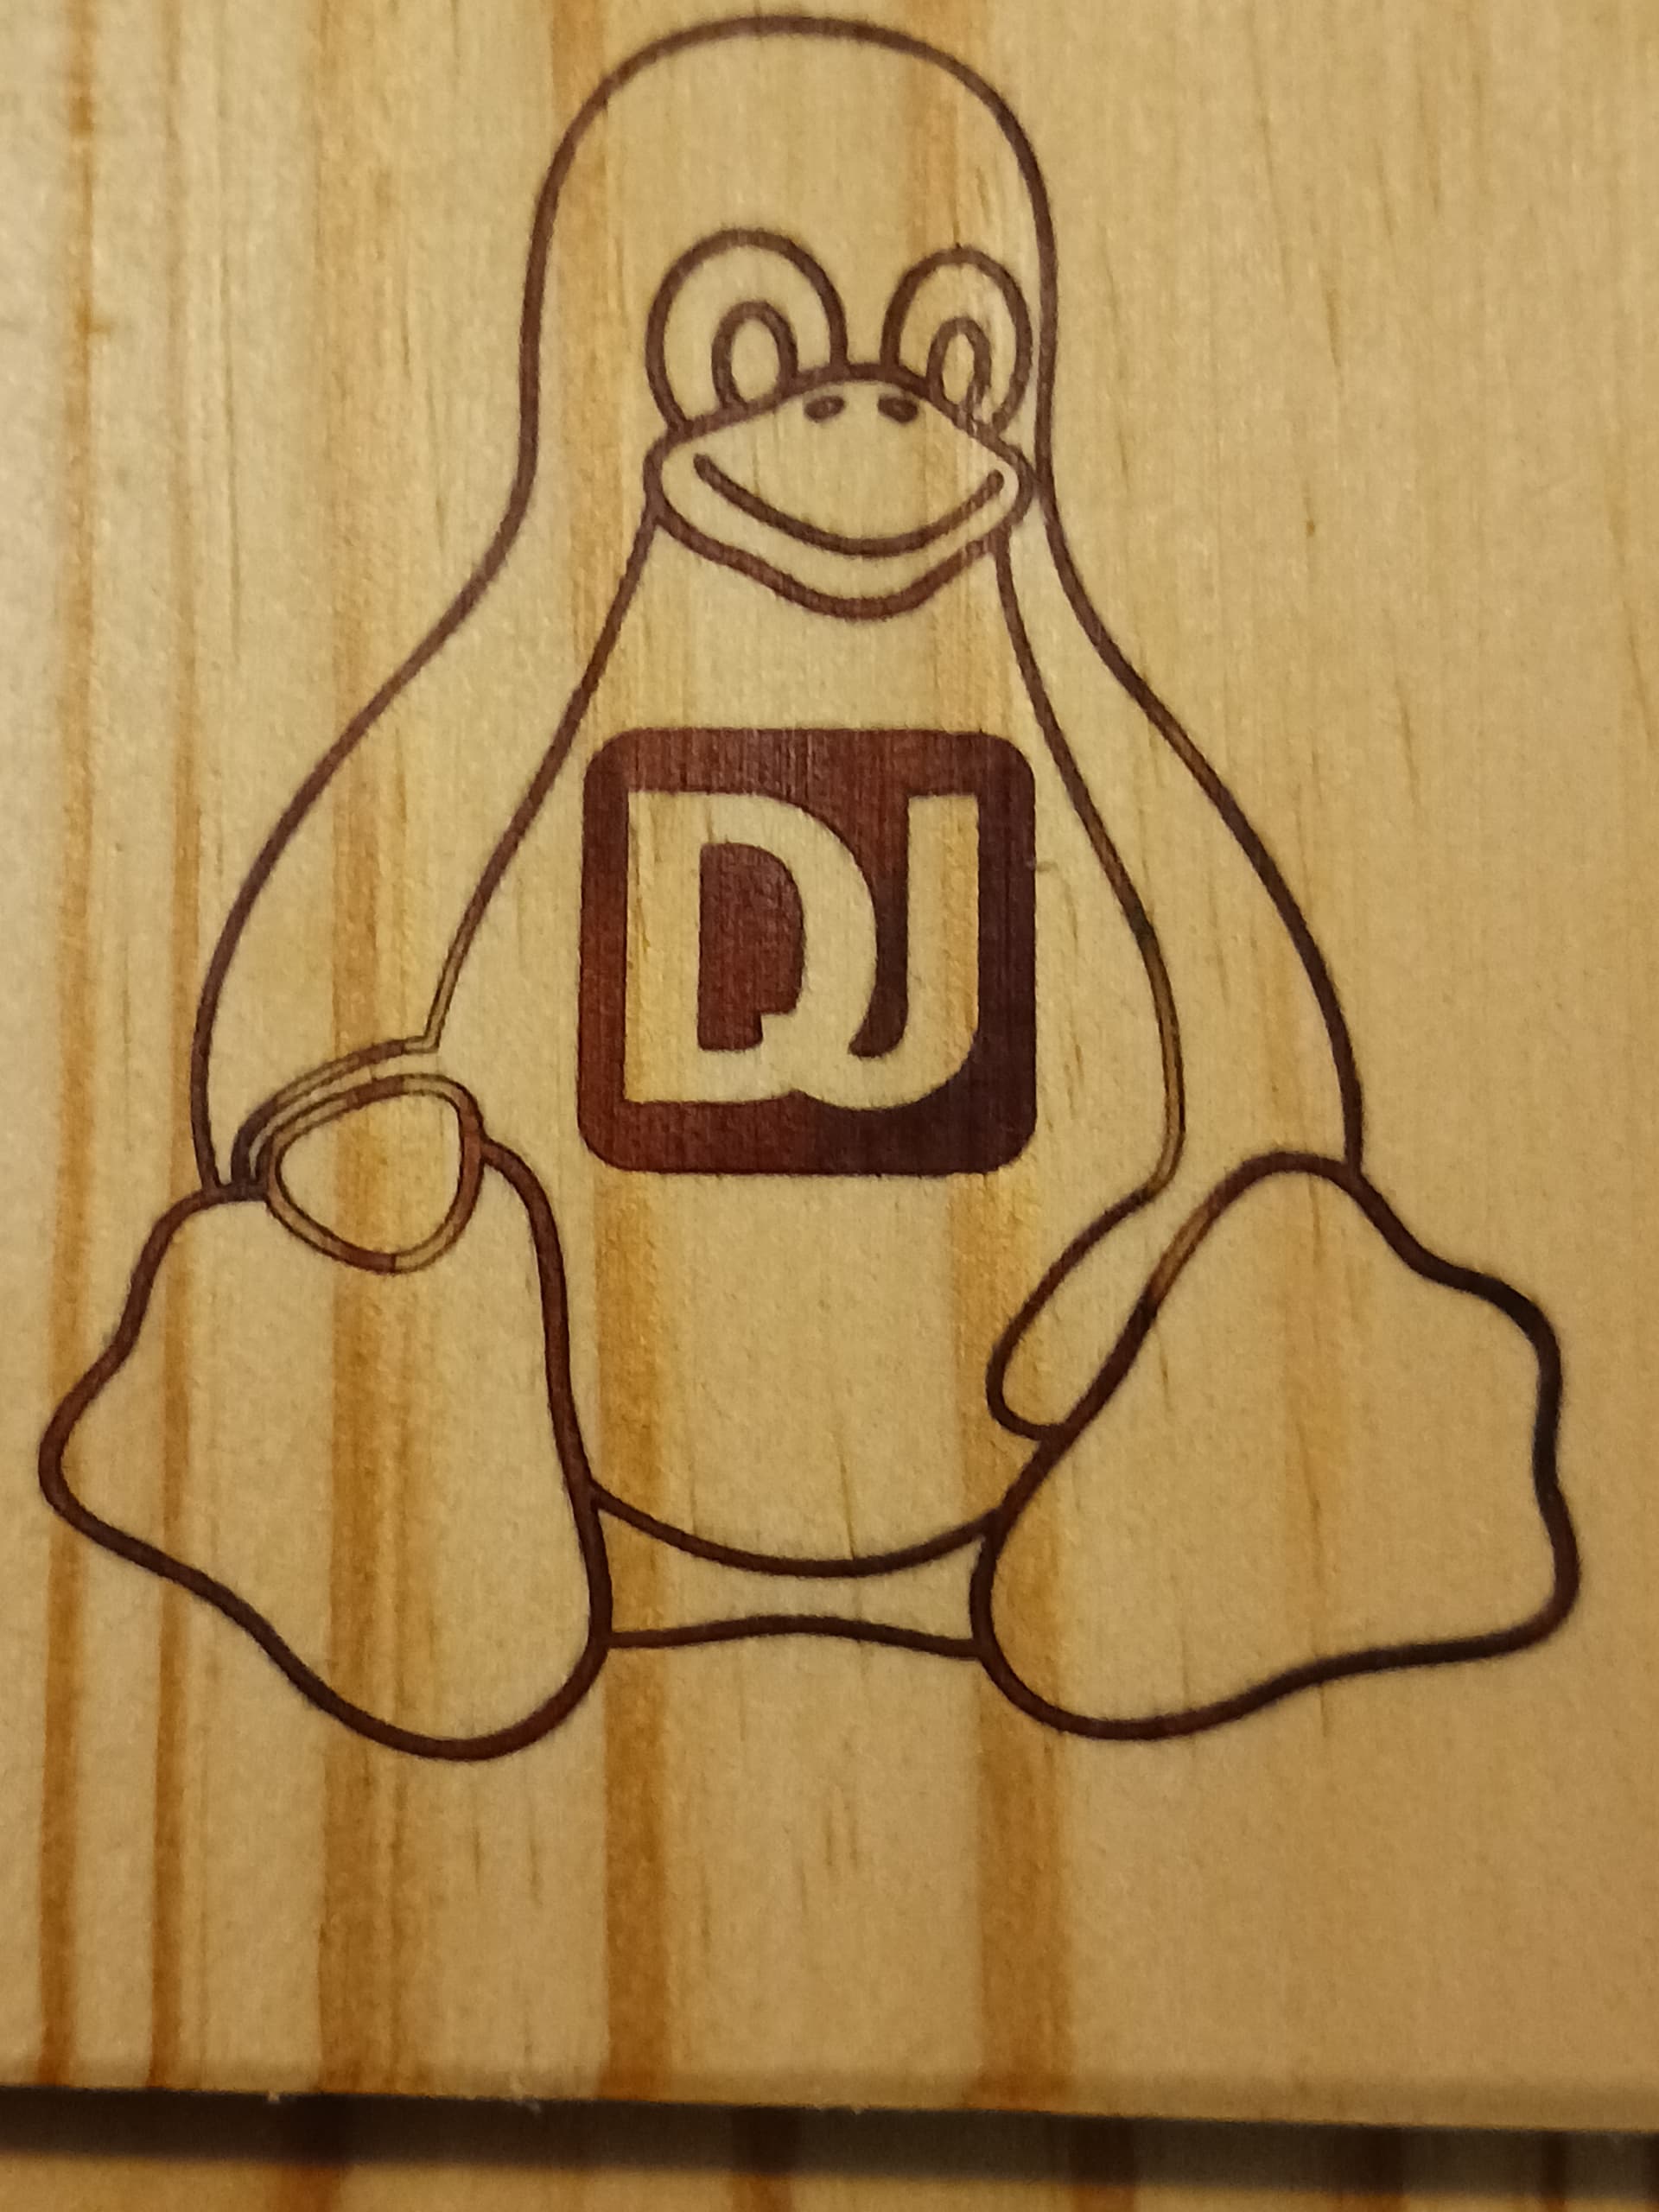
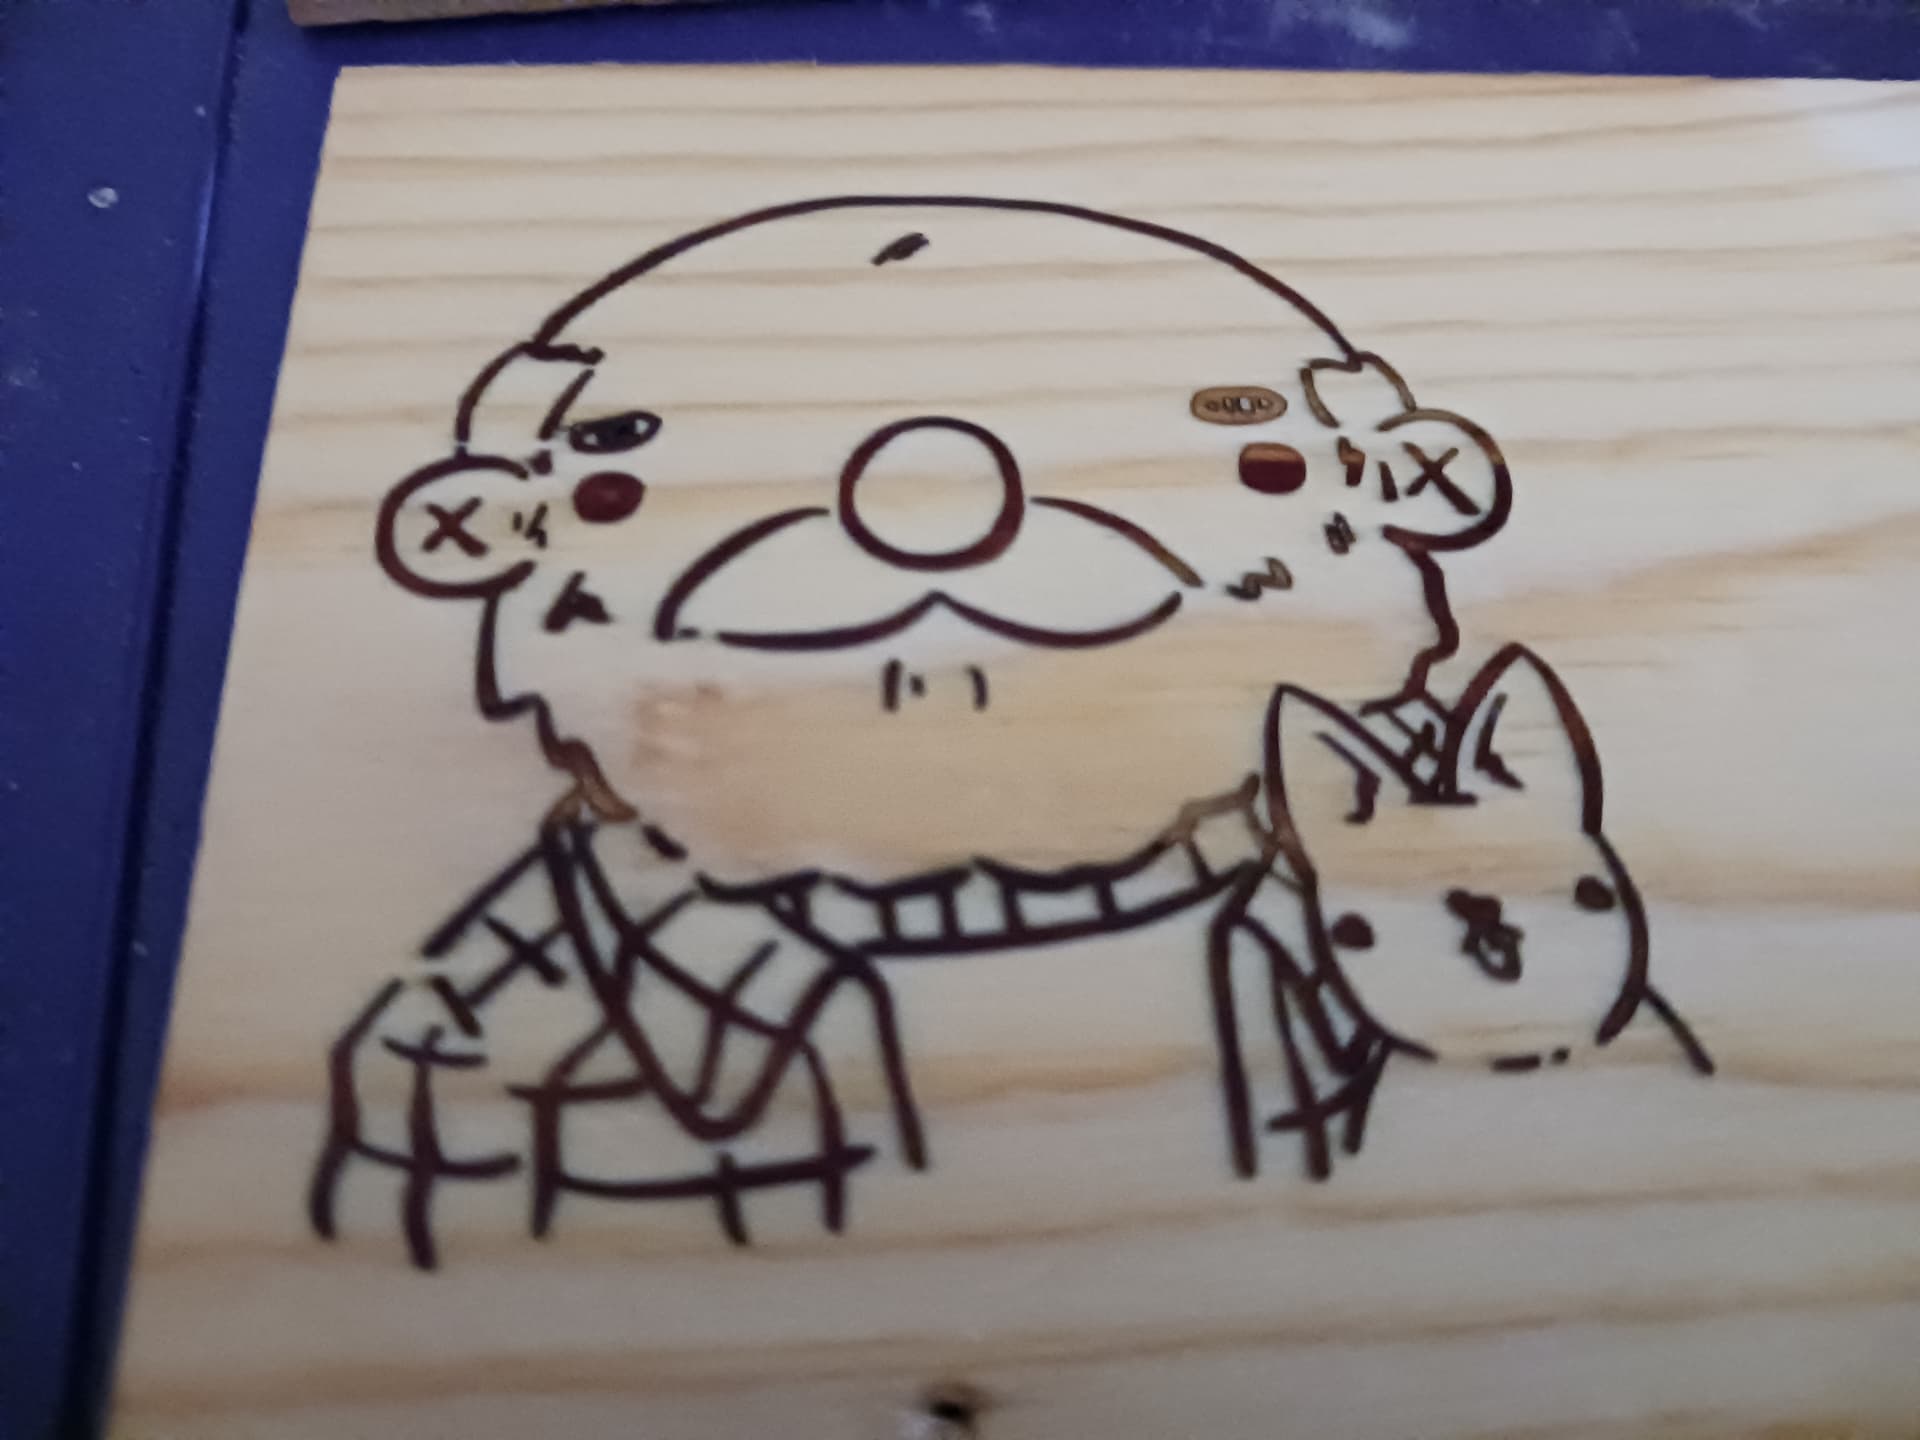
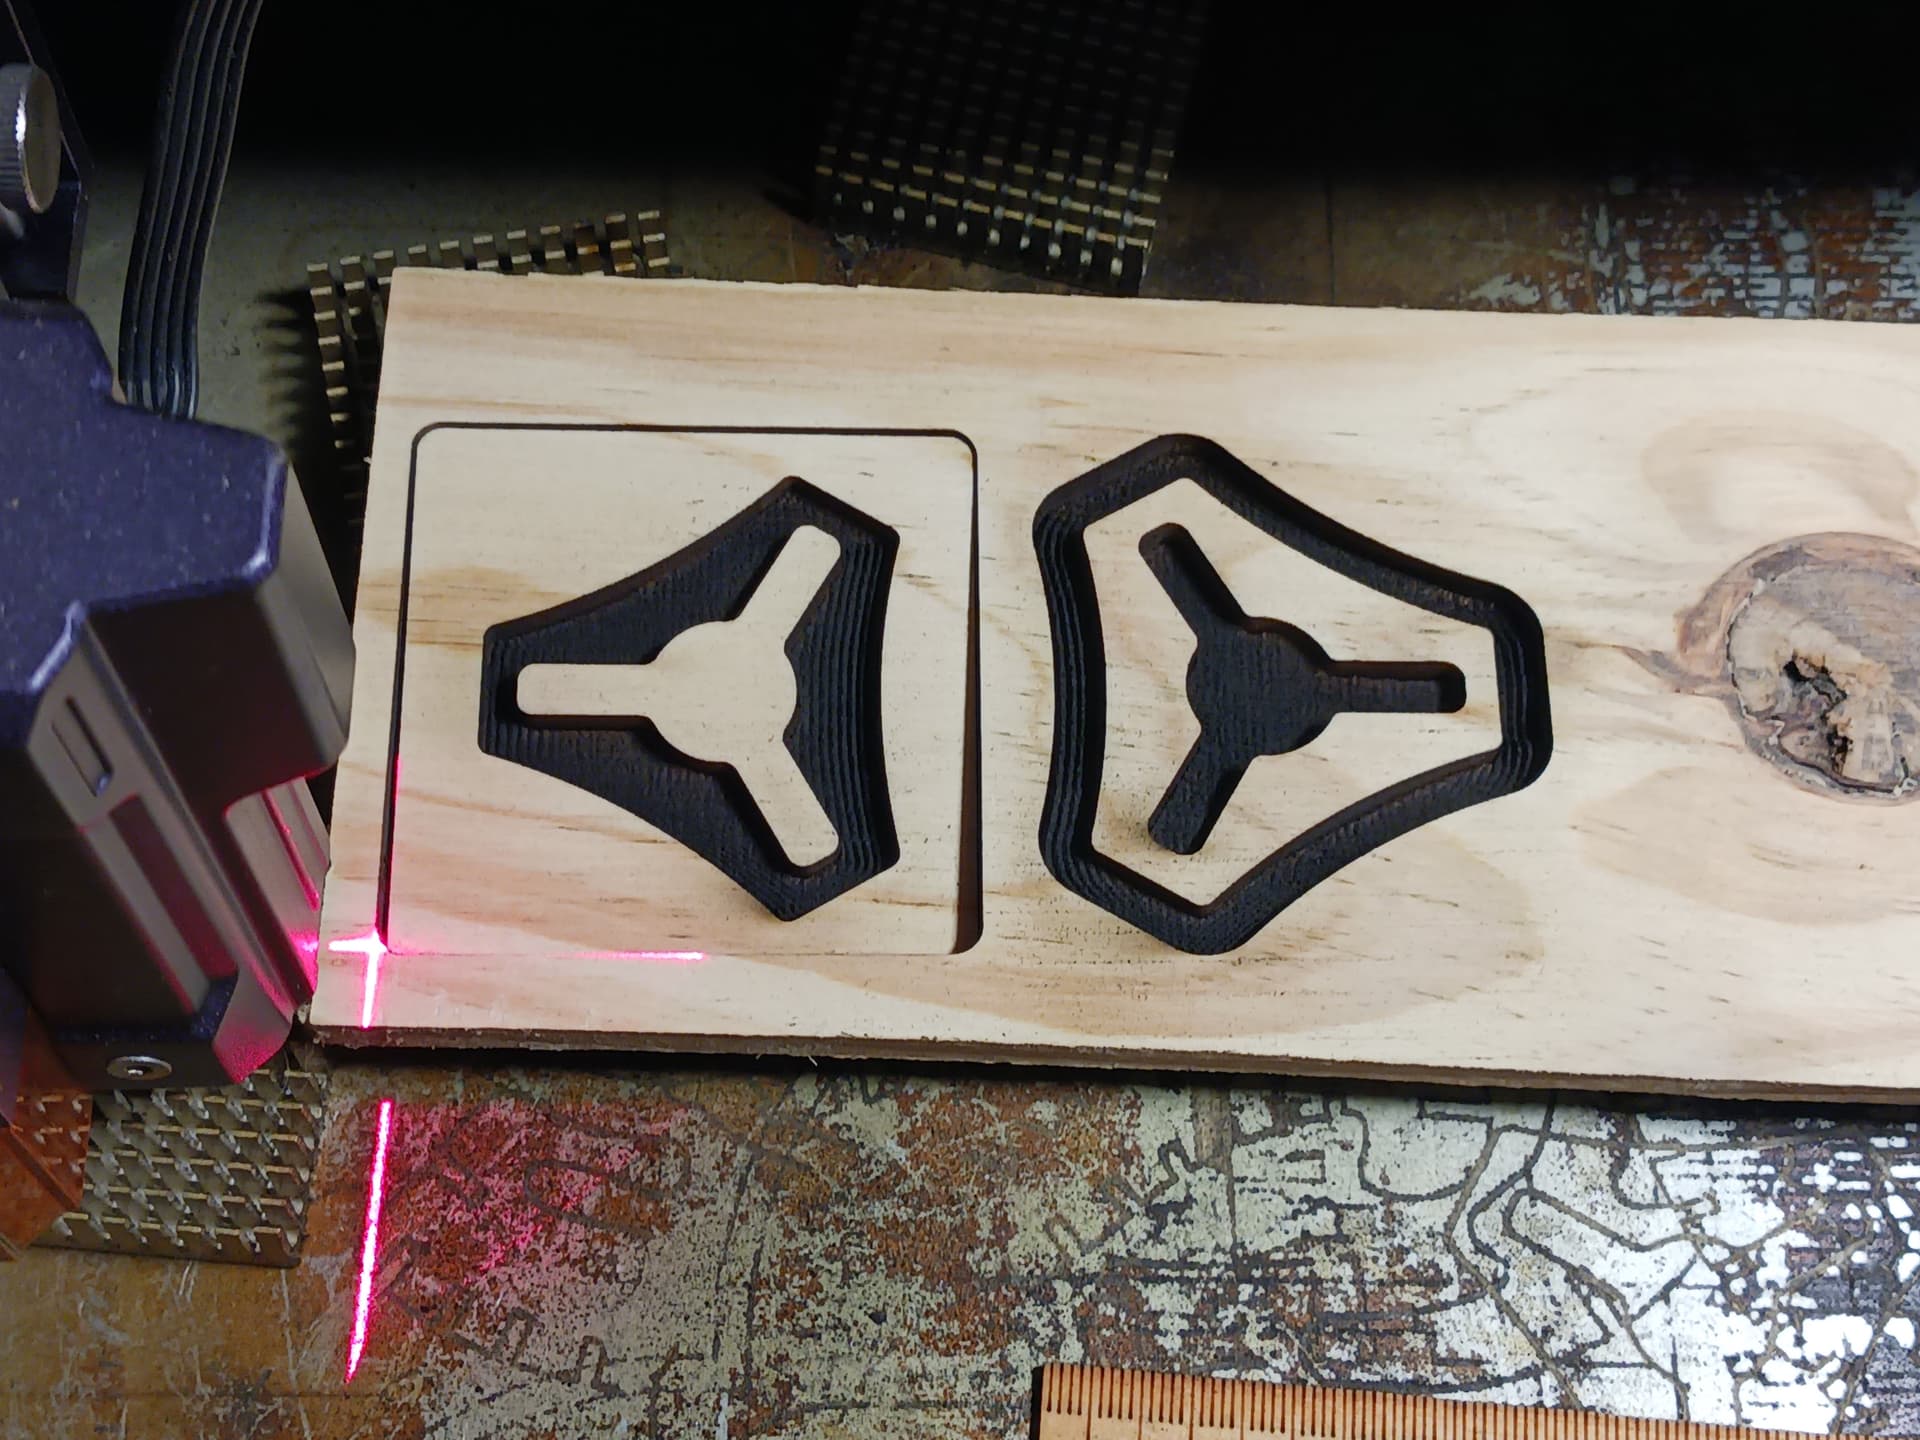
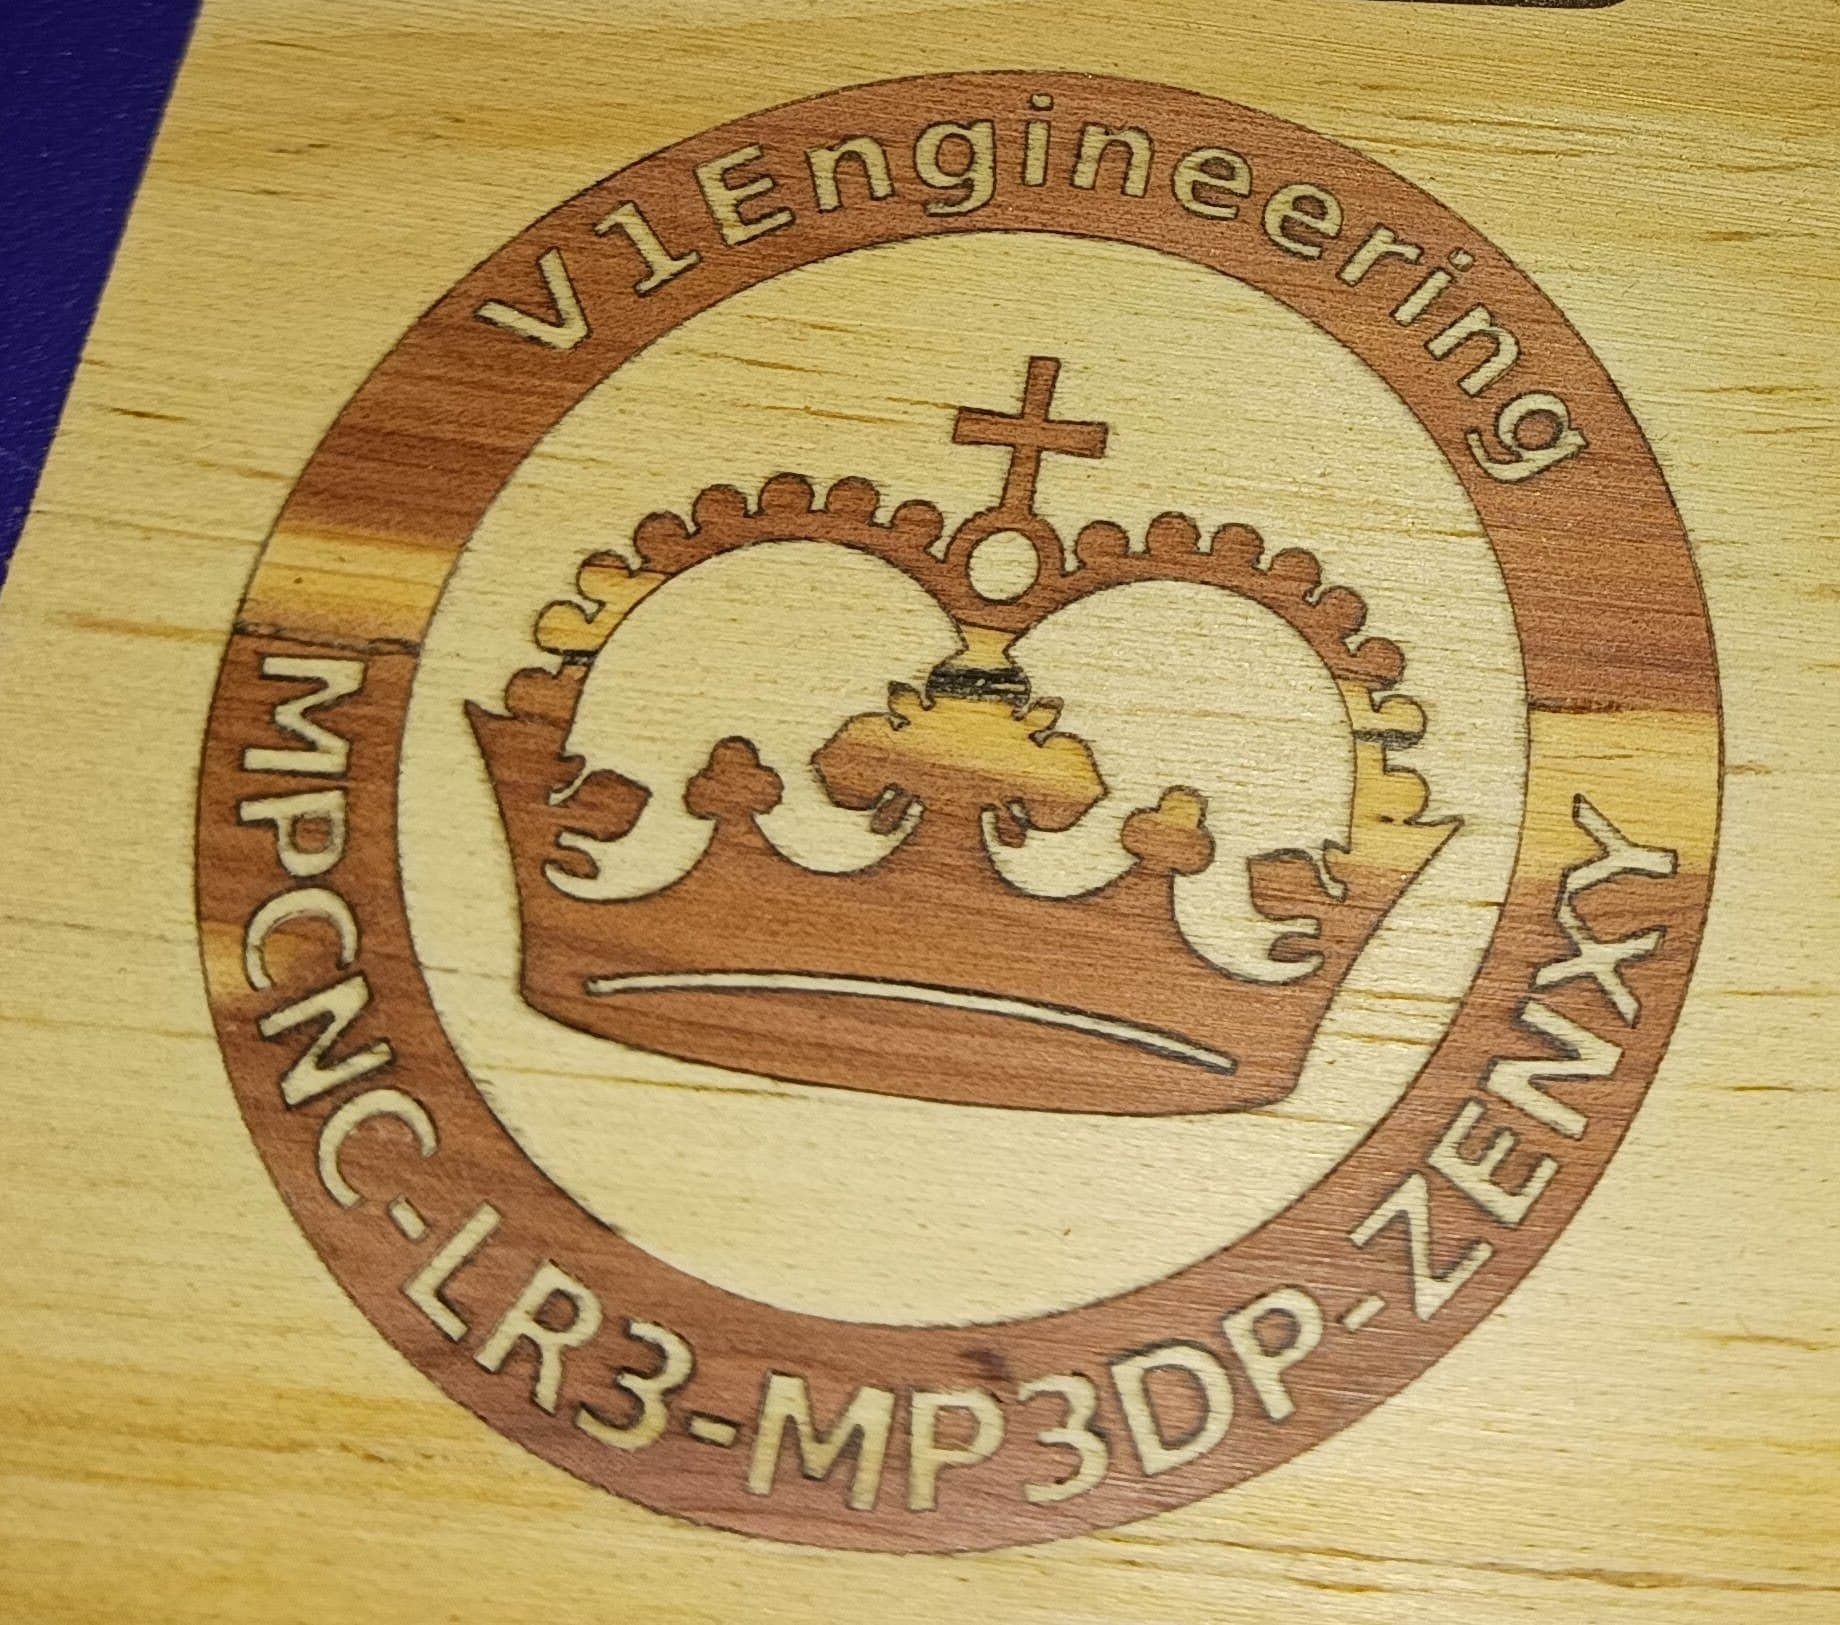
Here, the V1 logo is done similarly in one material for “fit-check”…

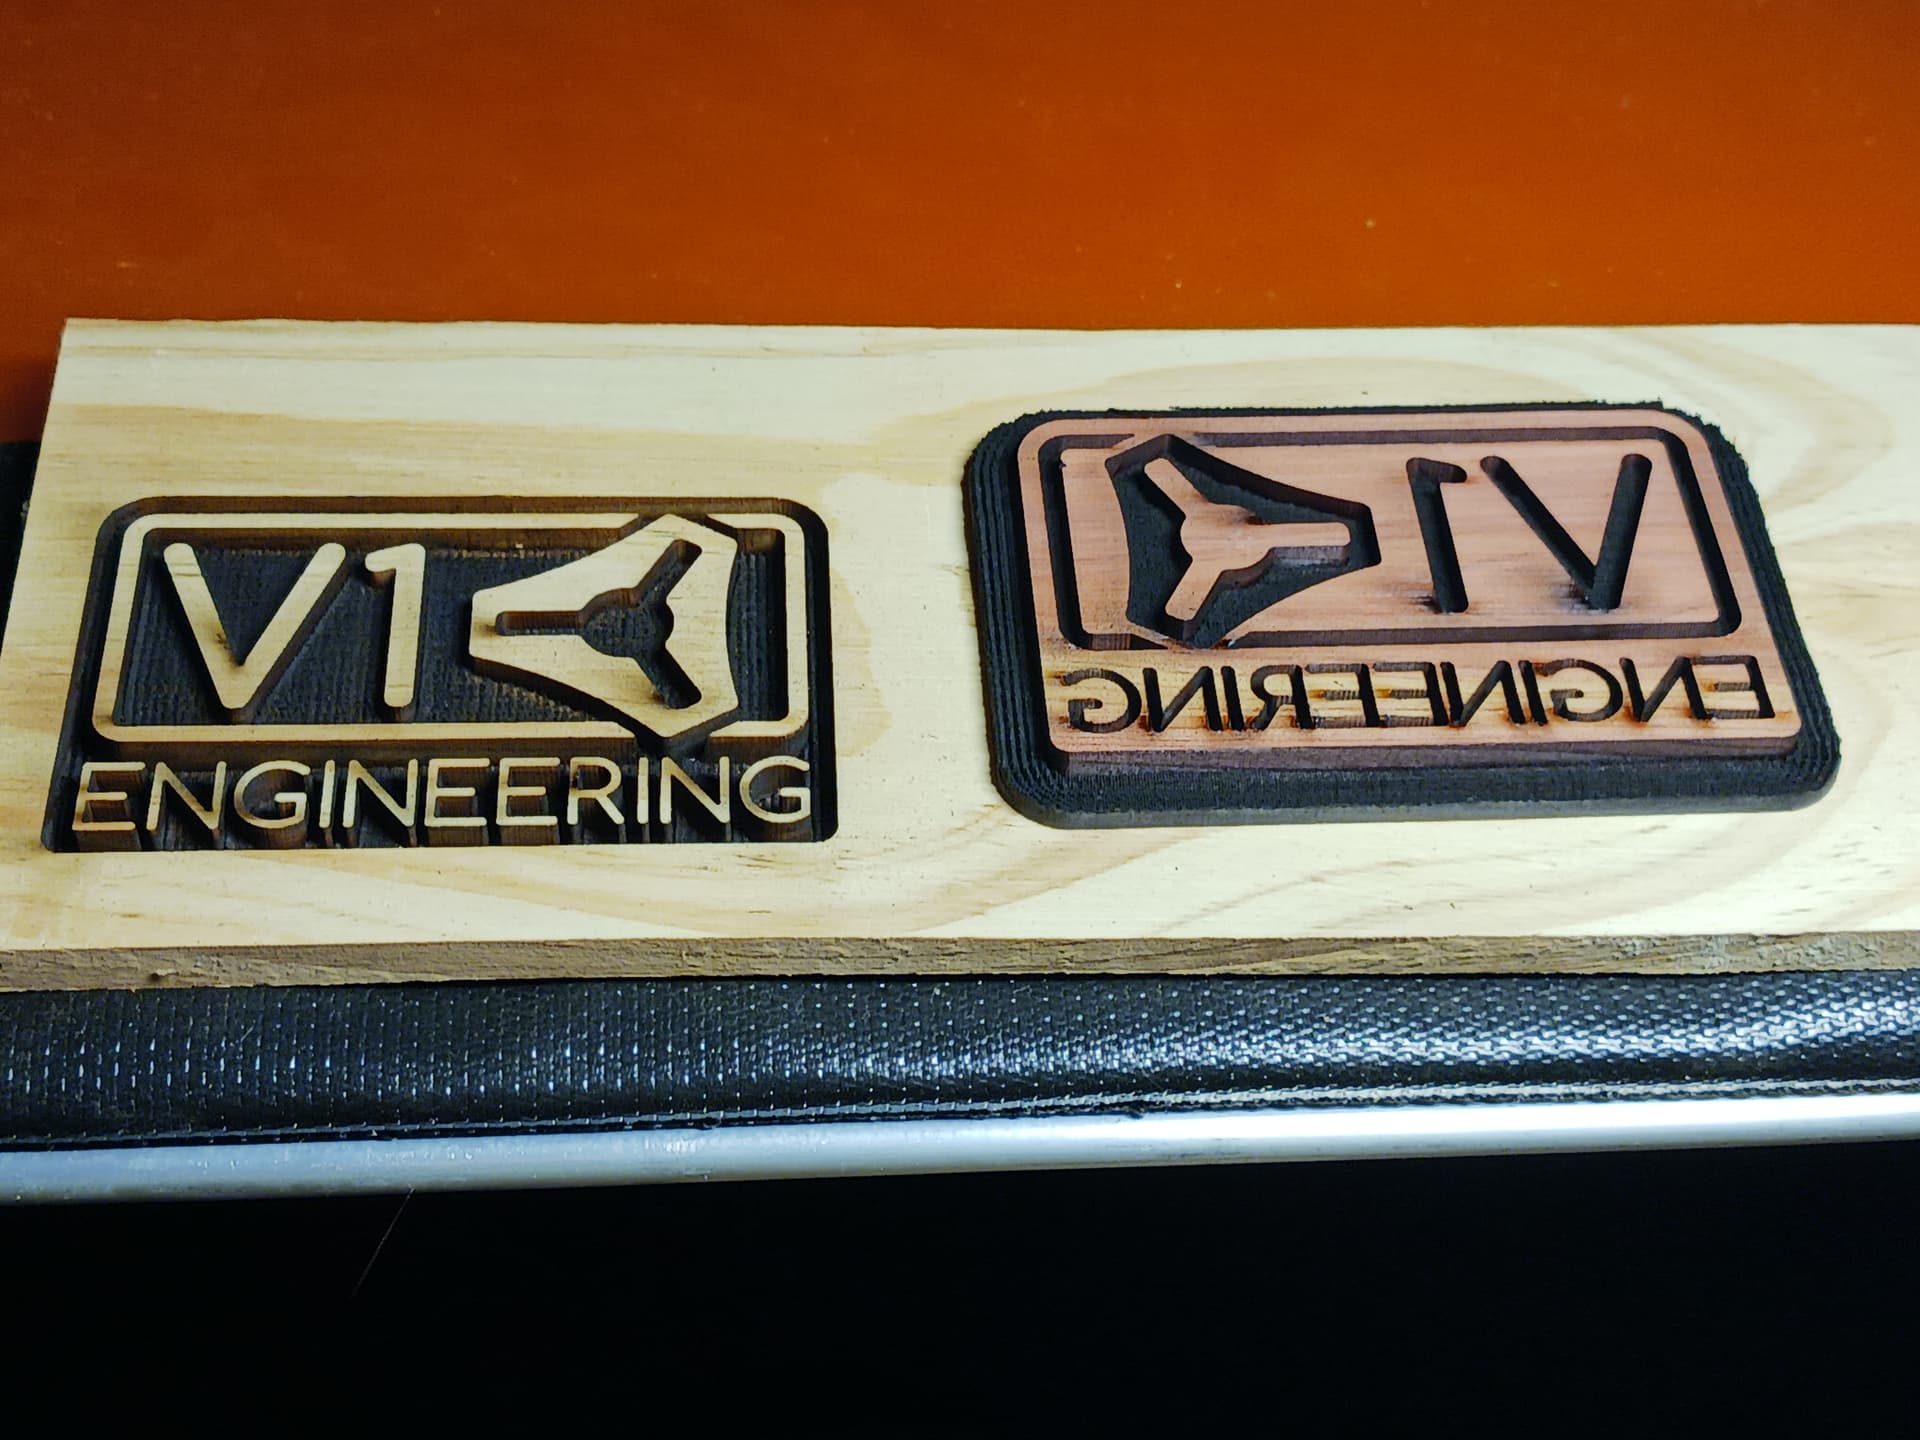
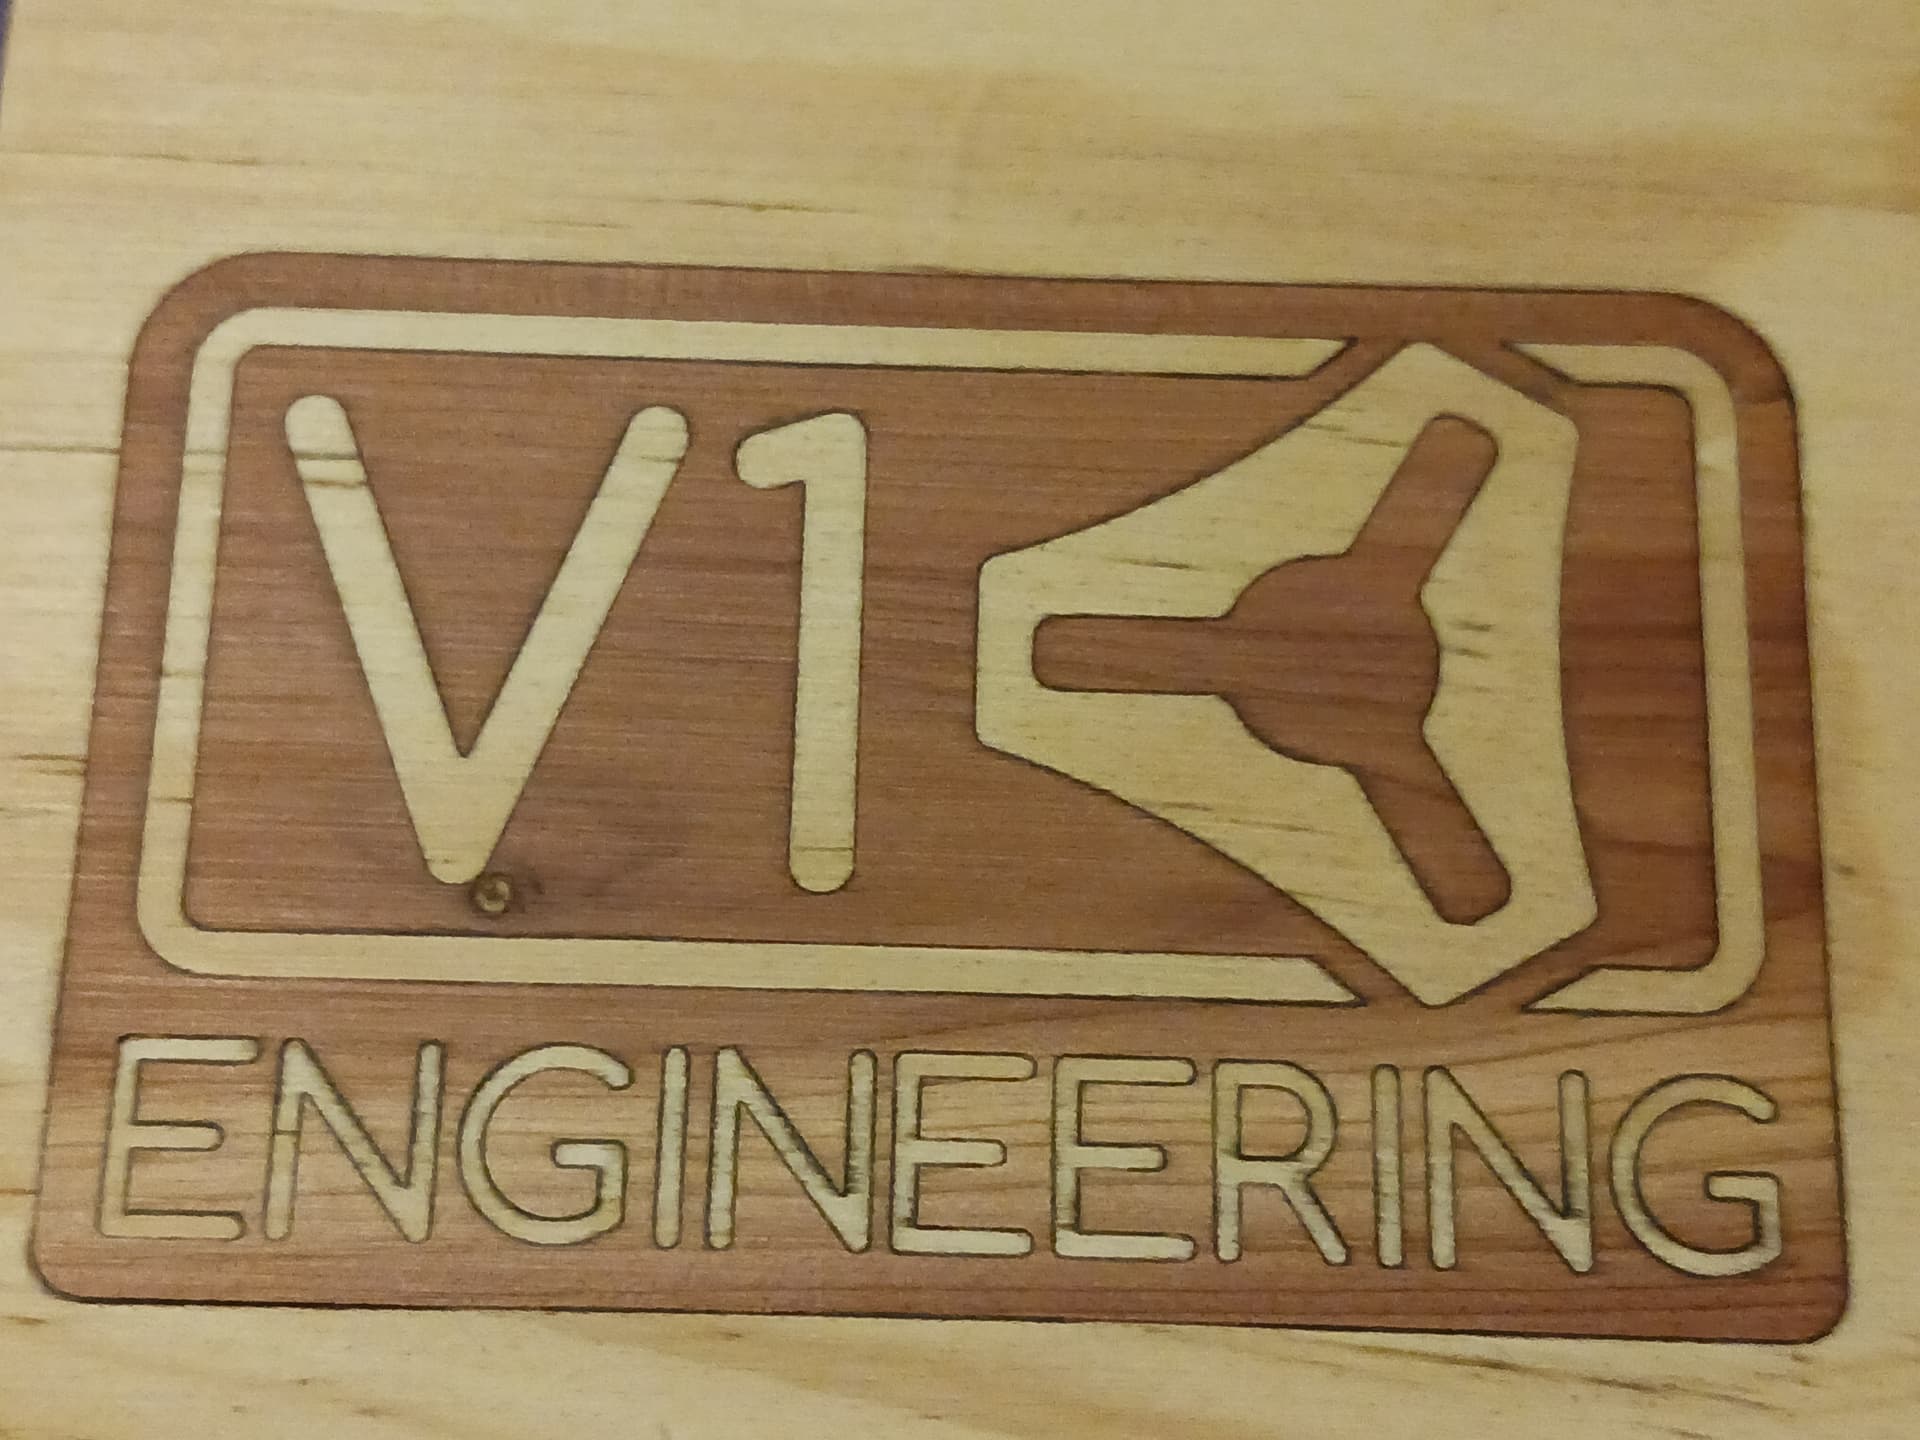
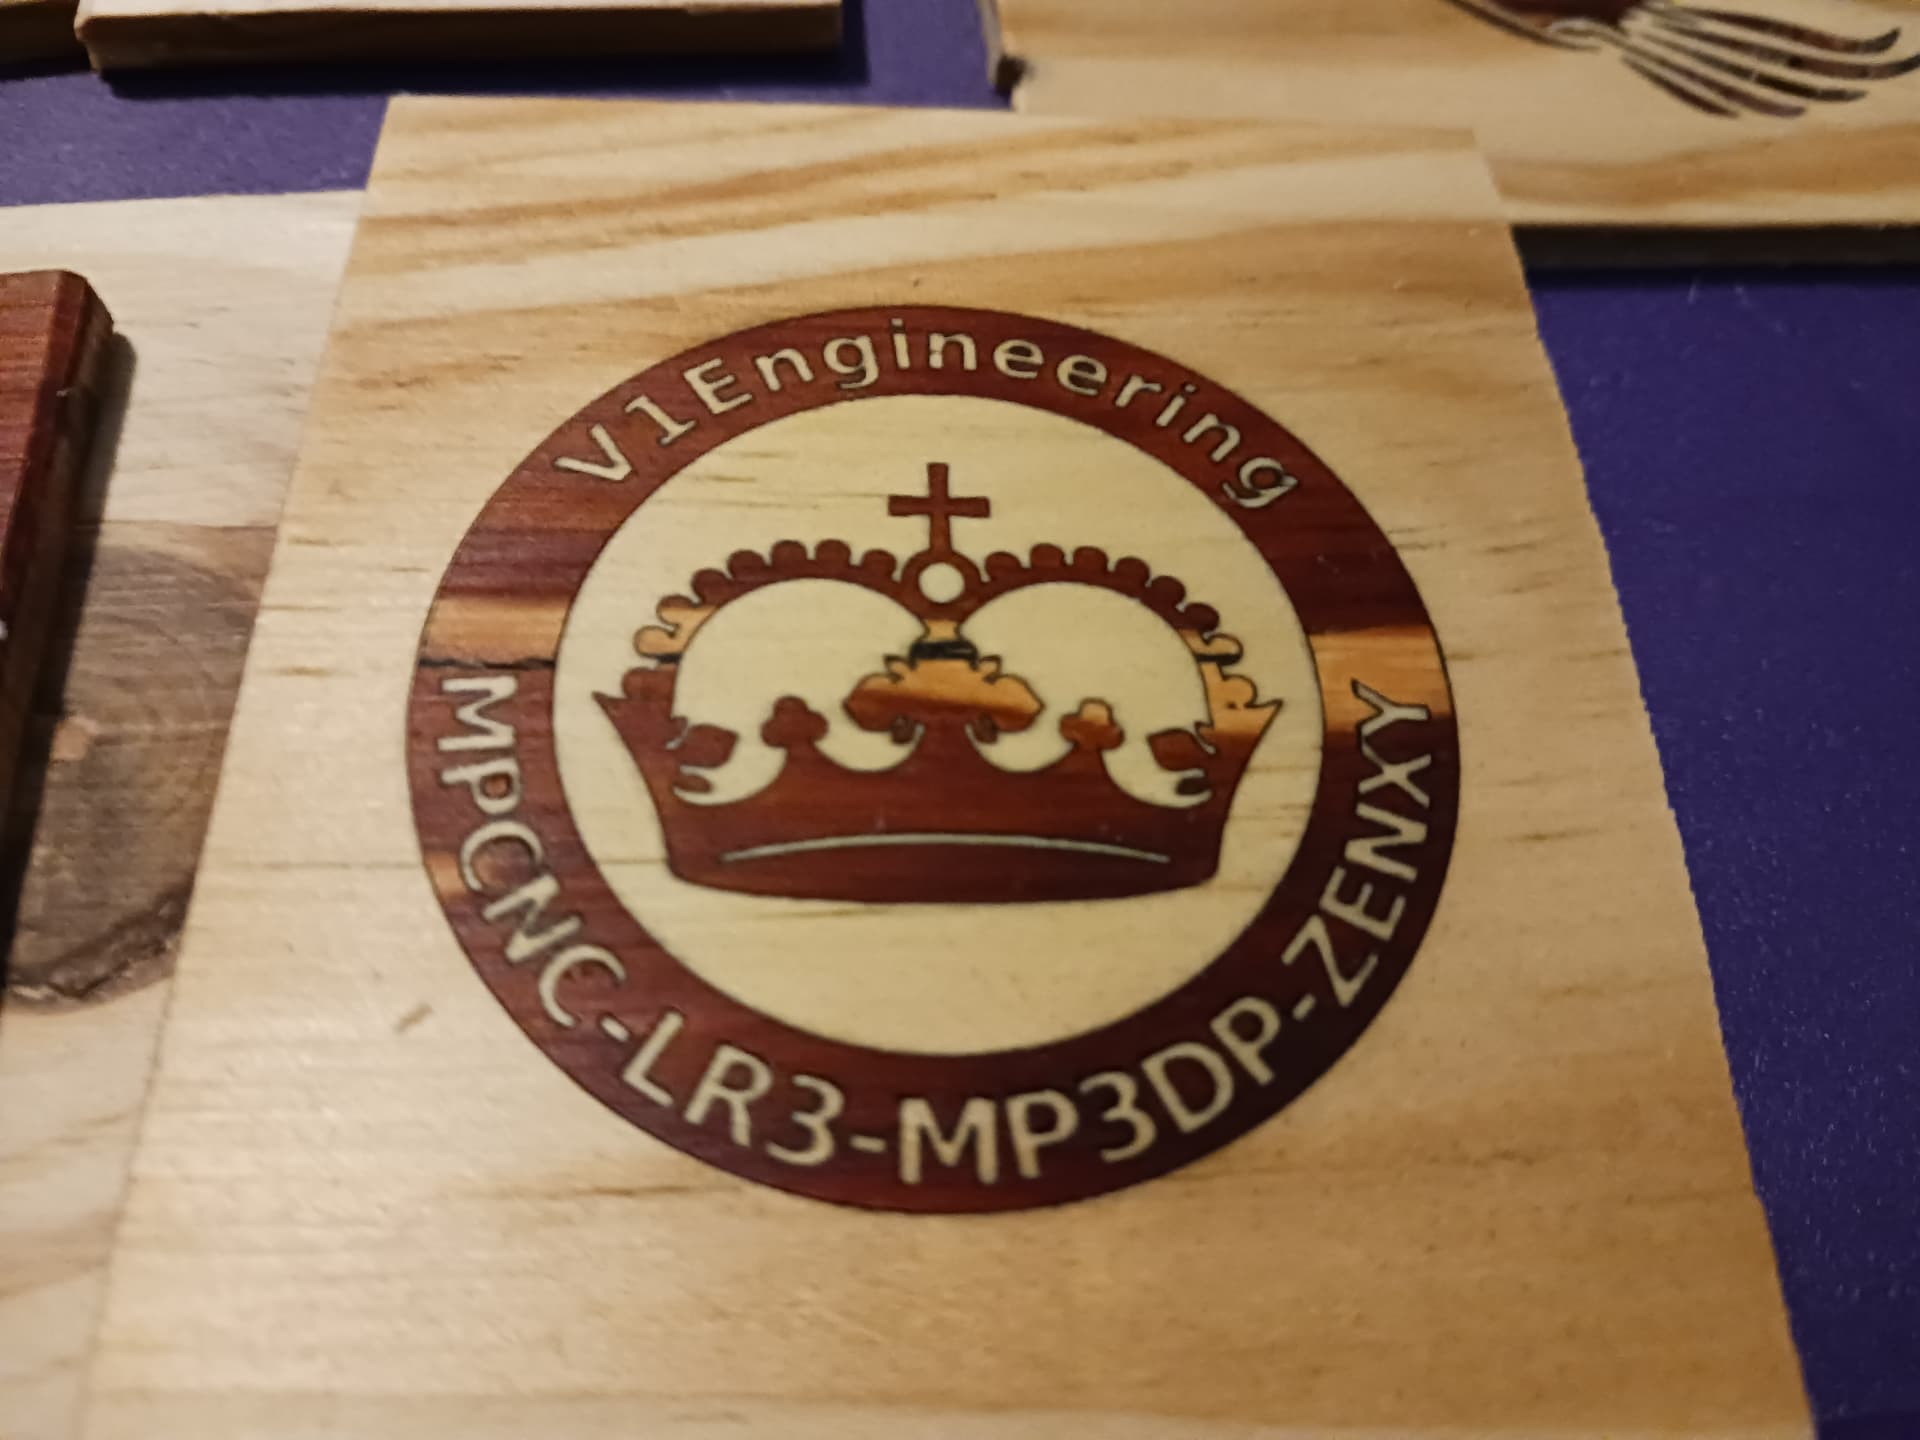
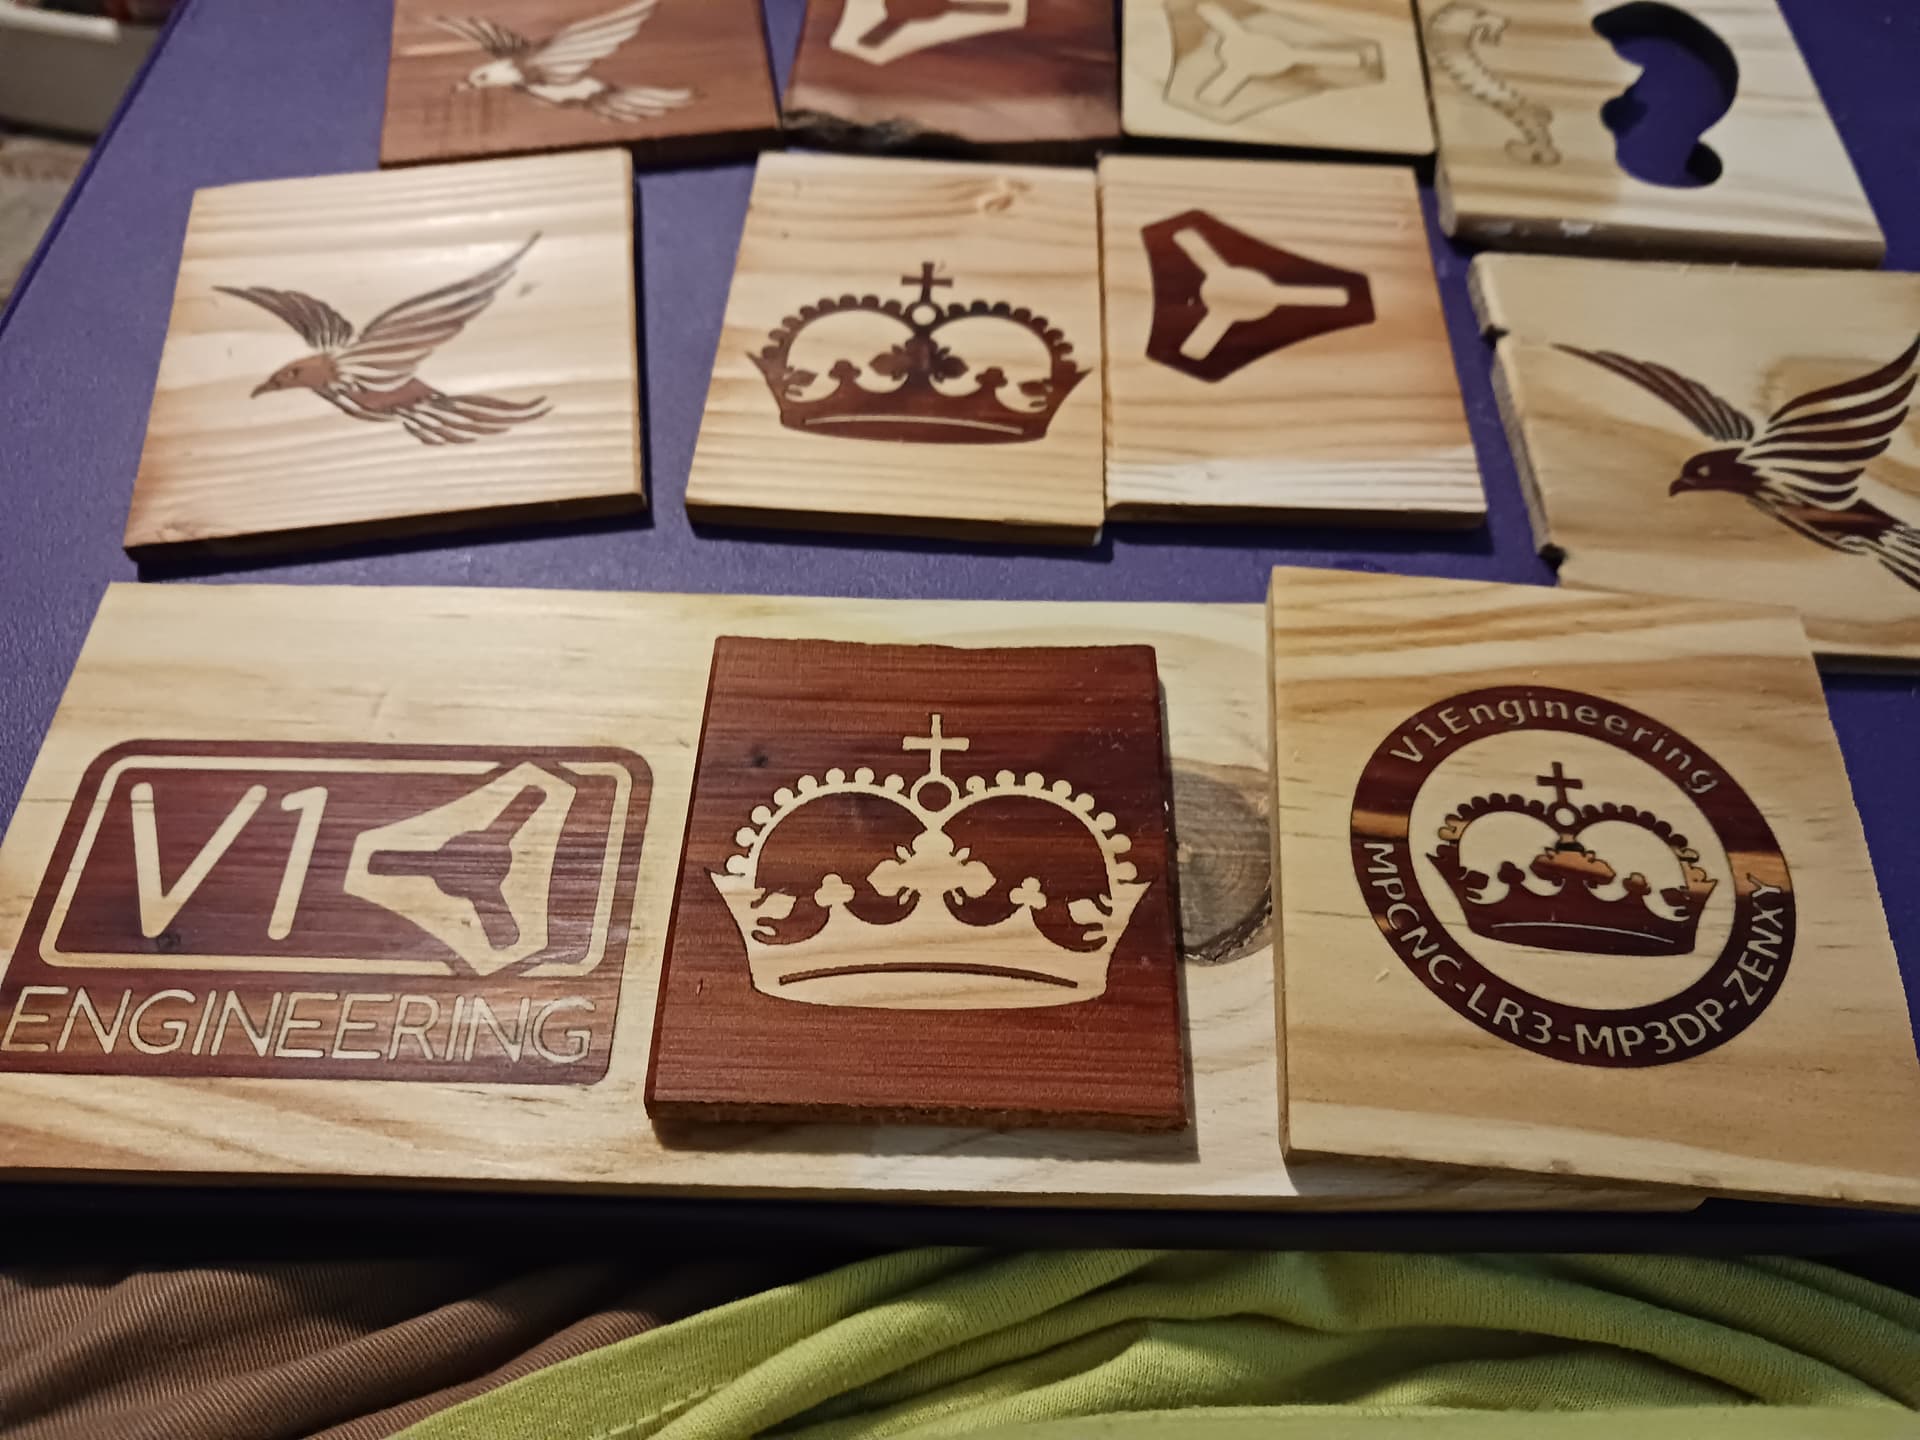
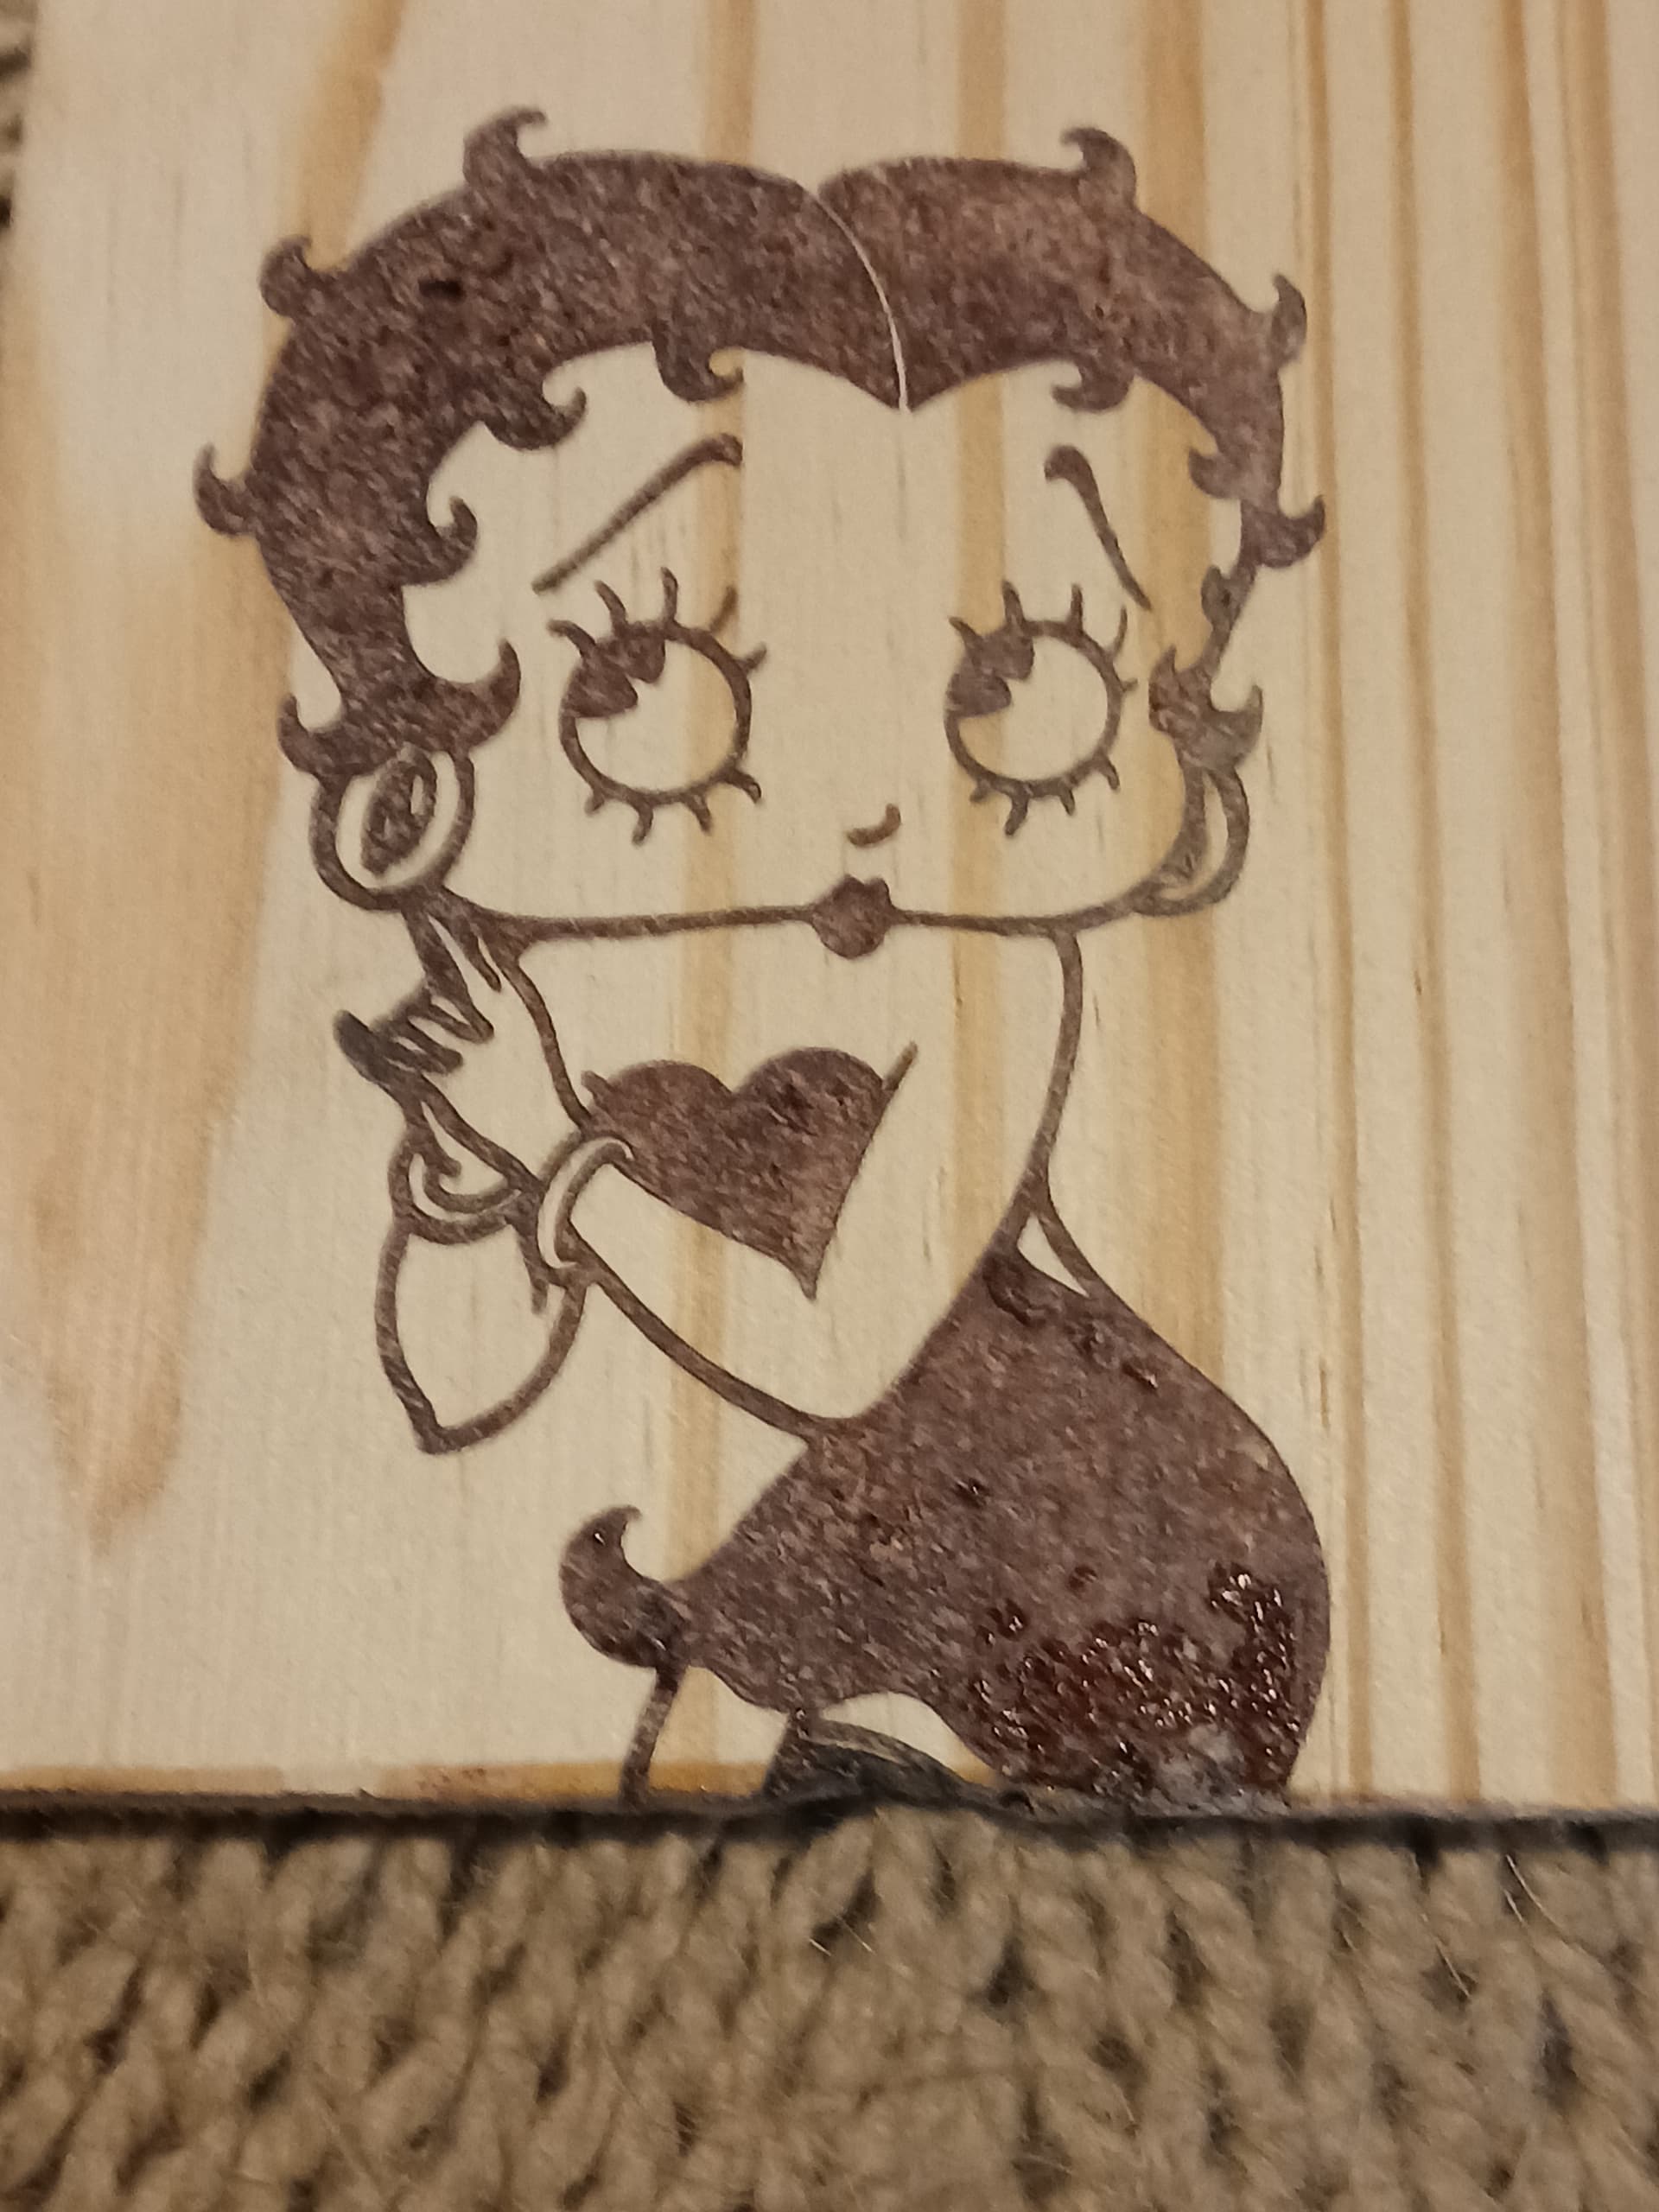
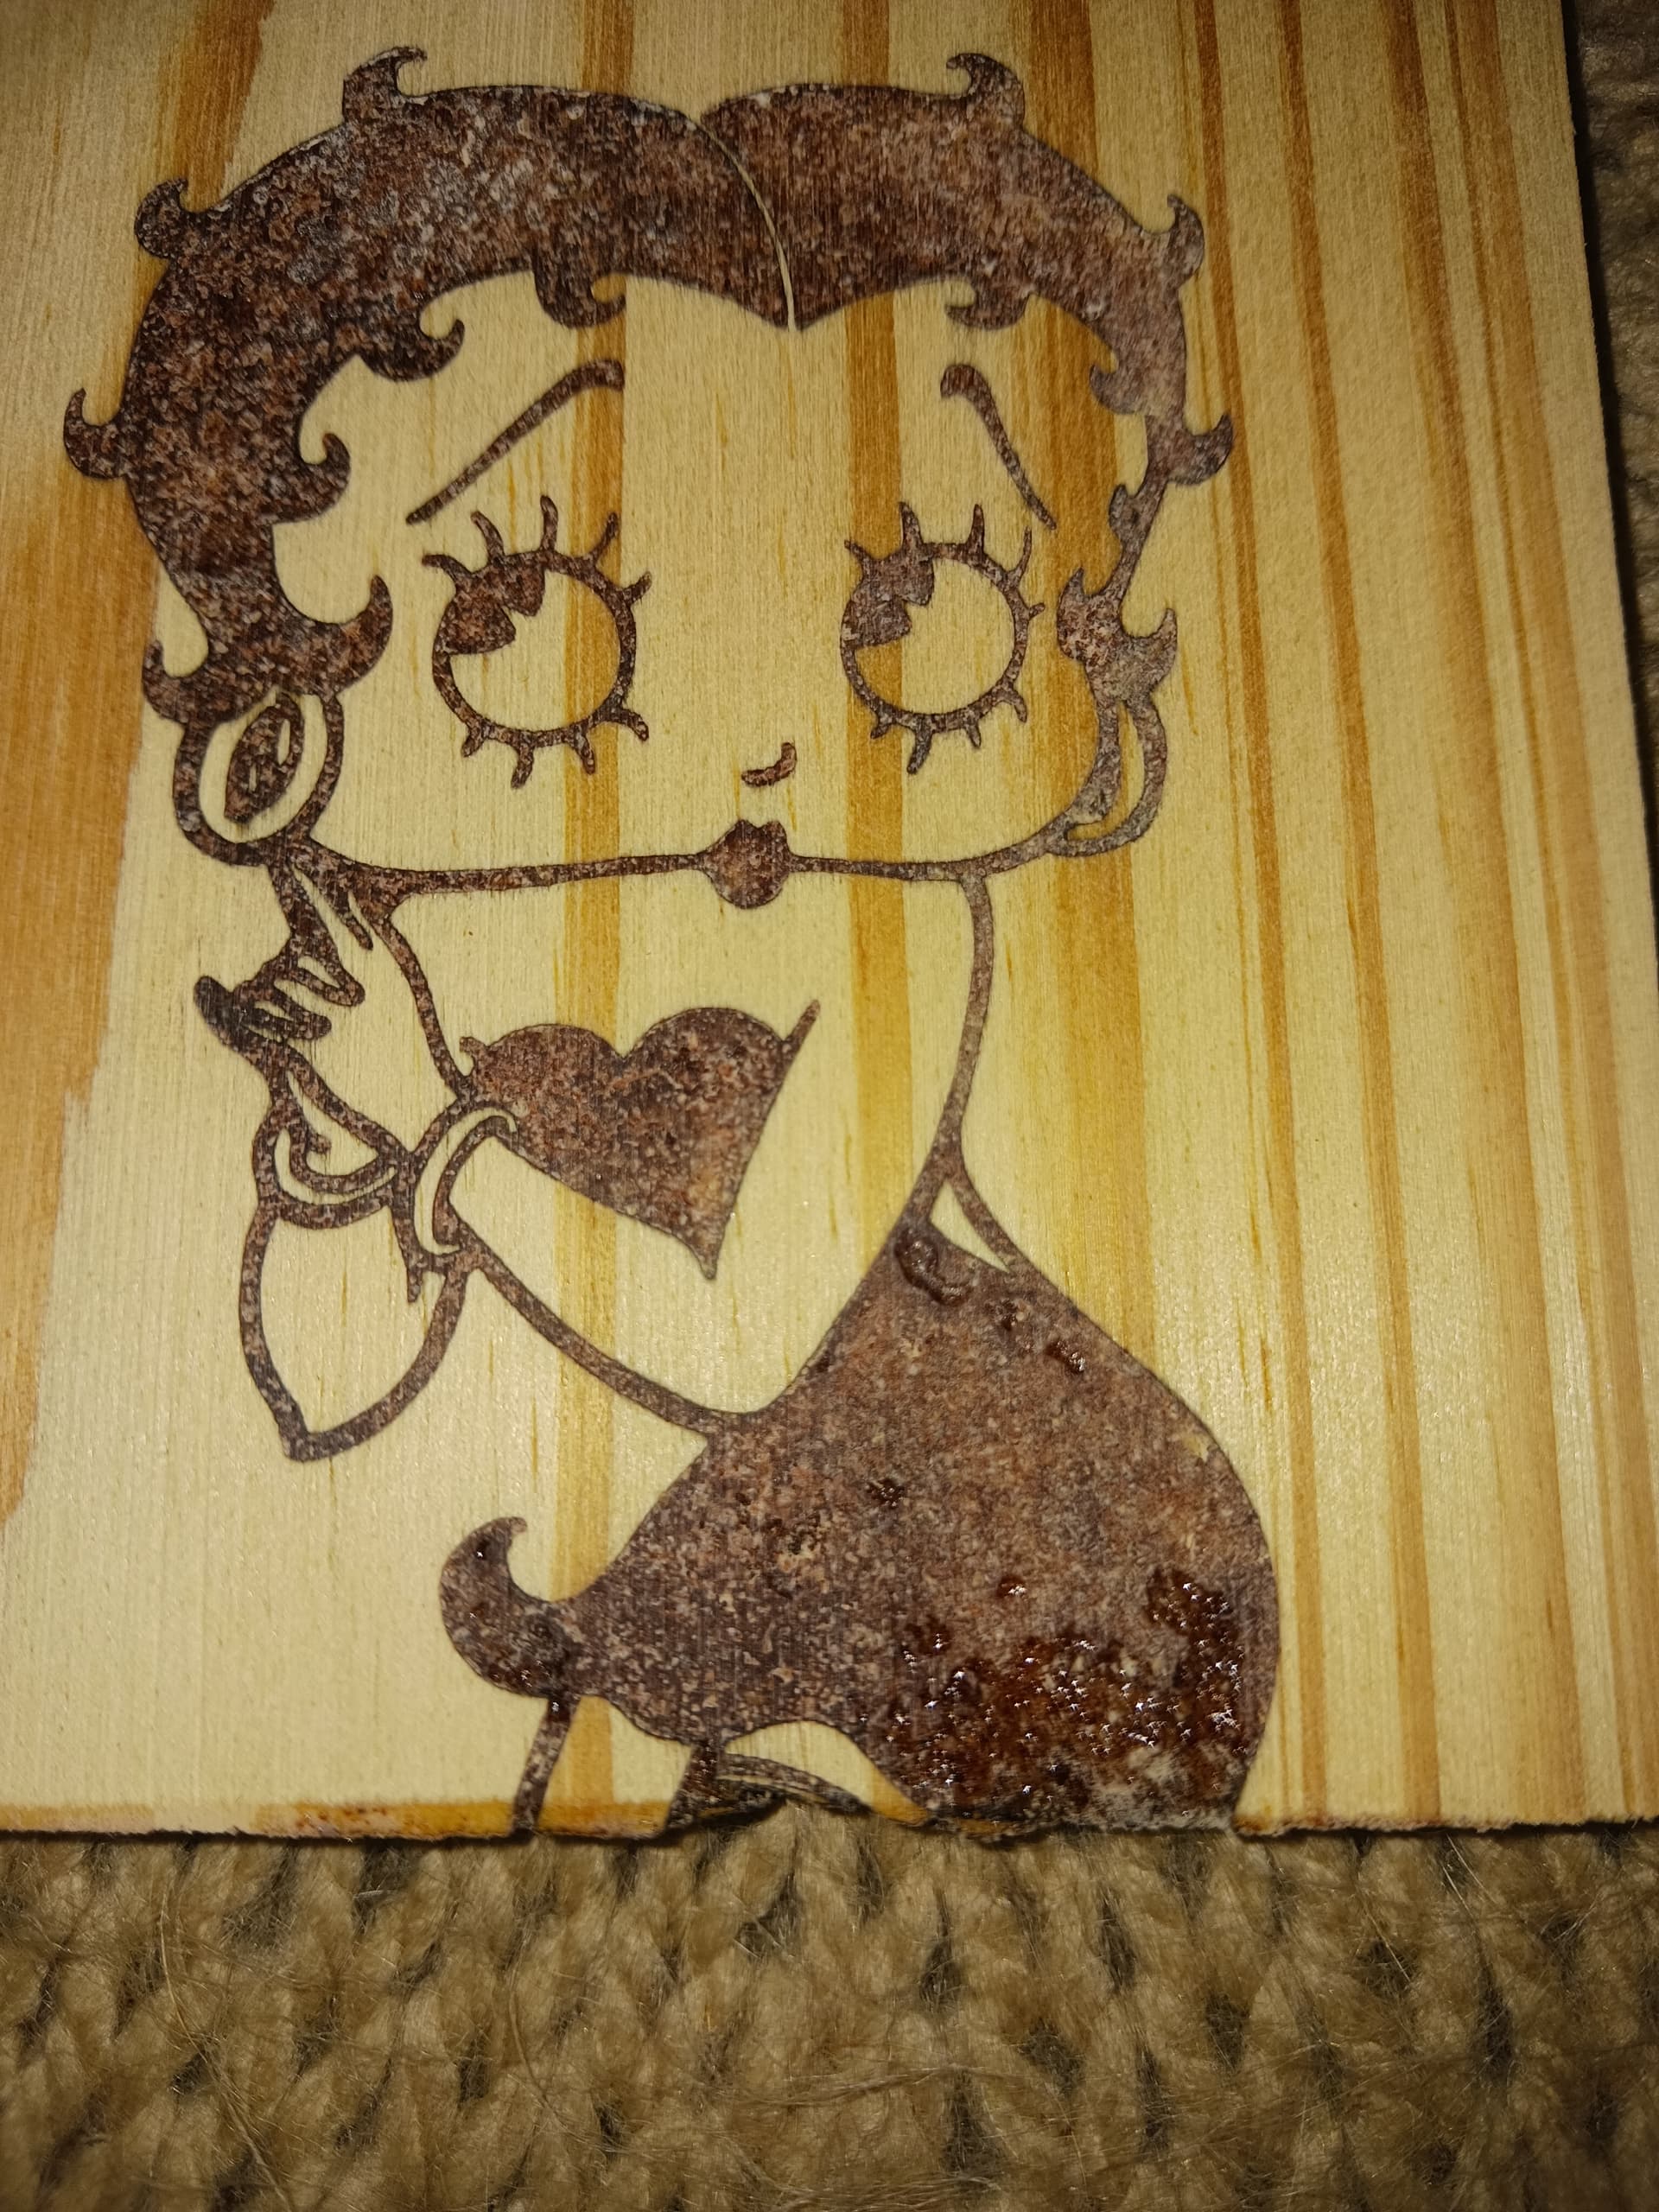
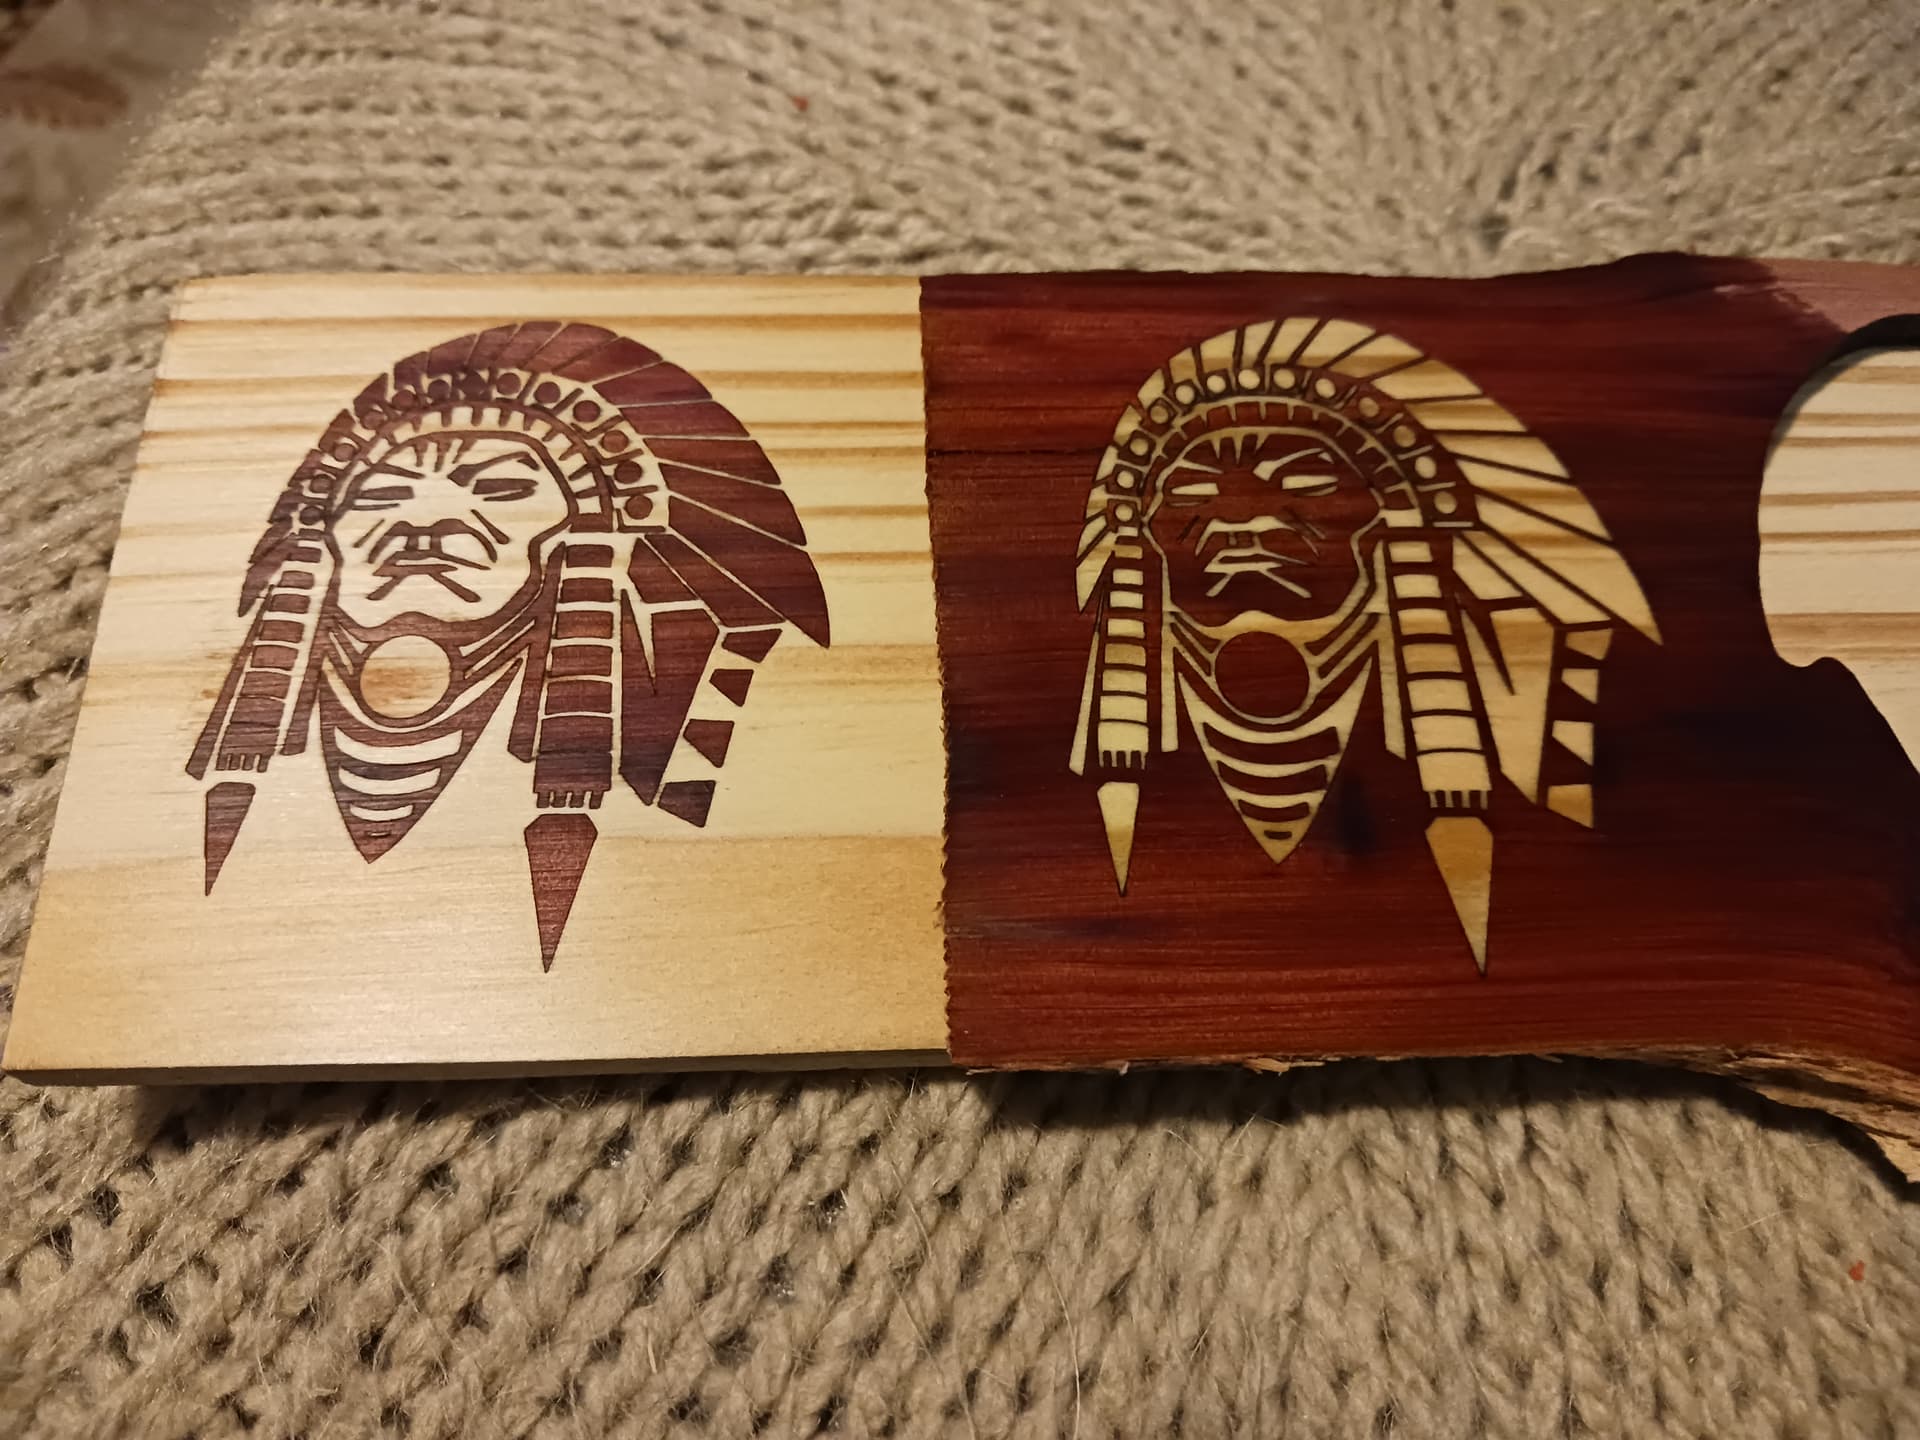
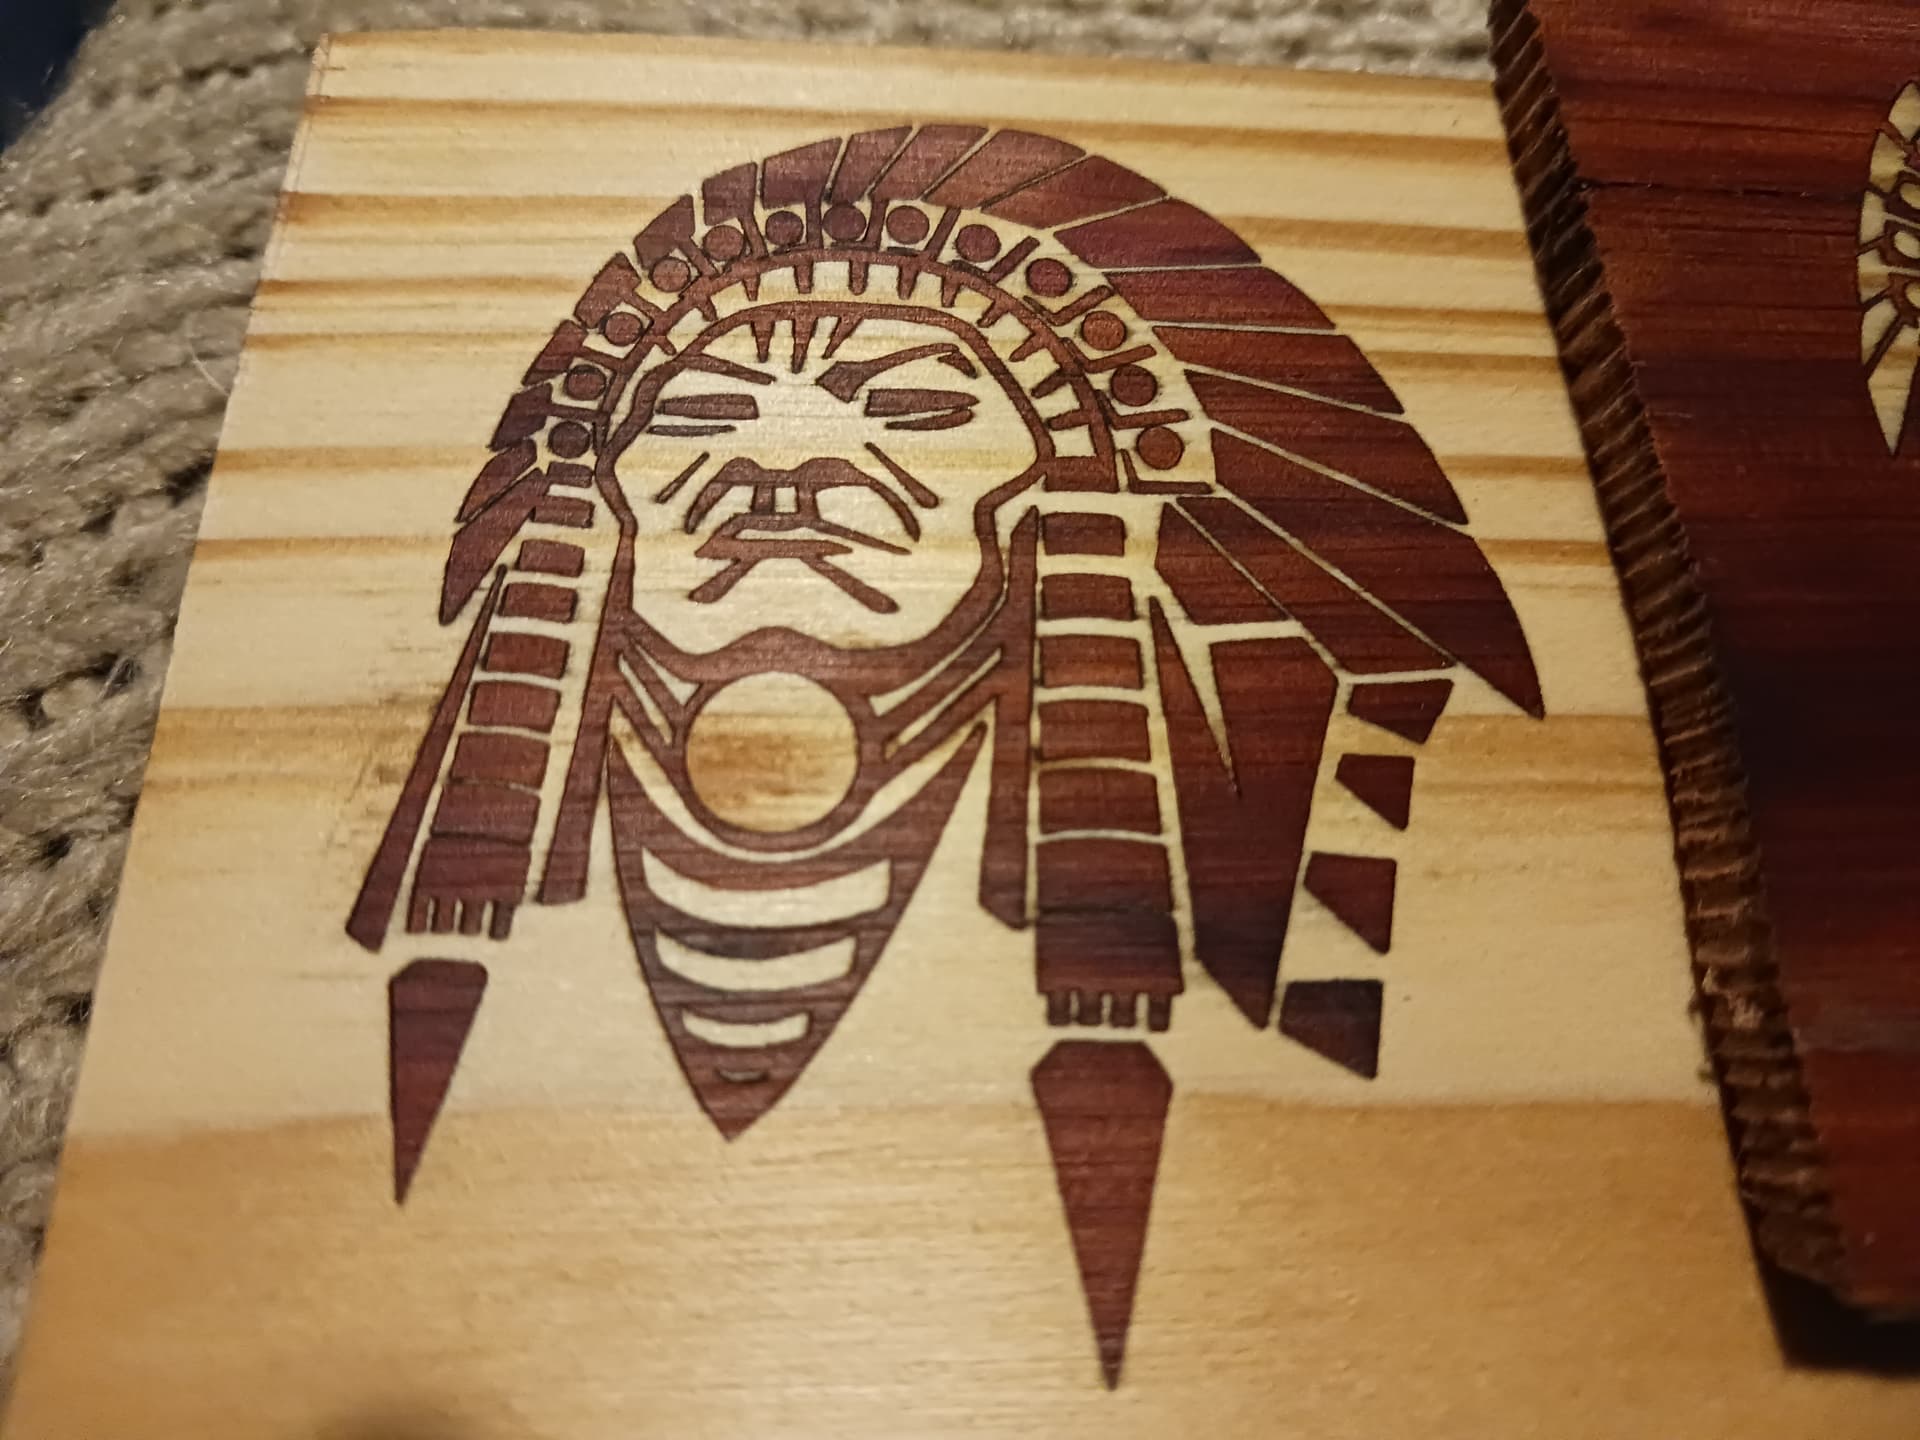
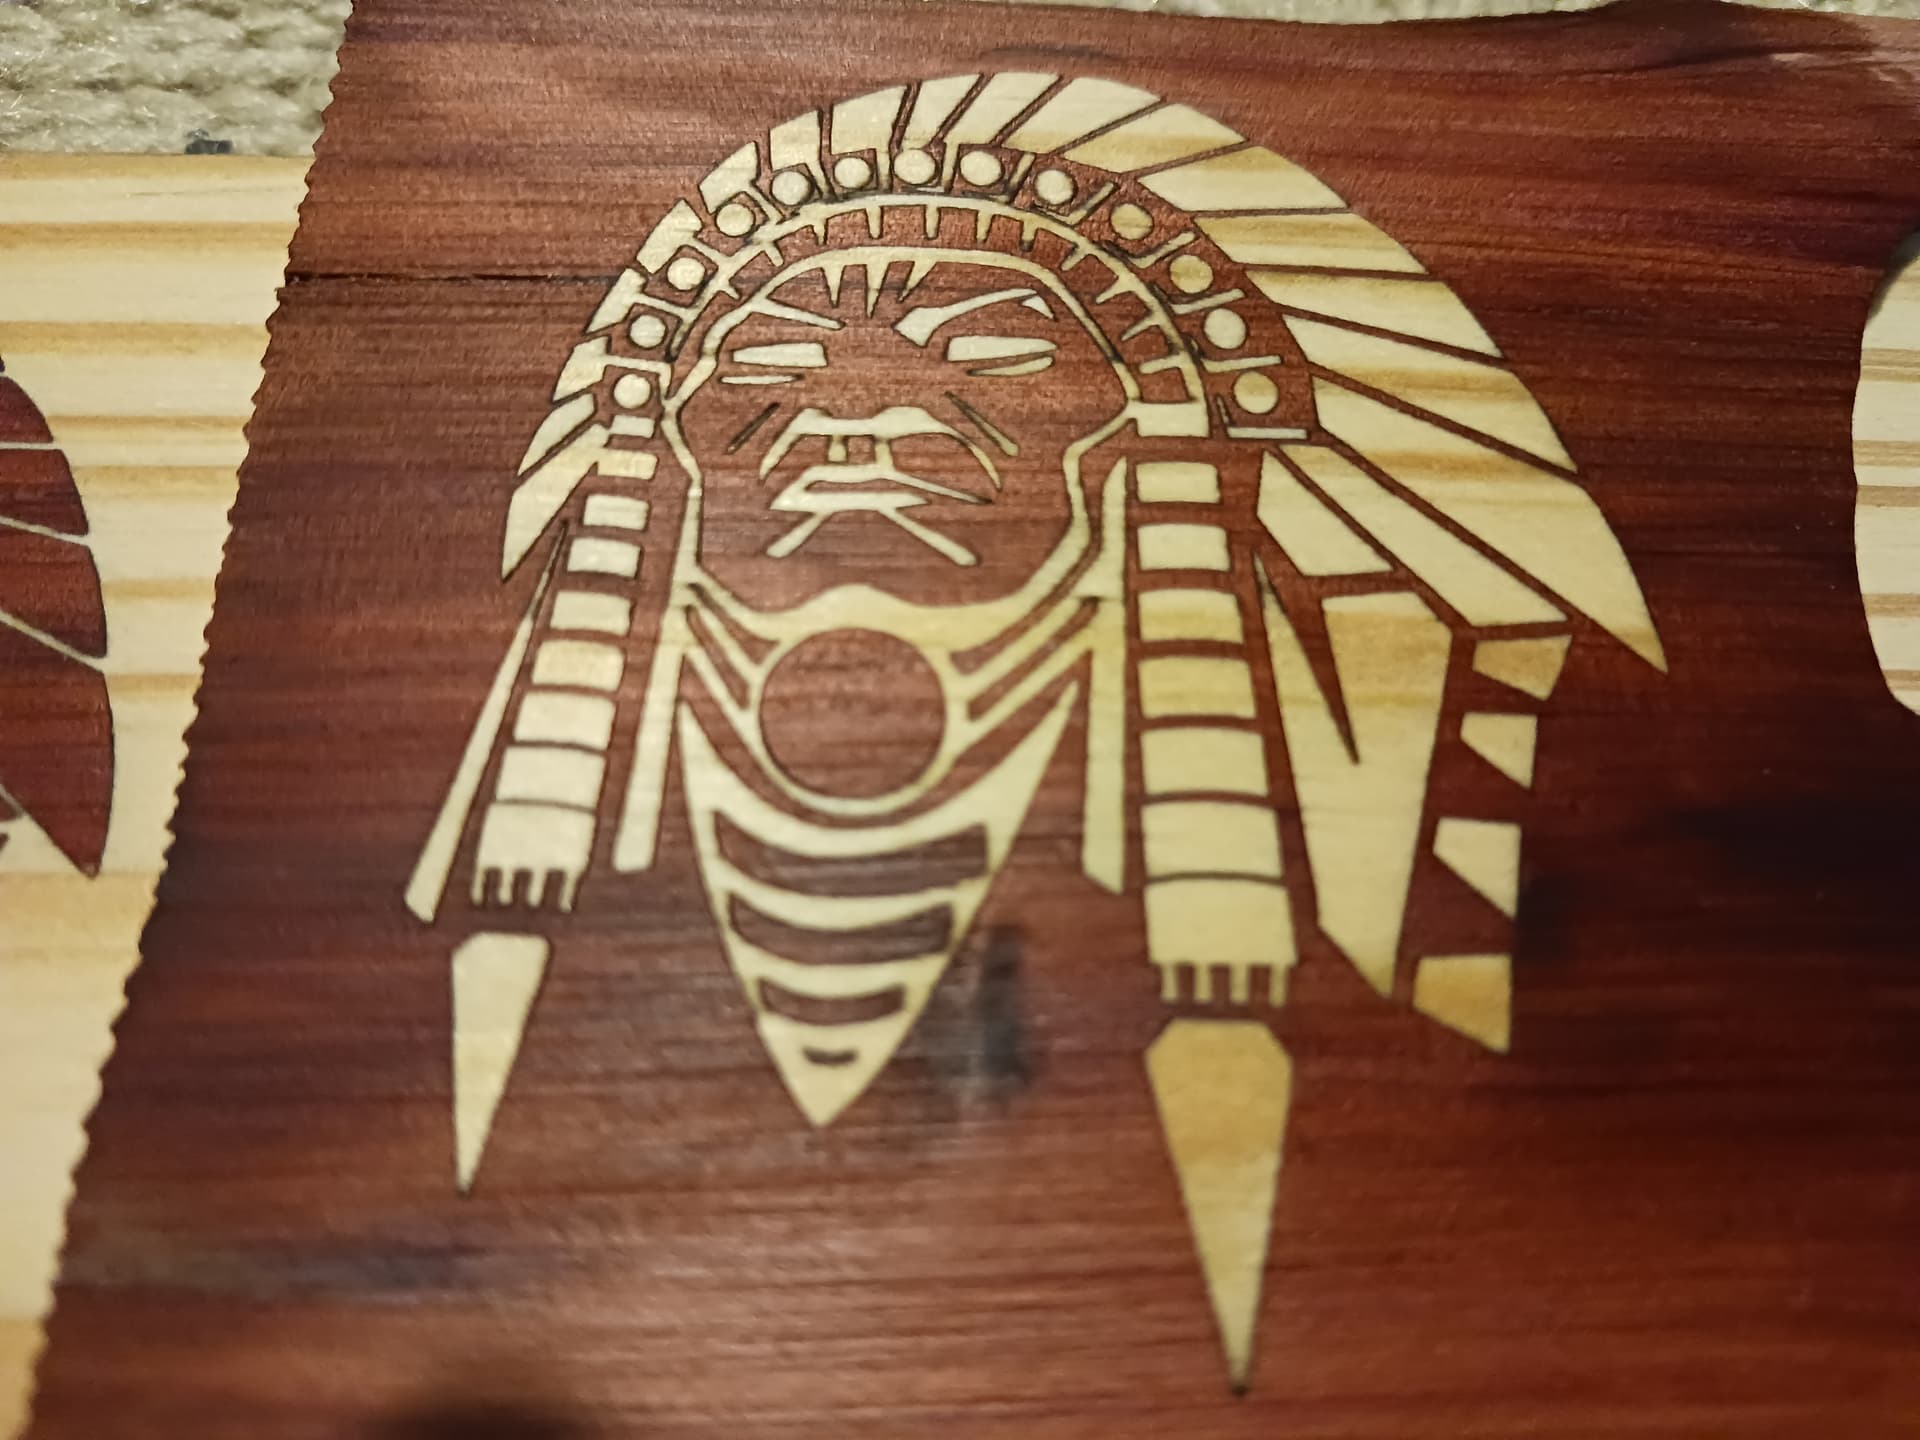
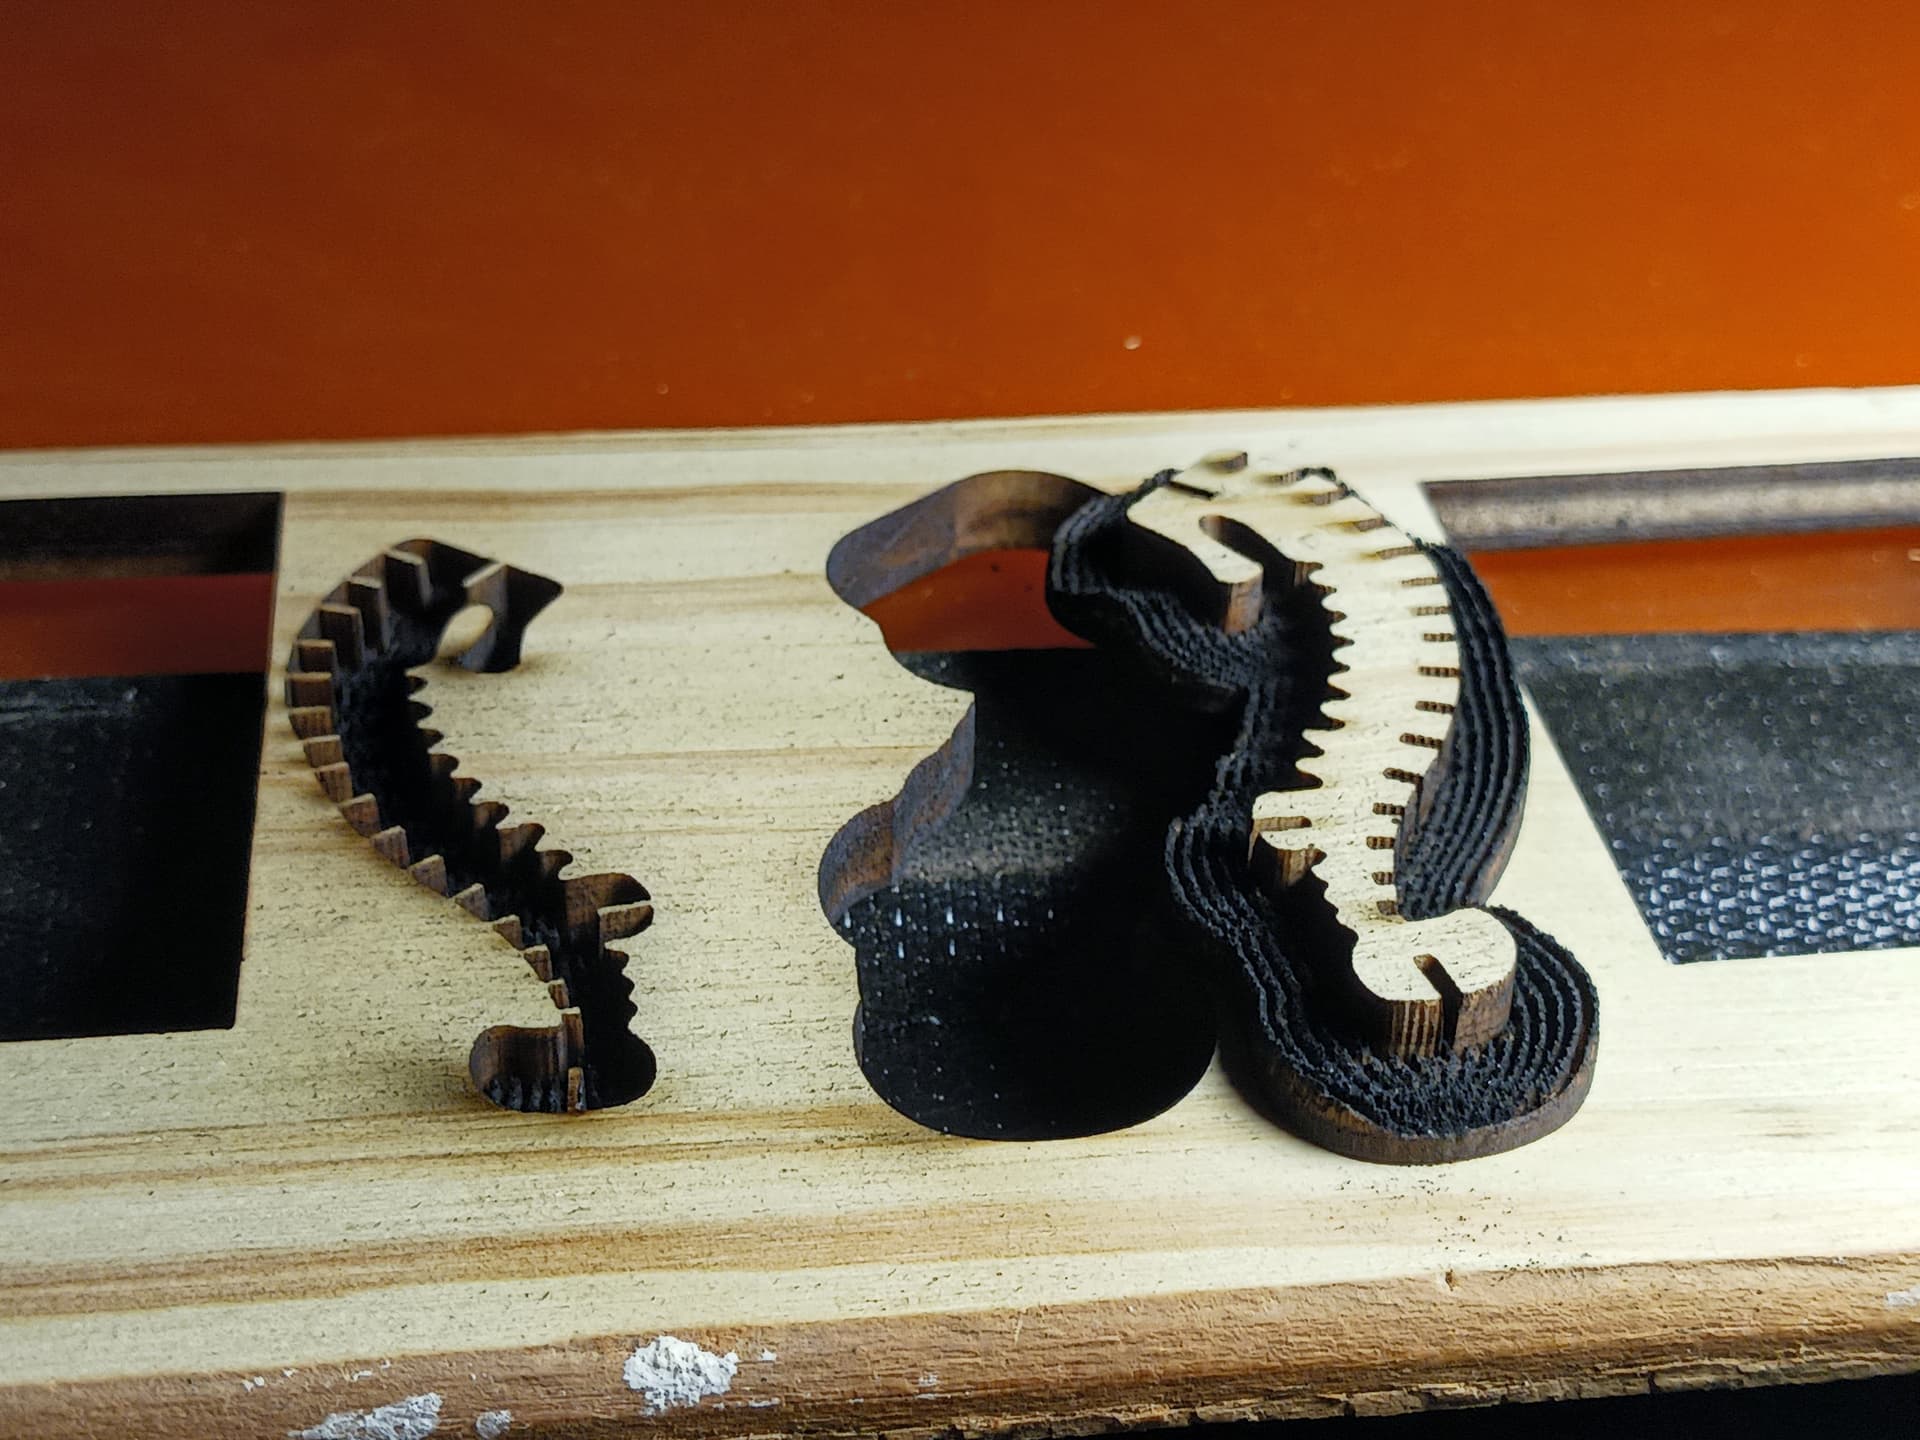
Finally, the “pocket” and “inlay” gcode files can be saved and run separately, on contrasting materials, to achieve the most striking results…
Ratty materials will, of course, cause the usual voids and imperfections that will need repair with a little glue and sawdust… but the kerf lines should look reasonably uniform and clean, regardless.
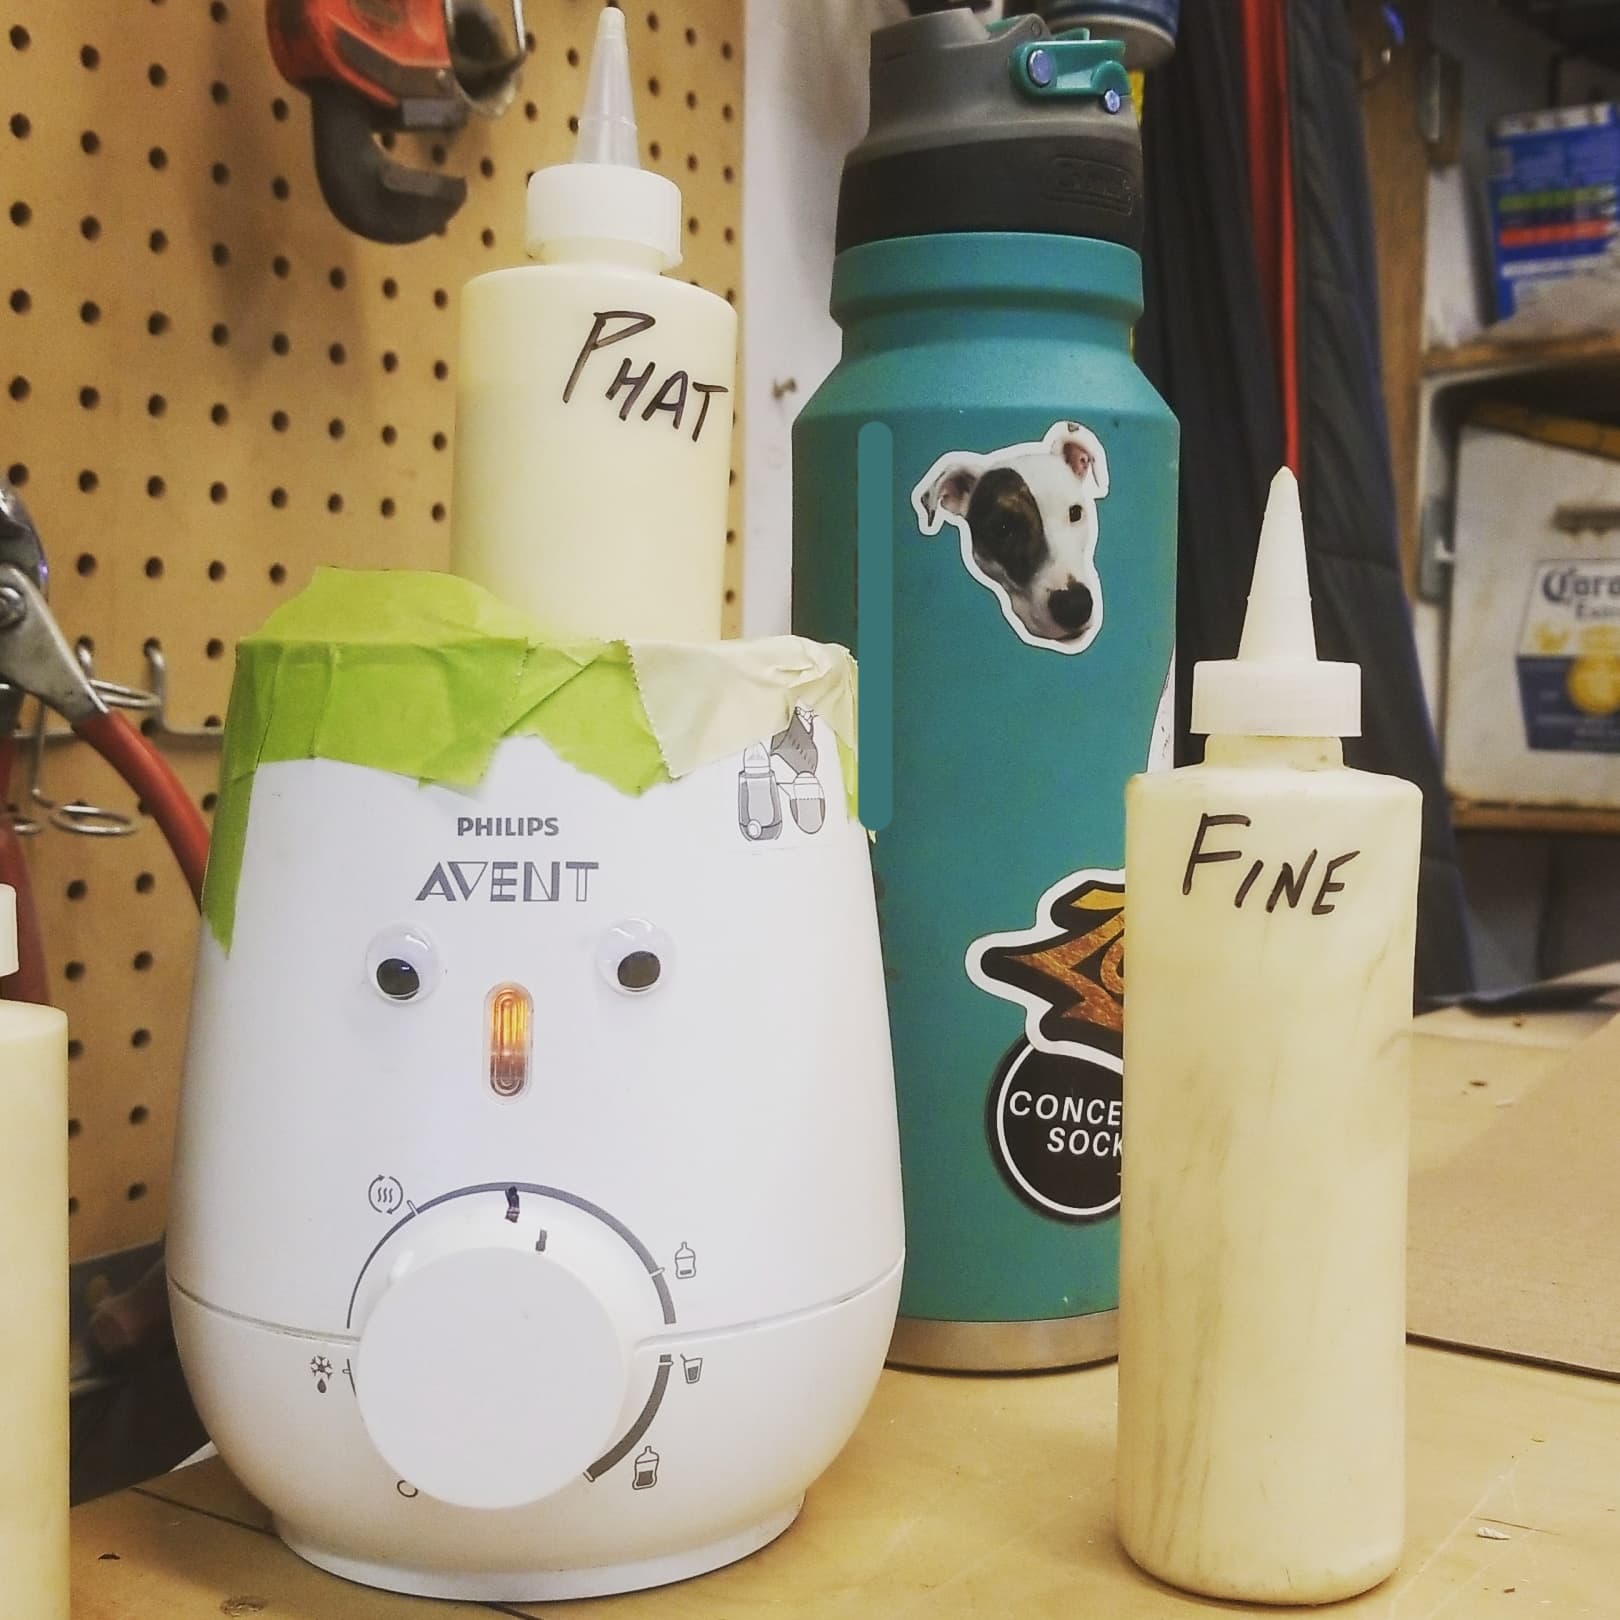
I also found that CA glue can be used rather than the white wood glue… and it greatly speeds up the process. No more overnight waiting… you can have the finished inlay merely minutes after glue-up.
I suspect the “inlay” piece might actually be replaced by “powder/sawdust and CA glue” methods for an even quicker result… if that’s desired.
– David