Hi Everyone!
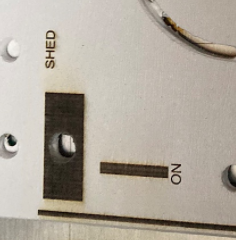
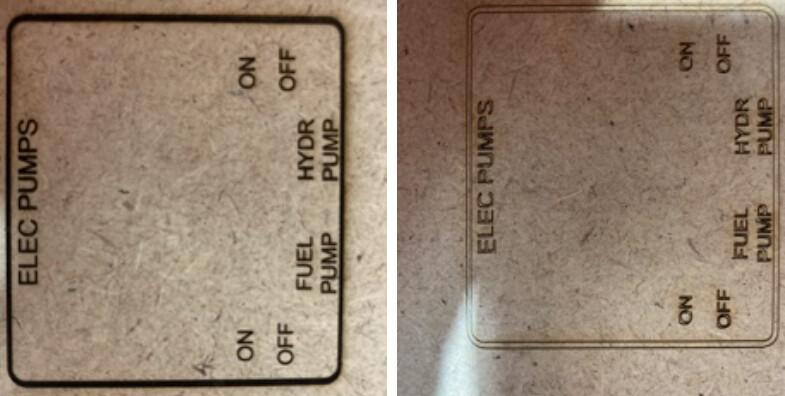
I have a Problem when trying to engrave Circles with “Line” Function. The Circles are not really circles.
I read some of the Topics here, and tightened the Pulleys and the Belts and it still does not work as i would expect.
When engraving the same Picture as “Fill”, it works perfectly.
Do you Professionals have any suggestion? What am i doing wrong?
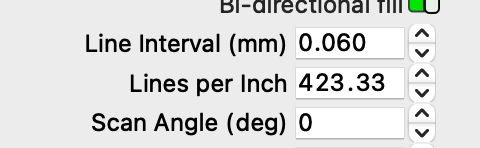
Other than your 0.05mm line spacing in fill mode, there is nothing that looks strange, in my opinion. However, I would like to know why there is the big difference in your speeds (x10).
That looks quite typical of a little bit of movement in the carriage, so when it draws a line, the movement becomes very obvious, while in Fill, the carriage is simply traversing left and right, so the errors are less obvious.
Check the cabling is not applying pressure on the carriage, or pulling it back at some positions.
Hi @bernd.dk !
The Difference comes from my Testing. I thought, like @3_Minutes_of_Fame suggested, that there is some movement in the frame, so i set it to that low speed to avoid most of the g-force to get better results. Unfortunately this failed too. What are you suggestions for the Future? Could half the value of “Filling” be sufficient?
@3_Minutes_of_Fame : Your Suggestion took me to the right place… Thank you very much!
I wrapped my Lasermaster in an Enclosure (Ortur Enclosure), and this Enclosure bent the Frame to a not squared angle. The y-axis was not able to move freely and had a lot of friction. So i removed two of the four holding-Screws and (again) adjusted the small rubber-wheels. The Frame is now square again, and the axis can move freely now. This helped preventing this Problem…
It’s great that you’ve got a logical explanation for your problem from Matt.
My recommendations regarding speeds are as fast as you can drive without overscan and without the machine taking off from the ground No seriously, I always do tests, lots of tests with different speeds and powerettings and then I like that the machine runs fast but not in a way that things wear out too quickly or get ruined. Hold a finger on your frame and feel if it shakes, they should not.
Hi @bernd.dk !
Thank you so much! This helps a lot.
Btw. I forgot to answer your question regarding the line spacing: Ortur suggests 15 lines / mm, which is 0.066~ line spacing. I have some light grey lines with this setting, so i have choose 0.5, which works quite well.
I use my Laser just for my Hobby (Flightsim Cockpit building) so i have time to wait for good results… . But i will consider your Suggestion and try to test speeds with some spare wood.
Yes, that is the setting. I know that this are 20 lines per mm with my 0.05 (not 0.5 as i said in my previous post )
I want to have a solid Line in a very dark black on light gray painted MDF. I had the best results with this Setting. Are there some other Settings i could try to have these dark lines?
I just have the experience that if I use too close line spacing then I “burn” the material instead of coloring the surface, it’s probably a fine balancing act.
I often and like to use 45 degree cross-hatch, here the small “cubes” almost fall off with too much power.
On the other hand, I have good experiences with soda-treated wood, it gives a somewhat darker picture.


 No seriously, I always do tests, lots of tests with different speeds and powerettings and then I like that the machine runs fast but not in a way that things wear out too quickly or get ruined. Hold a finger on your frame and feel if it shakes, they should not.