Engrave minute lettering on silver bracelet

Hi everyone
I have bought a silver charm bracelet for my soon to become 16 year old daughter and want to engrave on the back of it - in minute lettering
I have a 60W fiber mopa laser. After testing many different settings on coins, it seem to work the best as in the attached pic
Can anyone tell me, is my result ok or can it be inproved, and if so what do I need to do to get a better result?

Any advice very much appreciated
Thanks
legepe

1 Like

that looks pretty excellent!

The focal “point” isn’t actually a point. The beam forms a constant-diameter column over a short distance, the “Depth of Focus”

The spot diameter comes from a mathematical formula that takes in some things like wavelength that don’t change for a particular type of machine. The two things of note are input beam dia (which you can’t change, but may vary from model to model, but afaik it’s not a dramatic range of possibilities) and lens focal length.

The common F163 galvo lens, 163mm focal length, makes a 110mmx110mm work area, is a 0.03mm spot dia. Spot dia scales proportional with the focal length. If I change to a lens of half the focal length, the spot dia goes down by a factor of 2x to 0.015mm. The area of that circle is the sq of the radius, so energy density increases by a factor of 4x

But, Depth of Focus decreases by a factor of 2.

The energy inside the focal spot is gaussian- the center is much stronger than the outer circumference. It may be that your settings are only able to mark with the strongest area in the center of the beam so the effective mark dia can be smaller. Or, it’s possible to have so much power to blast a crater larger than the focal point.

Your result looks great! Smaller than I would have though possible, actually. What focal length is your lens?

I see 200ns 7% power there. My experience is that I get better results by limiting energy by using shorter q-pulses instead of limiting power. The concept being to develop enough peak power to blast off a particle of metal quickly with as little heating of the surface as possible. Seeing these results actually makes me rethink that, though.

Keep in mind that silver is soft and wears. So very, very fine marks can disappear over a short period of time.

1 Like

Thanks very much for your reply.. the technical stuff I struggle to fully understand though, however, I am new to laser things
Im using a 70mm lens for this, and had to play with the focal distance quite a lot to get it just right - I found out it was not quite what the laser supplier had said I should be
I tried many things including lowering the q-pulse settings, but perhaps I was doing something else wrong? but no matter what I tried i kept returning to the settings I used above
Heres a pic after 360 passes, I will play around a bit more though with the q-pulse and what you suggested


1 Like

Like I say, I think your results are excellent. You’re actually making me rethink my assumptions about Q-pulse.

I would certainly like to see you do a comparison with shorter Q-pulses but higher Power.

You need the q-pulse chart from the manual for YOUR machine. This one is for my JPT M7 300W. Only 16 defined q-pulse types exist. If I entered “175ns”, LB will let me do that, but that would round to use the 150ns or 200ns and it won’t make any message. You need your manual because I might be testing back and forth for 150ns vs 175ns q-pulses and not even realize the machine sees them as the same pulse.

The q-pulse roughly equates to the length of time before the output suddenly stops. You can see a lot of the power is roughly the same constant power level for all the pulse types for the bulk of the period. But initially there’s a spike, and the shorter ones don’t have time to flatten out like the longer ones.

Rough idea, change 7% Power to 100%, and choose a pulse 7% as long as 200ns. 200*0.07=14, so I would use my 13ns option, and also 9ns and 20ns.

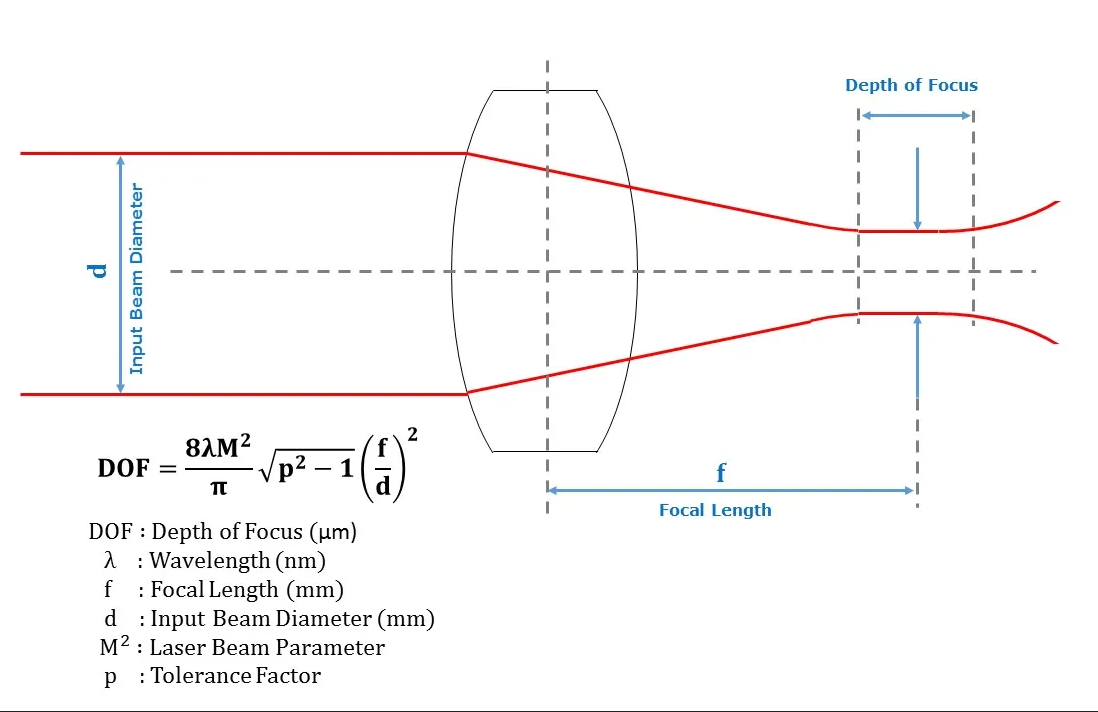
It will deliver a much quicker pulse, but of roughly the same energy. However, note this- 200ns at 600mm/s means the mirrors are covering only 0.00012mm for the duration of the pulse. The focal spot size on a F=100mm should be roughly 0.018mm (but it would vary depending on the dia the mfg expanded the beam to before it enters the galvo head). Point being, even the “slow” pulses are not significantly being “smeared” due to the speed. The focal spot only moved along 0.6% of its diameter during the pulse, so as far as that pulse was concerned, it was standing still. Seems like mirror travel isn’t significant even at the highest speeds I could use.

I’m just thinking the speed doesn’t affect the dynamics of a how a single pulse affects the material. But using a shorter q-pulse at higher Power will deliver the same total pulse energy in a much shorter time. It may go the other way, though, and reduce quality.

Pulse spacing is speed/freq. When I set freq and speed so the pulses are further apart than the 0.03mm spot size, they don’t interact with each other. The speed I deliver 100 pulses 0.030mm apart won’t matter. 1000mm/s 33KHz vs 3000 100KHz are basically the same thing.

If 9ns won’t mark my metal without overlapping, it will make no mark with any combination of speed and freq that put them too far apart to overlap. But, once I put the pulses closer than 0.03mm, then they overlap, and the second pulse lands on the heat from the first pulse and they might mark. It might not mark until a third pulse overlaps onto the heat of the prior two.

When overlapping, it’s no longer true that only the pulse spacing matters. The surface heat from a prior pulse spreads out VERY fast. Slowing down speed and reducing freq together does allow the surface heat from the prior pulses it overlaps with to spread out. So the heat from the prior pulse won’t be as intense at that spot. The speed heat travels has to be a finite number, and I suspect if the galvo is slower than that, then going slower reduces the surface temp from the immediate prior pulses it overlaps with, but also catches the heat from more prior pulses that have spread faster than the beam.

There’s no specific advice there. I’m just working through some recent thoughts “out loud”.

1 Like

I do not have a manual or q-pulse chart but ive asked the machine supplier (manufacturer) to send me something
I have played with the settings again and again, with the q-pulse and frequency mainly on the attached, here is a pic of the origional (top) vs the new one (bottom)
Not sure which is best or if it can be improved?
Both had 12 passes - However as you have pointed out, silver being a soft material I will need to engrave rather deep and therefore increase the number of passes significantly, and will only have one shot at this, so need to get it right


I think there is a difference between them…


Not only is it soft, it’s one of the best conductors of heat.. silver has a thermal conductivity of approximately 429 W/(m·K). Might be smart to find out what your coin is made of.

There is a substantial difference dealing with copper than with stainless steel because of thermal conductivity. As @Dannym mentioned, this effects your results as more heat is removed faster. If it effects you, I don’t know, but I think it would. Just keep it in mind.


Here is a graphic, like @Dannym posted, but with the formula, so you can see how things such as input diameter effect the spot size/dof of a lens. I like this calculator on-line calculators, but, here’s another one.

Good luck

:smiley_cat:

Are you sure your test piece is the same material as the product piece? Most coinage is nickel not silver.

Oh hey I didn’t pick up on this- 360 passes??

That seems very, very high for me. I thought if it marks, it marks in the first pass, or it doesn’t. Maybe 100% Power 9ns won’t mark and 5% 200ns won’t mark- and either case, if it doesn’t make any mark at all on the first pass it’s probably not going to make any mark by 10x or 100x or 1000x passes.

Making a deep mark in one pass can leave “craters” where you get metal thrown up that wasn’t able to eject over the edge of the cut. Generally thought of as poor quality. And the mark can be drilled pretty deep in the center. This gets far worse on successive passes because LB will make it fire at the exact same point each time.

On that last point, I use the latest Release Candidate of LB because I can give it a rotation step every pass in that version. And I NEVER use 45 deg because that will still line up every 8 passes. I use like “43.7 deg” per pass to prevent that.

Anyhow, I’m used to using like 256 passes for very deep 3d engraving. What you have I’d call very “light”. I wouldn’t have thought to go past like 10 or 20 passes. I’d probably have done 4x.

So I would have dropped the q-pulse size way down first, to find the lowest one that marks at 100% Power. Then, if that was too much of a mark, I would reduce Power for that q-pulse. But I wouldn’t have gone that many passes

Still gotta say- your result looks pretty good to me! I may have to explore high-pass work because I don’t really understand how this works, because I thought if it made any mark at all on the first pass I’d expect it would be overcutting and wrecking everything long before 100x passes. Yet you’ve got what looks like a pretty good result here!

2 Likes

I’ve used us nickels which are 75% copper 25% nickel, 30 w/mk. sterling silver is 400w/mk. that number is a big difference

still, i don’t expect a really dramatic difference. the qpulse delivers in hundreds or tens of nanoseconds which sounds like it’s far too fast for bleeding heat away from the focal spot before the mark is done

but if you’re cutting with overlapping pulses slowly, this might become more significant

1 Like

I would make a couple suggestions, turn off your BiDirection and Cross hatch, unless you have your timing dialed in super tight that tiny font will improve. Here is my silver ring settings, get good depth on the rotary. Pretty close to what you have, except I’m throwing a lot more power at it and speed is higher. I have ran silver with good results at higher frequencies like 45KHz also.

You could run a material test on the coin vary the power on one axis, the passes on the other axis, turn off border to save real estate. Make the size as small as allowed. Make 100% sure you match the material settings to your silver parameters. It’s easy to miss something. Turn off borders and if you want to save a little more space turn off text.

Just an example:

Shotgun approach on passes and power, I watch and as it gets to the top if too much just hit the stop, re-calibrate the axis to the lower power or passes and run again.
Could also run one varying the frequency.

1 Like

Is this for engraving or marking silver?

:smiley_cat:

Engrave. Thought that was what OP was looking for.

1 Like

I did also, but the coin looks marked, not engraved, so just clarifying.

:smiley_cat:

2 Likes

200 passes, think OP wants some depth.

1 Like

He advises this in post 2 or 3.

:smiley_cat:

2 Likes

Try this spray on the metal before etching. I have a cheap 10W laser. With this spray, which dries almost instabtly to a chalk like substance. Amazon.com: OMTech Laser Marking Spray, Metal Laser Marking Fluid for CO2 Laser Engravers, 13oz Aerosol High Contrast Black Spray for Laser Engraving Metal, Laser Ink Agent for Aluminum Stainless Steel Brass More

1 Like

Thanks so much for all your replies guys, and sorry for the delay in replying, it just took me far too long trying to get the classic style text to be clear when testing, I mainly used aluminium sheet as it seemed to be close in hardness to silver 925, but got lost with what settings I had used for the best or most acceptable results (see pic of one that looked acceptable)

I simply run out of time as its my daughters birthday today. So last night, I decided to use the text as in pic and engraved it
Not sure if the settings were the best I could of used, but I was out of time and no matter what settings I used, if I applied more power to them to try and get a deeper engrave it would burn and smudge the text. I even contacted the machine supplier and they said to me based on 0.86mm text that I would not be able to achieve any type of engrave, however, I have done what you can see, and the text size is 0.53mm
I got the q-pulse chart from the machine supplier, Its a really good starting point that I wish I had had from the beginning. Dont know why they did not supply me with this when I got the machine. Is there anything else I should ask for from the supplier to help me with the correct settings for my machine
Thanks again and appreciate any comments

1 Like

Just wanted to say, this is the most delightful project! really made me smile.

Also, the conversation has gotten quite deep, and maybe this isn’t as helpful anymore, but just in case, we have a bit of an infographic about beams and their attributes on this page: