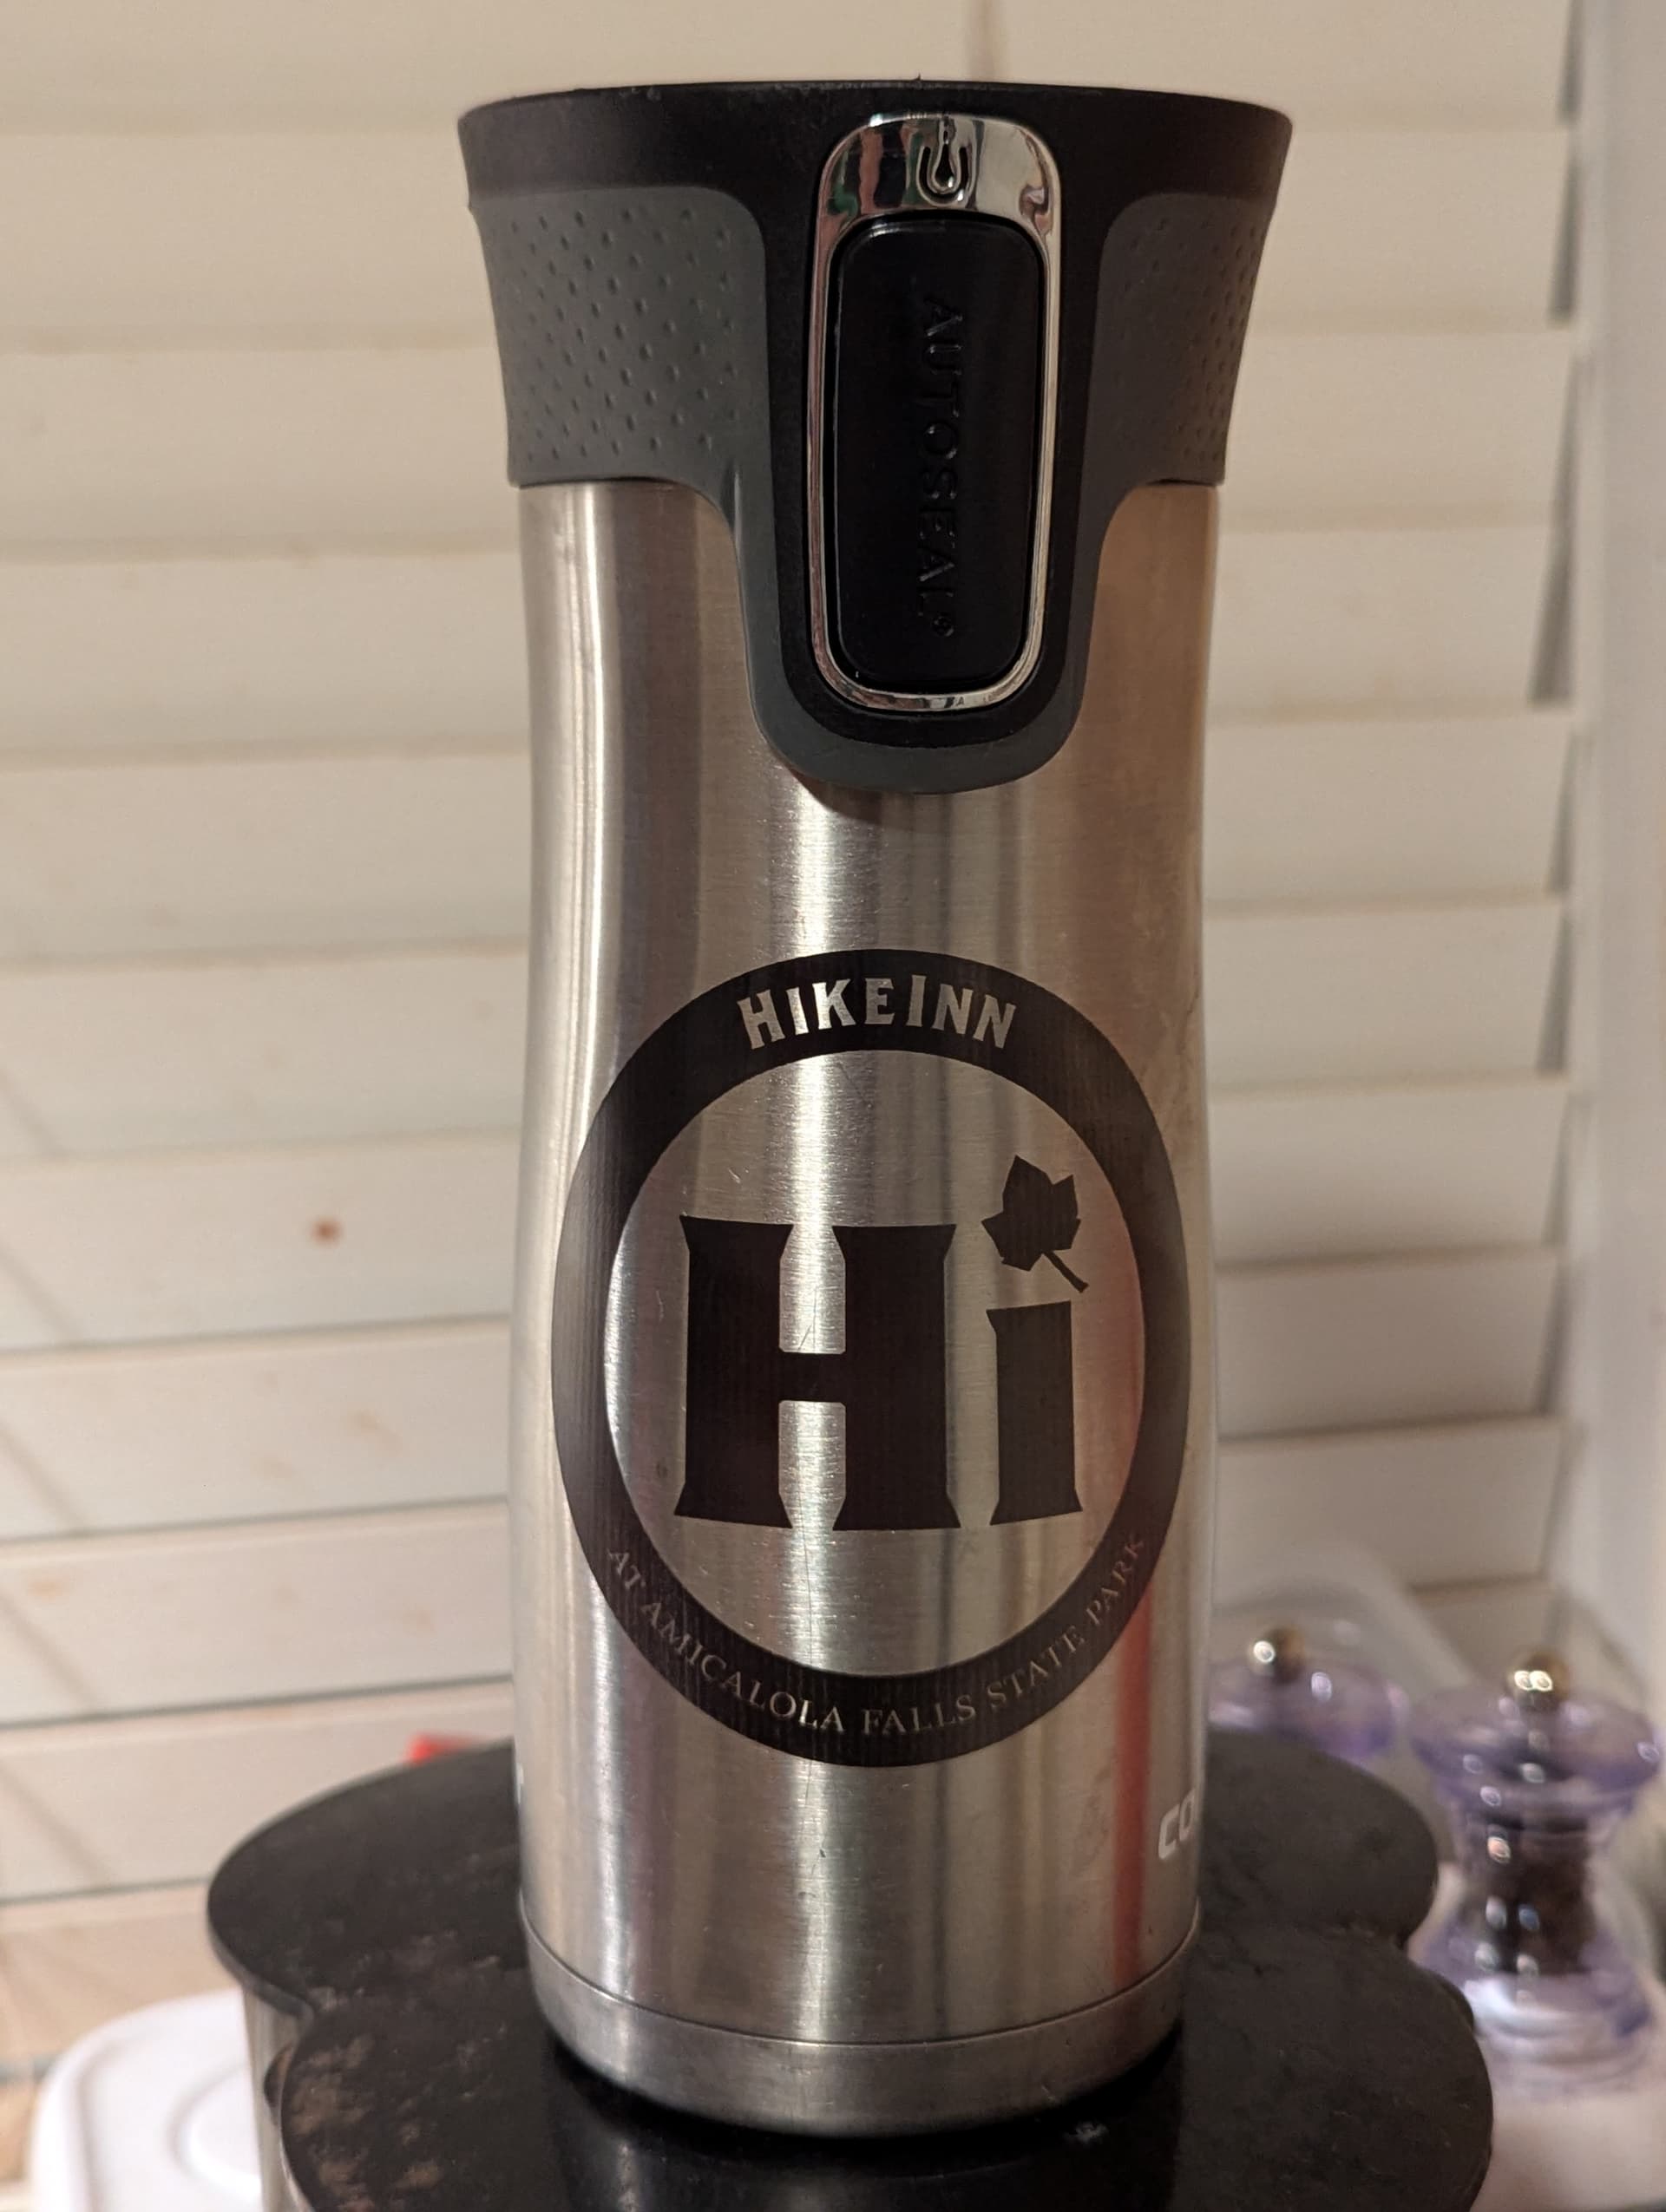
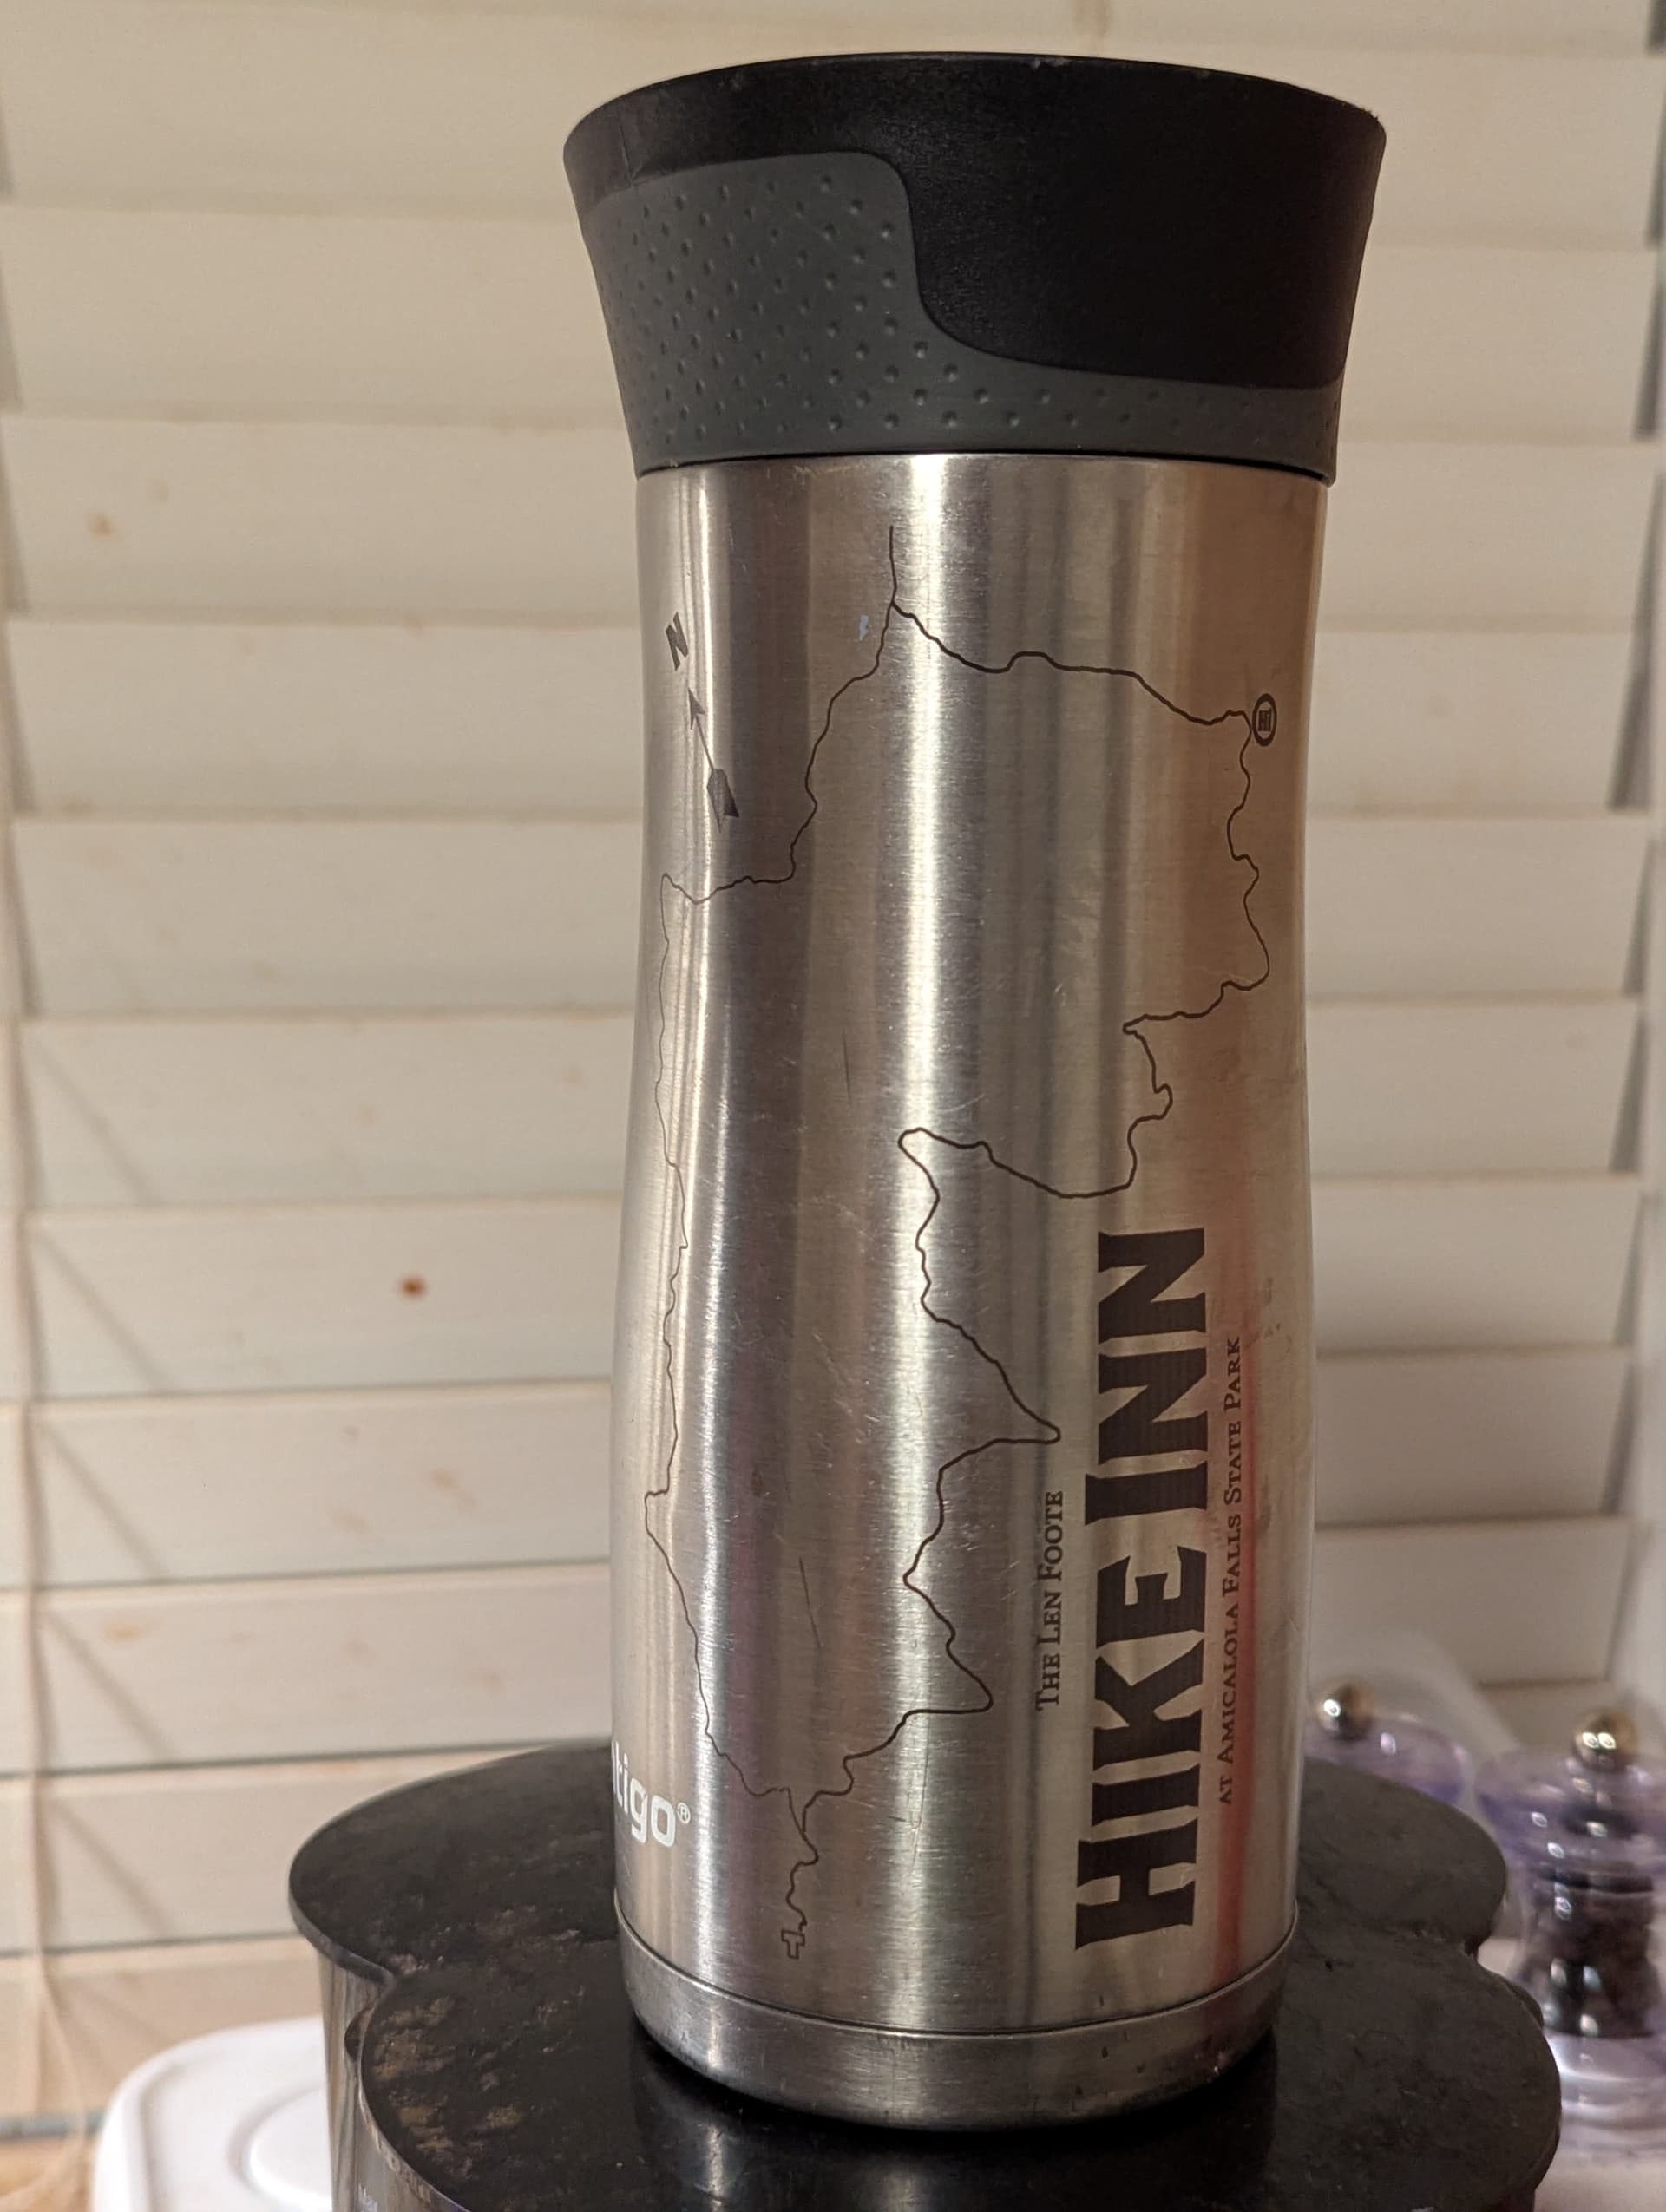
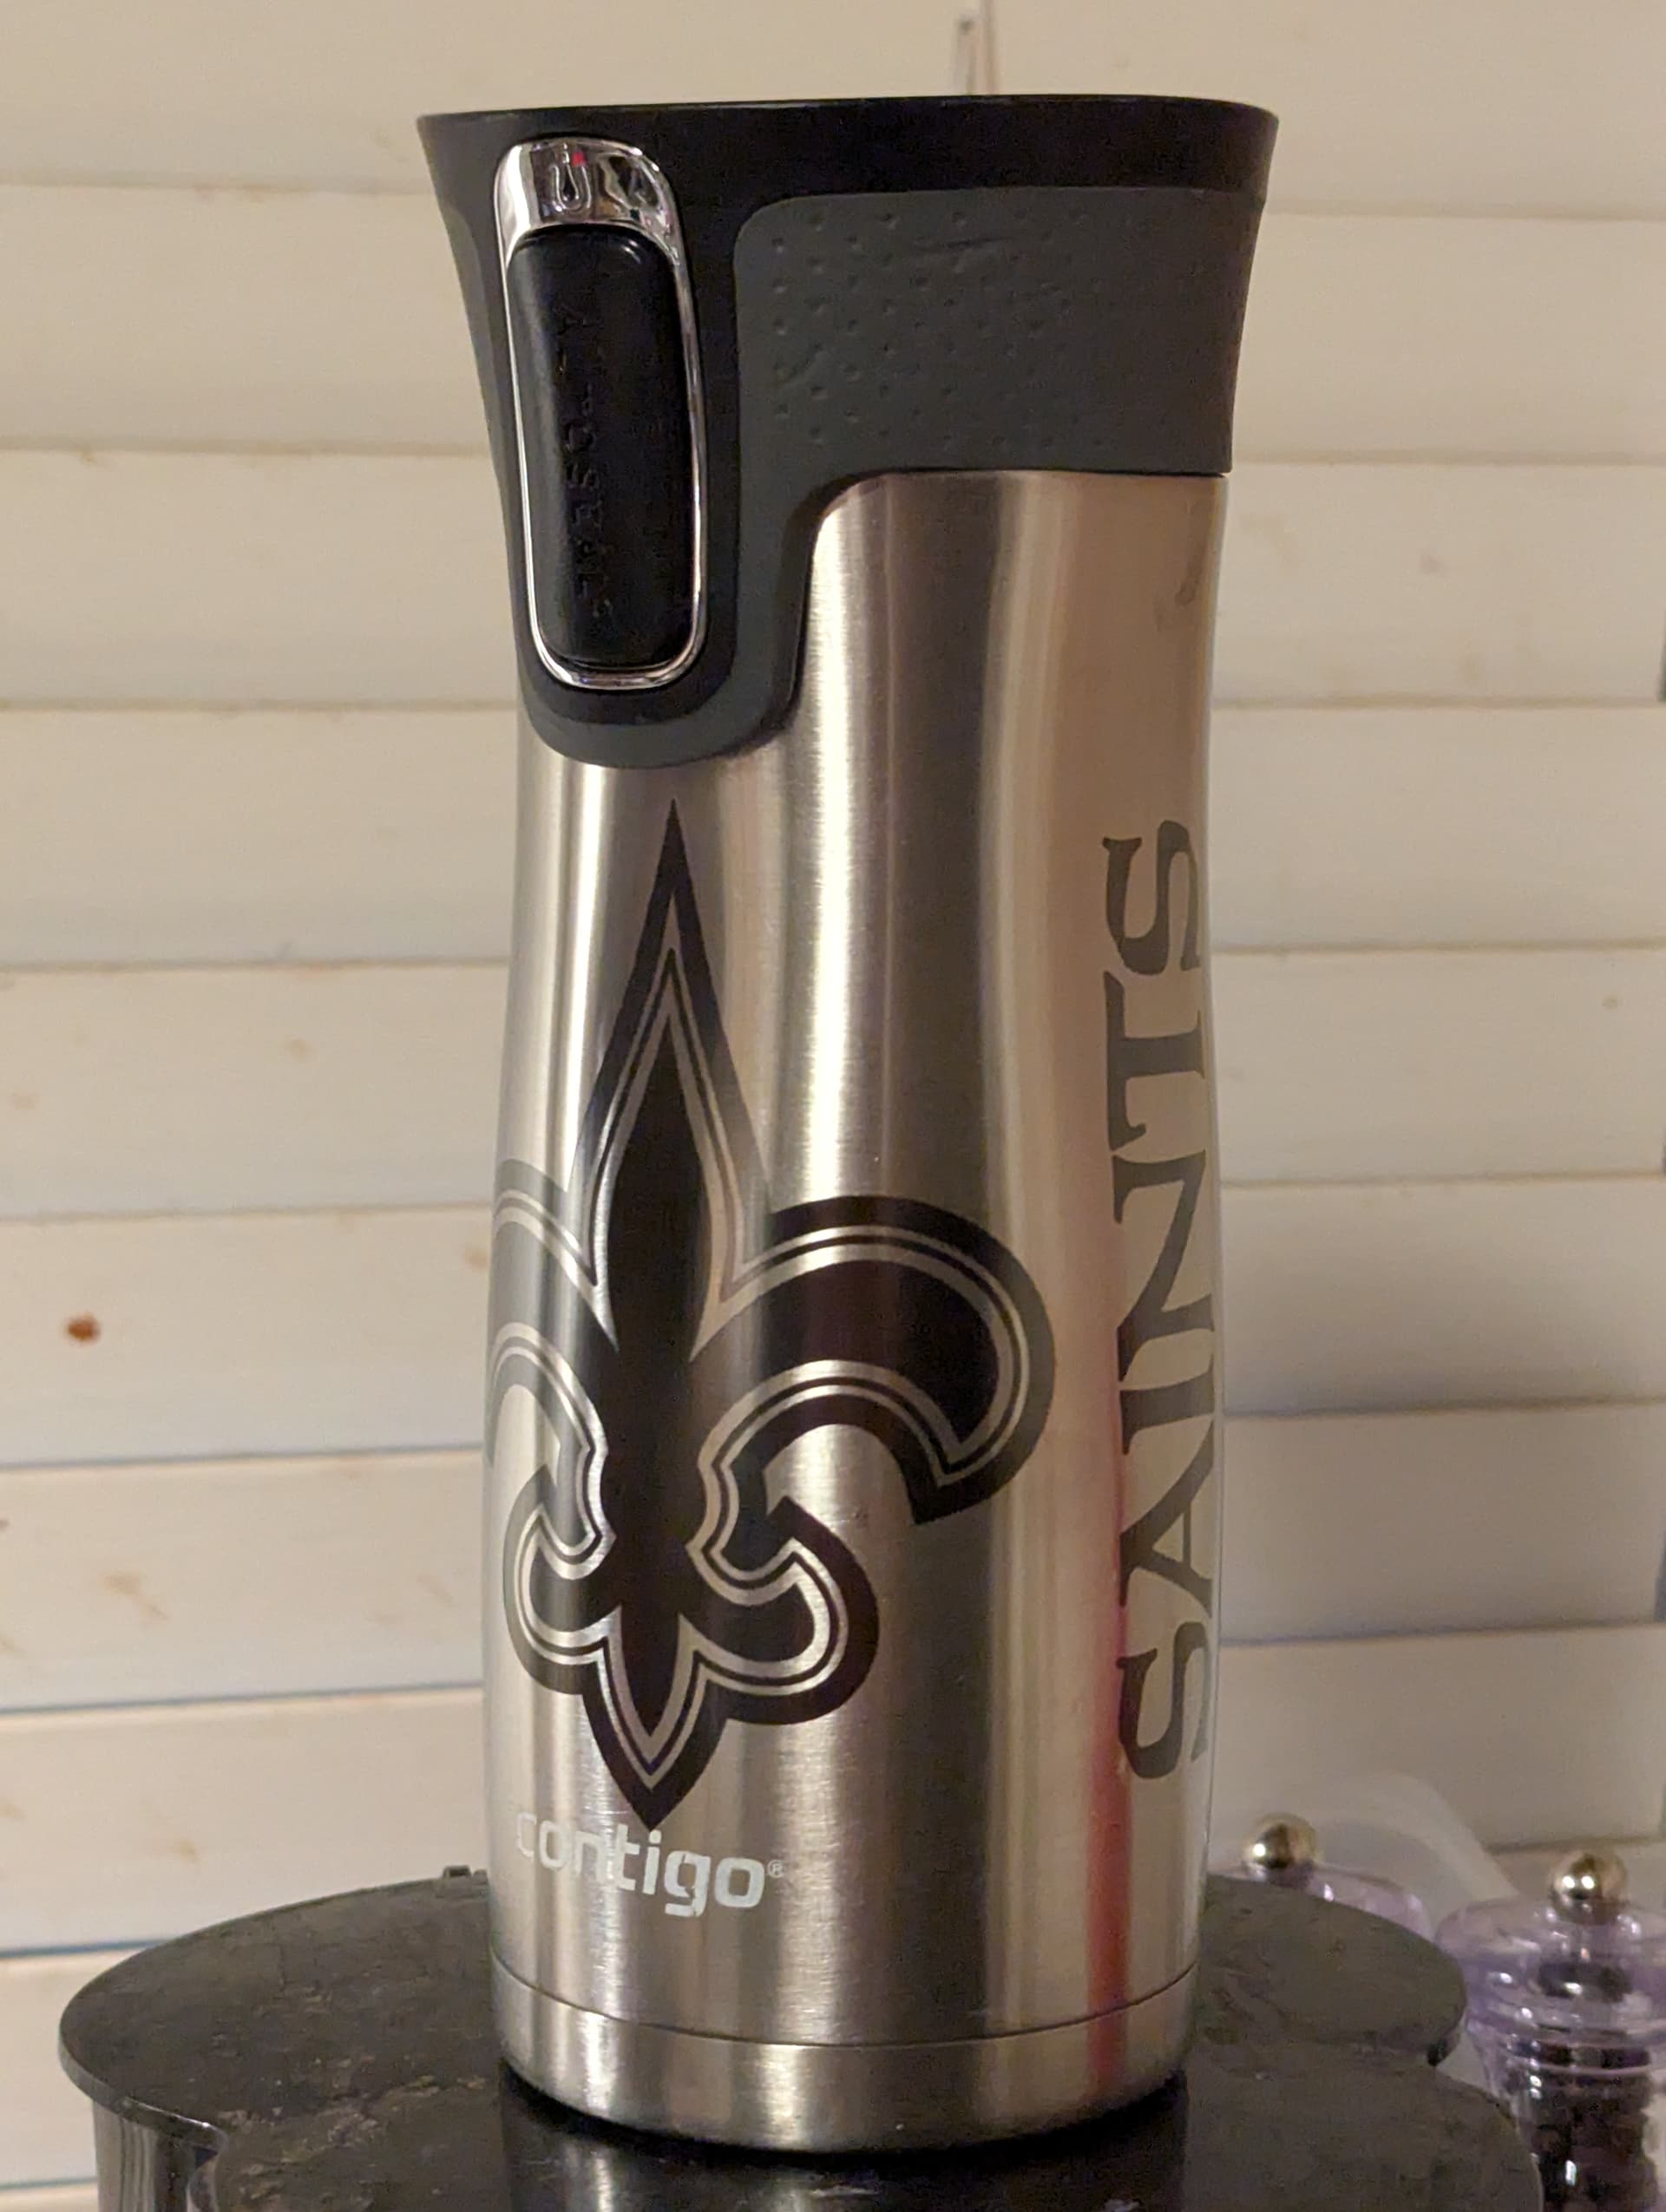
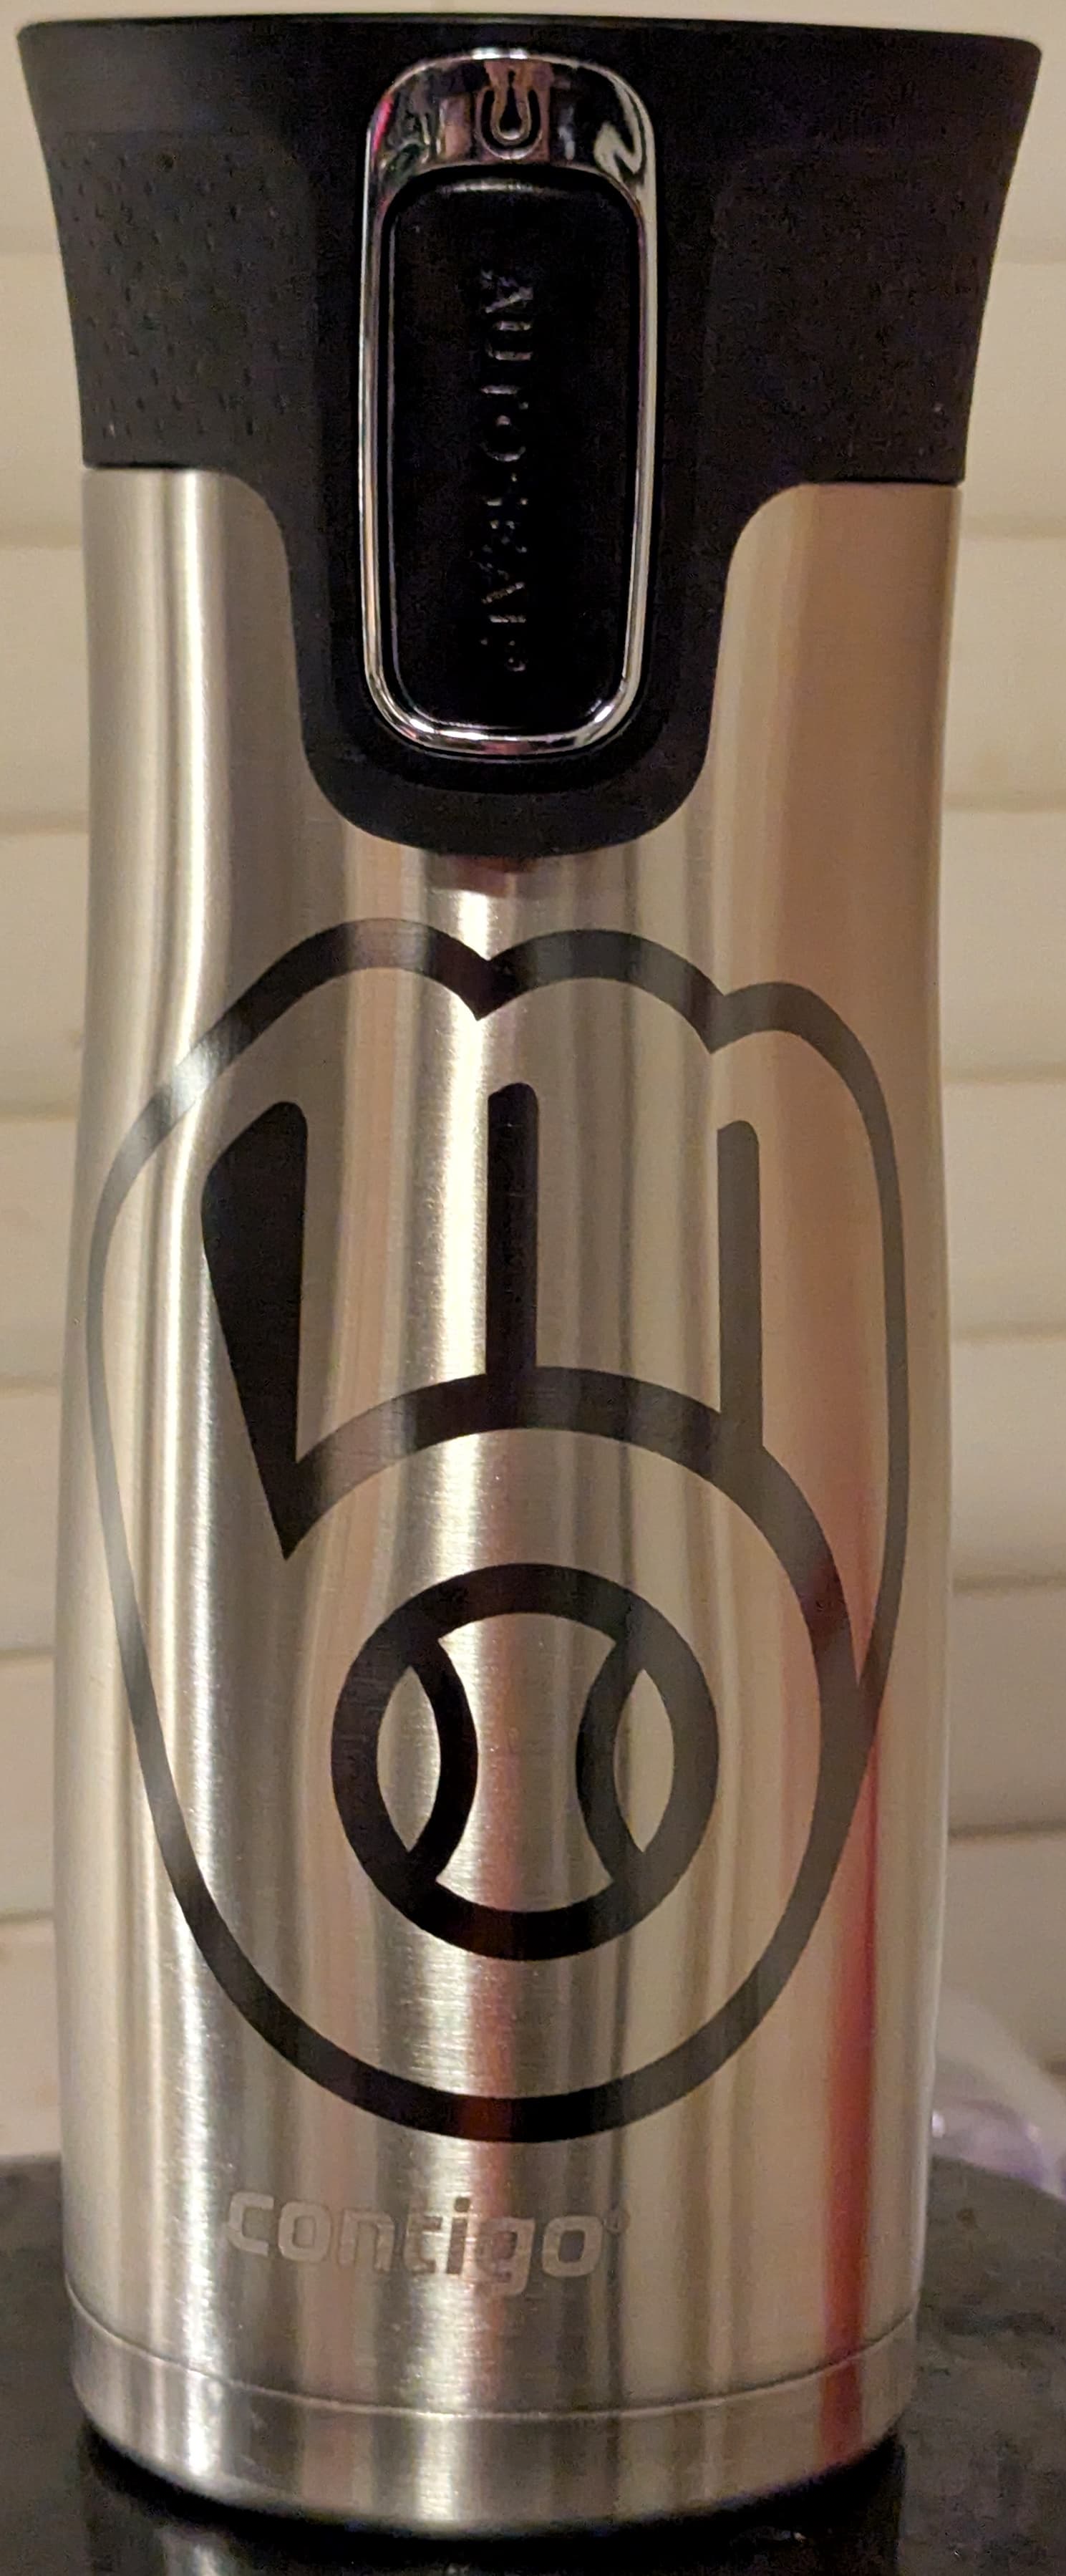
I’ve been sticking with the ones I’ve dialed in earlier:
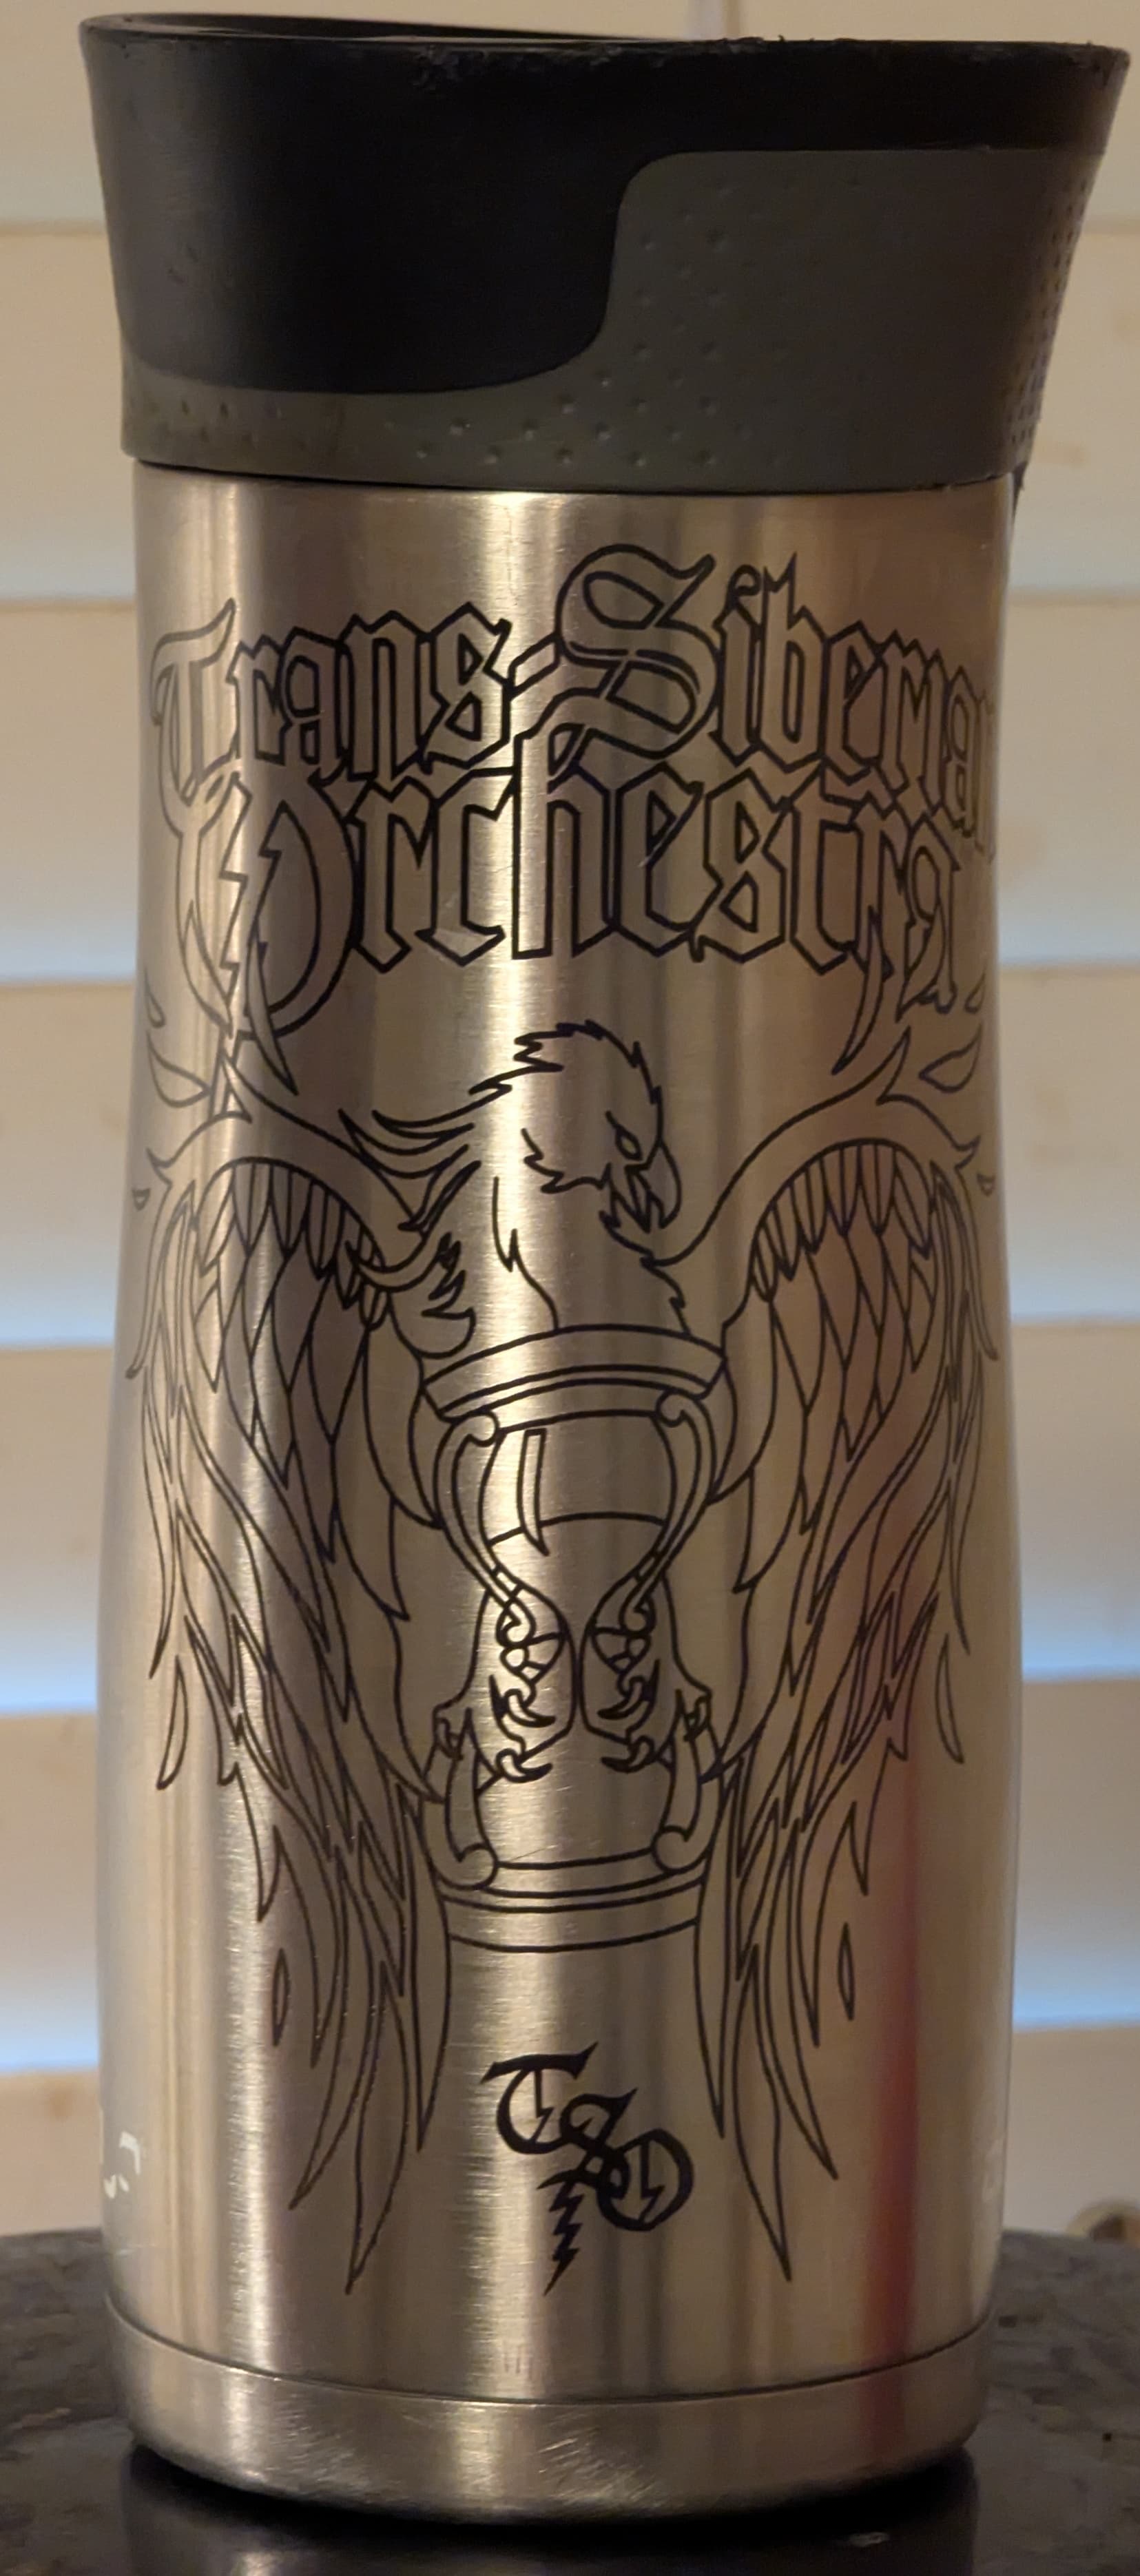
I suppose one thing I didn’t include in that is that I focus about 8-ish millimeters above the widest point in the mug (around the baseball in that last one). You want to be at least about that far out of focus with my long lens to get a good black engrave. If you get too close to the actual focus distance, the engrave will get lighter and more… um… engrave-y… instead of just marking. (If you see any “sparking” from the engrave, like you’d see doing a deep engrave on a coin or whatever, you’re too in-focus.) The long focal length of the lens means that the narrower points along the mug engrave just fine, so you’re really just setting the focus point to prevent over-engraving.
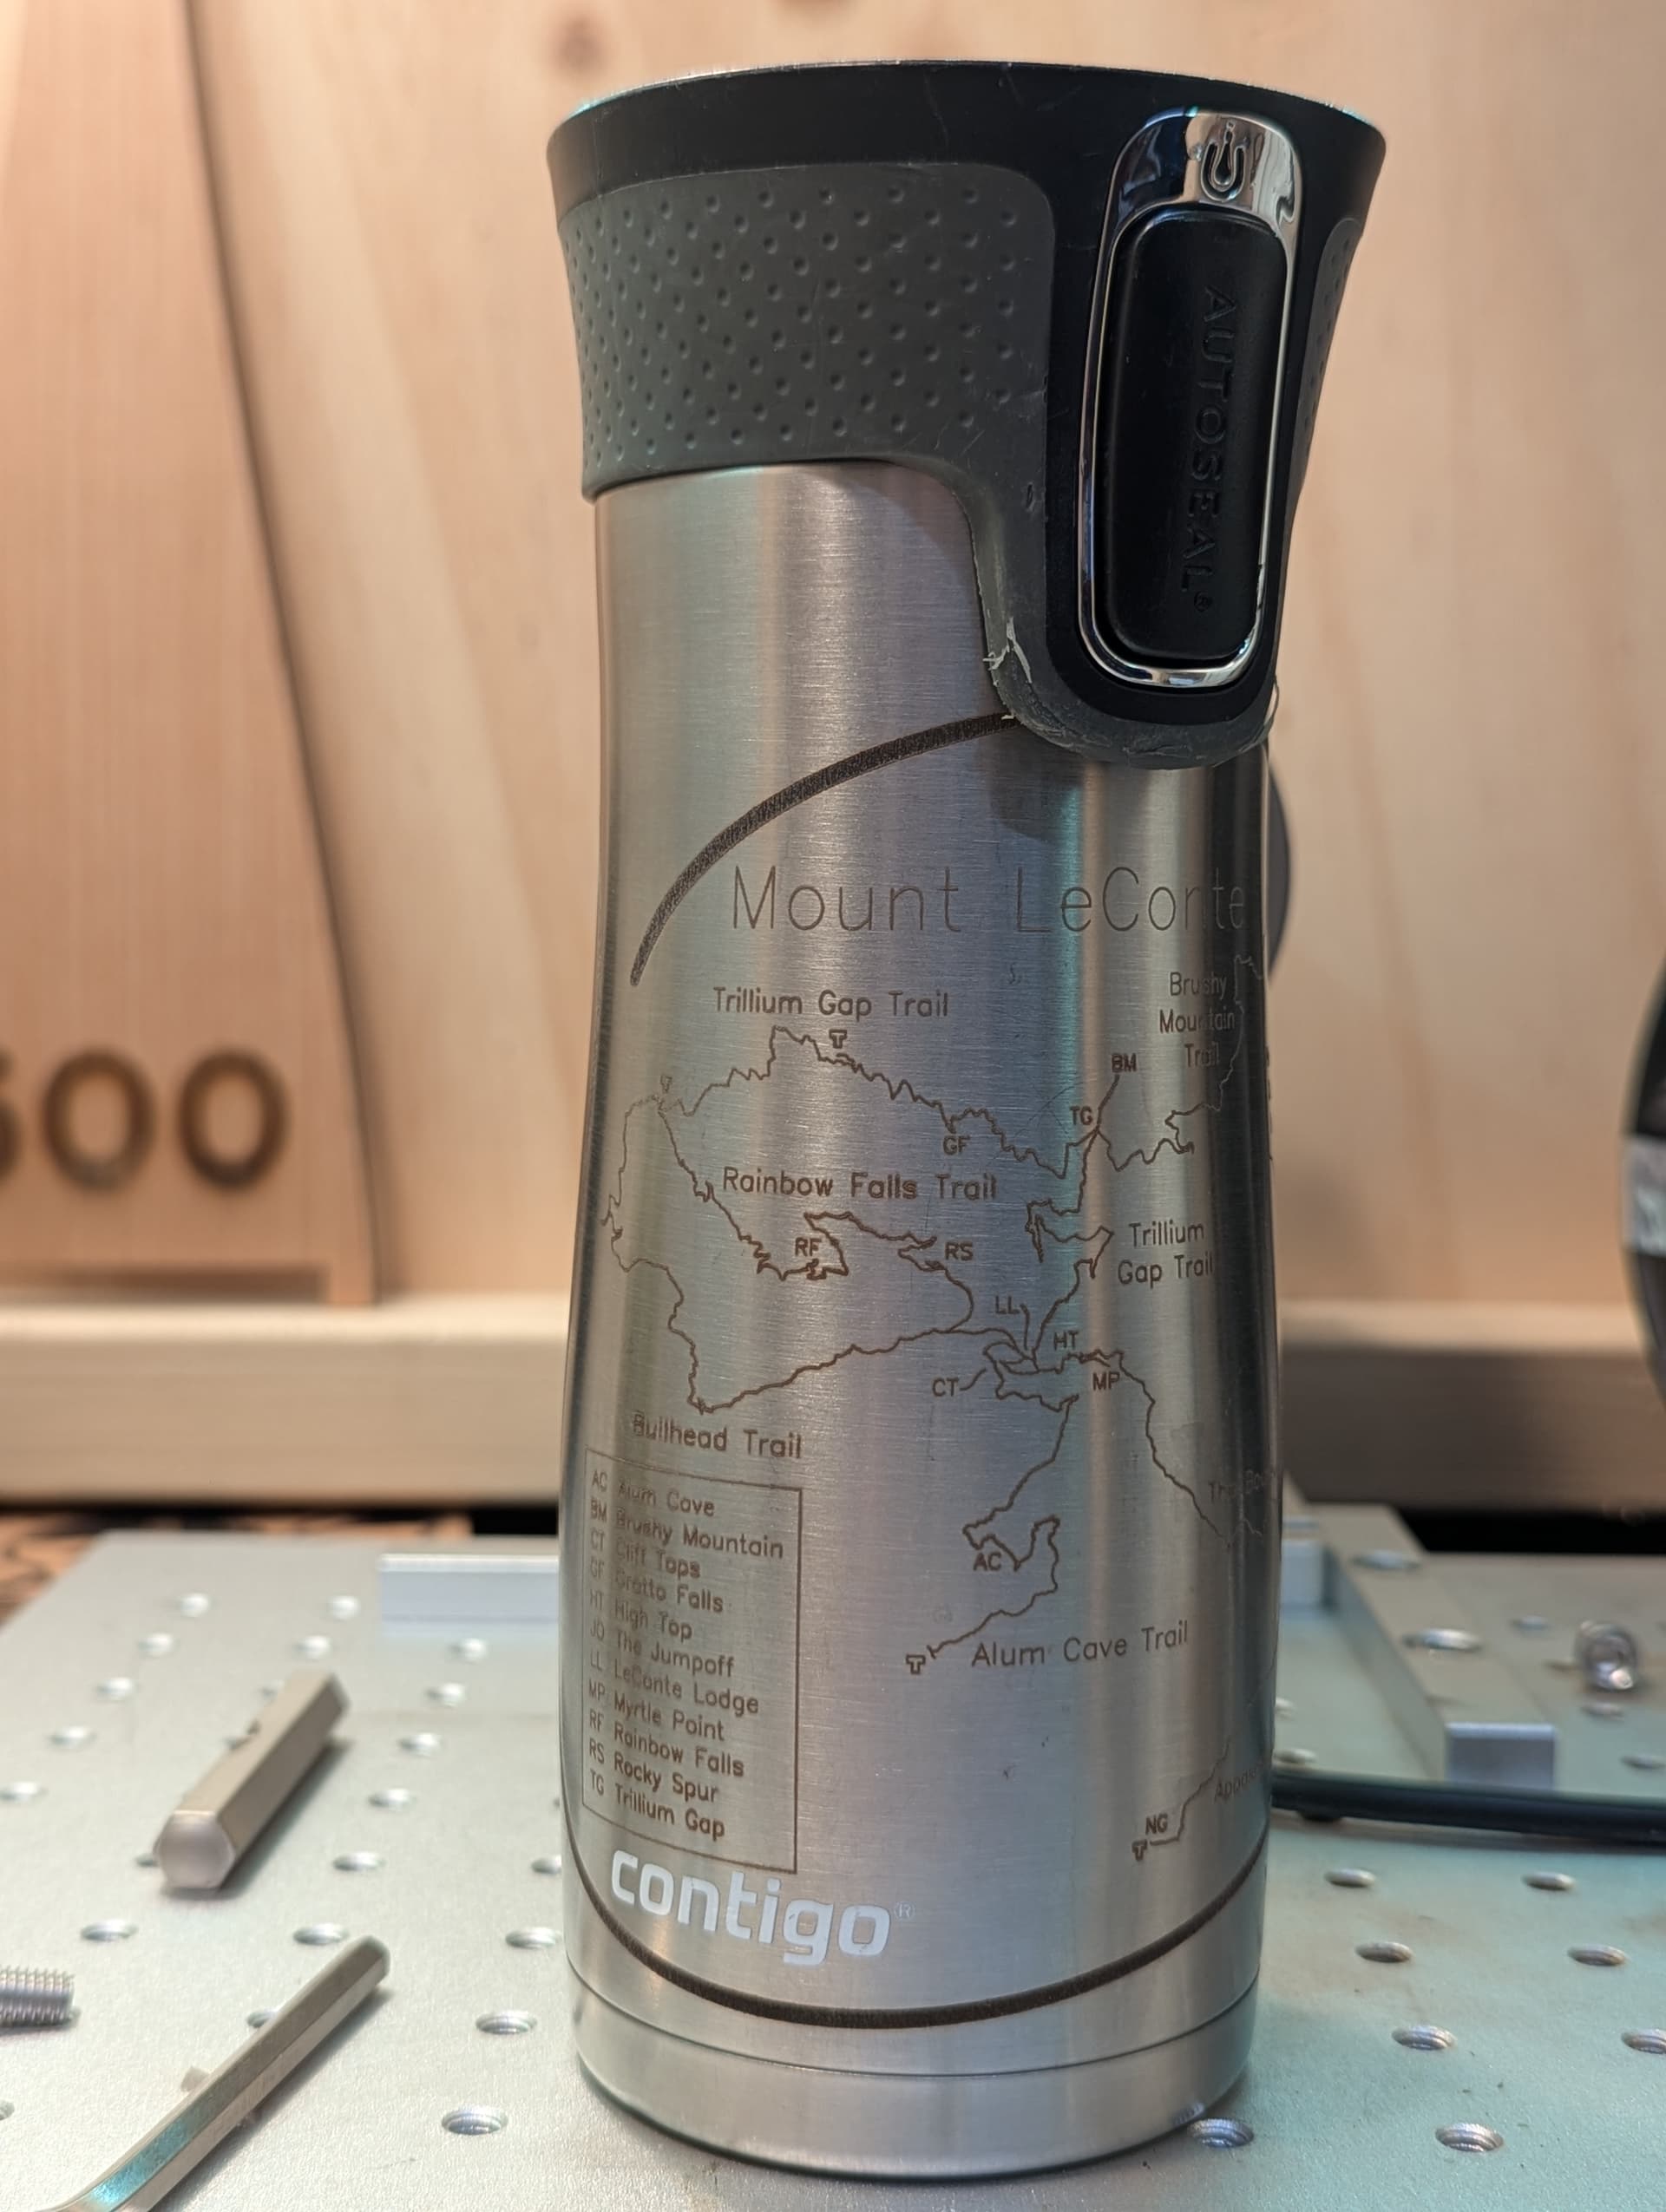
As for the rotary setup, I’m using a chuck-style rotary (which, at least in my opinion, is the best approach when faced with a mug with a curving profile like these). I have the circumference set to 240mm, which is approximately the circumference of the aforementioned widest part of the mug. I rounded up ever so slightly to get a nice even number.
If you round the circumference down when entering parameters into the rotary setup, you’re effectively increasing the spacing of your actual lines on the physical object, which could potentially mean you end up with too high an effective line spacing and therefore a worse-looking fill. For an object of varying diameter like this, the narrower parts will necessarily have narrower resulting line spacing due to simple geometry, but at least for this type of marking, it’s not at all an issue, so you design for the maximum, rounded up for convenience. (I’ve drawn a non-engraved box with one dimension the maximum height of my engraving area and the other dimension the rounded-up circumference, and I use that as my reference for layout.)
For the split size, I found 0.050mm, i.e. twice the line interval, gave fine results. Perhaps you could bump that up to three (or more) times the line interval to save some time, but you wouldn’t want to make it something large, say 5mm, as you would end up with prominent gaps/lines at the slice borders.
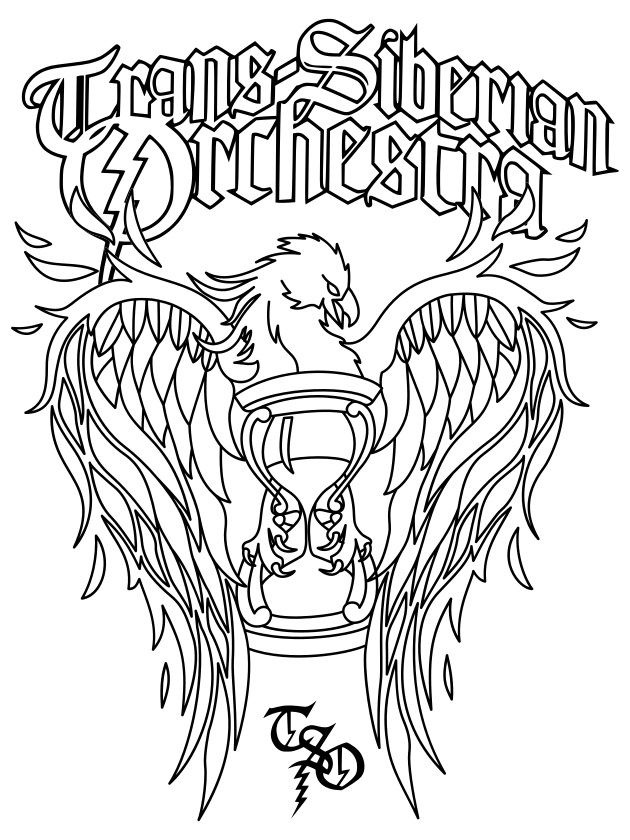
I actually want to make some designs that happen to have gaps every so many millimeters so I can use a large split size. My working hypothesis is that with creative layout, I could make it so the lines that would result from a larger split size fall in locations where there isn’t anything to engrave, making them a non-issue. For an example of a basic pattern this could potentially work with, think of something like this (where the white is untouched and the dark is marked):
I haven’t tried it yet, so I’m not yet sure exactly how LightBurn’s splitting algorithm works, and I have to grok that so I know how to design the project so I can precisely locate the splits. I’ll test it all out on my collection of empty soda cans, which work great as free test substrates when you’re playing around with a fiber laser rotary.