Hi guys, how are you? My first forum post! I hope I’m not doing anything wrong!
Before explaining my problem and asking for help, I want to say that I’ve read many posts related to the sculpfun s9 here on the forum, I’ve already researched a lot on other sites and watched many videos on YouTube, but I still can’t conclude where I can improve my images. I didn’t use chemicals before or after the recordings.
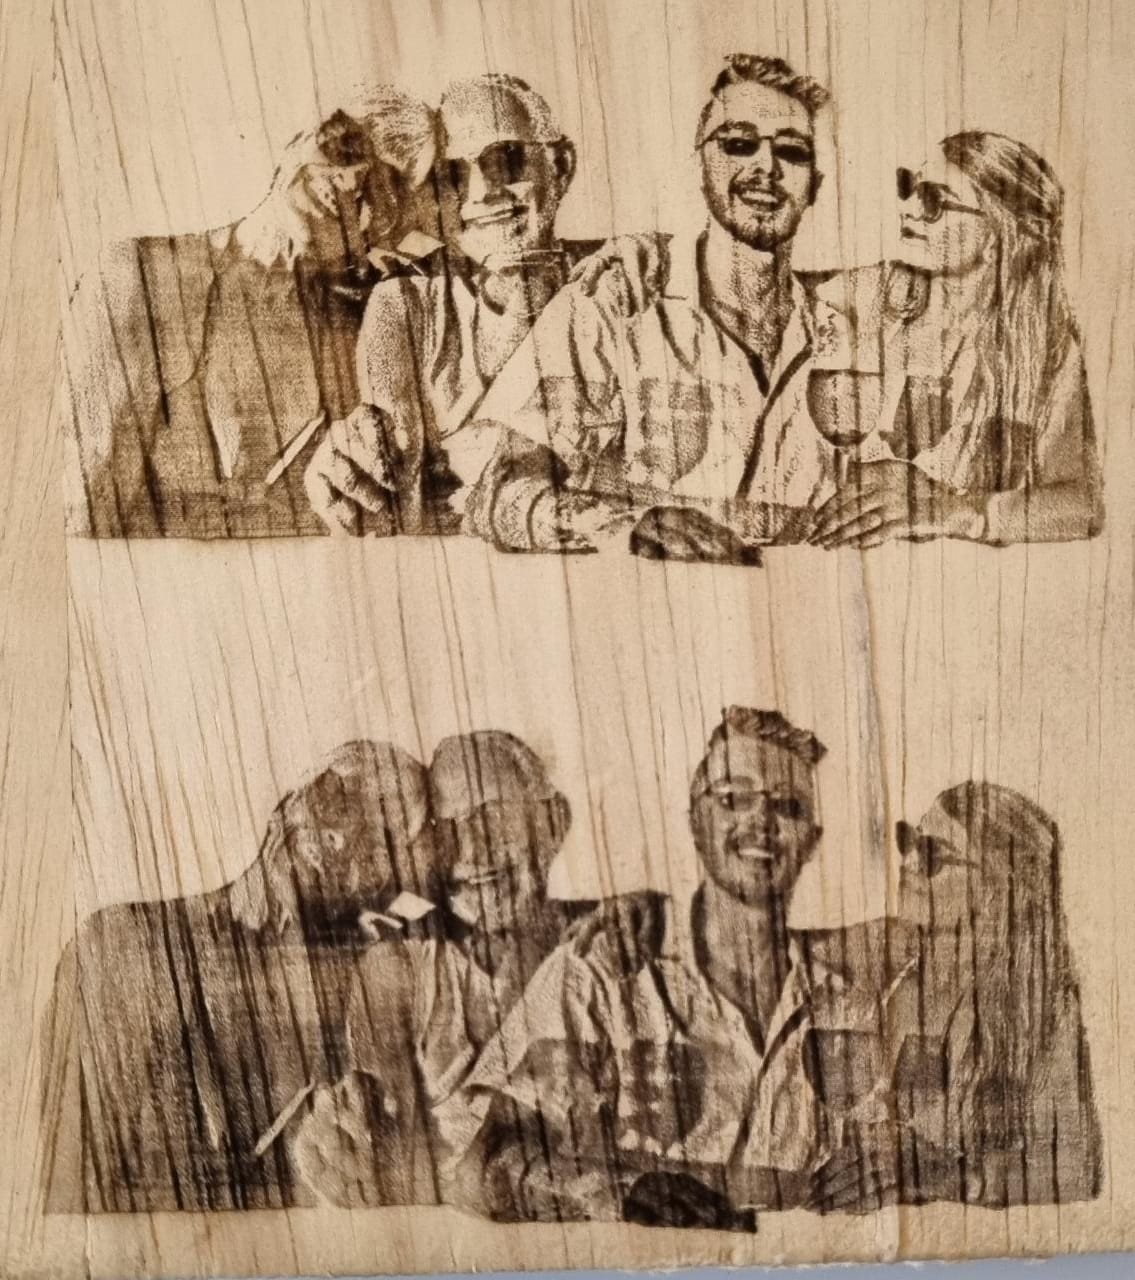
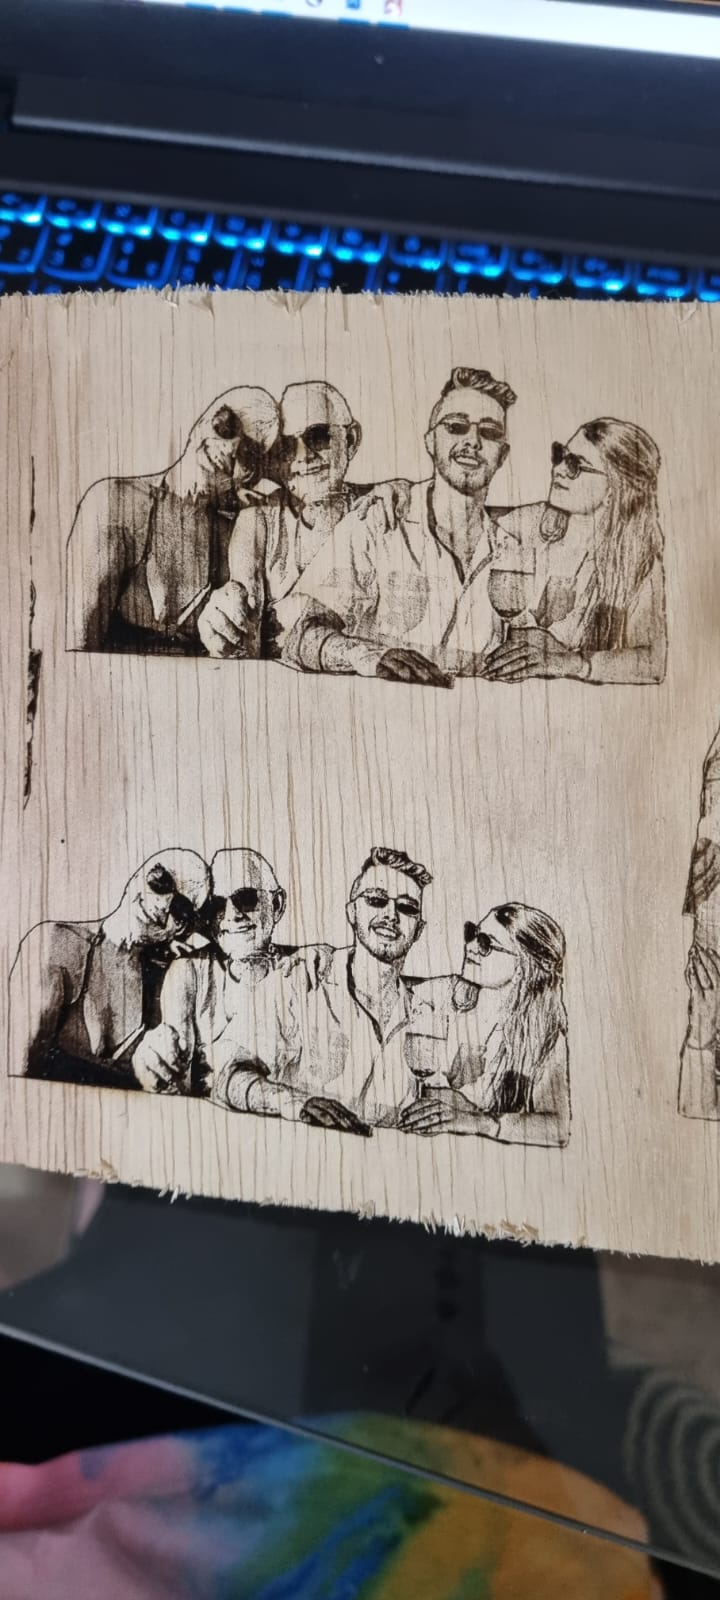
I’m going to print all the steps I’ve seen that you always ask beginners, so you can help me. I’ll also post pictures of the recordings I’ve done so far!
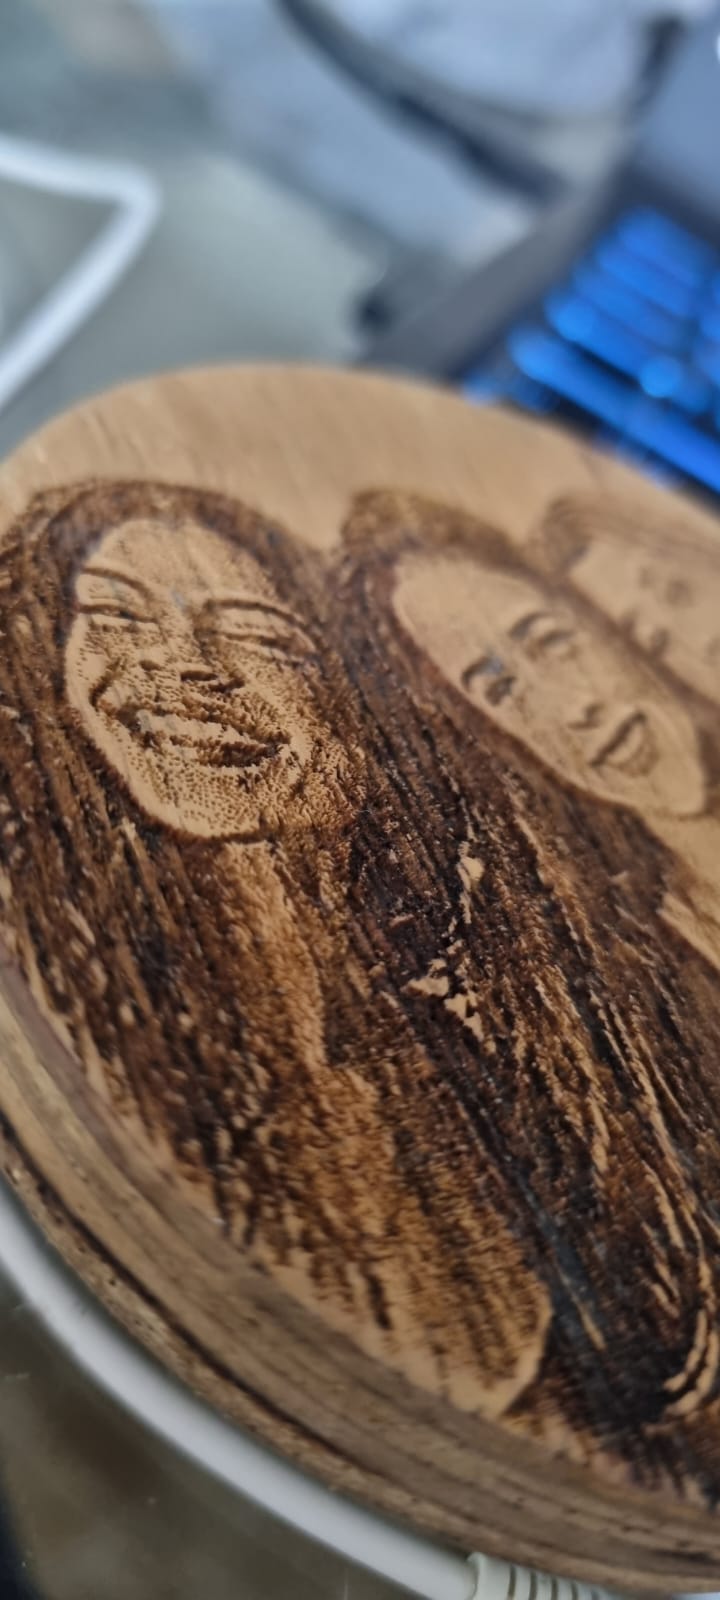
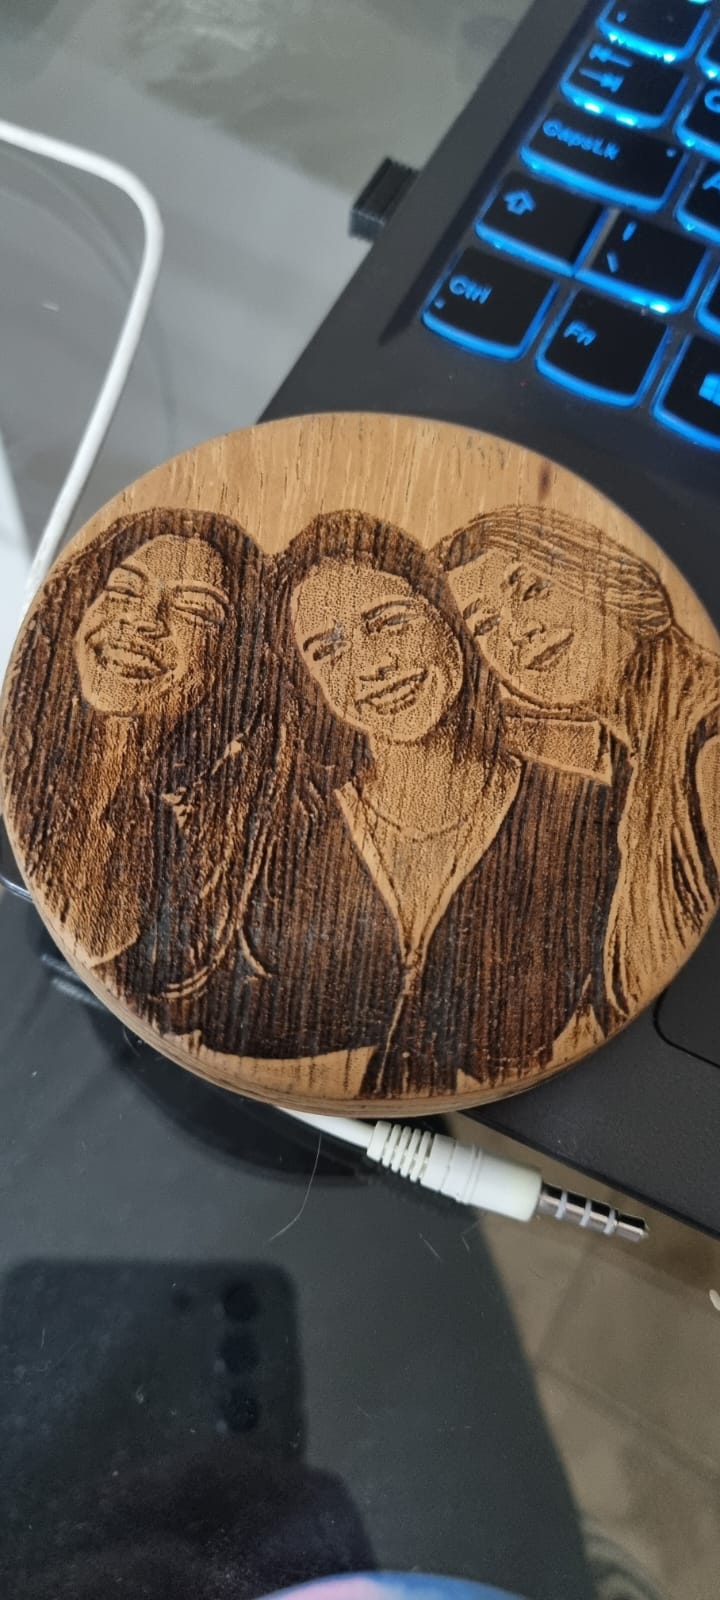
My goal is to engrave photos onto plywood. I’m going to cut the plywood into 9cm circles and engrave the photo on one side.
So the picture won’t be big.
I was wrong not to write what setting was made in each photo, but I hope you can help me anyway!
I want to be able to make a good impression of this photo because it is a poorly made photo montage, with different brightness and really a challenge for me, so I imagine that other people will also send me photos at this level, and not professional photos that would be much easier.
(I can only send 4 photos for being a beginner user, I hope I can send more prints later)
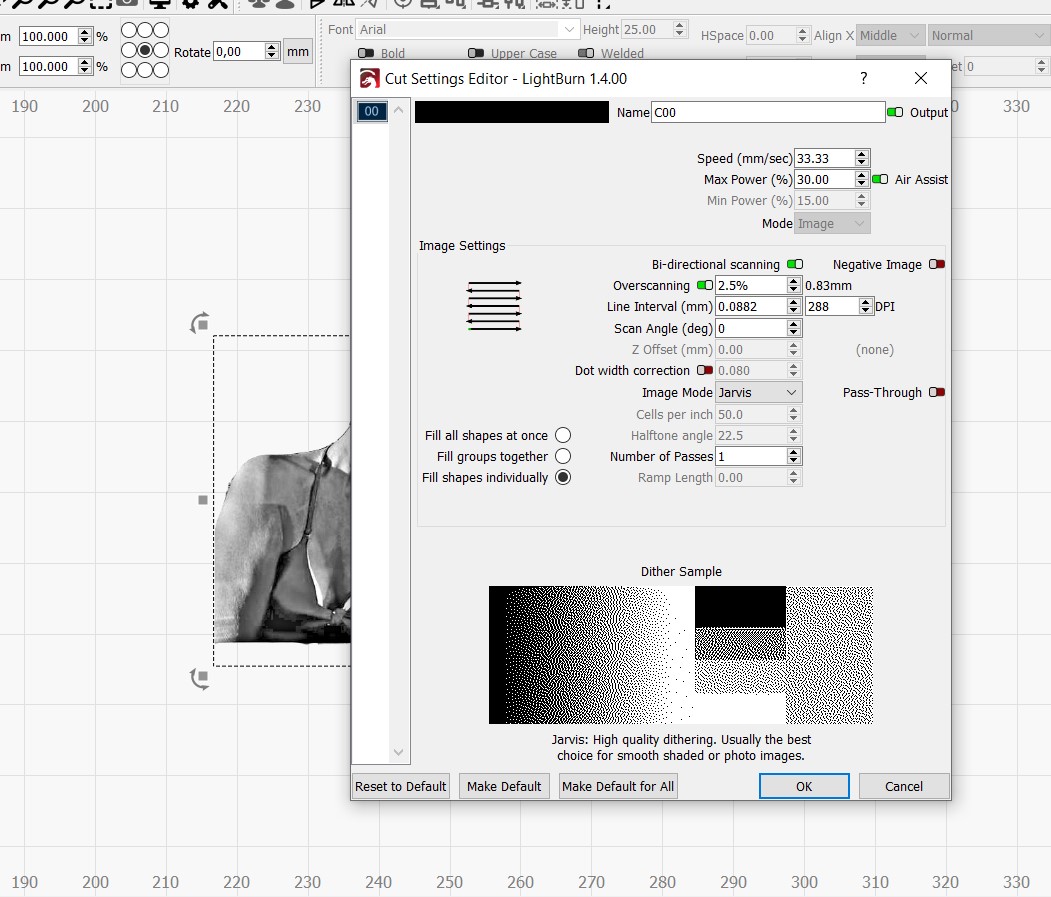
When you lase things, the dpi you try to use is pretty critical…
Some materials will limit what kind of dpi you can expect… I say this because 0.08mm is rather fine for wood…
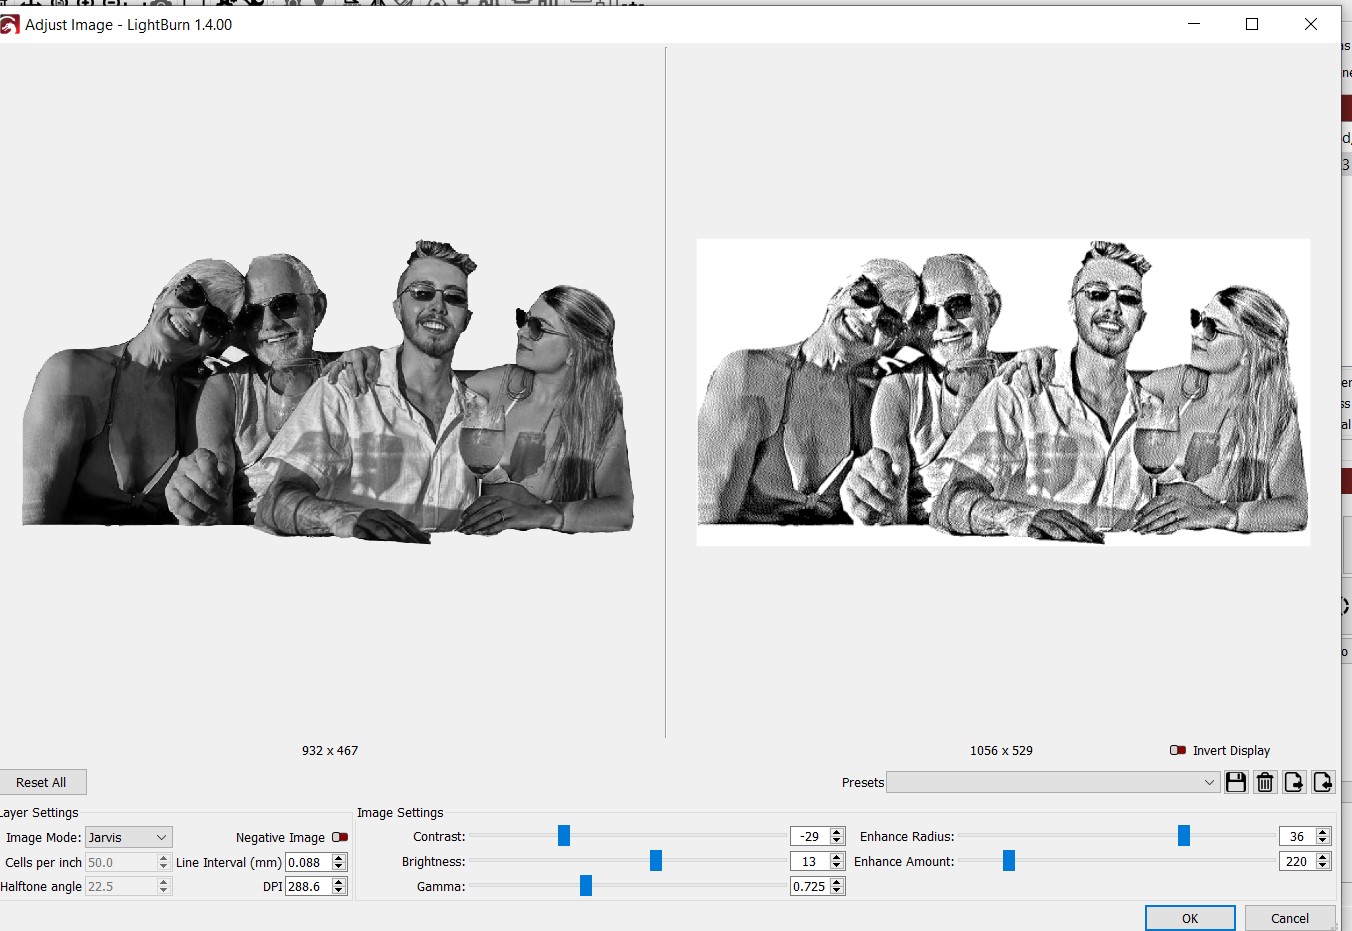
I’d suggest you watch the Laser Everything video on photo engraving… It’s the best I’ve seen on how to find the right dpi for any laser with any material. The video uses a fiber, the idea is the same for any laser.
He also covers another part of photo engraving, how to slide the gray scale around…
Thank you very much friends!! Regarding the video, I had already seen it but it was before my sculpfun arrived, I reviewed it yesterday when you sent it and today I managed to make improvements that resulted in much better results!! Thank you for that! I still have a lot to improve, I would even like your help in some other aspects! Regarding plywood, how do you recommend treating the plywood before engraving for best results? And after recording? I saw an article talking about a mixture of baking soda and water to apply before engraving, but is there any other option besides that for me to try? So that it is easier for you to help me, a result that I really like and that is my goal to achieve with these engravings, it is from this product with these 3 girls here in the photo. The burns are deep, giving a lot of detail, are well defined and even have a “caricature” style even with a real photo. Do you know what I need to be aware of in the image and laser settings to direct my engravings towards this deeper burn style, without burning outside the boundaries of the design? Thanks in advance again!