Hi all - first time posting here. I’ve got 1.5 years experience on an Epilog Zing as a basic user, and now I have my very own Boss LS-1420, and I’m trying to go from a simple user to a superuser…but I feel like I’m getting in my own way. I have previously used (and am currently using) a roller rotary (wheel-type, not hotdog type) for etching pint glasses, cocktail glasses, and stemless wine glasses. I’ve worked up my designs previously in CorelDraw and had a relatively simple way of etching them directly through the “Print” settings. So Lightburn is new to me, but I’m excited to take things to new heights with what the software offers!
All that said, I’m struggling with how to set up the roller rotary correctly, or at least how to account for the seating of my glass. I am positioning the glass to hit the rollers about an inch below the top of the glass…which of course throws off the object diameter that is input into the software. Do I need to adjust this diameter such that I can properly calculate a 360 degree design to have the proper length?
Additionally, I’ve been having to manually “Frame out” the area in Lightburn that I import my existing design into…is there any other way to do this, such as adjust the height and width of the canvas for the glass that I’m using?
Perhaps I’m overthinking it, but I’m feeling like my previous experience is hindering me, rather than helping me. Thanks for any help you could offer.
Yes, I think you’ll want to measure the diameter of the glass at the point where it contacts the wheels and input that so it correctly rotates 360°
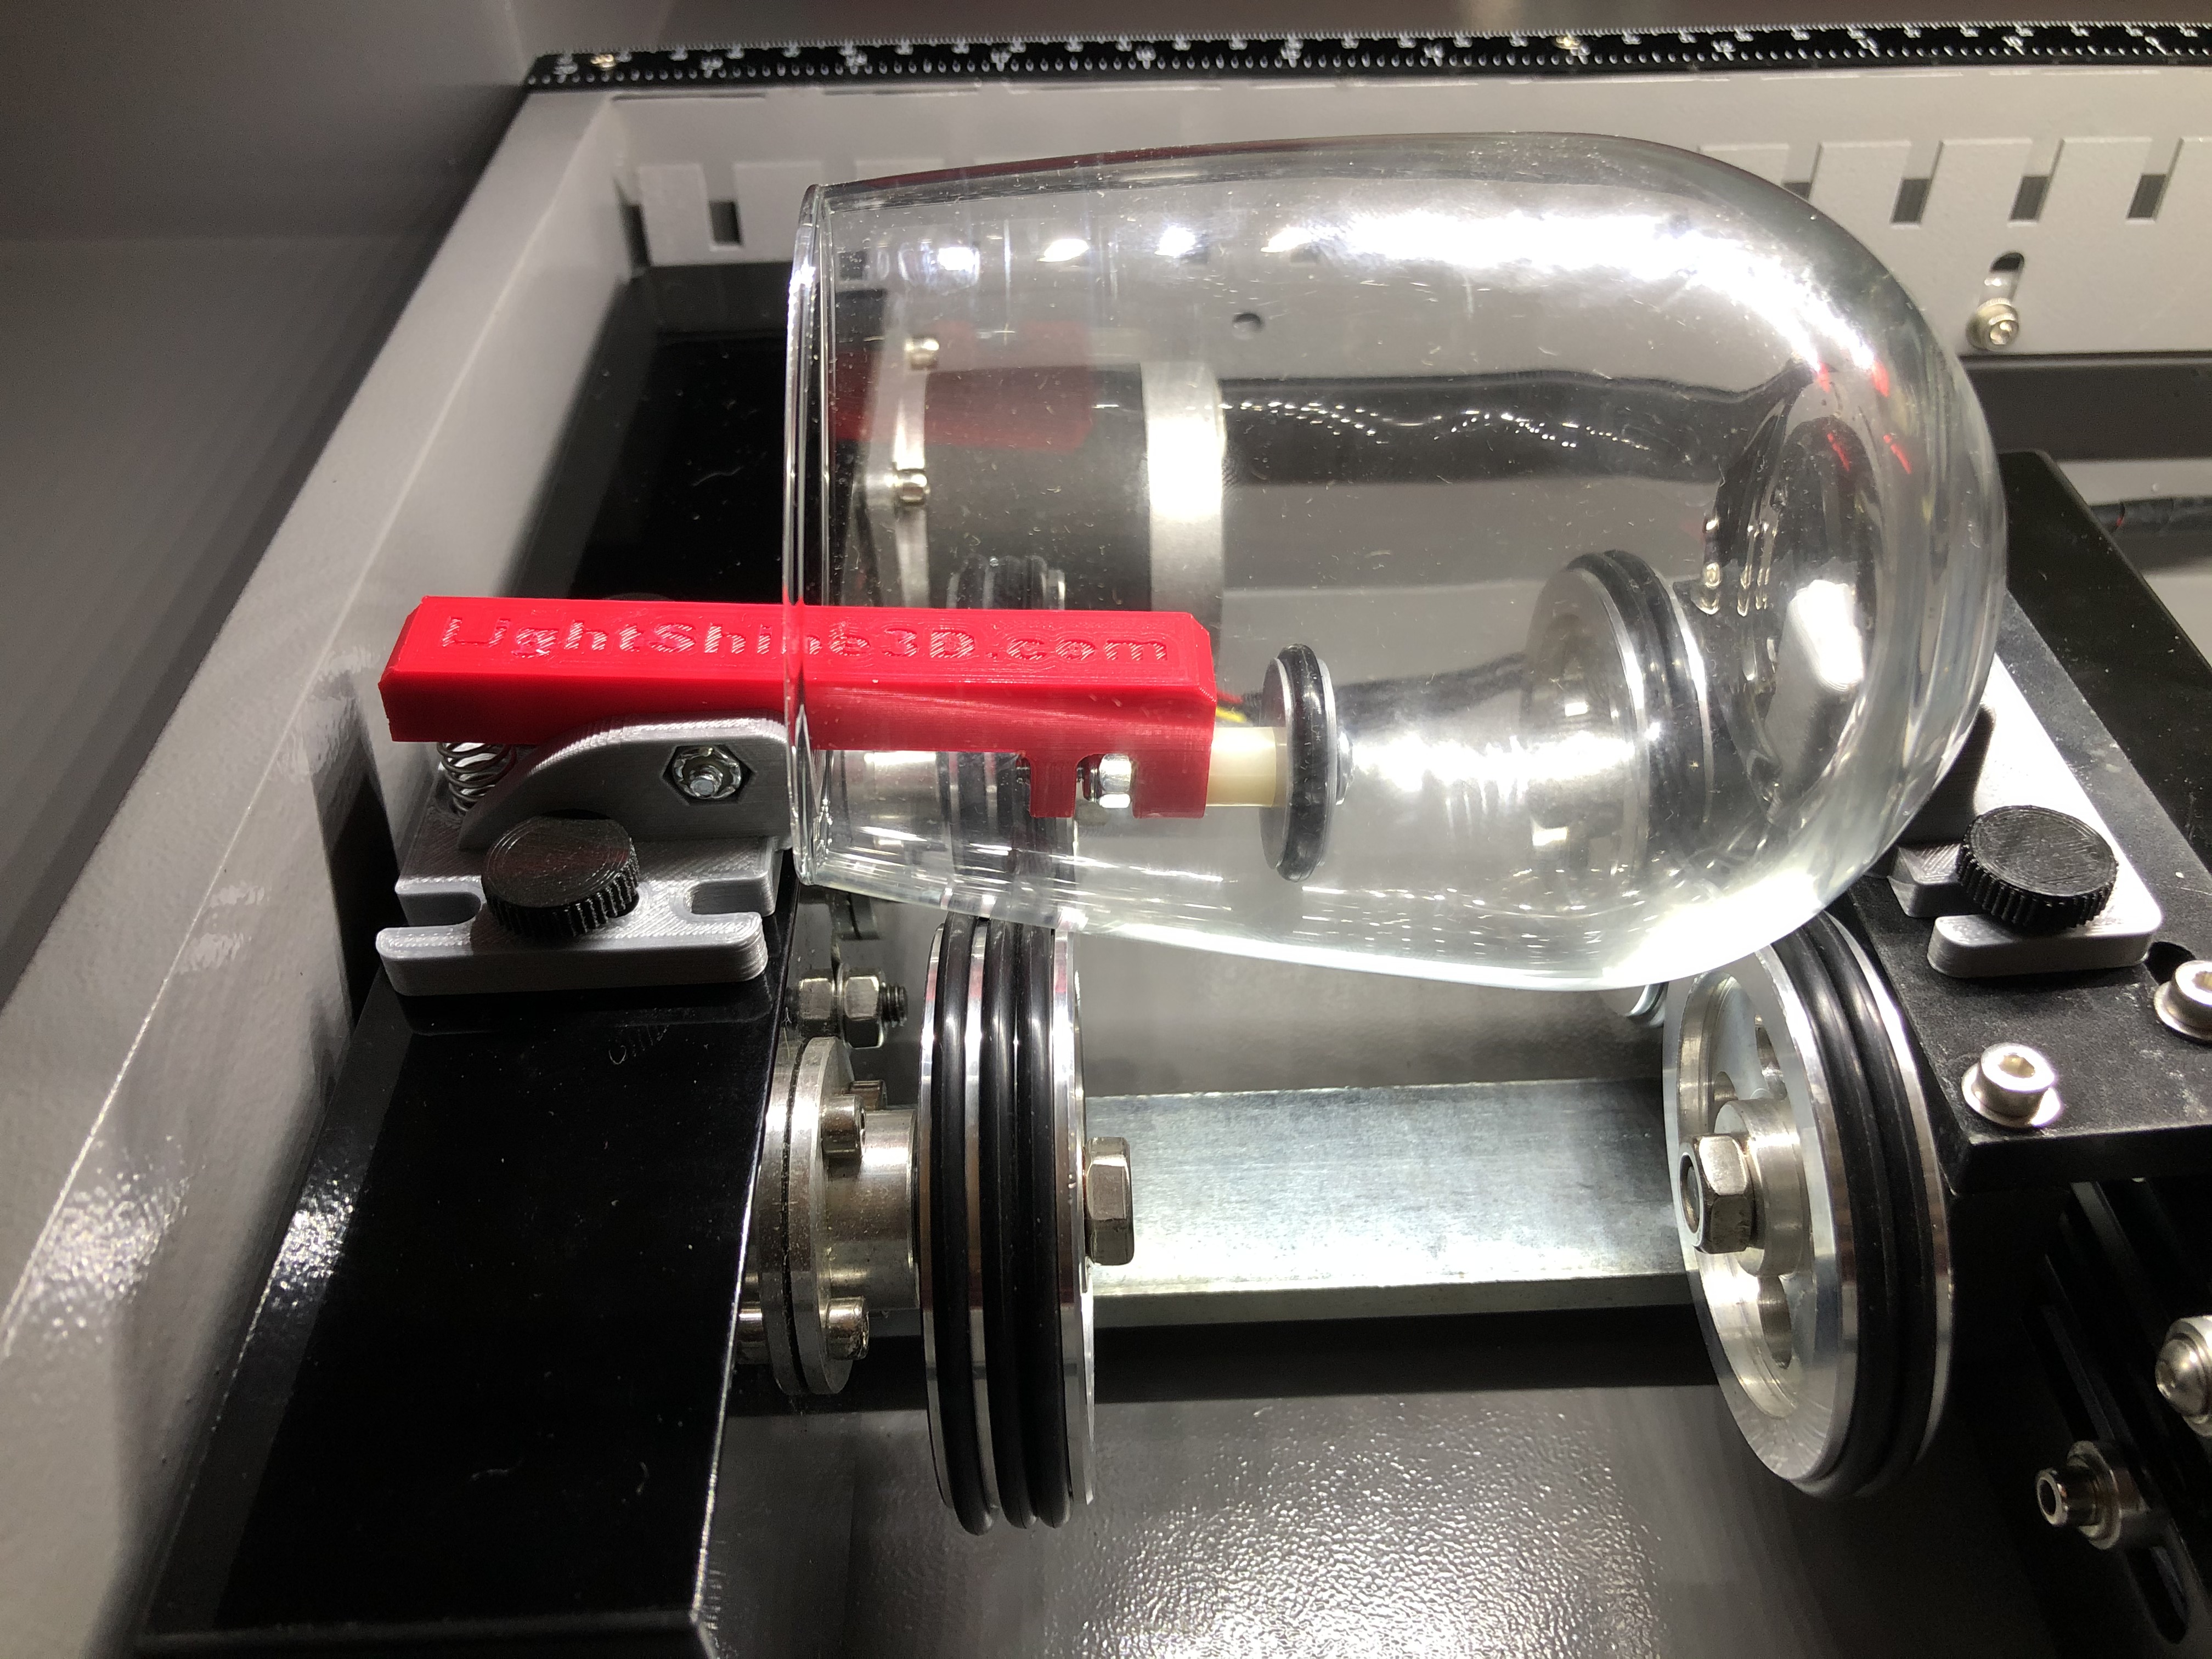
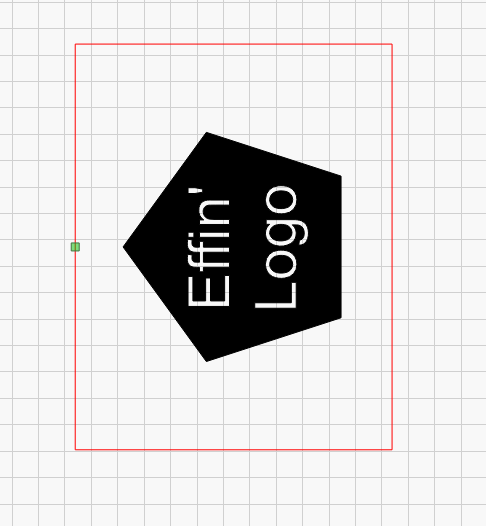
What I do is draw a box around the design and (for a glass oriented like yours in the photo) arrange it so the distance from the left edge of the box to the left side of the design is the distance I want from rim of glass to top of design. Put the origin at center left so it’s on the box directly above the center of the design.
Put the box on a different layer (color) and set to “no output”. It wont burn the box but it will use the box for framing.
Set laser to “Start From Current Position” and position the laser head right over the rim of the glass and set that to be your origin.
Load up your file, frame it to make sure, and let her rip!
The dimensions of the box aren’t really important, only that the distance from edge of box to top of design is the distance you want the top of design to be from rim of glass.
Thank you! It seems like I’m on a relatively similar trajectory to what you’ve described. I’ve got a (manual) pair of calipers, so I’ll just measure that specific location of the glass and trial/error it until I get things seamless.
I had to push things all the way up, because my rotary tool was not completely level, and it would corkscrew the glass off, until I shimmed up one side with a couple washers!
Quick question - I am having trouble figuring out how to create a new layer. I can delete layers, but I had figured there’s be a “New Layer” function somewhere…
@Hank - this has worked well with “Current Position”, but I am a bit confused about the modes of sending this to the laser. I have my frame with the green origin in the top-left corner, and when I click “Start”, I get things set where I need them…however on rare occasion, I’ll have what looks to be somethign skipped/lost in transmission. I was told the best way is to hit “send”. If I hit “Send” however, it transfers the file into my file list. When I run it from the laser itself, it seems as though it doesn’t always place things the proper distance from the top of my glass… So I guess my question is, with a Ruida, is there something else that needs to be done (such as hit “Origin?”) before starting the file in the “Send” method, to make sure that it starts in the right place? It’s almost like some information is not transmitted when I Send regarding where to start…
Yes, jog the head to the location you want to start at (top edge of glass) and hit “Origin” on the controller.
Now everything you send using “Start From Current Position” will use that location as it’s origin and the head will return to that spot at the end of the job.