I have searched here and youtube but haven’t found much, wondering if anyone has picture examples of finished items of using Flood Fill vs Offset fill.
I am actually totally new to realizing this feature exists, and it will definitely save me 40+ minutes. Offset fill seems to be the fastest, but it looks like it is ‘scoring’ over and over so I don’t know if I should be setting the settings to account for that, or normal ‘engrave’ speeds, and also if it looks sloppy vs flood or regular fill. I’d hate to waste a 20" piece of wood.
I’m definitely going to test a small piece of scrap as well but I wont be able to probably really gauge the LPI or anything unless a 20" sign is used.
So I am wondering if offset fill looks bad compared to regular fills. My shape is curved lines, think pumpkin lines
Hi Tim,
You can use the Preview window (Alt+P) to view the differences between the two options.
Offset fill:
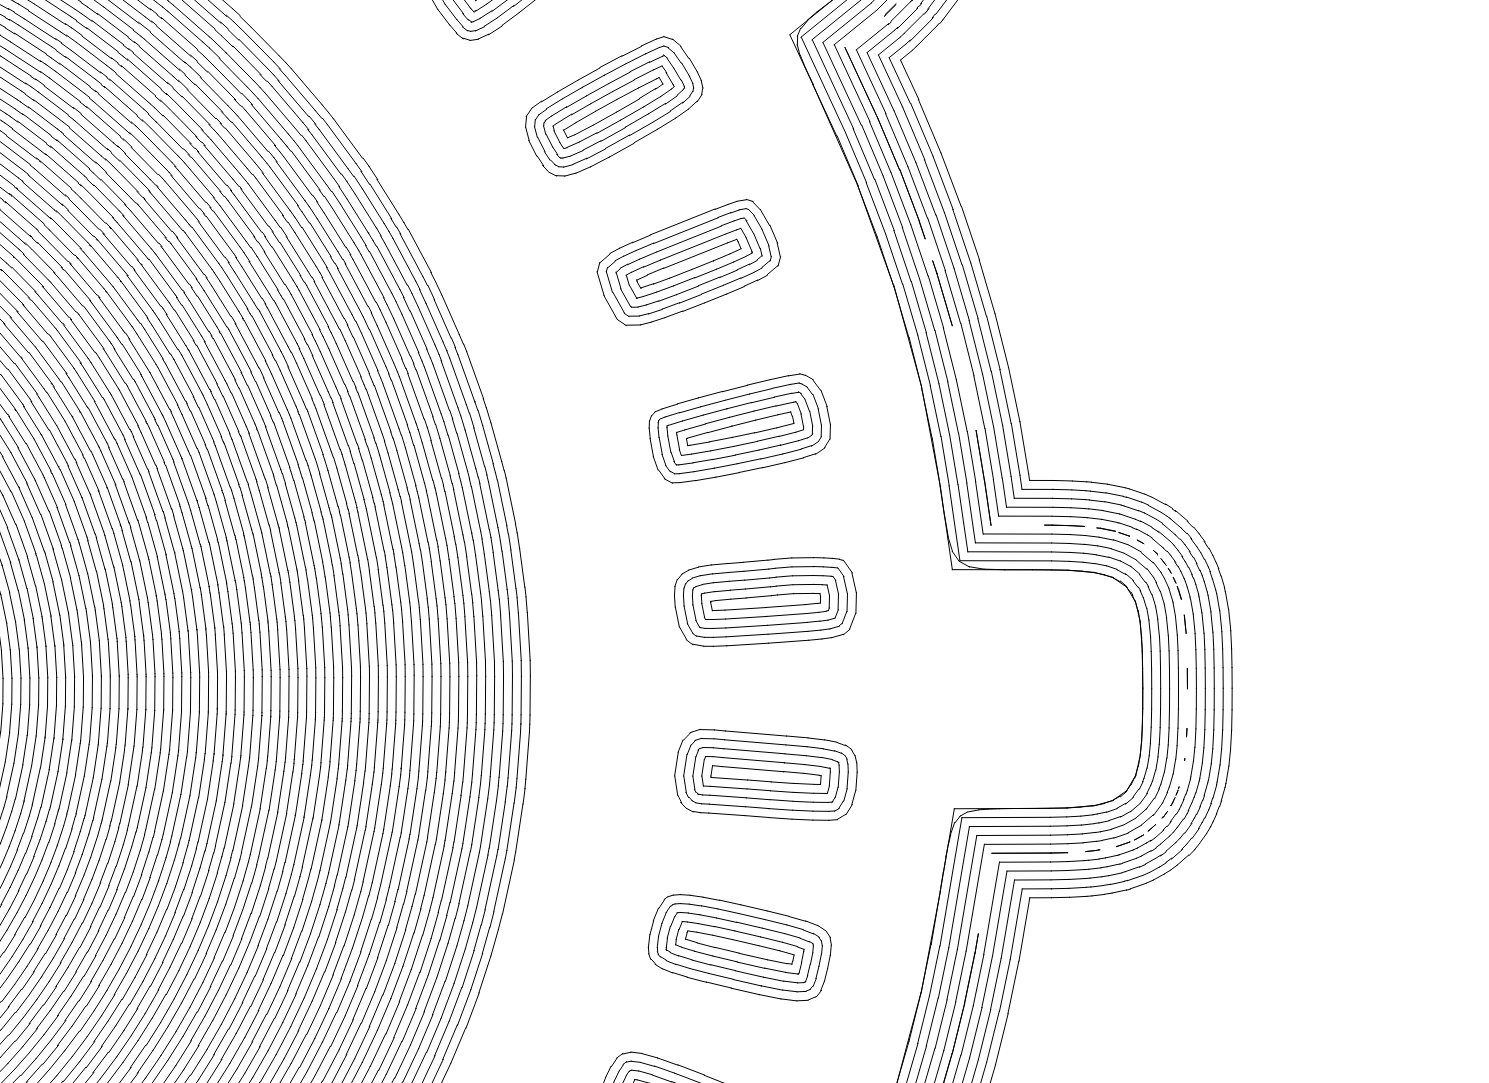
Flood Fill ON is the more traditional fill scheme, but it’s most evident when toggling ON/OFF and viewing the playback or viewing with traversal lines ON, it affects the way the fill is etched - filling lumps of fill seperately rather than scanning the entire piece.
ON

OFF

I was hoping for real world /real life examples of how the wood looked
This topic was automatically closed 30 days after the last reply. New replies are no longer allowed.