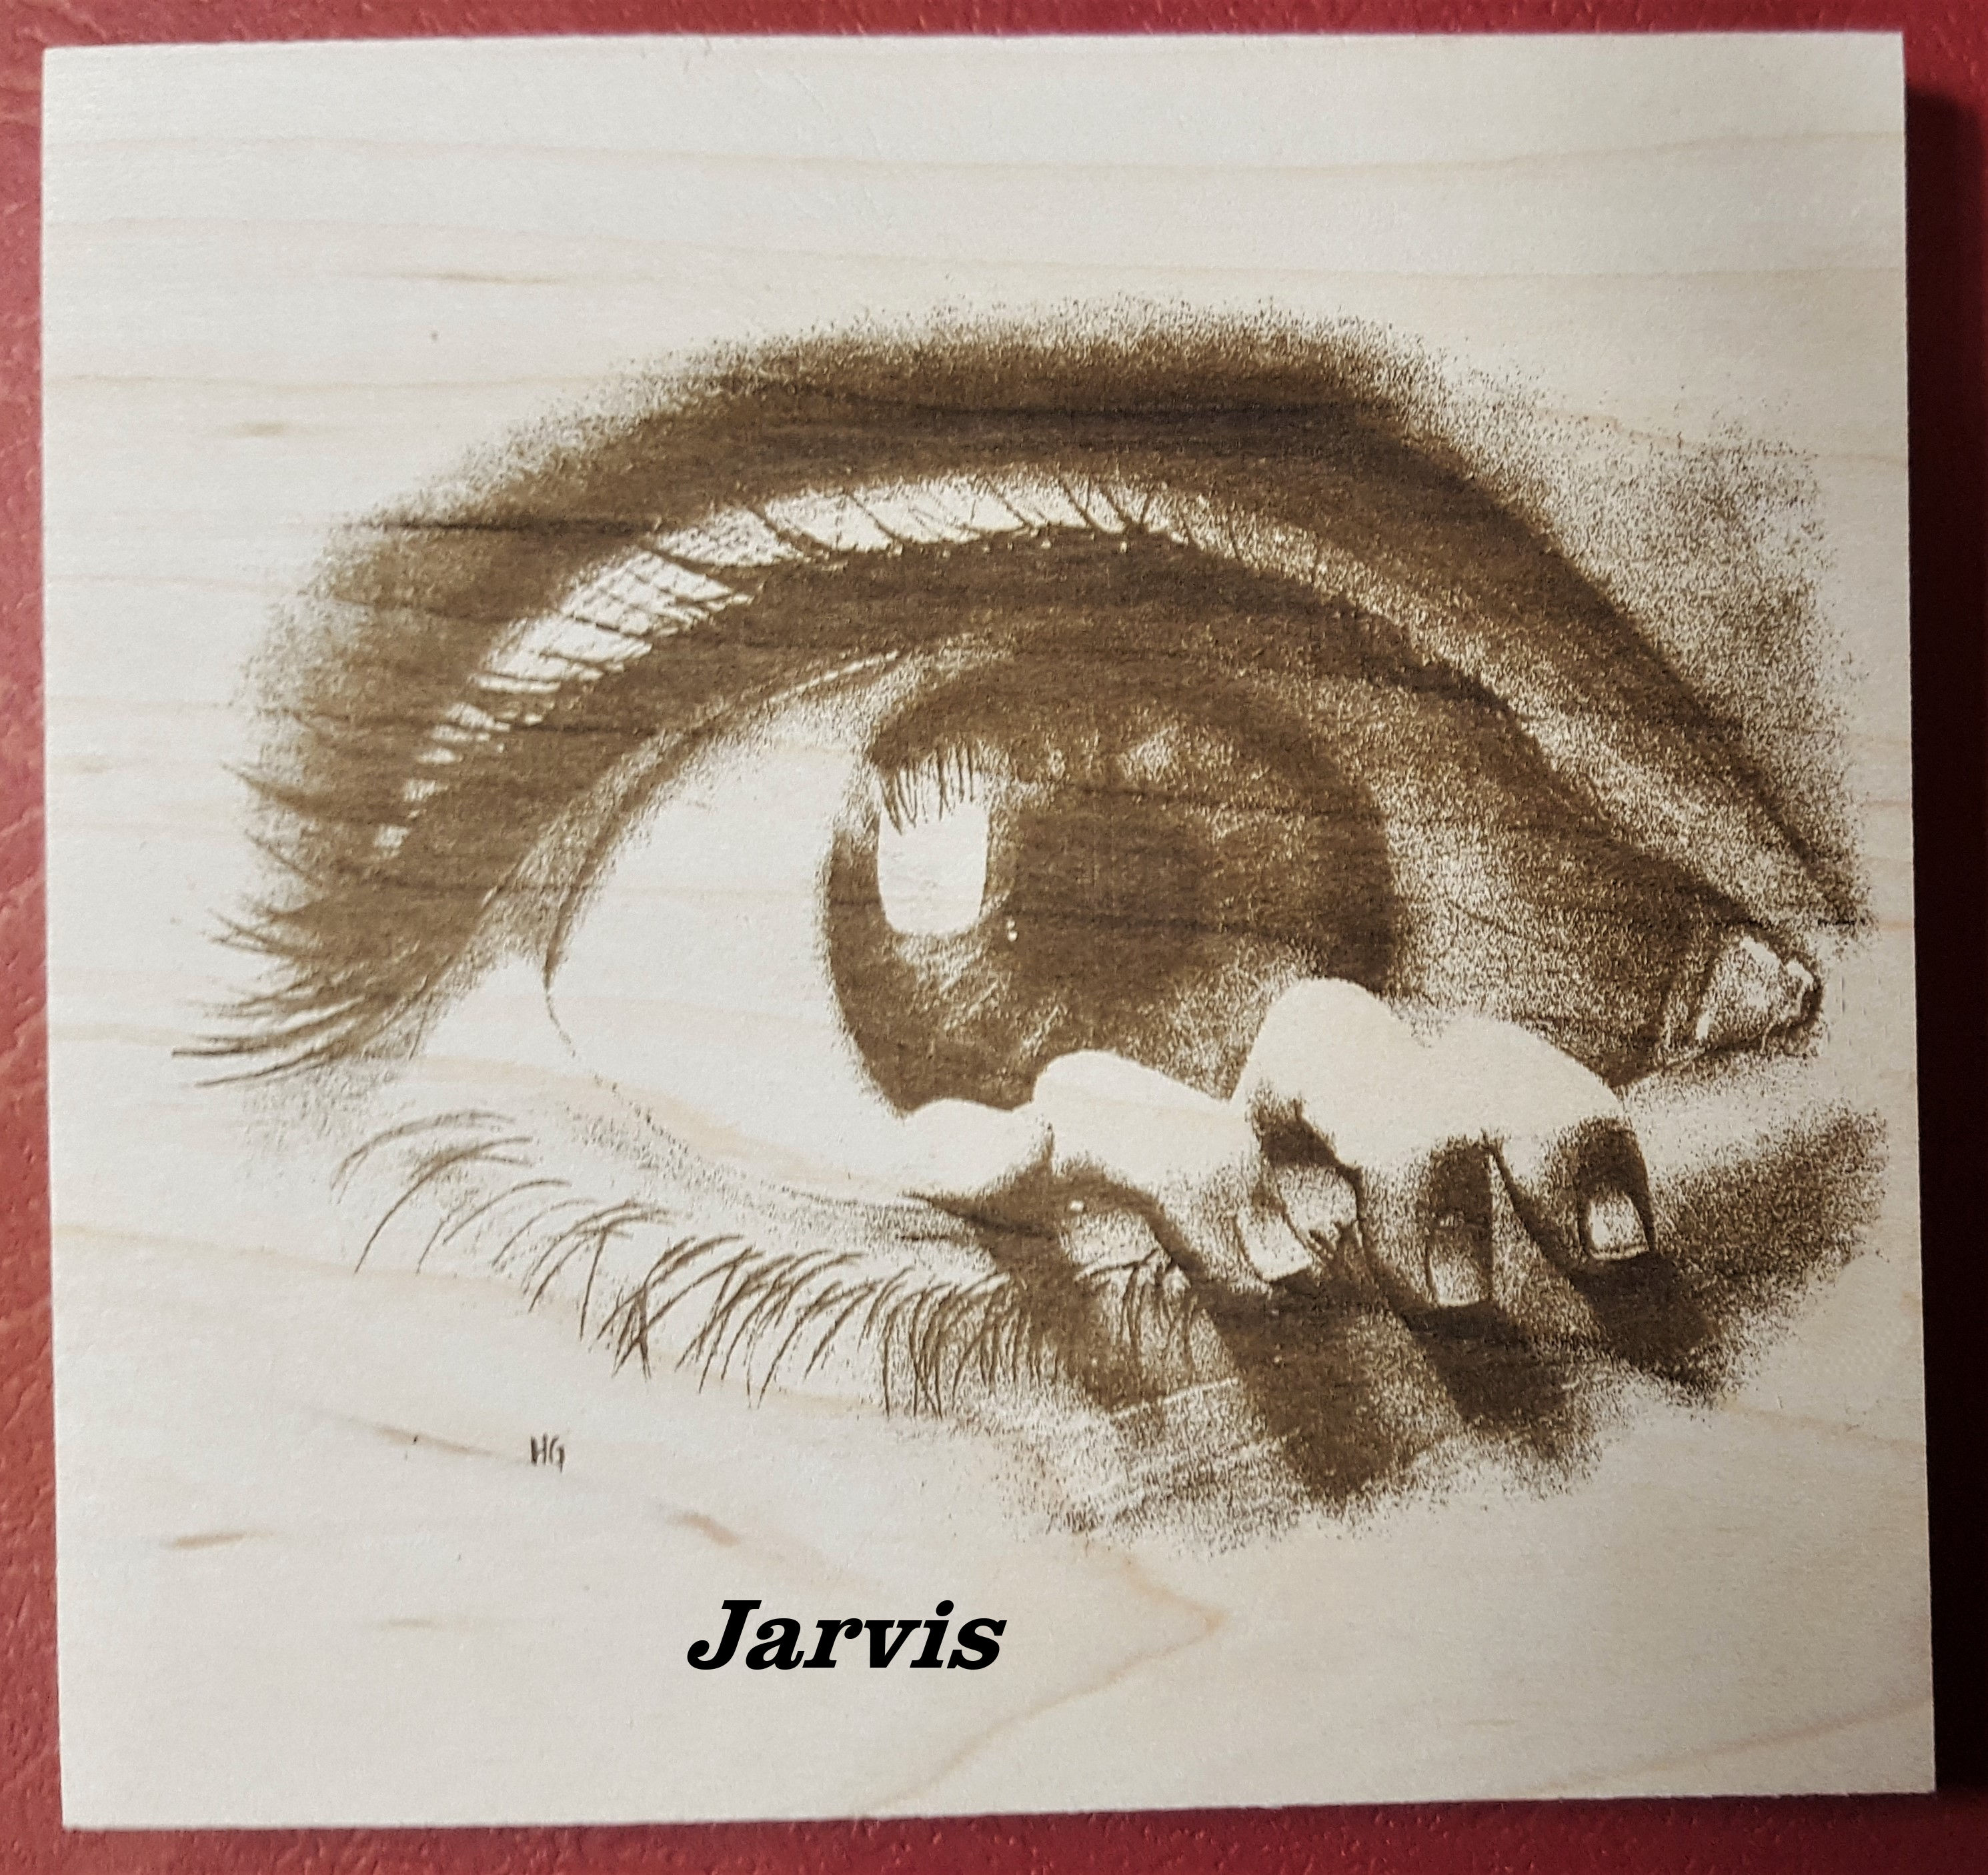
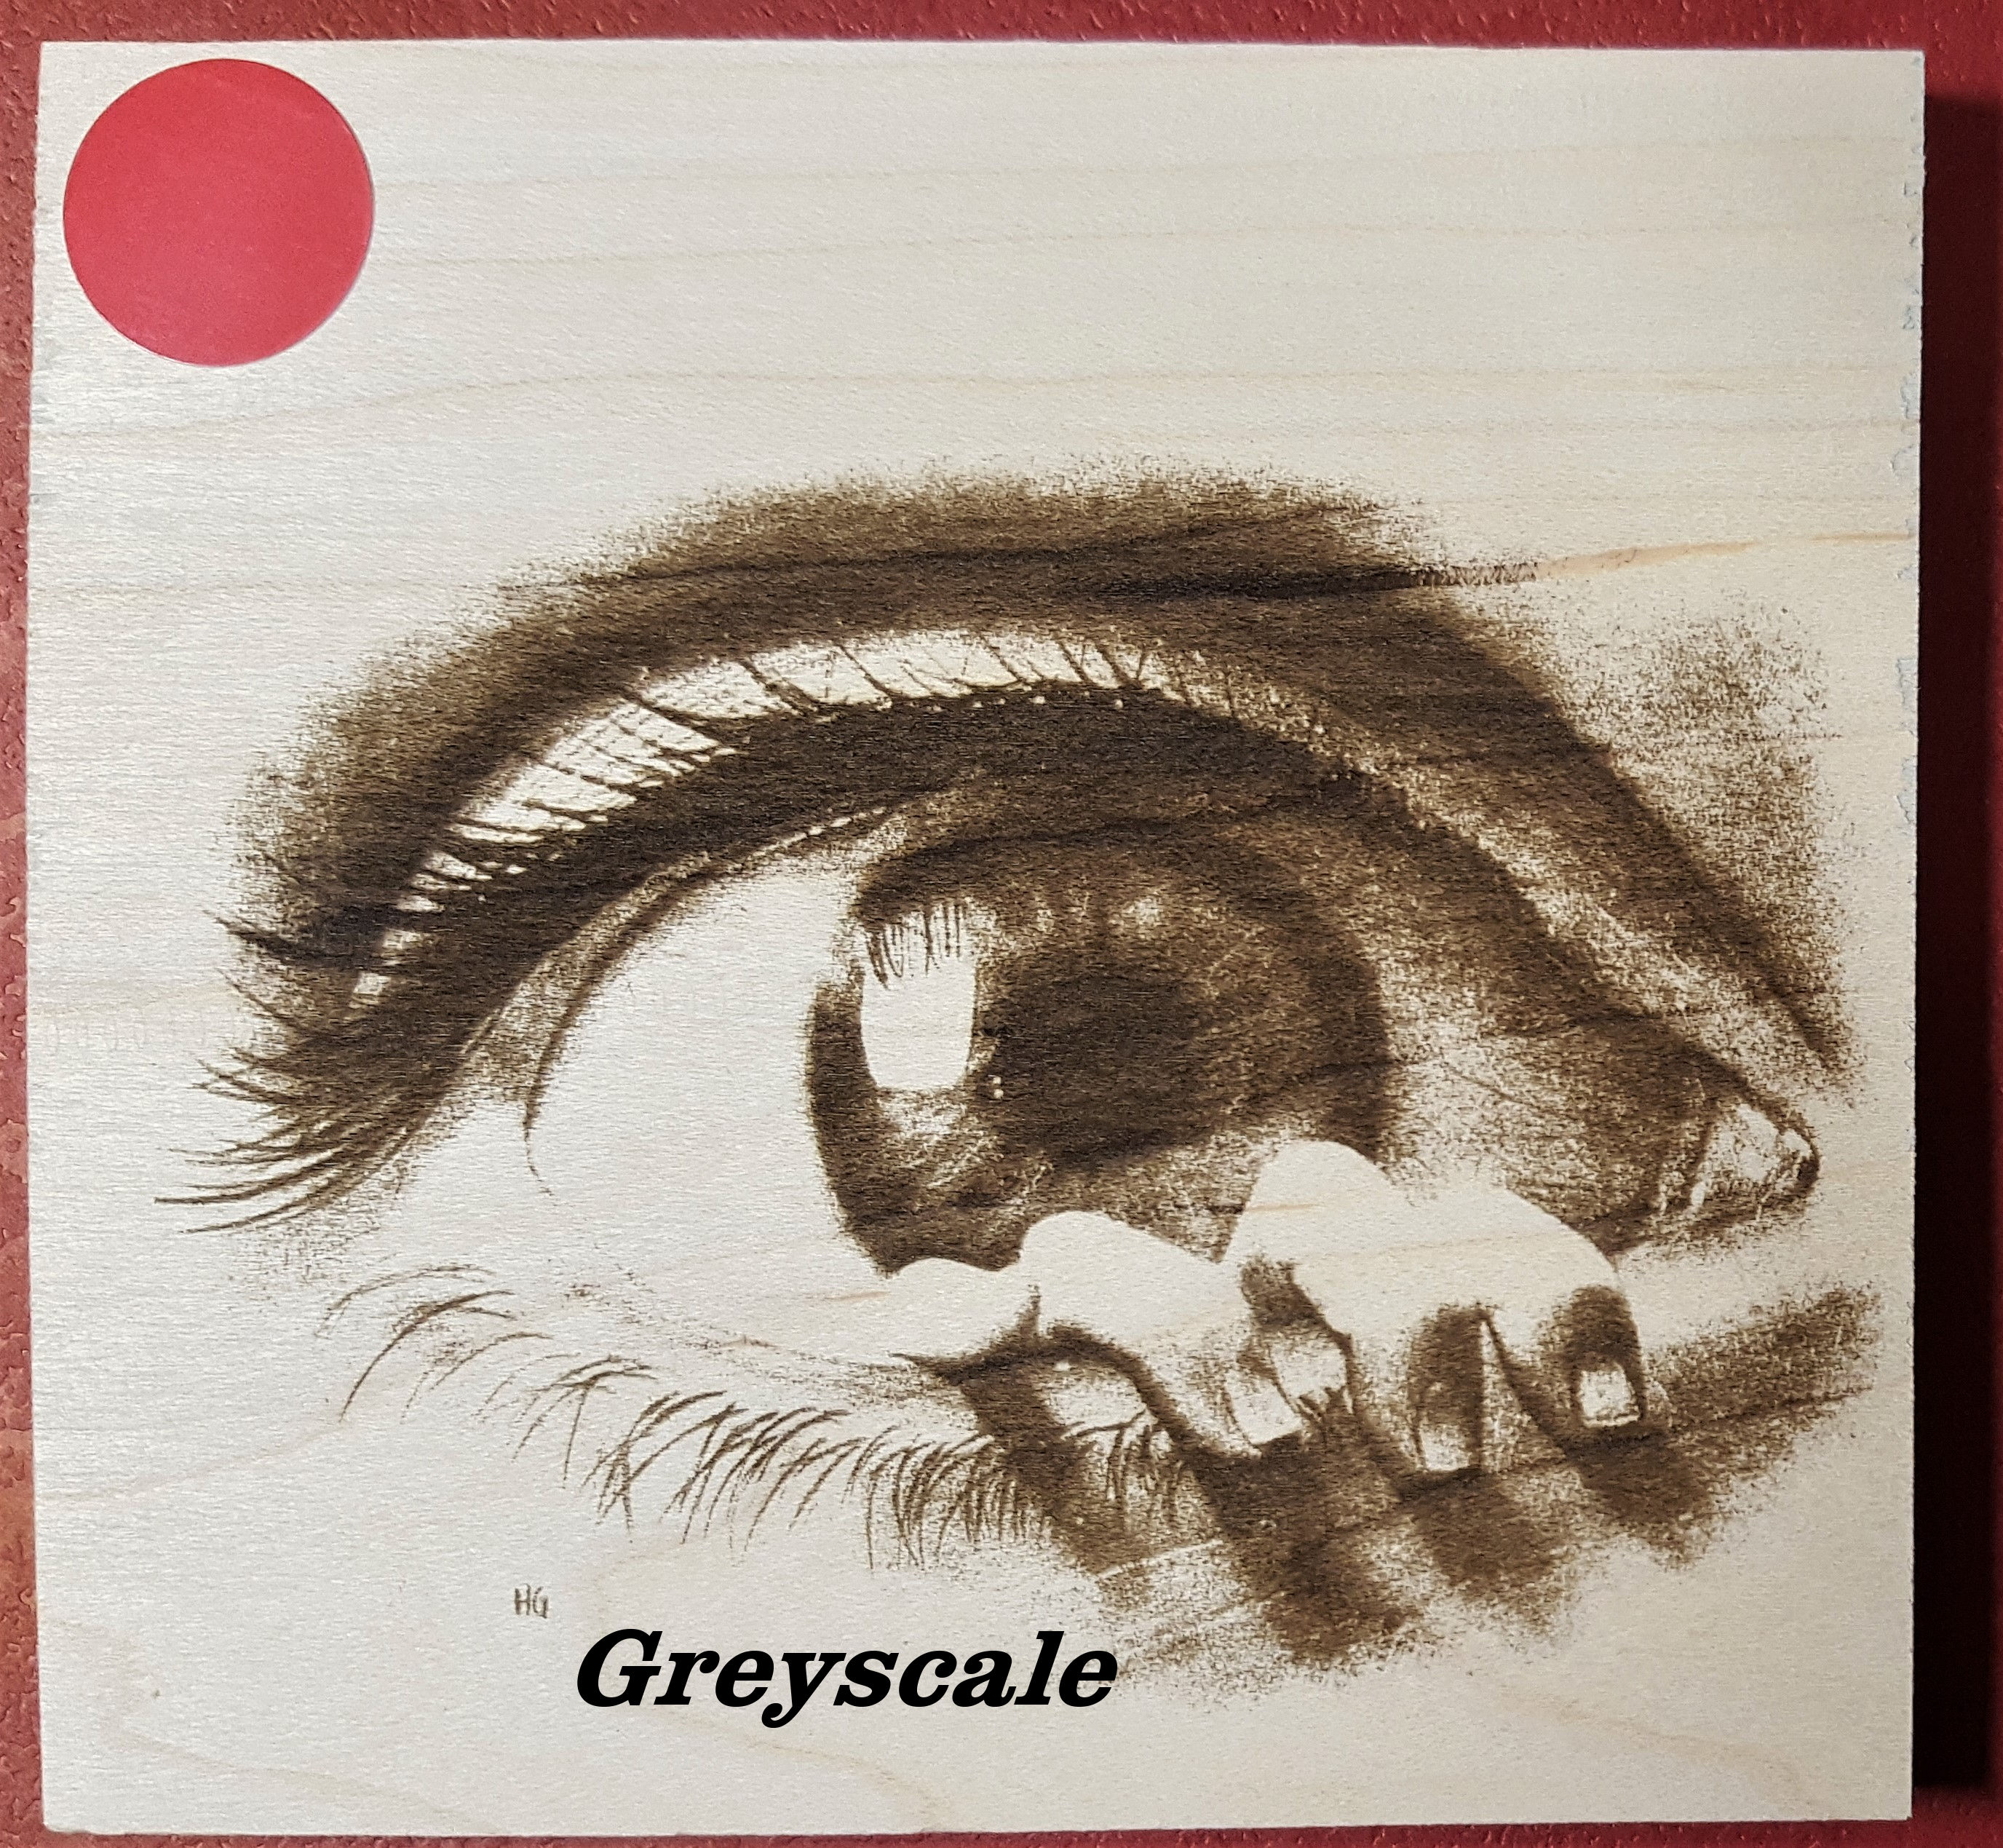
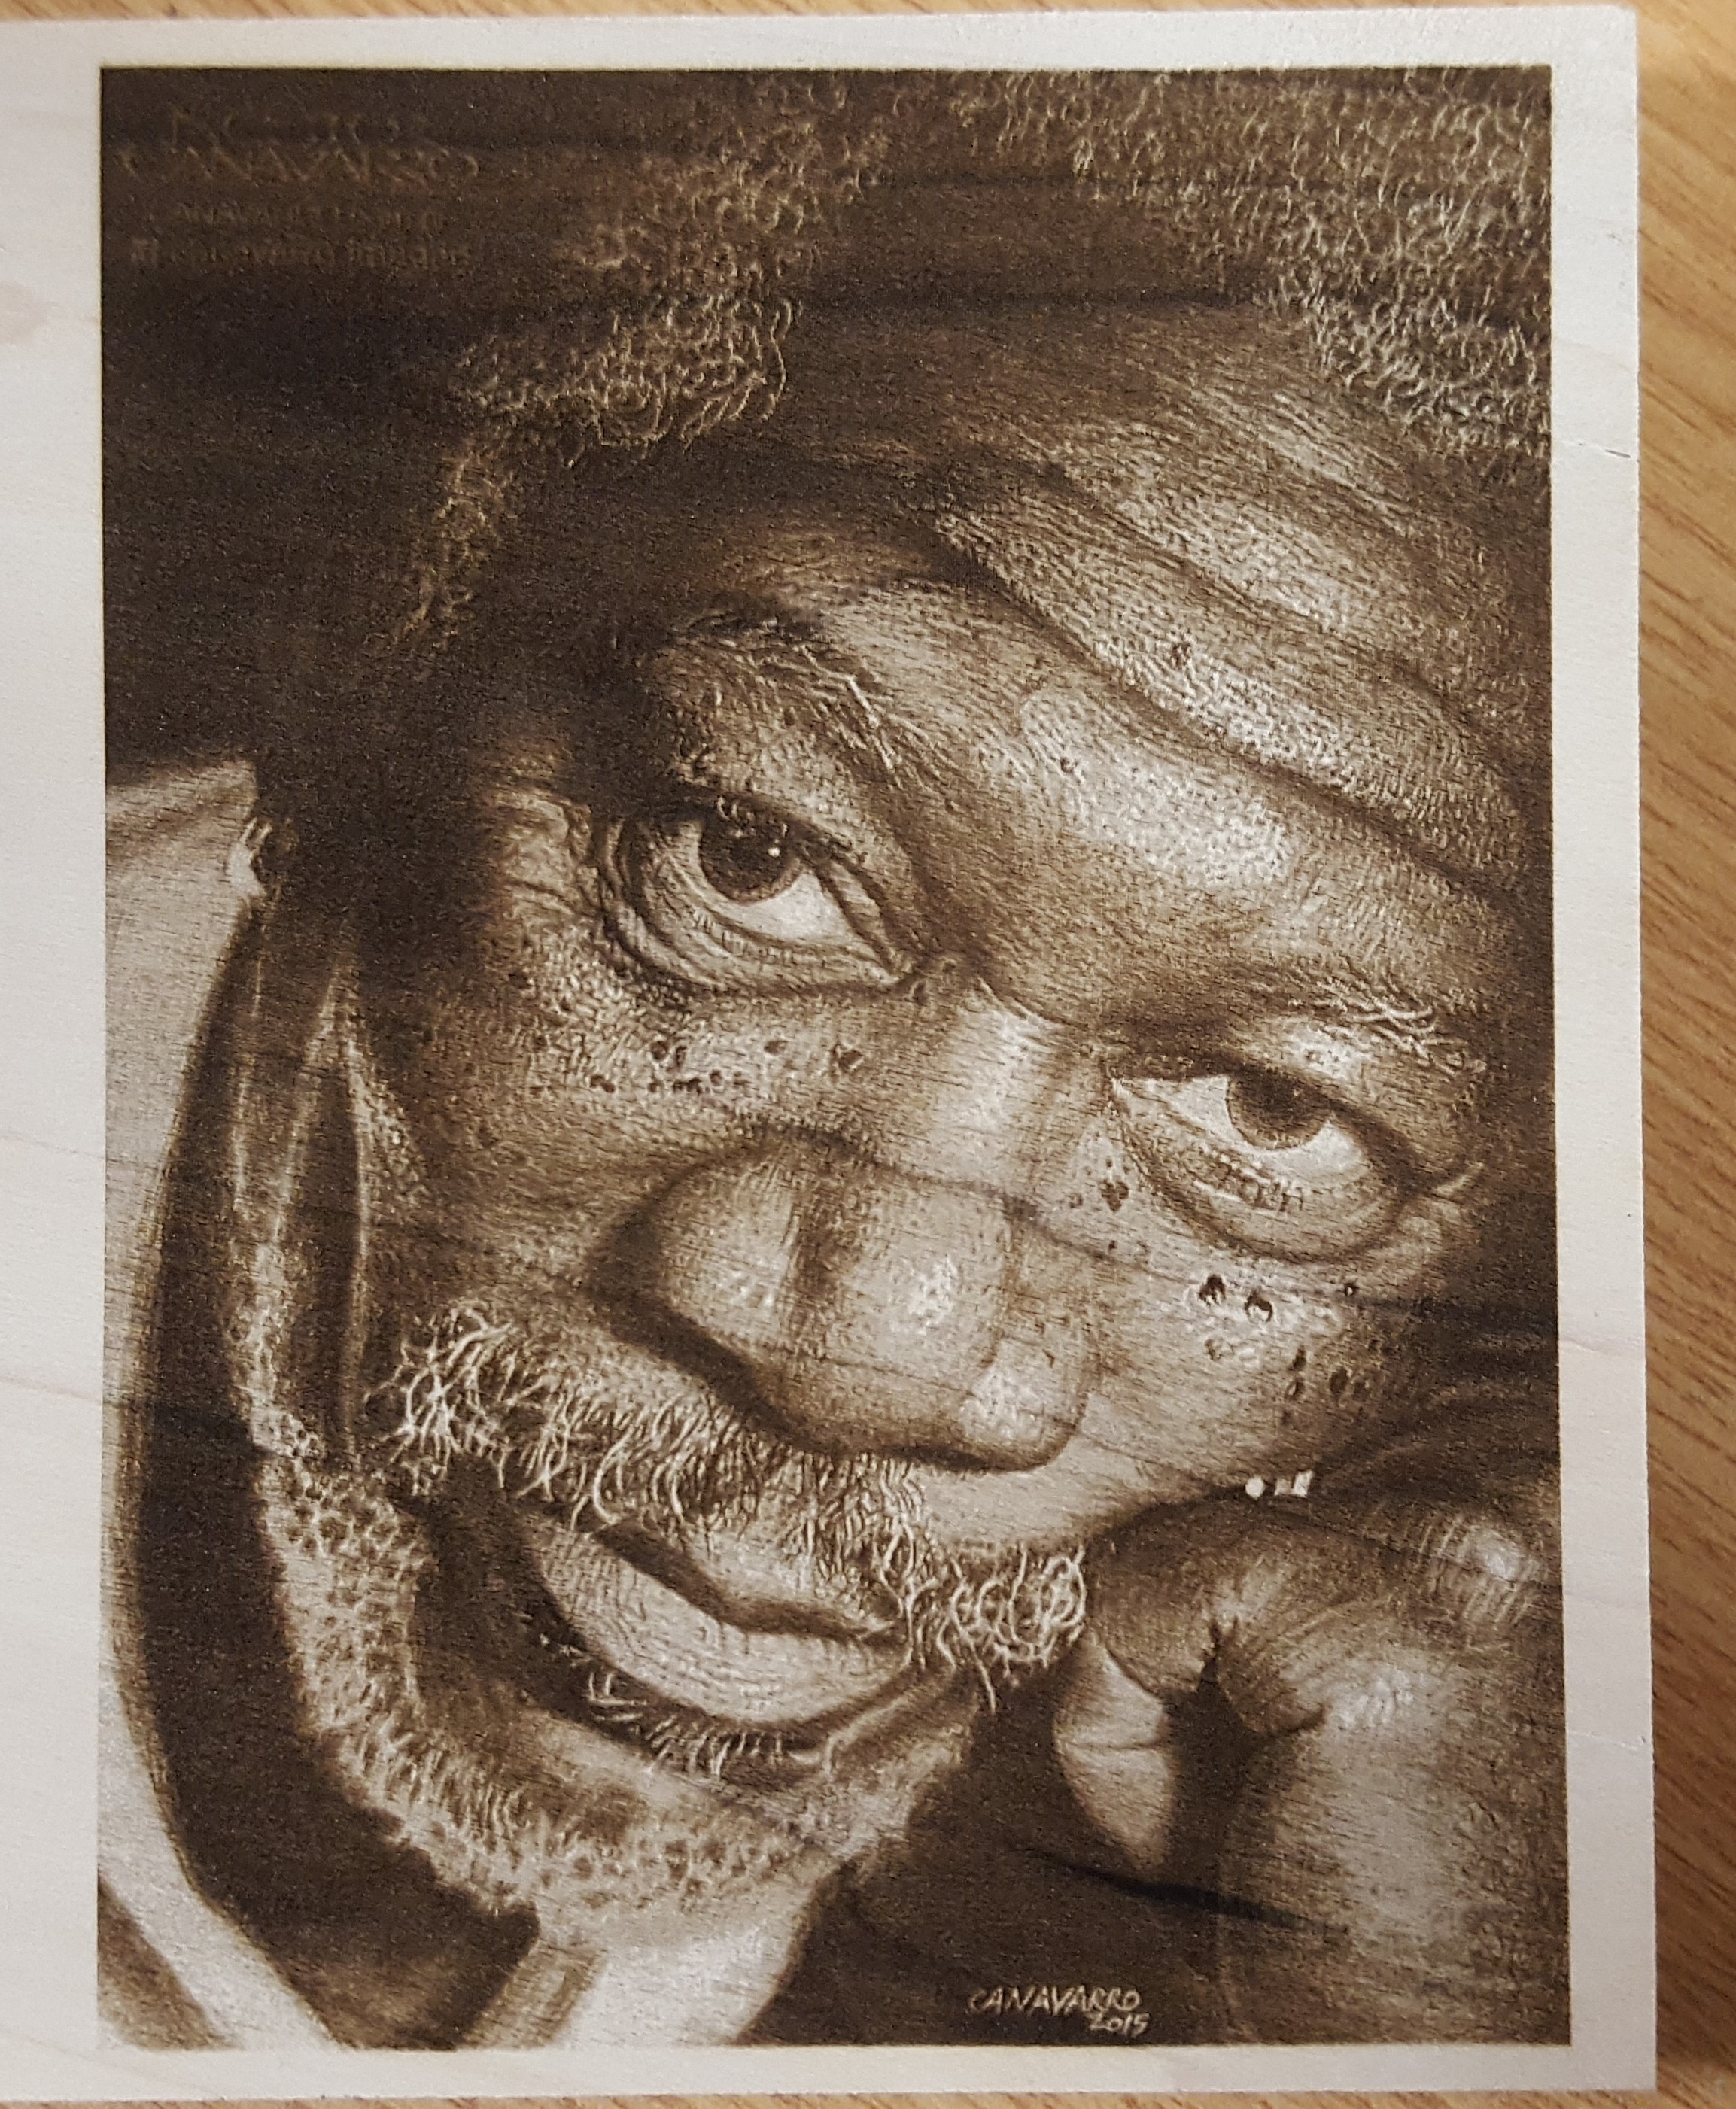
Maple Wood
all editing done in LightBurn
1500 mm/min 50% Power 339 DPI
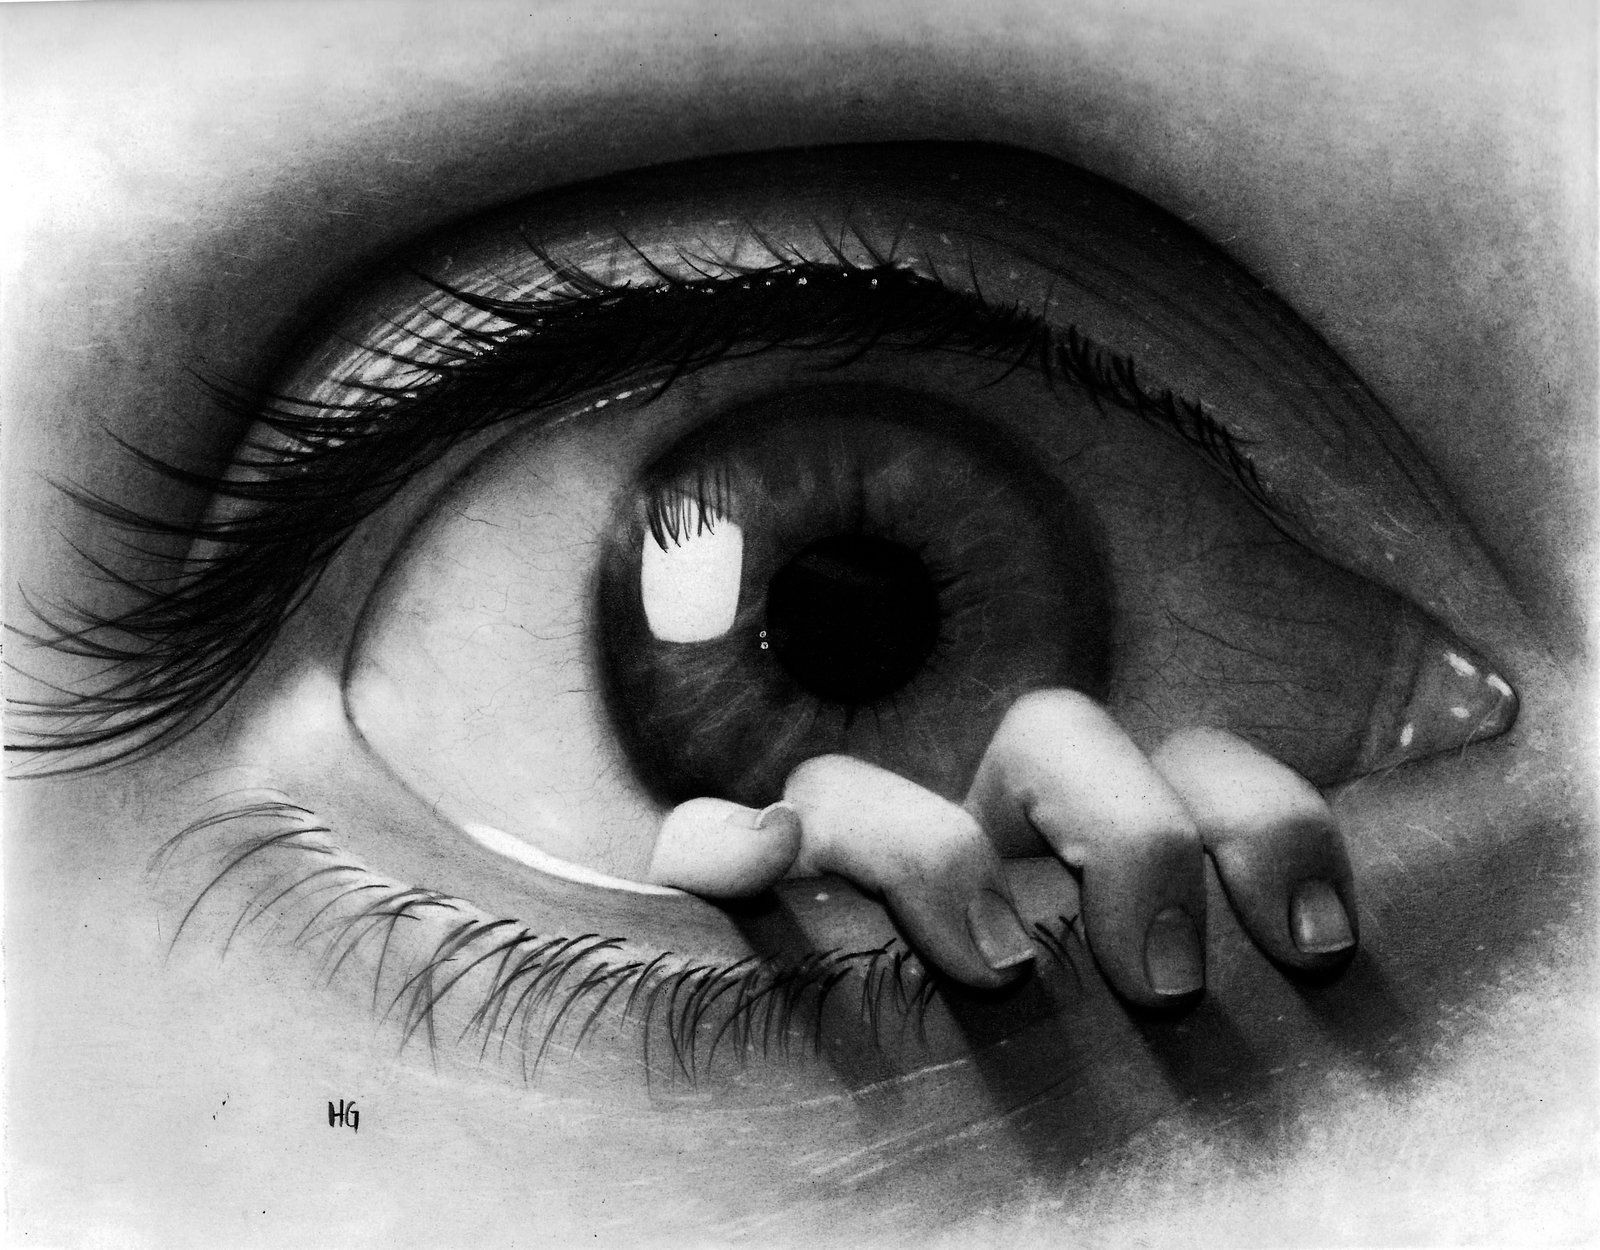
Plus original
2 Likes
Well, that just gave me the creeps…
And I think I’ve got something in my eye!
The grayscale one seems to have better contrast.
These results are really interesting to me and not what I’d expect to see based on my understanding of how these two processes differ.
Here is what I think i know. The dithering process takes a continuous tone image and converts it into pixels that are either black or white. The different dithering options are just different calculations or methodologies for making that conversion from continuous tone to black and white dots.
Grayscale is exactly what it sounds like. The image, instead of being converted to black or white pixels, is made up of pixels that are white, black, or some shade of gray. The number of shades of gray depend on the bit depth of the image. An 8 bit image would have 254 shades of gray plus black plus white.
The way the laser engraves each is different. For a dithered images, the laser scans back and forth and turns the laser on or off rapidly at a constant power (whatever max power is set to). Everywhere there is a black dot the laser is on and where there is a white dot the laser is off. For multiple black dots in a row the laser stays on and actually creates a line. The y axis then moves by the amount of the interval (inverse of the dpi) and burns the next row of dots/lines.
For a grayscale image the laser scans back and forth with the laser constantly on however it varies the power of the laser according to the level of gray for each pixel (between min and max).
We all know, particularly with a non-binary material such as wood, how dark the burn appears depends on the power of the laser. For a given speed, a lower power results in a “less black” burn. If the relationship were totally linear you’d see something like a very light brown for a low power progressing to an increasingly darker brown approaching black for a higher power.
Because of this, when trying to an engrave an image, I’ve always used dithering because I want everything that’s burned to be a consistent tone (black ideally) with the appearance of “grey” coming from how tightly the dots are clustered. With an area of relatively few black dots the brain perceives a lighter tone, high concentration of dots the brain perceives a dark tone. But in reality all the dots themselves are the same level of “black.”
Greyscale on the other hand I’ve always thought was used specifically when trying to do 3D depth engraving. You set a combination of speed/power such that the lightest shades of gray are burned only at the surface where the darker shades are burned further down into the material.
So what’s puzzling to me is that Jim’s greyscale example doesn’t look like what I’d expect to see with greyscale. To me it also looks dithered. I certainly can’t argue with results.
Maybe my understanding is wrong? Maybe it’s different with a diode laser? Jim’s greyscale image seems to have blacker blacks or more contrast but I believe simply increasing the power or slowing down on the dither would have produced the same black level. But it still looks to me like his greyscale image is still a bunch of dots burned at the same power. I’d expect to see more browns in the greyscale where the power was reduced.
1 Like
@travisr100 it’s the diode laser giving different results then the CO2
The @Bulldog Diode fires 50% of 4 watts at 1500 mm per minute .
That a whopping 2 watts at 25 mm per second . The other variable is the substrate which is not white tile with white paint turning black we are used to see more of from @Bulldog. He ran out of tiles so he is using wood.
It’s Maple wood thus the burn is consistent with pyrography or pyrogravure results and will yield a brown tone image. More Sepia then B/W
However I do believe that just maybe the descriptions of the process might have been switched by accident during the posting phase based on a prior posts and results.
Cheers
Sasquatch
Some more testing
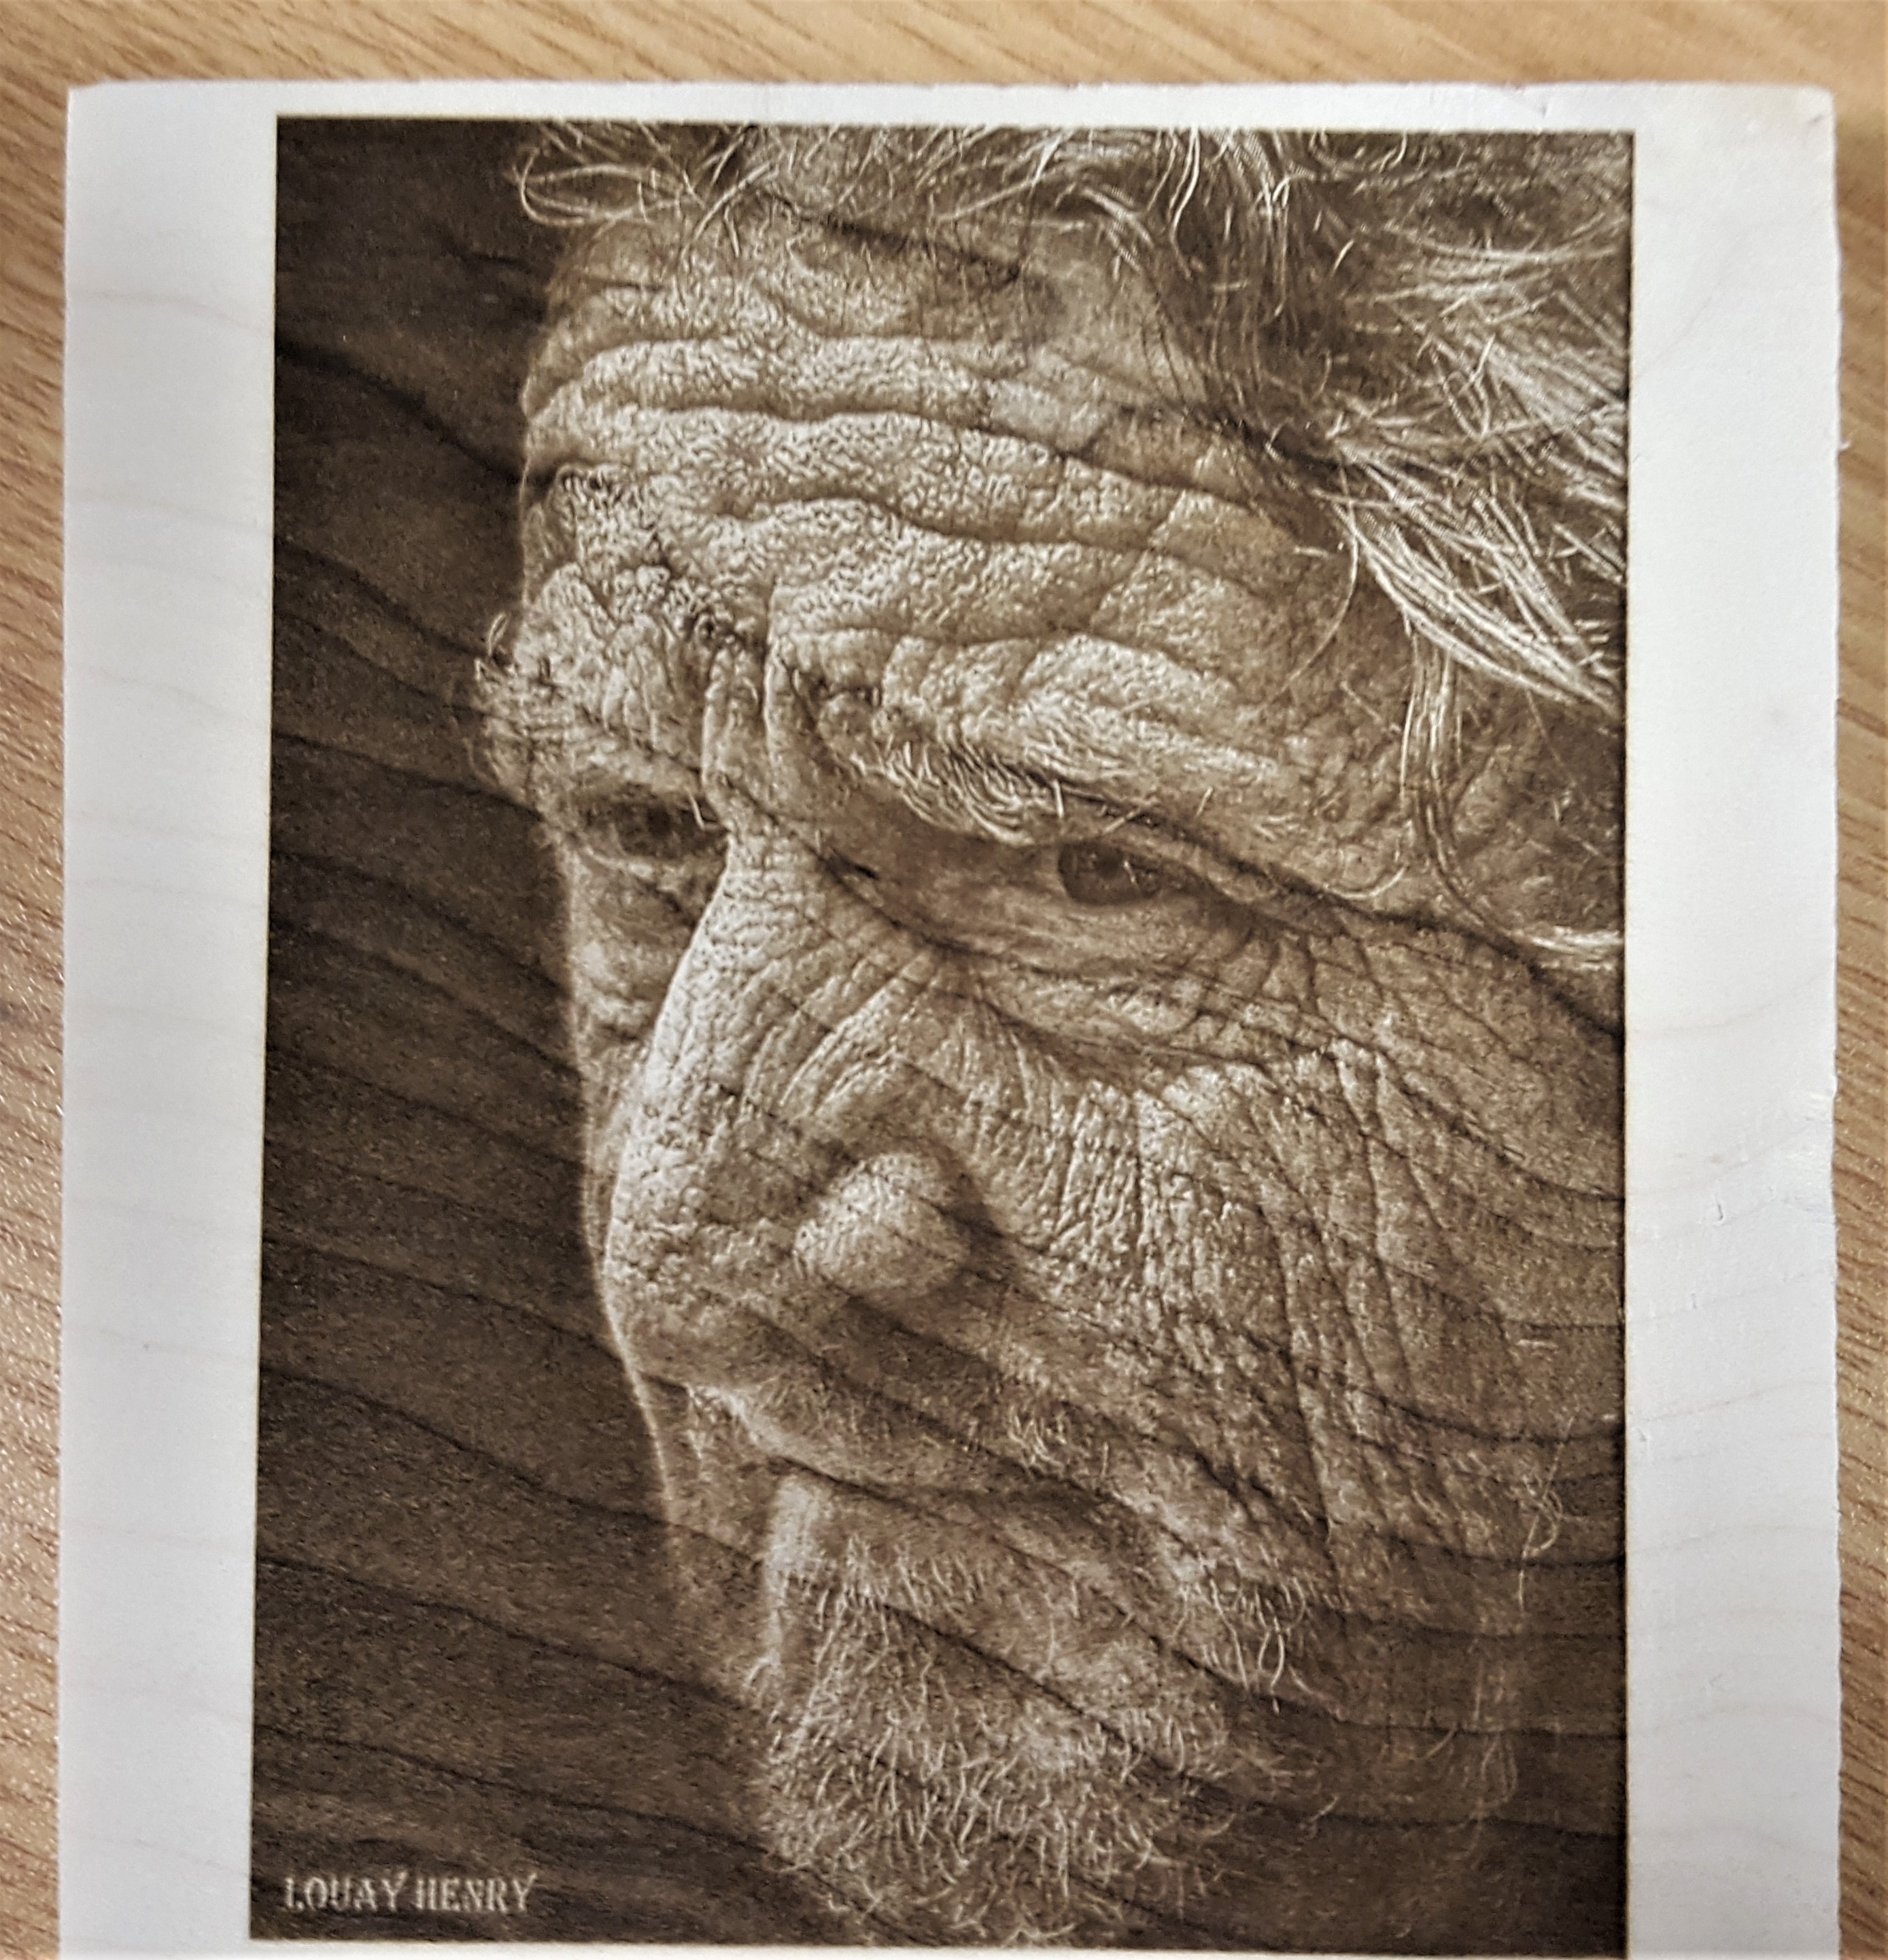
2.5 watt Eleksmaker diode
Substrate: Alder Wood ( very responsive to pyrography)
speed 1200 mm/min @35% power 300 DPI (standard for Photos)
Greyscale is very dependent on mid-tones
You must choose subject matter with that in mind
The above photo was a pencil sketch (bad choice)
Pre testing
Using an Oscilloscope I monitored the PWM signal to laser while engraving a Photo
The speed was 1200mm/min on maple 339 DPI and 50% power
Jarvis dither …the duty cycle remained same…but as the the laser approached the darker areas you you see the frequency change (ie more dots )
Greyscale same image same area of interest… The duty cycle varied from 50% (set power) to less than 10%)
NOTE: with lightBurn the algorithm is such that it see’s white as a colour and the duty cycle was less than 5%…as such “Fast White Space Scan” will not work (funny T2 laser on greyscale see’s white as clear and does fast scan through those area’s)
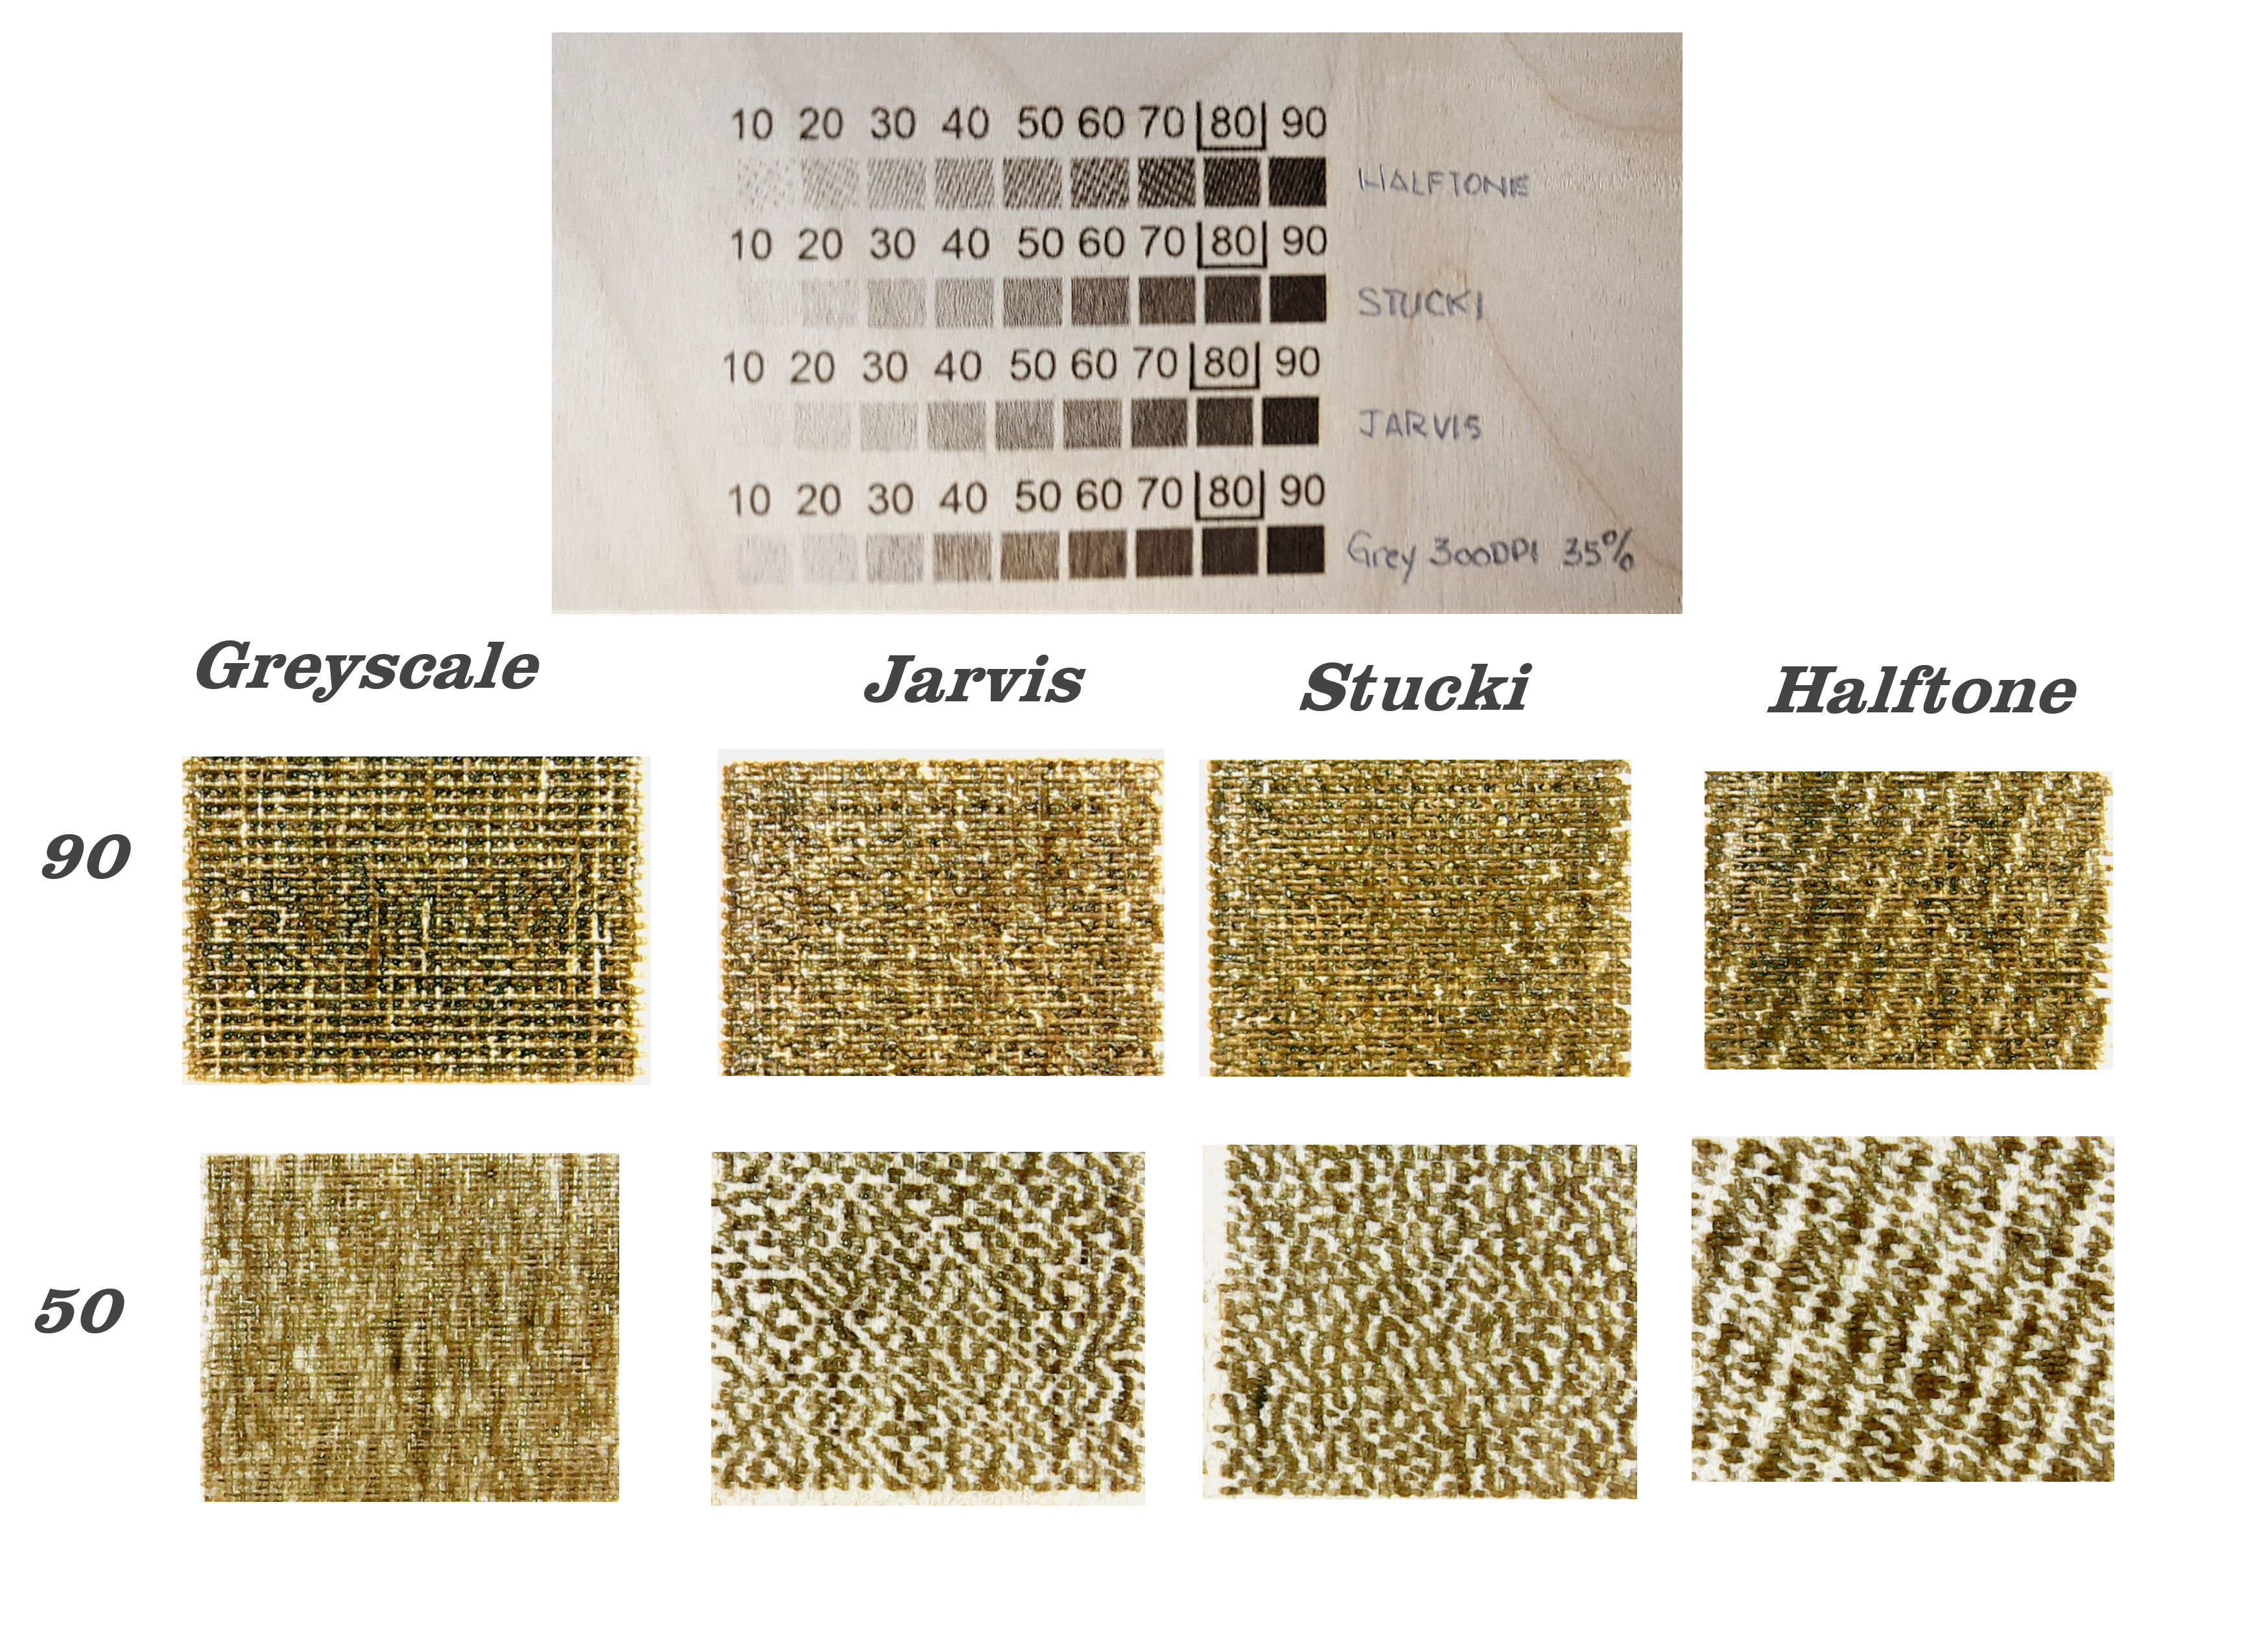
This Final test was performed using a greyscale gradient
Greyscale-Jarvis Dither-Stucki Dither-Halftone Dither
The 10-90 numbers where used simply for identification
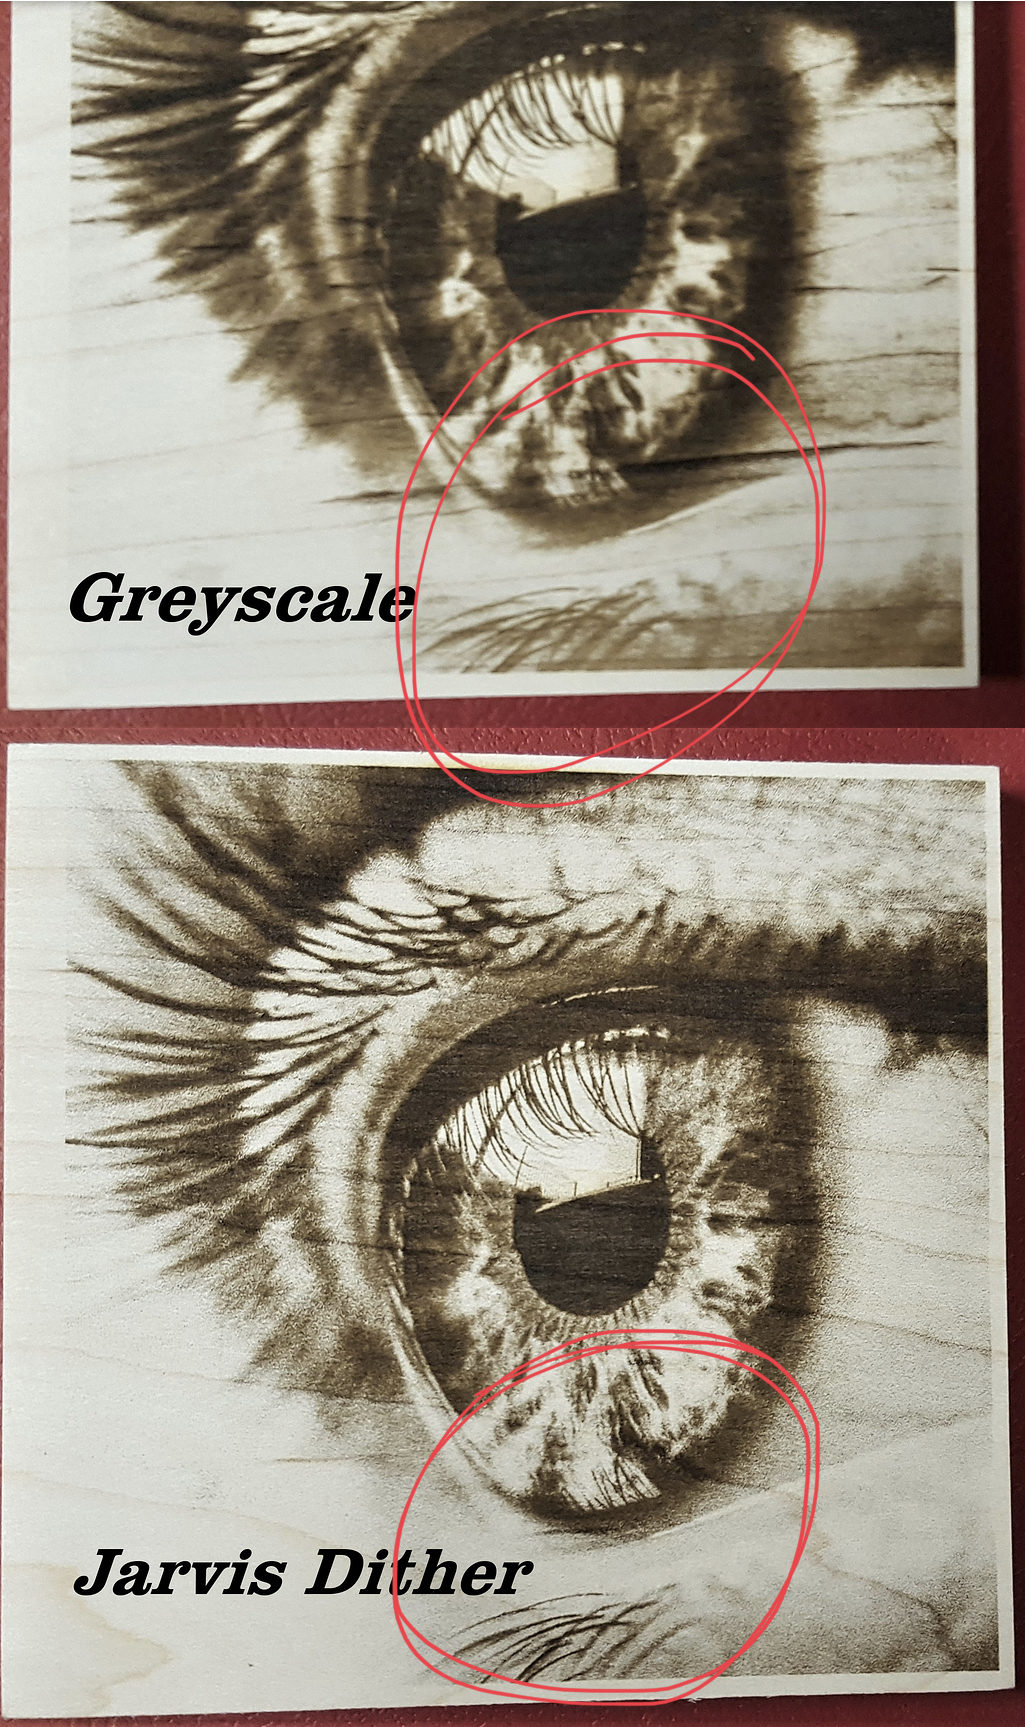
Comparison under a Microscope was performed for 90 and 50
At the lighter grey ( 50) you can clearly see the differences
At 90 you can still see the scan gap with the Grey but with the dithers the “pulsing” burn radius inhibits the ability to see
sooo…what I take from this …with the proper image and wood will give you the ability to go to a higher DPI and will give you a better result
BUT keep in mind the stock 8 bit nano can not handle this amount of info…Quote from Oz
“Grayscale tends to produce one GCode instruction for every pixel of an image. Dithering will do that at the exact 50% gray point, but for lighter or darker areas, the dot density is lower, so there’s less GCode overall to process.
At 300 DPI, with grayscale, you’ll be making 300 GCode instructions per inch. At 1500mm/min you’re at almost exactly 1 inch per second, so about 300 instructions per second. I believe 8-bit GRBL handles about 250, so you won’t be going full speed.
Reducing the DPI will increase the speed it can go, or you could look into a 32 bit GRBL compatible controller.”
Fortuneatley I have a prototype 32 bit nano…for testing
Attached
My test results
two greyscale photos …
1 Like
@Bulldog you should turn this and other tutorials in a PDF and sell,or ask for donations .
You have become the leading authority in photo engraving with a diode laser. I appreciate and respect your passion.

Cheers and keep in engraving and here is to more material availability for you to engrave I know you are running low.
Sasquatch
It sounds like you confirmed my prior post with your tests if I’m understanding your results correctly. Obviously even if the process works as I assumed the results are different than what I expected.
Jim, that wasn’t insignificant to set that up and do those tests. Thanks for taking the time.