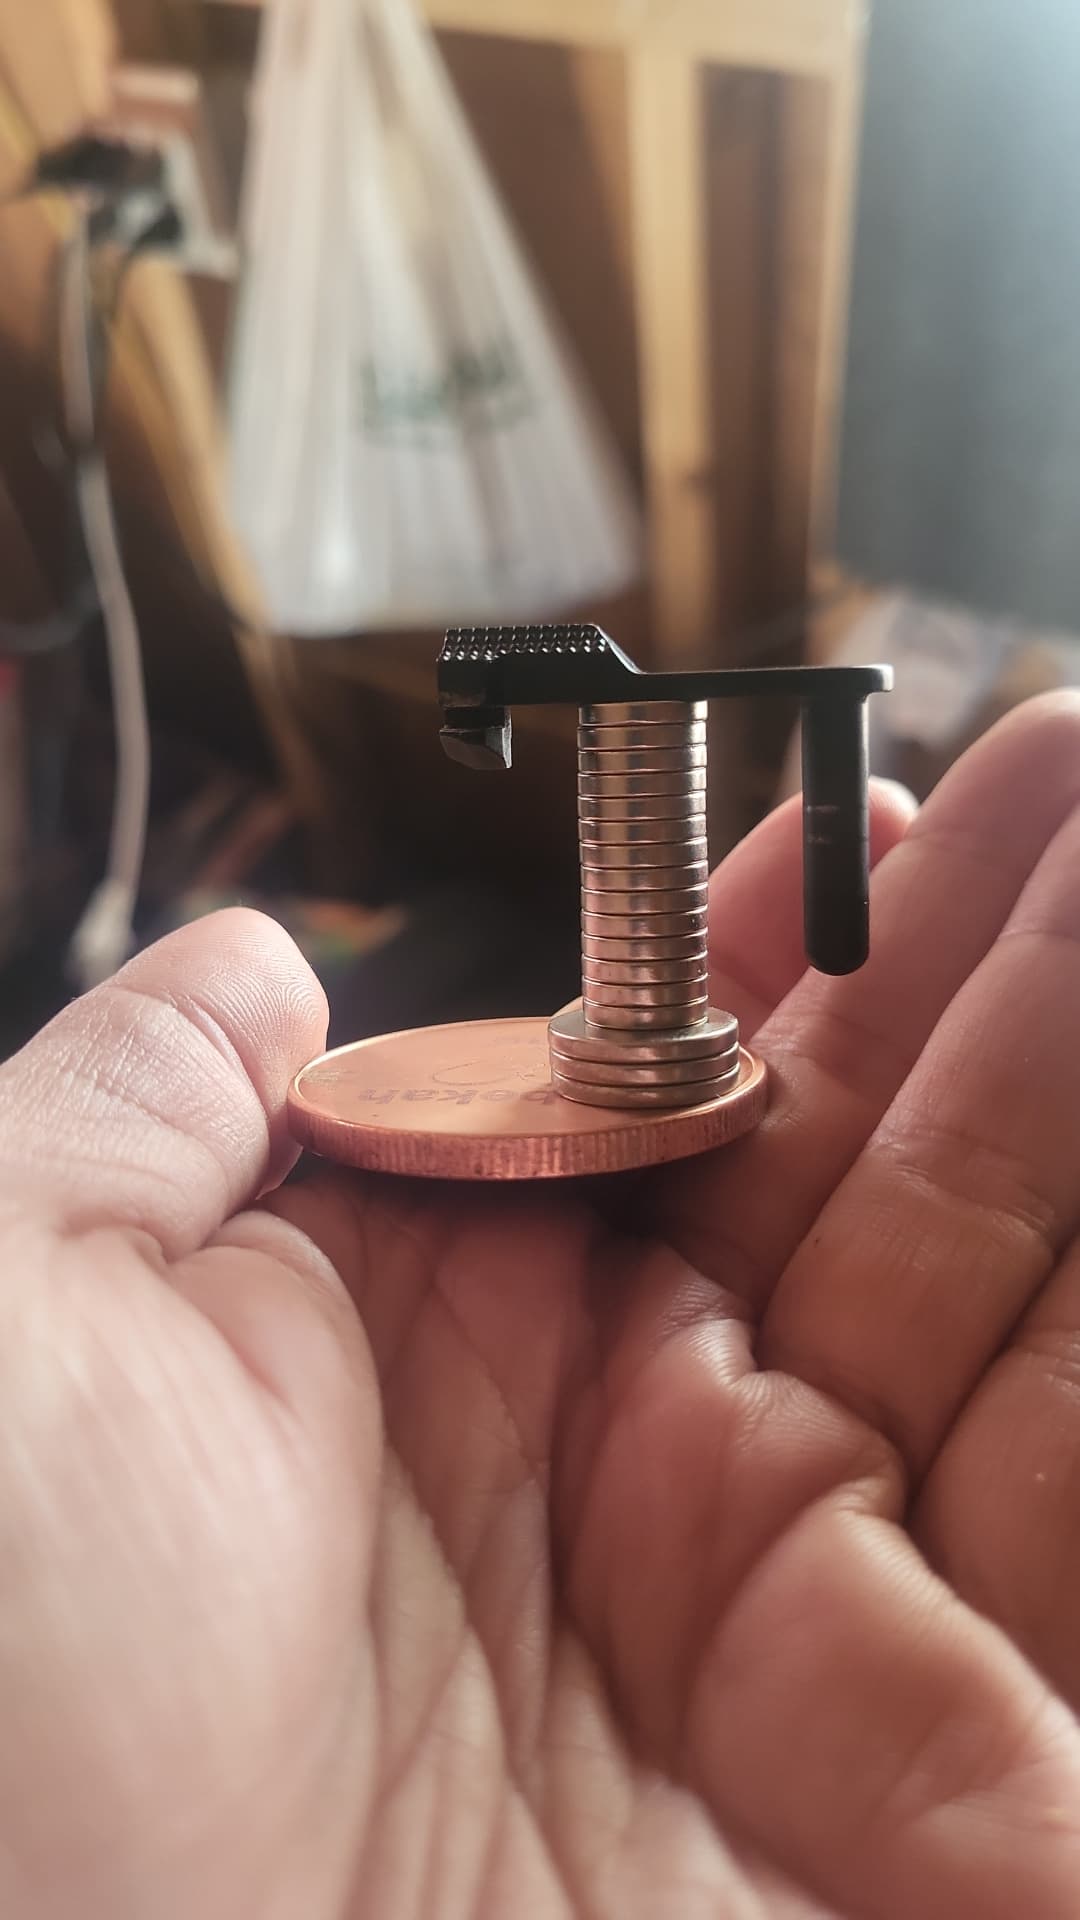
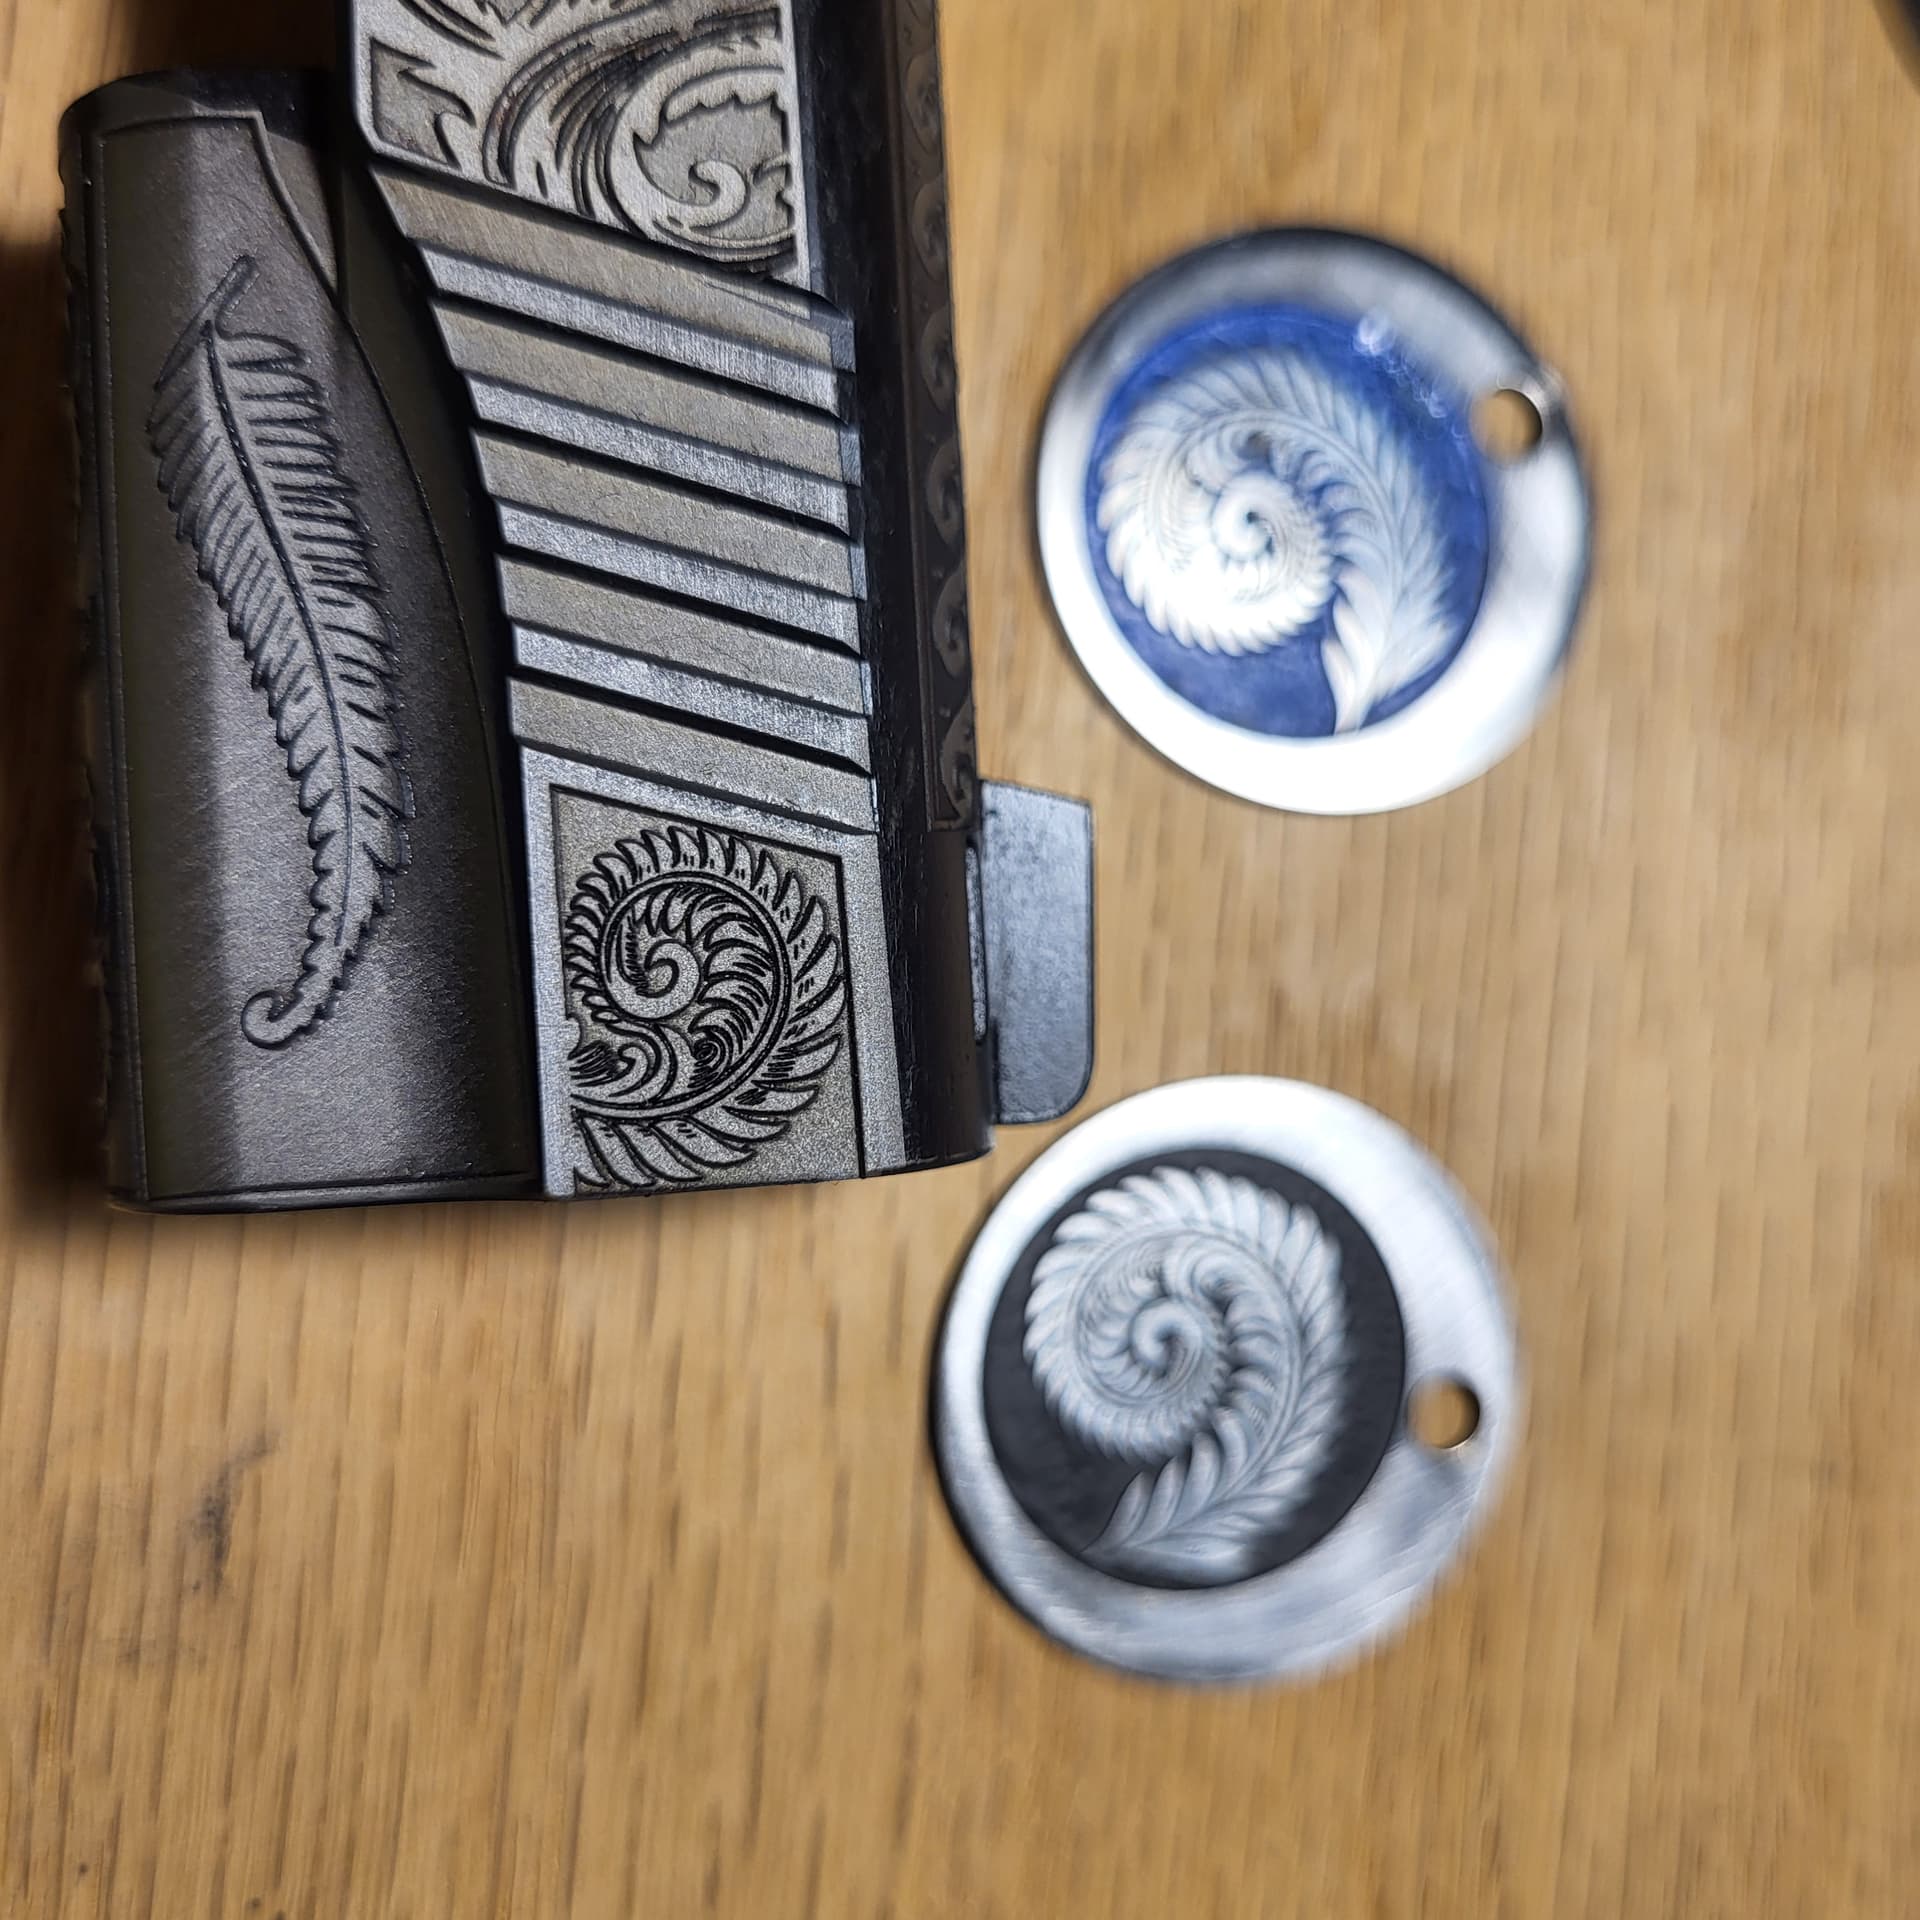
Love that I am able to do jigging set ups…feels like I am back at dads shop playing around.
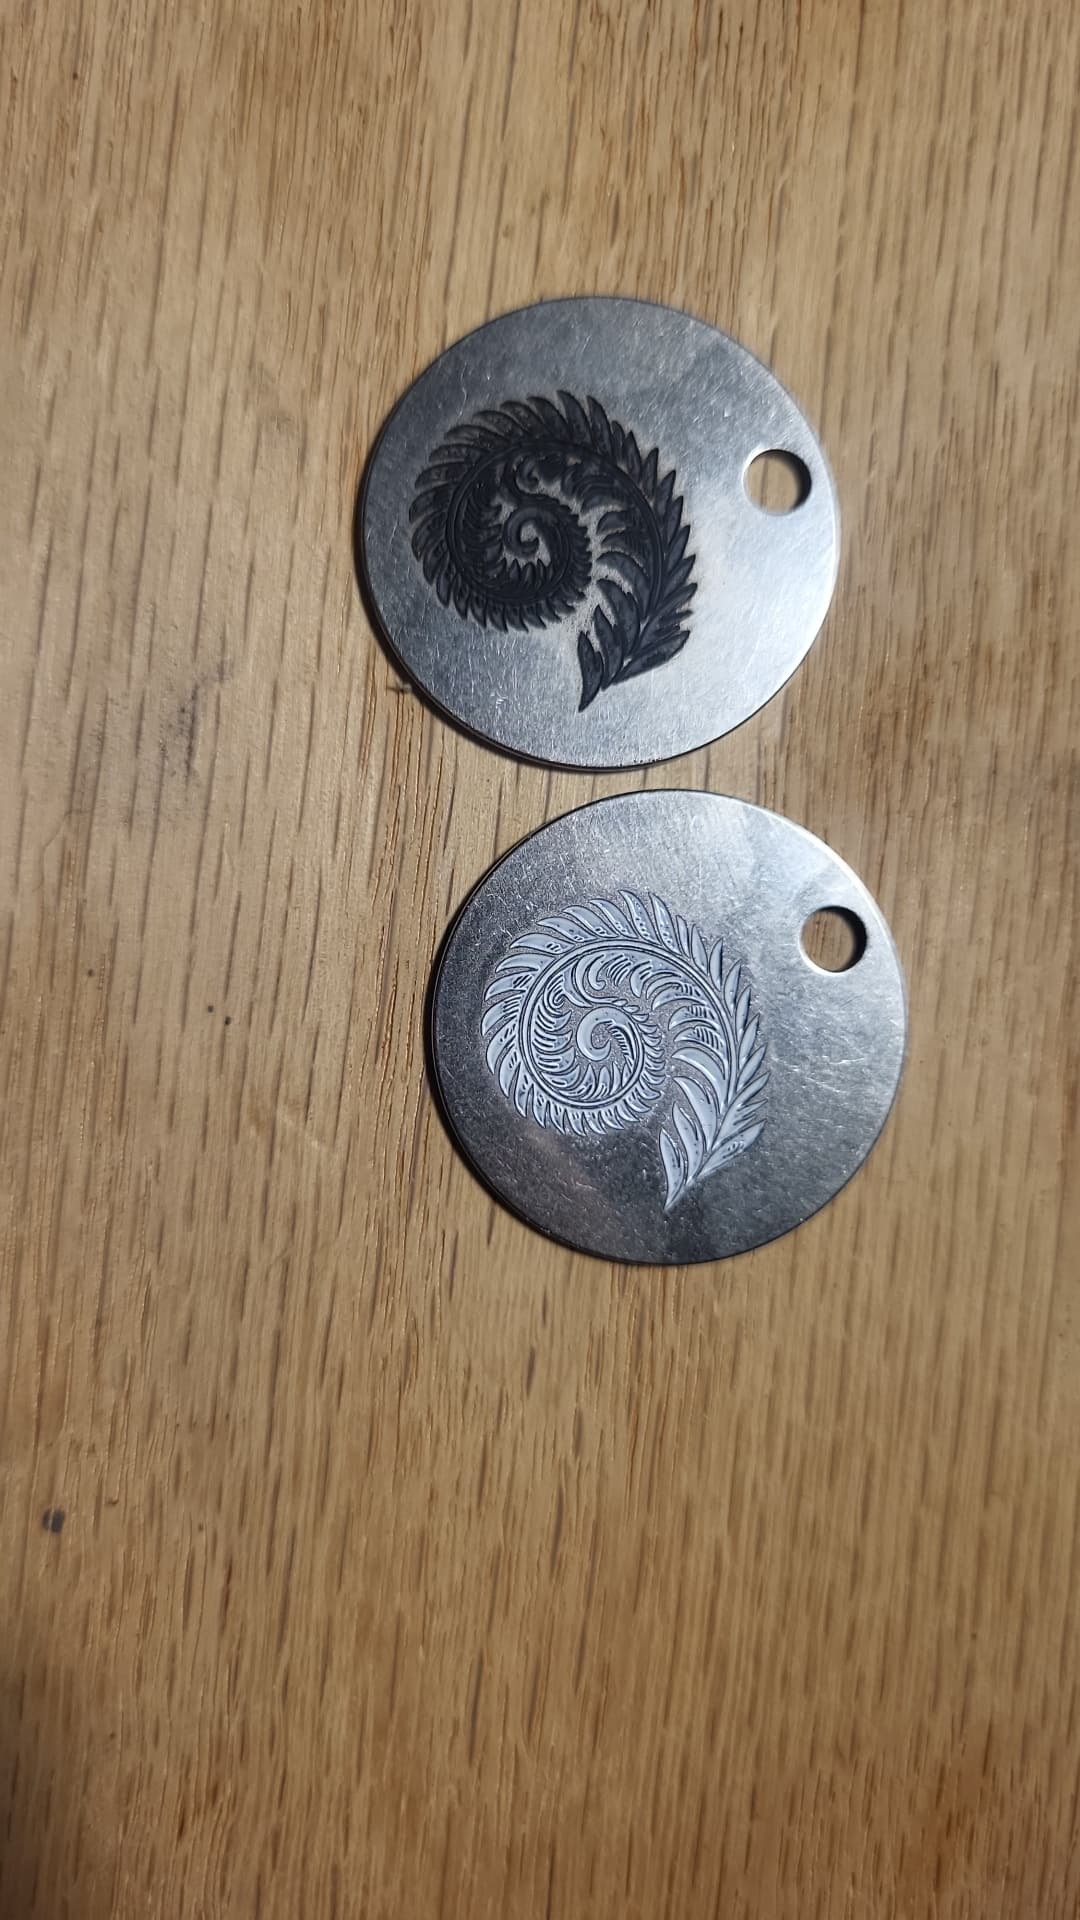
One of my neighbors around here approached me to engrave some of his pieces, so I am sacrificing my own as practice.
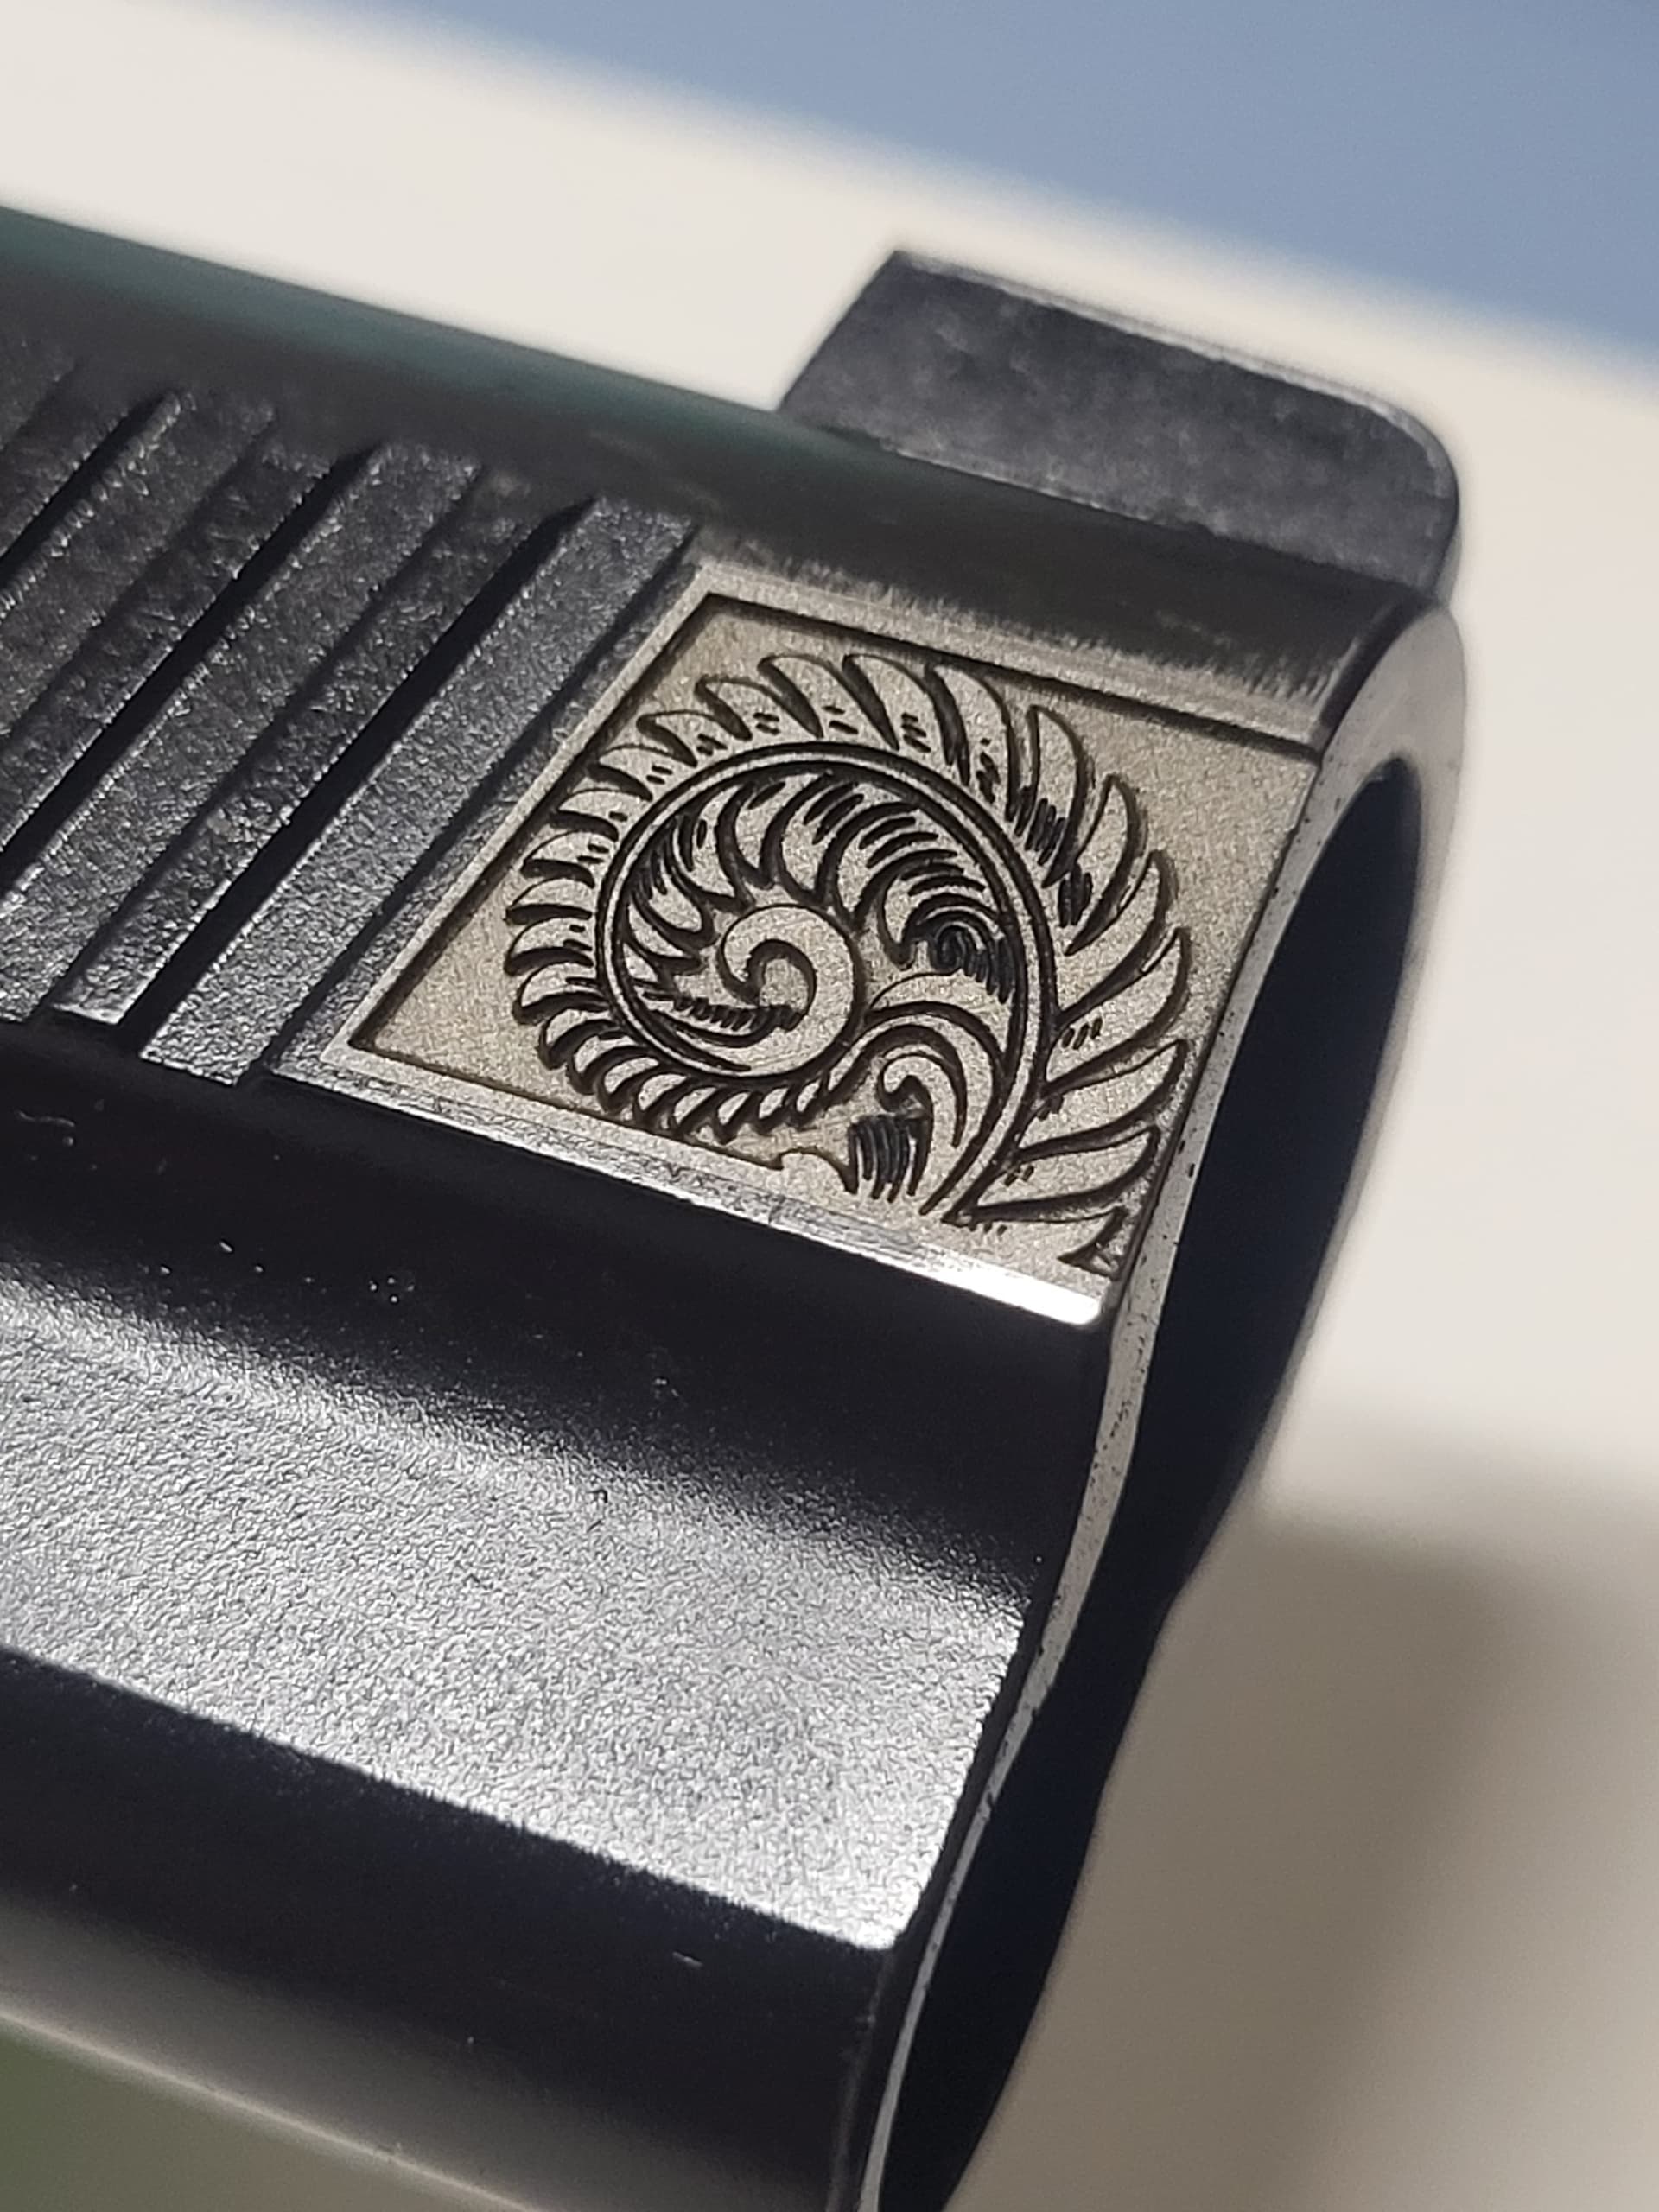
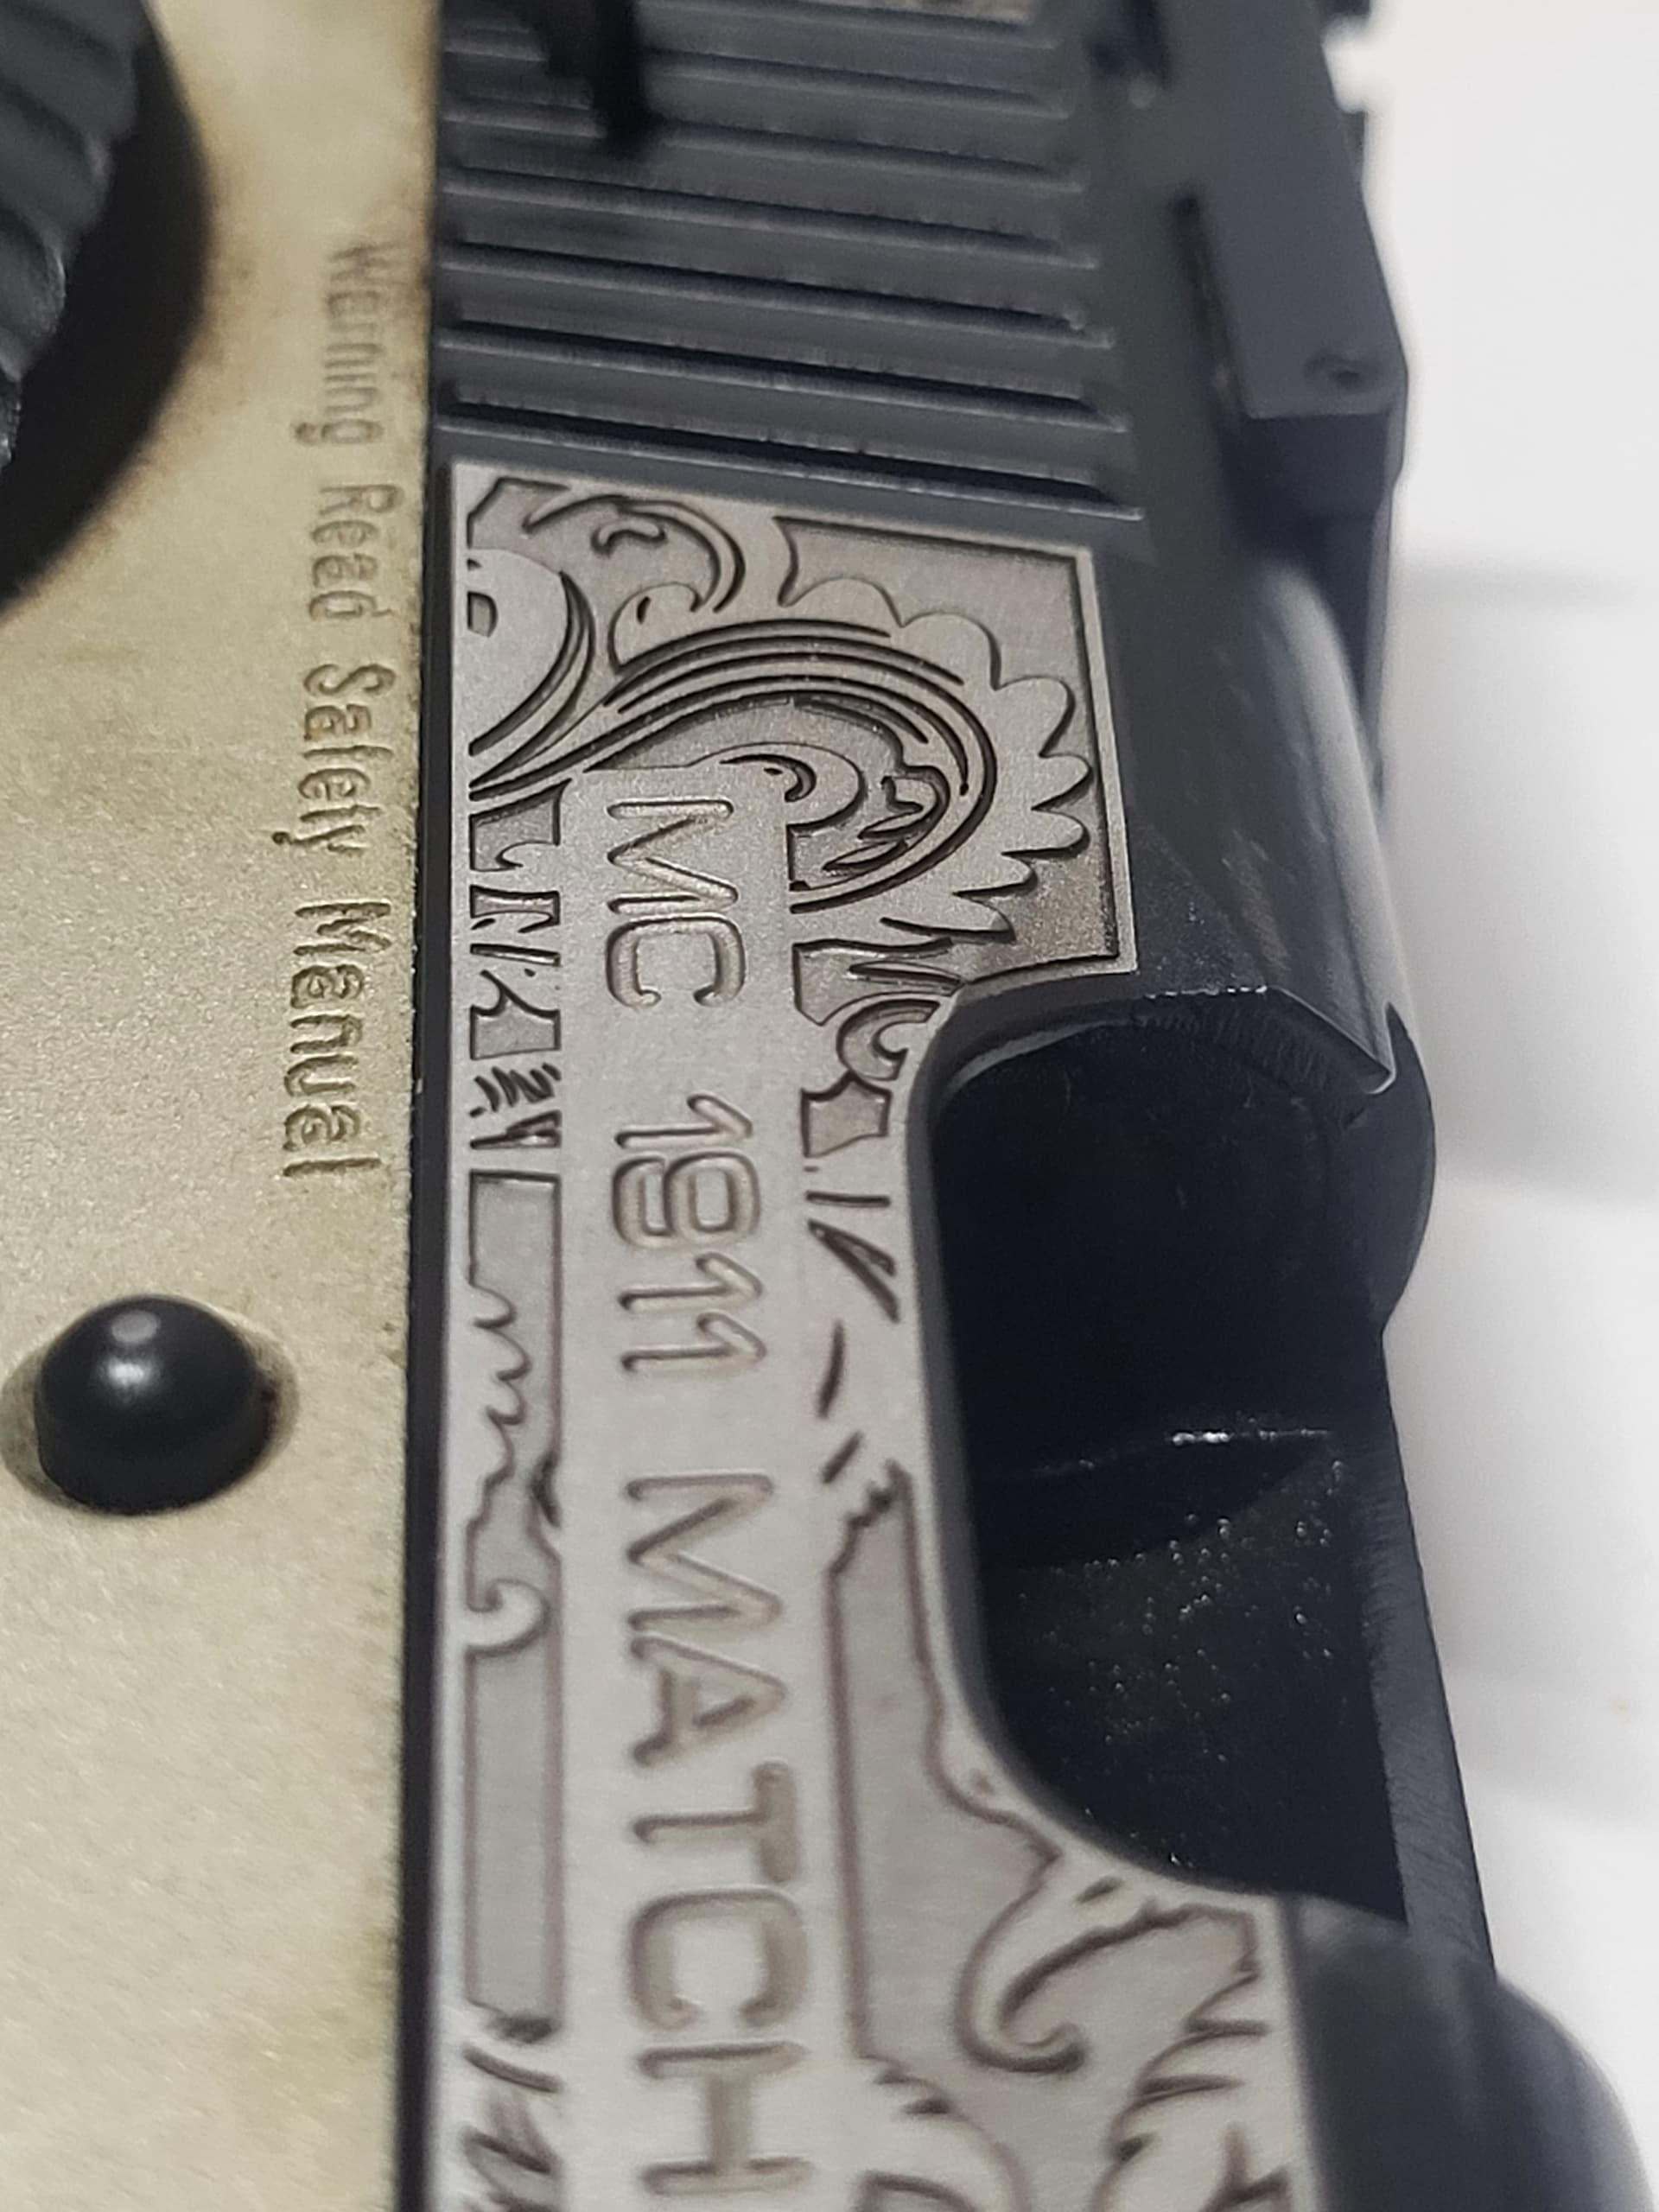
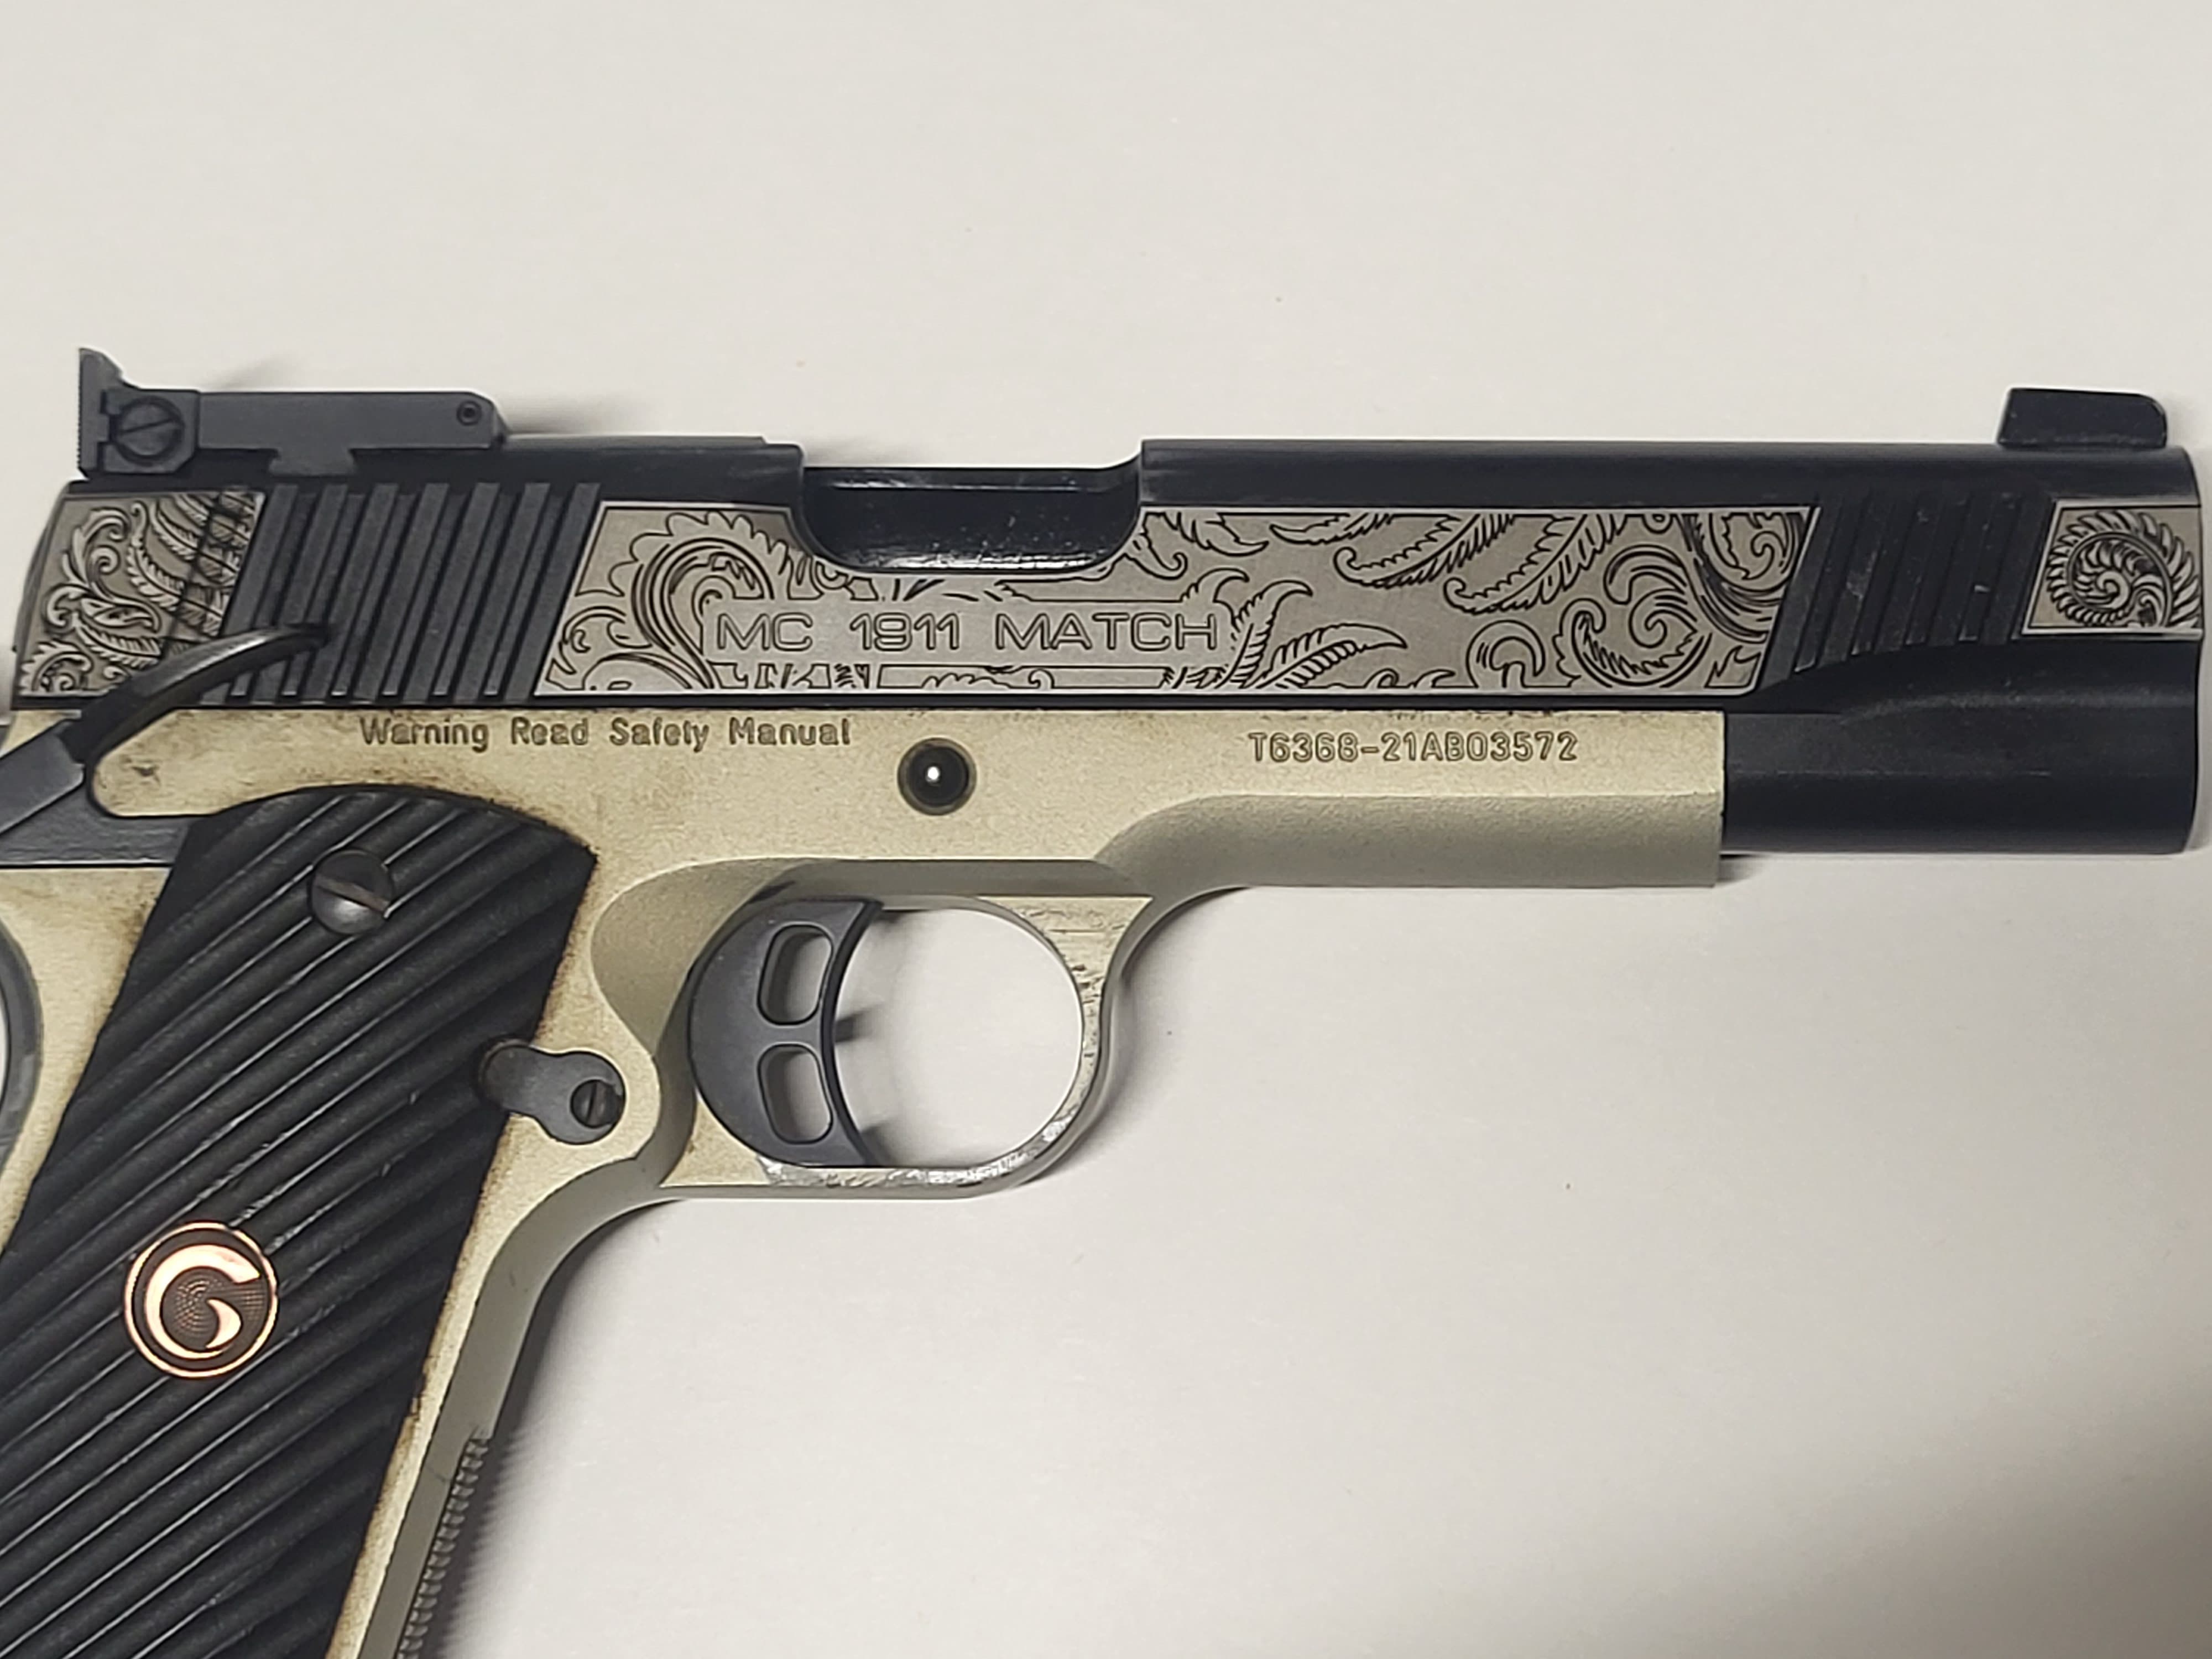
Yes sir a 1911 good eye.
I do not have an FFL but may look into it if I get into this too deep. Right now I wouldn’t plan on taking any whole weapons, rather single pieces at a time to engrave. I was just approached by my neighbor who’s an old marine and is heavy into this sorta thing.
As a Master Gunsmith I say Very nice job. I just bought my first laser engraver to do similar work on gun parts , if i can ever get the bugs worked out , i hope i can do beautiful work like that !
Rich
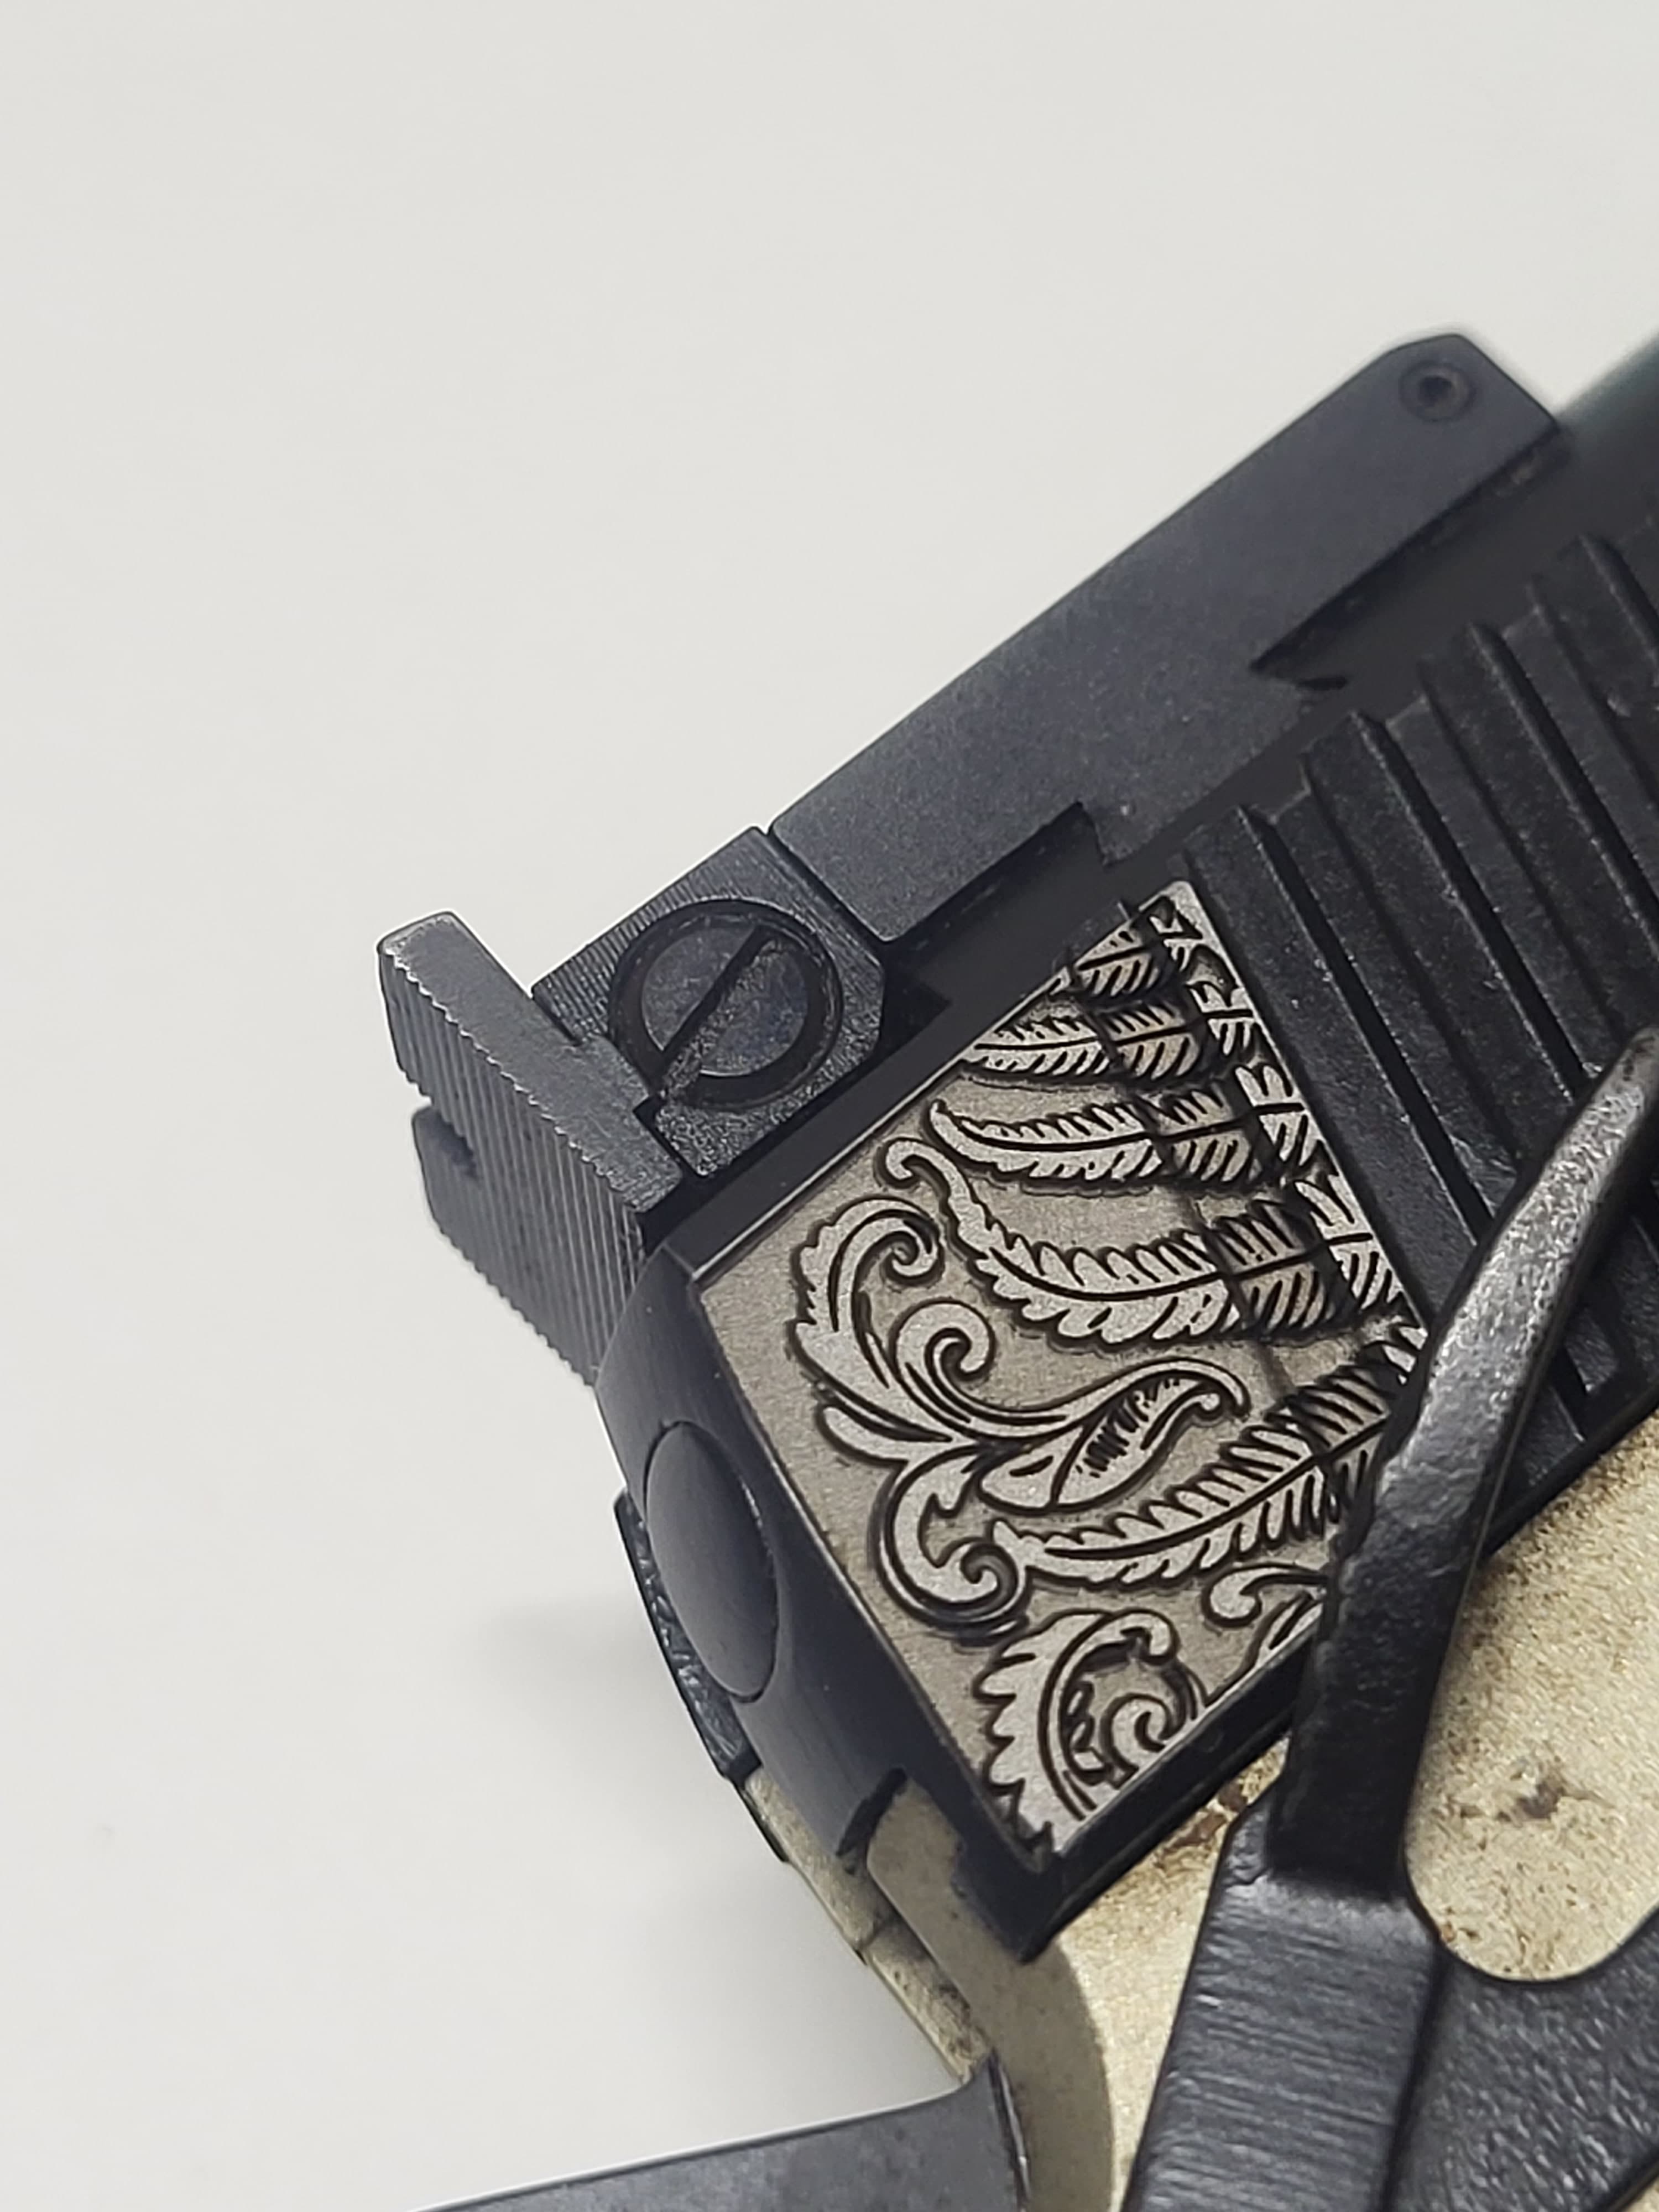
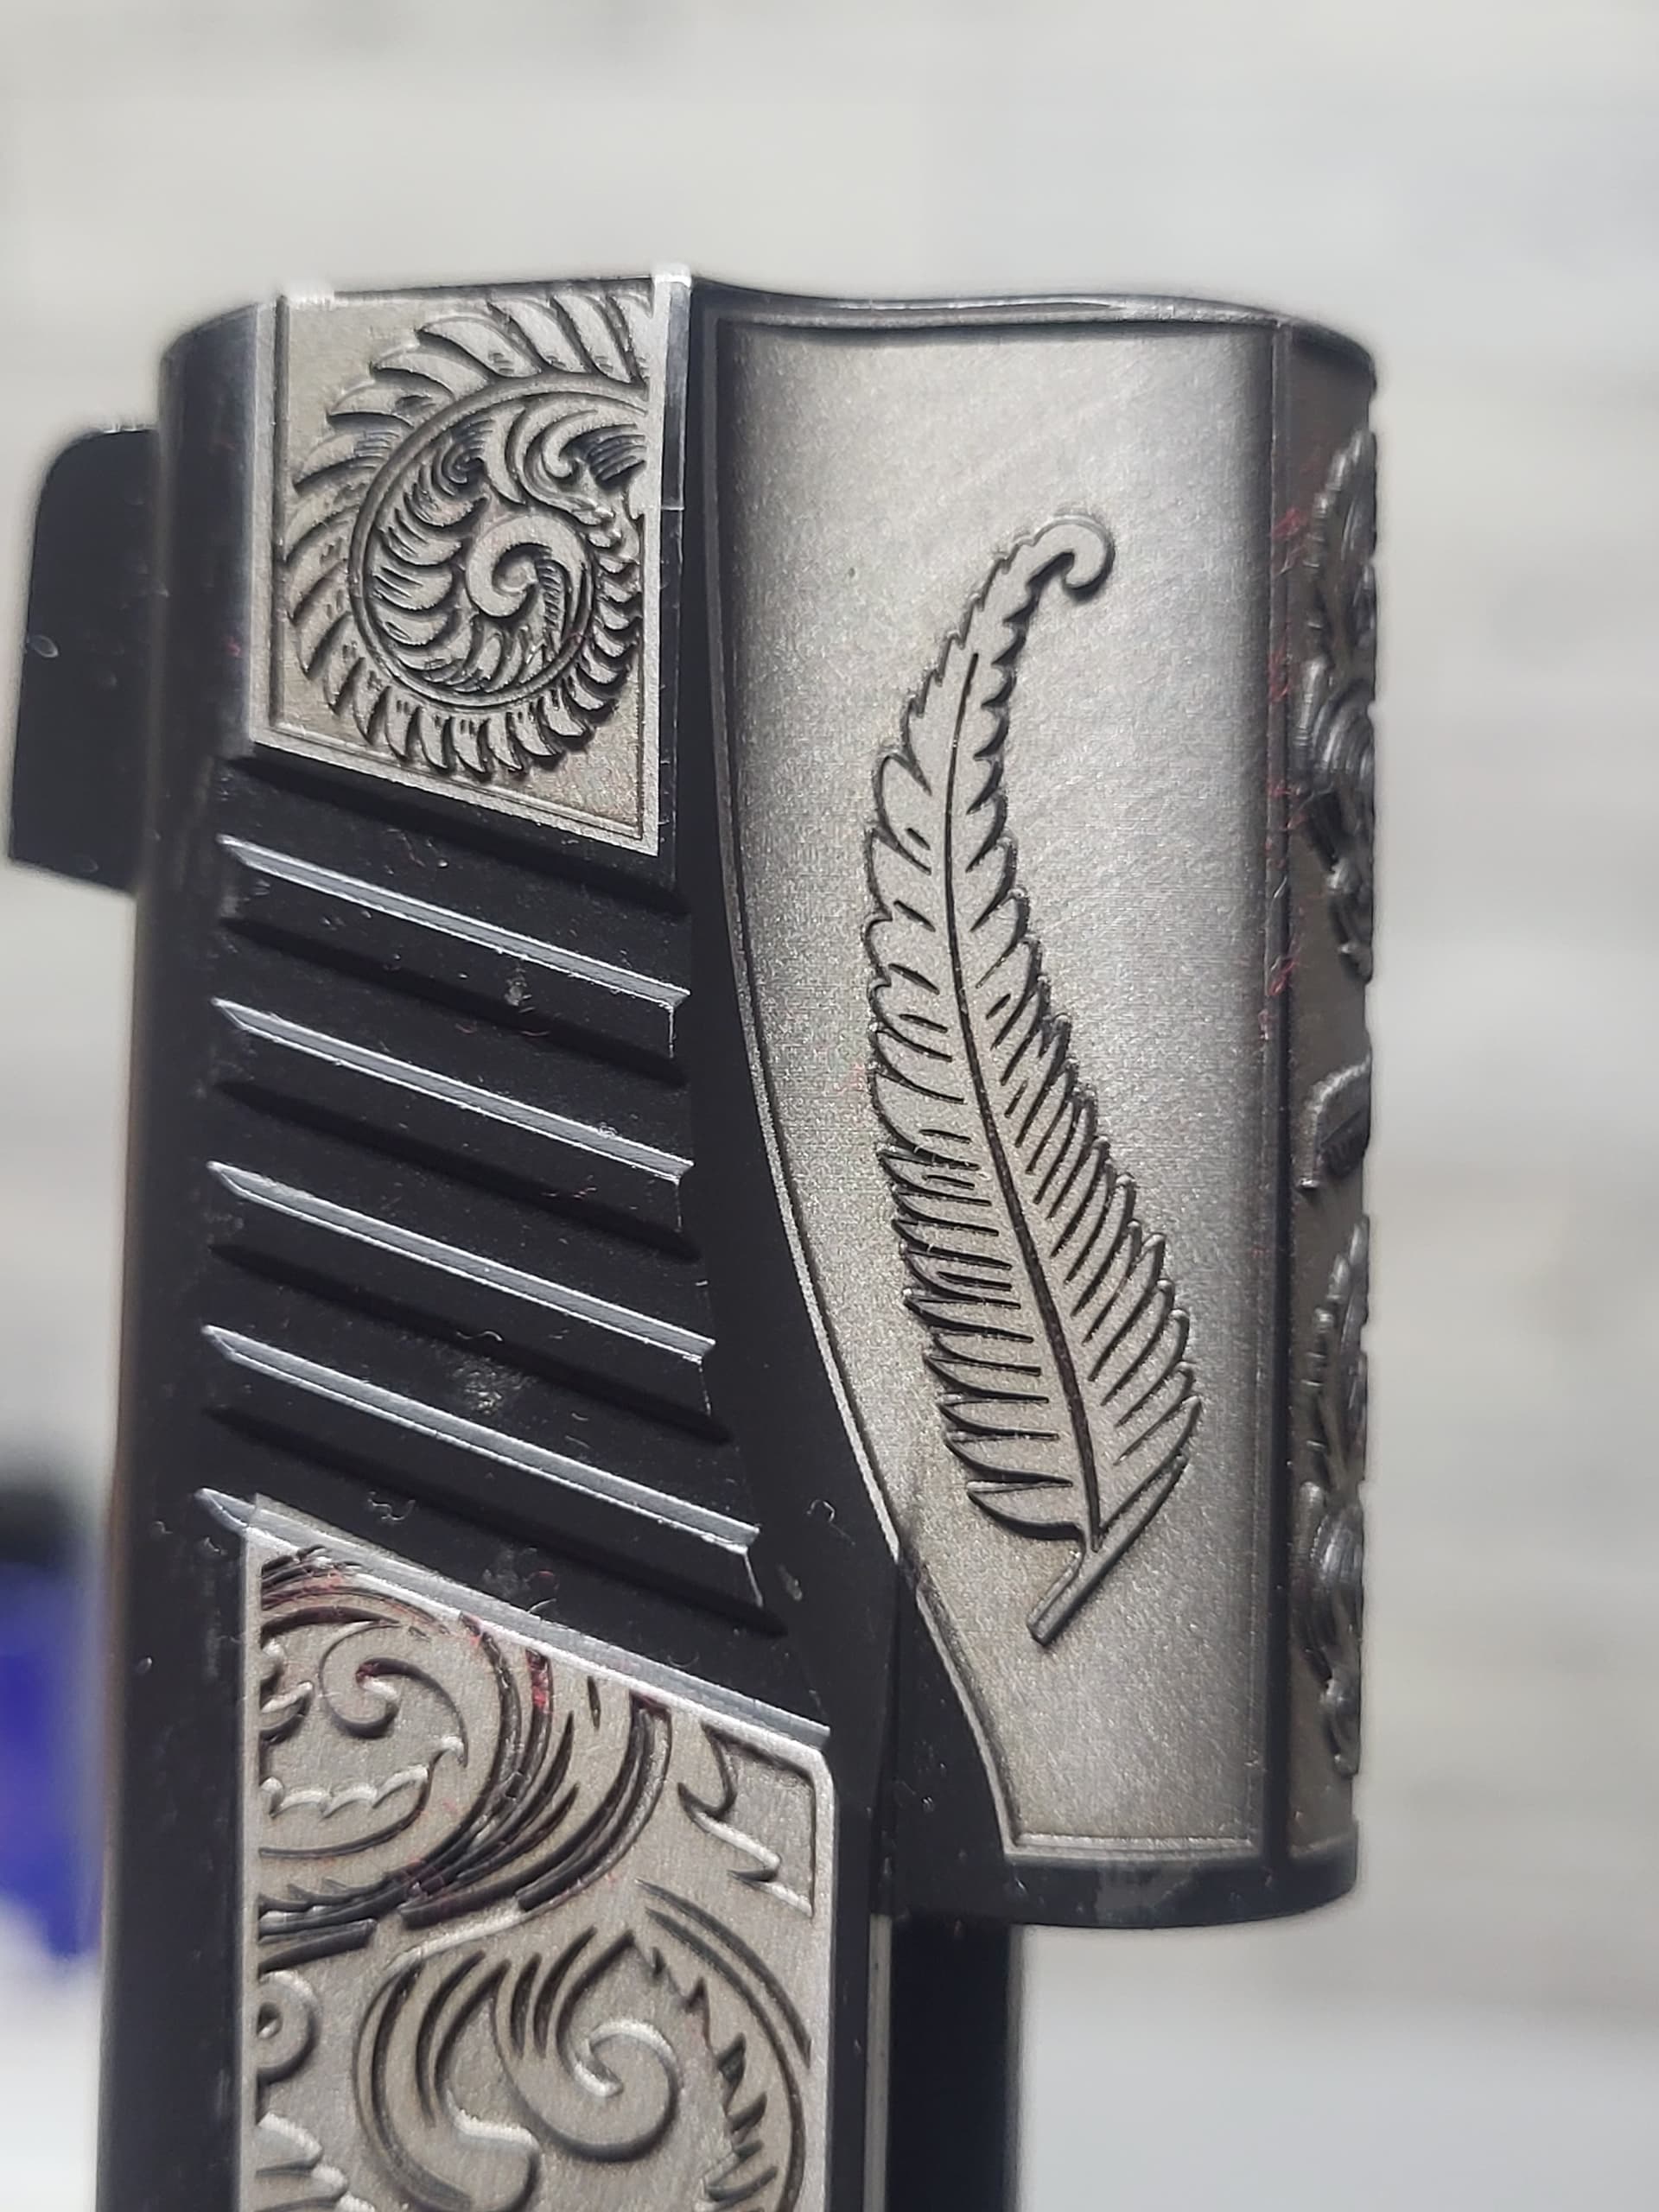
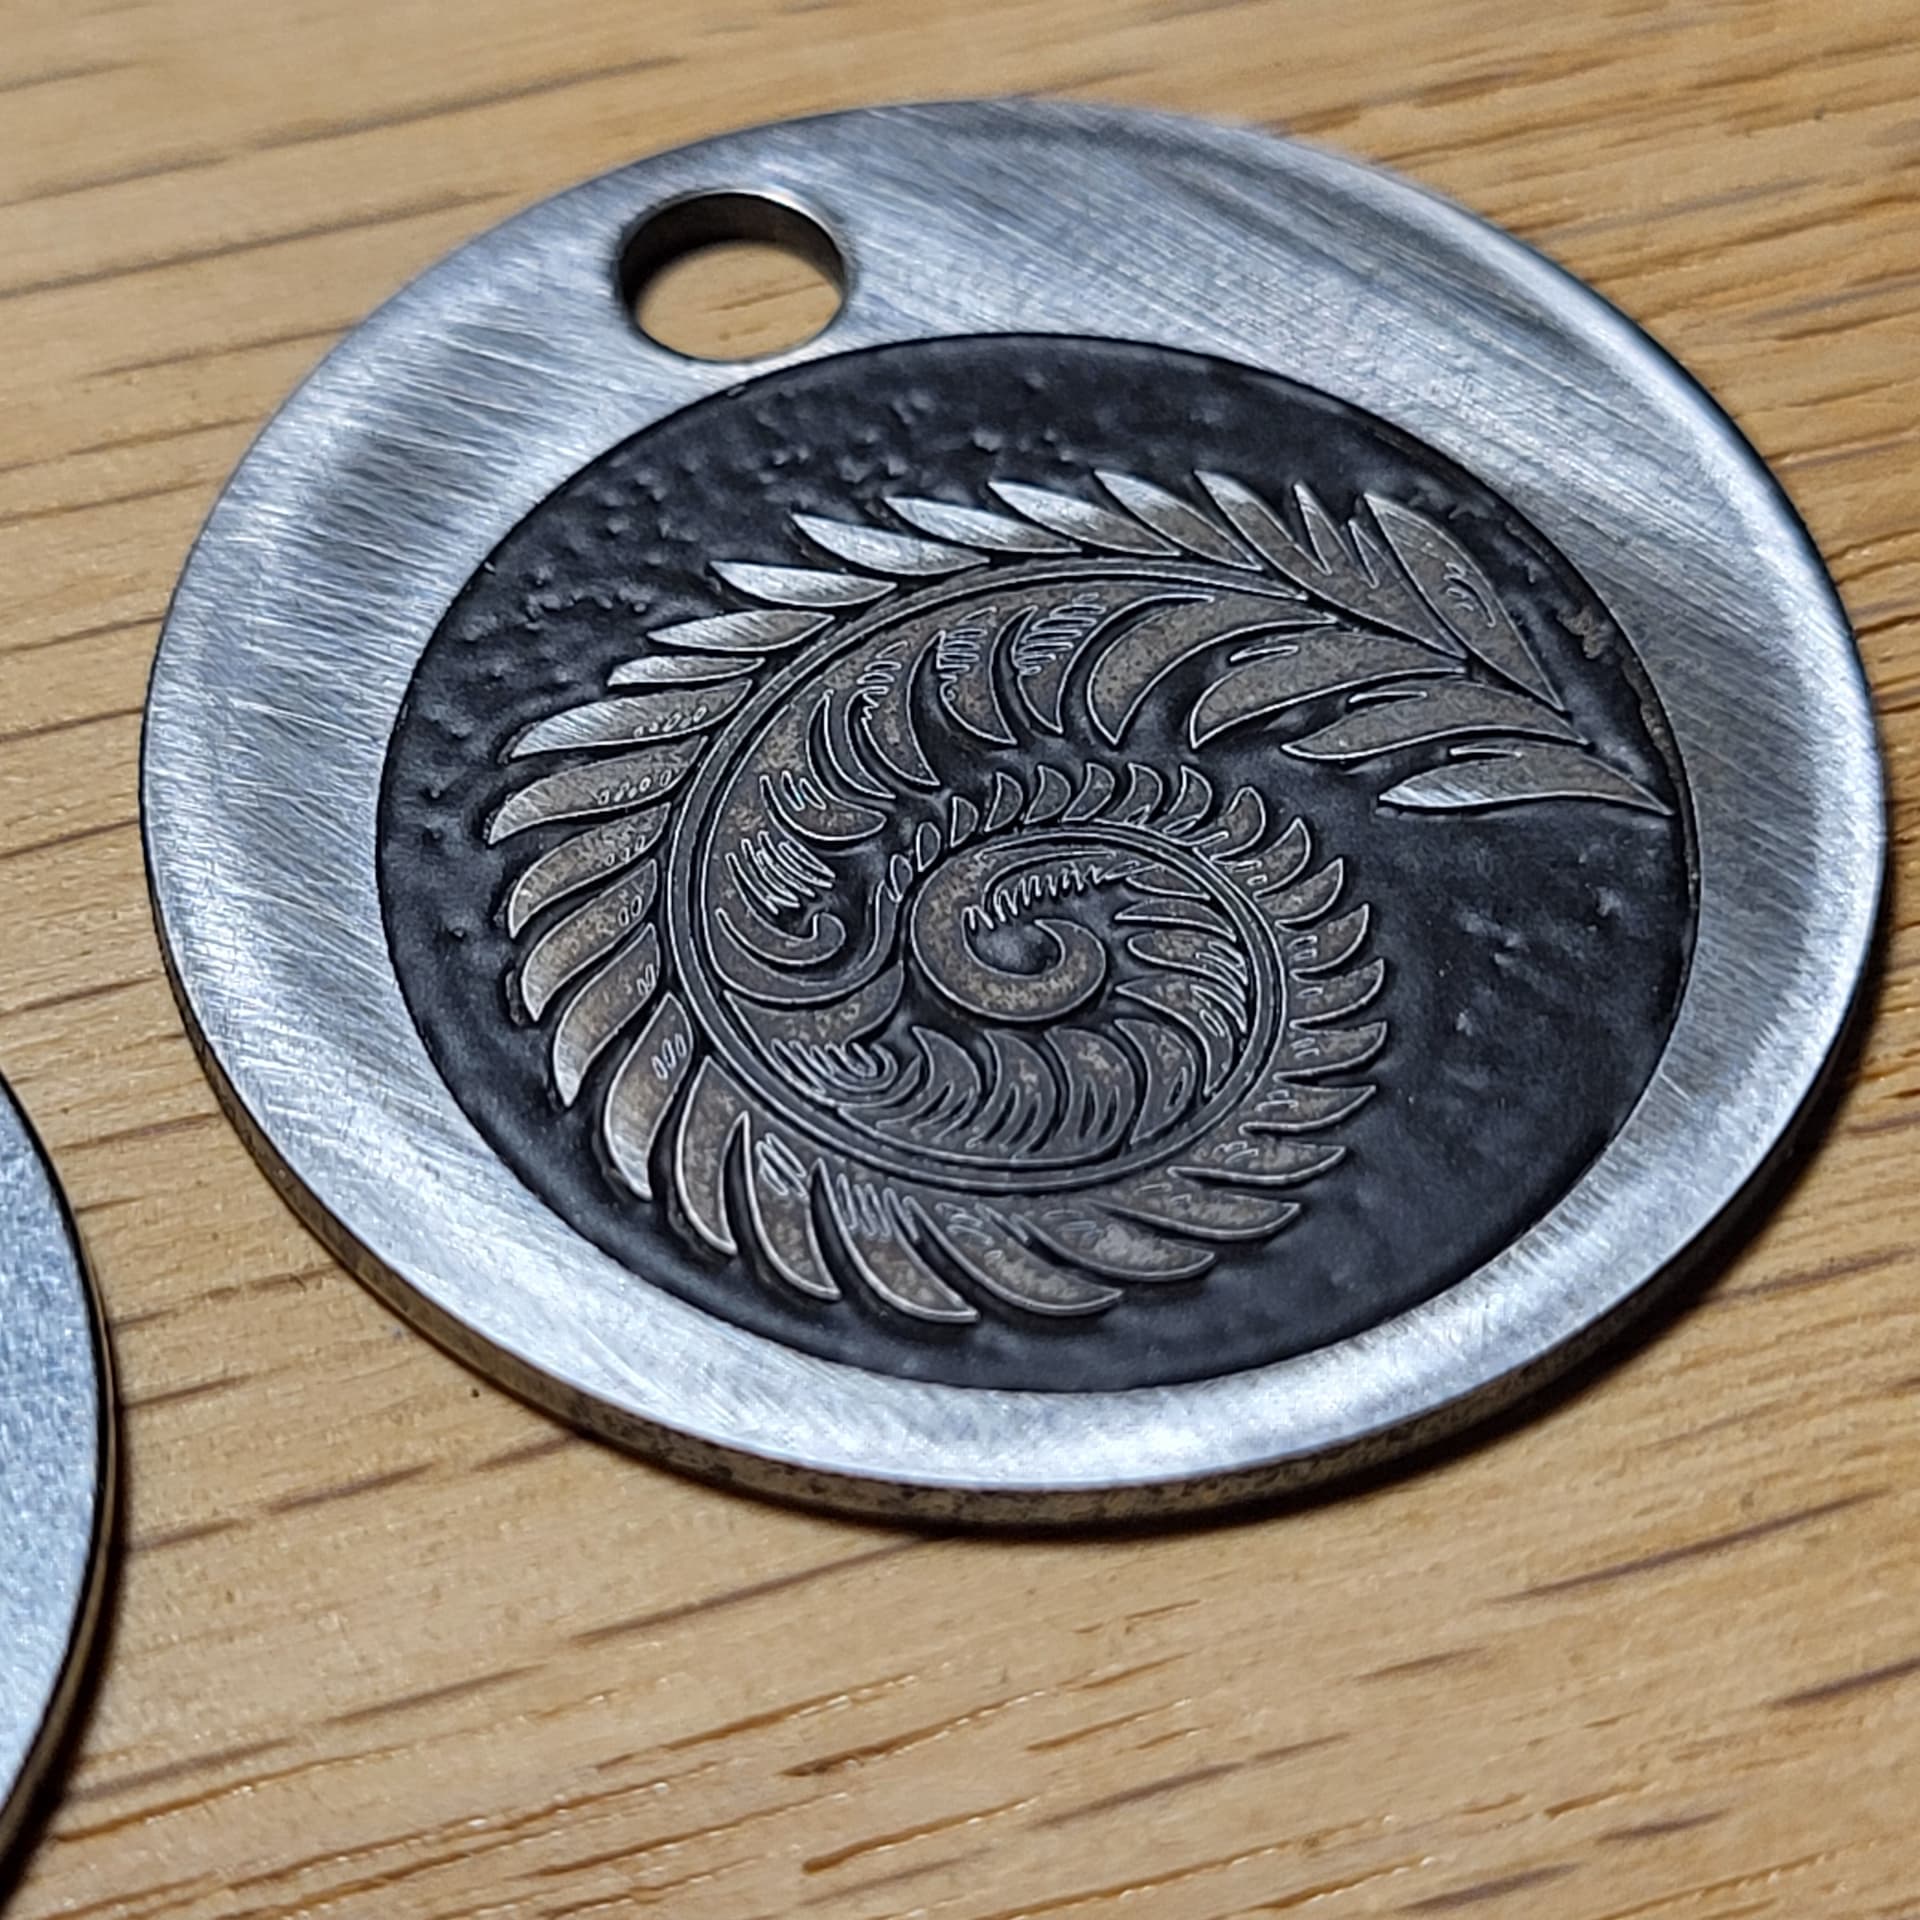
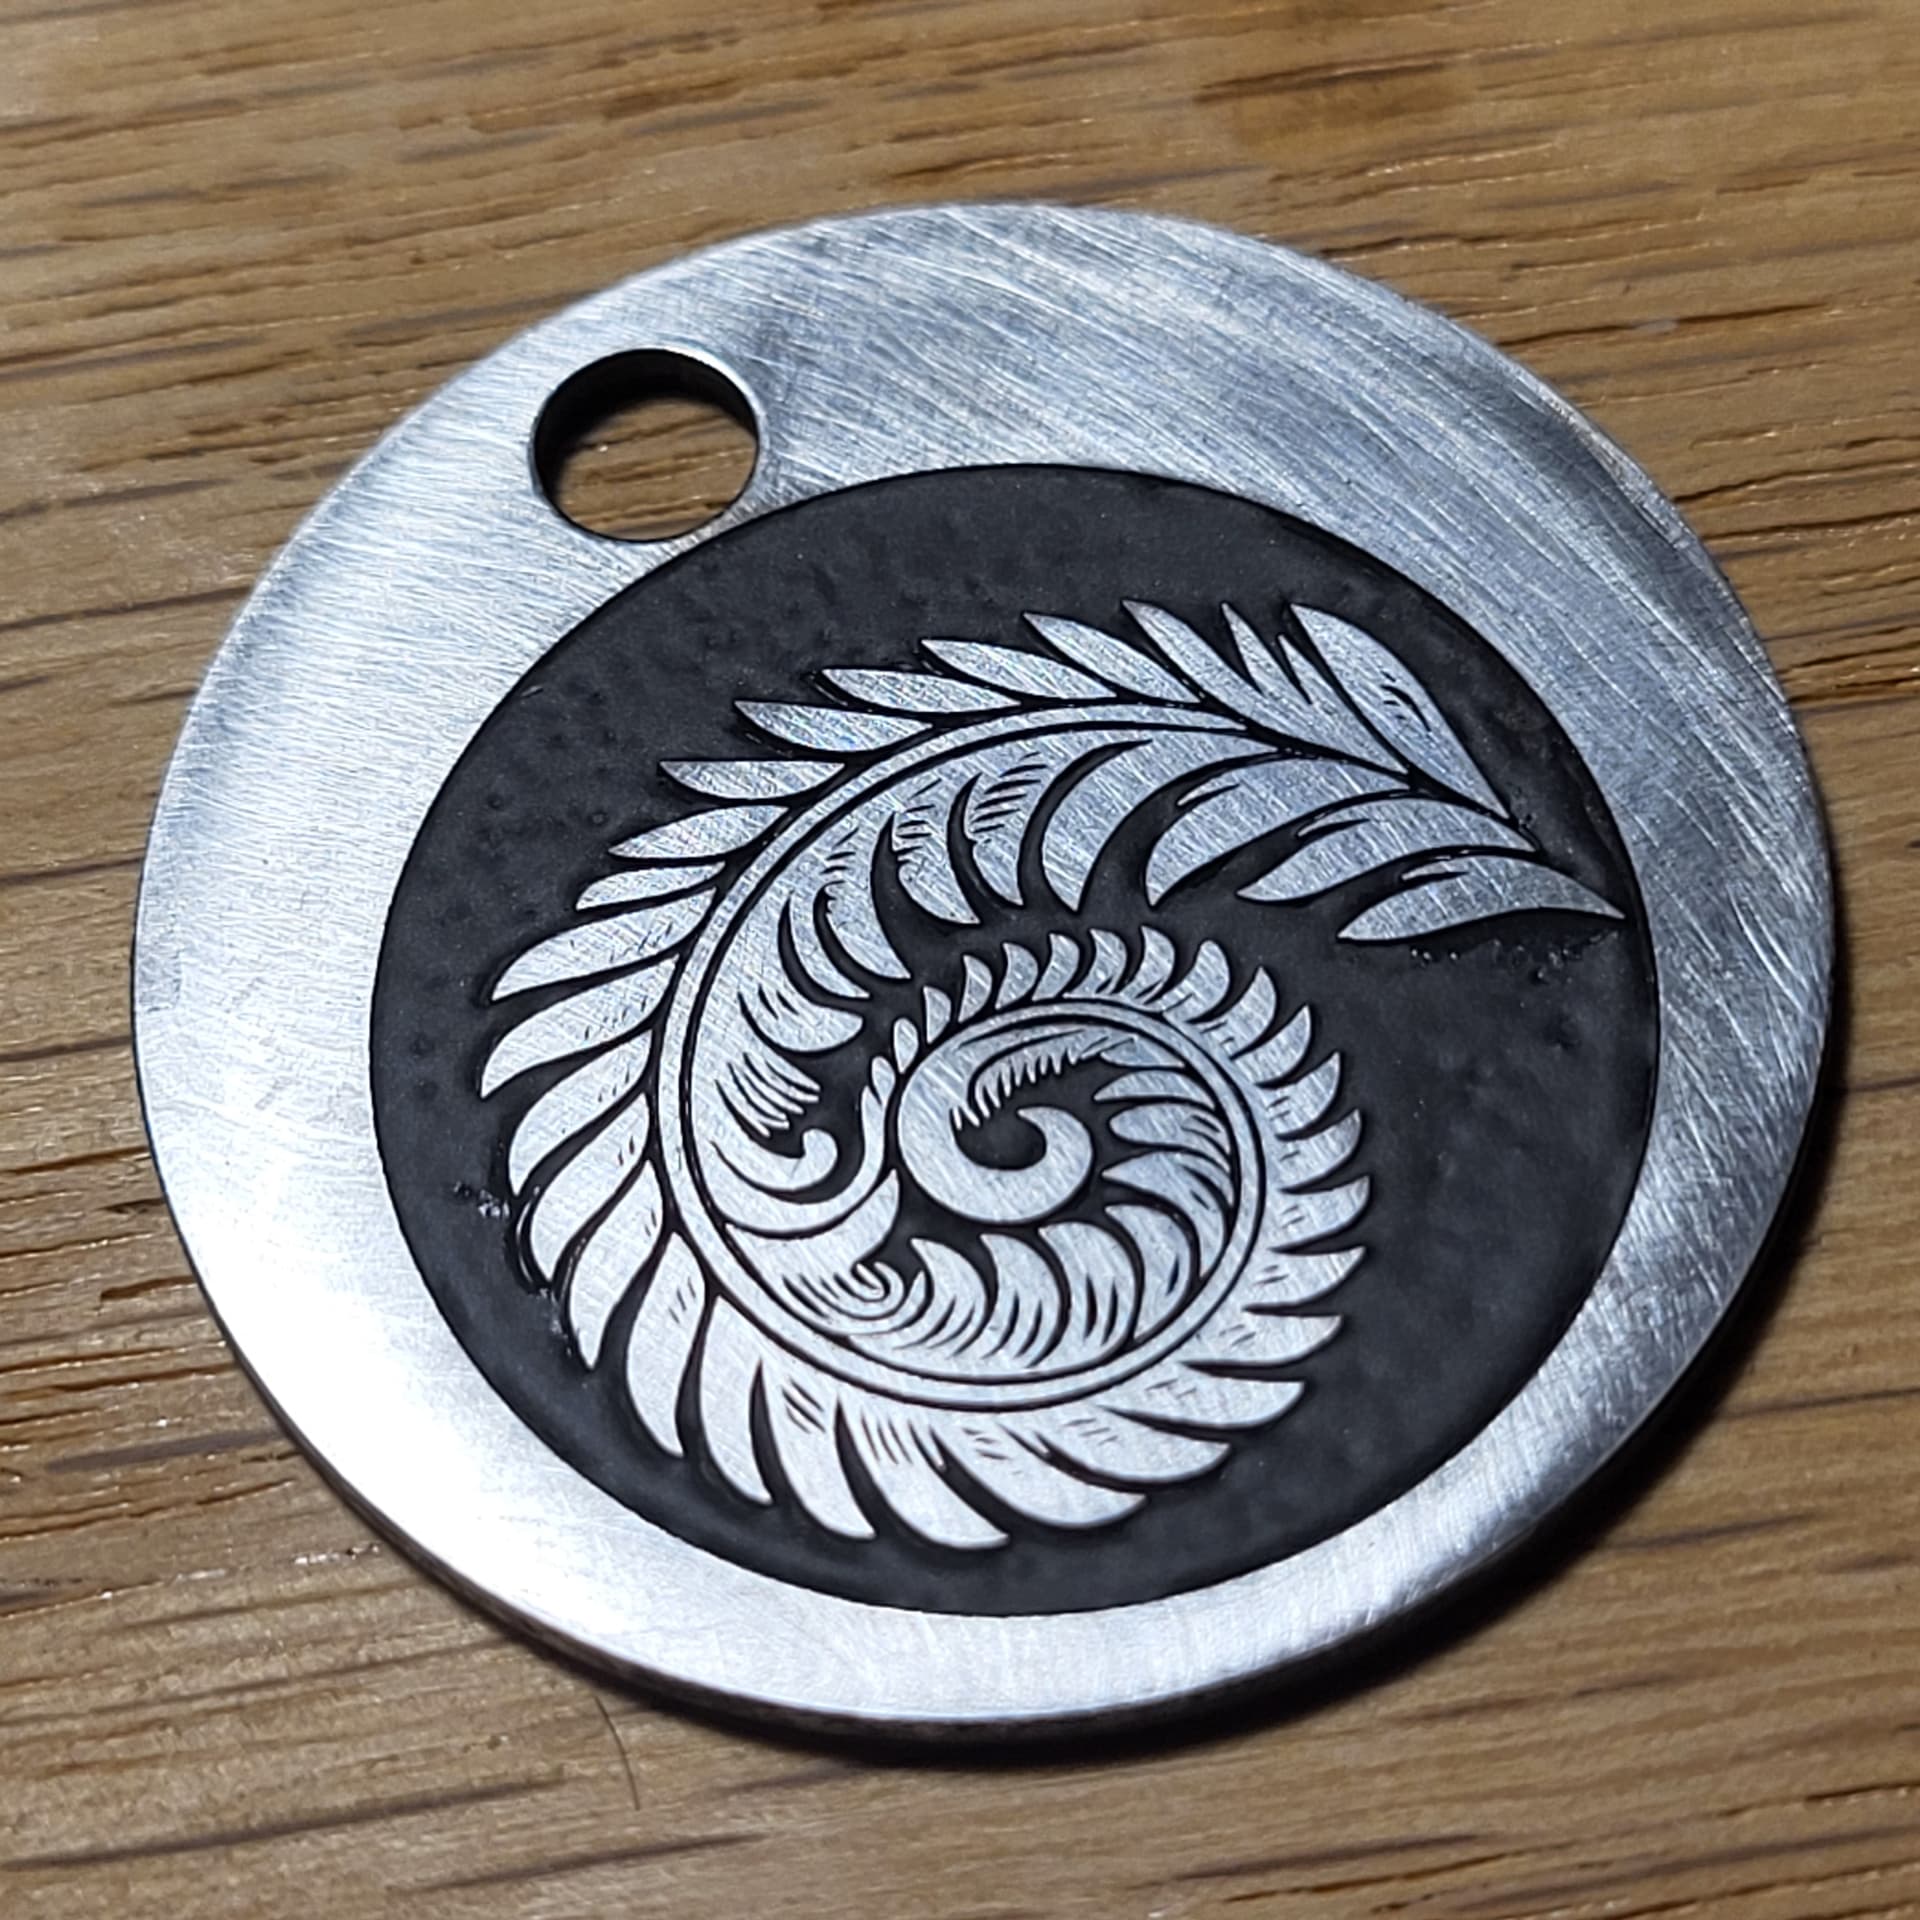
I’m gonna put up photos of my progress here of my full weapon detailing.
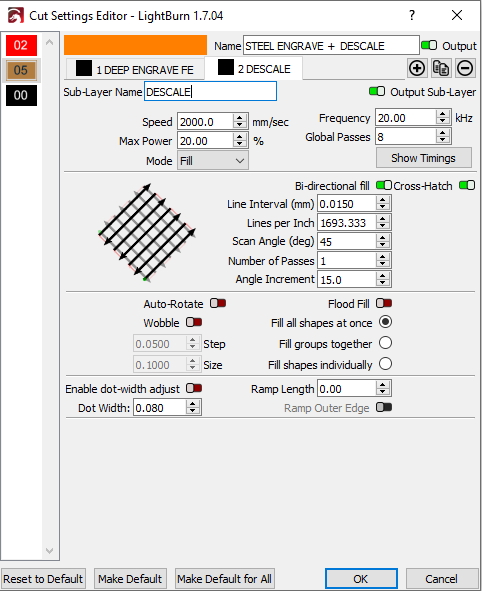
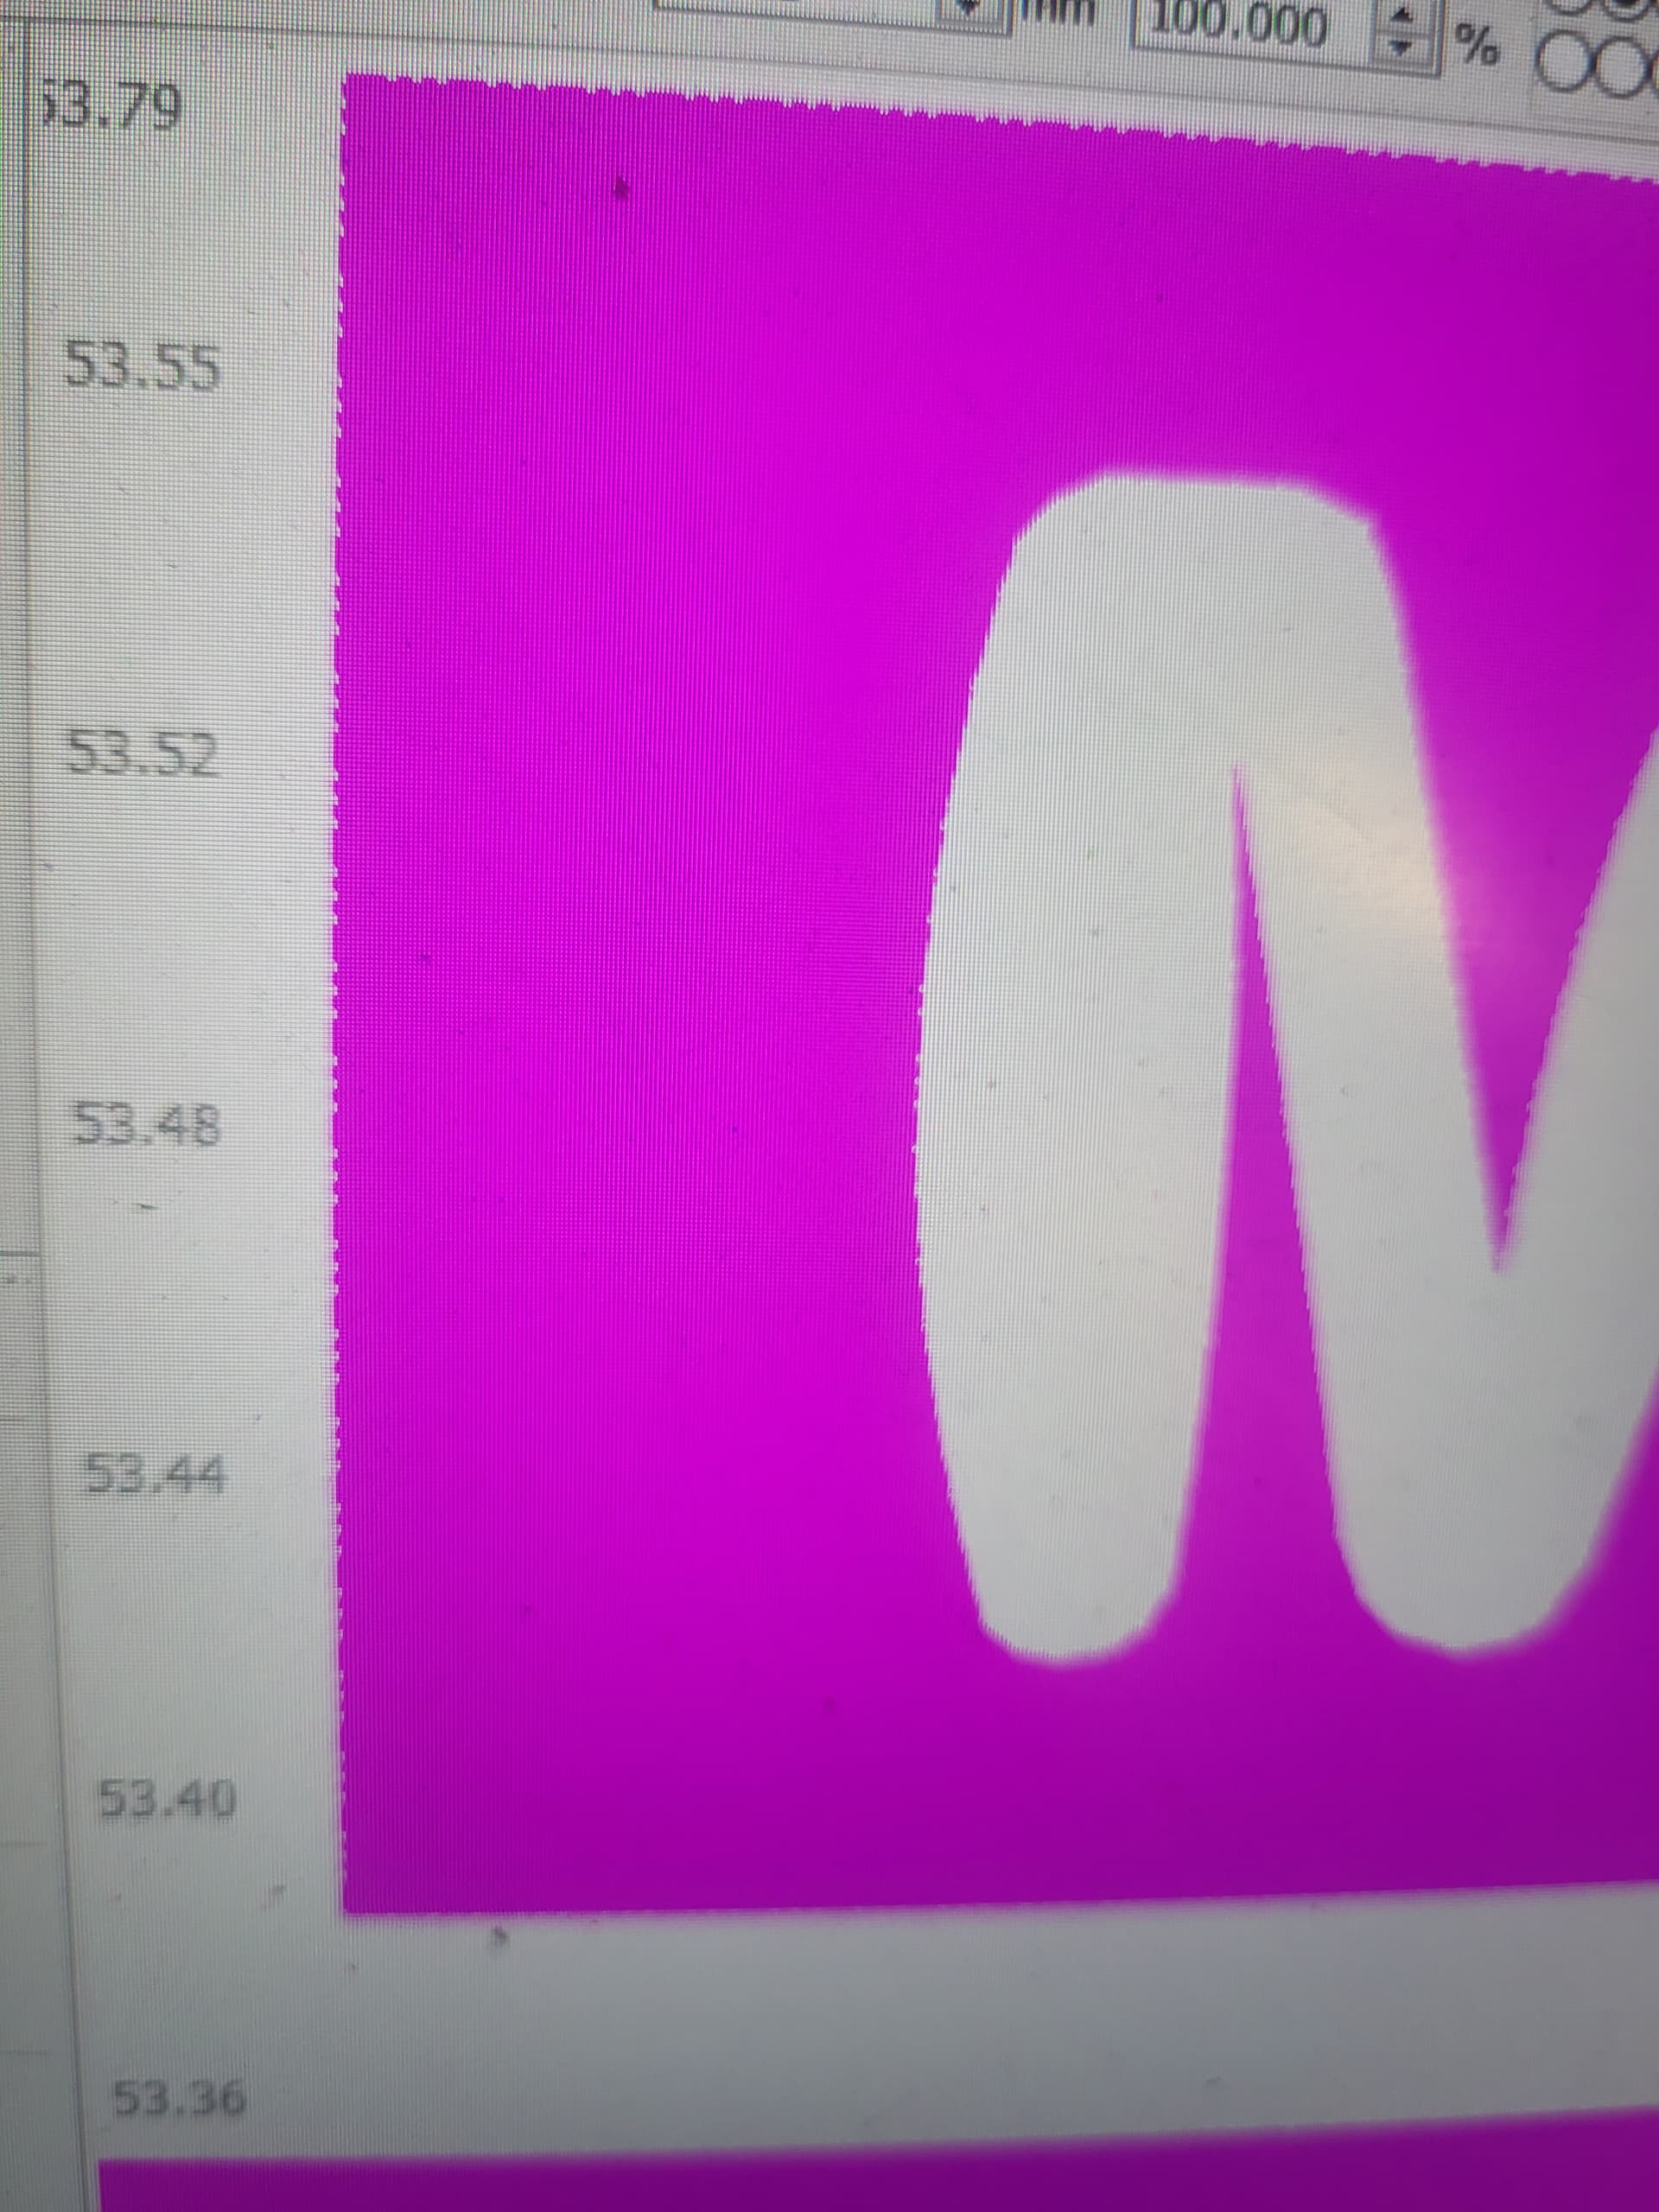
So far I’ve only used lightburn as the only tool for SVG manipulation (generation is Inkscape.)
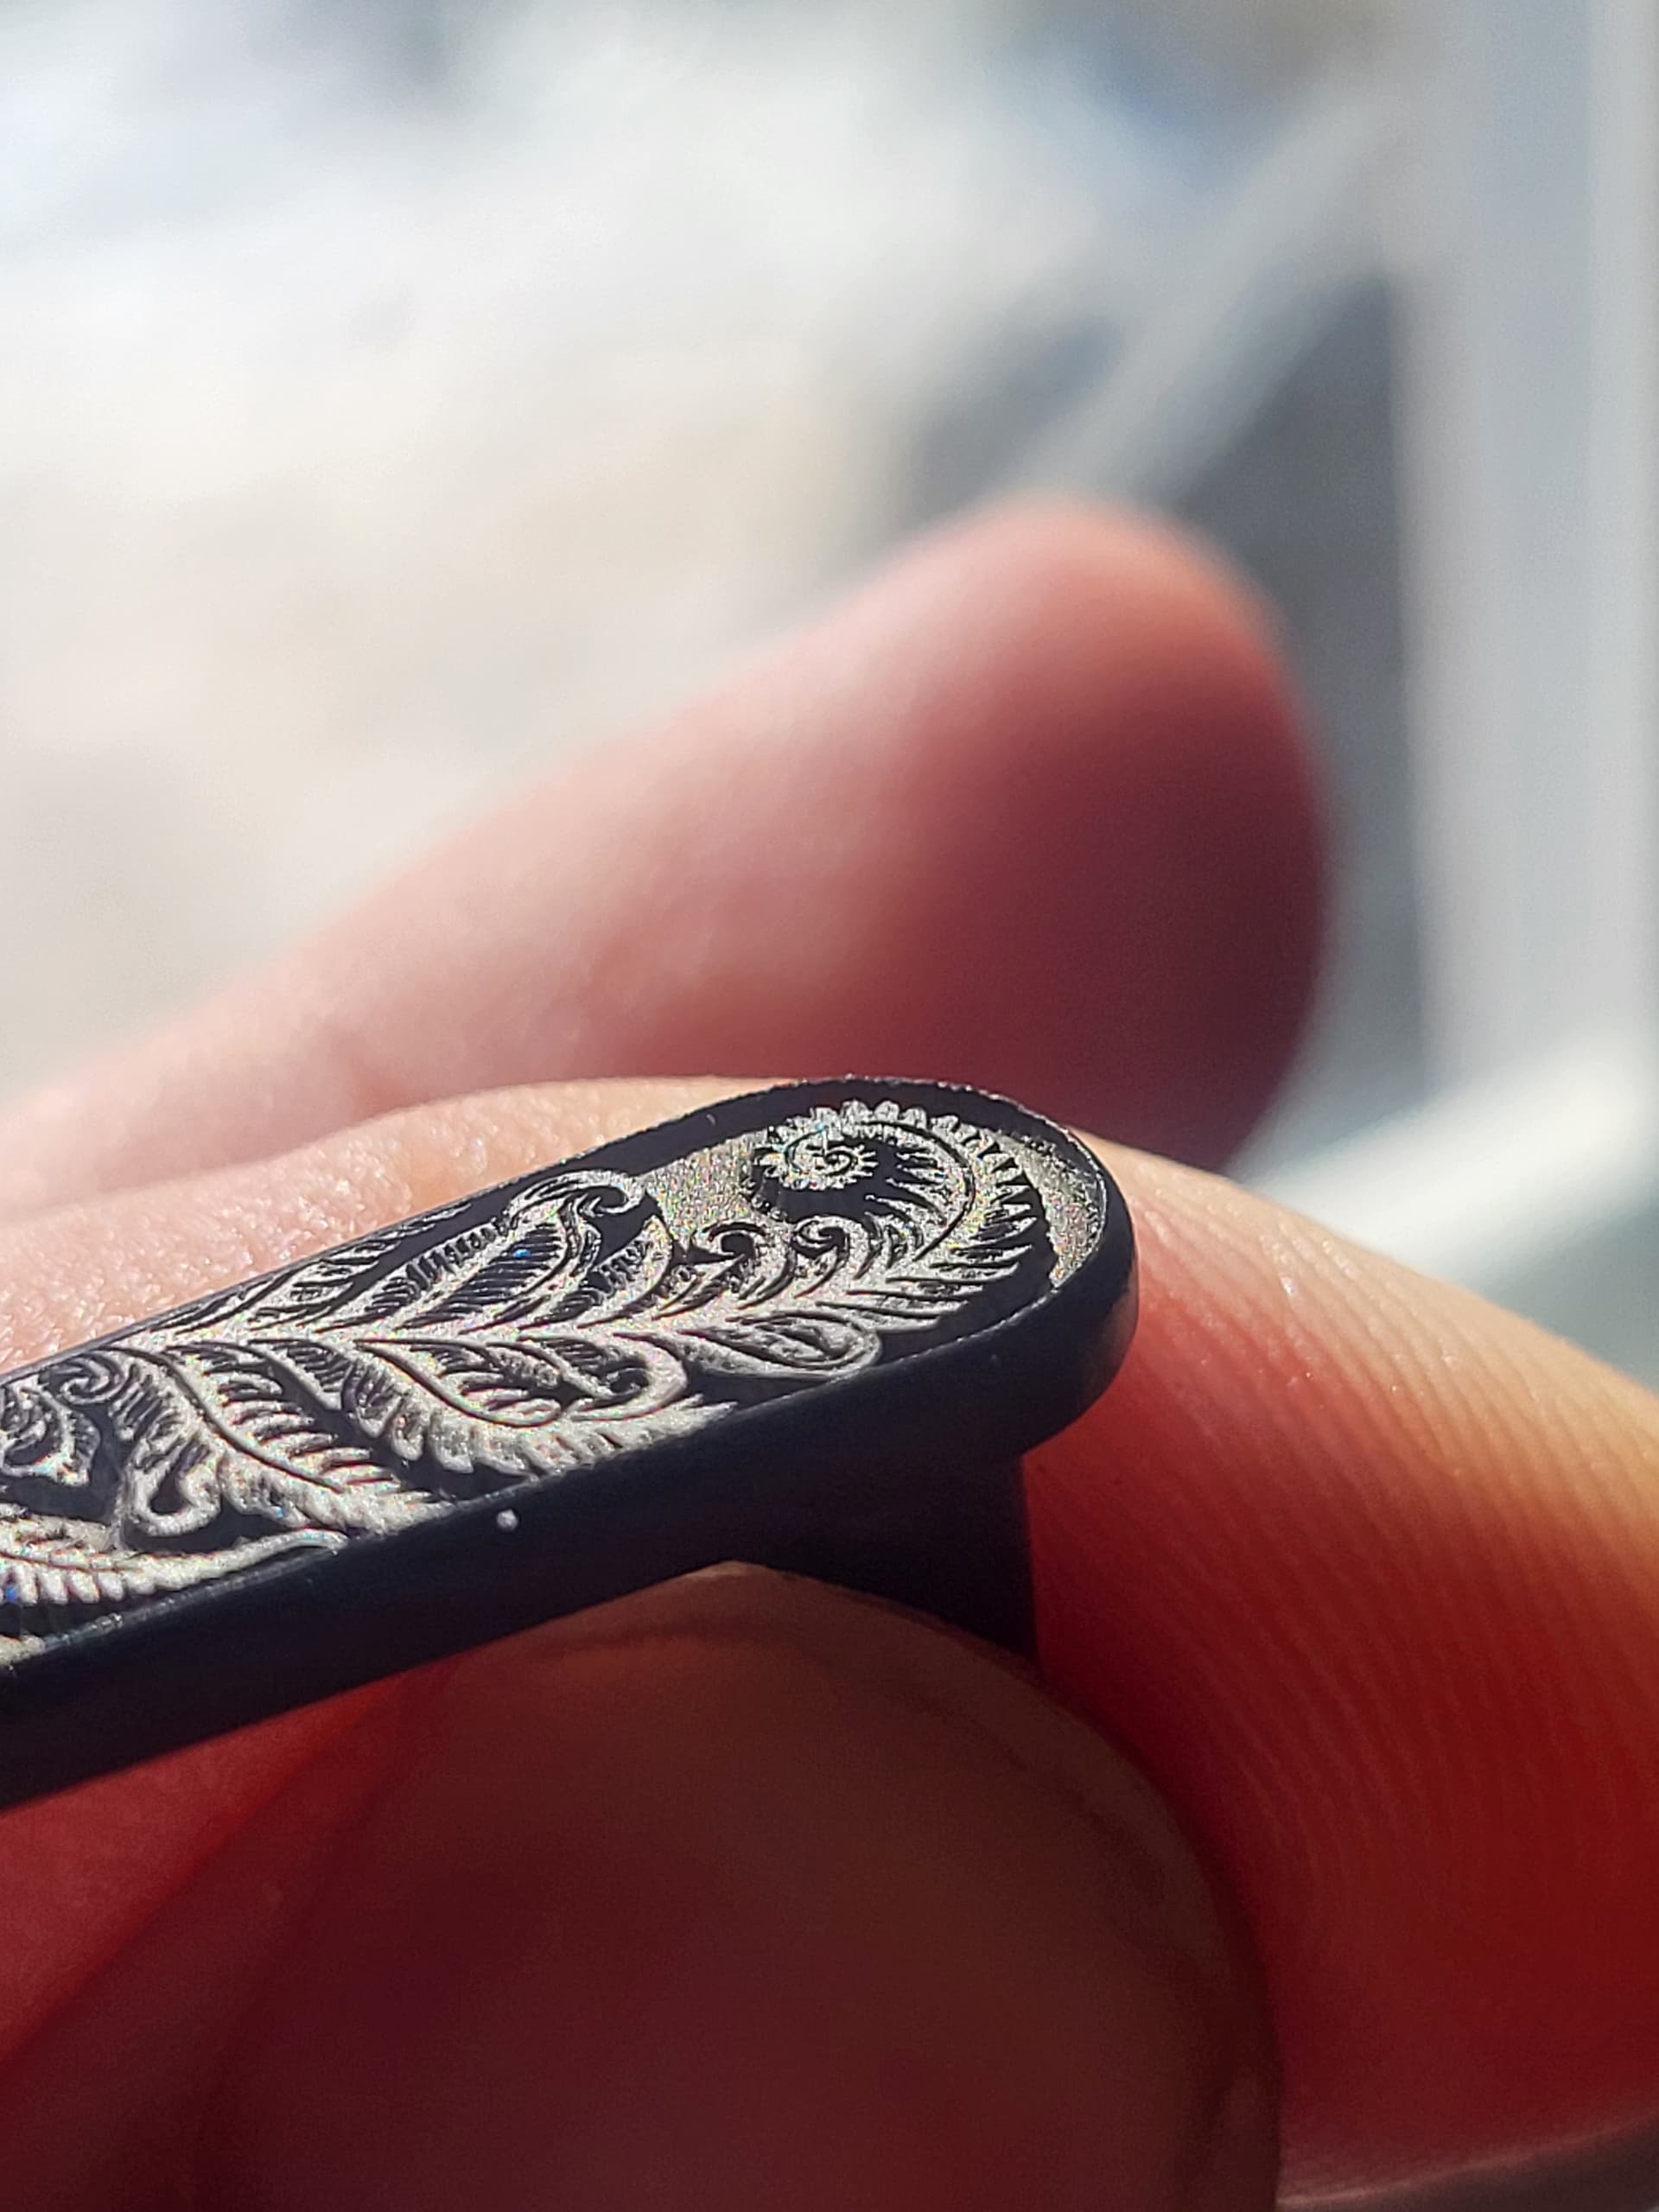
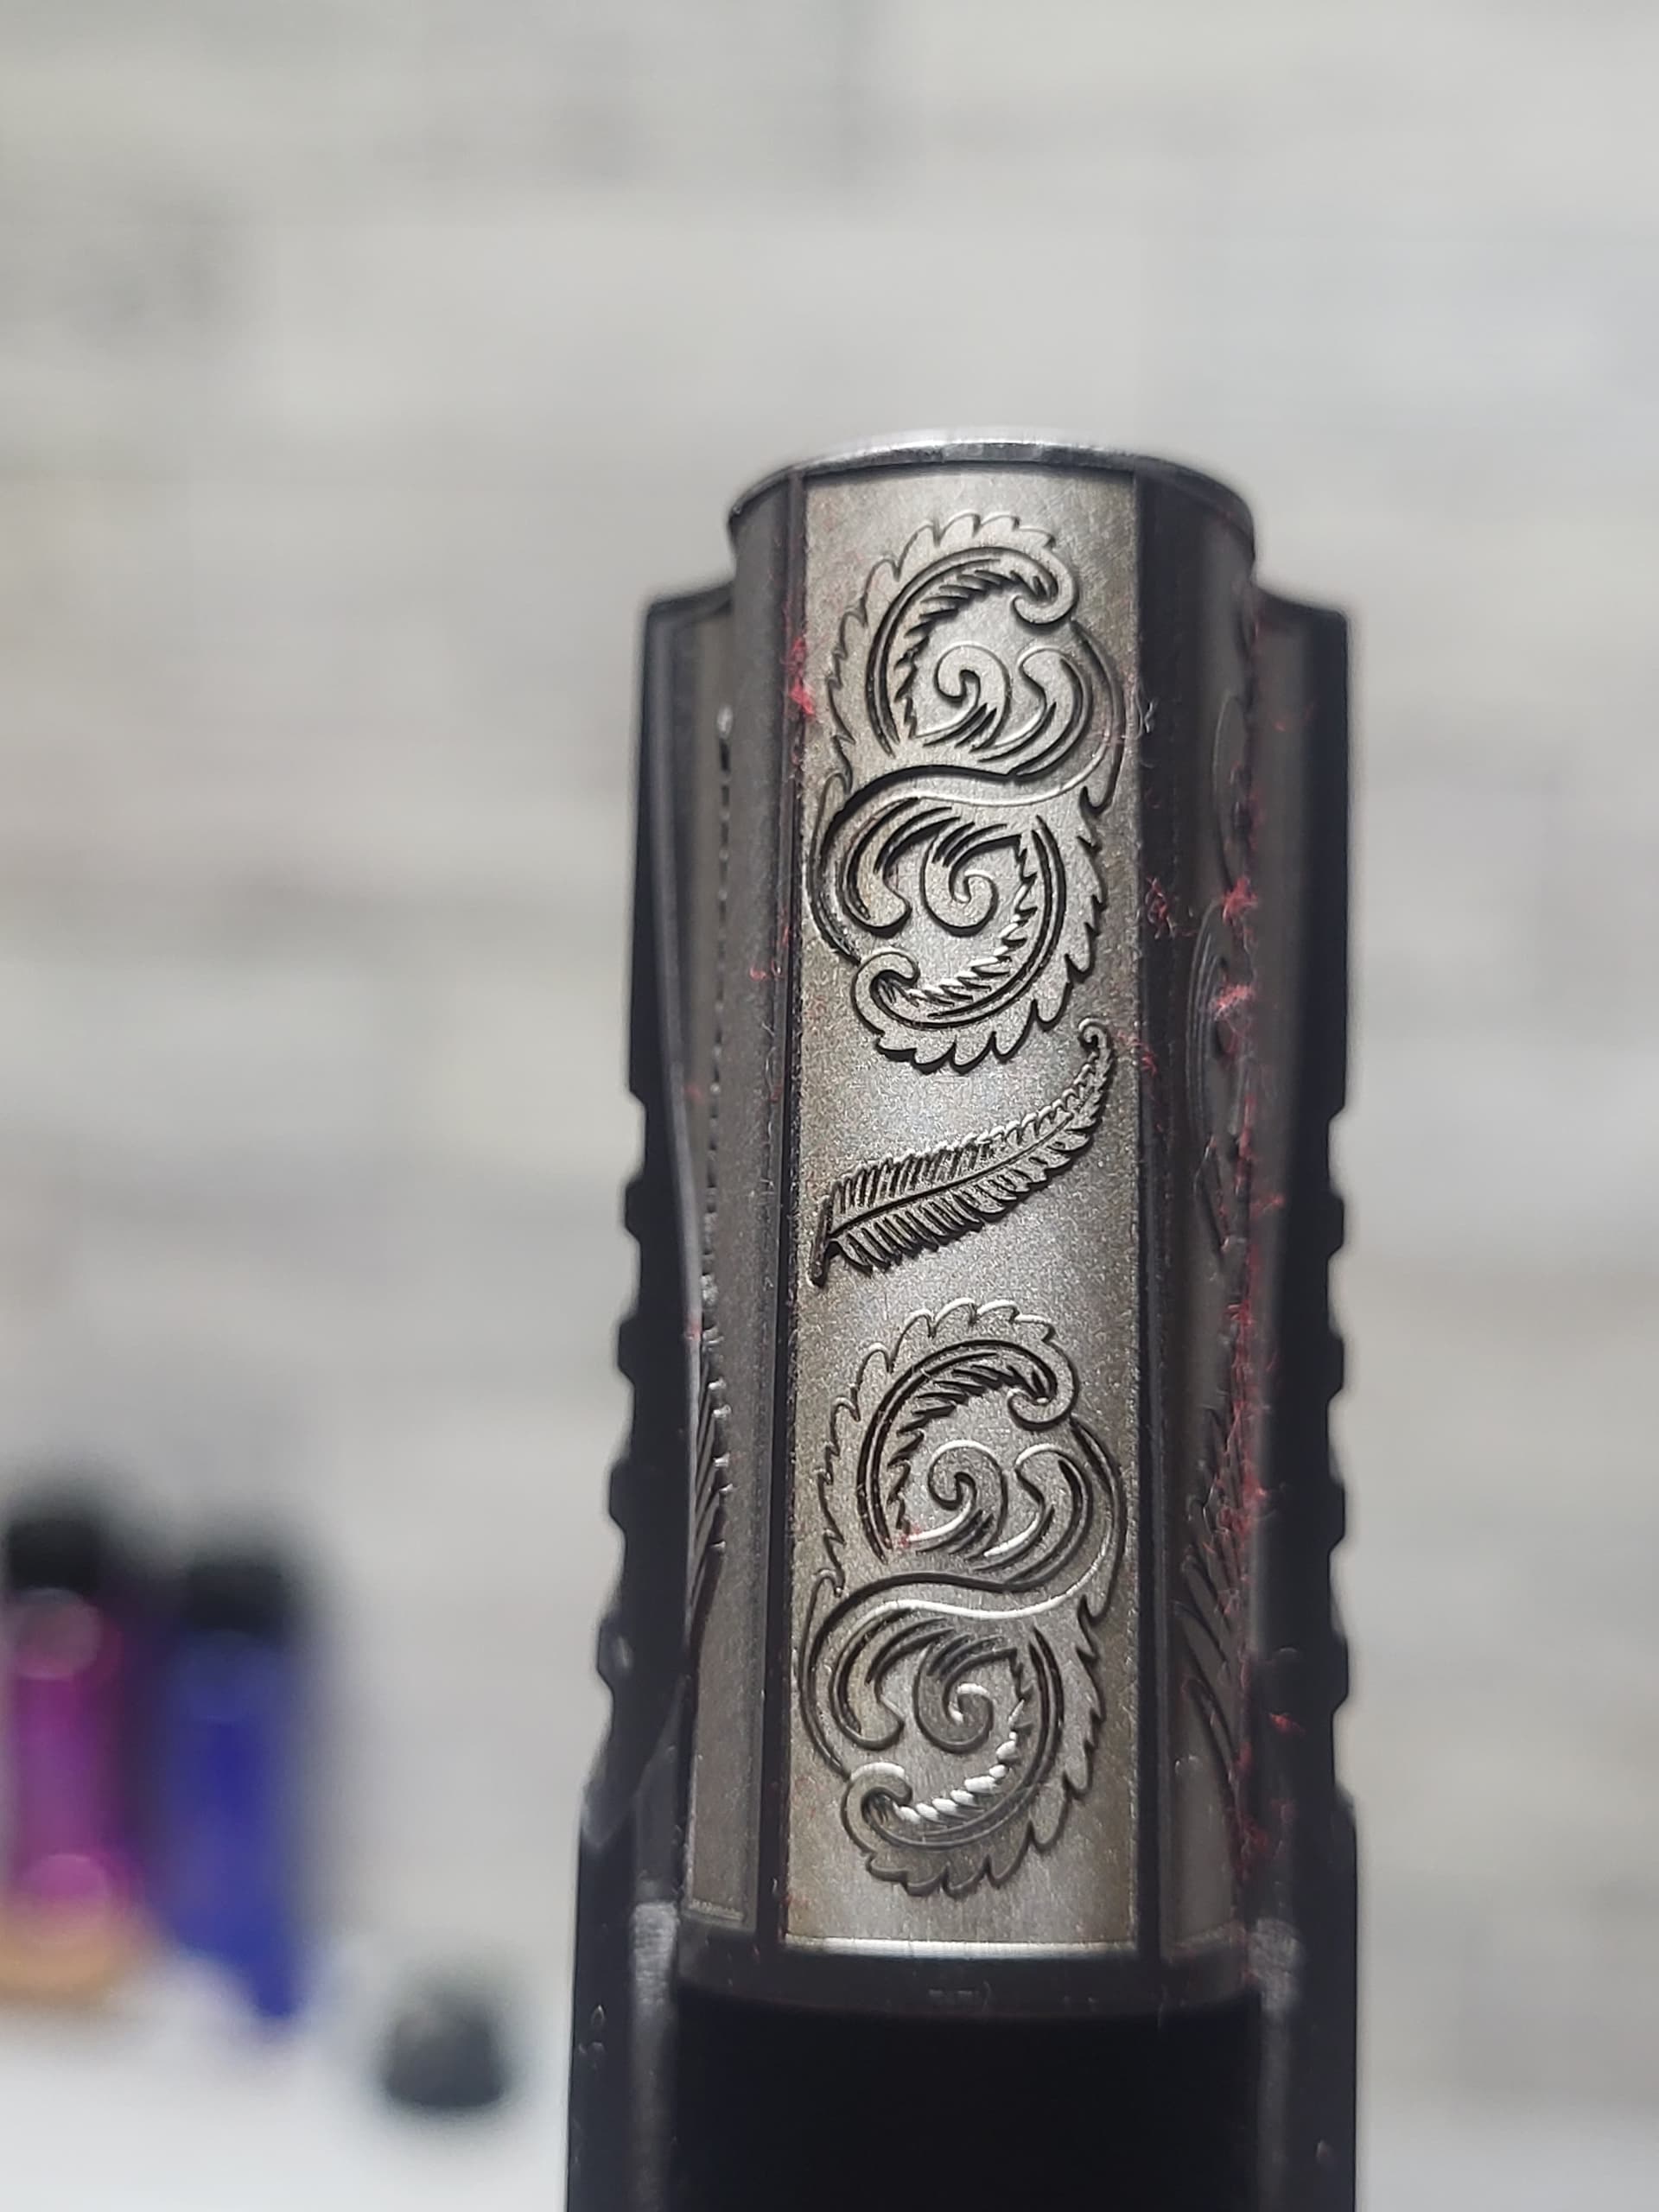
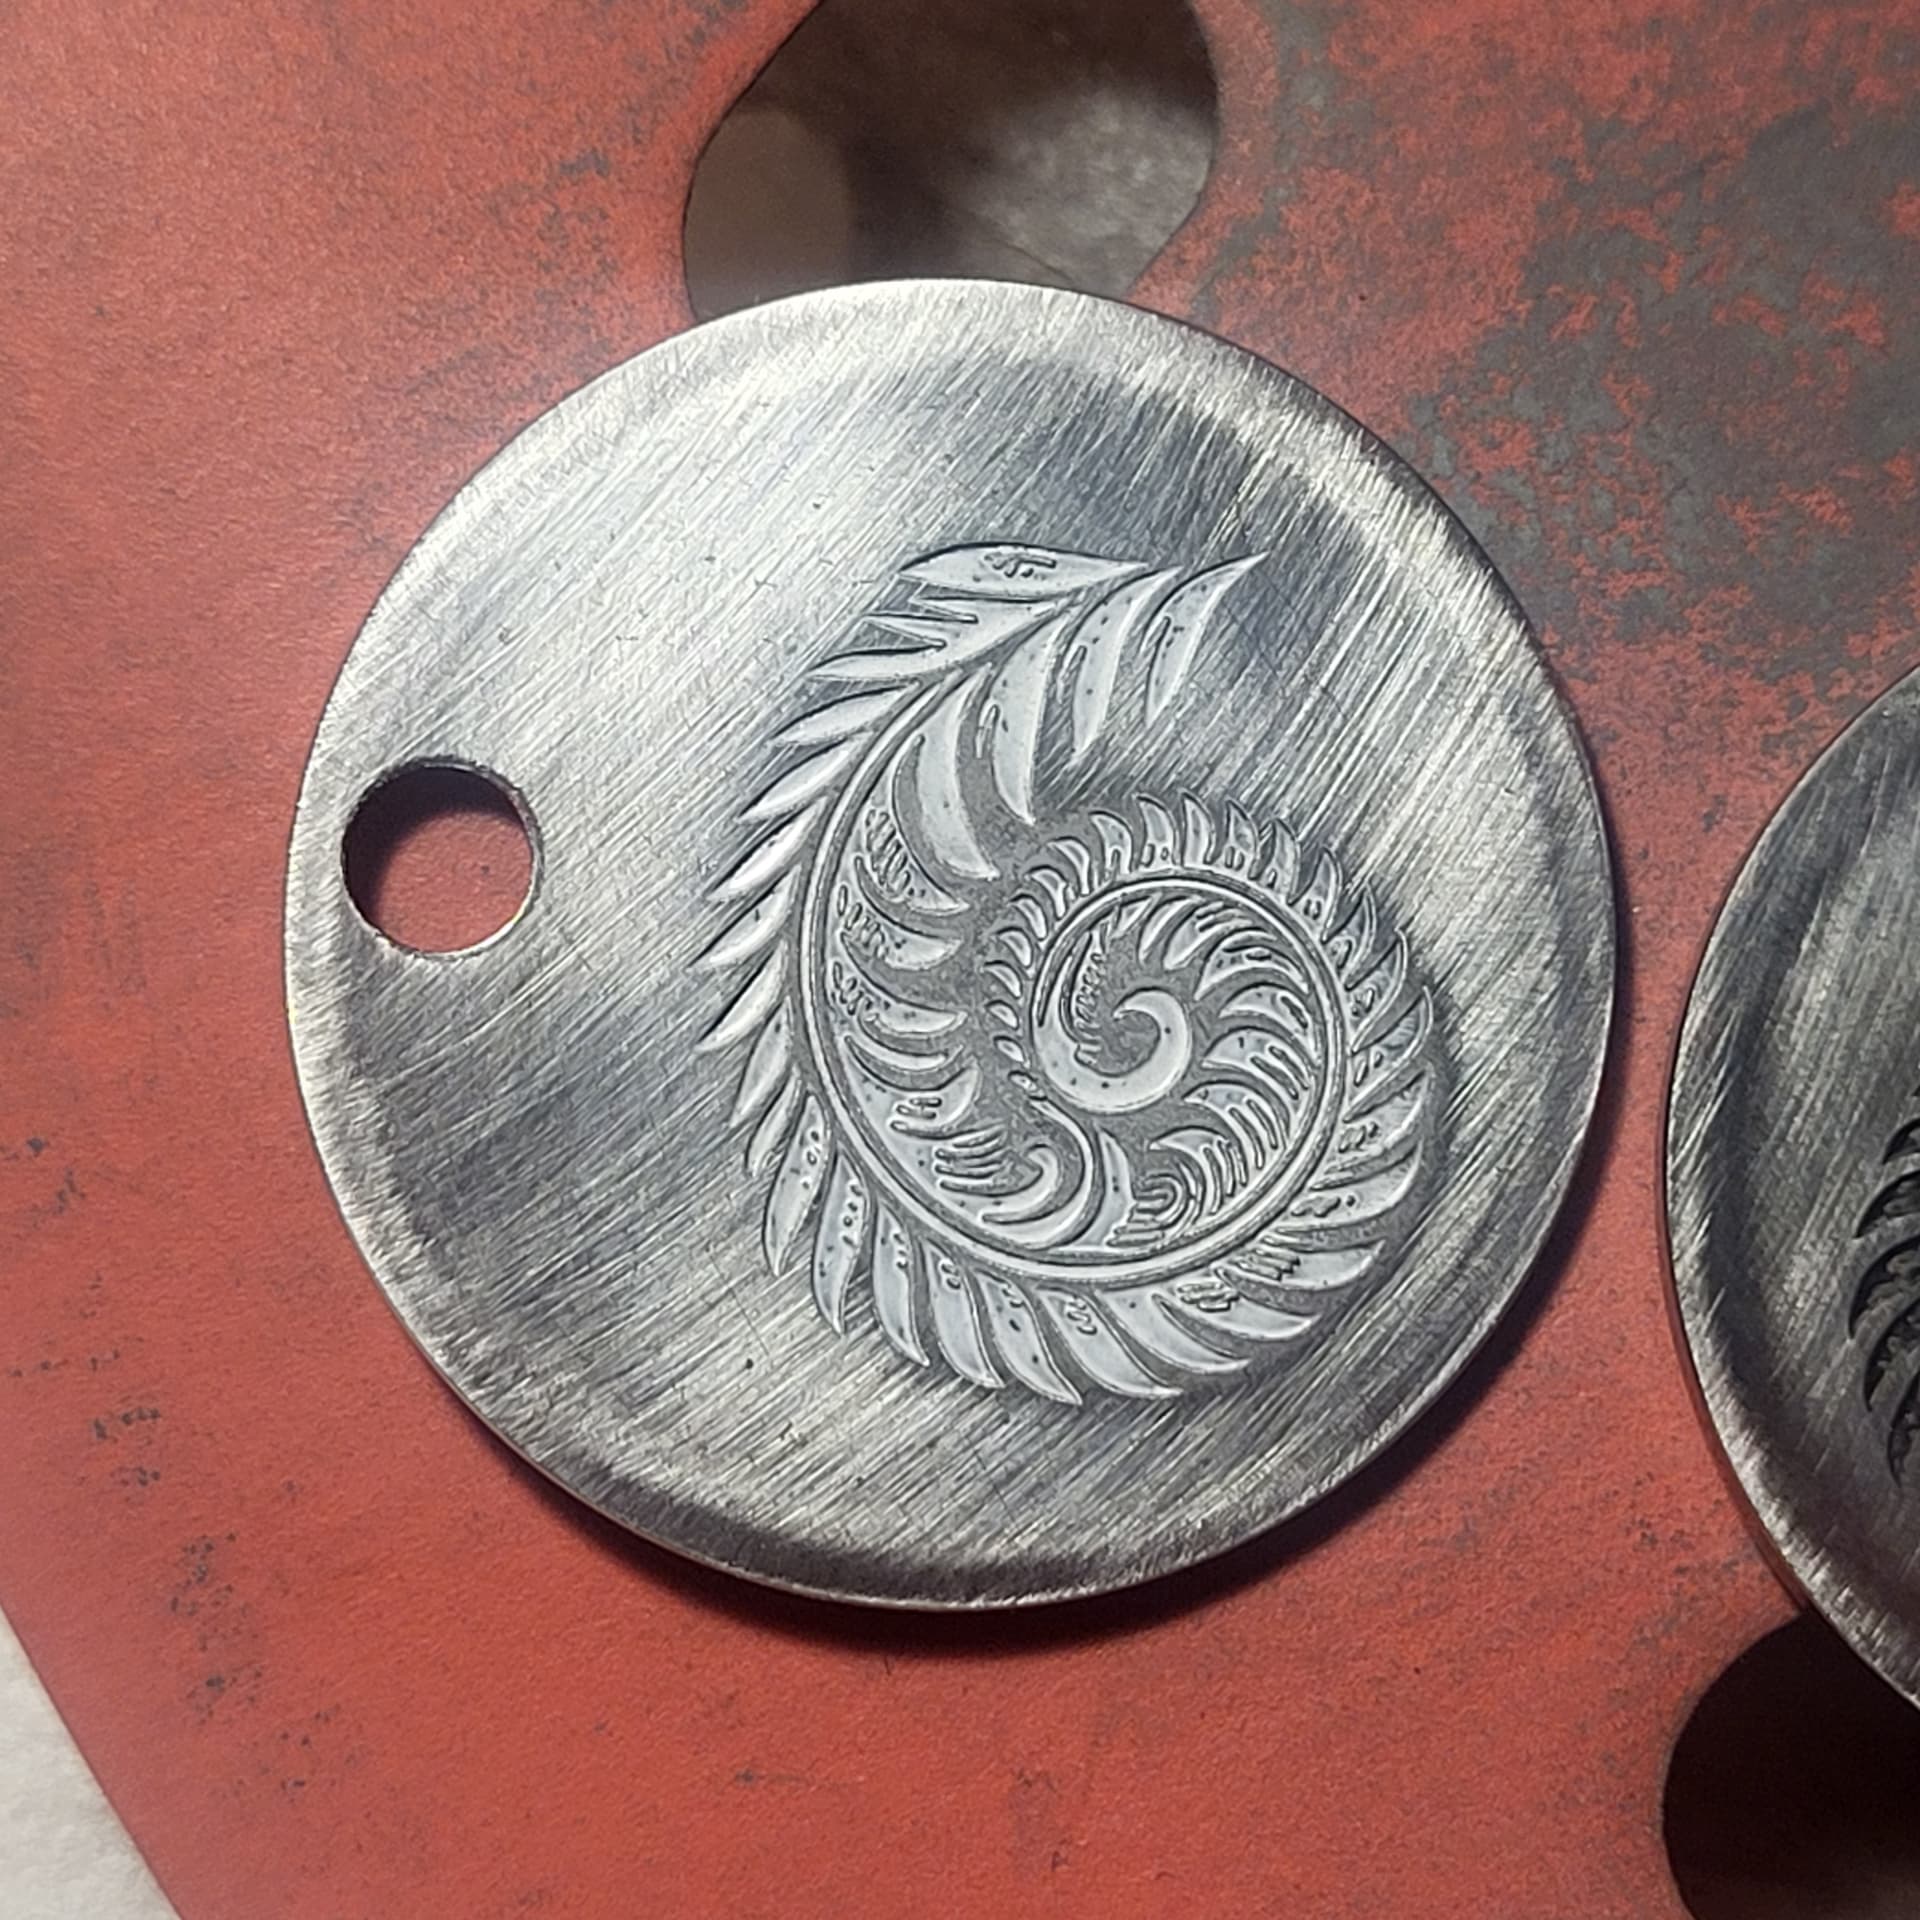
I am really enjoying designing my own flourishes, it is an absolute blast. The improvements they have made to boolean operations is really really helpful. Have been using the heck out of the scissor tool as well.
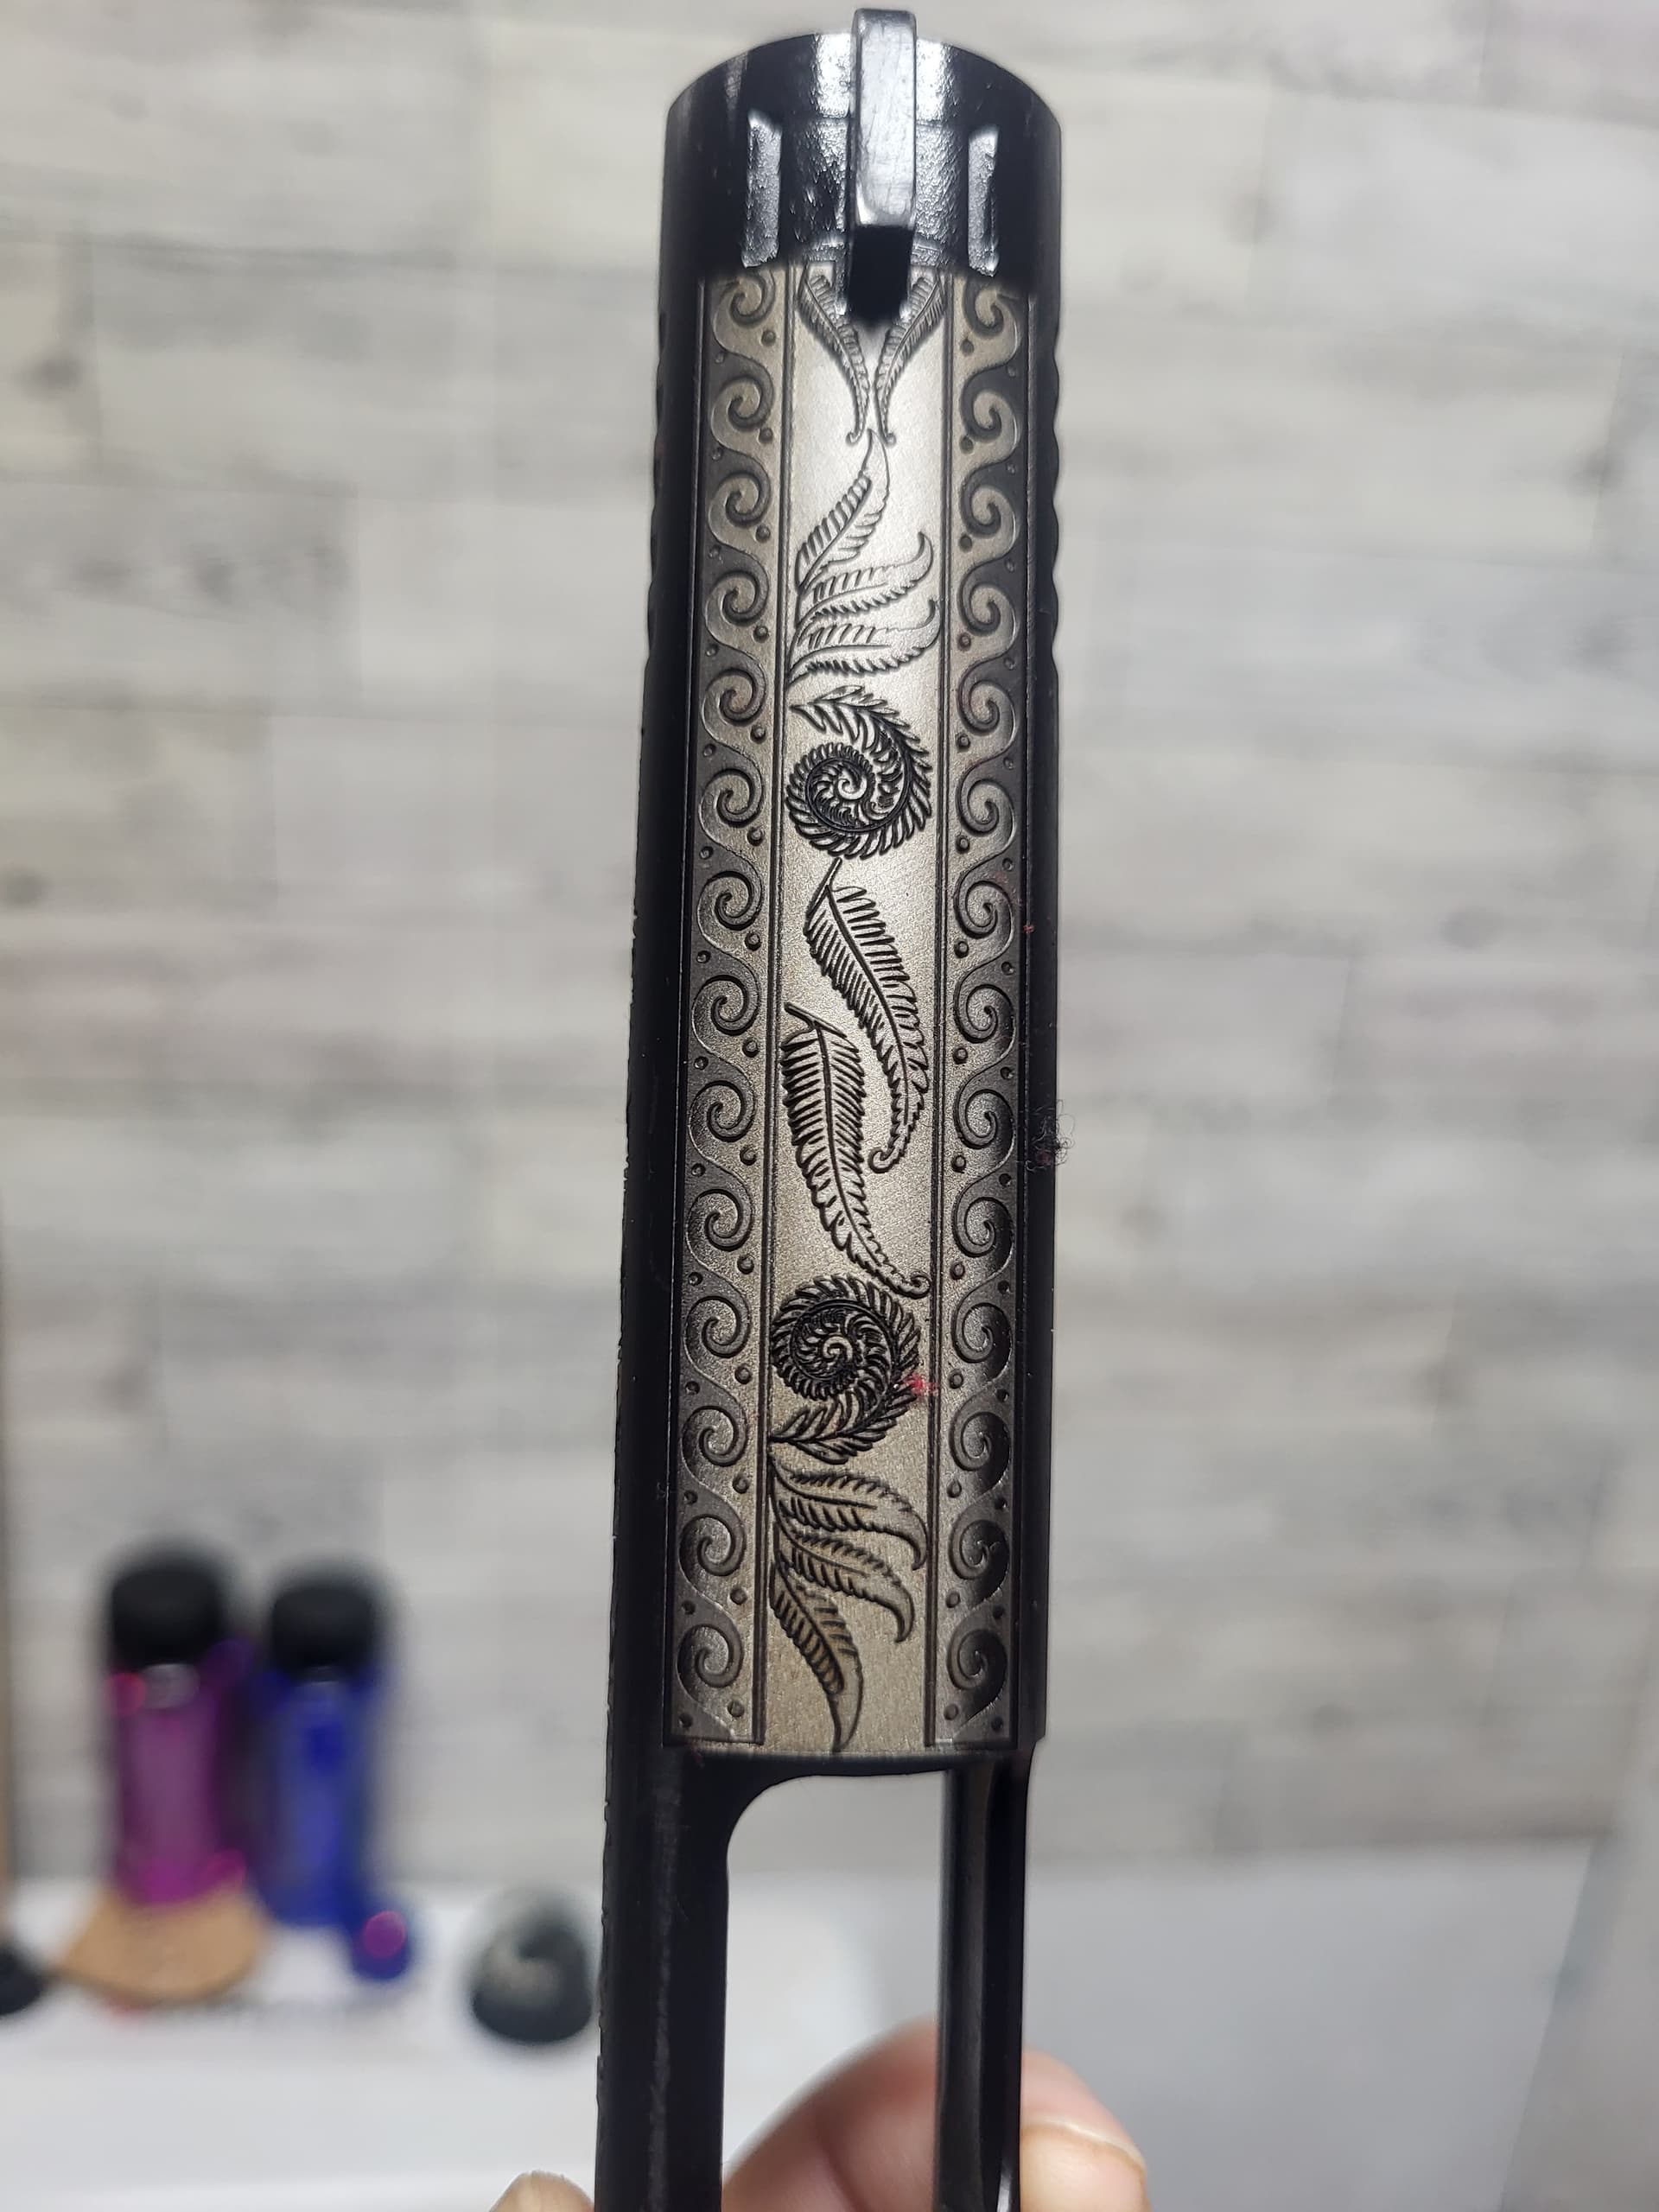
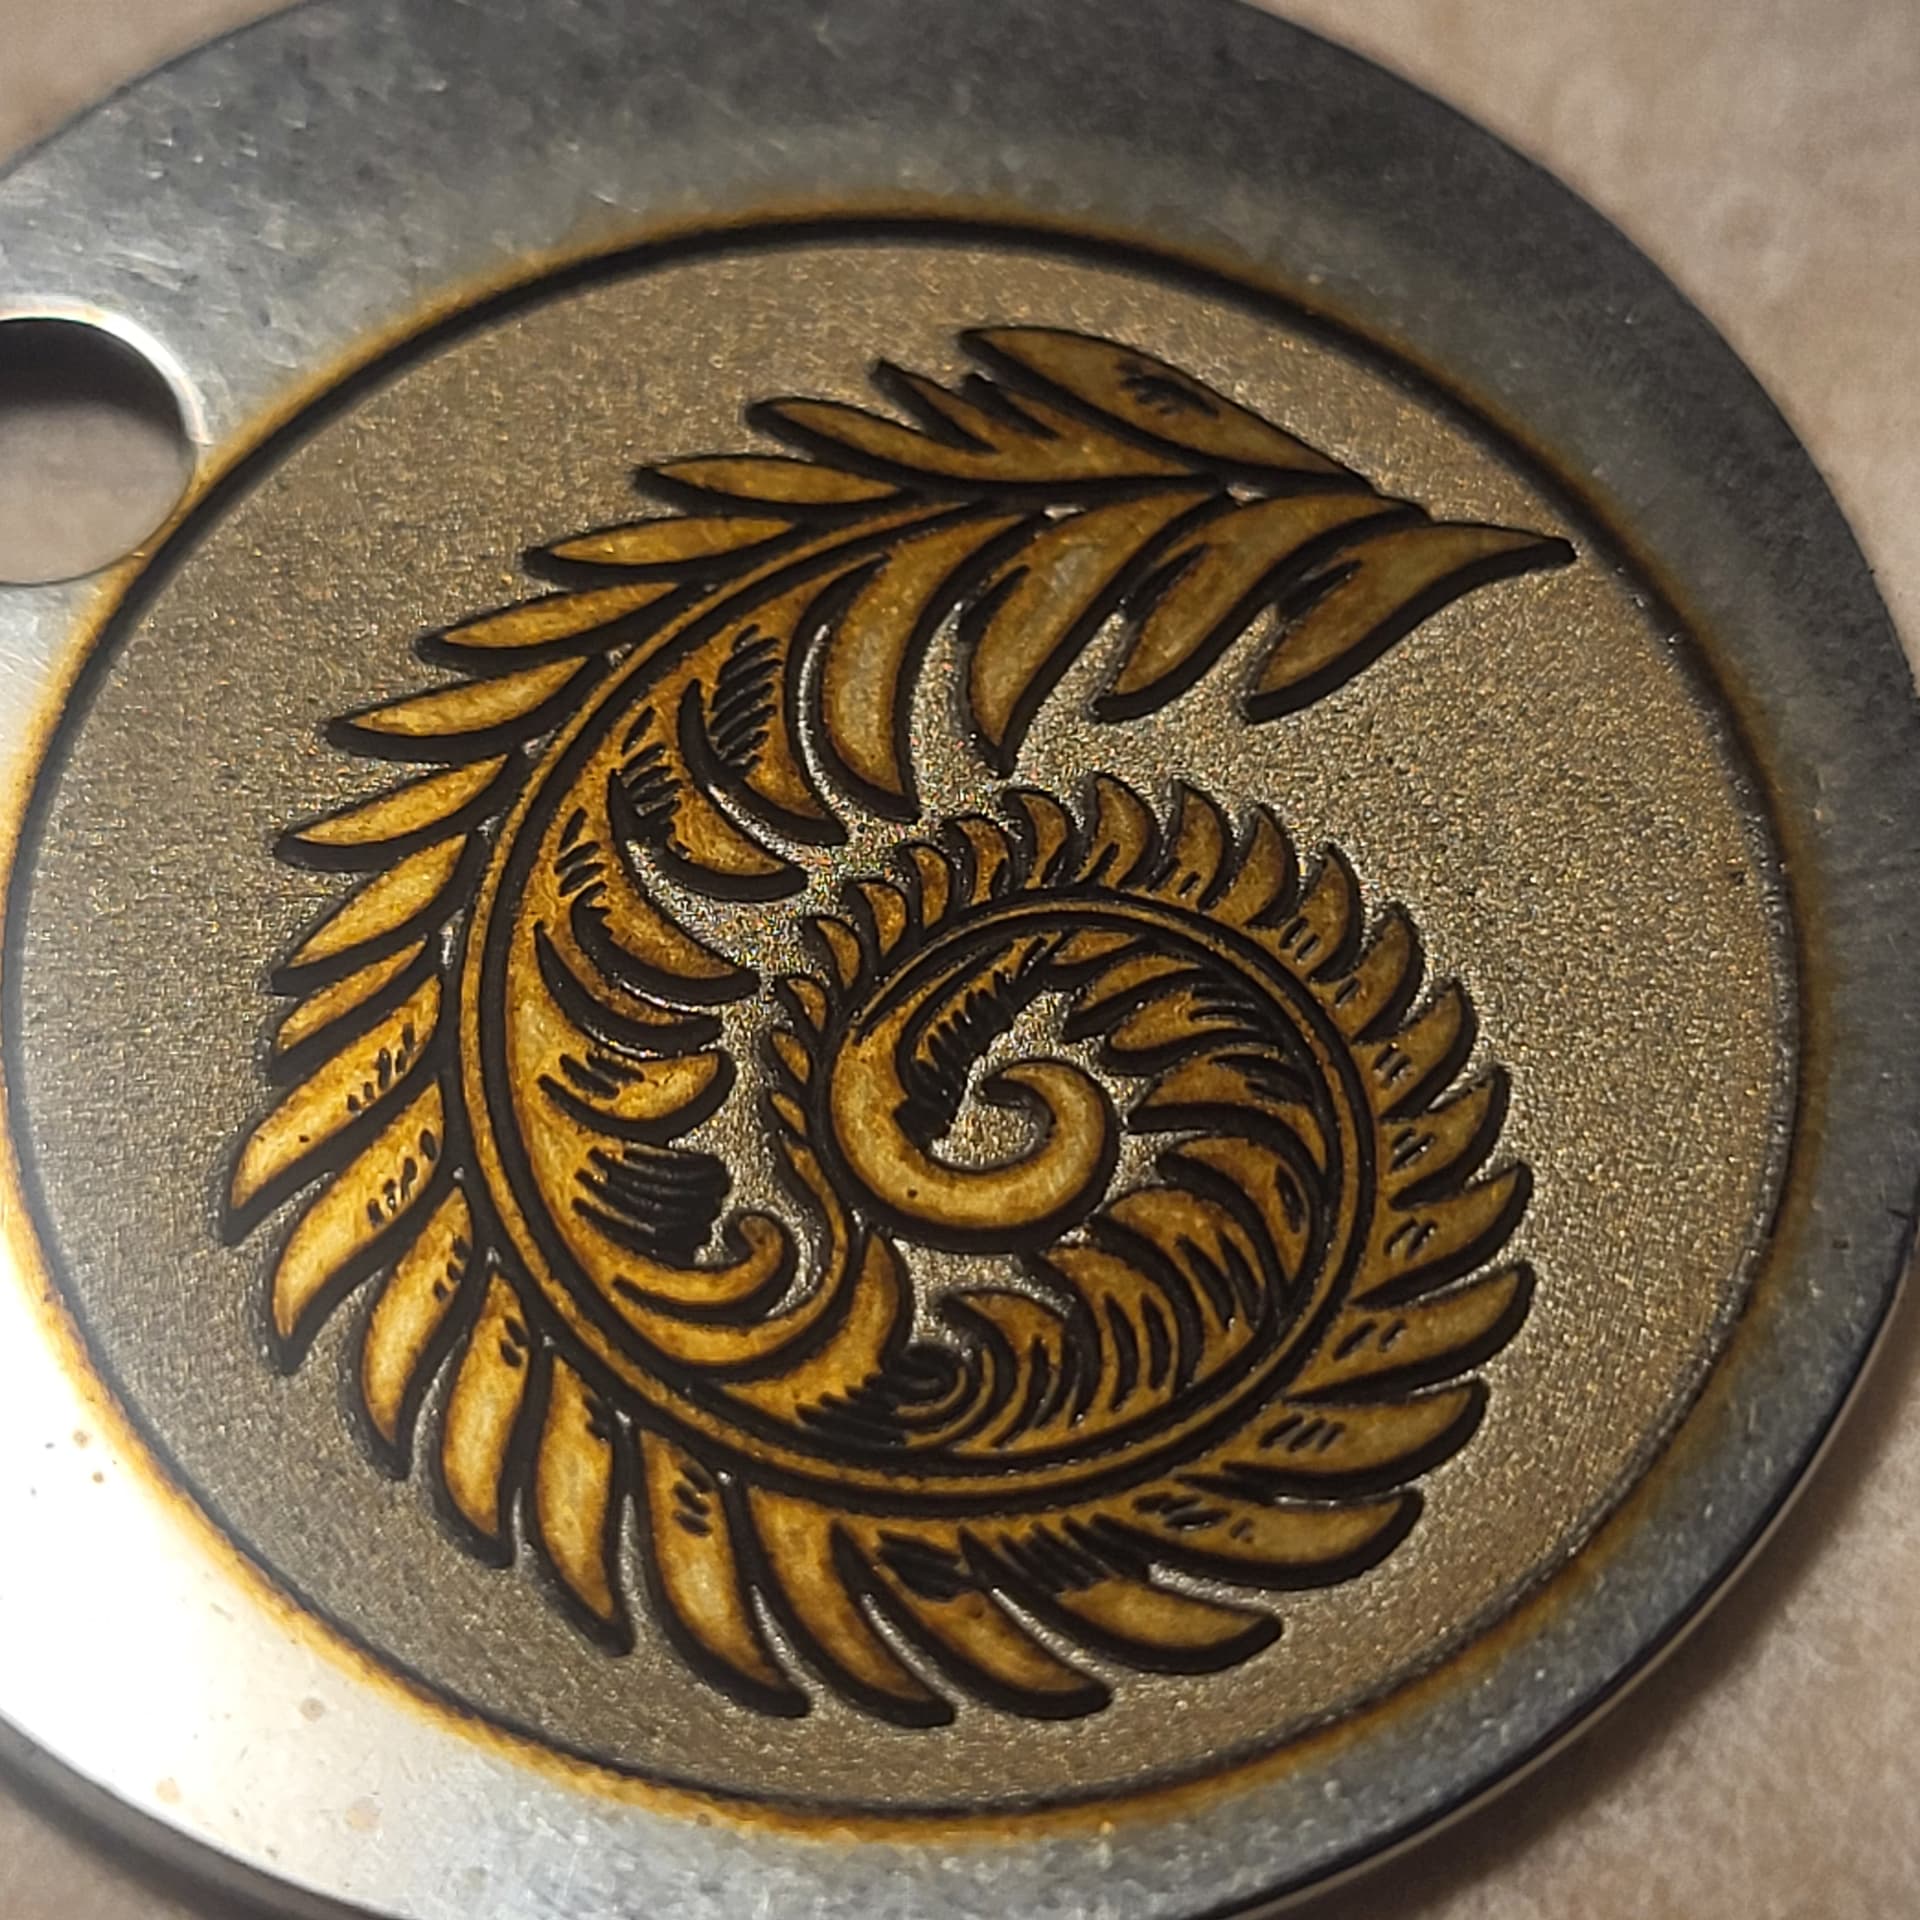
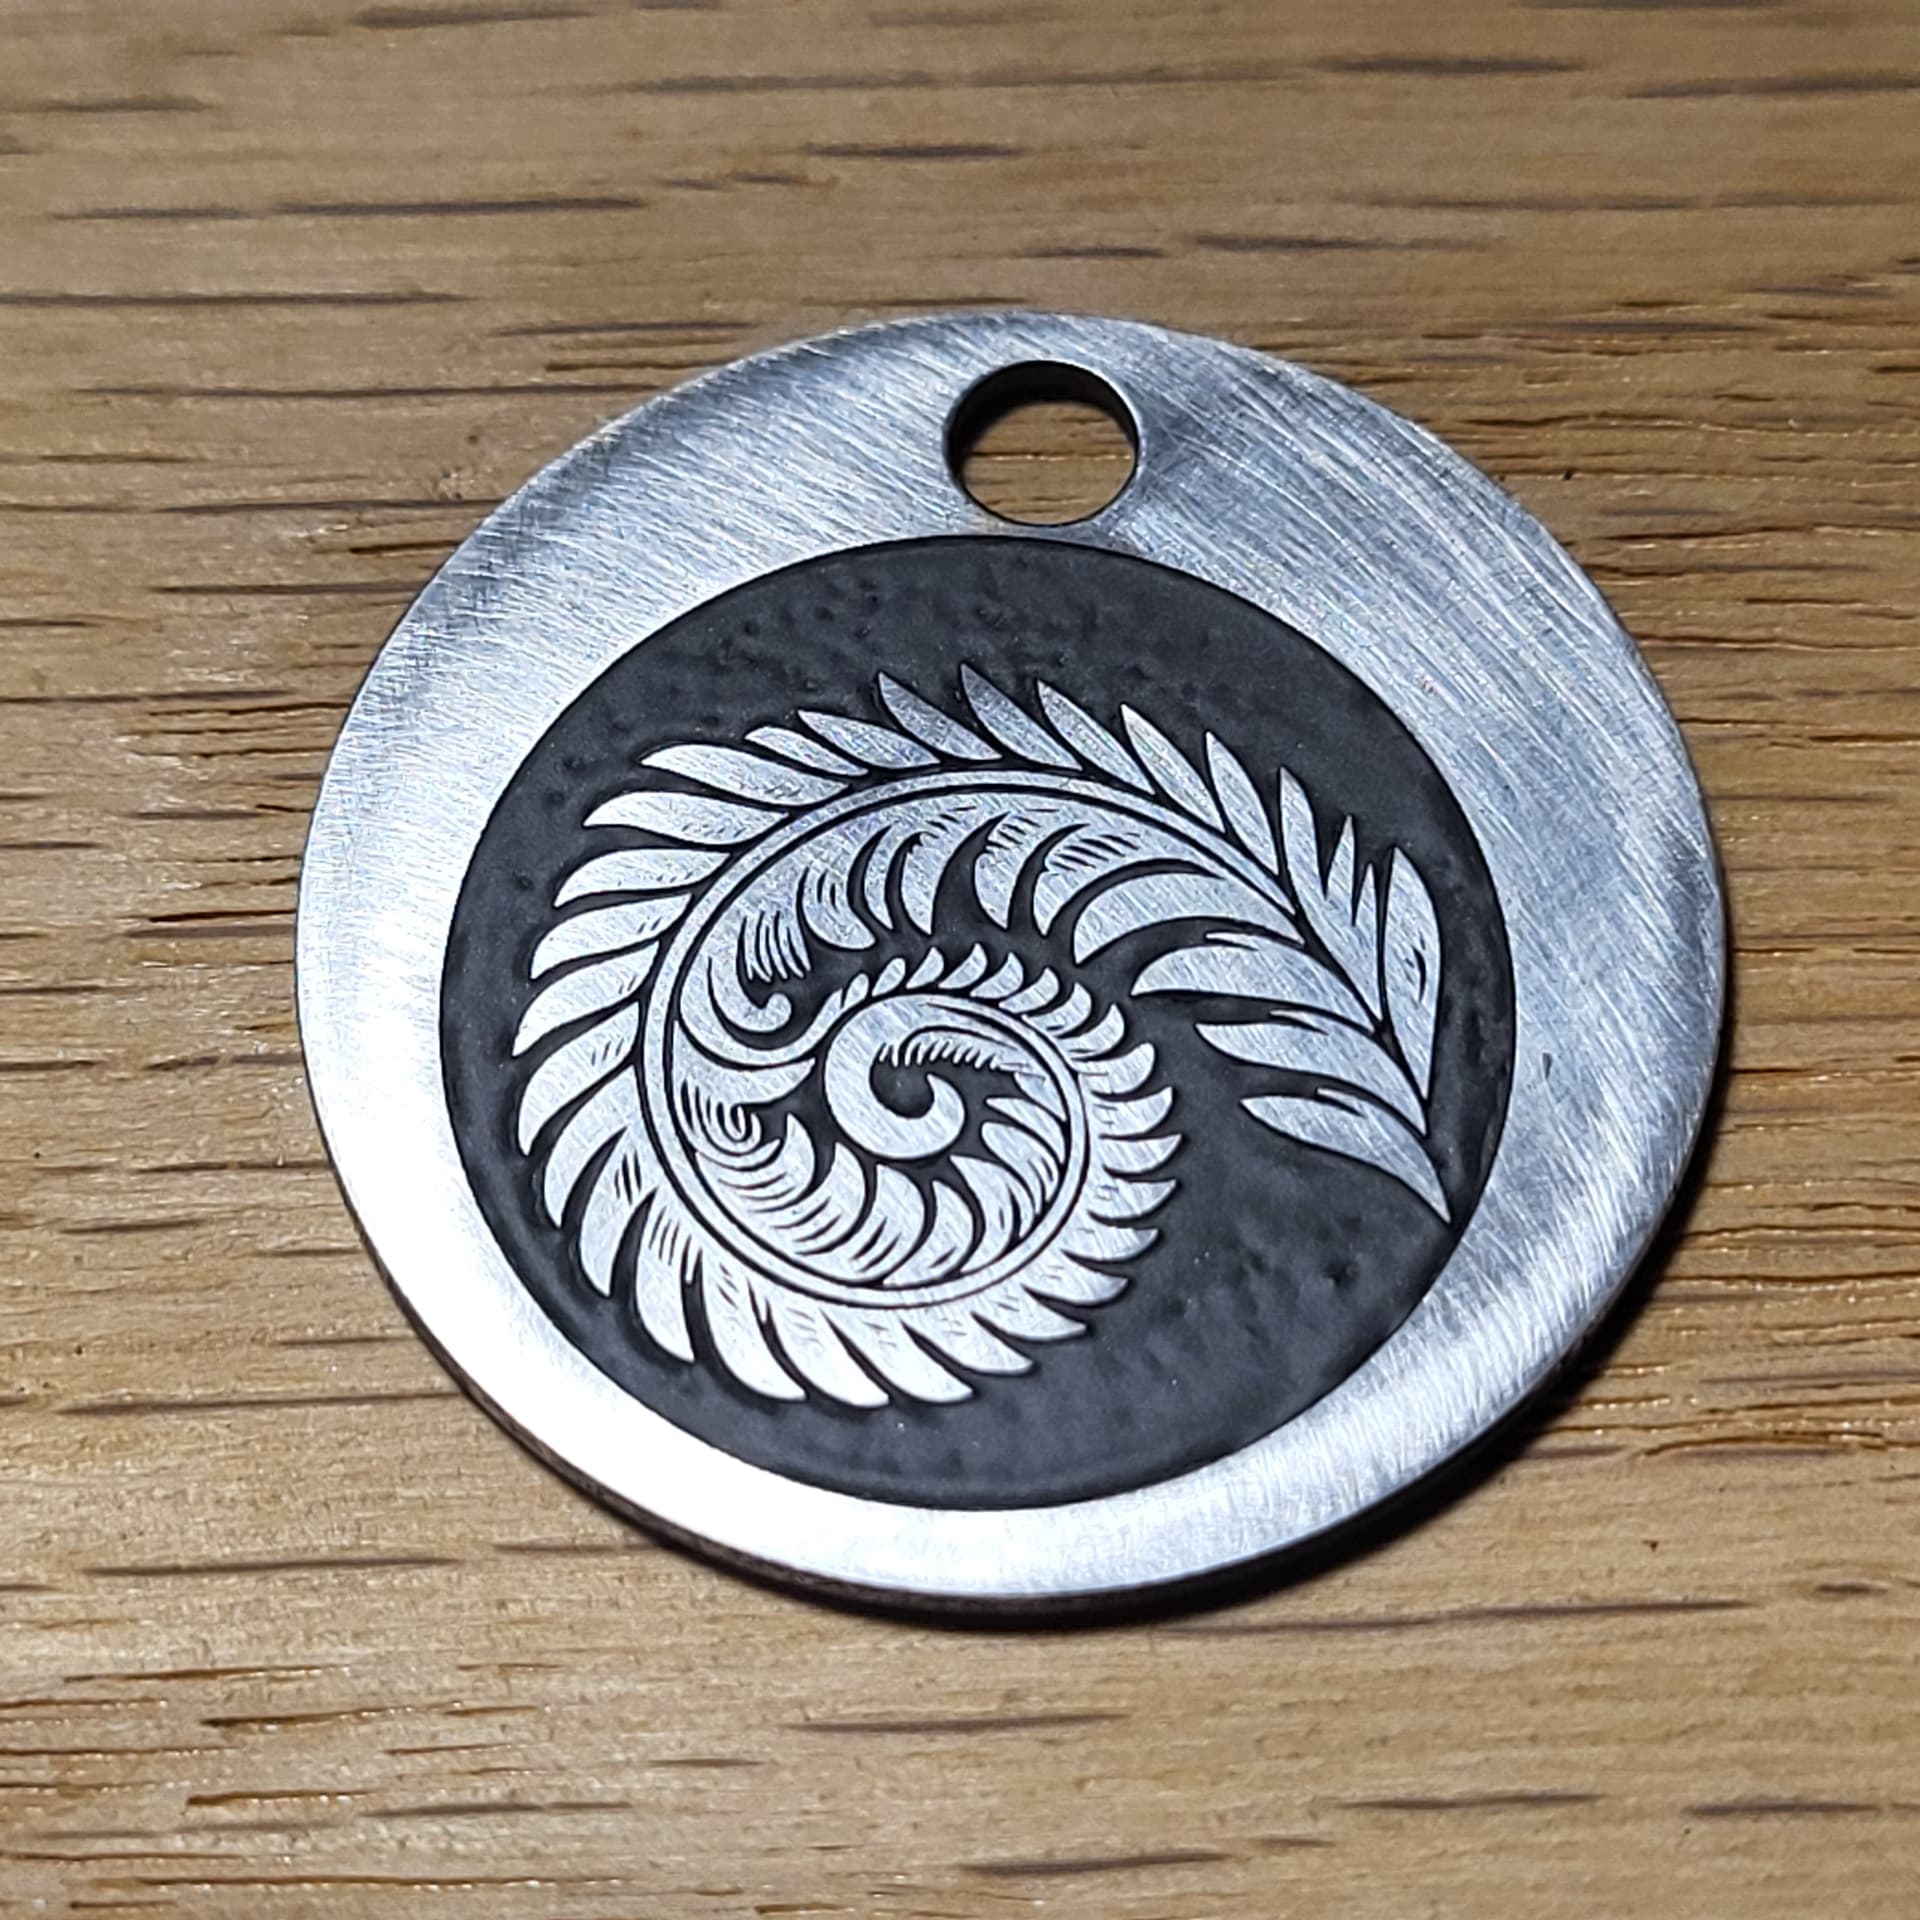
I have reduced the total number of passes from 80 (+ cleaning passes) to 60, after chatting with @Mooseman684 a bit to ensure shell strength. This locks in the depth at approximately .2mm or 8 thousandths.
Man , That looks AWESOME ! The engraving looks deeper than .2mm and very clean. I sure hope I can master that with my Machine , I am a total Noob at this with my first Engraver and having never done CAD programming.
Rich
Let me know when you need help I’m glad to assist! I think the trickiest part for me was learning vectors at first. Then realizing that testing testing testing is important.
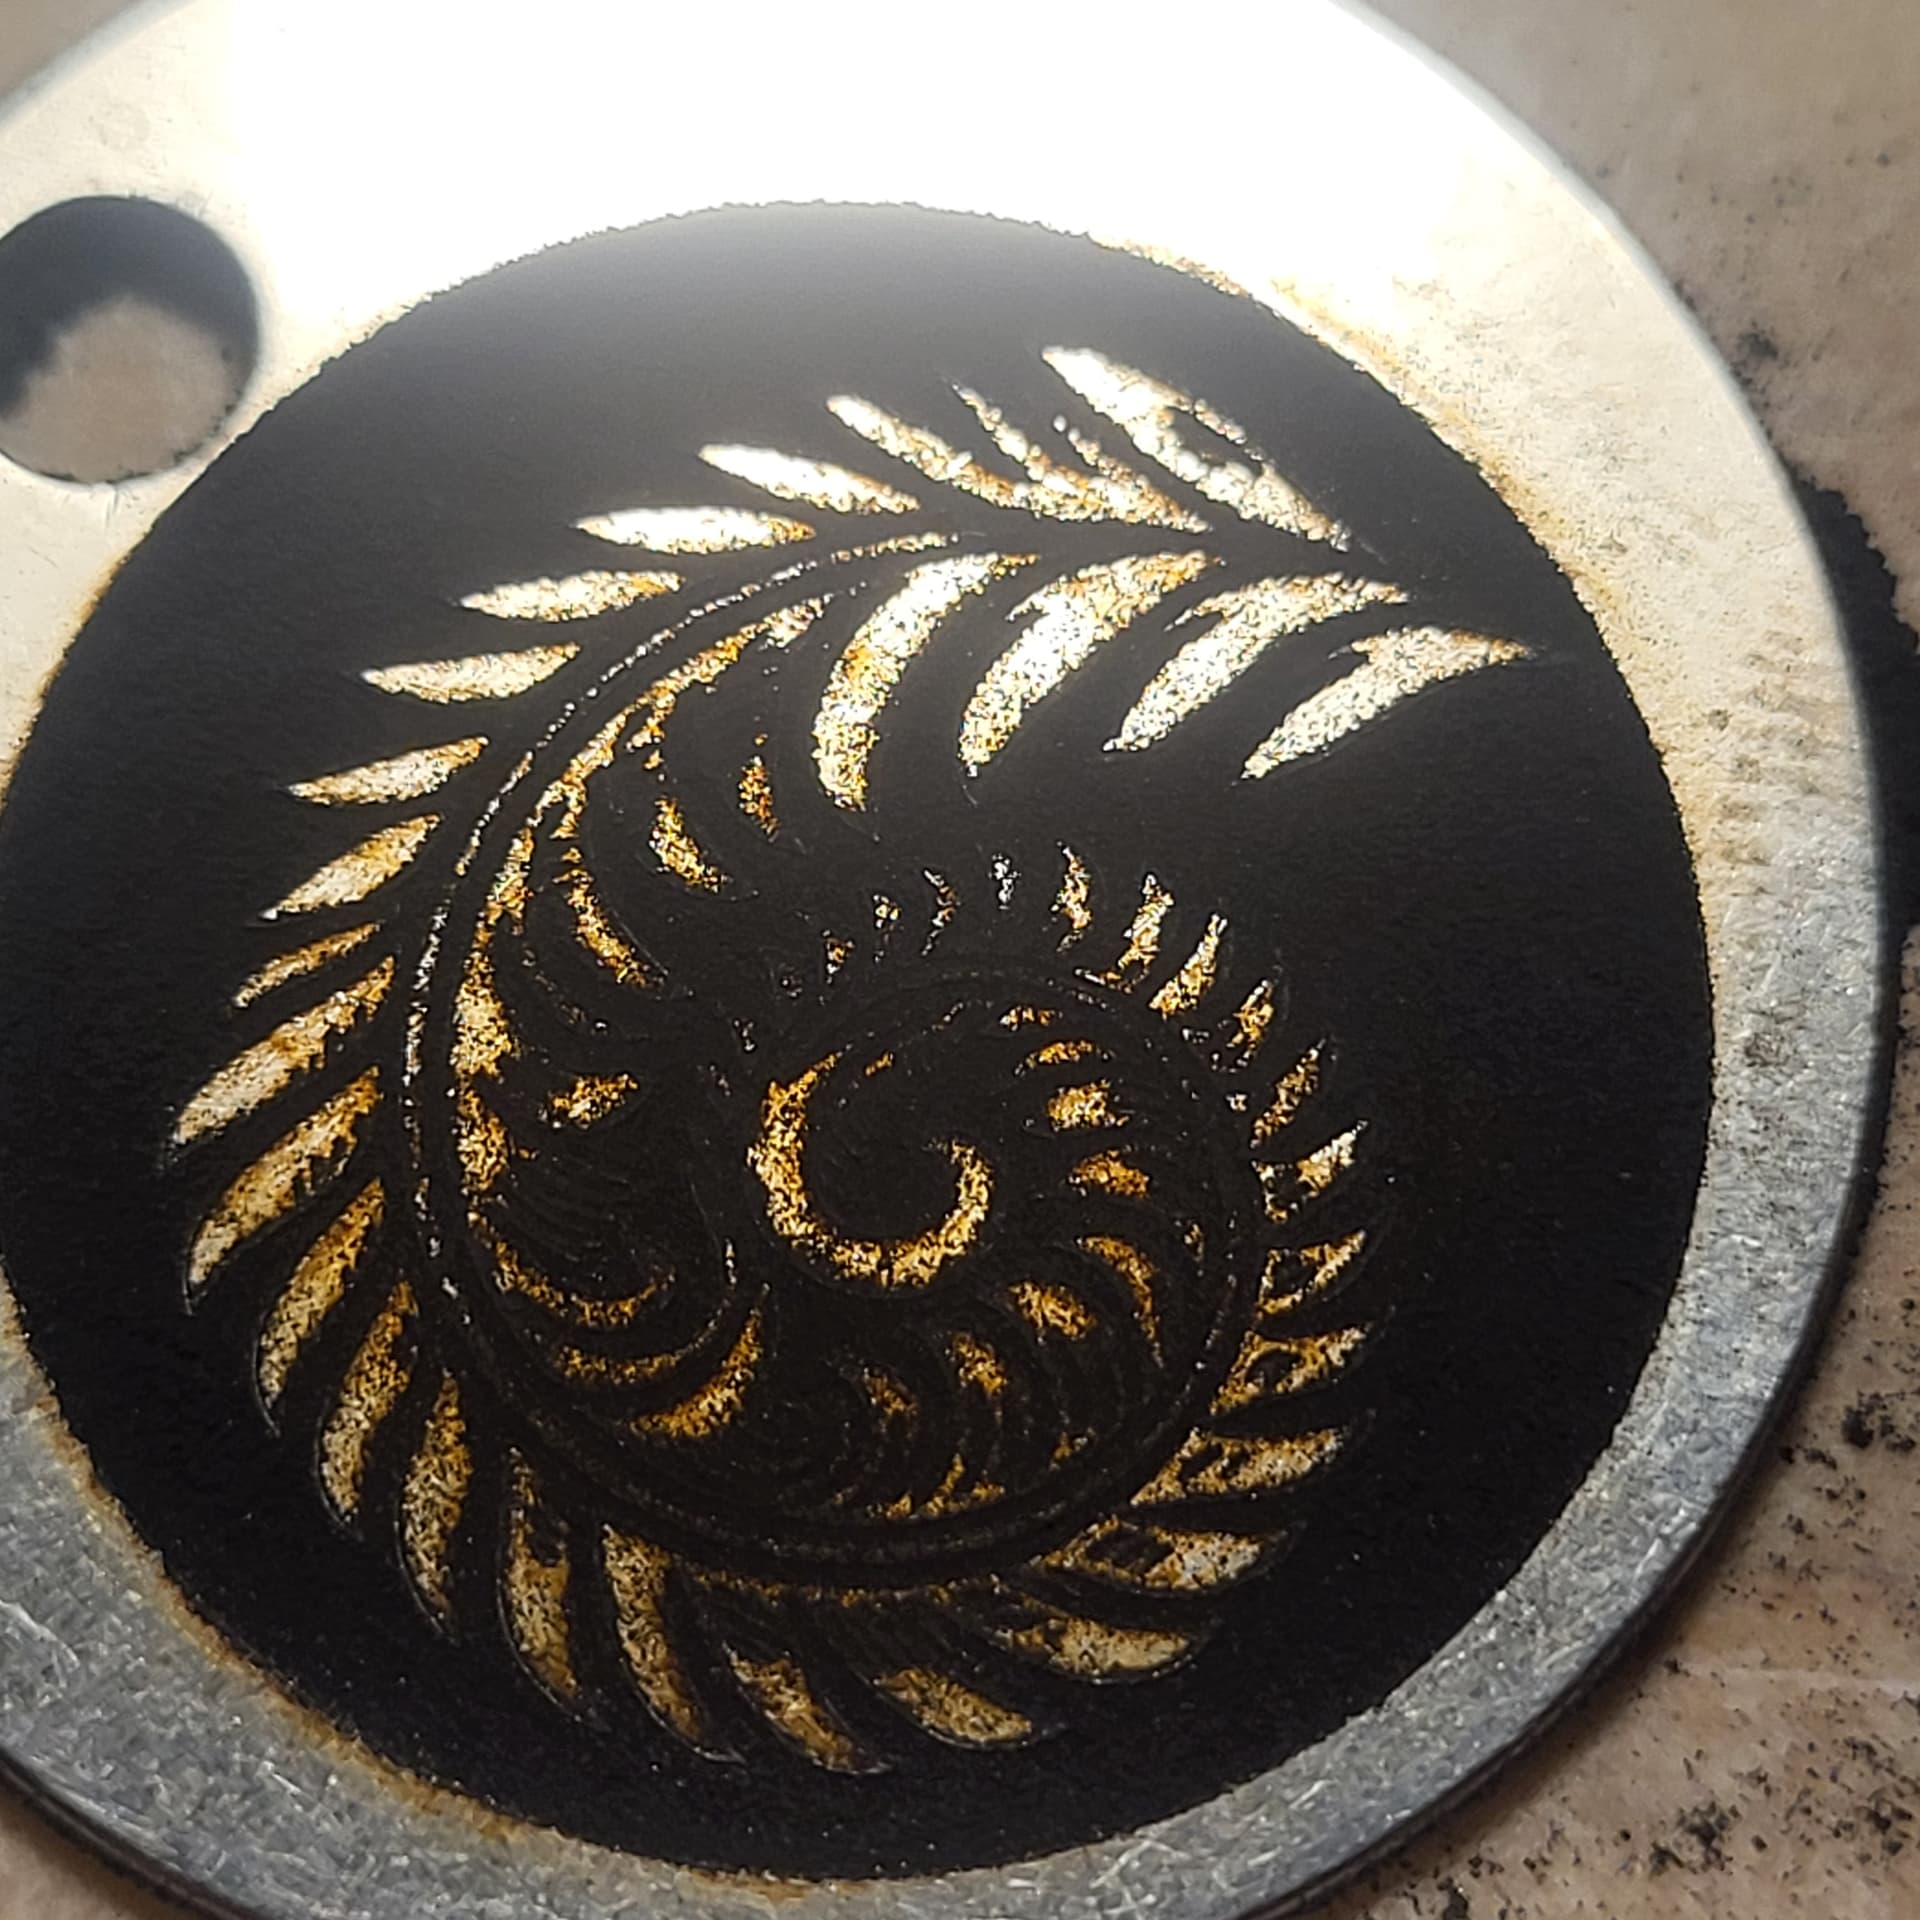
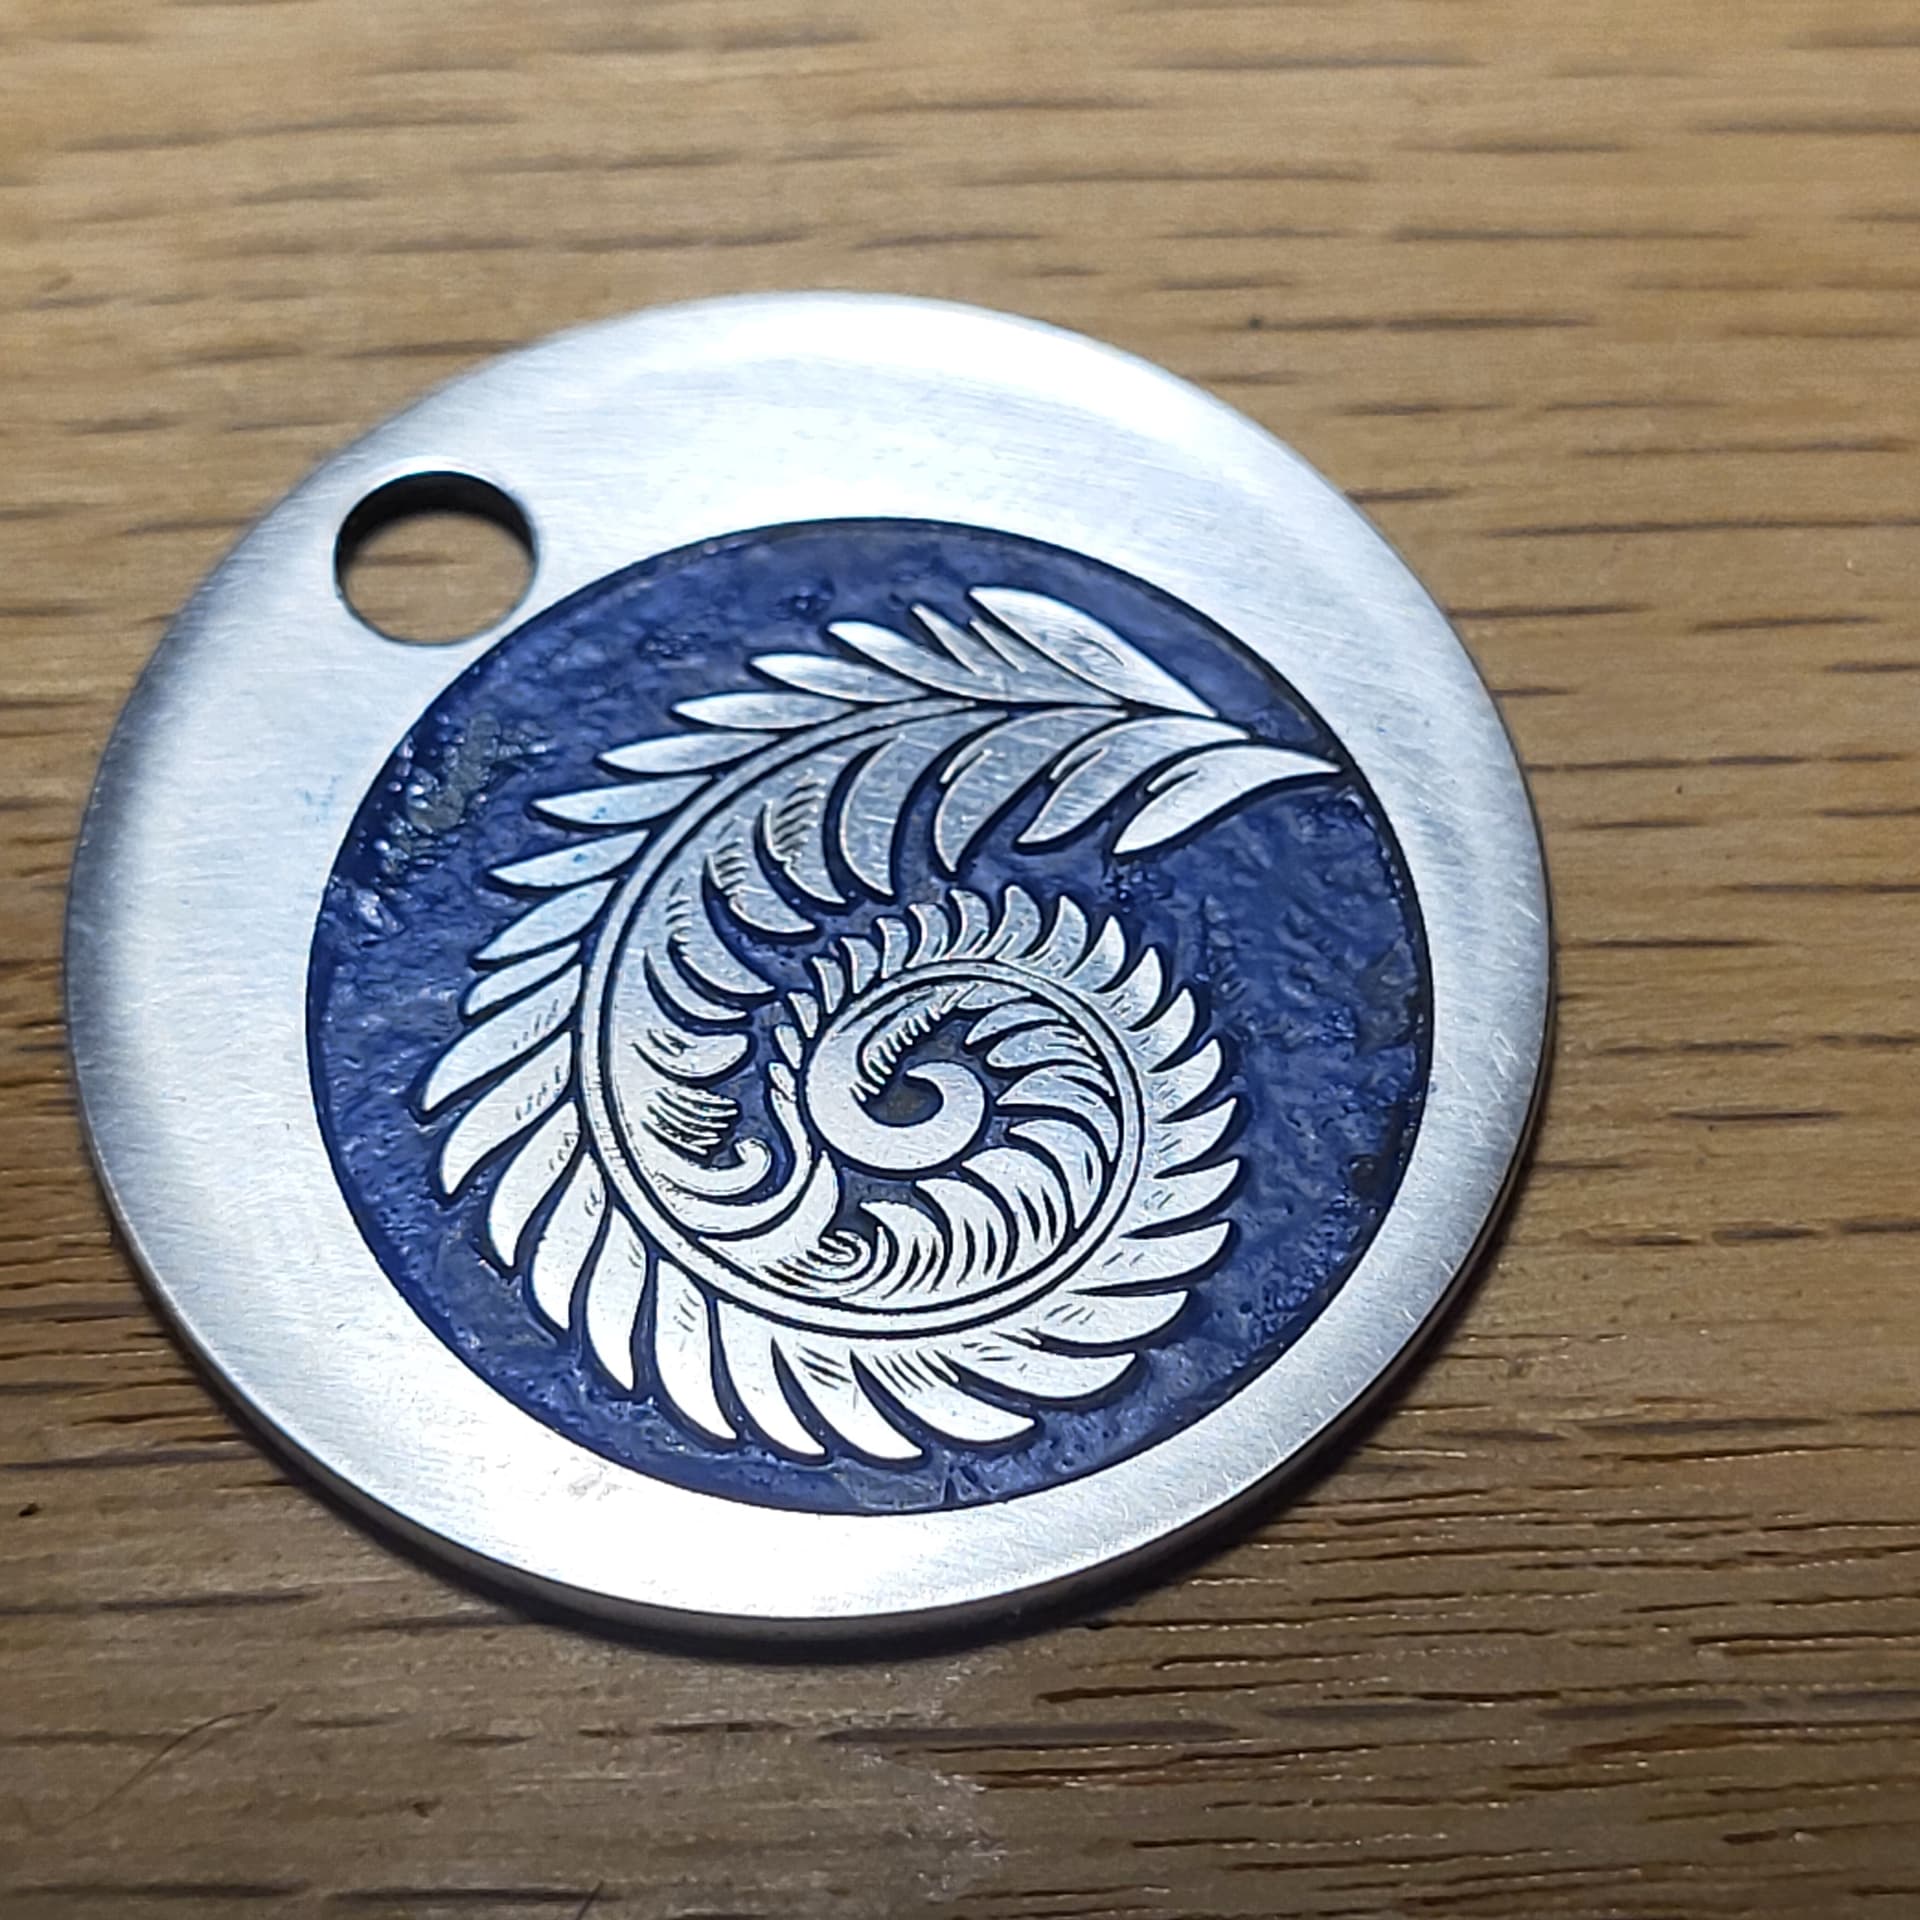
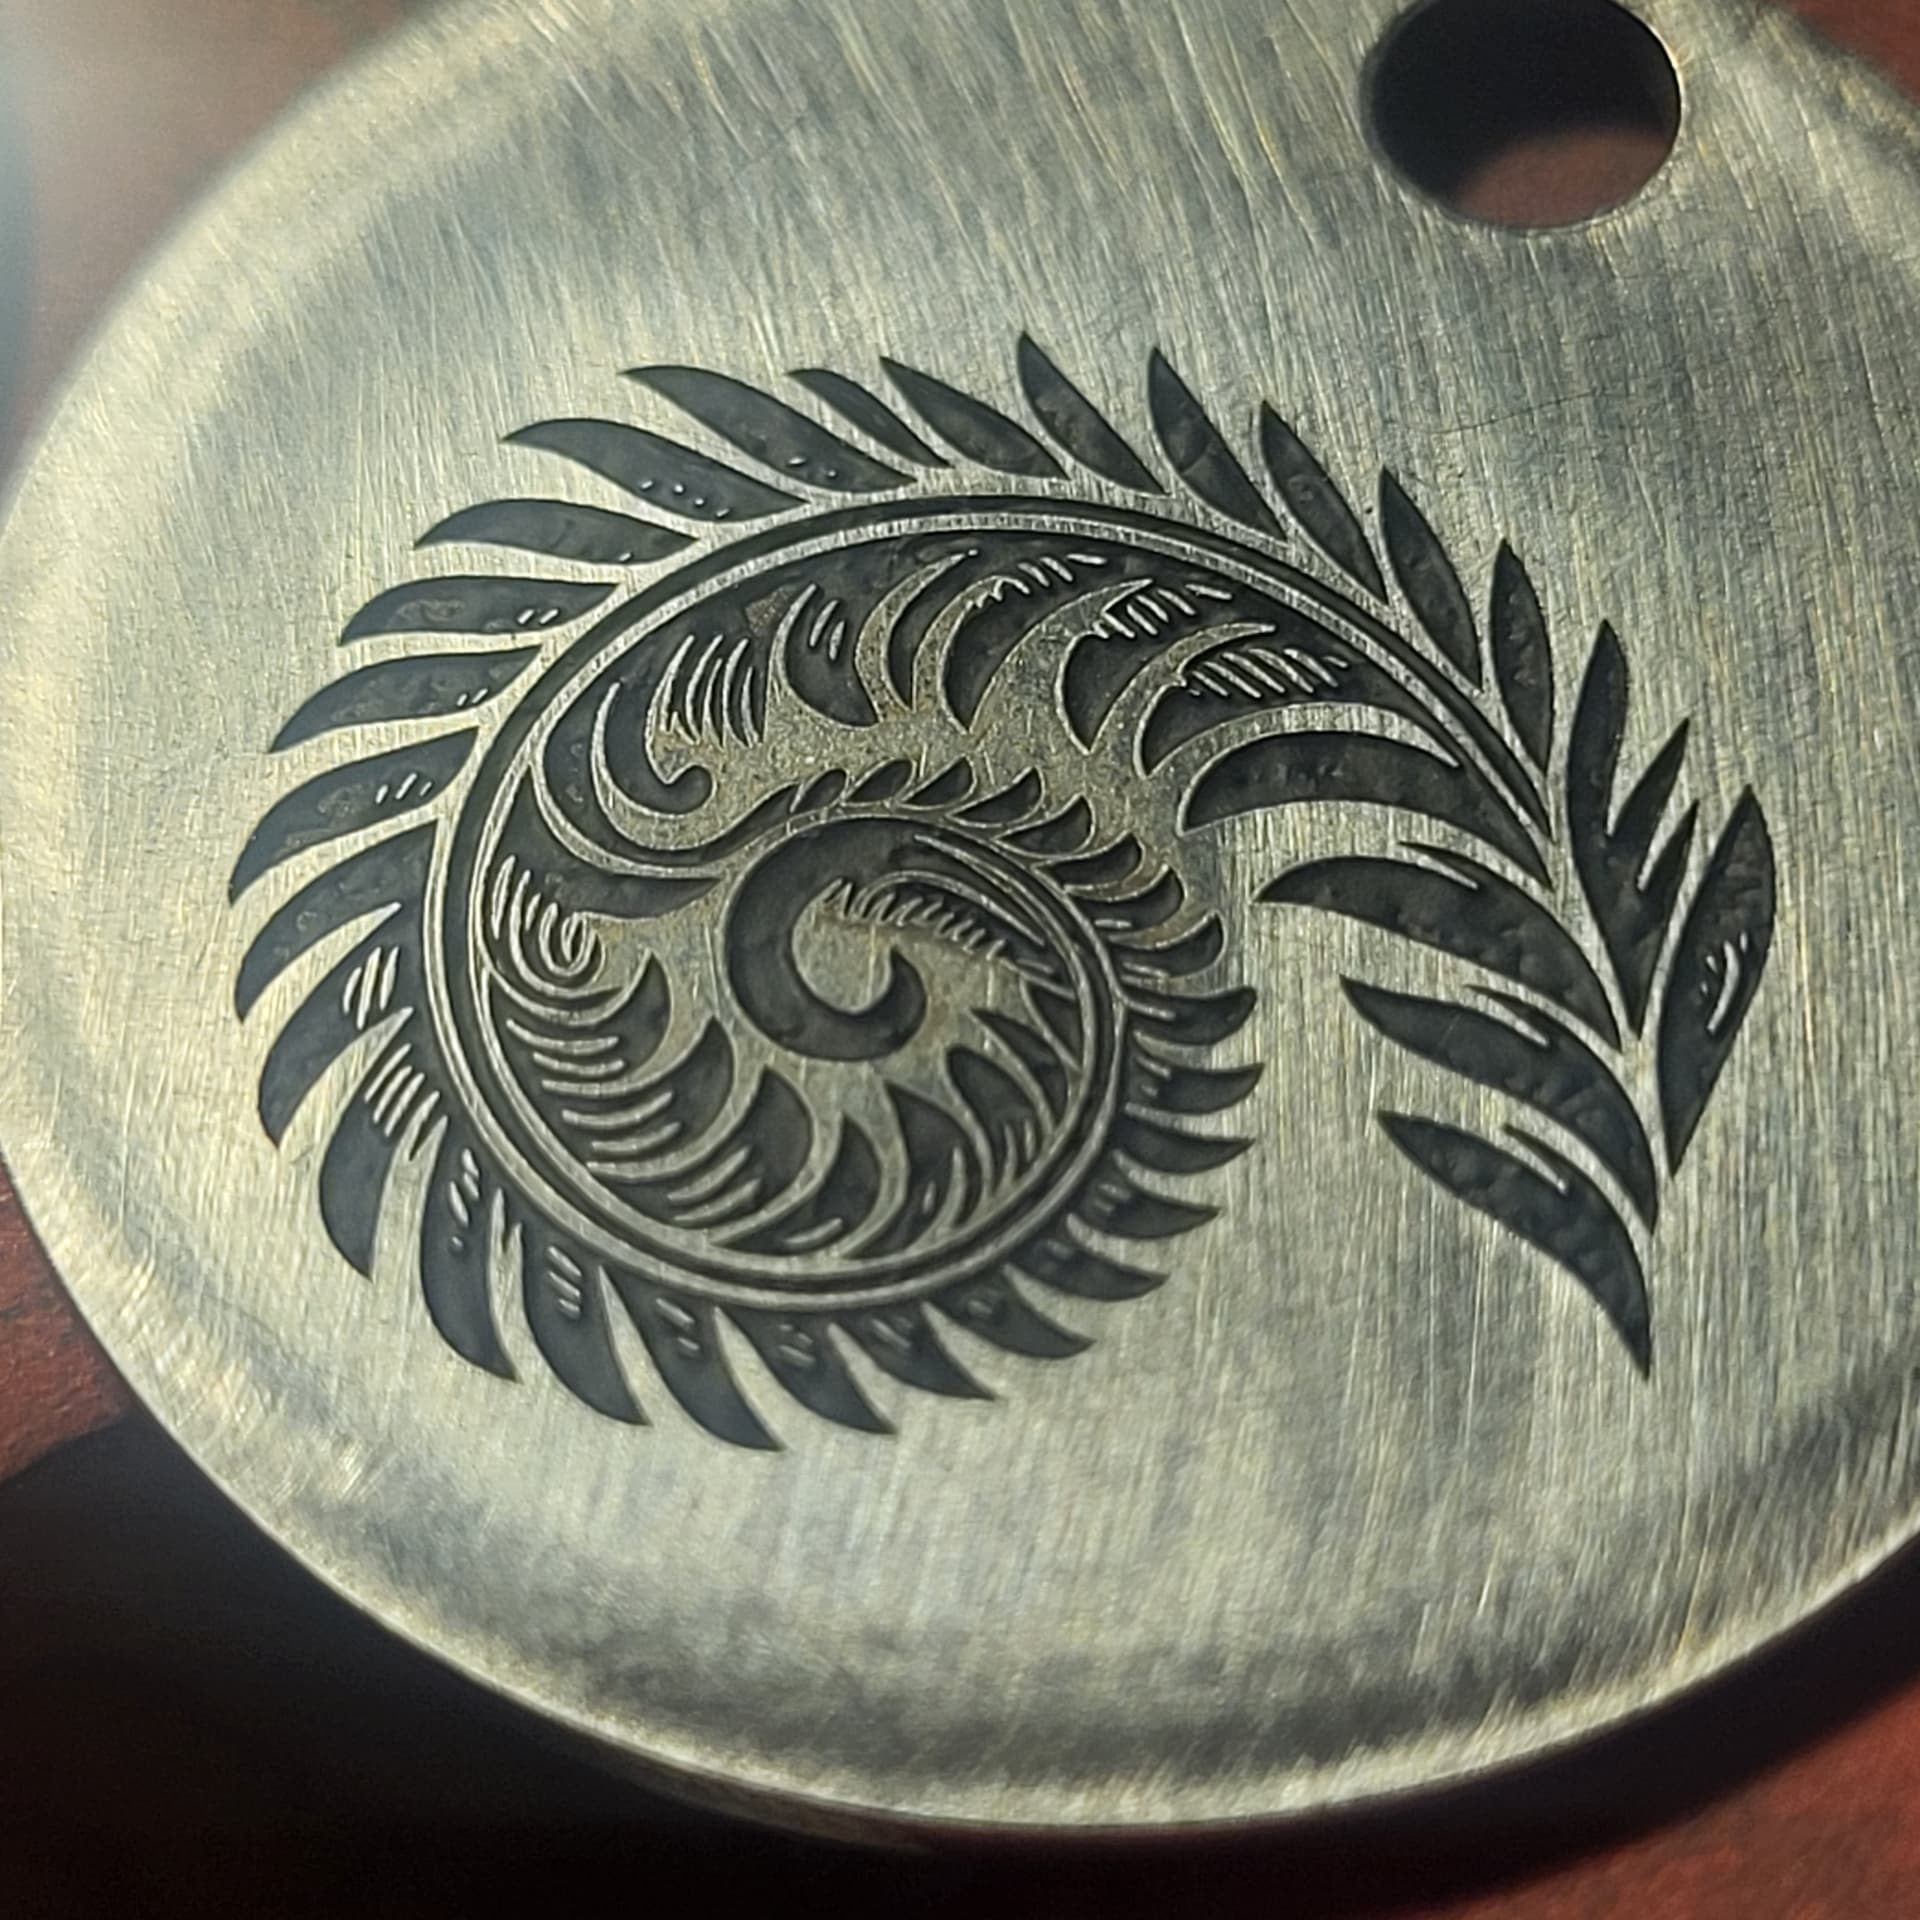
In both the ink relief method and the powder coat fill method there is a sanding step. I am unsure how confident I am in sanding a contours surface such as the top of the slide, so I am stuck for now.
Powder coat harbor freight special does just fine.
I seem to be owing my wife a new toaster oven, so there’s that. Oh and I wasnt ever planning it for food ever again btw…but these things need to be communicated.
Doesn’t adhere as well. The plastic melts from top down and sticks to itself, shrinking upwards. Oven is even heat. Also don’t have a heat gun, so we use what we have available.