I am in the trial stage of using Lightburn. I preciously used the software that came with the engraver (engrave master) and it worked well for everything I needed.
I did find it would sometimes clip the text so worked around that by using nuc uploader and using images. But otherwise the focus, speed, power worked great.
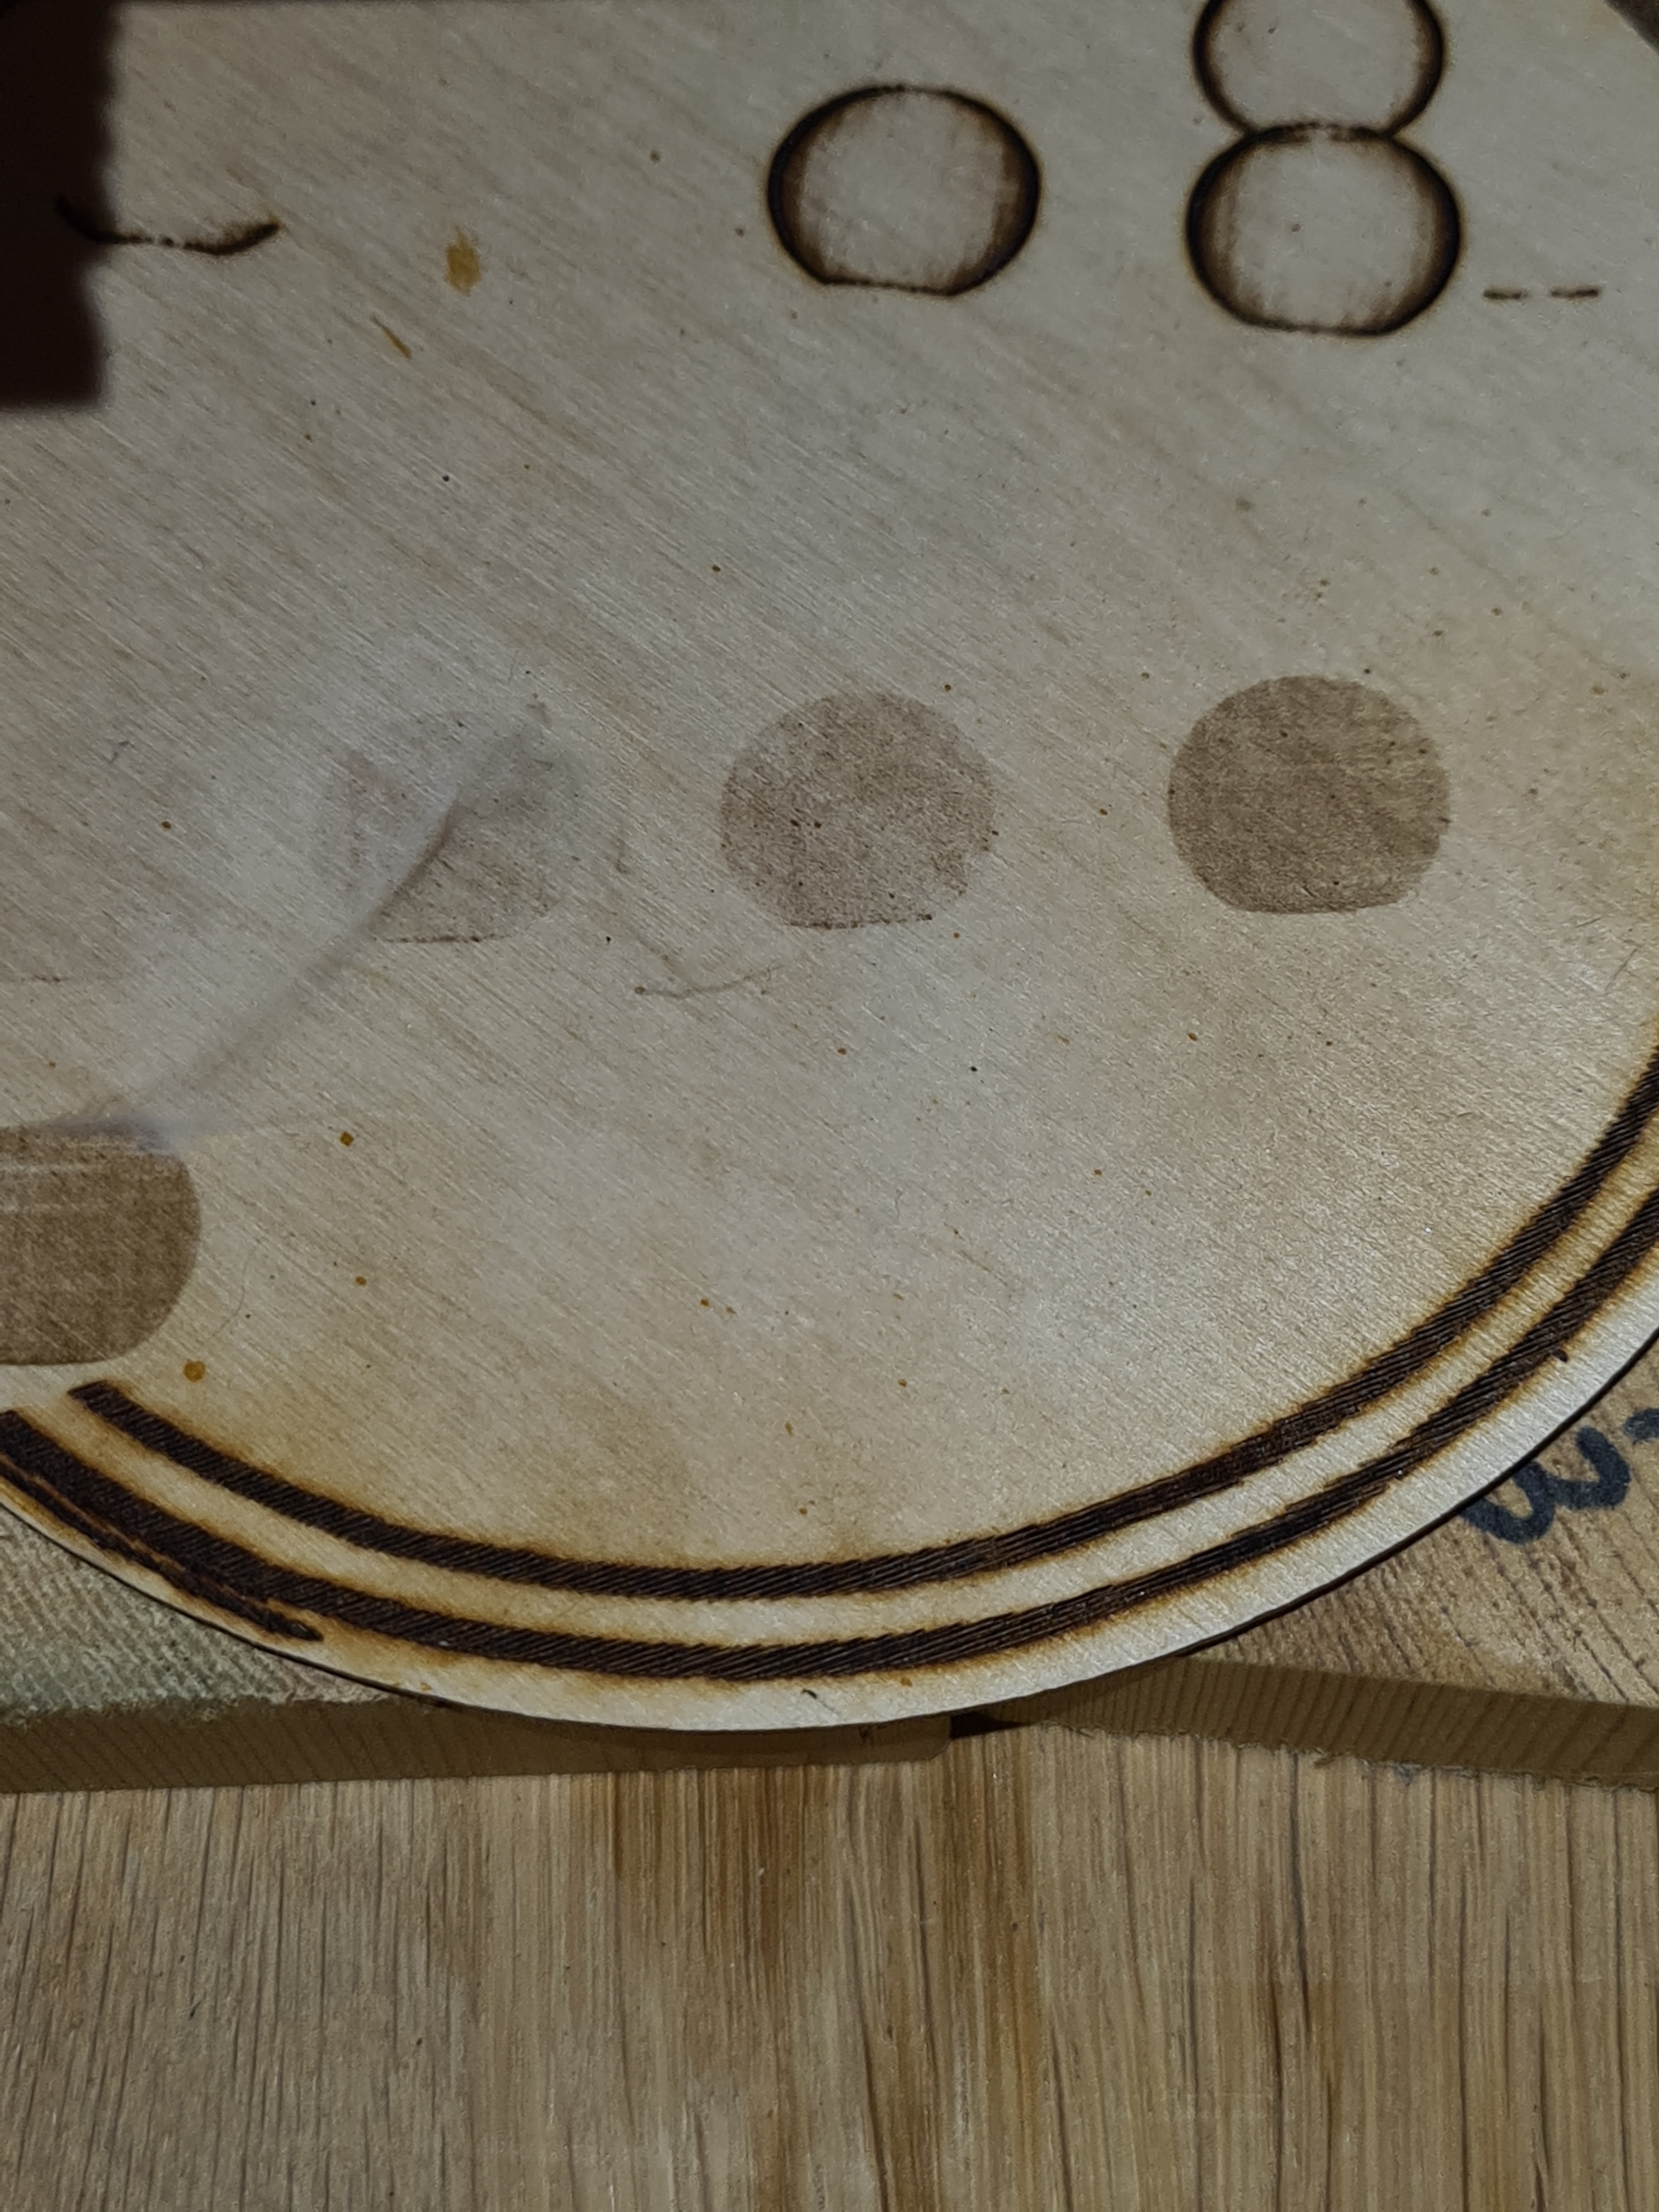
In lightburn I have been trying to do a few initial tests just to work out what I need to do and learn my way around. But when doing a simple speed/power test using the template online and then trialling my own with circles it will not fill.
It seems to create the line around the edge but not fill the middle. I have tried on fill and line and just fill mode. It also appears to clip the bottom of the circles.
When I attempted text it clipped the bottom of the text and didn’t fill it properly either, the shading in the middle was a lot lighter than the edges. So i reverted to the old software and it worked perfectly.
Someone has suggested altering min power settings but I don’t think you can with grbl?
Thanks for getting this far! Very confused and would love to get it working properly as the software/designing element is so much easier to use!
Hi Carrie - can you tell me which device you’ve chosen in LightBurn? (GRBL, or GRBL-M3?)
Then, in LightBurn, go to the Console window and type $$ then press enter. The controller will spit out a bunch of number pairs - copy the output and paste it here. These are your firmware settings, and will tell us some things about your controller, like size, maximum speed, etc.
My guess is that you’re asking the machine to go too fast - you might be working in mm/sec in LightBurn (the default) and mm/minute in other software (more common for diode lasers) which would make things seem like they weren’t working. 100 mm/sec is 6000 mm/min.
This is the one that needs changing. In the console window, type $32=1 and press enter. That enables ‘Laser Mode’ which will adjust the power output based on the speed of the laser movement, and should give a nice consistent burn. Once you’ve done that, you might need to increase the power output or slow down a little - If it wasn’t burning the middle before, this won’t fix that, but it will make the sides and middle more consistent.
You’ll also want to turn on ‘Overscanning’ in the fill settings. This allows the laser a little extra space on either side to speed up / slow down outside the image, so it makes the edge darkening effect even less pronounced. Everything else looks pretty good.
Think this may have worked but going to have to slow it right down, I managed to get it to very lightly engrave on 60 speed 100 power so might have to make it even slower!
Do you know why it is cutting the bottom of the circles/text off though?
Most likely the belts on the Y axis are a bit loose. The laser moves down to the bottom, then reverses direction when it starts engraving. If there is any slack in the system, it has to take up that slack before the laser head will move, leading to the flat bottoms you’re seeing there.
 Thanks again!!