When I try to setup a burn to have the lines and words filled in to make them bolder, I utilize the fill option however when I do the preview, it give me like a 10+ hour job and the whole background would be filled in. When I just run the burn with the line option, it takes under 15 minutes.
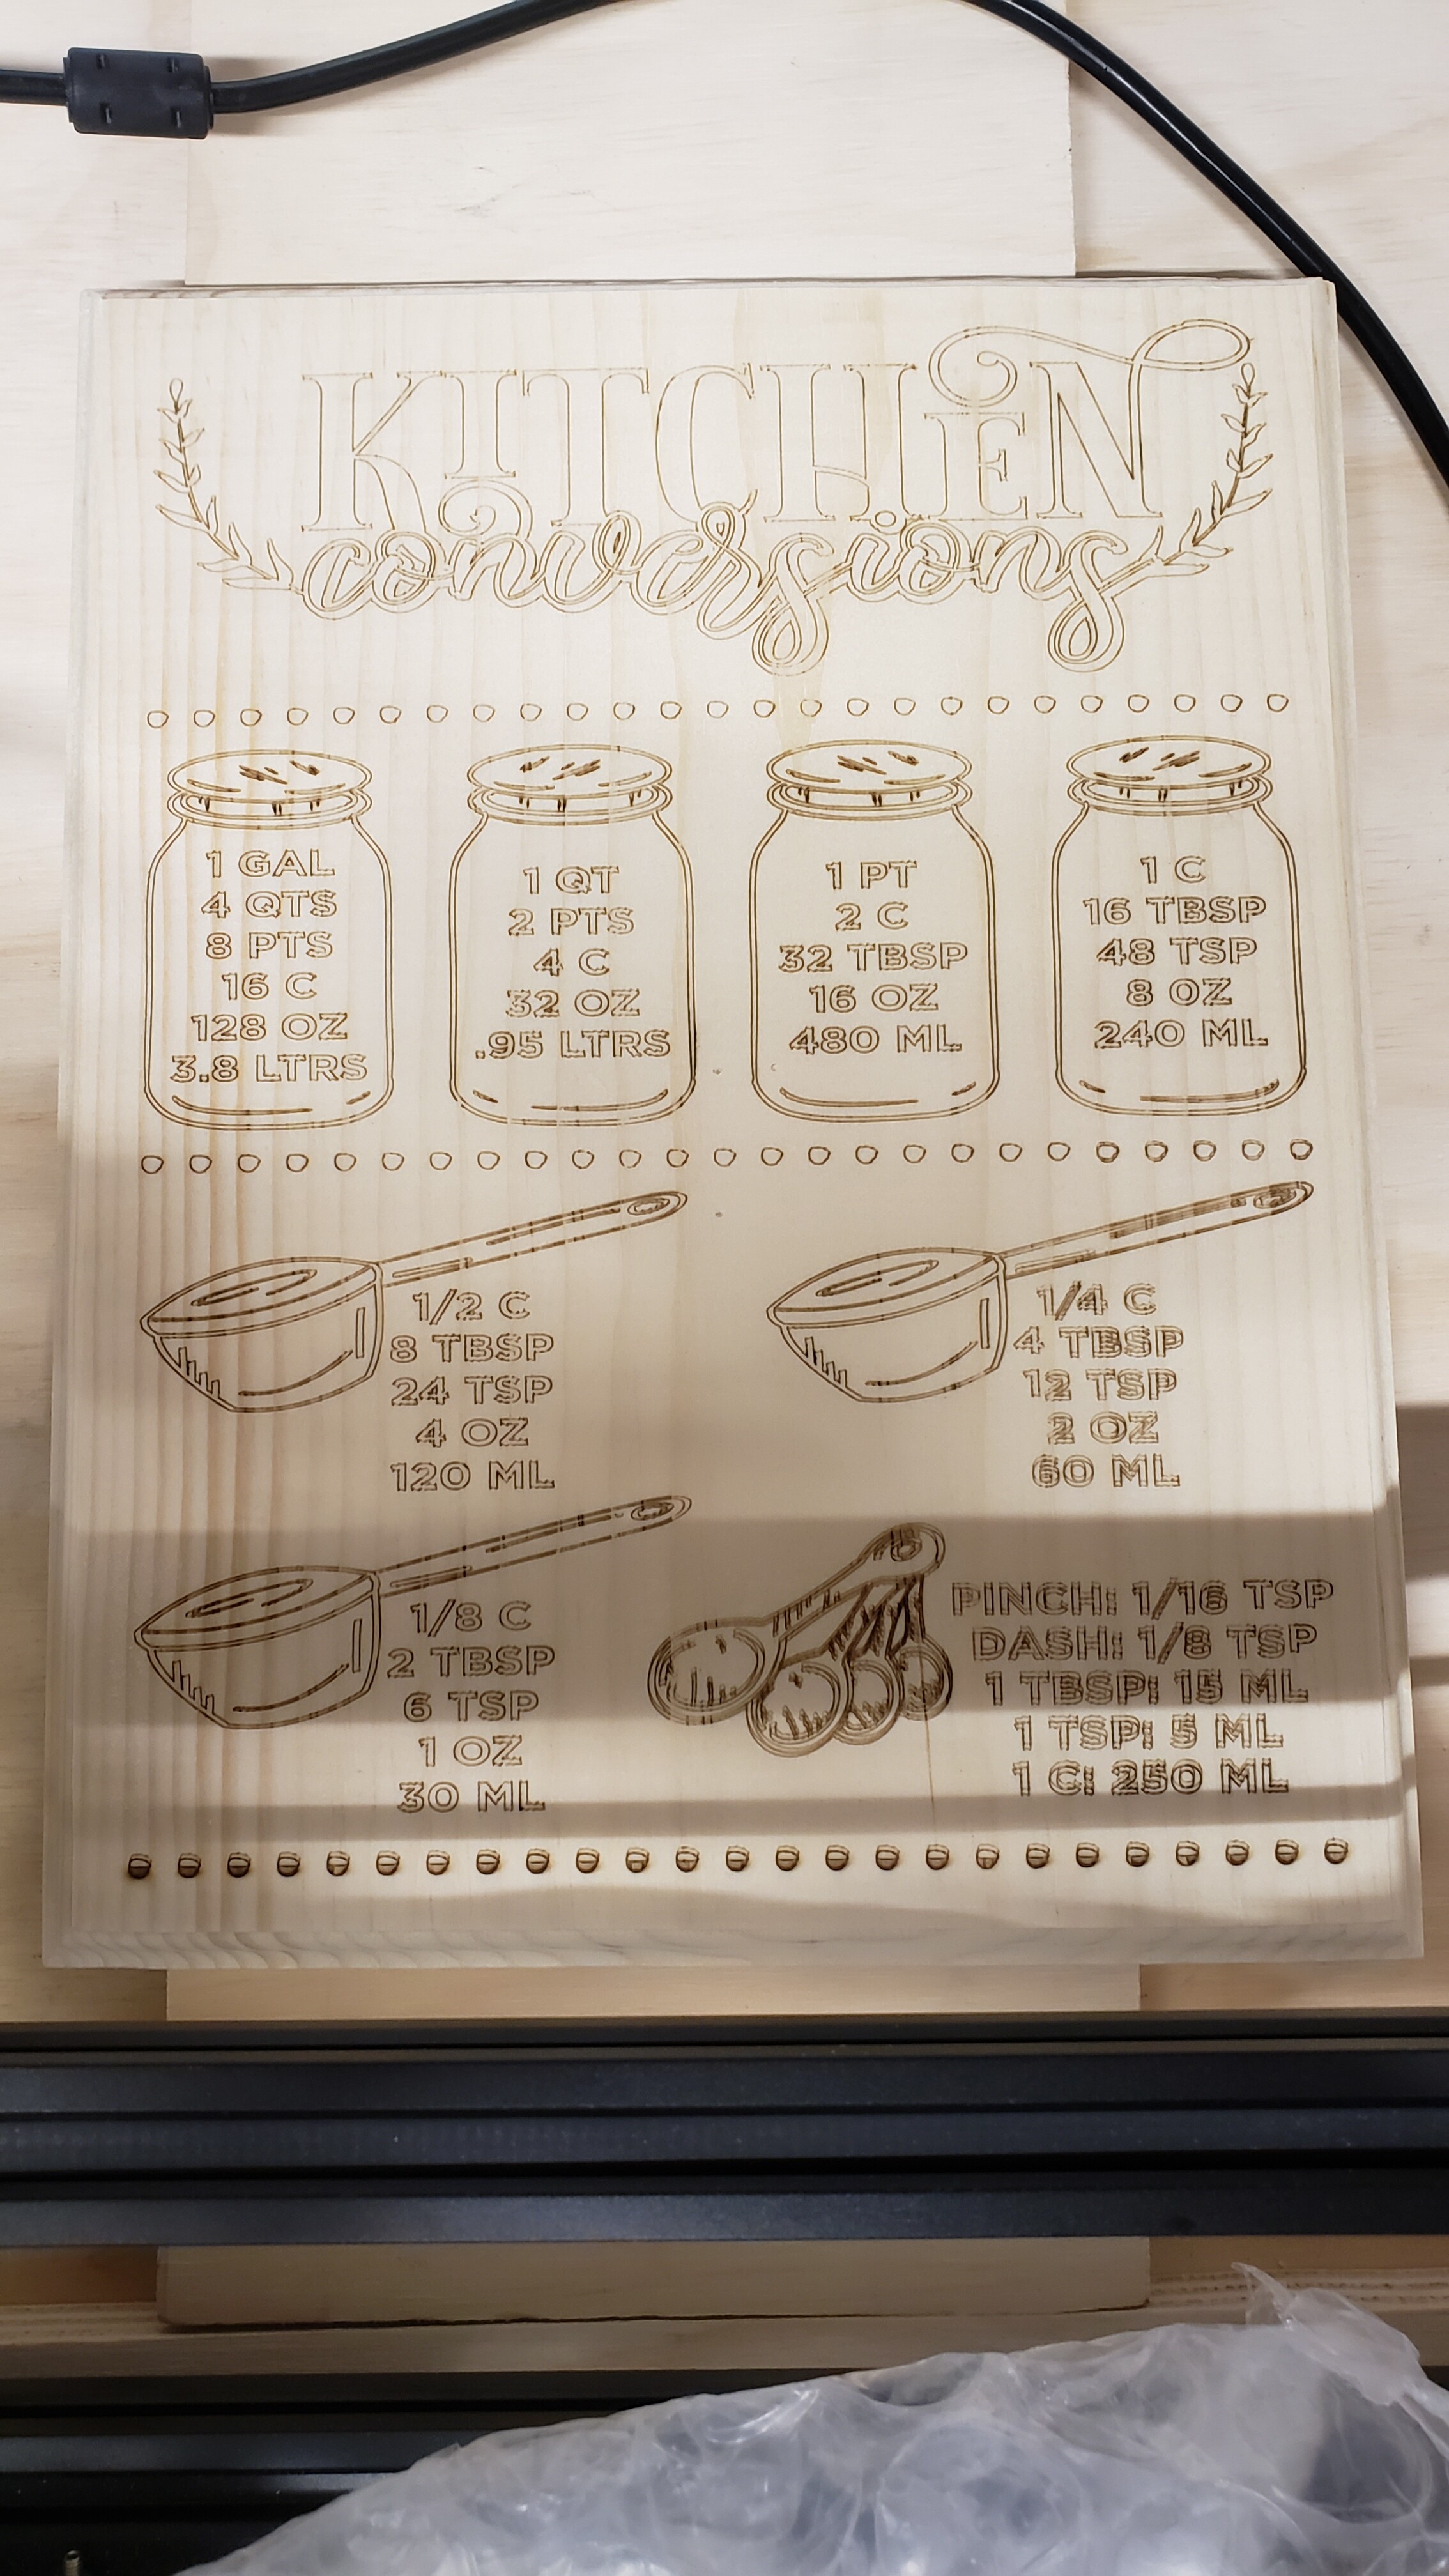
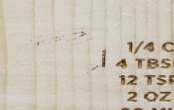
How do I set up to fill in the words and make the outlines filled to look bolder and darker. When the file is opened in light burn and I zoom in it is double lined (a gap) shows. Added a picture of the burn to show the double lines that I want to have engraved to make them bold…also want the Kitchen word to be filled in as well as the numbers letters for the measurements.
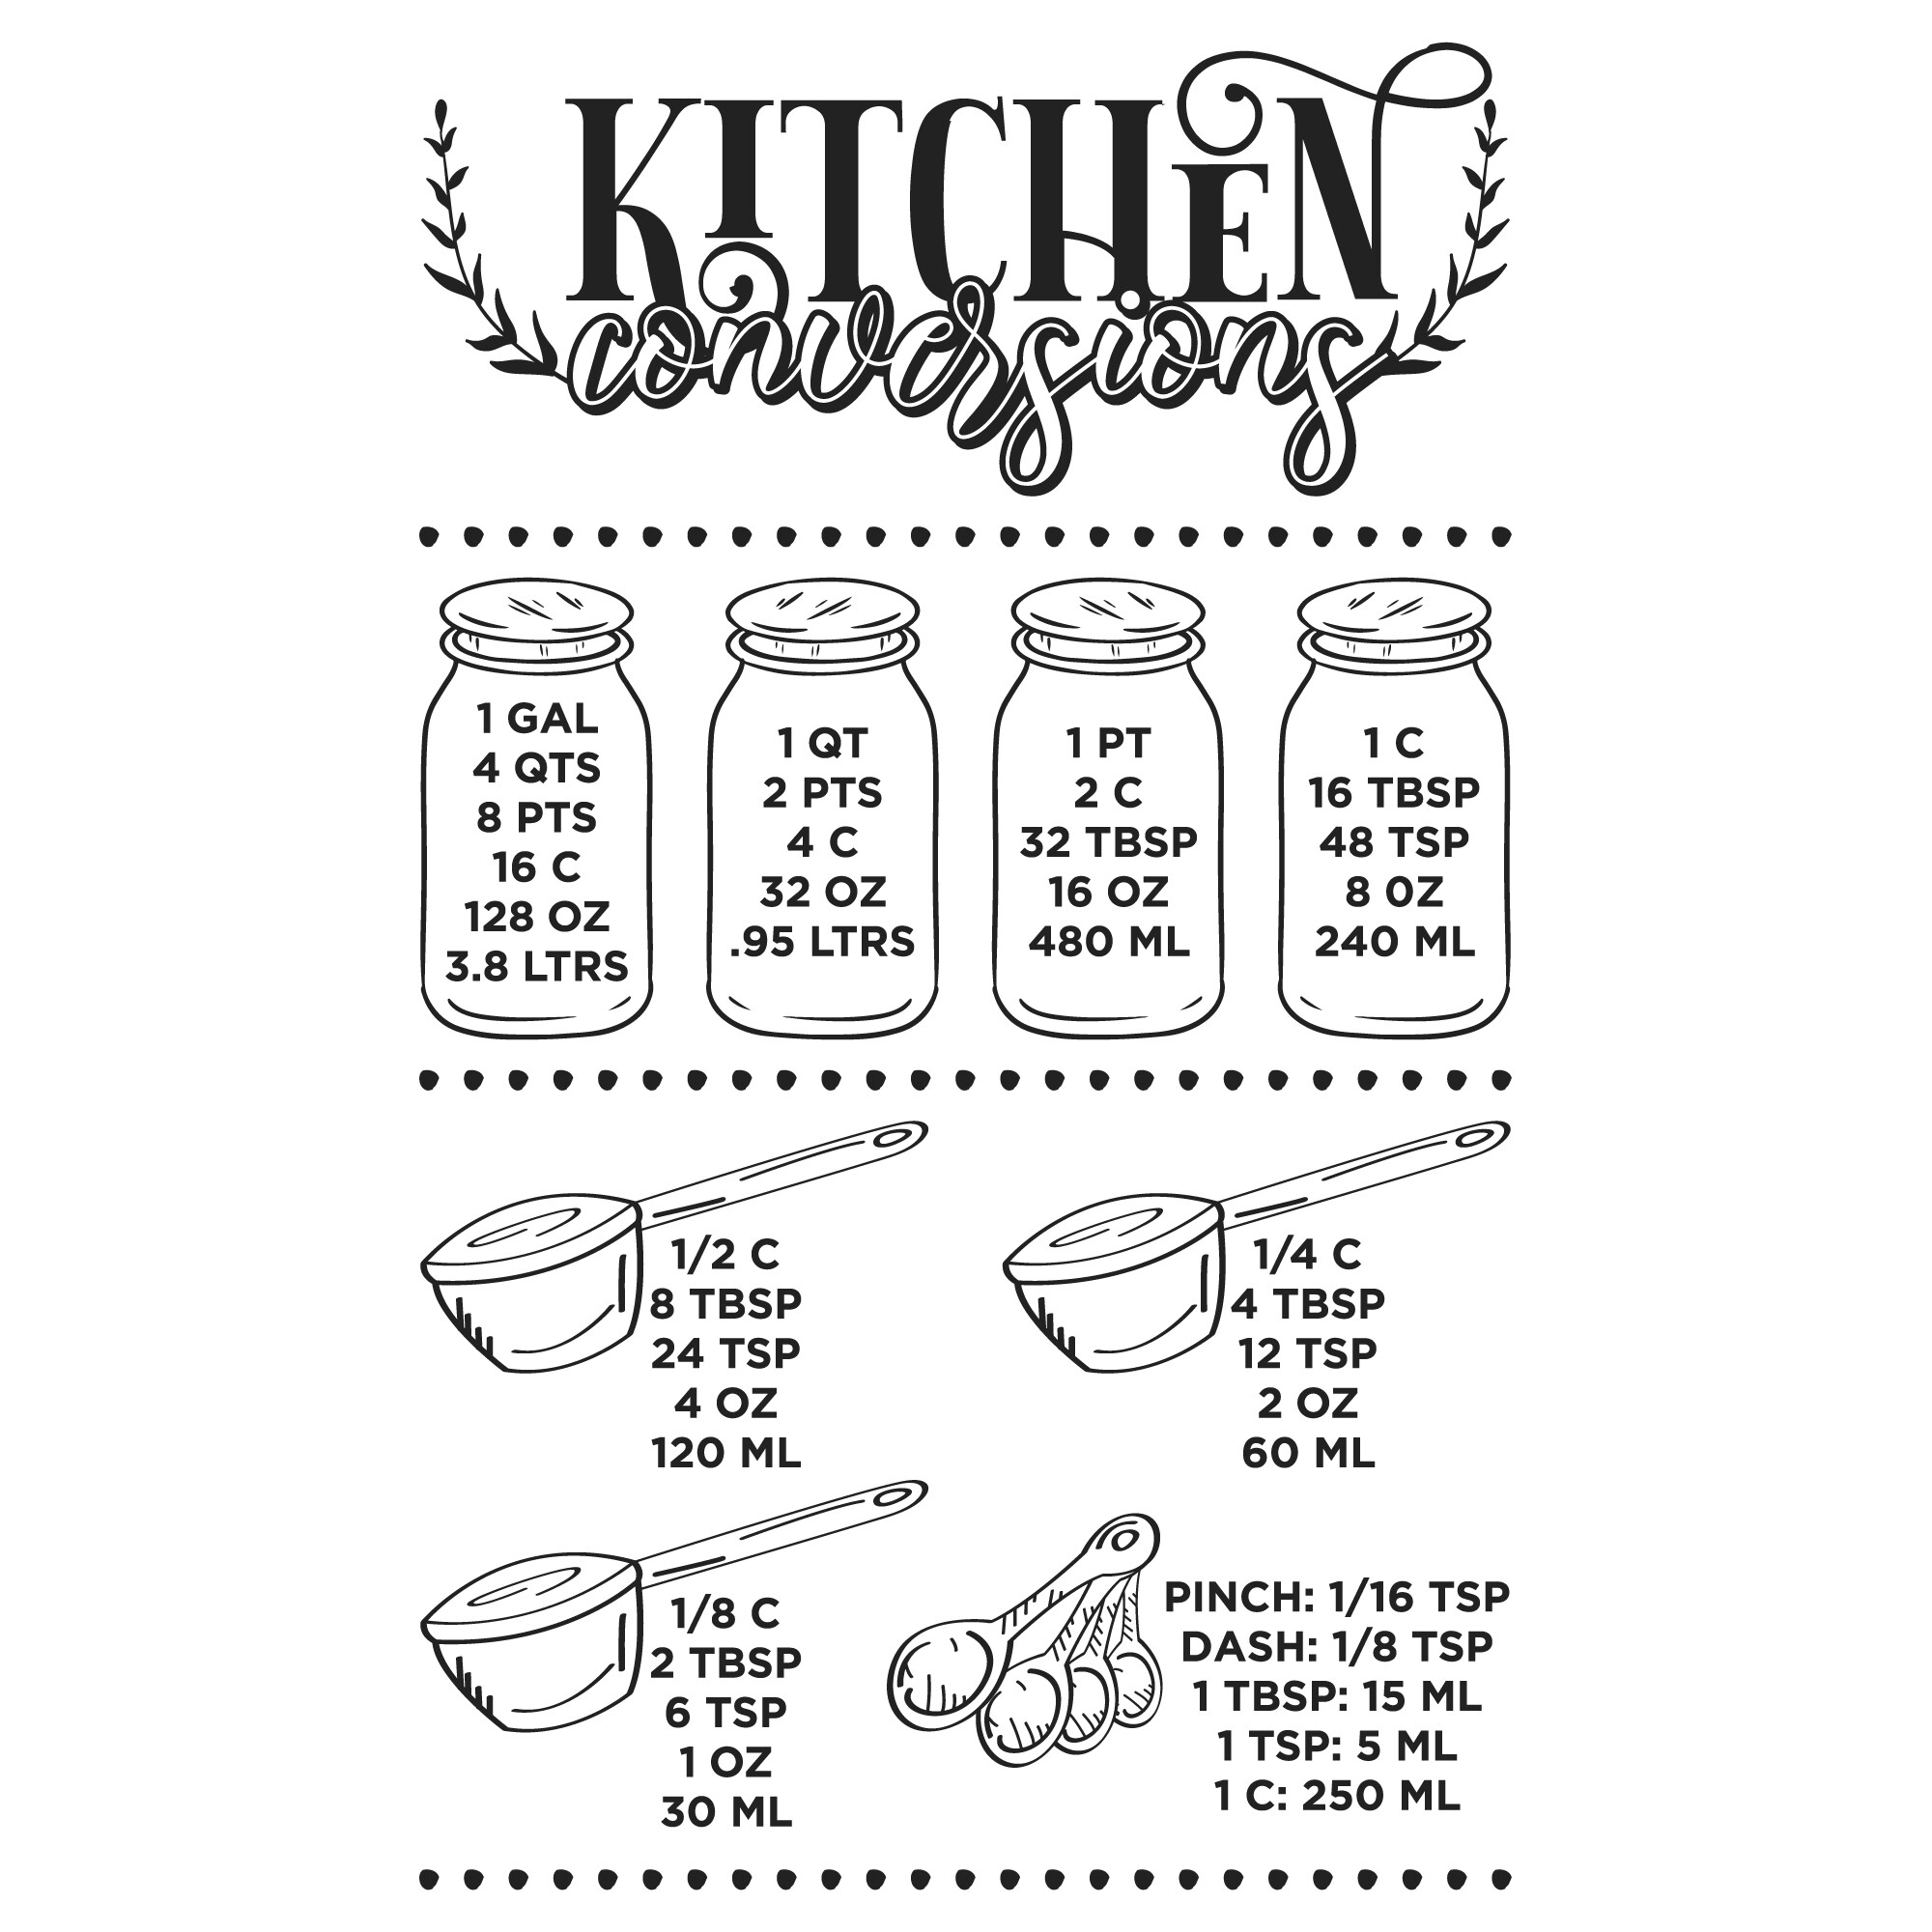
This is a good example of how to optimize your cuts for speed, as this has quite a lot of open area, and a few large shapes with lots of empty space inside them.
I set the cups, jars, and spoons to use ‘Offset Fill’, since that works really well for “outline shapes”, and then grouped all the small clusters of text, and set that layer to be a normal fill, but used Fill Groups Together so it’s not traversing a ton of blank space between them.
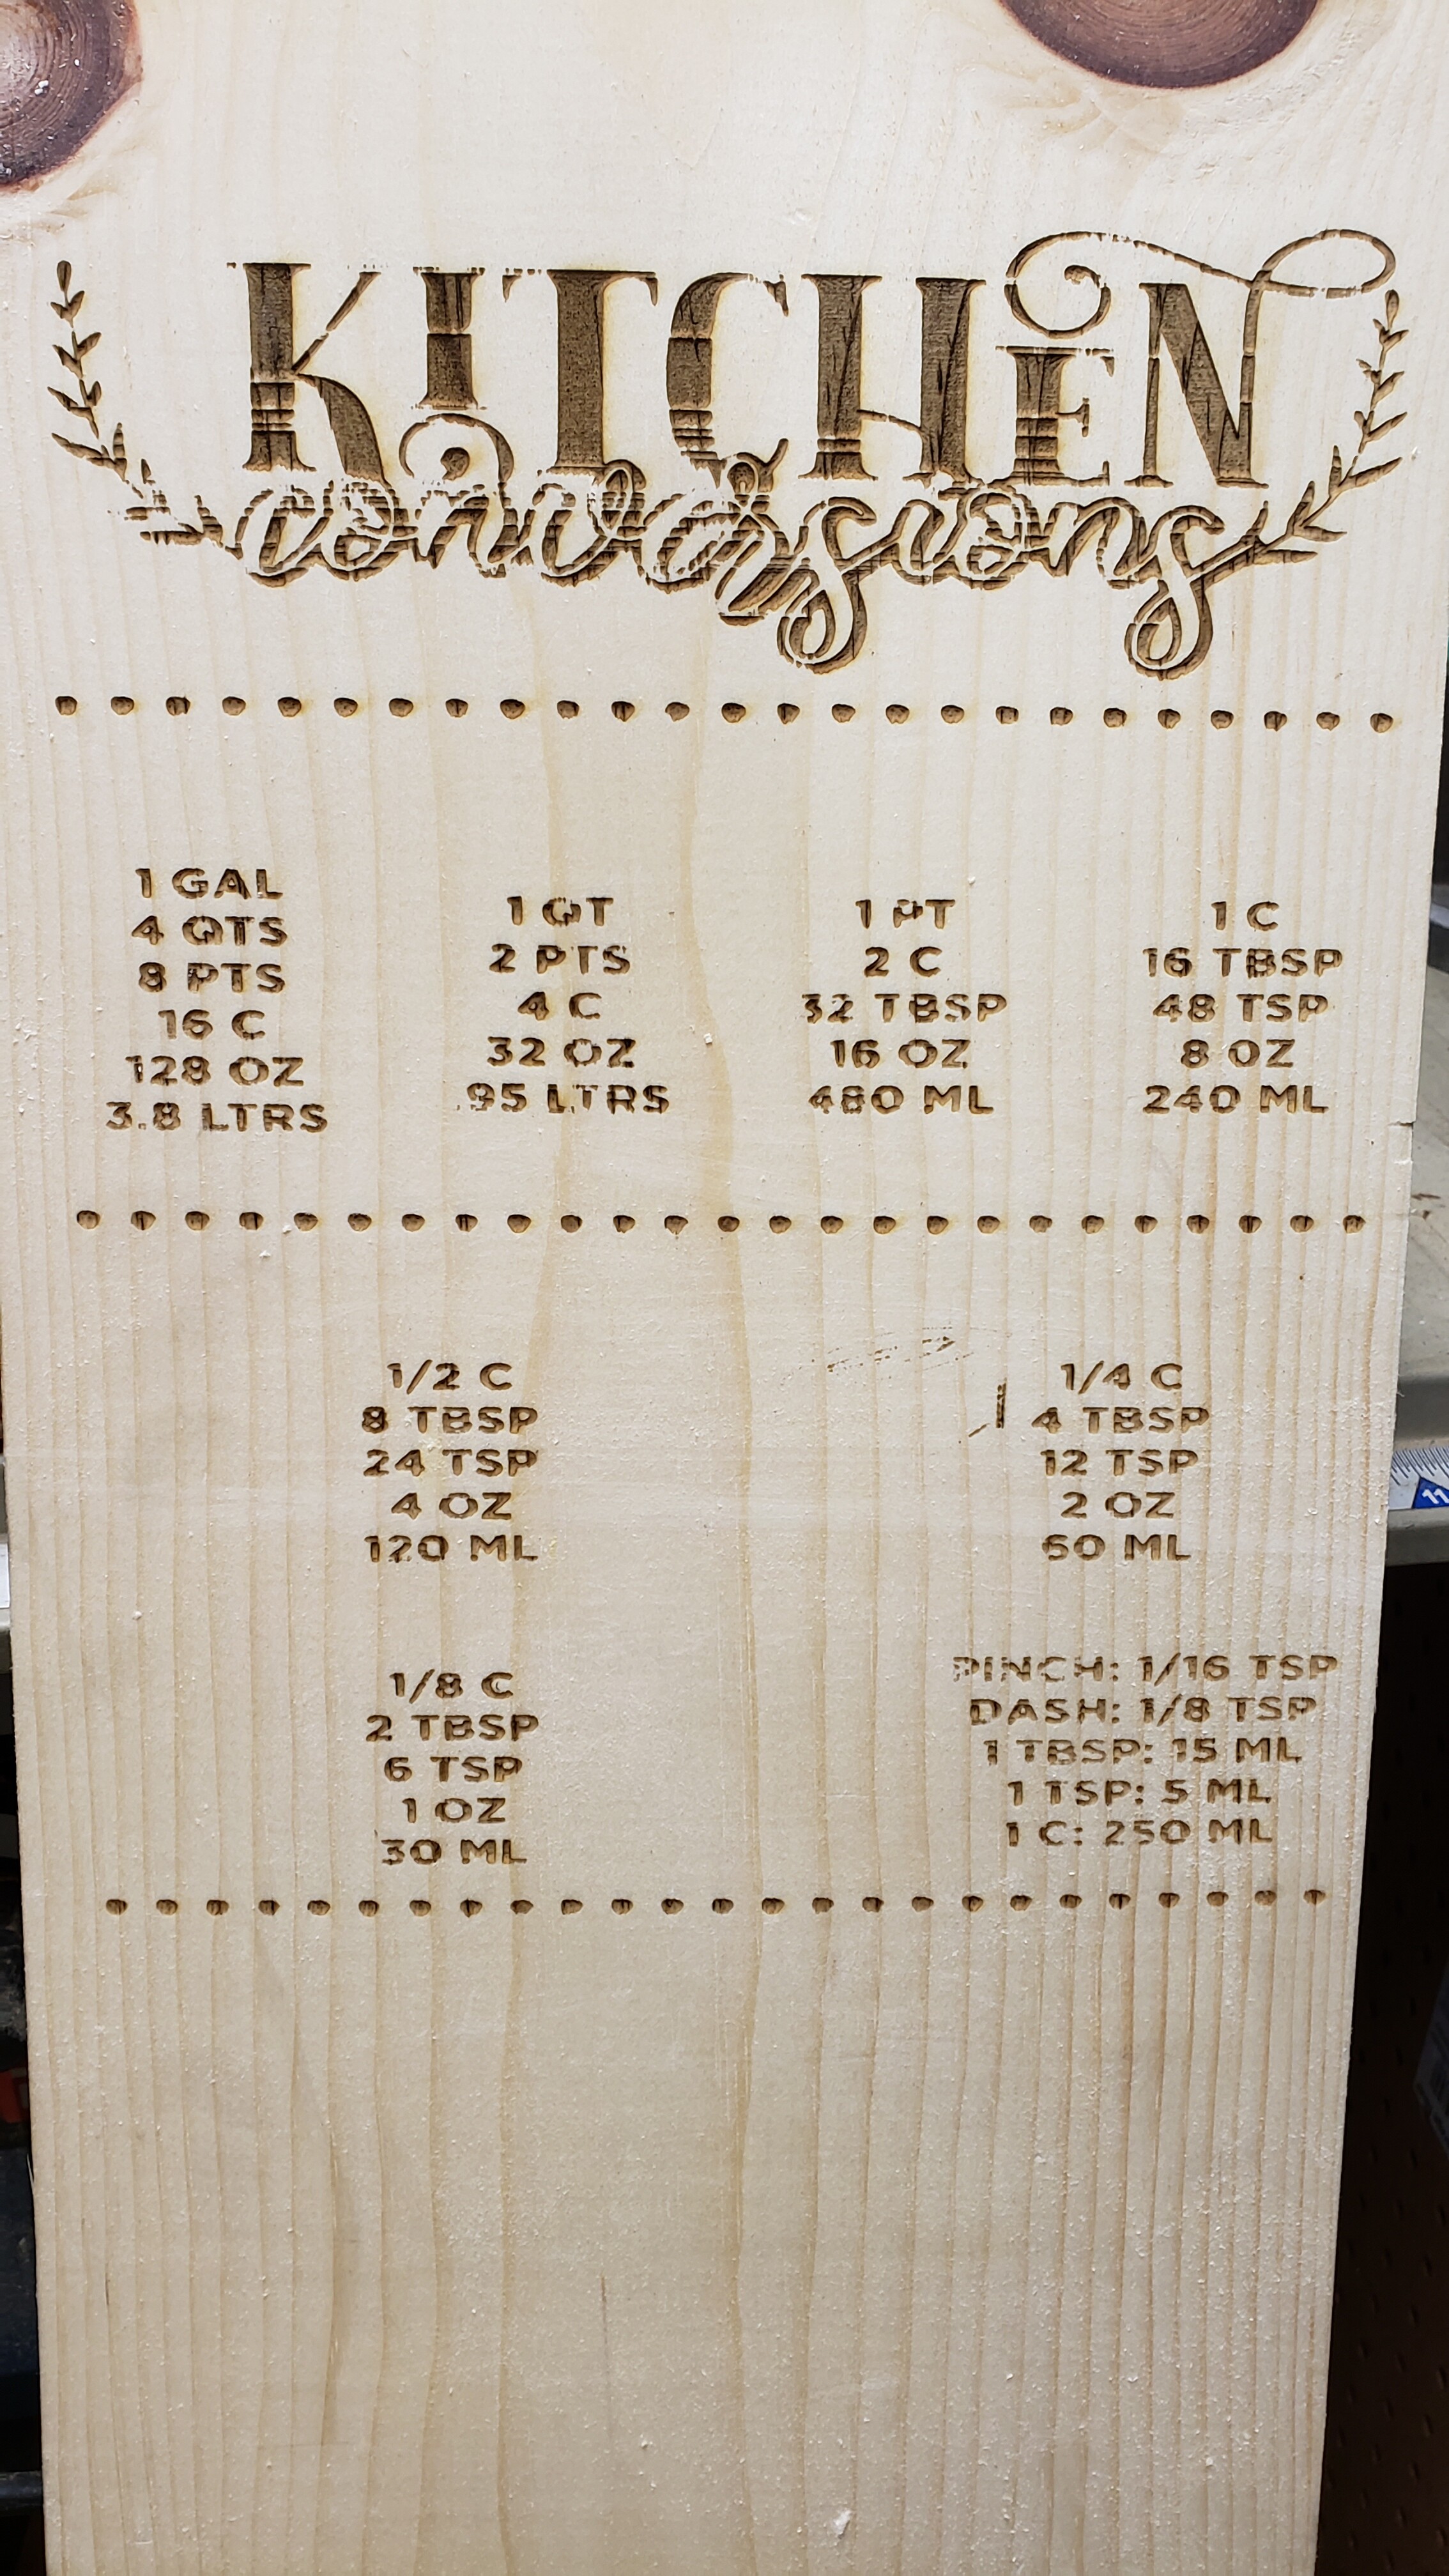
At 4500 mm/min (75mm/sec) the preview estimate is about 40 minutes. 10 hours for your original seems excessive - you might have had the lines per inch setting way too high, or yours might be larger than mine - this is sized to be just under a foot tall.
KitchenConversions.lbrn (880.0 KB)
1 Like
Thank you very much for your help. I really appreciate you explaining this to me. I will review the file when home and set it up for a burn. The size this will be is approx 9" wide X 11" tall…so it should be good after a little adjustment. Will follow up to let you know how it turns out. Thanks Again!
I have one more question about this project. If you can zoom into the first burn attempt photo, you will notice that some of the letters have a zig zag type burn…not sure why they are not actually completely straight. Any Idea for this and why it is happening??
Your belts are probably not tensioned properly - that looks like ‘bounce’ on the Y axis, from changing direction quickly at corners.
Ok thanks. I will try to tighten up the belts. Do you suggest belt play at the guide wheels to be about 1/4 inch or should they be tighter?
How tight/loose should the belts be?
Hi Brian,
This is a subject all on it’s own.
I have worked with belts on many machines and in many applications for more than 35 years and there are literally 25 different ways to set a belt tension, but, in the end it comes down to that machine, doing that job, with an operator that gathers a sensitivity to when things are right and wrong.
The two extremes are, the belt is so loose if flaps about and when the toothed drive tried to engage the belt teeth, the gear slips over the belt teeth.
The other end is where the belt is so tight that it’s like a 5th string on a four string guitar. Bearings inside rollers and motor front bearings realize extremes of side loading, heat is generated and has to go somewhere, bearings start to fail. Before the advent of new belt materials the heat would also get into the belt and it would stretch, although it was too loose.
Tighten the belt so there is about 1 cm of movement when you press on it with force enough to push your finger into an uncooked burger.
What ever you do try to remember that pressure, it will be your guide for all your future belt adjustment efforts.
Then, regularly, check the belt, listen for strange noises, monitor your work for irregularities, check your belts.
It needs to be a reflex, not something you do once a week.
You can use a graphite spray on the belts, a good oil on bearings in rollers at the belt ends, it helps.
Don’t be afraid to adjust the belts, just monitor the results and react to those results.
The screws are normally 3mm with a fine thread, but, even with that fine thread a part of a rotation can be enough to make a difference, so don’t go in there after initial setting and start with 2 or 3 turns, little by little 
If for some reason your machine has vibration, these screws can undo themselves, if yours do, try a little dab of blue thread lock.
No other colour, just blue. This releases with normal tools.
Try and good luck
2 Likes
Thank you Gary for the tips and insight. I agree you are correct it will be a matter of touch and go and growing accustomed to it. I will give it a go and apply the pressing and psi info. Thanks again.
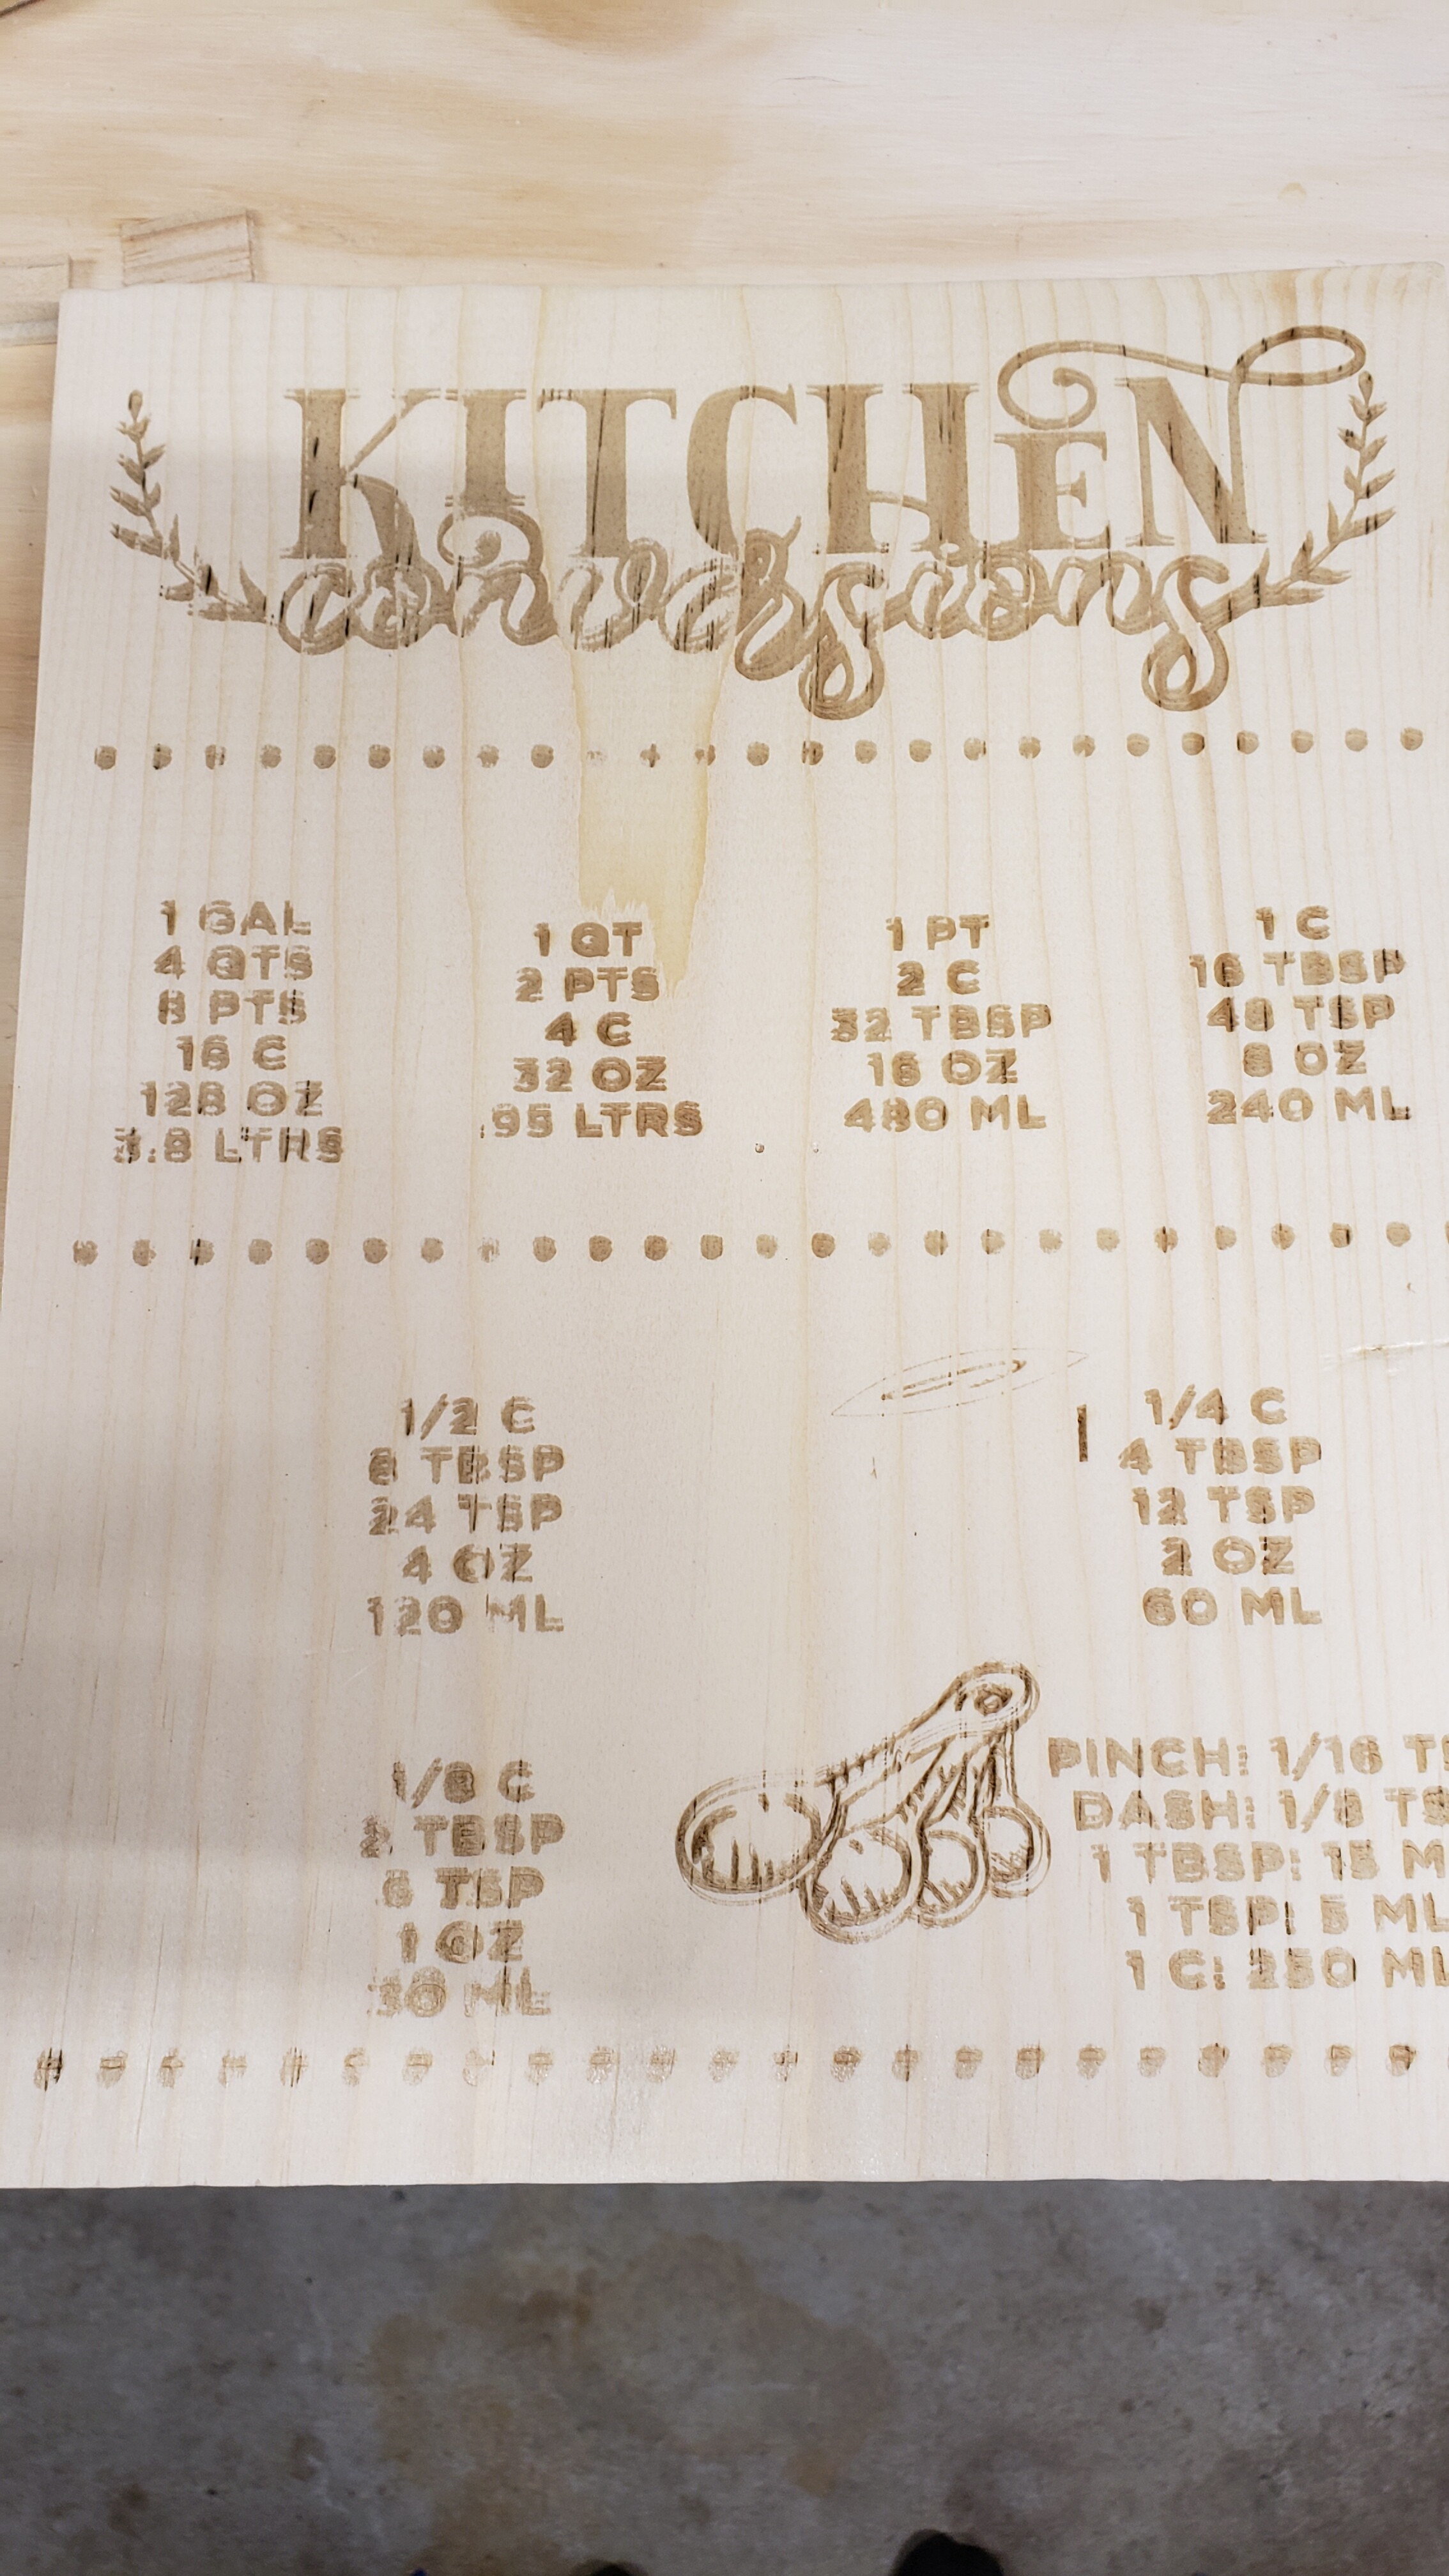
I tried making a cut with your file you sent back to me. Attached in the first picture is your file print…the engraving came out a little light. Also the cups never printed. Can you tell me what went wrong. Also I made a couple adjustments to the file and was able to get it to come out a little darker but the cups and spoons still did not print. Also the word conversions has several skips in it. I also had to run an extra pass through it to get it darker…it feels like something is off… Attached are both the original file you updated and my update after. Can you review to see what you can make of it. Thanks
KitchenConversions.lbrn (880.0 KB) KitchenConversions BM Adjust 2.lbrn (896.3 KB)
I made no attempt to set the speed or power values appropriately for your laser, and you did not include any information about your original settings (from your first post), so I guessed. Try cutting the speeds down to 3000 mm/min, possibly as low as 2000.
Ok I will, and what would cause the jars and spoons not to print?
It looks to me like it tried and just didn’t burn:
So, the speed would be why.
Ok got ya…I will lower it and see how it goes. Thank You.
This topic was automatically closed 30 days after the last reply. New replies are no longer allowed.