I am using a 60w fiber laser for colouring on stainless. I’ve done test grids so I know what settings to use.
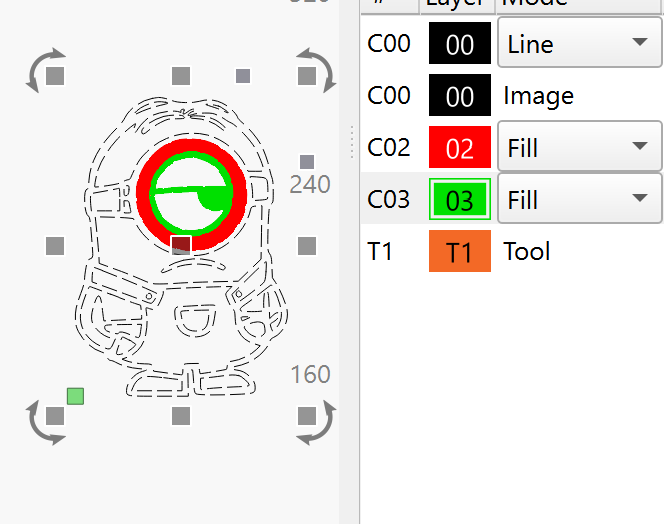
My issue is I want to colour this image but I cannot figure out how to fill a shape with a different colour when its inside another shape.
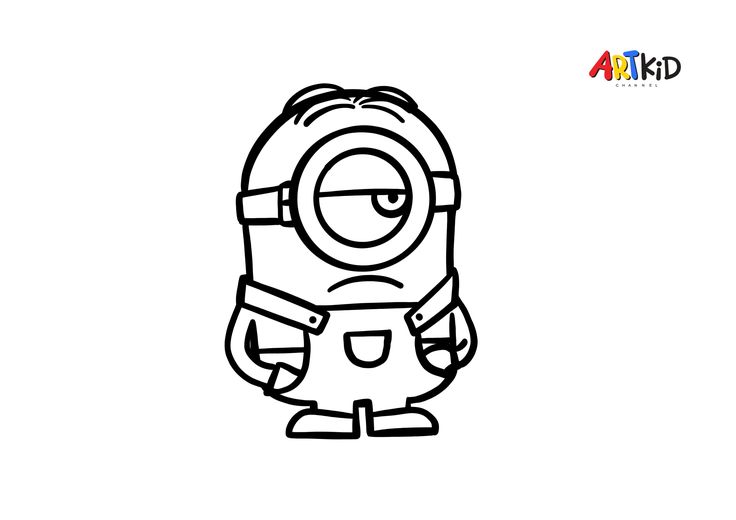
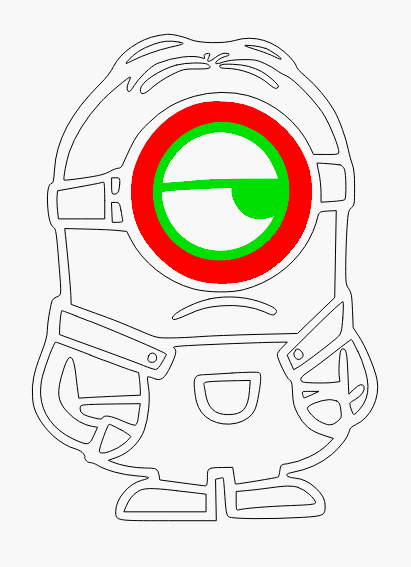
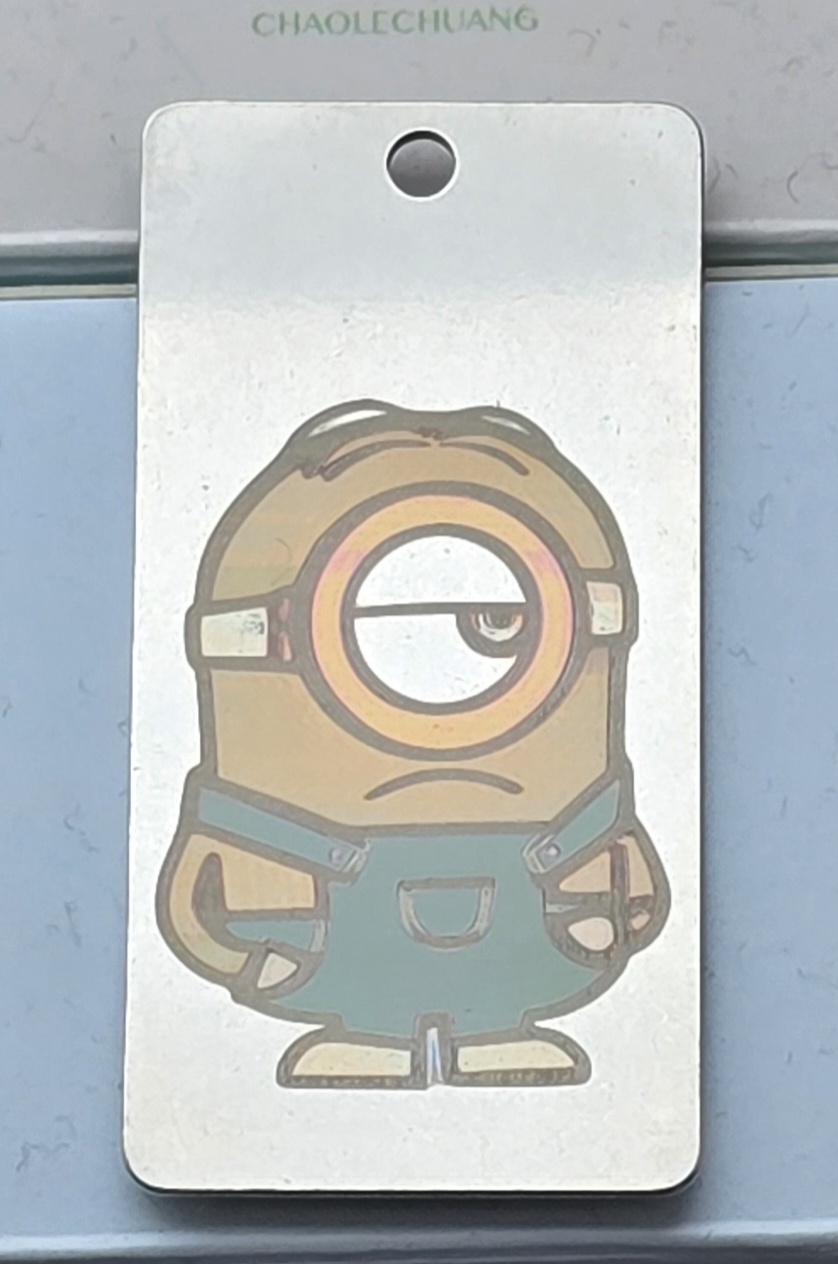
This image for example. I want to replicate the black lines exactly but the shapes inside those lines I want to fill with different colours (dungarees blue, tongue red, skin yellow etc etc). But I cannot, even when I separate each shape into different layers, make it work! No matter what I try the layers dont separate into different shapes and therefore colours and I end up with the wrong colour in the wrong shape
Its probably something simple…Stuart’s face is how I’m feeling lol
If you use other lasers, you’re probably never thought about temperature changes at the laser/material meeting area. Wood and natural items don’t conduct heat like metal objects.
I believe @parsec has it. I tried it with this image of Marvin the Martian.
I broke it down, very much like @parsec described… I could get every color on my material tests.
The problem with this, is that what makes the color is an oxidation or annealing, depending on who you talk to. However, whichever it is, it has to reach a certain temperature to accomplish this.
If you have a 10mm square it takes x amount of time to do this.. time for each scan line. If you double the size, the time between each scan line doubles and more of the heat is removed from the metal, leaving you with a different color. Same thing occurs if the metal object size is changed.
I could save you a lot of time, just buy the stack of marked stainless I have to get rid of trying to do this.
I’ve tried this with a similar machine, spent hours, stack of wasted stainless. I don’t attempt it anymore.
The mechanism behind the colour is a thin oxide layer / heat tint on the stainless surface. It is not annealing in the metallurgical sense, which means changing the bulk microstructure to soften the material or relieve stress.
Annealing can produce a colour change, but the color is still caused by an oxide layer formed from the heat, not by the annealing itself.