Hello, I’m new to lightburn and I am going around in circles to try and sort out what i thought was a relatively simple problem.
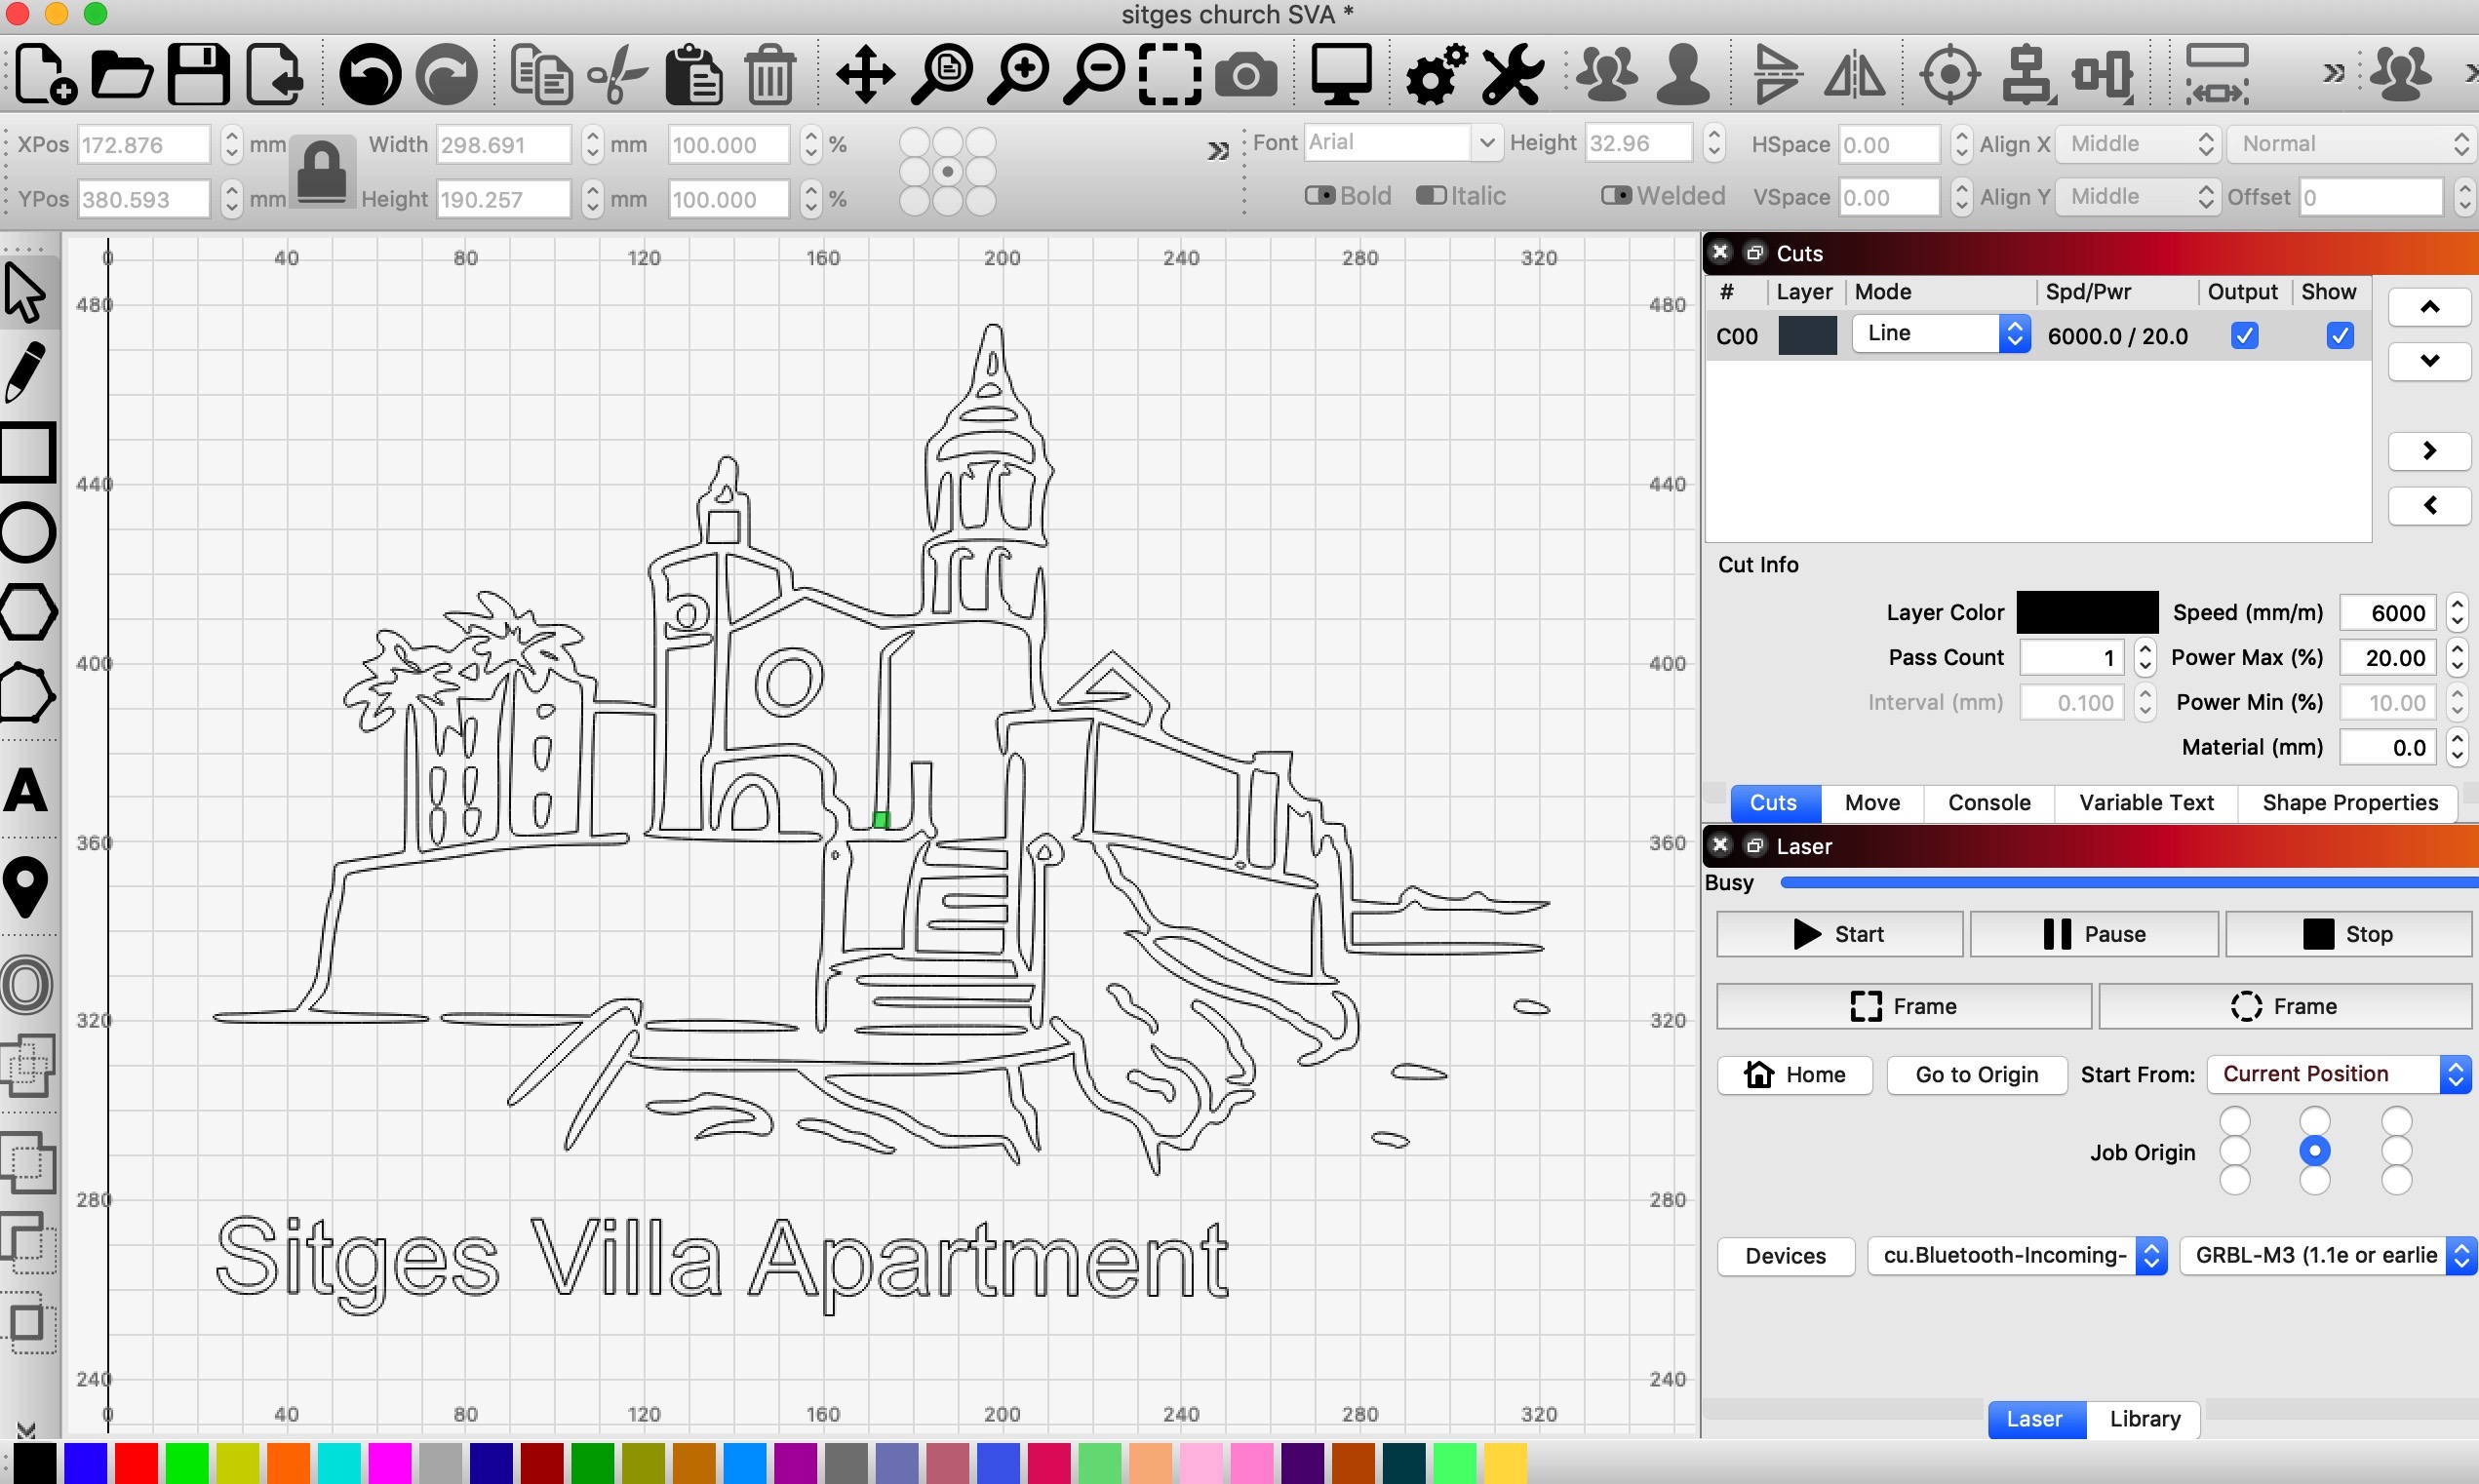
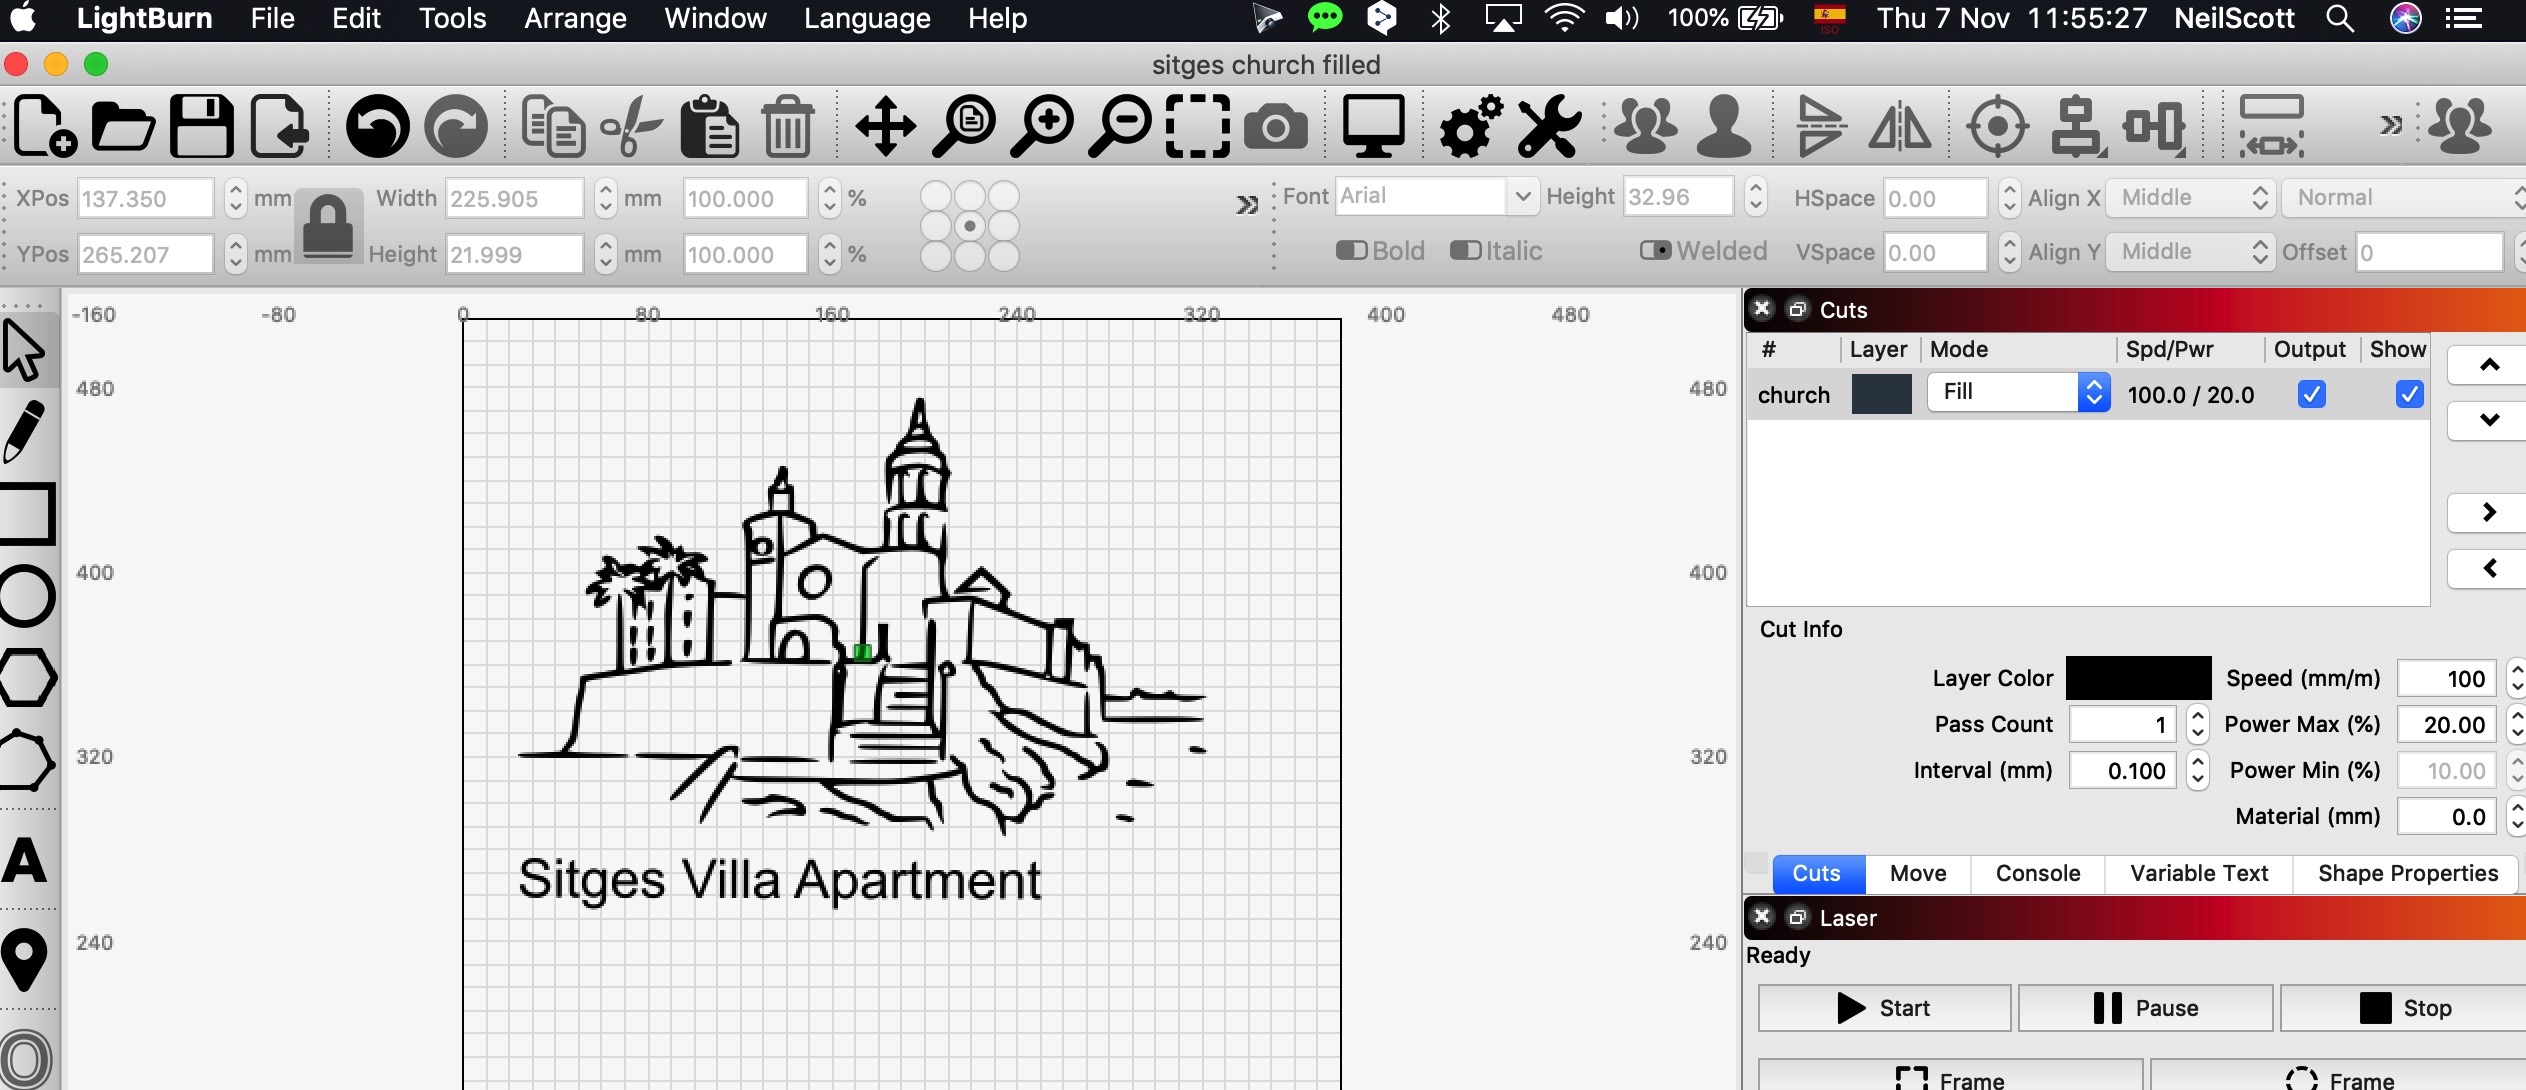
The picture and text below is a outlined version of my logo and this burns perfectly in outline format, it was a trace from an original png file that I happened to do in T2 , created the gcode file and worked flawlessly to any size.
I am trying to learn light burn and I have read the manual but I just cannot seem to find out how to fill shapes and text.
Is this something that is relatively easy to do , is there a tutorial anywhere , Can someone please advise please, the logo looks great in outline but filled its really nice and I would prefer that if its possible as that looks like the original artists work who drew it for me. Thank you.
I use an A3 LaserAxe CNC with a 8.5 watt Endurance plus laser running on Mac OSX Mojave, last version prior to Catalina. At the moment without air assist.
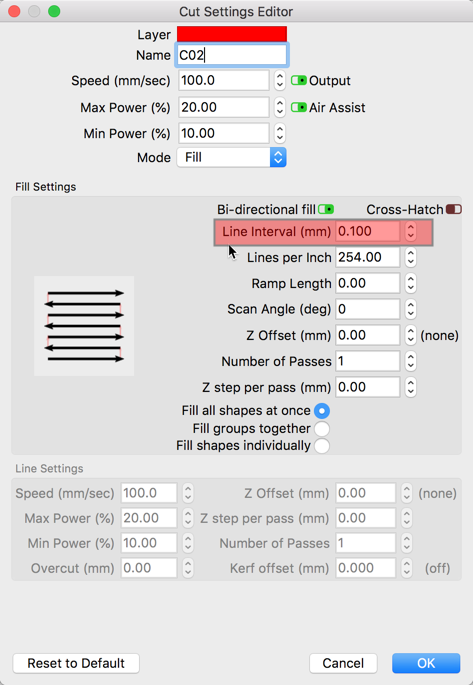
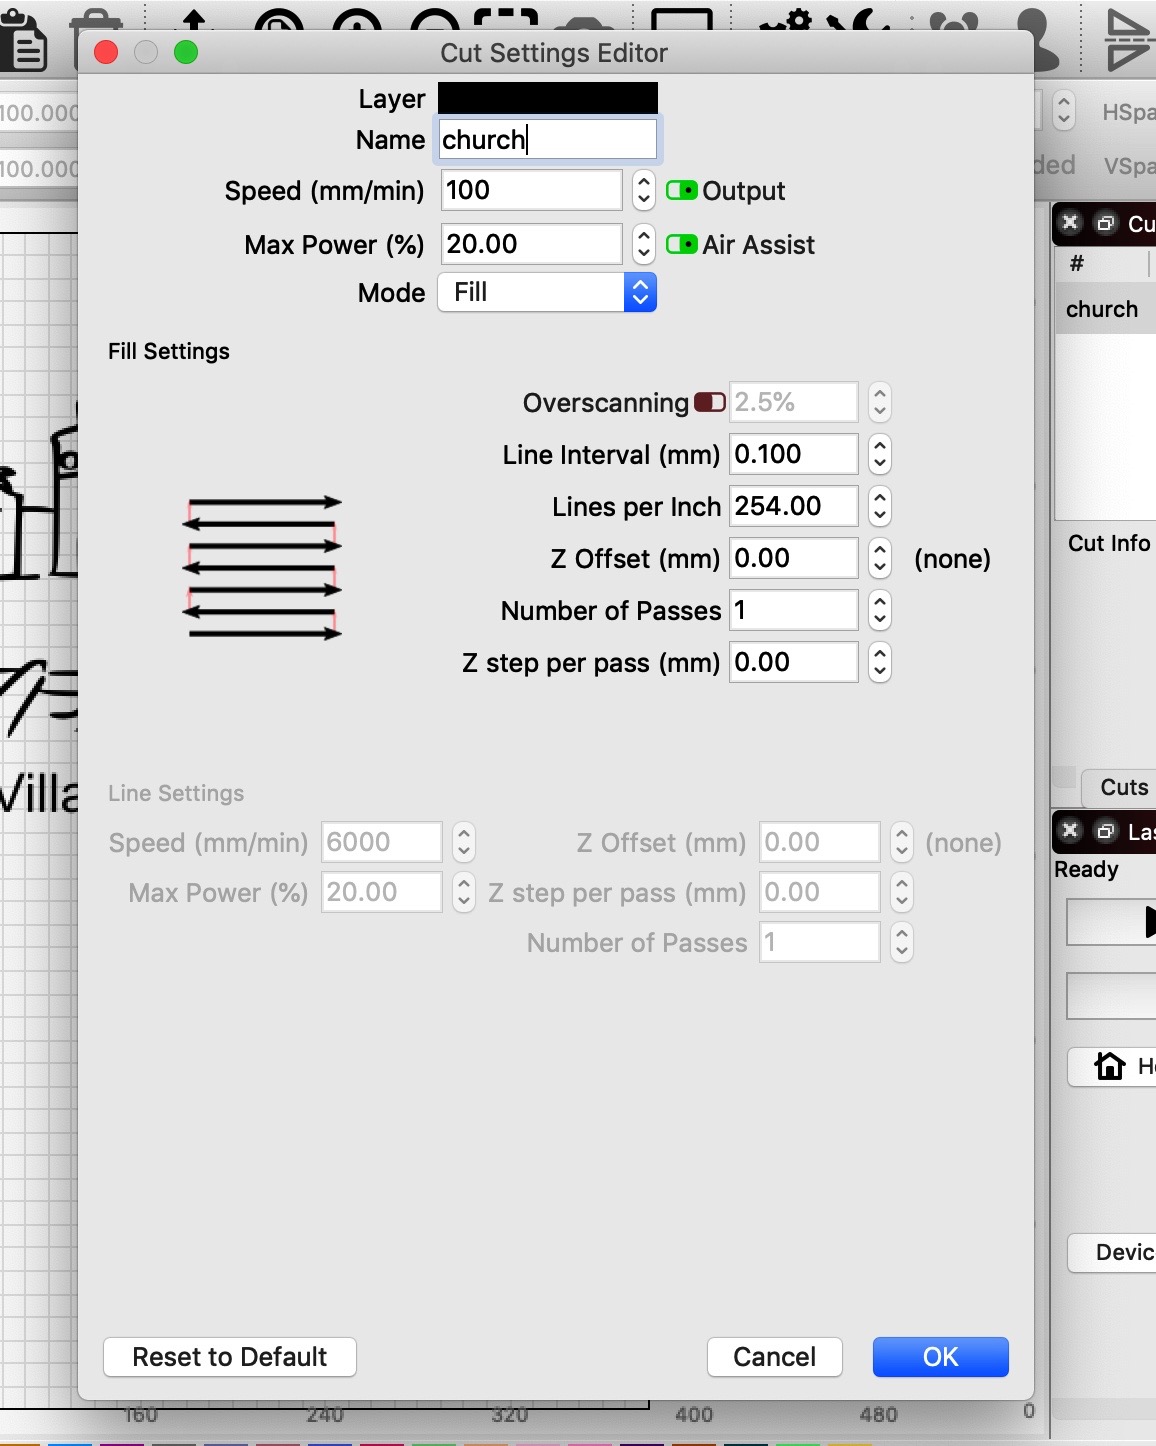
I see that you have this layer set to ‘Line’ which will cut following the paths of your design. If you change that to ‘Fill’, LightBurn will use the boundaries of your paths to scan back and forth creating a series of lines filling the space. You can adjust the “gap” between each fill line, also known as the ‘Line Interval’ within the ‘Cut Settings Editor’ window (double-click the layer to expose).
Thank you Rick, I will have a try later today when I am back home tonight (10:18 am in Spain).
When you actually set the layer to “fill” and adjust the “gap” will it then display the image as a “filled image” ? So that you can see what is a cut line and what is a filled object?
I assume then as this entire layer would then be classed as filled as wanted and if I wanted to add more text or images that I don’t want to be filled at that point would I create a new layer as a “line” layer so the software then understands what is a cut line and what is a filled object?
Obviously I need to play when I am back tonight but thank you very much for your help.
If this is the answer I will be very happy as this has been a stumbling block for me and I didn’t quite understand how setting it to fill would do it.
I tried before changing it to fill before asking this question and setting the line to fill but nothing happened on the image but that is possibly as i did not do the second part of your answer re “gap”.I’ll use the settings you have shown in the “Cut Settings Editor”
Fingers crossed as I have lots of images to do like this and I was hoping it would be relatively simple thing, I realised it wouldn’t just be a “fill button” like in Photoshop and that was the bit I couldn’t connect to, I must have missed it in the manual.
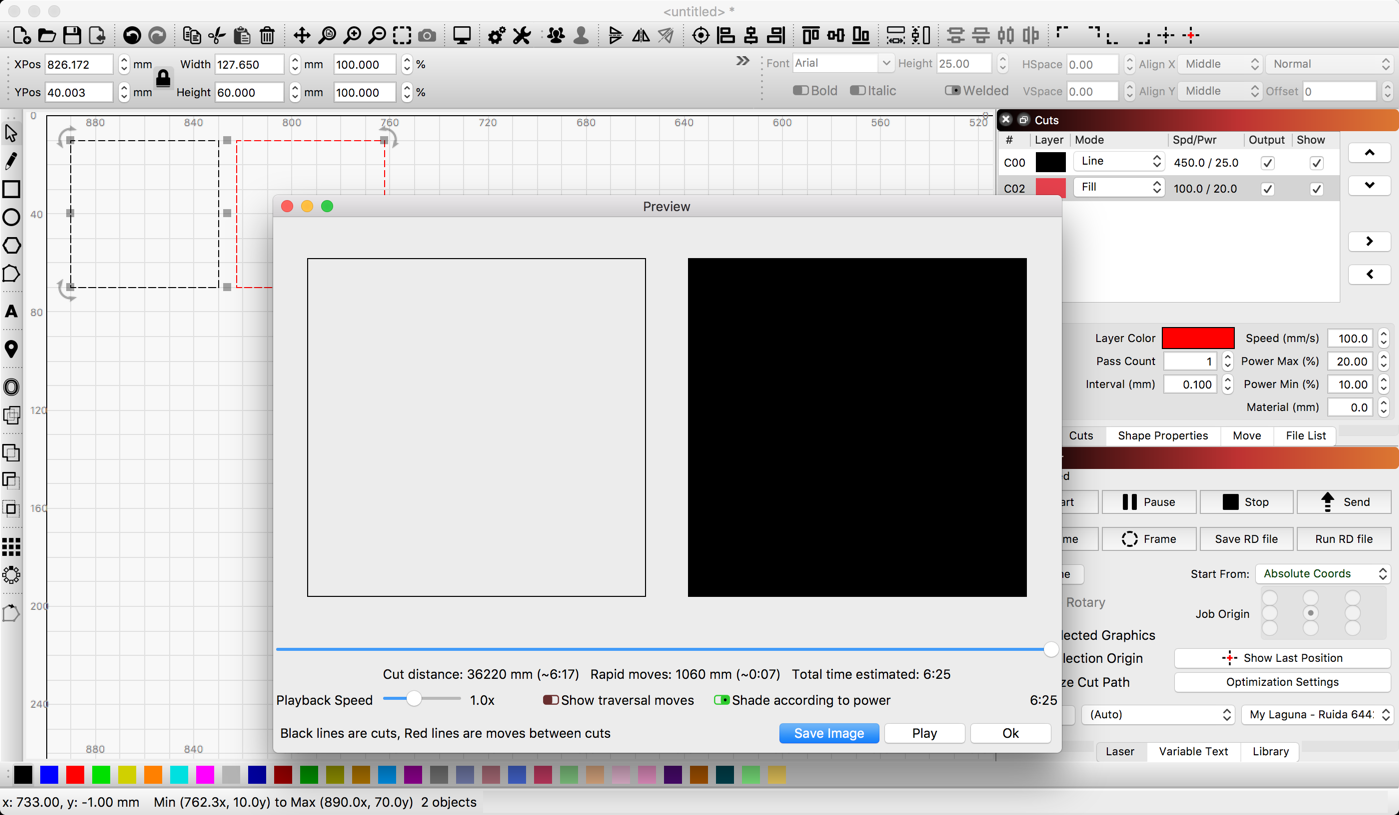
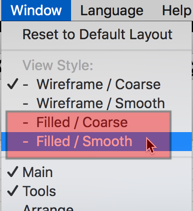
In the ‘Preview’ window, yes. You can also set the workspace to display the fills by selecting the ‘Filled / Coarse’ or ‘Filled / Smooth’ options under the ‘Window’ menu at the top.
Each layer provides its own settings, so yes.
I might suggest you review our documentation and YouTube videos for a better understanding of the LightBurn workflow. Here is one that talks about layers and how they work. I guarantee this will work much better than crossing your fingers.
Brilliant, I didnt get back to play to day in time to play but tomorrow i will, it seems I am thinking in the right way so will take another look at the manual and go through the videos
Hi there, I think I now have it set right but just one thing I notice in your Cut Editor Window that you have more functions on your screen to mine and I have just checked and I am on the latest version of the software for download. Or is it just set up for a different laser, Mines a Endurance diode 8.5 watt and 10 Watt.
Thanks and I’m happy I have got this far!
Now to study the tips and read up a lot more. Thank you.
Are you on a latest beta or something as there appear to be more options on your window, I’
It looks like you have LightBurn in ‘Beginner Mode’ which hides some of the more advanced features to be less confusing for our new users. Click the ‘Gears’ icon at the center-top of the screen to expose the LightBurn ‘Settings’ window. Turn OFF (red) the button next to ‘Beginner Mode’ found as the first item at the top-left of that page.